Homemade Tortilla Chips: Your Ultimate Guide to Crispy, Crunchy Perfection (Baked, Fried, or Air-Fried!)
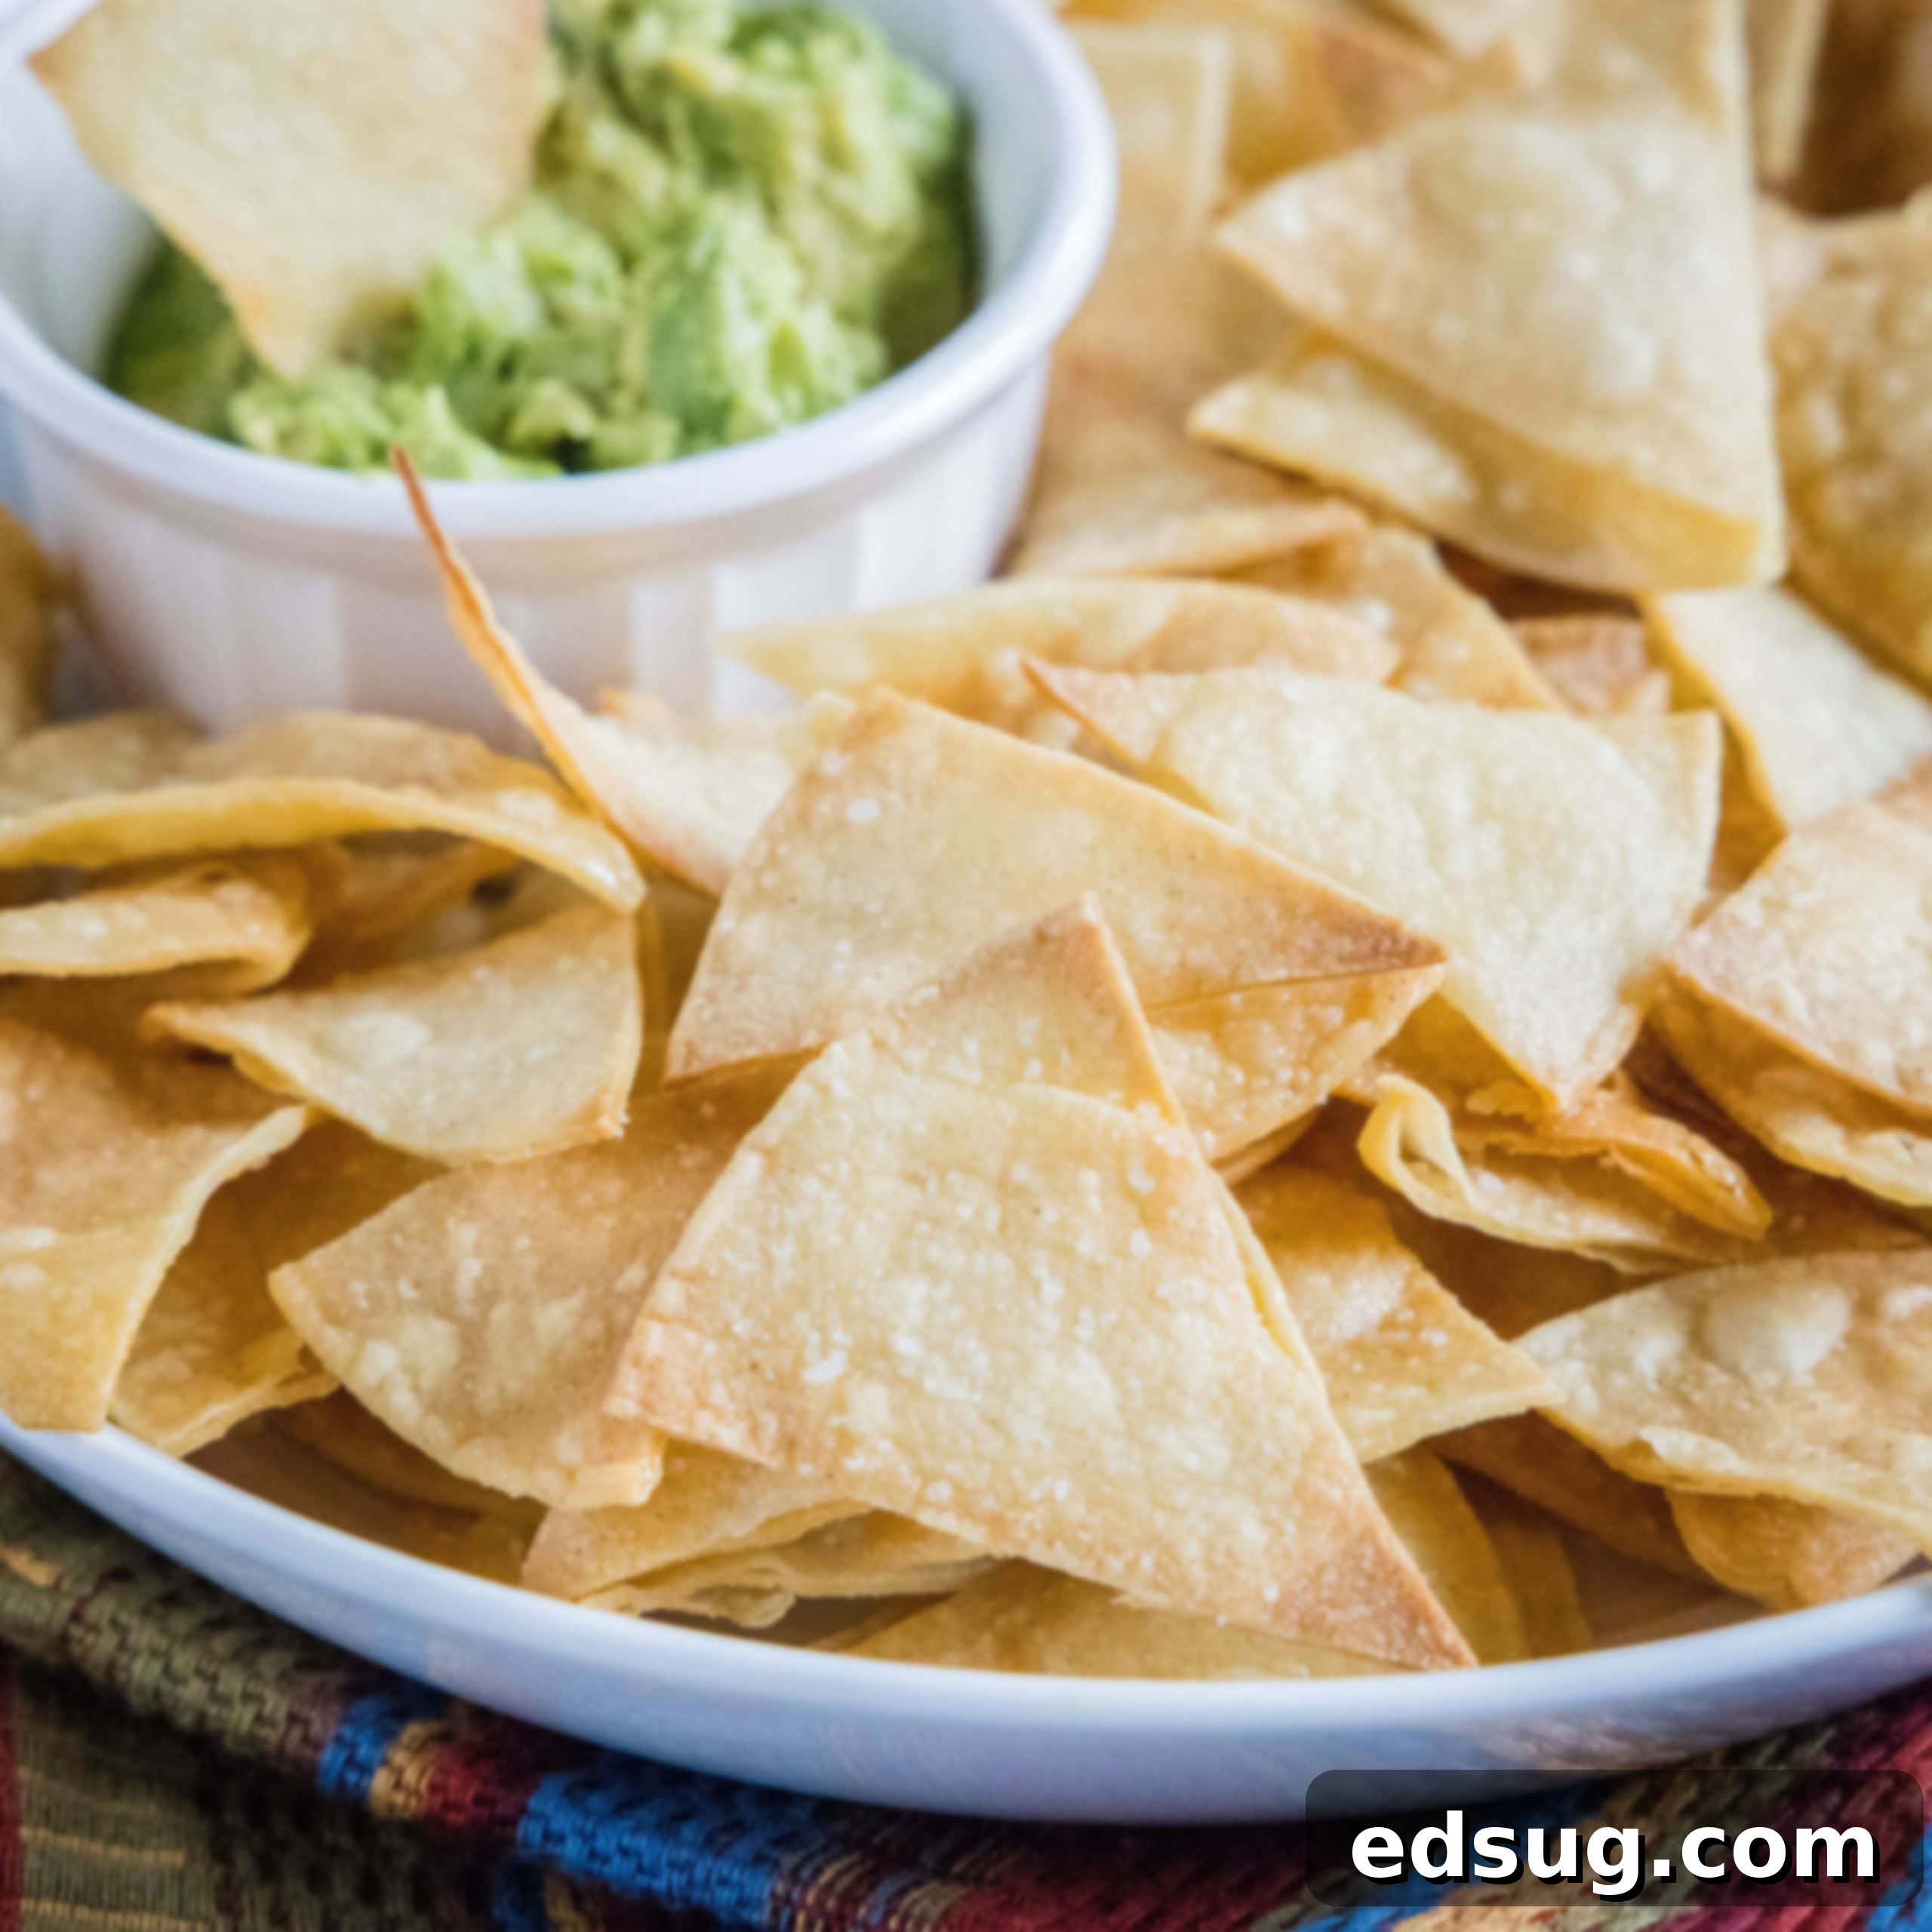
Forget the stale, store-bought bags of chips! Get ready to elevate your snack game with these incredibly easy and utterly delicious Homemade Tortilla Chips. Whether you prefer them baked, fried, or even air-fried, this recipe will guide you to crunchy, golden perfection in no time. Made with just a few simple ingredients, these chips are a fantastic, fun, and customizable alternative that will have everyone reaching for more. If you’re anything like me, a plate of fresh chips and a vibrant bowl of salsa or guacamole is a little slice of heaven. These homemade beauties are the ideal foundation for any dipping adventure!
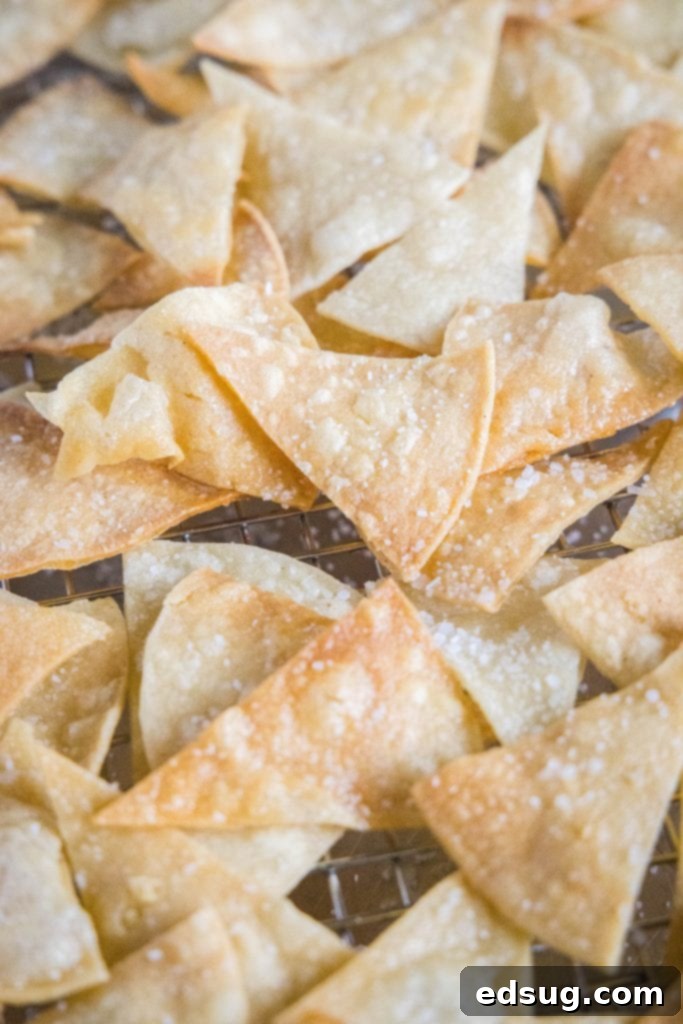
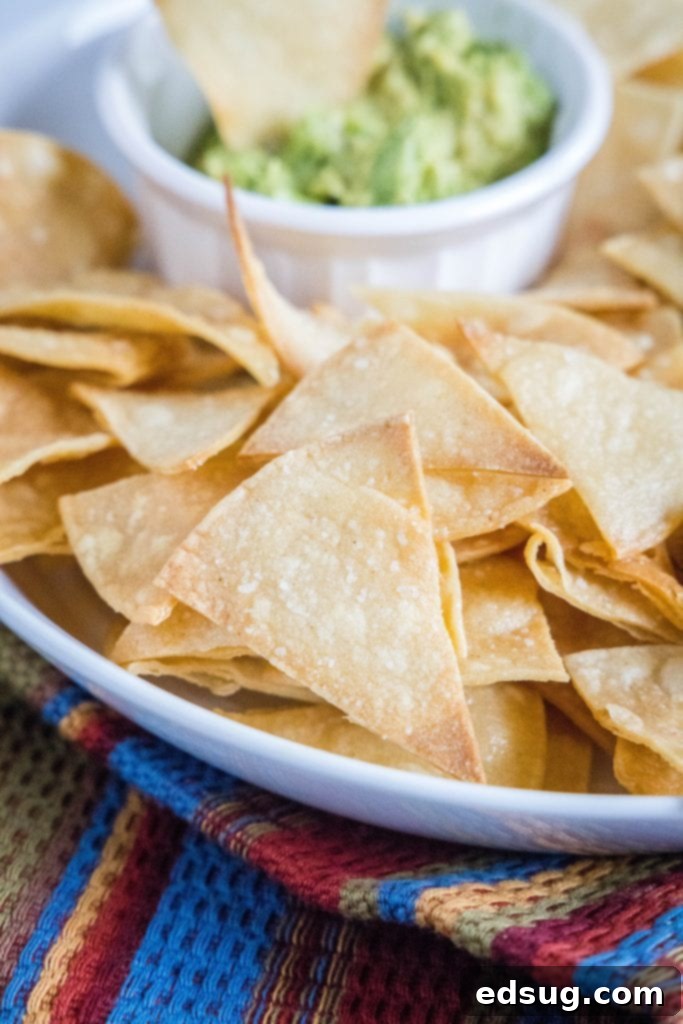
The satisfying crunch, the subtle saltiness, the irresistible aroma – homemade tortilla chips are truly a game-changer. Beyond their incredible taste, they offer a level of freshness and control that pre-packaged options simply can’t match. This comprehensive guide provides step-by-step instructions for preparing them in the oven or frying them to golden crispness. They are absolutely perfect for scooping up creamy guacamole, your favorite zesty restaurant-style salsa, or any other dip you can dream up. They’re also a fantastic base for nachos or a crunchy addition to soups and salads. Once you try homemade, you might never go back!
Why You’ll Adore Making Your Own Tortilla Chips
There are countless reasons why homemade tortilla chips stand head and shoulders above their store-bought counterparts. Here are just a few of the compelling benefits that will make this your new go-to snack recipe:
- Effortlessly Easy: Seriously, you won’t believe how simple these are! With just three core ingredients – corn tortillas, oil, and salt – and minimal effort, you can whip up a batch in less than 30 minutes. The flexibility to either bake or fry means you can choose the method that best fits your comfort level and kitchen setup. Even novice cooks will find this recipe incredibly straightforward and rewarding. It’s the ultimate quick snack fix or last-minute party appetizer.
- Incredibly Fun & Customizable: There’s a unique satisfaction that comes from making everyday foods from scratch, and tortilla chips are no exception. Beyond the basic salt, you can unleash your creativity with a wide array of seasonings. Imagine chili-lime chips, a smoky paprika blend, zesty garlic salt, or even a dash of cumin for an authentic Mexican flair. You can also experiment with different cutting styles and sizes to suit your dipping needs, making them a fantastic project to do with kids!
- Complete Control Over Ingredients: When you craft recipes at home, you have 100% command over what goes into your food. This means you can precisely control the amount and type of oil used, reduce sodium content if desired, and avoid any unwanted preservatives, artificial flavors, or unhealthy additives often found in commercial chips. For the ultimate in homemade goodness, you can even make your own Corn Tortillas from scratch, ensuring a pure, wholesome snack free from any ingredients you don’t want. This level of control is perfect for those with dietary restrictions or anyone looking to eat a cleaner diet.
Essential Ingredients for Perfect Homemade Chips
For detailed measurements and full instructions, make sure to scroll down to the bottom of the post for the FULL PRINTABLE recipe card.
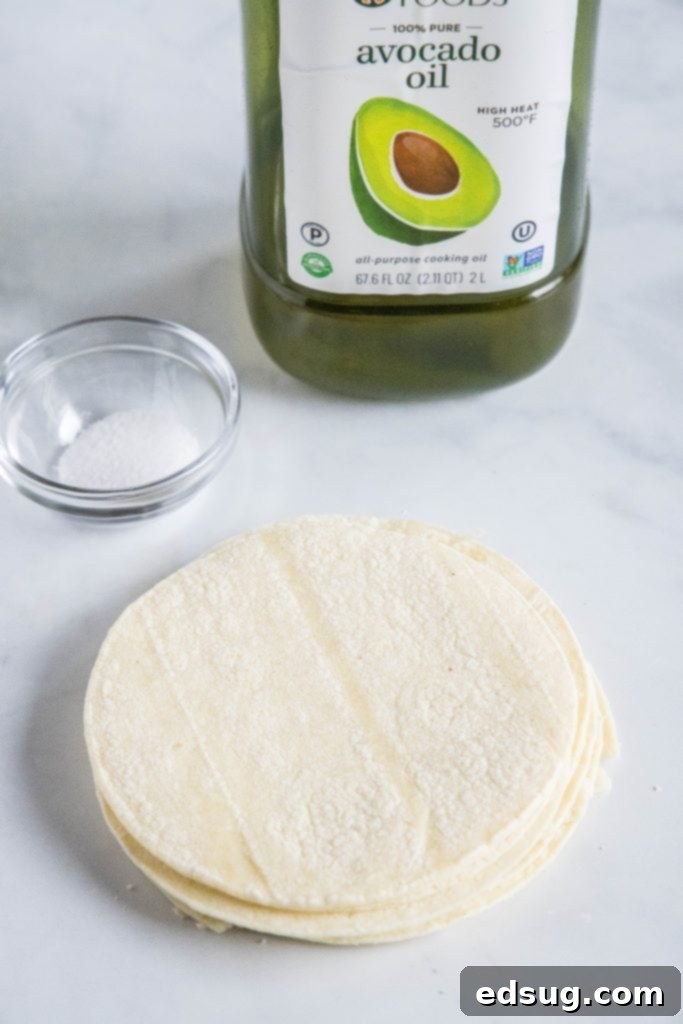
- Corn Tortillas: The star of the show! Corn tortillas are traditional for their authentic flavor and ability to crisp up beautifully. You can use white or yellow corn tortillas – both work wonderfully. Fresher tortillas tend to yield better results, so try to get them from a local Mexican market if possible.
- Oil: You’ll need oil for both baking (a light brush or spray) and frying. For frying, I recommend a neutral-flavored oil such as avocado oil, vegetable oil, or canola oil. These oils have a high smoke point and won’t impart any unwanted flavors, allowing the delicious corn tortilla taste to shine through. The amount needed will vary depending on your cooking method.
- Salt: A simple yet crucial ingredient. Fine-grain salt (like sea salt or kosher salt) works best as it adheres evenly to the chips immediately after cooking. Don’t be shy with the salt; it brings out all the incredible flavors!
How To Make Crispy Fried Tortilla Chips
Frying offers that classic, deep-fried chip experience that many adore. Follow these steps for perfectly crunchy, golden fried tortilla chips:
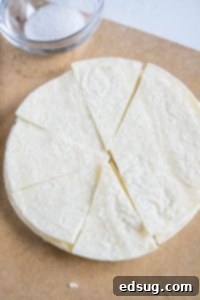
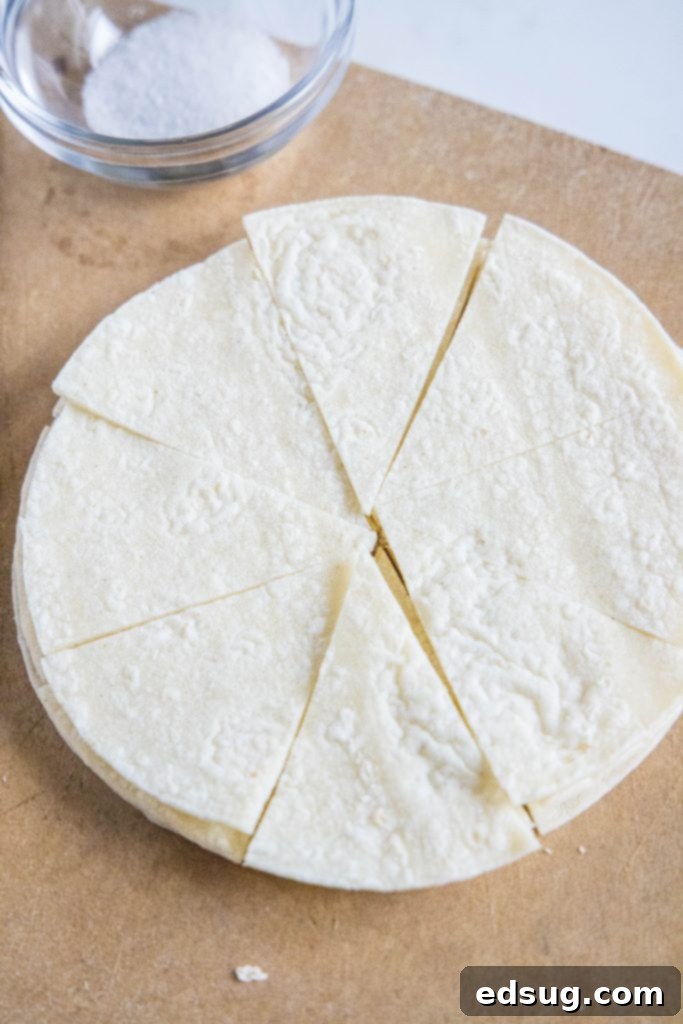
- Prepare Tortillas: Stack your corn tortillas and slice them into wedges. The size is entirely up to your preference – 6 to 8 wedges per tortilla usually yields standard chip sizes. For smaller, more delicate chips, you can do 8-10. For larger, heartier scooping chips, aim for 4-6. Use a sharp knife for clean cuts.
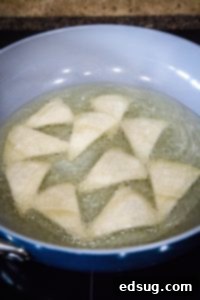
- Heat Oil Safely: Pour about 1/2 to 1 inch of neutral oil into a large, heavy-bottomed skillet or stock pot. You want enough oil for the tortilla pieces to float comfortably, but not so much that it’s prone to splattering. Heat the oil over medium-high heat until it reaches approximately 350°F (175°C). If you don’t have a thermometer, you can test it by dropping a small piece of tortilla into the oil; it should immediately start bubbling steadily around the edges.
- Fry to Golden Perfection: Once the oil is hot, carefully add a single layer of tortilla pieces to the pan, ensuring you don’t overcrowd it. Overfilling the pan will cause the oil temperature to drop, resulting in greasy, soggy chips instead of crispy ones. Let them cook for about 2-3 minutes per side, or until they turn a beautiful light golden brown and appear firm and crispy. They will continue to darken slightly as they cool.
- Drain and Season Instantly: Using a slotted spoon or tongs, carefully remove the cooked chips from the hot oil. Transfer them immediately to a paper towel-lined tray or a wire rack set over a baking sheet. This allows any excess oil to drain away, ensuring maximum crispness. Crucially, sprinkle them generously with salt (or your preferred seasoning) while they are still hot; this ensures the seasoning adheres properly.
- Repeat in Batches: Continue frying the remaining tortilla wedges in batches, maintaining a consistent oil temperature between each batch. This process ensures all your chips achieve that perfect crispness.
How To Bake Healthier Tortilla Chips in the Oven
If you’re looking for a lighter, less oil-intensive option, baking your tortilla chips is an excellent choice. They still get wonderfully crispy with significantly less fat.
- Preheat Oven & Prepare Tortillas: Preheat your oven to 375°F (190°C). Just as with fried chips, slice your corn tortillas into your desired wedge sizes (6-8 wedges per tortilla is typical).
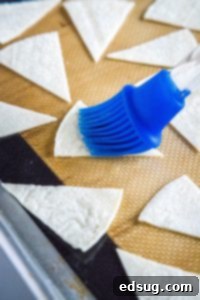
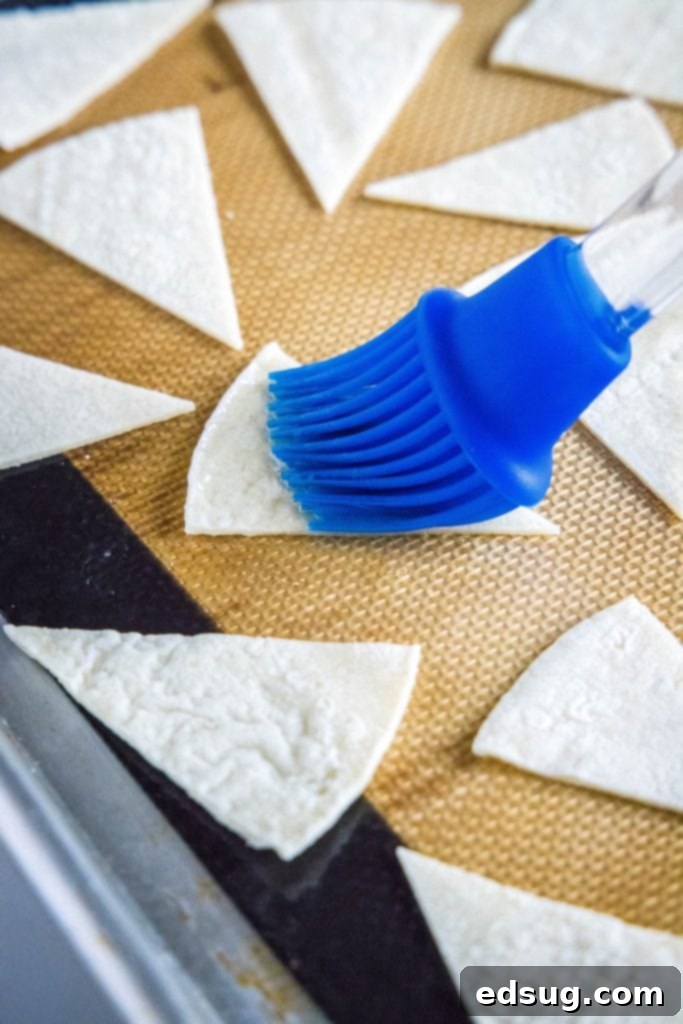
- Arrange and Lightly Oil: Arrange the tortilla pieces in a single layer on a baking sheet lined with parchment paper or a silicone mat. Ensure they don’t overlap, as this will prevent them from crisping evenly. Lightly brush each tortilla piece with a small amount of oil, or use a cooking spray for a very thin, even coating. The oil helps them crisp up and allows the salt to adhere.
- Season Generously: Immediately after oiling, season the chips generously with salt. Don’t wait until after baking, as the salt won’t stick as well.
- Bake Until Golden: Bake for approximately 5-7 minutes, then flip each chip over to the other side. Continue baking for another 5-7 minutes, or until they are golden brown around the edges and feel firm and crispy. Keep a close eye on them, as baking times can vary slightly depending on your oven and tortilla thickness.
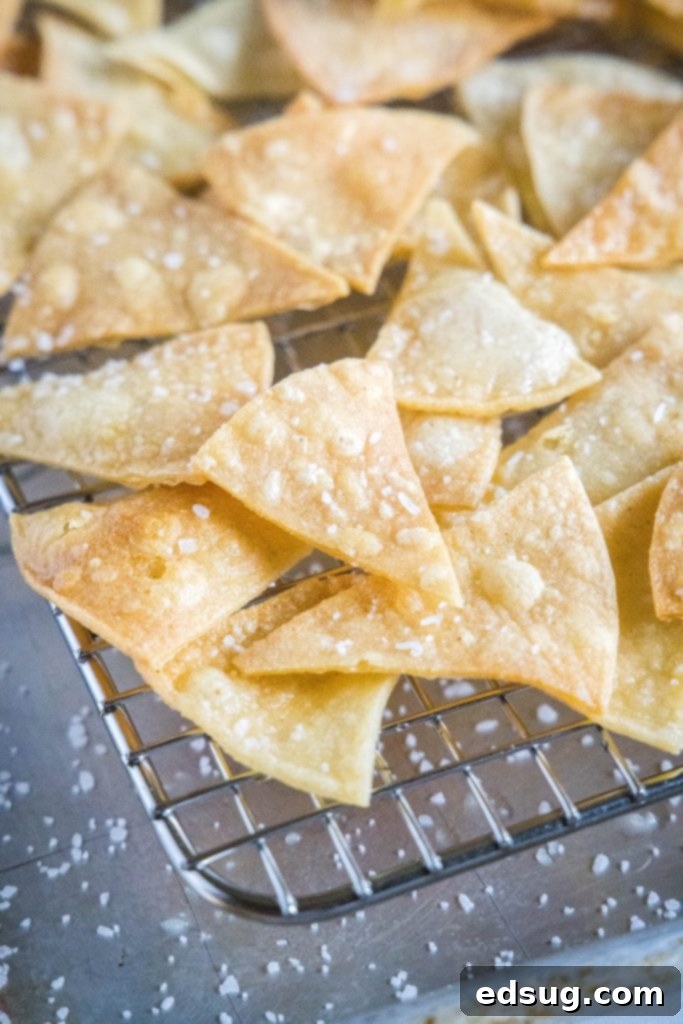
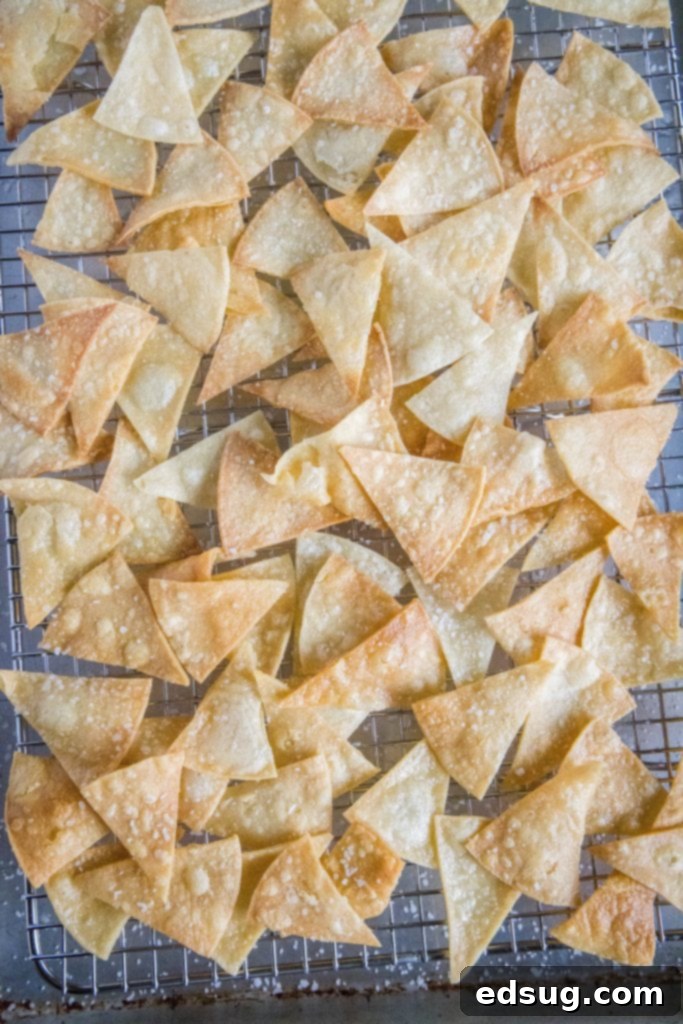
- Cool for Ultimate Crispness: Remove the baking sheet from the oven and transfer the hot chips to a paper towel-lined baking sheet or a wire rack to cool completely. Cooling on a rack is ideal for allowing air circulation, which ensures maximum crispness and prevents sogginess.
Expert Tips & Tricks for the Best Homemade Tortilla Chips
Achieving the perfect homemade tortilla chip is simple, but a few key tips can elevate your results from good to absolutely amazing. Here’s how to master the art:
- Consider Tortilla Thickness: The cooking time of your chips is highly dependent on the thickness and freshness of your tortillas. Thinner, drier tortillas will crisp up much faster than thicker, moister ones. Always go by color and texture rather than strictly by time. If your chips aren’t quite crunchy, give them a little more time. A slightly chewy chip means it needs more cooking! Don’t be afraid to test a chip or two during the process.
- Proper Draining is Key: Whether you’re frying or baking, adequate draining is paramount for truly crispy, non-greasy chips. Always transfer cooked chips to either a paper towel-lined baking sheet or, even better, a wire rack placed over a baking tray. This setup allows air to circulate around the chips and ensures any excess oil or moisture drains away, preventing them from becoming soggy as they cool.
- Season Immediately: This tip is crucial for flavor adhesion. As soon as your chips come out of the hot oil or oven, they are at their most receptive state for seasoning. The residual heat and oil on the surface allow the salt and any other spices to stick firmly. If you wait until they cool, the seasonings won’t adhere as well, resulting in bland spots.
- Cook in Batches: Resist the urge to overcrowd your pan or baking sheet. This is one of the most common mistakes that leads to less-than-perfect chips.
- For frying: Overcrowding causes the oil temperature to drop significantly, leading to chips that absorb too much oil and become greasy and heavy rather than light and crispy. Cook in manageable batches where chips have room to float freely.
- For baking: Overcrowding prevents even air circulation, which is essential for uniform crisping. Chips that touch or overlap will steam rather than bake, resulting in soft spots.
- Experiment with Seasonings: While classic salt is perfect, don’t hesitate to get creative. Try a sprinkle of chili powder, a dash of garlic powder, onion powder, smoked paprika, or even a squeeze of lime juice with salt after they’re cooked. A pinch of cayenne pepper can add a nice kick!
- Re-Crisp Stale Chips: If your chips lose some of their crunch after a day or two, don’t despair! You can easily re-crisp them. Spread them in a single layer on a baking sheet and bake at 300°F (150°C) for 5-10 minutes, or until they regain their crisp texture.
Can I Make Tortilla Chips In The Air Fryer? Yes!
Absolutely, the air fryer is a fantastic tool for making homemade tortilla chips, offering a quick and relatively healthy option! While they might not cook quite as evenly as deep-fried or traditionally baked versions due to their tendency to fly around a bit in the air fryer basket, they certainly achieve a satisfying crispness.
Here’s how to do it:
- Prepare: Cut your corn tortillas into wedges as desired.
- Oil & Season: Lightly spray or brush both sides of the tortilla pieces with a little oil (cooking spray works great here). Season immediately with salt or your chosen spices.
- Air Fry: Place a single layer of tortilla pieces in the air fryer basket, ensuring they do not overlap. You will likely need to cook in several batches.
- Cook: Air fry at 360°F (180°C) for 2-3 minutes. Carefully open the basket, flip the chips, and cook for another 1-2 minutes. Keep a close eye on them, as air fryers can cook quickly and vary in power.
- Check for Doneness: Continue cooking in short bursts (30 seconds to 1 minute) if they aren’t yet golden brown and crispy to your liking. Remove when perfectly crisp and allow to cool slightly before serving.
Making tortilla chips in the air fryer is an efficient method, especially for smaller batches or when you want to minimize oil usage.
Delightful Pairings: What to Serve With Homemade Tortilla Chips
Homemade tortilla chips are incredibly versatile and pair beautifully with a vast array of dips and dishes. In my opinion, they literally go with anything! Here are some fantastic uses and serving suggestions to get you started, beyond just plain snacking:
- Barbecue Chicken Nachos: Layers of tender BBQ chicken, melty cheese, and these crispy chips make for an unbeatable appetizer or main dish.
- Fire Roasted Salsa: The smoky, robust flavor of fire-roasted tomatoes perfectly complements the fresh crunch of homemade chips.
- Mini Tostadas: Use these chips as a crunchy base for adorable, bite-sized tostadas topped with your favorite ingredients like seasoned chicken, beans, and fresh toppings.
- Roasted Chile Corn Salsa: A vibrant and flavorful salsa with sweet corn, spicy chiles, and fresh herbs – a match made in heaven for your homemade chips.
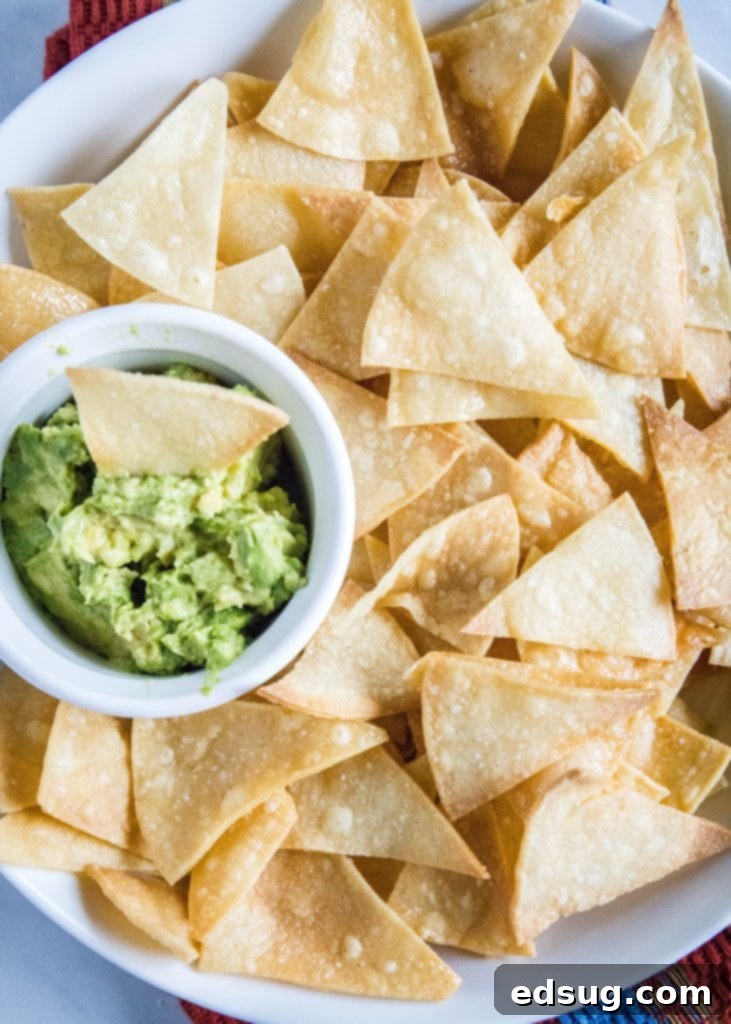
- Classic Guacamole: Nothing beats fresh, creamy guacamole. The texture and flavor contrast beautifully with crispy chips.
- Queso Fundido or Cheese Dip: Indulge in warm, gooey cheese dips that cling perfectly to the sturdy homemade chips.
- Chili: Serve a hearty bowl of chili with a side of chips for dipping, or crumble them over the top for added texture.
- Layered Dips: From 7-layer dip to simple bean dips, homemade chips are the perfect vehicle for scooping up all those delicious layers.
- As a Soup Garnish: Crush a few chips and sprinkle them over a bowl of tortilla soup or any creamy soup for a delightful crunch.
Keeping Your Homemade Tortilla Chips Fresh
Just like their store-bought counterparts, homemade tortilla chips need to be stored properly to maintain their freshness and crispness. Once completely cooled, place them in an airtight container or a resealable plastic bag. Store them at room temperature in your pantry. They will typically last for up to 3 days. While they might lose a tiny bit of their initial crispness over time (due to moisture absorption from the air), you can easily re-crisp them in a low oven (300°F / 150°C) for 5-10 minutes before serving, as mentioned in the tips section. This revives their crunch and makes them taste almost as good as fresh!
More Irresistible Appetizer Recipes to Explore
If you loved making these homemade tortilla chips, you’re sure to enjoy these other crowd-pleasing appetizer recipes from my kitchen. They’re perfect for entertaining, game nights, or simply enjoying a delicious snack:
- Bruschetta: A fresh and flavorful Italian classic, perfect for any occasion.
- Copycat Crazy Bread: Recreate your favorite cheesy breadsticks at home – so much better than takeout!
- BLT Dip: All the amazing flavors of a BLT sandwich transformed into a creamy, scoopable dip.
- Bacon Wrapped Smokies: An incredibly addictive, sweet, and savory bite-sized appetizer.
- Boneless Chicken Wings: Perfect for game day, these boneless wings are crispy and customizable with your favorite sauces.
- Smoked Queso: A rich, smoky, and unbelievably delicious cheese dip that’s a guaranteed hit.

Homemade Tortilla Chips
Pin Recipe
Rate Recipe
Print Recipe
Ingredients
- 8 corn tortillas
- 1 cup oil, approximately
- 1 teaspoon salt
Instructions
For Fried Tortilla Chips
-
Cut tortillas into 6-8 wedges, depending on the size you want.

-
Fill a large skillet with about 1/2 inch of oil, enough to coat the bottom and the tortilla pieces to be able to float.
-
Add the tortilla pieces to the pan, working in batches, and cook for 5-7 minutes per side, until the chips are golden brown.

-
Remove to a paper towel lined baking sheet or a wire rack over a baking sheet.

-
Season immediately with salt.
-
Continue with remaining tortilla pieces.
For Baked Tortilla Chips
-
Preheat oven to 375º F.
-
Cut tortillas into 6-8 wedges, depending on the size you want.
-
Arrange tortilla pieces onto a lined baking sheet. Brush evenly with a little bit of oil, or spray oil. Season with salt.

-
Bake for about 10 minutes per side, until golden brown.
-
Remove to a lined baking sheet or wire rack over a baking sheet to cool.
Notes
Nutrition
Nutrition information is automatically calculated, so should only be used as an approximation.
Additional Info
Like this recipe? Leave a comment below!
I created a fun group on Facebook, and I would love for you to join us! It’s a welcoming place where you can share YOUR favorite recipes, ask questions, and stay updated on what’s new at Dinners, Dishes and Desserts (so you’ll never miss a delicious new recipe!).
Be sure to follow me on Instagram and tag #dinnersdishes so I can see all the wonderful DINNERS, DISHES, AND DESSERTS recipes YOU make!
Don’t forget to follow me on my social media channels, so you never miss a post!
Facebook | Twitter | Pinterest | Instagram
