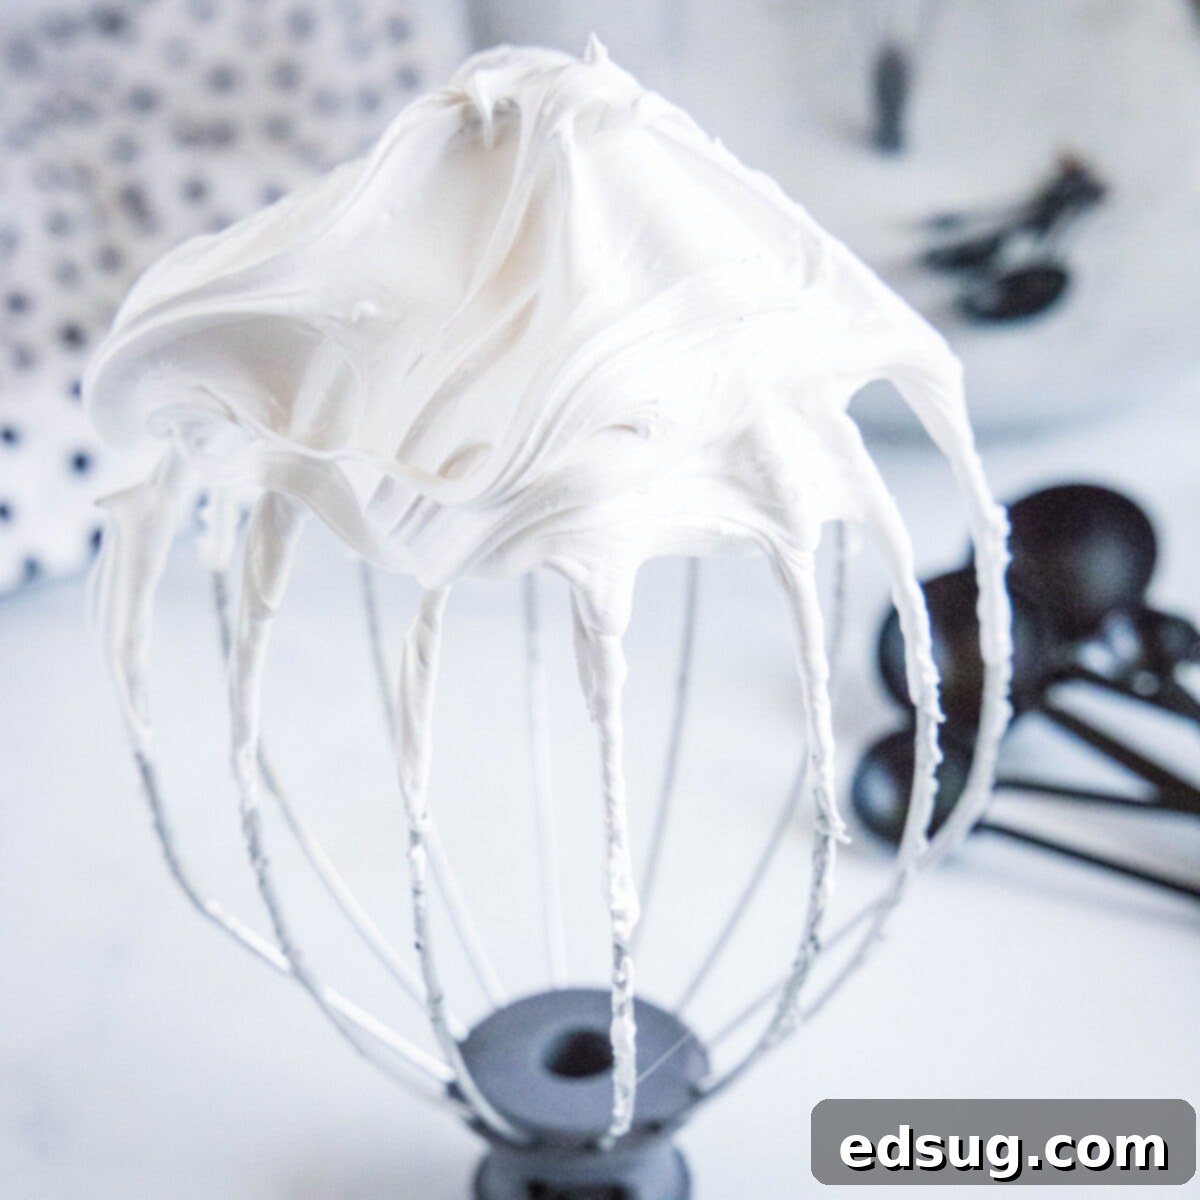
Homemade Marshmallow Fluff: Your Ultimate Guide to Creamy, Pillowy Perfection
This homemade marshmallow fluff recipe is a game-changer for any dessert lover. Imagine a cloud of sweet, vanilla-scented goodness, so creamy and airy it practically melts in your mouth. Forget the store-bought versions; this homemade marshmallow cream offers an unparalleled depth of flavor and a delightfully pillowy texture that’s simply irresistible. It’s incredibly easy to make, and once you try it, you’ll find countless ways to incorporate this magical ingredient into your favorite desserts, or even enjoy it straight from the spoon!
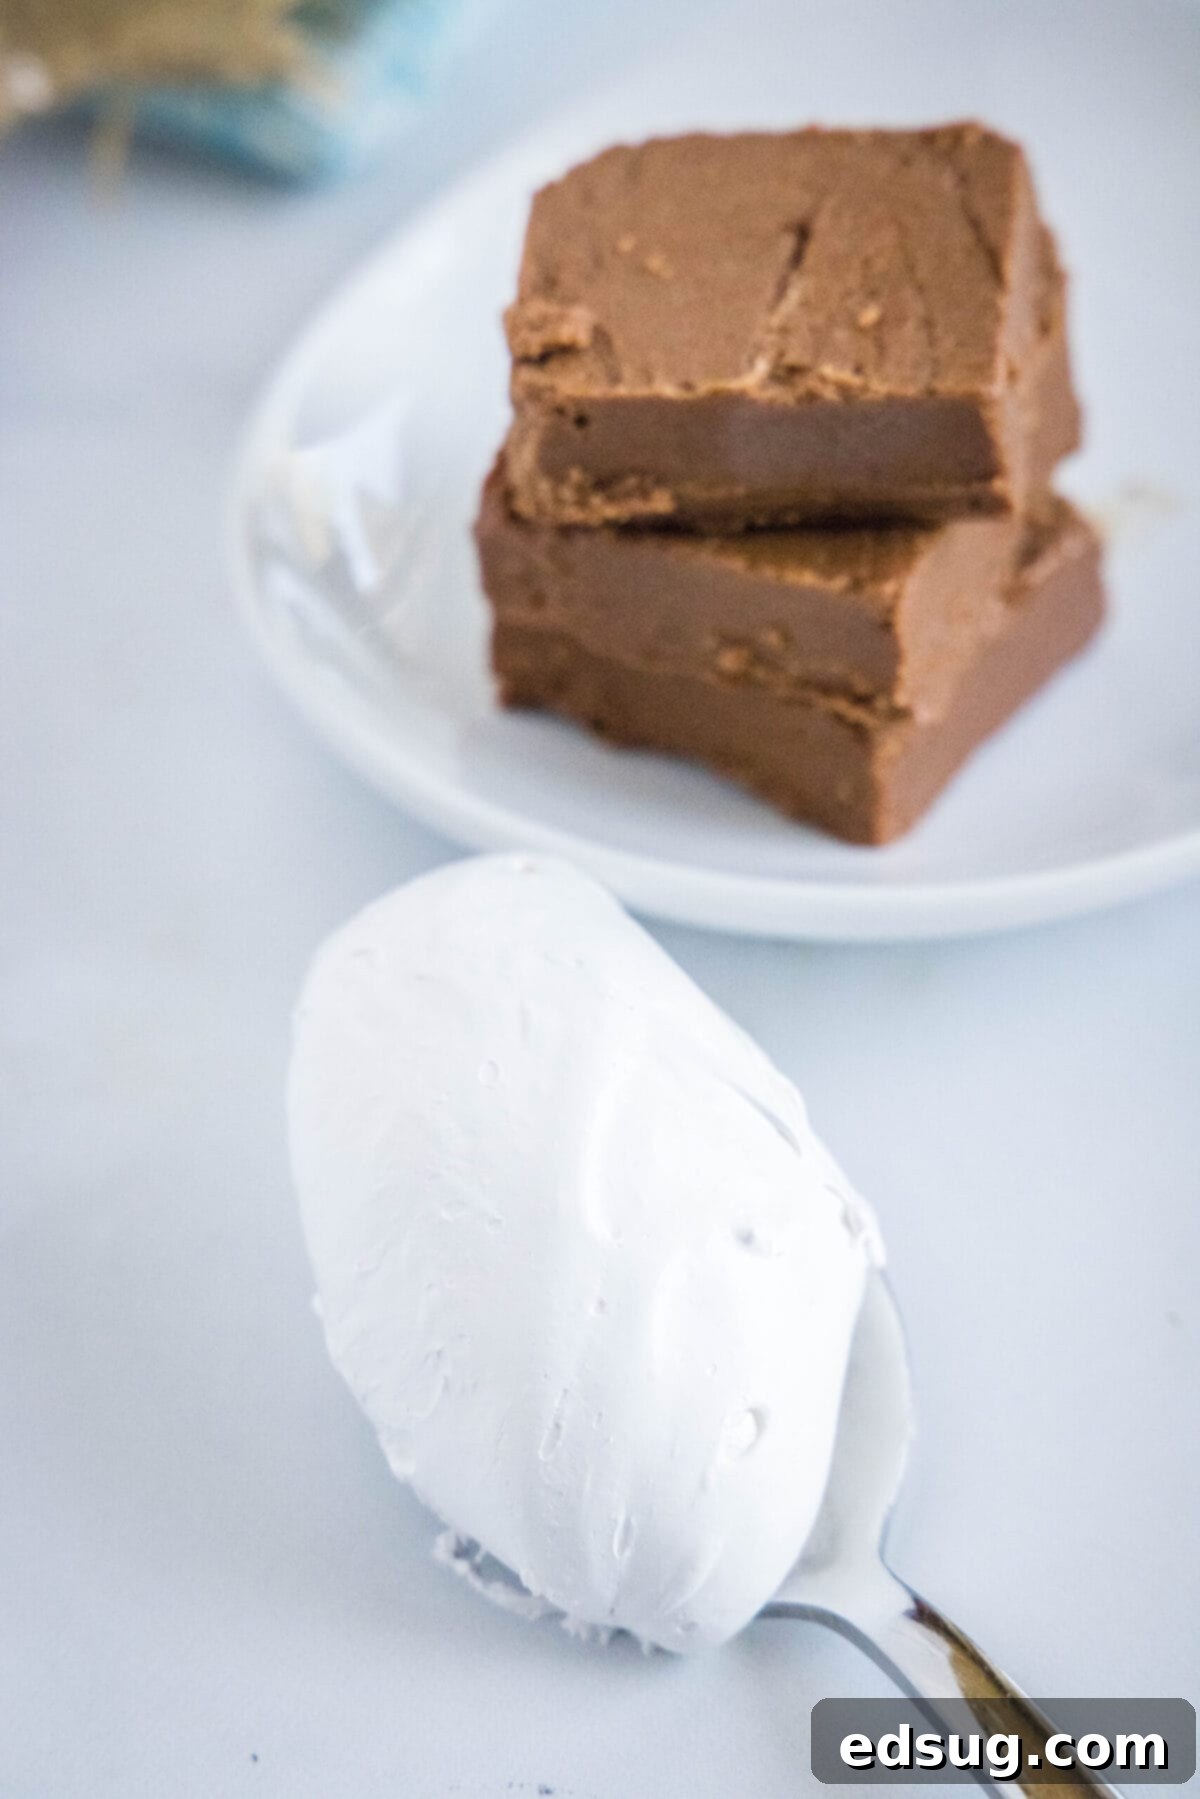
There’s a unique enchantment about marshmallow fluff – that perfect balance of sugary sweetness, the rich warmth of vanilla, and its signature light, airy, and pillowy texture. It’s an essential ingredient for elevating treats like decadent fudge or adding a whimsical touch to countless other desserts. And yes, I’ll happily admit that sometimes the craving hits, and a spoonful of this luscious cream, enjoyed plain, is the ultimate comfort.
Crafting this marshmallow cream at home has become one of my absolute favorite kitchen endeavors. Not only is it surprisingly simple, but the results are vastly superior to anything you can purchase. Having a batch of this delightful homemade fluff readily available in your fridge or freezer opens up a world of dessert possibilities. Trust me, once you whip up your own, there’s no going back!
Why This Is The Best Homemade Marshmallow Fluff Recipe
I genuinely make this homemade marshmallow cream all the time, and I’m convinced you’ll become just as obsessed once you give it a try. Here’s a closer look at what makes this recipe truly stand out:
- Unrivaled Flavor and Texture: While store-bought fluff is passable, this homemade version takes it to a whole new level. The vanilla flavor is significantly more robust and authentic, thanks to quality extract. The texture is profoundly lighter, airier, and silkier, offering a creaminess that simply can’t be replicated in a jar. Each spoonful is a delightful, melt-in-your-mouth experience.
- Surprisingly Quick and Easy to Make: Don’t be intimidated by the idea of making marshmallow fluff from scratch. This recipe is designed to be straightforward and accessible for home bakers of all skill levels. With clear, step-by-step instructions, you’ll be amazed at how effortlessly it comes together. The entire process, from start to finish, takes approximately 35 minutes, making it a perfect last-minute addition to your dessert repertoire.
- Incredible Versatility: Homemade marshmallow fluff isn’t just a dessert in itself; it’s a fantastic ingredient that elevates numerous recipes. Use it as a topping for hot cocoa, a filling for cakes and cupcakes, a base for fudge, a dip for fruit, or a spread for sandwiches. Its unique texture and flavor bring a special touch to almost any sweet treat.
- Budget-Friendly: Making marshmallow fluff at home is often more cost-effective than repeatedly buying it from the store, especially if you use it frequently. Simple, readily available ingredients transform into a luxurious product without breaking the bank.
- Conveniently Freezable: One of the greatest advantages of this recipe is its excellent freezer-friendly nature. I often prepare a generous batch because it stores beautifully in the freezer for extended periods. This means you can always have homemade marshmallow fluff on hand, ready to be thawed and used whenever a recipe calls for it, or when a sudden craving strikes!
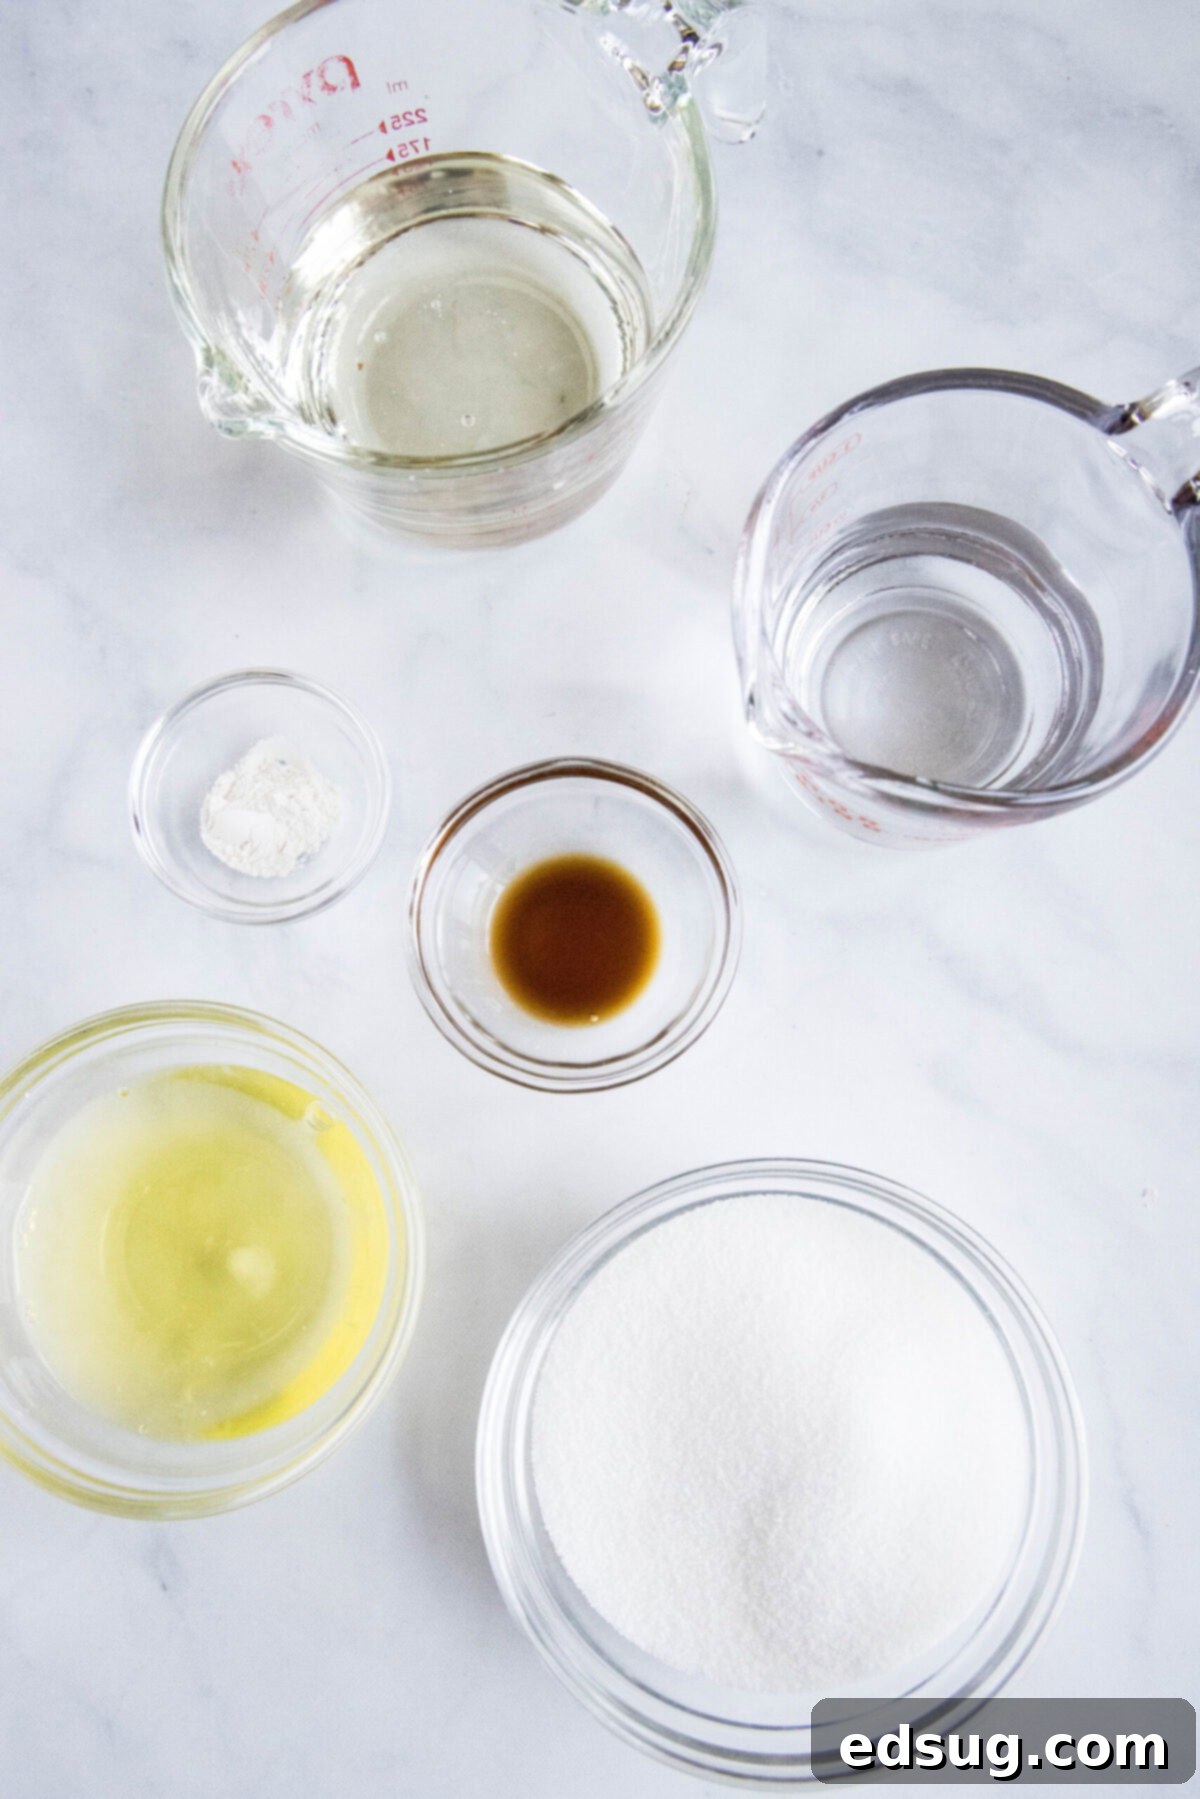
Essential Ingredients for Perfect Marshmallow Fluff
Creating light, fluffy, and perfectly stable marshmallow cream relies on a few key ingredients. Here’s what you’ll need, along with a brief explanation of each component’s role. For precise measurements, please refer to the detailed recipe card located at the bottom of this page.
- Water: This acts as the solvent for the sugar and corn syrup, creating the liquid syrup base for our fluff.
- Granulated Sugar: The primary sweetener and structural component. When heated to a specific temperature, it forms the stable syrup necessary for the marshmallow texture.
- Light Corn Syrup: This is a crucial ingredient! Light corn syrup prevents sugar crystallization, ensuring your marshmallow fluff remains smooth and creamy, not grainy. It also adds elasticity and helps create that signature glossy finish. For the best results, always opt for light corn syrup.
- Egg Whites: These are the magical leavening agent, responsible for creating the incredible volume and airy texture of the fluff. When whipped, they trap air, which then stabilizes as the hot sugar syrup is incorporated.
- Cream of Tartar: A common baking ingredient, cream of tartar acts as a stabilizer for the egg whites. It helps them whip up faster, achieve greater volume, and maintain those beautiful, stiff peaks without deflating.
- Vanilla Extract: The soul of marshmallow fluff! Be sure to use 100% pure vanilla extract for the most authentic and vibrant flavor. Artificial vanilla won’t deliver the same rich, aromatic notes that make homemade fluff so special. You can also experiment with other extracts like almond or peppermint for different flavor profiles.
How to Make Homemade Marshmallow Fluff: A Step-by-Step Guide
Get ready to create this incredible 35-minute marshmallow fluff recipe. It’s truly super easy, and the results are incredibly rewarding! Follow these steps carefully for the perfect batch:
- Step 1: Dissolve the Sugar Base. In a medium-sized, heavy-bottomed saucepan, combine the granulated sugar, light corn syrup, and water. Place the saucepan over medium heat. Stir continuously until you see that the sugar has completely dissolved. You’ll want to ensure no granules remain visible on the bottom or sides of the pan. This initial stirring is crucial for uniform dissolution.
- Step 2: Boil to Soft Ball Stage. Once the sugar is fully dissolved, stop stirring. It’s very important to resist the urge to stir the mixture at this point, as it can cause crystallization. Bring the sugar mixture to a rolling boil. Continue cooking without stirring until the mixture reaches precisely 240°F (115°C) on a candy thermometer. This temperature corresponds to the “soft ball” stage, which is vital for the correct marshmallow texture.
- Step 3: Whisk the Egg Whites. While your sugar syrup is heating, prepare your egg whites. In a very clean bowl of an electric stand mixer (or a large bowl if using a hand mixer), add the egg whites and cream of tartar. Using the whisk attachment, beat the mixture at high speed. Continue whisking until the egg whites transform into soft, billowy peaks. This usually takes about 3-4 minutes. The peaks should hold their shape but still have a slight curl at the tip.
- Step 4: Carefully Add the Hot Sugar Syrup. Once your sugar syrup reaches 240°F, immediately remove it from the heat. With your electric mixer running on low speed, slowly and carefully pour the hot sugar syrup into the whipped egg whites in a thin, steady stream. Aim to pour it down the side of the bowl to avoid hitting the whisk directly and splattering. This process “cooks” and stabilizes the egg whites, creating the marshmallow structure.
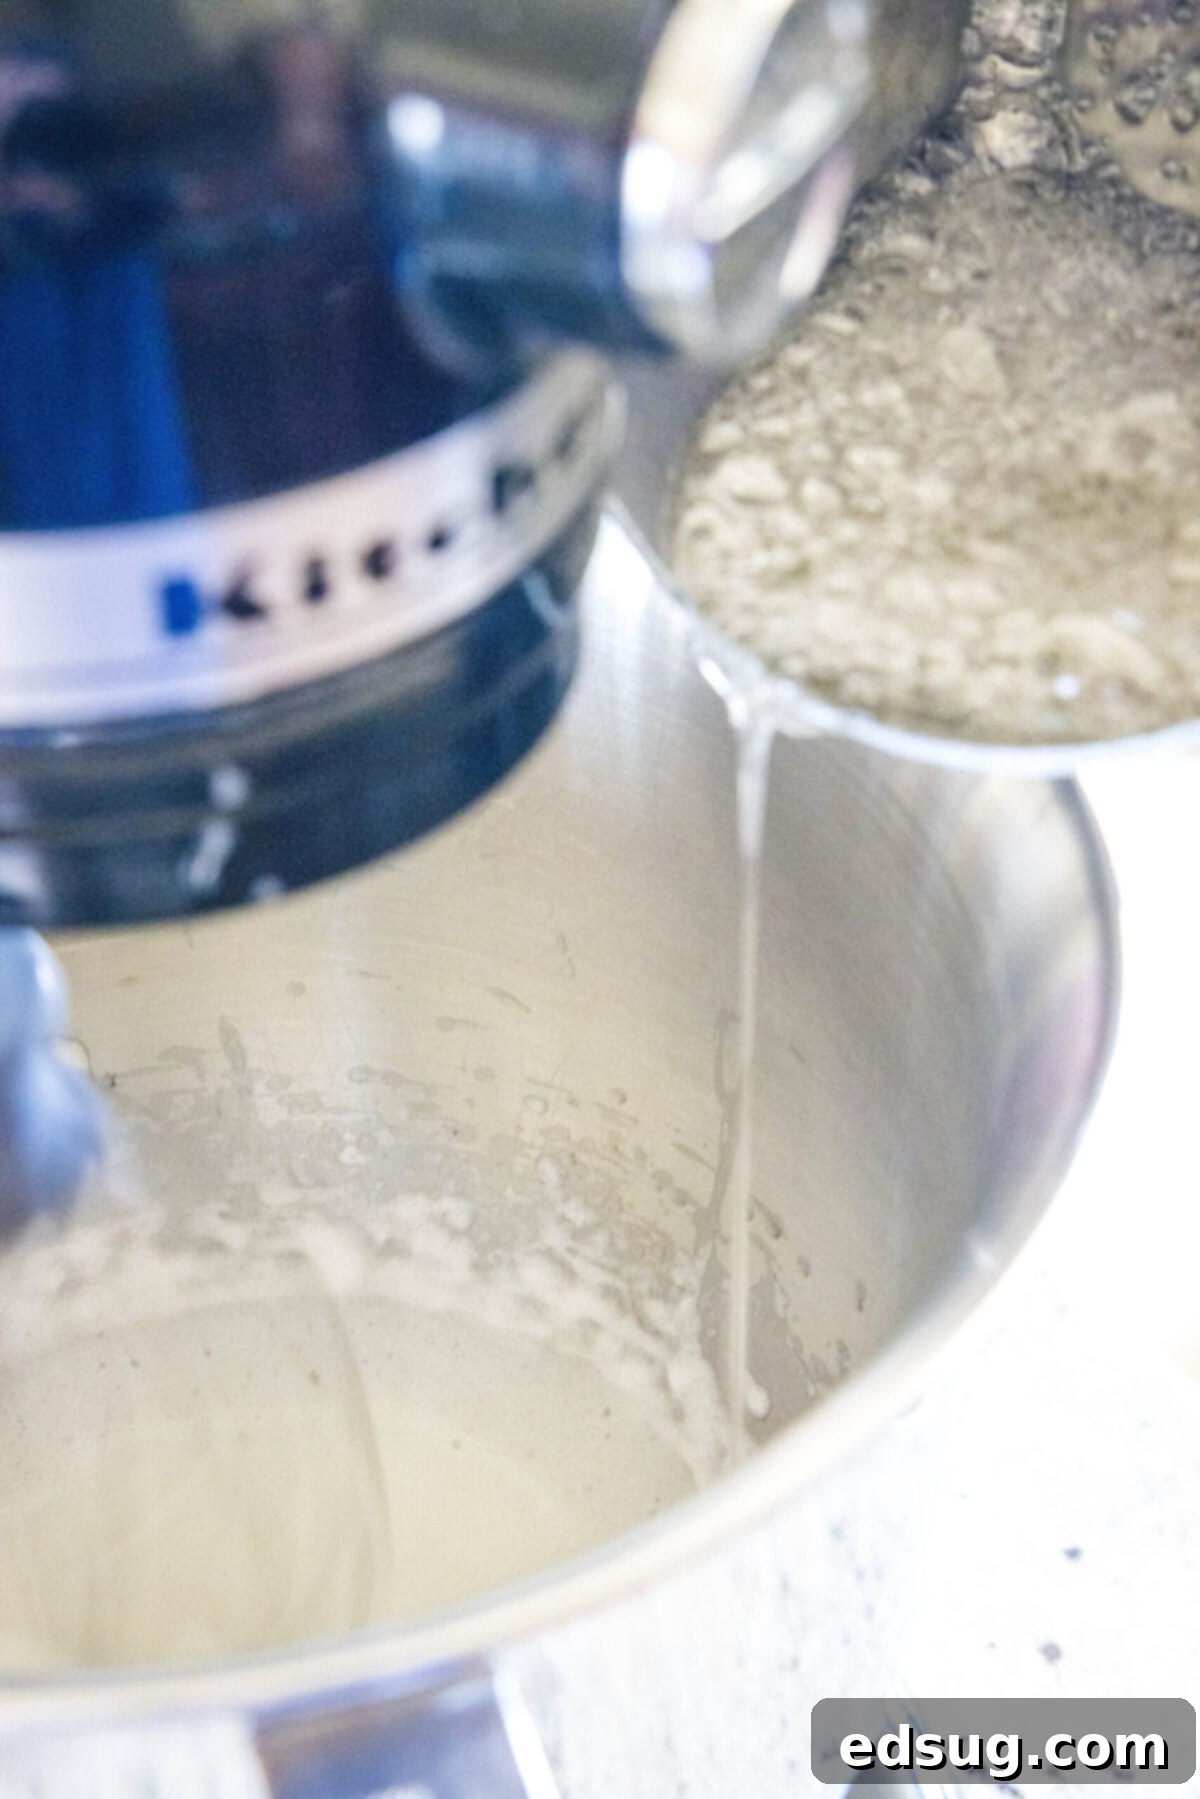
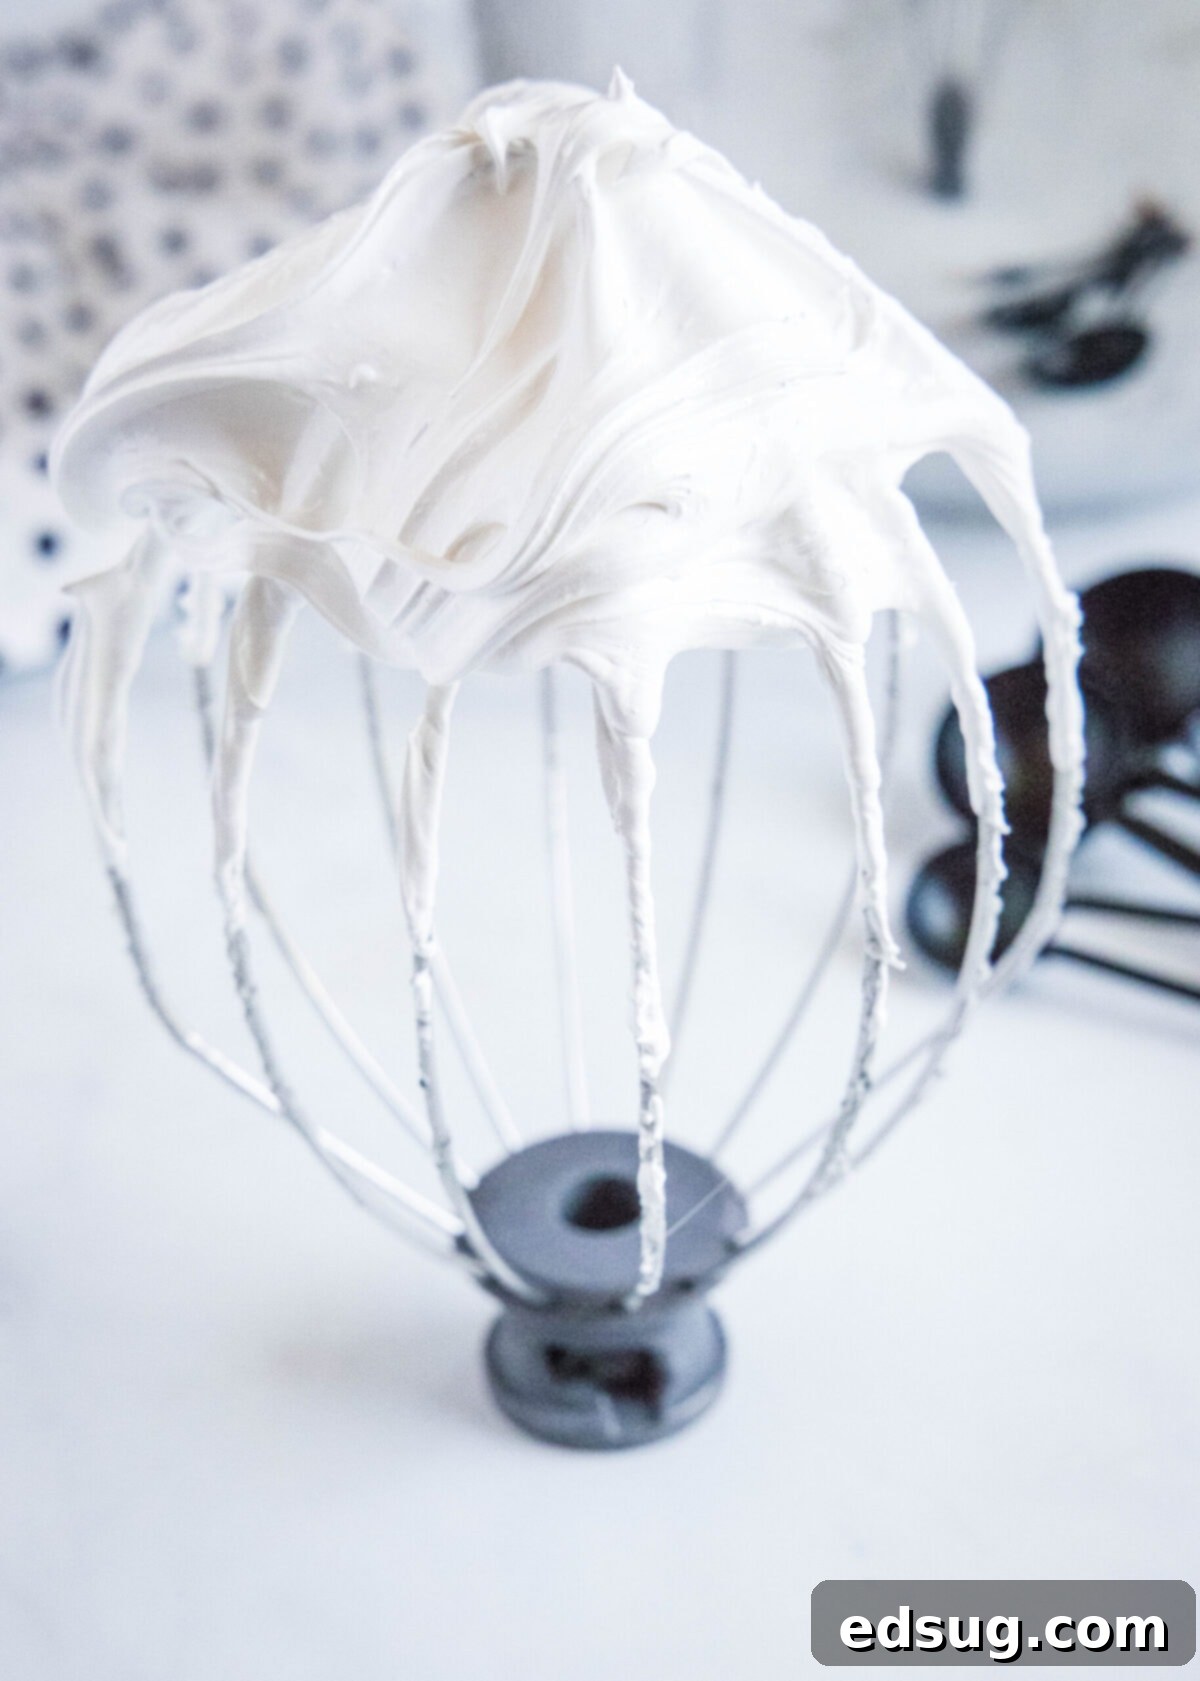
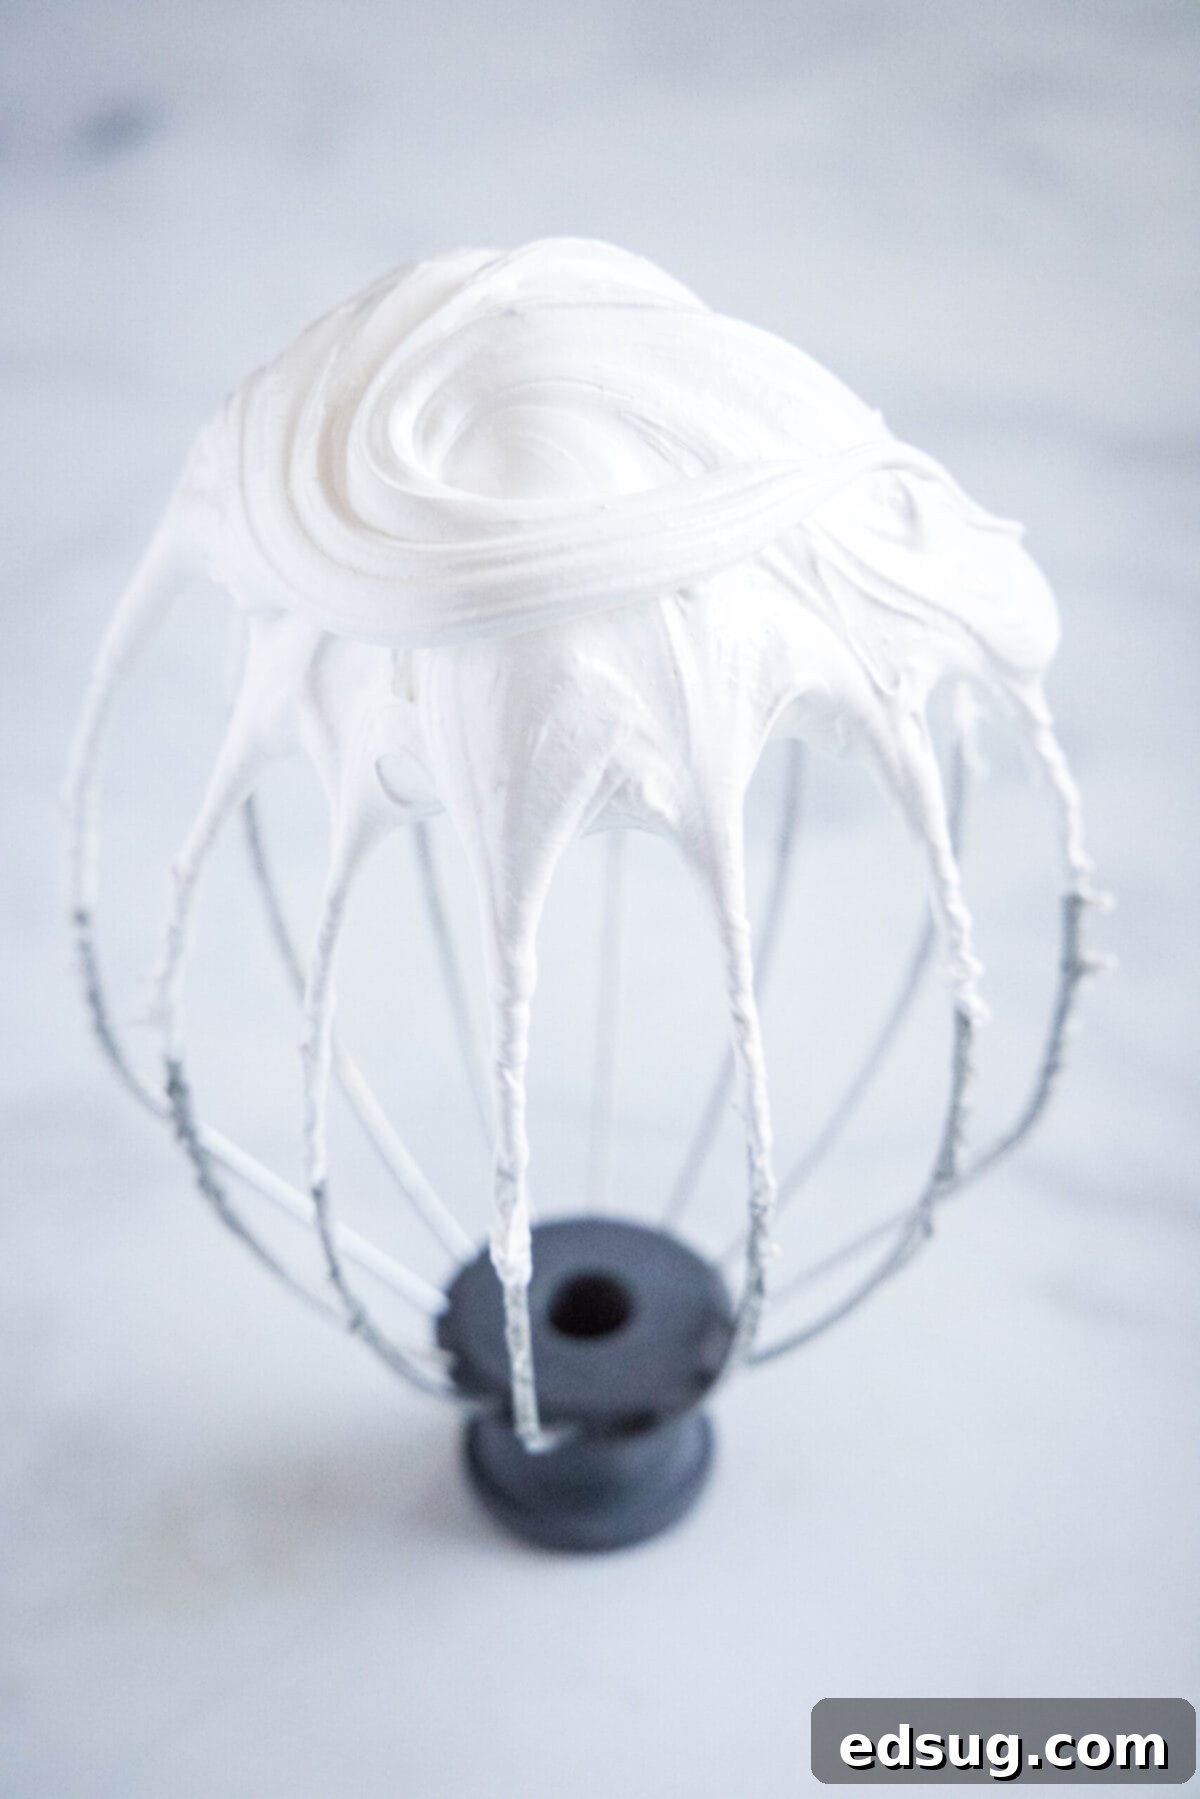
- Step 5: Continue Mixing for Glossy Perfection. After all the sugar syrup has been added, increase the electric mixer speed to high. Continue beating the mixture for another 7-8 minutes. During this time, the marshmallow fluff will become incredibly thick, voluminous, and beautifully glossy. It will also cool down significantly and should hold very stiff peaks when the whisk is lifted.
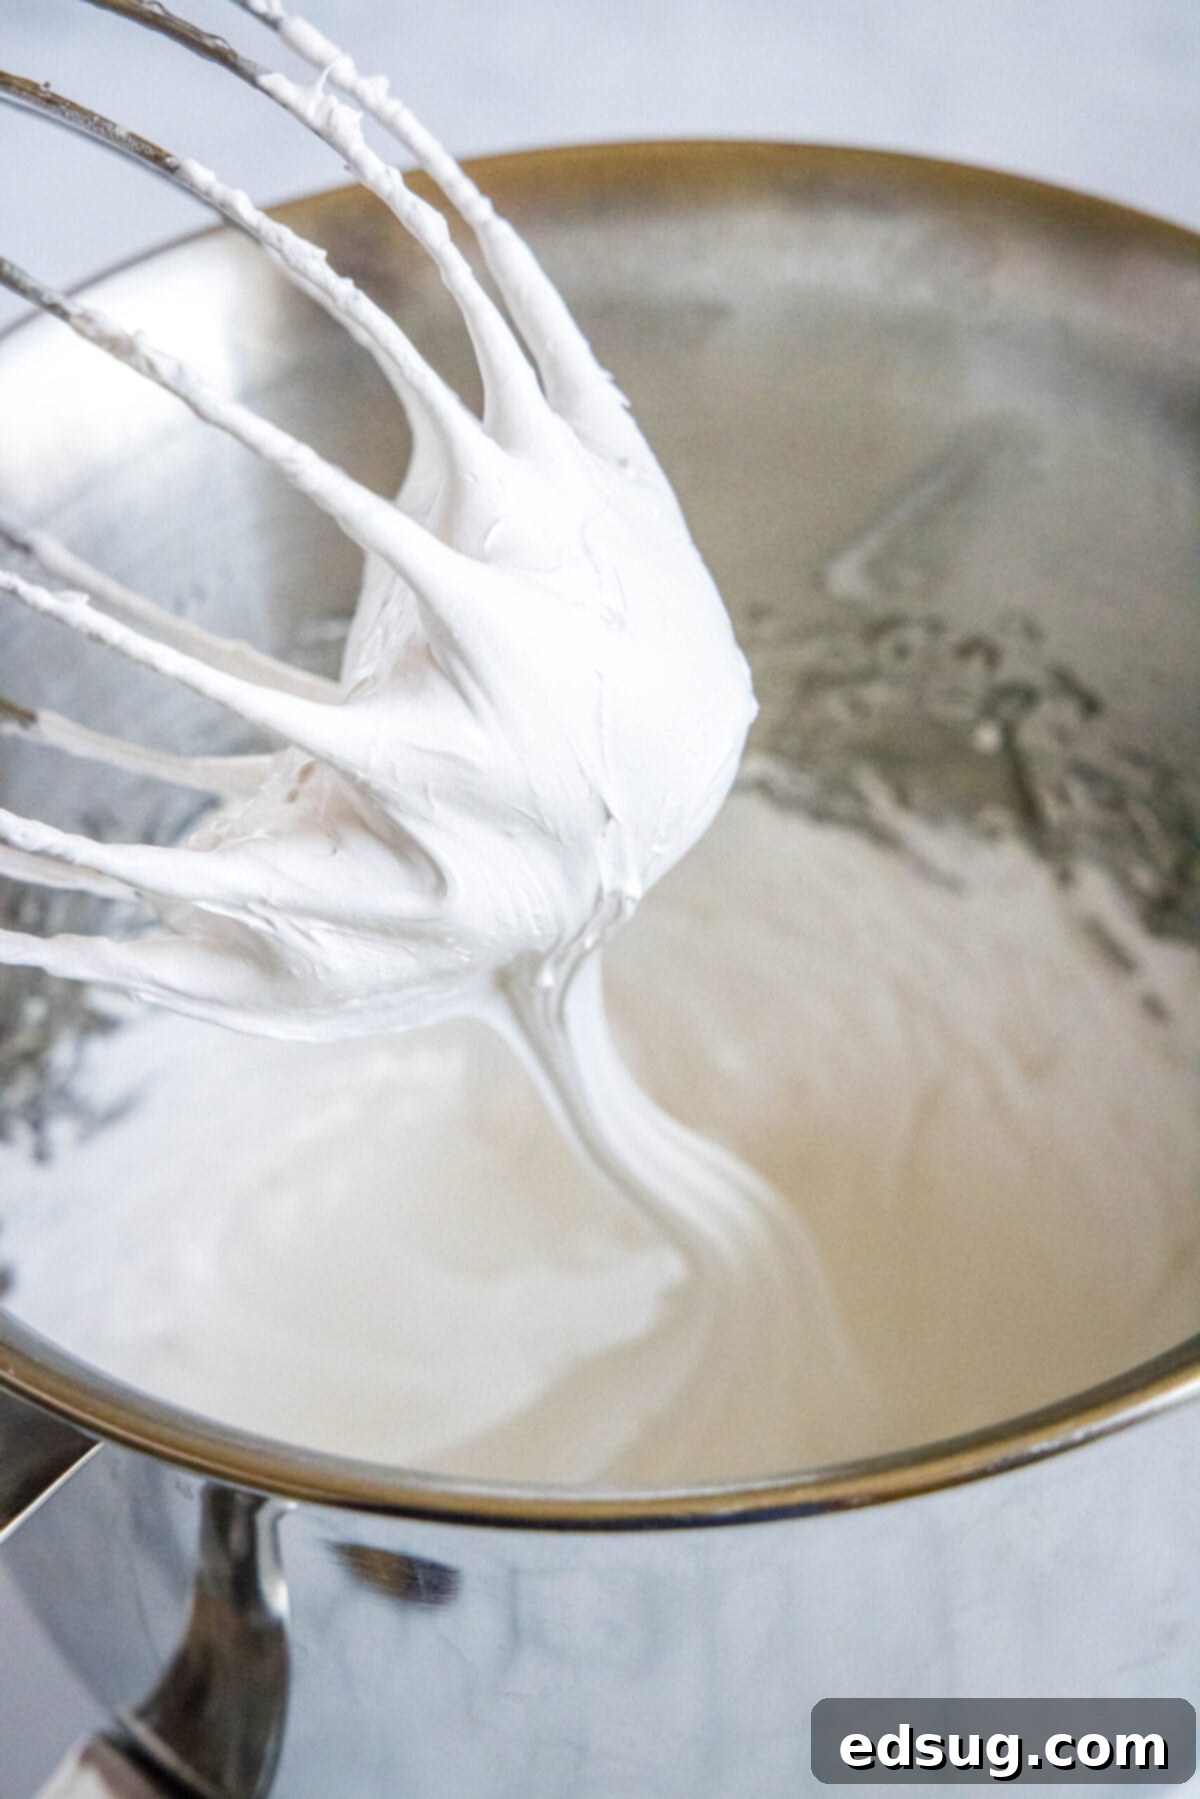
- Step 6: Add Flavor and Enjoy! Finally, add the pure vanilla extract to the thick marshmallow fluff. Mix on low speed for just a minute or two until the vanilla is fully incorporated. Your creamy, airy homemade marshmallow fluff is now ready to be served immediately or stored for later enjoyment.
Expert Tips and Tricks for Flawless Homemade Marshmallow Fluff
Achieving perfect, light, and creamy marshmallow fluff is simple when you follow these insider tips and tricks:
- Crucial: Stop Stirring the Sugar Syrup! Once the granulated sugar has completely dissolved in the water and corn syrup, it is absolutely imperative to stop stirring the mixture. If you continue to stir the sugar syrup as it heats and boils, you risk introducing sugar crystals from the sides of the pan back into the solution. This can cause a chain reaction, leading to a grainy, crystallized marshmallow cream rather than the smooth, airy texture you’re aiming for. Let it boil undisturbed.
- Invest in a Reliable Candy Thermometer: Precision is key when making sugar syrups. Heating the sugar and corn syrup to exactly 240°F (115°C) is critical for the “soft ball” stage, which dictates the final texture of your marshmallow fluff. A good quality candy thermometer is an invaluable tool here. It provides accurate readings and is designed to withstand high temperatures. Clip it to the side of your saucepan, ensuring the tip is submerged in the syrup but not touching the bottom of the pan.
- Pour the Hot Syrup Slowly and Steadily: When incorporating the hot sugar syrup into the whipped egg whites, a slow, continuous drizzle is essential. Pouring it too quickly can scramble the egg whites or cause the mixture to deflate. The slow addition allows the hot syrup to gradually temper and cook the egg whites, while also ensuring even distribution throughout the mixture for a consistent texture. Aim for a thin stream down the side of the mixing bowl.
- Use Room-Temperature Egg Whites for Best Volume: For optimal results in any recipe calling for whipped egg whites, always use room-temperature eggs. Egg whites that have sat out for 20-30 minutes before whipping will achieve significantly more volume and create lighter, more stable peaks than cold egg whites. The proteins in warmer egg whites are more relaxed and whip up more easily, trapping more air.
- Prioritize Kitchen Safety: While this recipe is straightforward, working with boiling sugar syrup requires extreme caution. Boiling sugar can reach very high temperatures and cause severe burns if it comes into contact with your skin. Always handle the hot saucepan with oven mitts, keep children and pets away from the stovetop, and maintain focus while the sugar is cooking. Be mindful and careful throughout the process.
- Ensure All Equipment is Spotlessly Clean: Any trace of grease or fat in your mixing bowl or on your whisk attachment can prevent egg whites from whipping up properly. Before you begin, thoroughly wash and dry your mixing bowl and whisk. A quick wipe down with a paper towel dampened with a little lemon juice or vinegar can help ensure no fat residue remains.
- Don’t Under or Overbeat: After adding the sugar syrup, beating the marshmallow fluff for the recommended 7-8 minutes is important. Undermixing will result in a less stable, runnier fluff, while overmixing can lead to a slightly dry or crumbly texture. You’re looking for a thick, glossy, and voluminous consistency that holds stiff peaks.
What to Serve With Homemade Marshmallow Cream
Homemade marshmallow fluff is incredibly versatile and can elevate a wide array of desserts. Once you start making your own, you’ll find yourself reaching for it instead of the store-bought kind for all sorts of delicious creations. Here are some of my go-to dessert recipes and ideas that truly shine with marshmallow cream:
- Fudge: A classic pairing! Swirling marshmallow fluff into fudge creates an unbelievably creamy, melt-in-your-mouth texture that is simply divine.
- Homemade Milky Ways: For that iconic nougat center, homemade marshmallow fluff is the secret ingredient that provides the perfect chewiness and light sweetness.
- Creme Egg Fudge: Add a layer of marshmallow cream to give this seasonal treat an extra luscious, pillowy dimension.
- Hot Chocolate Topping: Forget mini marshmallows! A generous dollop of warm, homemade marshmallow fluff on your hot cocoa is pure indulgence. You can even torch it lightly for a toasted flavor.
- S’mores Galore: While traditionally made with solid marshmallows, a spoonful of marshmallow fluff spread onto graham crackers with chocolate, then gently toasted, makes for an incredibly gooey and delightful s’more experience.
- Fruit Dip: Whisk it with a little cream cheese or yogurt for an easy, light, and fruity dip perfect for strawberries, apple slices, or grapes.
- Fluffernutter Sandwiches: Recreate this nostalgic classic with peanut butter and a generous spread of your superior homemade marshmallow fluff.
- Pie or Cake Topping/Filling: Use it as a light, airy topping for pies (like banana cream or chocolate silk), or as a delicate filling for layer cakes and cupcakes.
- Ice Cream Topping: Drizzle it over ice cream sundaes, or even fold it into homemade ice cream for a marshmallow swirl.
How to Store Homemade Marshmallow Fluff for Freshness
One of the many reasons to adore homemade marshmallow fluff is its impressive shelf life. Properly stored, you can enjoy its creamy goodness for weeks or even months!
To store this delightful confection, simply transfer it to an airtight container. Make sure the container is completely sealed to prevent any air from drying out the fluff. You have a few excellent options for storage:
- Room Temperature: For immediate use and short-term storage, your creamy and light marshmallow fluff will remain fresh and delicious at room temperature for up to 2 weeks. Keep it in a cool, dry place away from direct sunlight.
- Refrigerator: If you want to extend its life a bit longer, storing it in the fridge is an excellent choice. In an airtight container, homemade marshmallow fluff will last beautifully for up to 2 months in the refrigerator. The texture might become slightly firmer when cold, but it will soften again at room temperature.
Can You Freeze Homemade Marshmallow Fluff?
Absolutely! Freezing homemade marshmallow cream is not only possible but highly recommended, especially if you’ve made a large batch or want to have it ready for future dessert projects. The results are consistently fantastic.
To freeze, simply place the marshmallow fluff in a freezer-safe, airtight container. It will comfortably last in the freezer for up to 6 months. What’s even better is that it thaws beautifully, maintaining its soft, airy, and creamy consistency. You can thaw it in the refrigerator overnight or on the countertop for a few hours until it reaches your desired texture. This makes homemade marshmallow fluff an ideal component to prepare in advance for any last-minute baking or dessert needs.
More Easy and Irresistible Dessert Recipes
If you love simple yet incredibly delicious desserts, you’re in the right place! I’m constantly on the lookout for easy dessert recipes that bring joy without requiring hours in the kitchen. Here are a few more of my current favorites that I highly recommend you try:
- Chocolate Pizza: A fun and customizable dessert that’s perfect for parties or a sweet family treat.
- Patriotic Pretzels: Easy, festive, and a delightful blend of sweet and salty, perfect for holidays or themed gatherings.
- Banana Cream Pie: A classic comfort dessert, rich with creamy banana goodness and a delightful crust.
- Chocolate Cobbler: Warm, gooey, and intensely chocolatey, this is a comforting dessert that’s incredibly easy to make.
- S’Mores Cookies Bars: All the beloved flavors of s’mores baked into a convenient and shareable bar form.
- Snicker Salad: A surprisingly delicious and popular potluck dessert, combining candy bars, apples, and a creamy base.
Marshmallow Fluff
Erin Sellin
5 minutes
30 minutes
35 minutes
4
cups
Rate Recipe
Print Recipe
Ingredients
- 1/2 cup water
- 3/4 cup granulated sugar
- 3/4 cup light corn syrup
- 2 large egg whites
- 1/2 teaspoon cream of tartar
- 1 teaspoon vanilla extract
Instructions
-
Add the water, sugar, and corn syrup to a medium-sized saucepan. Heat over medium heat while stirring until the sugar is completely dissolved.
-
Stop stirring and bring the mixture to a boil. Cook until the sugar mixture is 240F.
-
Meanwhile, put the egg whites and cream of tartar in a bowl, and use an electric mixer on high to beat them. Beat the egg whites until they form soft peaks, which should take 3-4 minutes.
-
When the sugar mixture is up to temperature, slowly pour it into the egg white mixture while beating on low.
-
After all the sugar has been added, turn the mixer to high, and beat until the marshmallow fluff is glossy and thick. This should take about 7-8 minutes.
-
Beat in the vanilla extract, then serve or store.
Notes
- Leftover marshmallow fluff can be stored in an airtight container at room temperature for 2 weeks, in the fridge for 2 months, or in the freezer for 6 months.
- Be very careful when boiling the sugar mixture, as boiling sugar can cause serious damage if it comes into contact with your skin.
Nutrition
Serving:
1
g
|
Calories:
85
kcal
|
Carbohydrates:
22
g
|
Sodium:
17
mg
|
Sugar:
22
g
Nutrition information is automatically calculated, so should only be used as an approximation.
Additional Info
Erin Sellin
5 minutes
30 minutes
35 minutes
Dessert Recipes
American
4
cups
85
homemade marshmallow fluff, how to make marshmallow fluff, marshmallow cream, marshmallow cream recipe, marshmallow fluff, marshmallow fluff recipe
Like this recipe? Leave a comment below!
I created a fun group on Facebook, and I would love for you to join us! It’s a place where you can share YOUR favorite recipes, ask questions, and see what’s new at Dinners, Dishes and Desserts (so that you never miss a new recipe)!
Be sure to follow me on Instagram and tag #dinnersdishes so I can see all the wonderful DINNERS, DISHES, AND DESSERTS recipes YOU make!
Be sure to follow me on my social media, so you never miss a post!
Facebook | Twitter | Pinterest | Instagram
