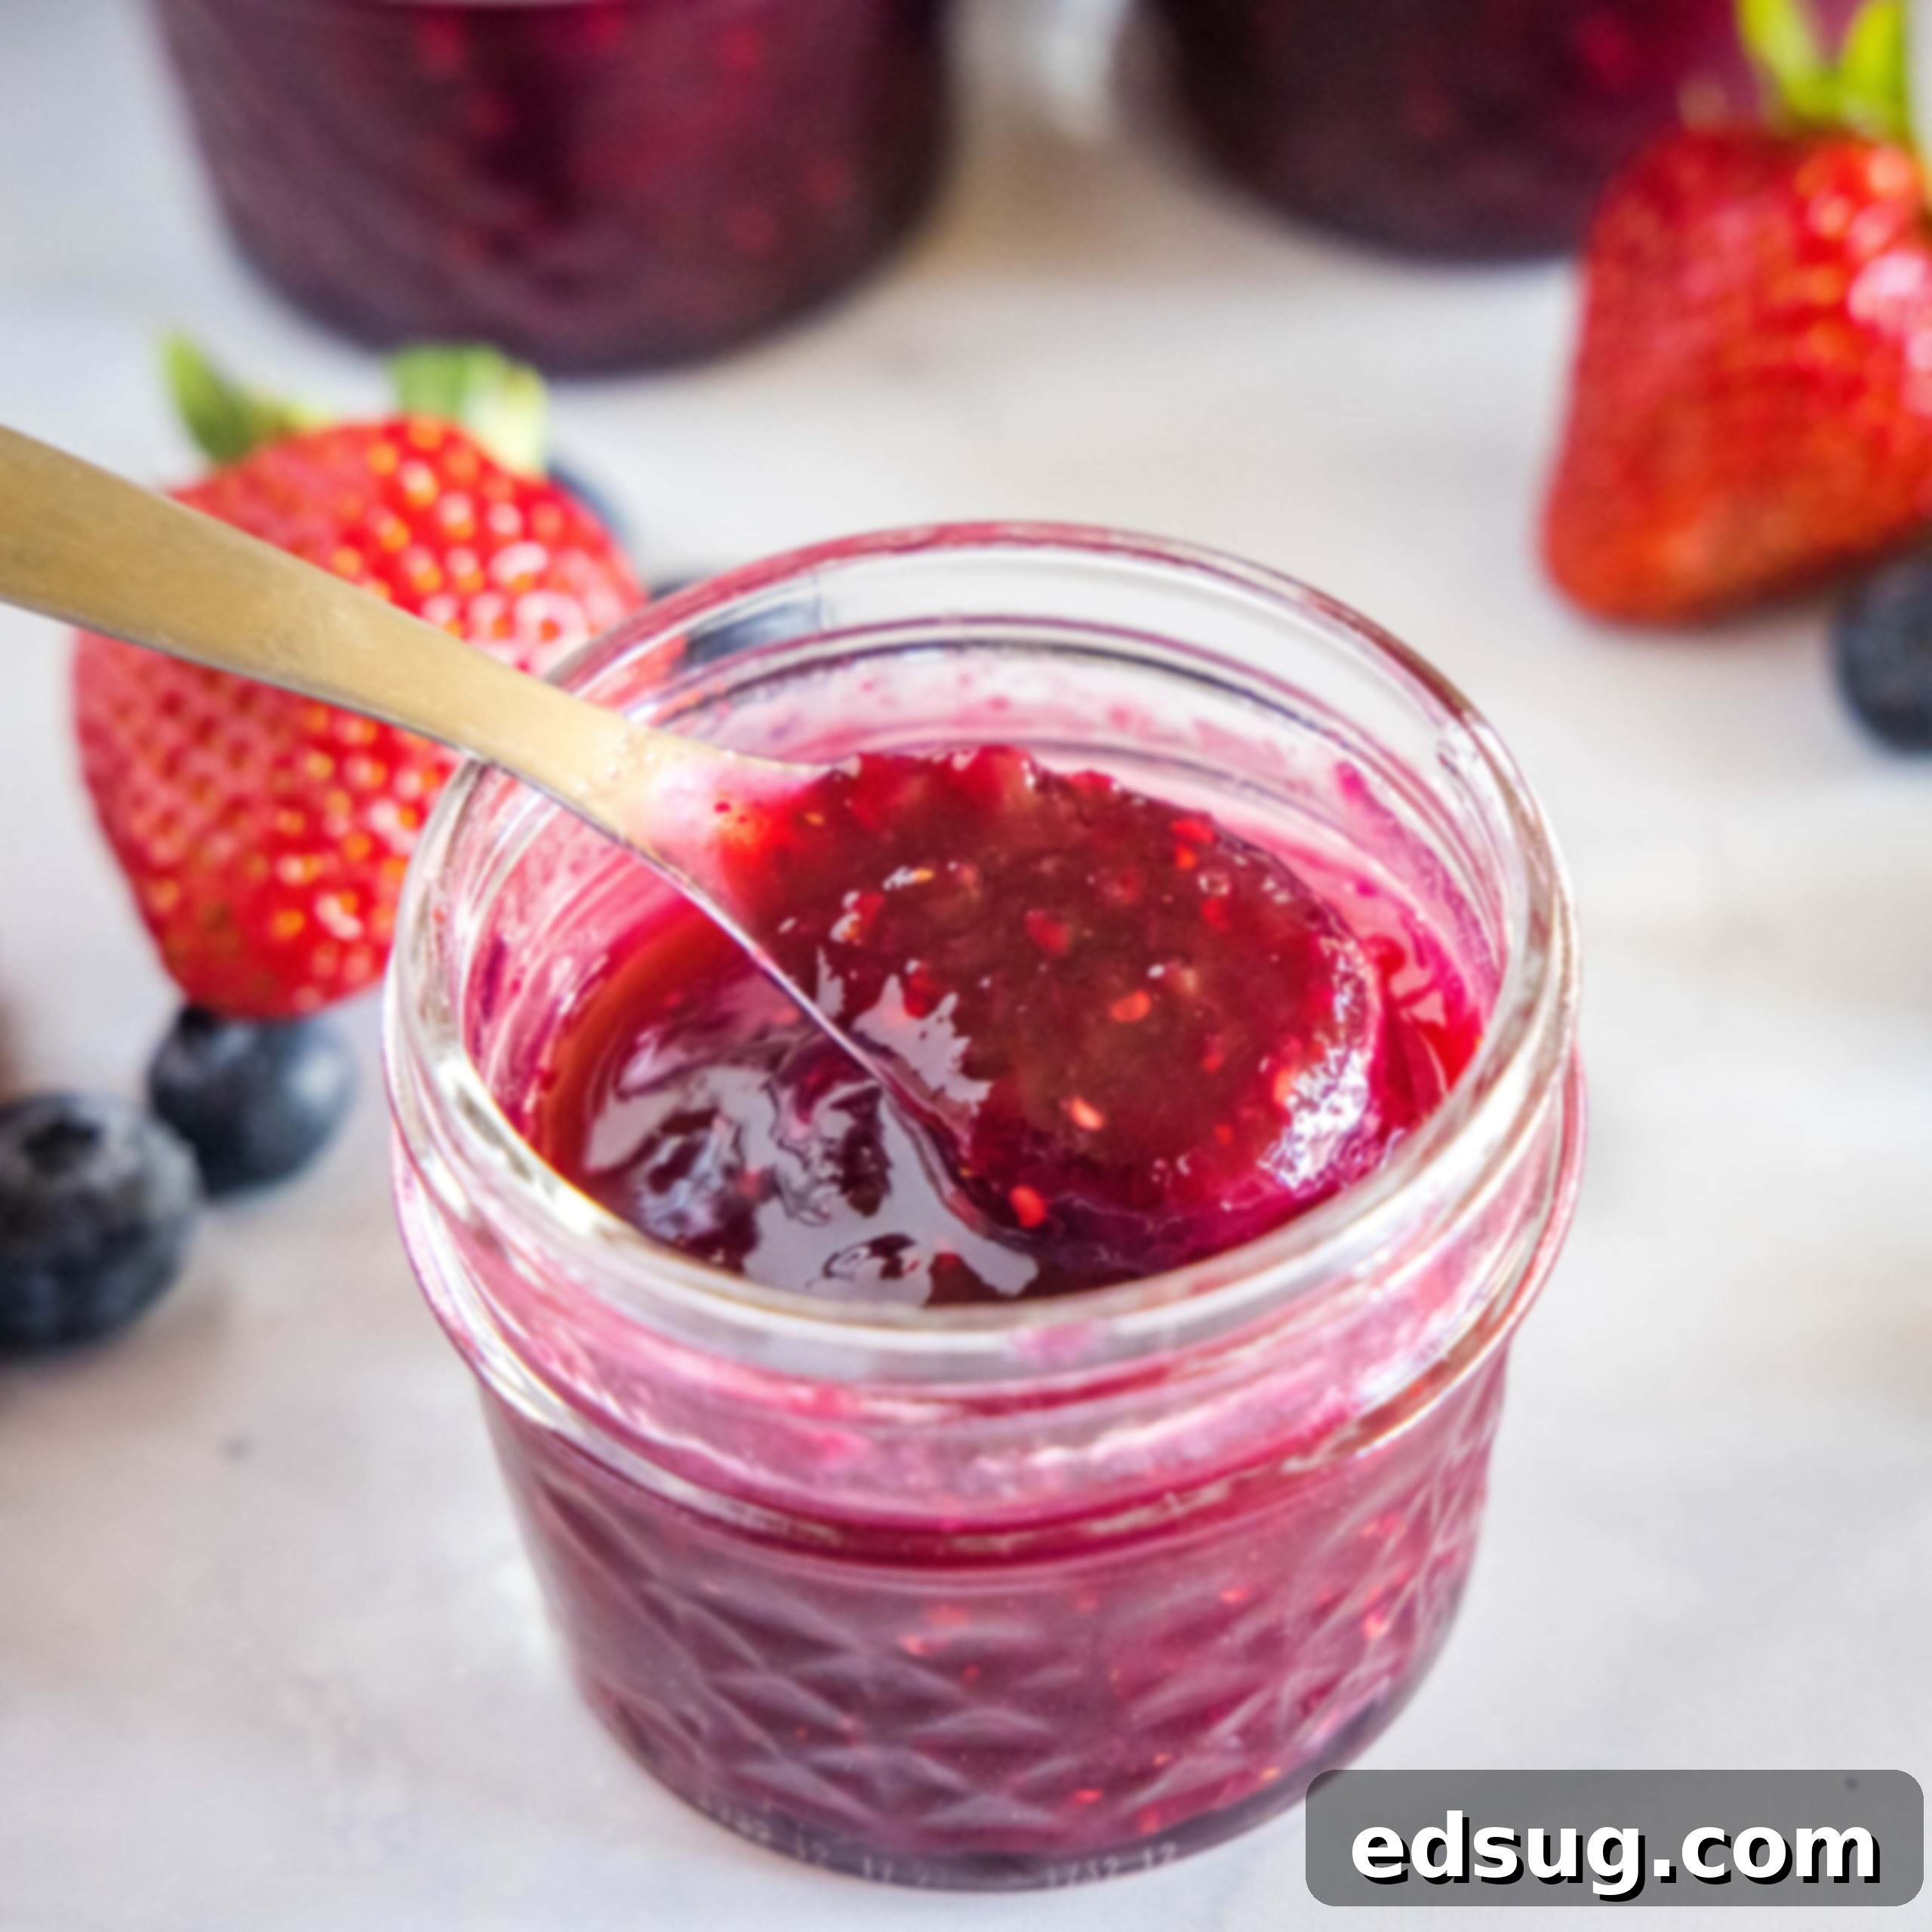
Easy Homemade Mixed Berry Jam: No Pectin Recipe for Fresh Summer Flavors
Indulge in the vibrant taste of summer with this incredibly easy, no-pectin homemade mixed berry jam, featuring the perfect blend of strawberries, raspberries, and blueberries. A delightful way to capture fresh fruit flavors, this jam is ideal for storing in the fridge, freezer, or for traditional canning.
There’s nothing quite like the abundance of fresh fruit and berries that summer brings. However, as quickly as they arrive, they also seem to vanish. To prolong the enjoyment of these sweet, juicy treasures, preserving them is a wonderful solution! This mixed berry jam recipe offers the perfect method to capture the essence of summer, allowing you to savor those delicious berry flavors for months to come. Forget store-bought varieties; homemade jam offers an unparalleled depth of flavor and a comforting, rustic texture.
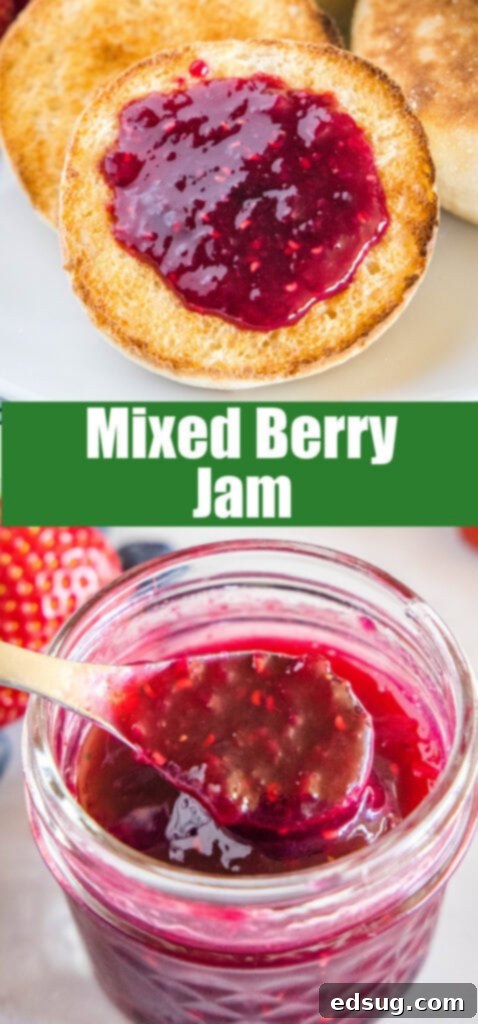
Imagine spreading a generous dollop of your own freshly made jam on a warm, toasted English Muffin, a fluffy scone, or even a simple piece of toast. The taste of sunshine in every bite is truly incomparable!
Understanding the Differences: Jam, Jelly, and Preserves
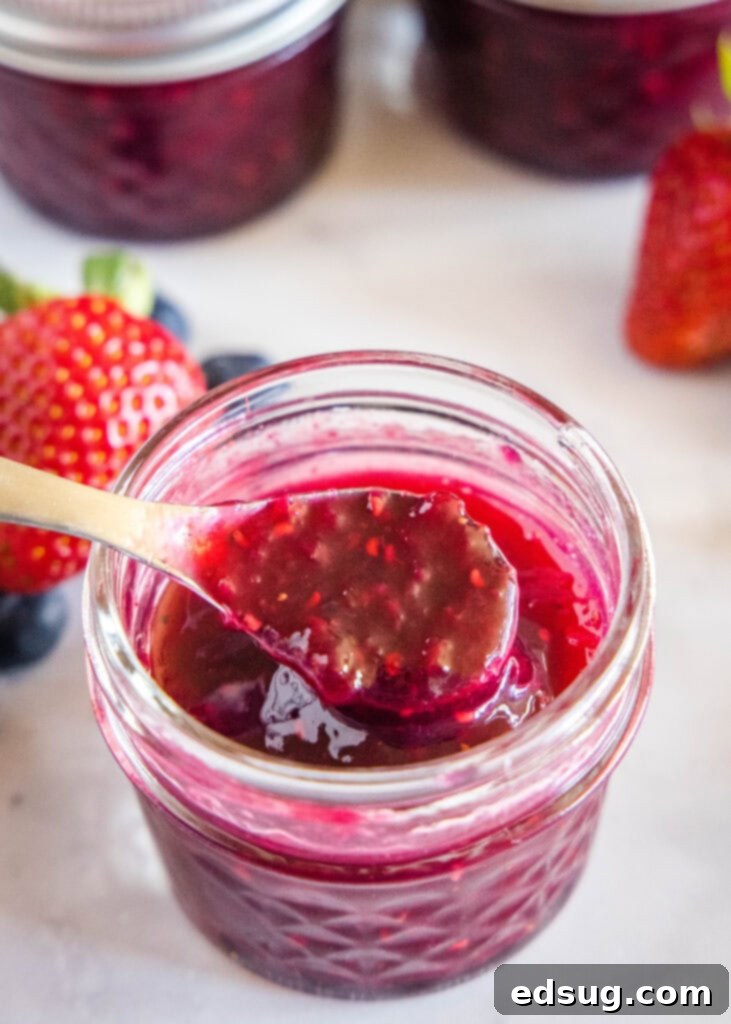
While often used interchangeably, the terms jam, jelly, and preserves actually refer to distinct differences in texture and fruit preparation. Understanding these nuances can help you appreciate the unique qualities of each.
- Jam: This is made by crushing or chopping fruit, then cooking it with sugar until the mixture thickens. Jam retains pieces of fruit, giving it a chunkier texture and a more robust fruit flavor. Our mixed berry jam falls into this category, celebrating the natural texture of the berries.
- Jelly: In contrast, jelly is made from fruit juice that has been strained to remove all pulp and seeds. It’s cooked with sugar and pectin (a natural gelling agent) to achieve a clear, firm, and smooth consistency. Jelly offers a pure fruit flavor without any solid bits.
- Preserves: Preserves feature whole or large pieces of fruit suspended in a thick syrup or gel. The fruit pieces are much more prominent than in jam, offering a more intense fruit experience. Marmalade, which uses citrus fruit and peel, is a well-known type of preserve.
So, while they all aim to preserve fruit, the key difference lies in the form of the fruit used and the resulting texture. This recipe, focusing on mashed berries, delivers a delightful homemade jam with plenty of fruity texture.
Essential Ingredients for Your No-Pectin Jam
One of the beauties of this homemade jam recipe is its simplicity. You only need a few core ingredients, making it accessible even for beginner cooks. You’ll notice that this recipe proudly omits commercial pectin, relying instead on the natural pectin present in the fruit and the magic of sugar and lemon juice to achieve that perfect set.
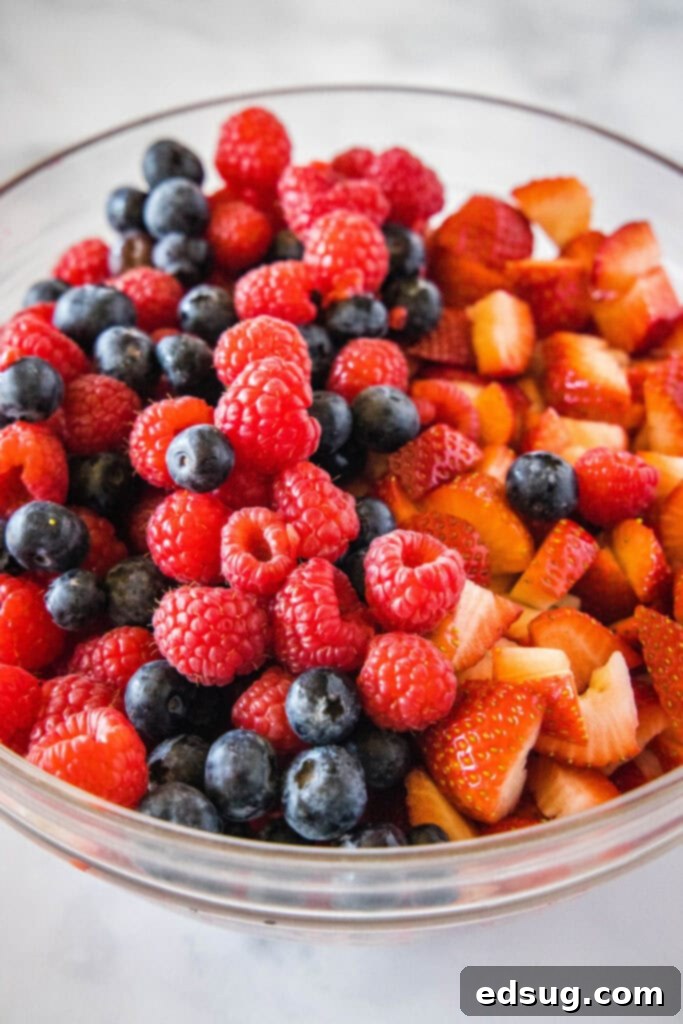
- Mixed Berries: The foundation of our jam! We’re using a delicious combination of fresh strawberries, raspberries, and blueberries. Aim for about 3 pounds of fresh berries for this recipe. Fresh, ripe berries will yield the best flavor and texture.
- Granulated Sugar: More than just a sweetener, sugar plays a crucial role in preserving the fruit and helping the jam set. It draws out moisture, preventing spoilage, and interacts with the fruit’s natural pectin to thicken the mixture.
- Lemon Juice: A vital ingredient that adds brightness and, more importantly, provides acidity. The acid in lemon juice helps extract pectin from the fruit and ensures a proper set for your jam, especially when not using commercial pectin. It also balances the sweetness of the berries.
With just these three simple components, you’re well on your way to creating a truly spectacular homemade mixed berry jam.
How To Make Mixed Berry Jam: A Step-by-Step Guide
Making your own jam might sound intimidating, but this no-pectin method simplifies the process, making it a joy to create. Follow these steps for a perfect batch:
- Prepare the Fruit: Start by gently washing your fresh berries just before you’re ready to use them. Hull and chop the strawberries into small pieces, roughly the same size as your raspberries. Blueberries can be left whole. The goal is to have pieces that are relatively uniform for even cooking.
- Macerate for Flavor & Juices: In a large bowl, combine your chopped mixed berries, granulated sugar, and fresh lemon juice. Stir everything together until the sugar begins to dissolve and coat the fruit. Let this mixture sit at room temperature for about 2 hours, stirring occasionally every 30 minutes or so. This crucial step, known as maceration, draws out the natural juices from the fruit, helps the sugar fully dissolve, and allows the fruit to start breaking down, which contributes to a richer flavor and better jam consistency. The fresher and riper your fruit, the faster this process will occur.
- Begin the Cook: After the maceration period, transfer the juicy berry mixture to a large, heavy-bottomed pot or Dutch oven. Bring the mixture to a boil over medium-high heat, stirring constantly to prevent sticking. As the berries heat up, they will release more liquid.
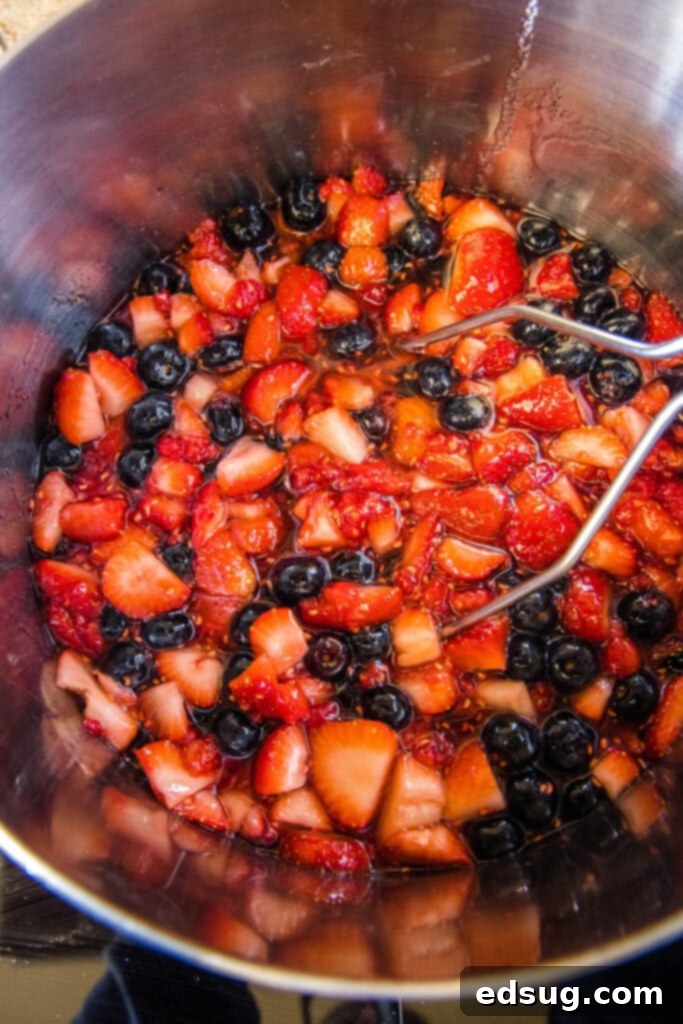
- Mash and Thicken: Once the mixture reaches a rolling boil, use a potato masher to gently mash the fruit to your desired consistency. If you prefer a chunkier jam, mash less; for a smoother jam, mash more. Continue to boil the jam for 20-40 minutes, stirring frequently to prevent scorching, especially as it thickens. The cooking time will vary depending on the water content of your berries and your desired thickness.
- Test for Doneness: This is a critical step to ensure your jam sets properly. We’ll dive into detailed testing methods below, but generally, you’re looking for the jam to reach 220ºF (104ºC) on a candy thermometer, or for it to pass the “cold plate test.” Start testing after about 20 minutes of boiling.
- Cool and Jar: Once the jam reaches its setting point, remove the pot from the heat and let it cool for about 30 minutes. This allows the jam to settle and thicken slightly before jarring.
- Store or Can: Carefully transfer the still-warm jam into clean, sterilized jars or airtight containers. If storing in the fridge or freezer, ensure containers are completely cool before sealing and refrigerating/freezing. If you are familiar with canning, you can proceed with your preferred canning process (such as a water bath canner) at this point instead of simply refrigerating.
Using Frozen Fruit for Your Jam: Tips & Adjustments
While fresh berries are highly recommended for the best flavor and texture, you can certainly use frozen fruit to make this mixed berry jam, especially during the off-season when fresh berries are scarce or expensive. However, there are a few adjustments to keep in mind to ensure a successful outcome.
Frozen fruit typically contains more liquid than fresh fruit due to ice crystals forming during freezing, which can make your jam thinner. To counteract this and help your jam set properly, you will want to increase the amount of sugar in the recipe by about 1 cup. The extra sugar will aid in drawing out more moisture and assisting the natural pectin to gel. Allow extra time for the frozen fruit to thaw completely and release its liquids during the maceration phase (Step 2) before cooking. While the texture might be slightly softer and the flavor a bit less vibrant than with fresh fruit, using frozen berries is a perfectly viable option to satisfy your jam cravings in the middle of winter!
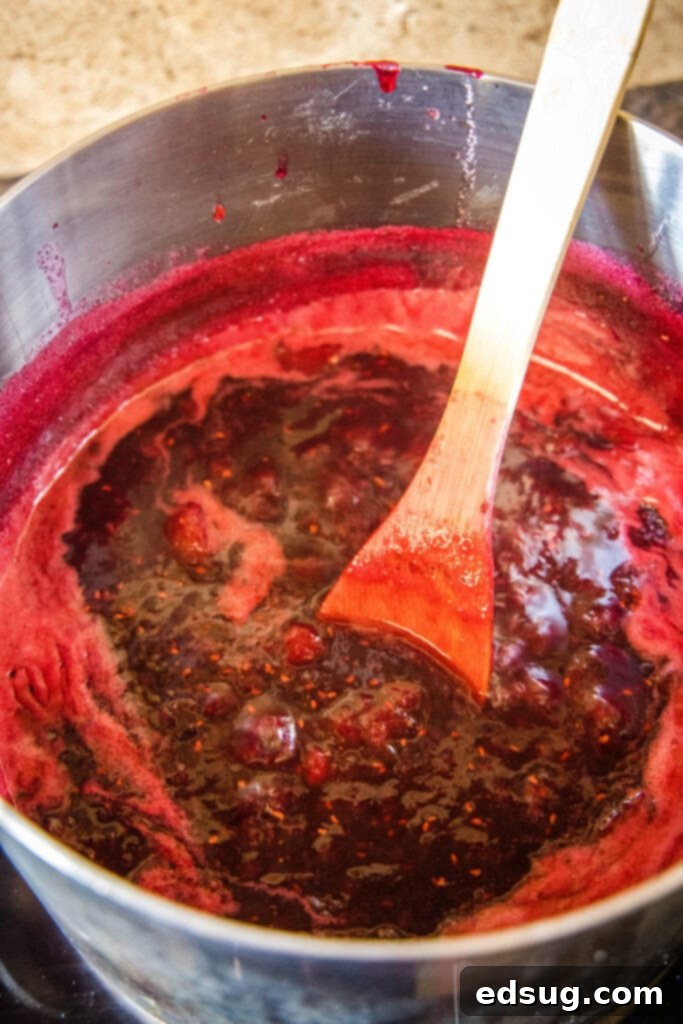
How To Know If Your Homemade Jam Is Done: The Setting Test
Determining when your jam has reached the perfect setting point is crucial for a successful batch. There are a couple of reliable methods to test for doneness, ensuring your jam isn’t too runny or too stiff.
- The Temperature Test (Thermometer Method): The most precise way to test for doneness is by using a candy thermometer. You want to cook the jam until it reaches approximately 220ºF (104ºC) at sea level. This temperature indicates that enough water has evaporated and the sugar concentration is high enough for the natural pectin to set as it cools. Keep in mind that for every 1,000 feet above sea level, you should subtract 2 degrees Fahrenheit from the target temperature.
- The Cold Plate/Spoon Test: This is a classic and highly effective method. Before you start cooking, place a couple of small plates or metal spoons in the freezer. Once you suspect your jam might be done (after about 20-30 minutes of boiling), remove a plate or spoon from the freezer. Spoon about a tablespoon of hot jam onto the cold surface. Let it sit for 15-20 seconds to cool, then tilt the plate or push your finger through the jam. If the jam wrinkles and separates, and the trail your finger leaves remains, it’s done! If it’s still runny and quickly flows back together, it needs more cooking time. Return it to a boil for another 5 minutes, then test again.
I always recommend having a few big spoons ready in the freezer right when I start cooking the jam. This way, they’re perfectly chilled for quick and accurate testing when the time comes.
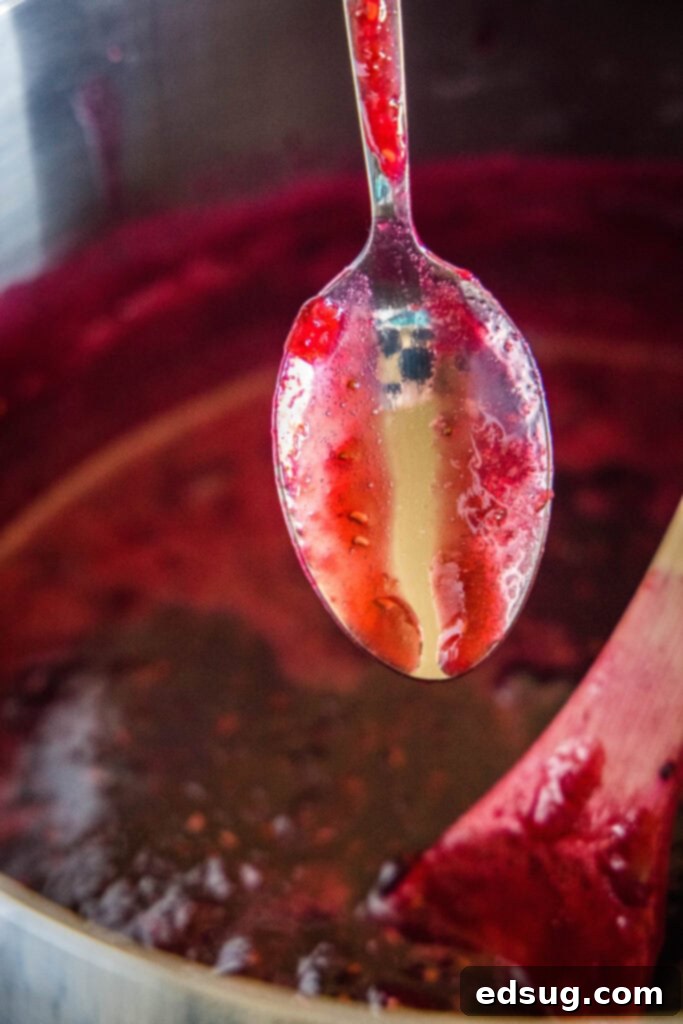
Expert Recipe Tips for Perfect Mixed Berry Jam
Achieving a truly stellar homemade jam is easy with a few insider tips:
- Opt for Fresh, Ripe Fruit: While frozen fruit works, using fresh, peak-season berries will yield the most vibrant flavor and best texture. Always wash your berries just before you’re ready to use them to maintain their freshness.
- Embrace Berry Variety: Feel free to customize your berry blend! This recipe calls for approximately 3 pounds of mixed berries. A combination of strawberries, raspberries, and blueberries is classic, but you could also add blackberries or other seasonal favorites.
- Consistent Stirring is Key: Jam can easily stick and burn, especially as it thickens. Keep a close eye on your pot and stir frequently, particularly during the last 15-20 minutes of cooking. This ensures even cooking and prevents scorching.
- Uniform Fruit Size: When chopping your fruit, aim for pieces that are roughly the same size. For instance, chop larger strawberries to be comparable in size to raspberries, leaving blueberries whole. This promotes even cooking and an appealing texture in the finished jam.
- Don’t Rush the Maceration: Allowing the fruit, sugar, and lemon juice to sit for 2 hours (or even overnight in the fridge) is crucial. This step draws out juices and flavors, contributing significantly to the final jam’s consistency and taste.
- Sterilize Your Jars: Whether you’re canning or just refrigerating, using clean, sterilized jars is essential to prevent spoilage and extend the shelf life of your jam.
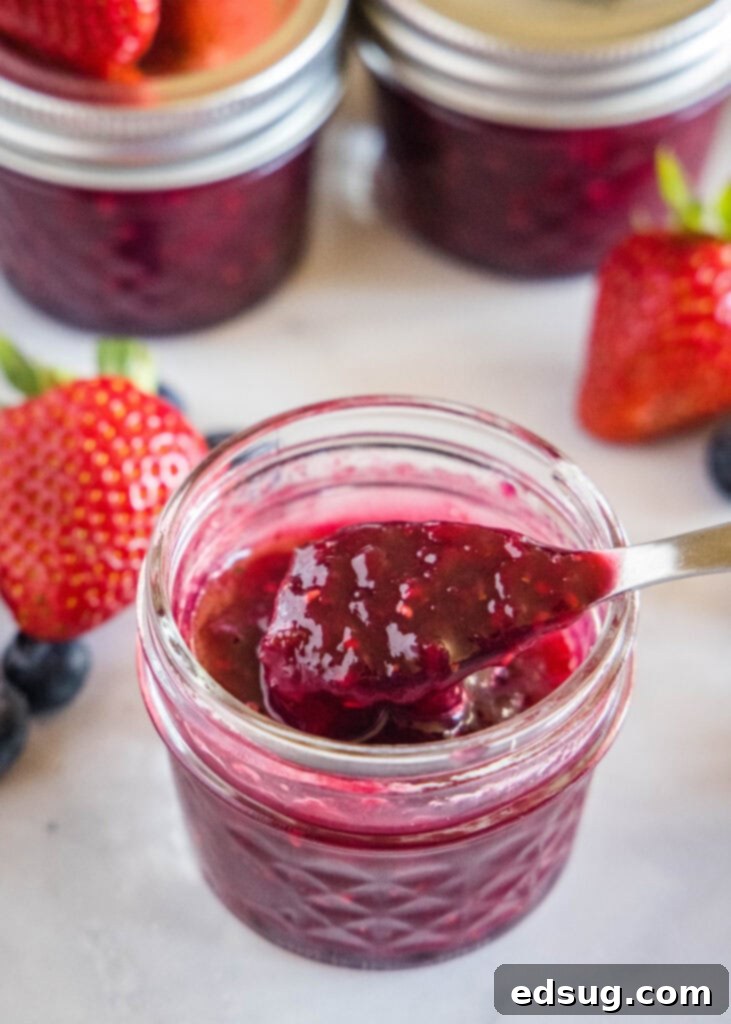
Storing and Preserving Your Homemade Mixed Berry Jam
Once you’ve made a delicious batch of mixed berry jam, proper storage is key to enjoying it for as long as possible. This recipe is designed to be flexible for various storage preferences:
- Refrigerator Storage: For immediate enjoyment or shorter-term storage, transfer the cooled jam into clean, airtight containers or jars. It will keep beautifully in the refrigerator for about 1 month.
- Freezer Storage: For extended preservation without canning, the freezer is your best friend. Ladle the cooled jam into freezer-safe containers, leaving about ½ inch of headspace to account for expansion. This jam can be stored in the freezer for up to 6 months. Thaw in the refrigerator before using.
- Canning (Water Bath Method): While this recipe doesn’t explicitly call for canning instructions (as it’s a no-pectin, simpler method), it is absolutely suitable for traditional water bath canning if you have experience with it. Once the jam is cooked to the desired consistency and transferred to hot, sterilized canning jars, you can follow your standard procedure for processing in a boiling water bath. This typically involves processing pint jars for 10 minutes (adjusting for altitude). Always refer to reliable canning guides for precise instructions and safety guidelines if you choose this method.
I personally love the ease of simply storing this jam in the fridge or freezer, without the extra work of the canning process. It’s a fantastic way to have fresh, homemade flavors on hand whenever a craving strikes!
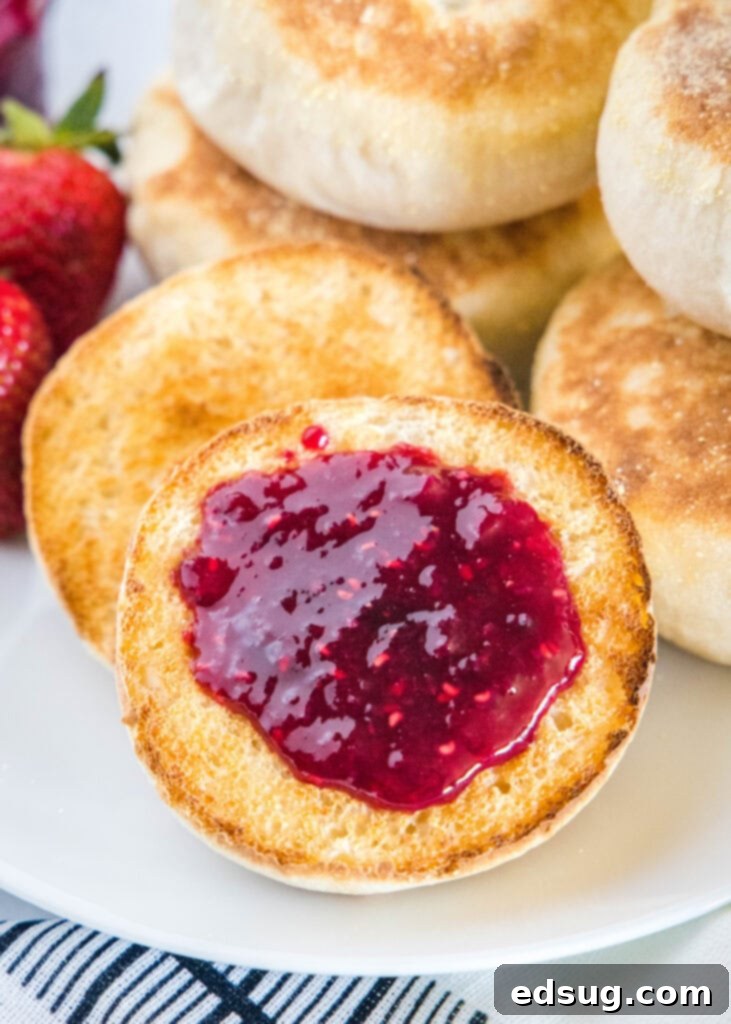
Creative Ways to Enjoy Your Homemade Mixed Berry Jam
While a classic slice of toast or an English muffin is always a winner, your homemade mixed berry jam is incredibly versatile! Here are some creative ways to incorporate its delightful flavor into your meals and desserts:
- Breakfast Bliss: Beyond toast and muffins, swirl it into oatmeal or yogurt, spread it on pancakes, waffles, or French toast. It’s also divine on toasted Honey Oat Bread.
- Baking Adventures: Use it as a luscious filling for thumbprint cookies, tarts, or pastries. It’s fantastic baked into Strawberry Crumb Bars (or mixed berry crumb bars!). You can also incorporate it into the batter for Peanut Butter & Jelly Muffins or as a swirl in quick breads.
- Dessert Enhancer: Serve it alongside ice cream, panna cotta, or cheesecake. It makes a wonderful filling for Homemade Crepes or as a glaze for cakes and cupcakes.
- Savory Pairings: Don’t limit jam to sweet dishes! A dollop of this berry jam can be a surprising and delicious accompaniment to roasted meats (especially pork or chicken), or as a component in a cheese board with sharp cheeses.
- Beverage Boost: Stir a spoonful into sparkling water for a refreshing spritzer, or add it to cocktails for a fruity twist.
The possibilities are truly endless when you have a jar of this flavorful jam on hand!
More Delicious Summer Fruit Recipes to Explore
If you love celebrating summer’s bounty with fresh fruit, be sure to check out these other fantastic recipes:
- Strawberry Bread
- Blueberry Banana Bread
- Strawberry Muffins
- Easy Raspberry Sauce
- Lemon Blueberry Cake
- Raspberry Lemon Cupcakes
- Blueberry Waffles
- Fresh Strawberry Pie
Mixed Berry Jam
Ingredients
- 3 pounds mixed berries (strawberries, raspberries, blueberries)
- 3 cups granulated sugar
- 1/2 cup fresh lemon juice
Instructions
- Gently wash berries just before use. Hull and chop strawberries to be roughly the same size as raspberries; leave blueberries whole.
- In a large bowl, mix together the chopped fruit, sugar, and lemon juice. Let the mixture sit at room temperature for about 2 hours, stirring every 30 minutes. This allows the fruit to macerate, releasing its juices and helping the sugar dissolve.
- Transfer the macerated fruit mixture to a large, heavy-bottomed pot. Bring to a rolling boil over medium-high heat. Use a potato masher to mash the fruit to your desired consistency (chunkier or smoother).
- Continue to boil the jam for 20-40 minutes, stirring frequently to prevent sticking. Begin testing for doneness after 20 minutes. You can cook until a candy thermometer reads 220ºF (104ºC). Alternatively, perform the cold plate test: place a spoonful of hot jam on a frozen plate, let cool for 15-20 seconds, then push your finger through it. If it wrinkles and separates, it’s done. If it runs back together, cook for another 5 minutes and test again.
- Remove the pot from the heat and let the jam cool for about 30 minutes before jarring.
- Transfer the jam to clean, sterilized jars or airtight containers. Place in the fridge to cool completely. For traditional canning, follow your preferred water bath canning process at this stage.
Notes
Nutrition
Nutrition information is automatically calculated, so should only be used as an approximation.
Additional Info
I’ve created a fun and engaging community on Facebook, and I’d be absolutely delighted for you to join us! It’s a fantastic place where you can share your favorite recipes, ask questions, get inspiration, and stay updated on all the new and exciting things happening at Dinners, Dishes and Desserts – ensuring you never miss a delicious new recipe!
Be sure to follow me on Instagram and tag #dinnersdishes so I can see all the wonderful DINNERS, DISHES, AND DESSERTS recipes YOU create and share!
Don’t forget to connect with me on my social media channels, so you never miss a post, update, or tasty new creation!
Facebook | Twitter | Pinterest | Instagram
.
