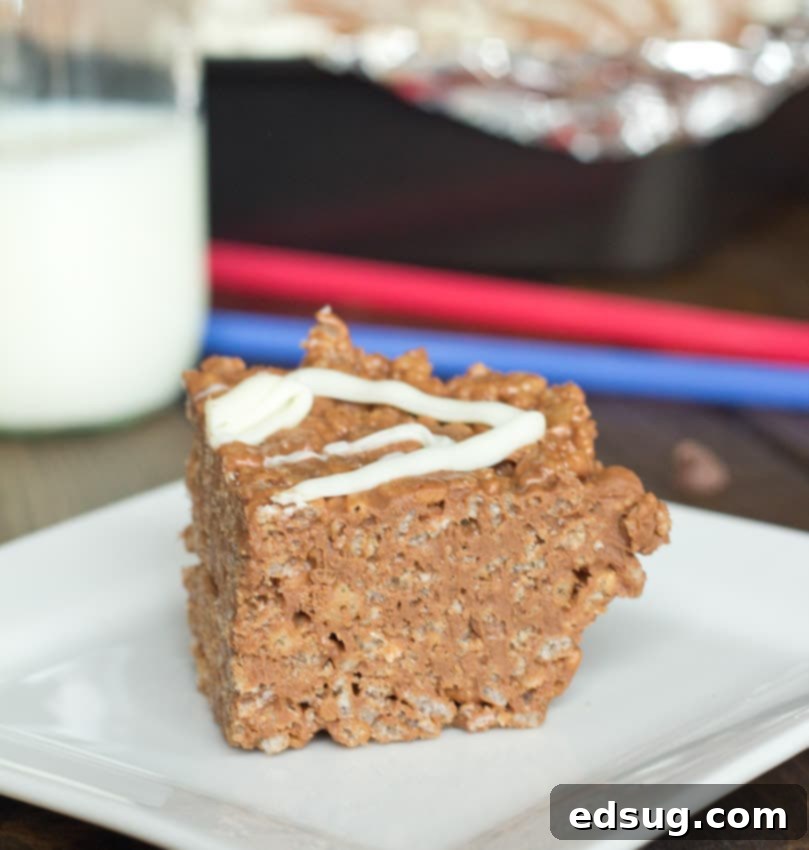
Irresistible No-Bake Chocolate Peanut Butter Rice Krispie Treats: A Fudgy, Decadent Twist
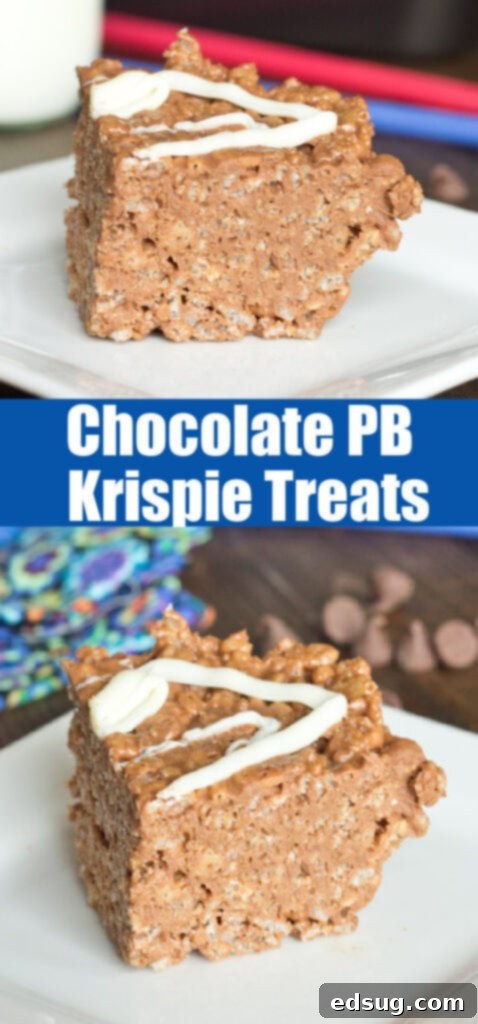
Indulge in our unique Chocolate Peanut Butter Rice Krispie Treats – deliciously dense, almost fudgy, and absolutely packed with the unbeatable combination of rich chocolate and creamy peanut butter. This super simple, no-bake recipe is an effortless way to satisfy your sweet cravings, proving that the best treats don’t always require an oven!
For many, classic Rice Krispie treats evoke fond childhood memories, with their signature gooey marshmallows and delightful crispy texture. This recipe, however, is something entirely different, yet equally comforting and familiar. We’ve reimagined the beloved crispy treat, transforming it into a more substantial, almost fudgy dessert that focuses on the luxurious flavors of chocolate and peanut butter. By omitting marshmallows and butter, these treats achieve a wonderfully dense texture that sets them apart from the traditional light and airy versions. Prepare to have your taste buds delightfully surprised by this decadent spin on a timeless favorite!
If you appreciate the simplicity and deliciousness of no-bake confections, you’ll be thrilled to know there are many similar variations to explore. For instance, these Butterscotch Rice Krispie Treats offer a unique, equally addicting flavor profile while maintaining that irresistible chewy-dense texture. Perfect for expanding your repertoire of quick and easy desserts!
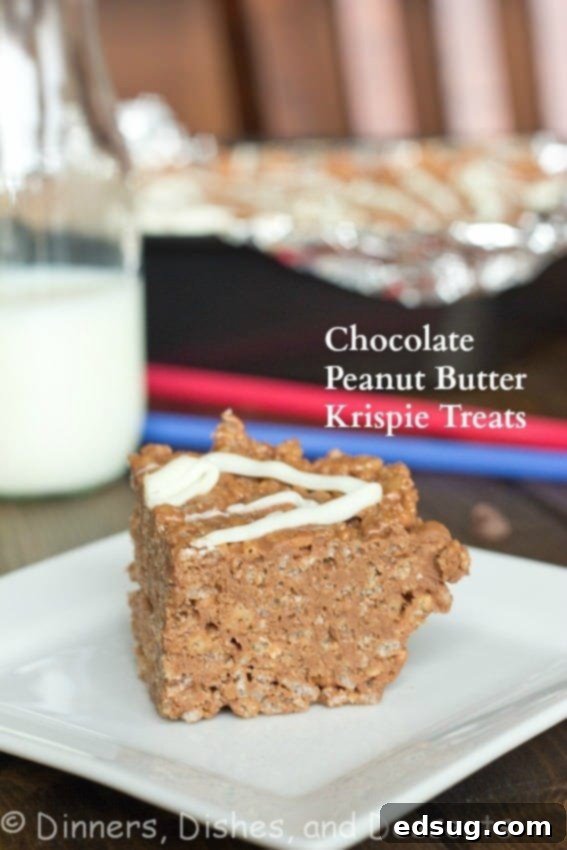
Why These Chocolate Peanut Butter Rice Krispie Treats Are a Must-Try
What makes this particular recipe for Chocolate Peanut Butter Rice Krispie Treats stand out from the crowd? It’s more than just a different flavor; it’s an entirely new experience. Here’s why these fudgy delights are destined to become a new favorite in your household:
- Uniquely Dense and Fudgy: The key differentiator is the absence of marshmallows, which results in a wonderfully rich, compact, and almost brownie-like consistency. If you love a chew that’s more substantial, these are for you.
- Intense Flavor Profile: Without the mild sweetness of marshmallows, the robust flavors of chocolate and peanut butter are amplified. Each bite delivers a powerful, satisfying burst of this classic pairing.
- Effortlessly No-Bake: Perfect for hot summer days or when you need a quick dessert, these treats require absolutely no baking. Simply melt, mix, and chill!
- Just 4 Simple Ingredients: You’ll be amazed at how such a complex flavor and texture can be achieved with a minimal shopping list. Most ingredients are likely already in your pantry.
- Quick & Easy Preparation: With only about 10 minutes of active prep time, these treats are perfect for busy weekdays, spontaneous cravings, or last-minute party contributions.
- Satisfying & Decadent: These aren’t your airy, light treats. Their dense nature and rich flavors make them incredibly satisfying, feeling like a truly indulgent dessert.
- Crowd-Pleaser: The combination of chocolate and peanut butter is universally loved, making these treats a guaranteed hit at any gathering, potluck, or school event.
What You’ll Need: The Minimalist Ingredient List
One of the most appealing aspects of this recipe is its incredible simplicity, relying on just a handful of staple ingredients to create something truly extraordinary. You won’t need a lengthy grocery run for these delicious treats; chances are, you already have most of what you need on hand! This lean ingredient list ensures the intense, pure flavors of chocolate and peanut butter truly shine.
- Chocolate Chips: The backbone of our rich, chocolatey base. For a perfectly balanced sweetness, I highly recommend using a 12 oz package of semi-sweet chocolate chips. They melt beautifully and provide that classic chocolate taste without being overly sugary. However, feel free to adapt to your preference (more on this below!).
- Peanut Butter: Creamy peanut butter is absolutely essential for achieving the smooth, binding consistency and that beloved nutty flavor. Its richness acts as a natural emulsifier, bringing the treats together without the need for butter or marshmallows.
- Rice Krispie Cereal: The iconic puffed rice cereal provides the quintessential crispy texture that gives these treats their name and delightful crunch. Make sure your cereal is fresh for maximum crispness.
- White Chocolate (optional topping): A quarter cup of melted white chocolate is entirely optional but adds a lovely visual flair and an extra layer of sweet creaminess. It creates a beautiful contrast and makes the treats feel even more special.
Yes, that’s all! Just these four simple ingredients are required to create a batch of incredibly dense, almost fudgy Chocolate Peanut Butter Rice Krispie Treats. No butter, no marshmallows—just pure, unadulterated flavor and a unique, satisfying texture that’s a delightful departure from the norm.
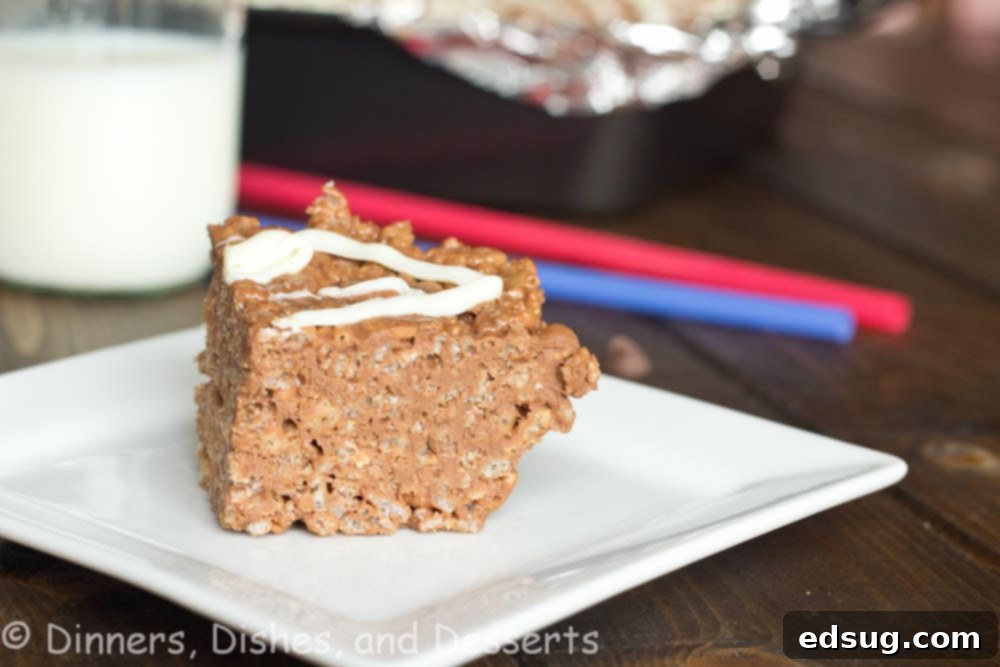
How To Make Chocolate Peanut Butter Krispie Treats: Your Step-by-Step Guide
Creating these decadent no-bake treats is surprisingly easy and quick, making them perfect for any skill level. Follow these simple steps to achieve perfect, fudgy, and flavorful squares every time. For the FULL PRINTABLE recipe card with exact measurements and additional notes, be sure to scroll to the very bottom of this post.
- Prepare Your Baking Dish: First, line an 8×8 inch baking dish with aluminum foil or parchment paper. Make sure to leave a slight overhang on all sides; this thoughtful step creates “handles” that will allow you to easily lift the entire block of treats out of the pan once they’ve set, ensuring clean and effortless slicing.
- Measure Your Cereal: Measure out 6 cups of Rice Krispie cereal and place it into a large, sturdy mixing bowl. Set this aside for a moment while you prepare the binding mixture. Using a large bowl ensures you have plenty of space to mix without spilling.
- Melt Chocolate and Peanut Butter: In a separate microwave-safe bowl, combine the entire 12 oz package of semi-sweet chocolate chips with 1 cup of creamy peanut butter. Microwave on high for 60 seconds. After the initial heating, remove the bowl and stir the mixture vigorously with a spatula or spoon until it becomes completely smooth, glossy, and well combined. If there are still a few stubborn unmelted chocolate chips, return the bowl to the microwave for additional 15-second intervals, stirring thoroughly after each, until you achieve a perfectly smooth, luscious consistency. Be careful not to overheat the mixture, as chocolate can seize.
- Combine with Cereal: Pour the warm, smooth, melted chocolate and peanut butter mixture directly over the measured Rice Krispie cereal in your large mixing bowl. Using a robust spatula or a large spoon, gently but thoroughly mix everything together. Continue mixing until every single piece of Rice Krispie cereal is evenly and completely coated with the rich chocolate-peanut butter mixture. This even coating is crucial for ensuring the treats hold together and have that consistent, fudgy texture.
- Press into Prepared Pan: Once the cereal is fully coated, transfer the entire mixture into your prepared 8×8 inch baking dish. Using the back of your spatula, a piece of parchment paper, or even your hands (lightly greased if needed to prevent sticking), press the mixture down firmly and evenly into the pan. The more compactly you press, the denser and fudgier your finished treats will be. Aim for an even, flat top.
- Add Optional Drizzle & Set: If you wish to add a decorative and tasty touch, melt 1/4 cup of white chocolate using the same microwave method as described in step 3. Drizzle the melted white chocolate artistically over the top of the pressed treats. Now, allow the treats to set up completely. This can be done at room temperature for approximately 1 hour, or you can expedite the process by placing them in the refrigerator for about 30 minutes. Once fully set, use the foil or parchment overhang to lift the entire slab out of the pan, place it on a cutting board, and slice into squares. Serve and enjoy your perfectly fudgy, irresistible treats!
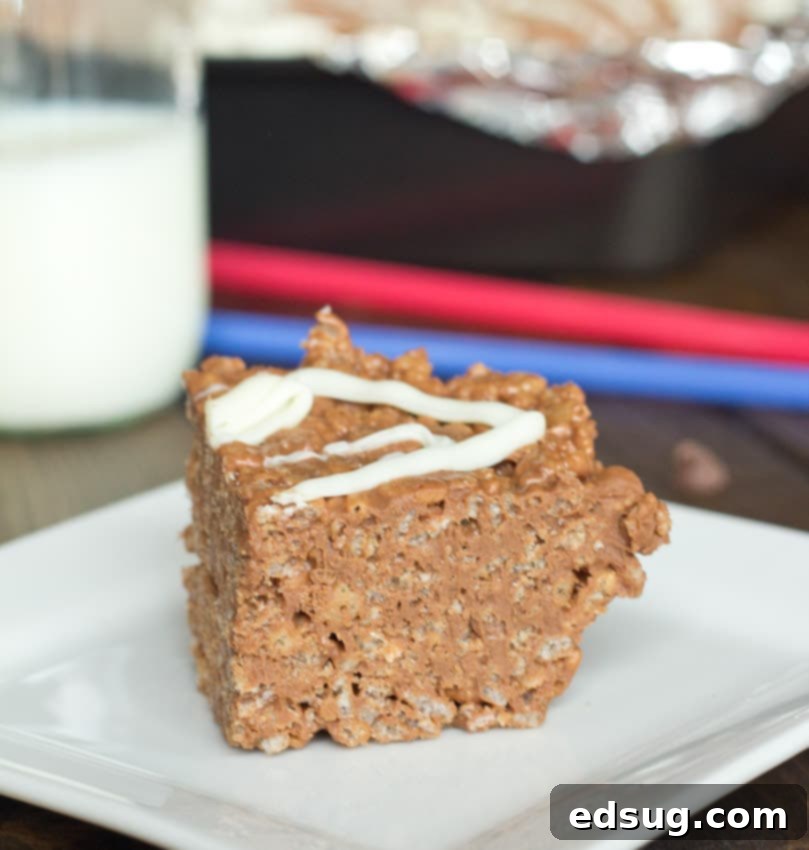
Storage Tips to Keep Your Treats Fresh
Proper storage ensures that your Chocolate Peanut Butter Rice Krispie Treats remain fresh, delicious, and perfectly textured for as long as possible. Here are the best ways to keep your no-bake delights:
- At Room Temperature: For optimal chewiness and a slightly softer, fudgier consistency, store these treats in an airtight container at room temperature. They will stay fresh and delicious for 4 to 5 days. However, if your kitchen or environment is particularly warm, the treats may become a little too soft or even slightly melty, making them a bit messier to handle.
- In the Refrigerator: If you prefer a firmer, more solid treat, or if you live in a warm climate, storing them in an airtight container in the refrigerator is an excellent option. Chilling them will extend their freshness by an extra day or two, lasting up to a full week. Just note that they will become quite firm when cold, so you might want to let them sit out on the counter for 5-10 minutes before serving to achieve a slightly softer bite.
- Freezing for Longer Term Storage: These treats freeze beautifully, making them perfect for meal prepping desserts or saving for a later craving. To freeze, wrap individual squares tightly in plastic wrap, then place them in a freezer-safe airtight container or heavy-duty freezer bag. They can be stored in the freezer for up to 2-3 months. When you’re ready to enjoy, simply thaw them at room temperature for about 30 minutes, or enjoy them straight from the freezer for a super chewy, almost candy-bar-like experience!
What Kind Of Chocolate To Use For The Best Flavor and Texture
The type of chocolate you choose can significantly influence both the flavor and the final texture of your Chocolate Peanut Butter Rice Krispie Treats. While semi-sweet chocolate chips are my personal recommendation for a balanced and universally appealing flavor, don’t be afraid to experiment to find your perfect blend!
- Semi-Sweet Chocolate Chips: This is the go-to choice for a reason. Semi-sweet chocolate offers a moderate level of sweetness that beautifully complements the richness of peanut butter without overpowering it. It melts smoothly and contributes to that desirable fudgy consistency.
- Dark Chocolate: For those who love a deeper, more intense chocolate flavor with less sweetness, dark chocolate (around 60-70% cacao) is an excellent alternative. It will result in a more sophisticated and slightly less sweet treat. Just be sure to use good quality dark chocolate that melts well.
- Milk Chocolate: If you prefer a sweeter, creamier, and milder chocolate taste, milk chocolate chips can certainly be used. Keep in mind that milk chocolate tends to be softer when melted and may result in a slightly less firm treat, so ensure adequate setting time.
- Chocolate Bars vs. Chips: While chocolate chips are incredibly convenient, using finely chopped high-quality chocolate bars (of any variety) can sometimes provide an even smoother melt and a slightly more luxurious finish due to the higher cocoa butter content.
- Consider Sweetness: Remember, this recipe contains no additional granulated sugar; the sweetness comes primarily from the chocolate chips and the peanut butter. If you opt for unsweetened baking chocolate, you might find the treats too bitter unless you add an extra sweetener to the melting mixture. Stick with sweetened varieties for the best results.
Ultimately, choose a chocolate that you genuinely enjoy eating on its own, as its flavor will be prominent in these simple yet delicious treats. You’ll need approximately 12 ounces of your chosen chocolate.
Customize Your Krispie Treats: Endless Creative Variations
While the classic Chocolate Peanut Butter combination is undeniably perfect, this recipe is also an excellent canvas for your culinary imagination. Feel free to personalize your batch with these fun and delicious variations to suit any taste or occasion:
- Alternate Nut Butters: Experiment with different nut butters for a unique flavor. Almond butter, cashew butter, or even sunflower seed butter (for a nut-free option) can be used in place of peanut butter. Be aware that the flavor and binding consistency might vary slightly with different nut butters.
- Exciting Add-Ins: Boost texture and flavor by folding in extra ingredients after coating the cereal. Mini chocolate chips, chopped pretzels for a salty-sweet crunch, colorful sprinkles for a festive look, or even mini marshmallows (if you want a hint of the classic chewiness without full marshmallow overload) are fantastic options. Chopped roasted peanuts or other nuts also add an extra layer of crunch and nutty flavor.
- Diverse Drizzle & Toppings: Beyond the white chocolate, consider a drizzle of melted caramel, butterscotch, or even a different type of chocolate (like dark or milk chocolate). A sprinkle of flaky sea salt on top before the treats set will beautifully enhance both the chocolate and peanut butter flavors. A dusting of cocoa powder or powdered sugar can also add an elegant touch.
- Different Cereal Choices: While Rice Krispies are traditional, you could try other crispy cereals for a subtle change. Corn Chex or even a subtly flavored cereal could offer a new dimension.
- Add a Spicy Kick: For the adventurous palate, a small pinch of cayenne pepper or chili powder mixed into the melted chocolate and peanut butter can add a surprising and delightful warmth, especially when paired with dark chocolate.
More Easy No-Bake Desserts to Satisfy Your Sweet Tooth
If you’re a fan of desserts that deliver maximum flavor with minimal effort and no oven time, then you’re in the right place! No-bake recipes are a lifesaver for quick treats, impressive party contributions, and satisfying sweet cravings on a whim. If you loved the simplicity and deliciousness of these Chocolate Peanut Butter Rice Krispie Treats, you’ll definitely want to add these other fantastic no-bake recipes to your must-try list:
- Monster Cookie No-Bake Bars: All the chewy, chocolatey, peanut buttery goodness of monster cookies, packed into a convenient no-bake bar.
- No-Bake Peanut Butter Cheesecake: A velvety smooth, rich, and utterly divine cheesecake that comes together without a moment in the oven.
- Puppy Chow Bars: Transform the classic “muddy buddies” into a portable, easy-to-eat bar form, coated in chocolate, peanut butter, and powdered sugar.
- Biscoff Rice Krispie Treats: A unique and aromatic twist on crispy treats, featuring the spiced, caramel-like flavor of Biscoff cookie butter.
- Homemade Star Crunch Cookies: Recreate this beloved crunchy, chewy, chocolate-covered cookie classic in your own kitchen with a simple no-bake method.
- Avalanche Cookies: A delightful combination of peanut butter, white chocolate, mini marshmallows, and crispy rice cereal – a true avalanche of flavors and textures!
- Kool Aid Pie: A vibrant, refreshing, and incredibly simple retro dessert that’s perfect for summer and comes in a rainbow of flavors.
Frequently Asked Questions (FAQs)
- Can I use crunchy peanut butter instead of creamy? Yes, absolutely! Crunchy peanut butter will add an extra layer of texture with peanut pieces, which can be a delicious addition. Just ensure it’s still a spreadable, creamy enough consistency to fully bind all the ingredients together.
- Why are my treats crumbly and not holding together? This is a common issue if there isn’t quite enough melted chocolate and peanut butter mixture to fully coat and bind all the cereal. Ensure every single piece of cereal is thoroughly coated. Also, make sure you press the mixture very firmly into the pan to help it set compactly.
- My treats are too soft or melty, what went wrong? This usually happens if the treats haven’t had sufficient time to set completely, or if they are being stored in a particularly warm environment. For a firmer treat, try chilling them in the refrigerator for a bit longer, especially if your house is warm.
- Can I make these treats in advance for an event? Yes, these are an excellent make-ahead dessert! They store well in an airtight container at room temperature for several days, or in the refrigerator for up to a week. They’re perfect for parties and gatherings.
- Are these Chocolate Peanut Butter Rice Krispie Treats gluten-free? The recipe itself does not contain gluten, but you must ensure your specific ingredients are certified gluten-free. Always check the labels on your Rice Krispie cereal (as some brands contain malt flavoring derived from barley, which has gluten), chocolate chips, and peanut butter to confirm they are safe for a gluten-free diet.
- How do I get clean cuts? For the cleanest slices, make sure the treats are fully set and firm. You can briefly chill them in the freezer for 10-15 minutes before cutting. Use a large, sharp knife, and wipe the blade clean with a damp cloth between each cut for perfectly neat squares.
Chocolate Peanut Butter Rice Krispie Treats
Erin Sellin
10 minutes
10 minutes
12
Pin Recipe
Rate Recipe
Print Recipe
Ingredients
- 1 12 oz package semi-sweet chocolate chips
- 1 cup creamy peanut butter
- 6 cups Rice Krispie cereal
- 1/4 cup white chocolate melted, optional
Instructions
-
Line an 8×8 baking dish with aluminum foil or parchment paper, leaving an overhang on the sides for easy lifting.
-
Measure 6 cups of Rice Krispie cereal into a large mixing bowl. Set aside.
-
In a microwave-safe bowl, combine 12 oz semi-sweet chocolate chips and 1 cup creamy peanut butter. Microwave for 60 seconds, then stir until smooth and glossy. If needed, heat in 15-second intervals, stirring after each, until fully melted.
-
Pour the melted chocolate-peanut butter mixture over the cereal, and mix thoroughly until all the cereal is evenly coated.
-
Press the mixture firmly and evenly into the prepared pan. The firmer you press, the denser the treats will be.
-
If desired, melt 1/4 cup white chocolate and drizzle over the top. Let the treats set at room temperature for 1 hour (or refrigerate for 30 minutes) before slicing and serving.
Nutrition
Nutrition information is automatically calculated, so should only be used as an approximation.
Additional Info
Erin Sellin
10 minutes
10 minutes
Dessert Recipes
American
12
215
Love this recipe? Leave a comment below!
I’ve created a fun and engaging community group on Facebook, and I’d be absolutely thrilled for you to join us! It’s a vibrant space where you can share YOUR favorite recipes, ask questions, get inspired by fellow food lovers, and stay updated on all the new deliciousness happening at Dinners, Dishes and Desserts. Never miss a new recipe or a fun cooking tip!
Be sure to follow me on Instagram and remember to tag #dinnersdishes so I can see all the wonderful DINNERS, DISHES, AND DESSERTS recipes YOU create and share!
Stay connected and never miss out on new recipes or exciting updates by following me on my social media channels!
Facebook | Twitter | Pinterest | Instagram
.
