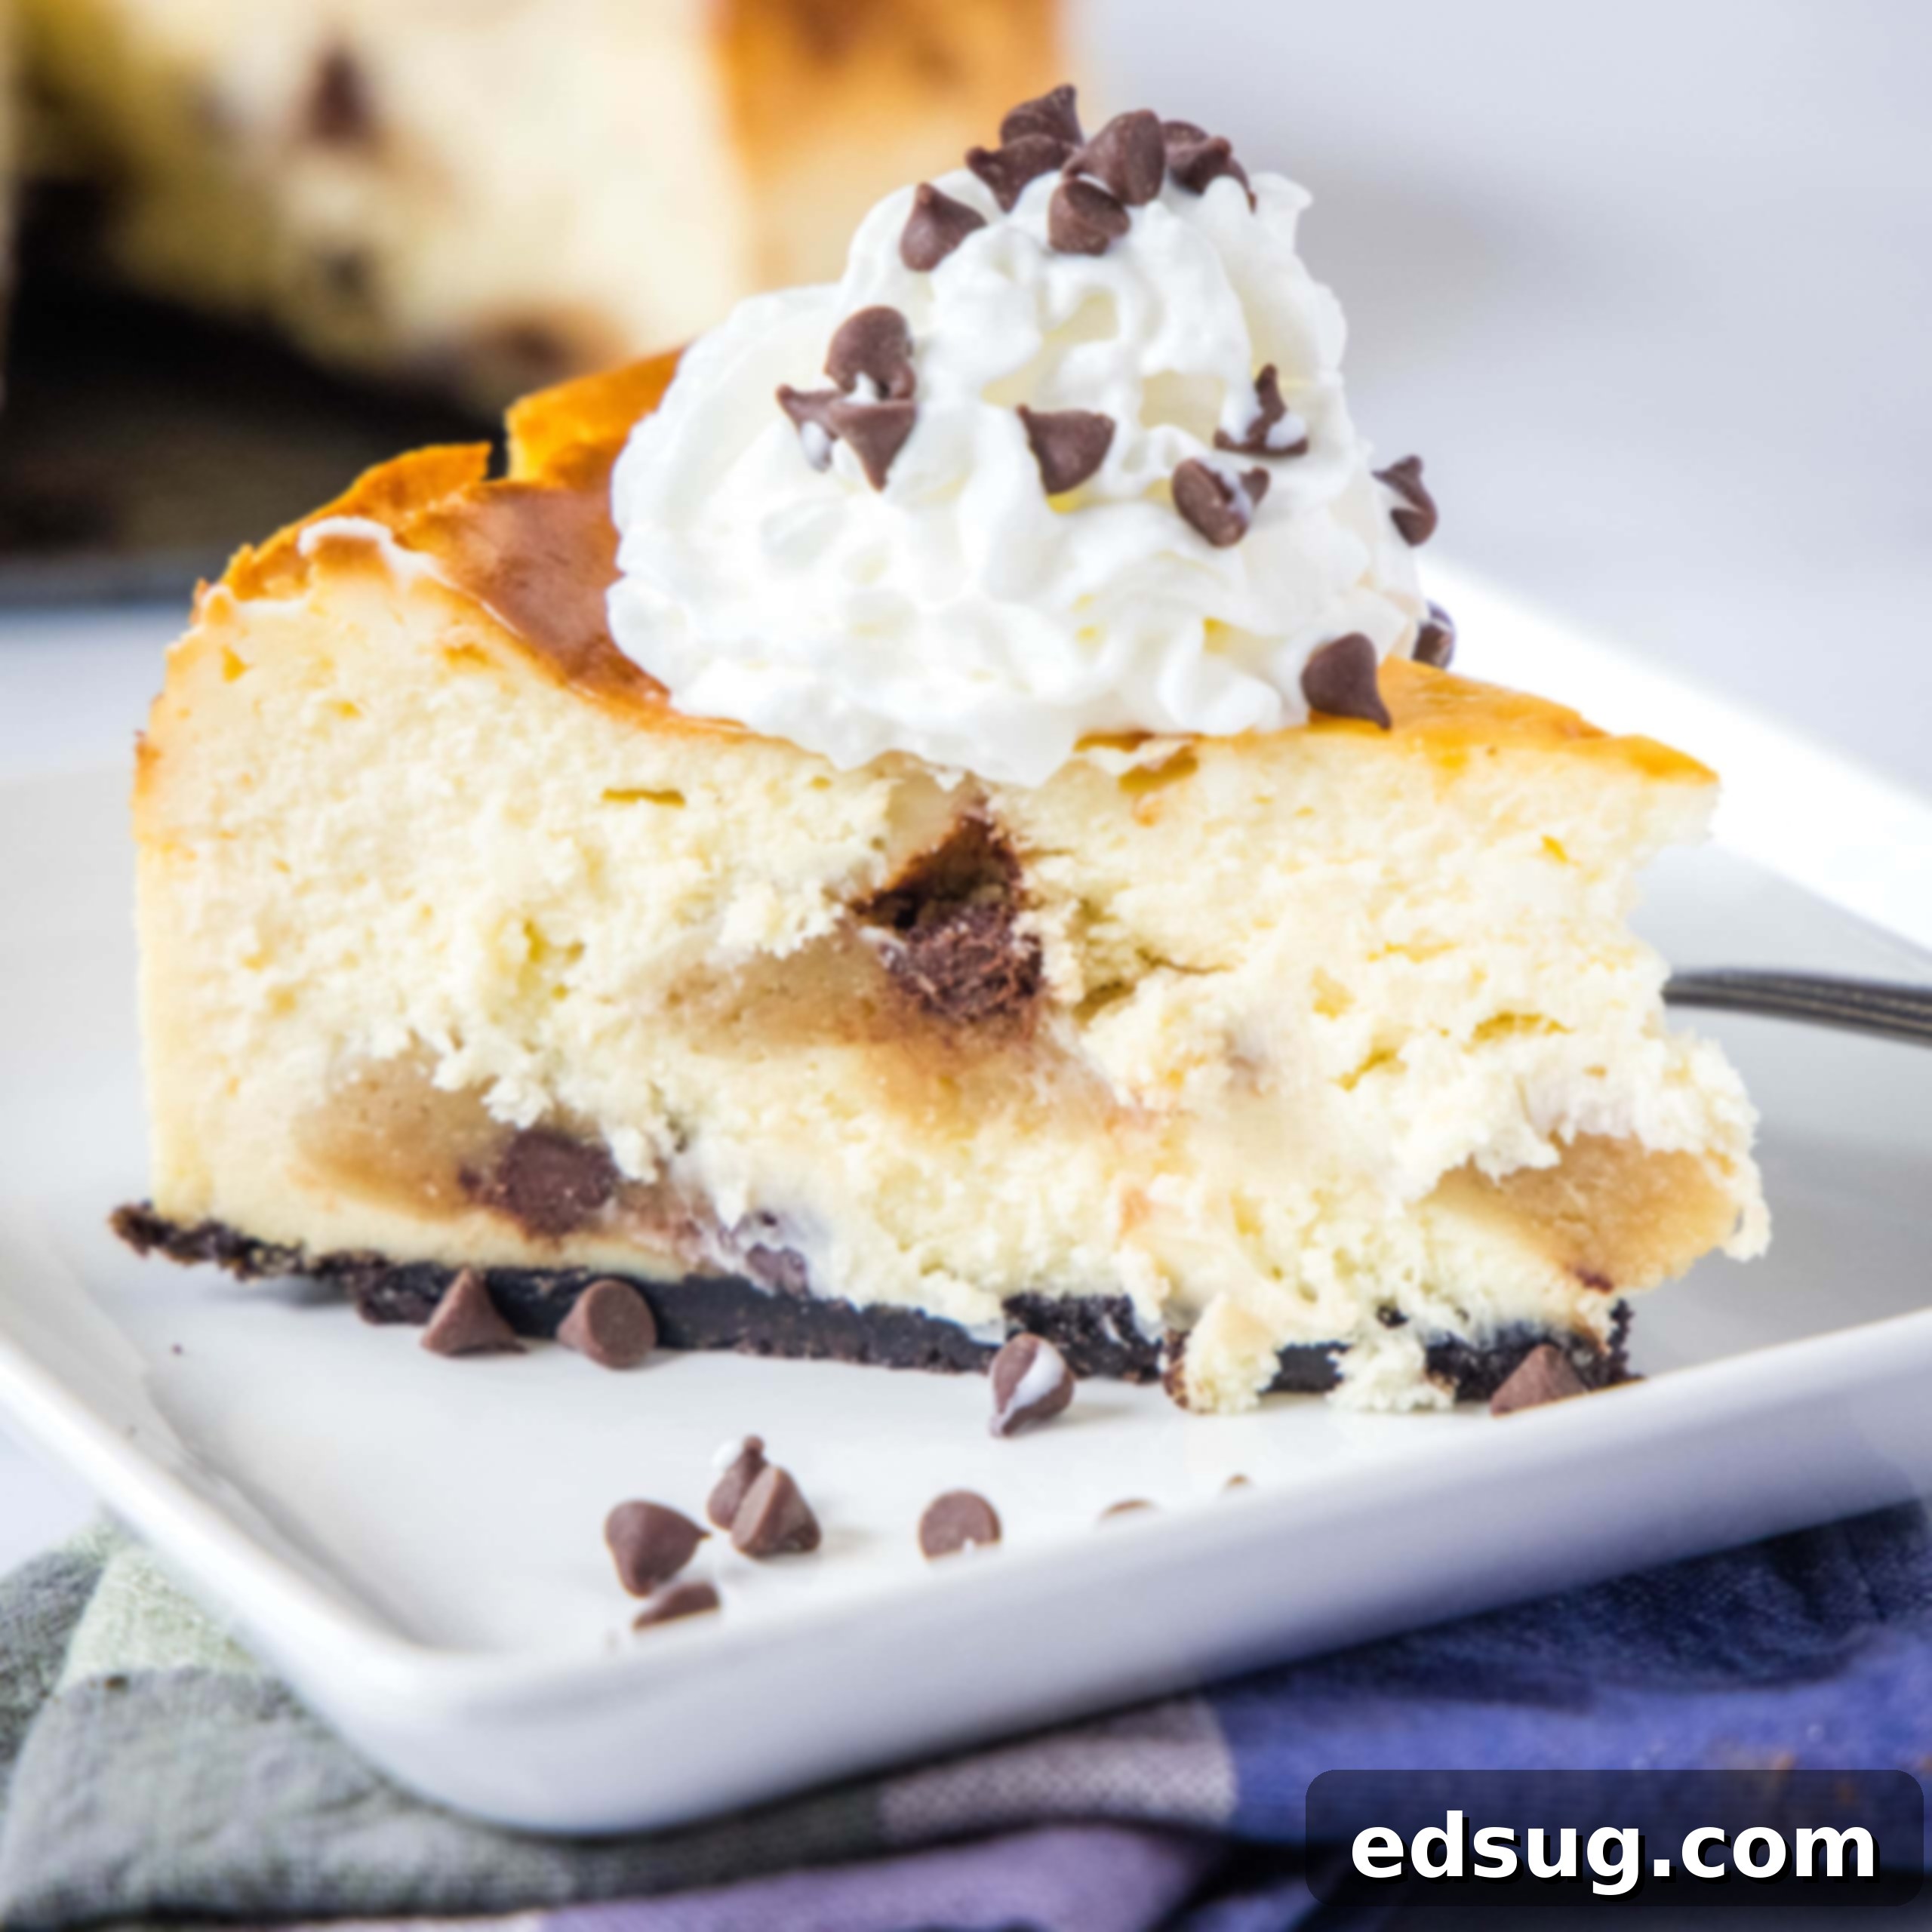
Decadent Chocolate Chip Cookie Dough Cheesecake: A Homemade Cheesecake Factory Dream
Prepare to be amazed by this thick, unbelievably creamy, and utterly delicious Chocolate Chip Cookie Dough Cheesecake. It’s generously loaded with irresistible edible cookie dough nestled within a classic Oreo cookie crust, bringing that iconic Cheesecake Factory experience right to your kitchen – no restaurant required!
There’s something undeniably special about a slice of cheesecake from The Cheesecake Factory. After enjoying one of their signature dishes, like the delectable Chicken Madeira, finishing with a piece of their legendary cheesecake is practically a rite of passage. And for those of us with a sweet tooth that gravitates towards all things cookie dough, if there’s a cookie dough option on the menu, it’s almost always the first choice! That rich, sweet, unbaked dough mixed into a dessert is pure bliss.
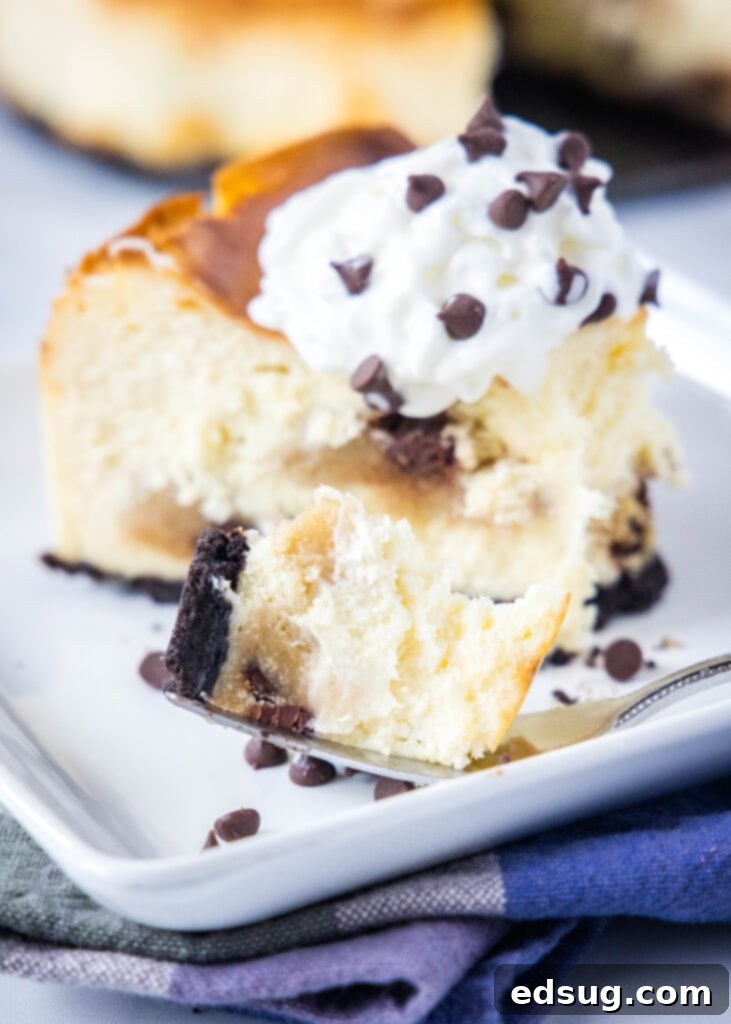
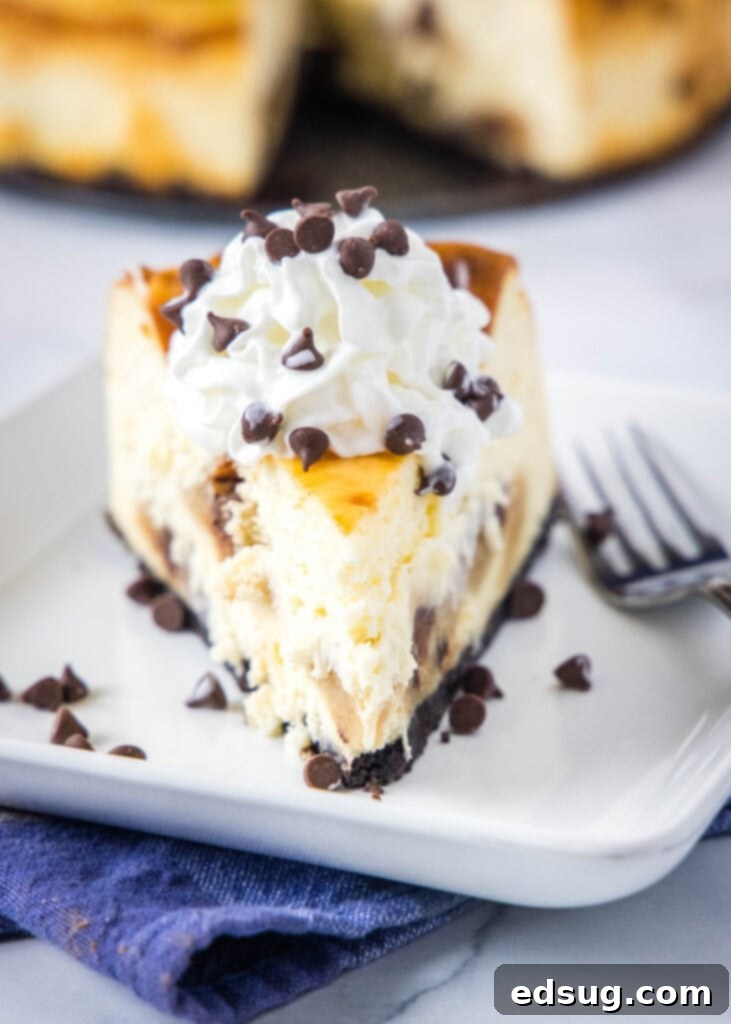
Living far from a Cheesecake Factory meant one thing: it was time to master this culinary masterpiece at home. After countless experiments and adjustments, I’m thrilled to share a recipe that truly delivers. This isn’t just any cheesecake; it’s an incredibly decadent and supremely delicious creation. The addition of perfectly portioned, edible cookie dough throughout the velvety cheesecake batter elevates it to a whole new level of tasty indulgence. Every bite promises a delightful textural contrast and an explosion of classic cookie dough flavor.
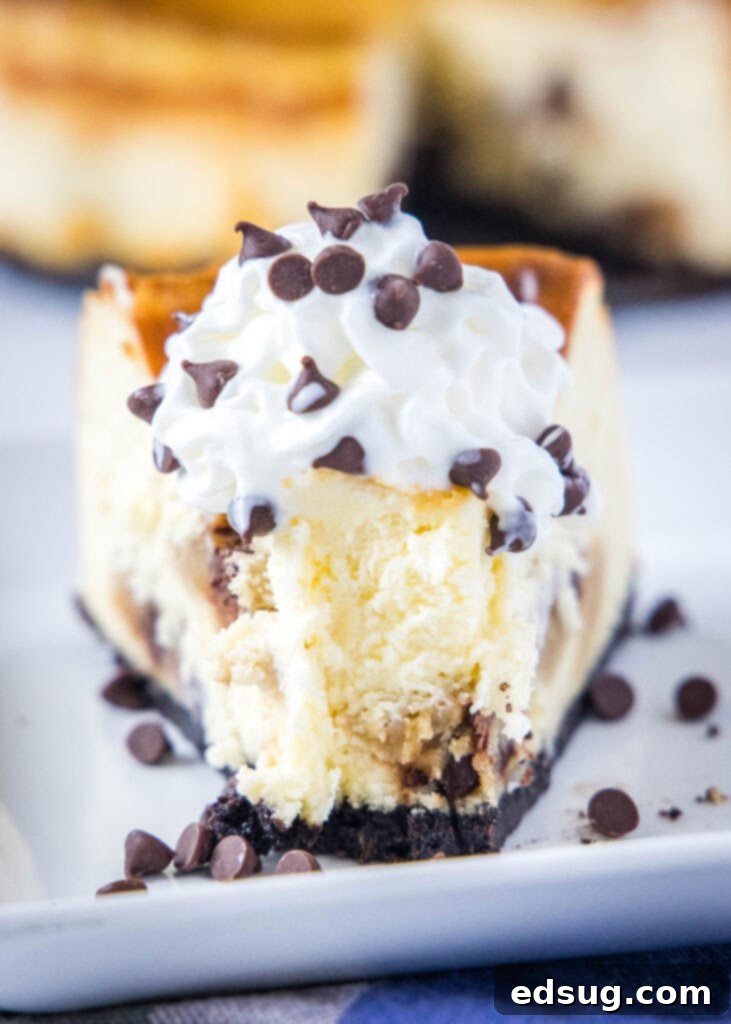
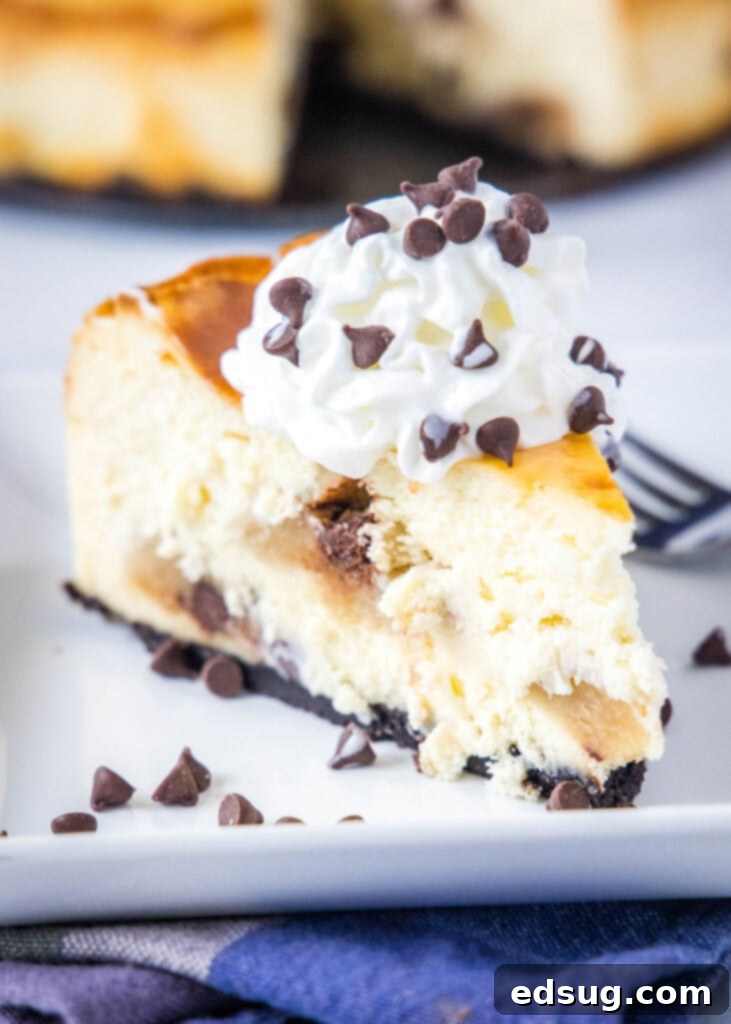
The foundation of this incredible cheesecake recipe comes from a base I discovered years ago in a trusted Cook’s Illustrated cookbook. Their method consistently produces a cheesecake that is rich, incredibly creamy, and wonderfully smooth, with a beautifully decadent texture. It bakes up tall and proud, crowned with a perfect golden-brown top, signaling its readiness. What truly sets this recipe apart for many home bakers is that it achieves this perfection without the need for a water bath – a technique often debated and sometimes daunting when baking cheesecakes.
Water baths are a common technique used to ensure even baking and prevent cracks in cheesecakes by providing a moist, gentle heat. While I do appreciate and use them for certain recipes, such as my Apple Crisp Cheesecake or other more intricate variations, this particular basic cheesecake recipe and its specific baking method are designed to be absolutely perfect without one. The careful temperature control and ingredient ratios result in a gorgeously smooth, crack-free surface every time, simplifying the process without compromising on quality or flavor.
Essential Ingredients for Your Cookie Dough Cheesecake
Crafting this heavenly dessert requires a selection of high-quality ingredients, each playing a crucial role in achieving its signature taste and texture. Here’s what you’ll need to gather:
- **Oreo Cookies:** The base for our delightfully crunchy and flavorful crust.
- **Butter:** Essential for binding the Oreo crumbs and enriching both the crust and the cookie dough.
- **Cream Cheese:** The star of any cheesecake! Opt for full-fat, softened cream cheese for the creamiest results.
- **Granulated Sugar:** Sweetens the cheesecake to perfection.
- **Salt:** A pinch enhances all the flavors, balancing the sweetness.
- **Sour Cream:** Adds a tangy note and contributes to the cheesecake’s luxurious, smooth texture.
- **Lemon Juice:** A touch of acid brightens the flavors and helps prevent cracks.
- **Vanilla Extract:** Crucial for both the cheesecake and cookie dough, providing a warm, aromatic base.
- **Eggs:** Provide structure and richness to the cheesecake; using both whole eggs and yolks ensures ultimate creaminess.
- **Brown Sugar:** Gives the edible cookie dough its characteristic chewy texture and molasses-rich flavor.
- **Sweetened Condensed Milk:** The secret ingredient for safe, delicious, no-bake cookie dough.
- **Chocolate Chips:** Mini chocolate chips are ideal for scattering throughout the cookie dough and cheesecake.
The Star of the Show: Edible Cookie Dough
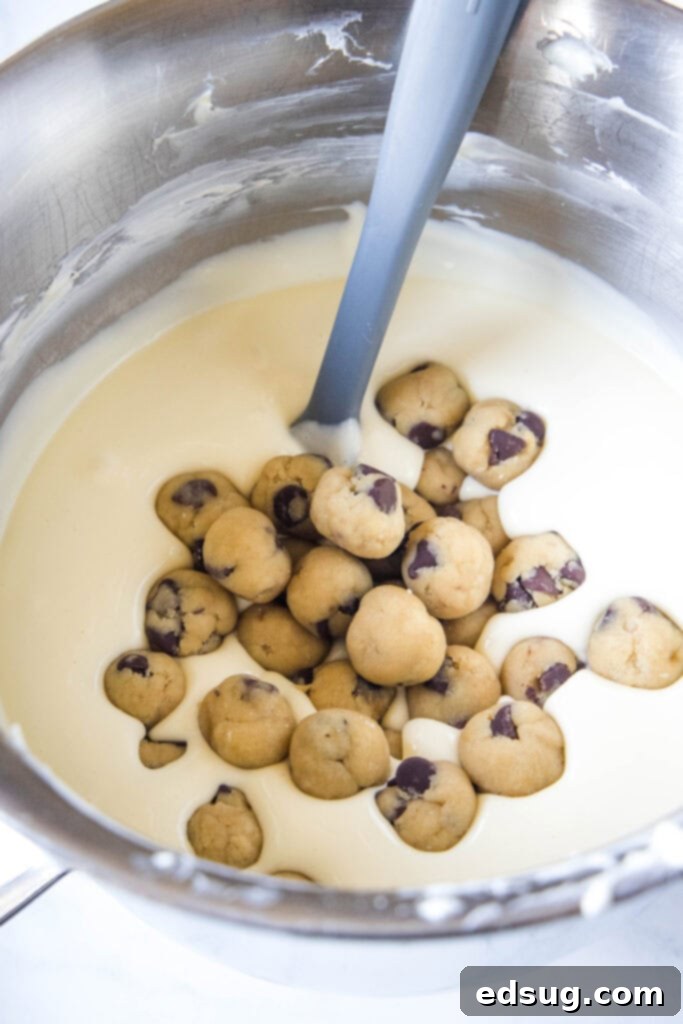
One of the most exciting elements of this cheesecake is the inclusion of soft, chewy balls of edible cookie dough generously distributed throughout the creamy filling. To ensure you have plenty for the cheesecake and perhaps a few extra treats, I’ve provided instructions for making a full batch of this delicious dough. You’ll use approximately half of it in the cheesecake recipe itself. The reason for this full batch is practical: the recipe calls for a complete 14-ounce can of sweetened condensed milk, and it’s much more convenient to use the entire can than to deal with a leftover half-can of sticky condensed milk. Of course, if you prefer to halve the cookie dough recipe, feel free to do so, but trust me, you won’t regret having extra!
This edible cookie dough is fantastic because it’s made without raw eggs, making it safe to eat straight from the bowl or incorporate into other desserts. It adds a delightful textural contrast and bursts of sweet, familiar flavor to every bite of cheesecake. Plus, having extra cookie dough means more opportunities to create other delicious treats! Here are some creative ideas for using up any leftover edible cookie dough:
- Cookie Dough Truffles: Dip the remaining cookie dough balls in melted chocolate for an easy, decadent treat.
- Cookie Dough Ice Cream: Crumble it into homemade or store-bought vanilla ice cream for an instant upgrade.
- Cookie Dough Fudge: Layer it into a simple fudge recipe for an extra dimension of flavor.
- Cookie Dough Mini Donuts: Add small pieces to mini donut batter before baking.
- Brownie Batter Cookie Dough Pancakes: Incorporate it into pancake batter for a truly indulgent breakfast.
Freezing the cookie dough balls before folding them into the cheesecake batter is a critical step. This ensures they maintain their shape and distinct texture during the baking process, preventing them from melting too much into the cheesecake batter. Plan to make them a few days in advance to streamline your cheesecake baking day.
Crafting Your Masterpiece: How to Make Cookie Dough Cheesecake
Creating this stunning Chocolate Chip Cookie Dough Cheesecake is a rewarding process. While the full detailed instructions are in the recipe card below, here’s an overview of the key steps to guide you through the journey from ingredients to a truly show-stopping dessert. Remember, preparation and patience are key to cheesecake perfection!
- **Prepare the Crust:** Begin by crushing your Oreo cookies into fine crumbs. A food processor makes this quick and easy! Combine these crumbs with melted butter until well moistened. Press this mixture firmly into the bottom of a 9-inch springform pan. Use the flat bottom of a measuring cup or glass to create an even, compact crust. Bake this crust for about 10 minutes to set it, then allow it to cool completely. This cooling step is essential to prevent a soggy crust.
- **Whip the Cream Cheese Base:** In a large mixing bowl, beat the softened cream cheese on low speed until it’s smooth and free of lumps, about a minute. Gradually add the granulated sugar and a pinch of salt, continuing to beat on low speed. It’s crucial not to overmix at this stage to avoid incorporating too much air, which can lead to cracks.
- **Add Liquid Ingredients:** Once the sugar is fully blended, scrape down the sides of the bowl. Incorporate the sour cream, fresh lemon juice, and vanilla extract. Mix on low for about one minute until everything is just combined and smooth. These ingredients add richness, tang, and moisture.
- **Incorporate Eggs Carefully:** Now it’s time for the eggs. Start by mixing in the egg yolks until they are thoroughly combined. Then, add the whole eggs, two at a time, beating on low speed for only about one minute after each addition. The goal here is to blend them just enough without whipping in excess air, which can cause the cheesecake to puff up too much and then crack as it cools.
- **Fold in the Cookie Dough:** Gently fold the small, pre-frozen balls of edible cookie dough into the cheesecake batter. Freezing them beforehand ensures they hold their shape during baking and don’t completely melt into the batter, giving you those delightful pockets of cookie dough in every slice.
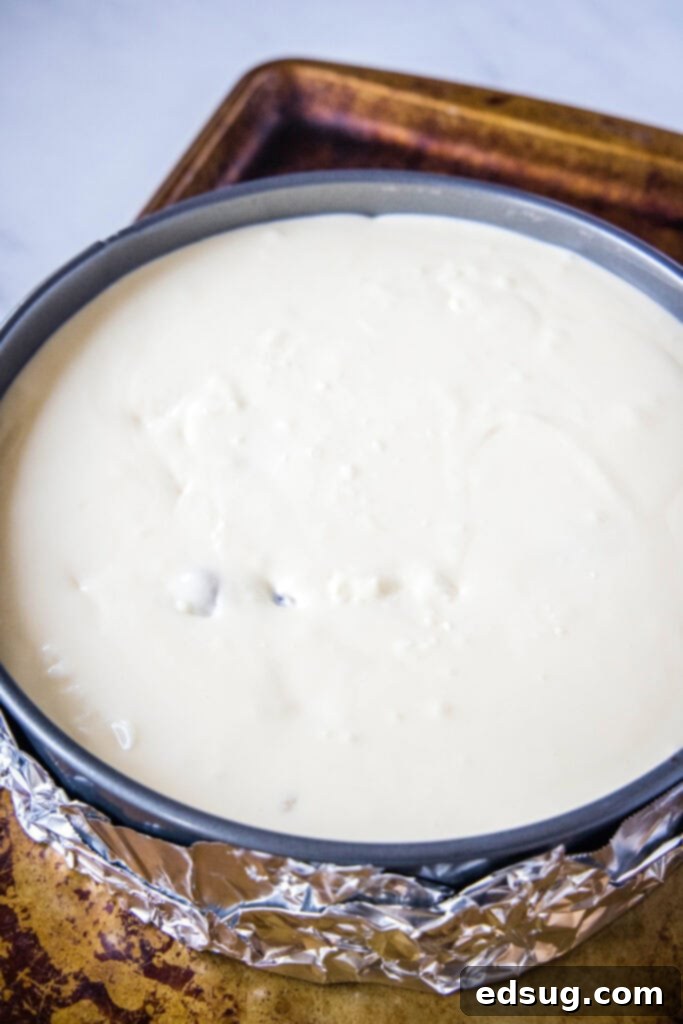
- **Prepare for Baking:** Lightly brush the cooled, baked Oreo crust with a little bit of melted butter. This creates a small barrier that helps protect the crust from getting too soft from the cheesecake filling. Place your springform pan on a baking sheet (this makes it easier to transfer and catches any potential drips). Pour the prepared cheesecake filling evenly over the crust.
- **Bake with Precision:** Preheat your oven to a high temperature of 500ºF. Bake the cheesecake at this initial high temperature for precisely 10 minutes. This blast of heat helps set the exterior quickly. **Crucially, do not open the oven door after the initial 10 minutes!** Simply reduce the oven temperature to 200ºF and continue baking for an additional 90 minutes. This low and slow baking method is key to a perfectly creamy, crack-free cheesecake without a water bath. The cheesecake is done when its internal temperature reaches 150ºF in the center.
- **Cooling is Key:** Remove the cheesecake from the oven and immediately place it on a wire rack to cool for 5 minutes. After this brief cooling period, run a thin knife gently along the edge of the cheesecake to loosen it from the pan. This step is vital to prevent cracks as the cheesecake cools and contracts. Let the cheesecake continue to cool at room temperature for another 2.5 to 3 hours, until it reaches a comfortable room temperature.
- **Chill for Perfection:** Once cooled, wrap the cheesecake tightly in plastic wrap. Transfer it to the refrigerator and chill for a minimum of 3 hours, or ideally, overnight, until it is completely cold and set. This chilling process is non-negotiable for achieving that firm, sliceable, and utterly delicious cheesecake texture.
- **Serving:** When ready to serve, if the cheesecake is still in the springform pan, you can wrap a warm, damp kitchen towel around the sides of the pan for about a minute. This gentle warmth helps loosen the sides for easy removal. Gently unlatch and lift the sides of the springform pan. Cut into 14 generous slices and serve plain, or with a dollop of whipped cream for an extra touch of decadence.
Make-Ahead and Freezing Tips for Convenience
One of the best qualities of cheesecake is its ability to be prepared in advance, making it a fantastic dessert for entertaining or simply enjoying throughout the week. Planning ahead allows the flavors to fully meld and the texture to properly set, resulting in an even better tasting dessert.
Make Ahead: Absolutely! In fact, making your cheesecake at least a day ahead of time is highly recommended. The extended chilling period ensures the cheesecake is perfectly cold and firm when served, which enhances its overall texture and flavor. You can prepare and chill this chocolate chip cookie dough cheesecake up to 4 days in advance. Just be sure to keep it tightly wrapped in plastic wrap to prevent it from absorbing any odors from the refrigerator and to maintain its freshness and moisture.
Freezing: Cheesecake is also incredibly freezer-friendly, making it ideal for portion control or saving leftovers for future cravings.
- **Whole Cheesecake:** If you plan to freeze the entire cheesecake, ensure it is completely cooled and chilled. Then, wrap it securely first in plastic wrap, followed by a layer of aluminum foil. This double layer of protection helps prevent freezer burn.
- **Individual Slices:** For freezing individual slices (perfect for those “just a little something sweet” moments), wrap each slice tightly in plastic wrap, then again in aluminum foil.
Expert Tips for Cheesecake Perfection
Achieving a flawless, creamy cheesecake every time is easier than you think with these expert tips:
- **Prepare Cookie Dough in Advance:** To save time and ensure the best results, I highly recommend preparing the edible cookie dough balls a few days before you plan to assemble and bake the cheesecake. You want them to be completely frozen when you fold them into the cheesecake batter. This prevents them from disintegrating and ensures they retain their distinct texture within the creamy filling. Having them ready and frozen streamlines the entire baking process.
- **Mindful Mixing:** Resist the urge to overmix your cheesecake batter. You want to mix just until all ingredients are well blended and smooth, but avoid running your mixer on too high a speed or for too long. Excessive mixing incorporates too much air into the batter, which can cause the cheesecake to puff up excessively during baking and then collapse and crack as it cools. Gentle, low-speed mixing is the key to a smooth, dense, and crack-free cheesecake.
- **Room Temperature Ingredients:** Ensure all your cold ingredients, especially the cream cheese and eggs, are at room temperature before you start mixing. Room temperature ingredients combine more easily and smoothly, creating a homogeneous batter without lumps. This also prevents overmixing and ensures the cheesecake bakes evenly.
- **Sour Cream Substitute:** If you find yourself without sour cream, plain full-fat Greek yogurt can be used as a suitable substitute. It provides a similar tangy flavor and creamy consistency that works well in cheesecake.
- **Confirm Doneness with a Thermometer:** The best way to know when your cheesecake is perfectly baked is by checking its internal temperature. Insert an instant-read thermometer into the center of the cheesecake. It should read 150ºF (65ºC). At this temperature, the edges will be set, but the very center might still have a slight wobble, which is exactly what you want. It will continue to set as it cools. Overbaking can lead to a dry, cracked cheesecake.
For accurate temperature readings, I swear by my Thermapen Mk4. It’s the most precise thermometer I’ve found and has been an invaluable tool in my kitchen for years, ensuring everything from cheesecakes to roasted meats are cooked to perfection!
Craving More Cheesecake? Explore These Delicious Recipes!
If this Chocolate Chip Cookie Dough Cheesecake has ignited your passion for this classic dessert, you’re in luck! There’s a whole world of creamy, dreamy cheesecakes to explore, from no-bake wonders to rich, indulgent baked varieties. Here are some more fantastic cheesecake recipes to satisfy every craving:
- No-Bake Blueberry Cheesecake: A refreshing and easy option for summer.
- Pecan Pie Cheesecake: The best of two classic desserts combined.
- Turtle Cheesecake: Rich chocolate, caramel, and pecans in every bite.
- No-Bake Oreo Cheesecake: Another simple yet crowd-pleasing Oreo delight.
- Instant Pot Cheesecake: For perfectly cooked cheesecake in less time.
- Key Lime Cheesecake: Tangy and sweet, a tropical treat.
- No-Bake Peanut Butter Cheesecake: A creamy dream for peanut butter lovers.
- Bailey’s Chocolate Cheesecake: An elegant and boozy adult dessert.
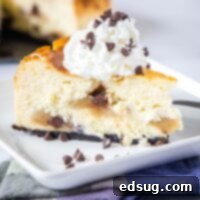
Chocolate Chip Cookie Dough Cheesecake
Ingredients
Crust
- 2/3 package of Oreos, crushed
- 4 Tablespoons butter, melted
Cheesecake
- 2 1/2 pounds cream cheese, softened – cut into 1 inch chunks
- 1 1/2 cups granulated sugar
- 1/8 teaspoon salt
- 1/3 cup sour cream
- 2 teaspoons lemon juice
- 2 teaspoons vanilla extract
- 6 whole large eggs, plus 2 large egg yolks
- 1 Tablespoon butter, melted
Cookie Dough
- 1/2 cup butter, softened
- 3/4 cup light brown sugar
- 1 teaspoon vanilla extract
- 2 cups all-purpose flour
- 1 14 oz can sweetened condensed milk
- 1 cup mini chocolate chips
Instructions
- Prepare the Cookie Dough :In an electric mixer, beat together butter and sugar. Add vanilla. With mixer on low, slowly add in the flour, until completely incorporated. It will be very dry, that is ok. Beat in milk until well combined. Stir in chocolate chips. Roll into small 1 inch balls. Place in freezer for 45 minutes, or until completely frozen.
- Preheat oven to 325º F.
To Make The Crust
- Mix together the cookie crumbs and the melted butter.
- Press into the bottom of a 9 inch springform pan. Use the bottom of a measuring cup to firmly press it into the bottom, keeping it off the sides.
- Bake for 10 minutes. Let cool completely.
To Make The Cheesecake
- Increase oven heat to 500º F.
- Using an electric mixer beat cream cheese on low until broken up, about 1 minute. Scrape the sides as necessary.
- Add 3/4 cup of sugar, and salt. Mix over low for about a minute, until well combined.
- Beat in the remaining 3/4 cup of sugar.
- Scrape the sides, add sour cream, lemon juice, and vanilla. Mix over low for 1 minute.
- Mix in egg yolks until thoroughly combined. Add the whole eggs, 2 at a time, beating for about 1 minute after each addition.
- Stir in about 1/2 of the frozen cookie dough balls, until evenly distributed.
- Gently brush the top of the baked and cooled crust with the 1 Tablespoon of melted butter. Place springform pan on a baking sheet. Pour filling into the crust.
- Bake for 10 minutes. Without opening the oven door reduce the temperature to 200º F. Bake for about 90 minutes, or until the center of the cheesecake is 150º F,
- Remove from the oven and let cool on a wire rack for 5 minutes. Then run a knife around the edge to loosen the sides.
- Let the cheesecake cool until it is just about room temperature – 2 1/2-3 hours.
- Wrap tightly with plastic wrap and chill in the fridge for at least 3 hours before serving.
- To remove the mold wrap a warm kitchen towel around the pan, and let set for 1 minute. Gently remove the sides. Cut into 14 slices, and top with whipped cream to serve.
Notes
Nutrition
Nutrition information is automatically calculated, so should only be used as an approximation.
Additional Info
I created a fun group on Facebook, and I would love for you to join us! It’s a place where you can share YOUR favorite recipes, ask questions, and see what’s new at Dinners, Dishes and Desserts (so that you never miss a new recipe)!
Be sure to follow me on Instagram and tag #dinnersdishes so I can see all the wonderful DINNERS, DISHES, AND DESSERTS recipes YOU make!
Don’t miss a single delicious post! Be sure to follow me on my social media channels:
Facebook | Twitter | Pinterest | Instagram
.
