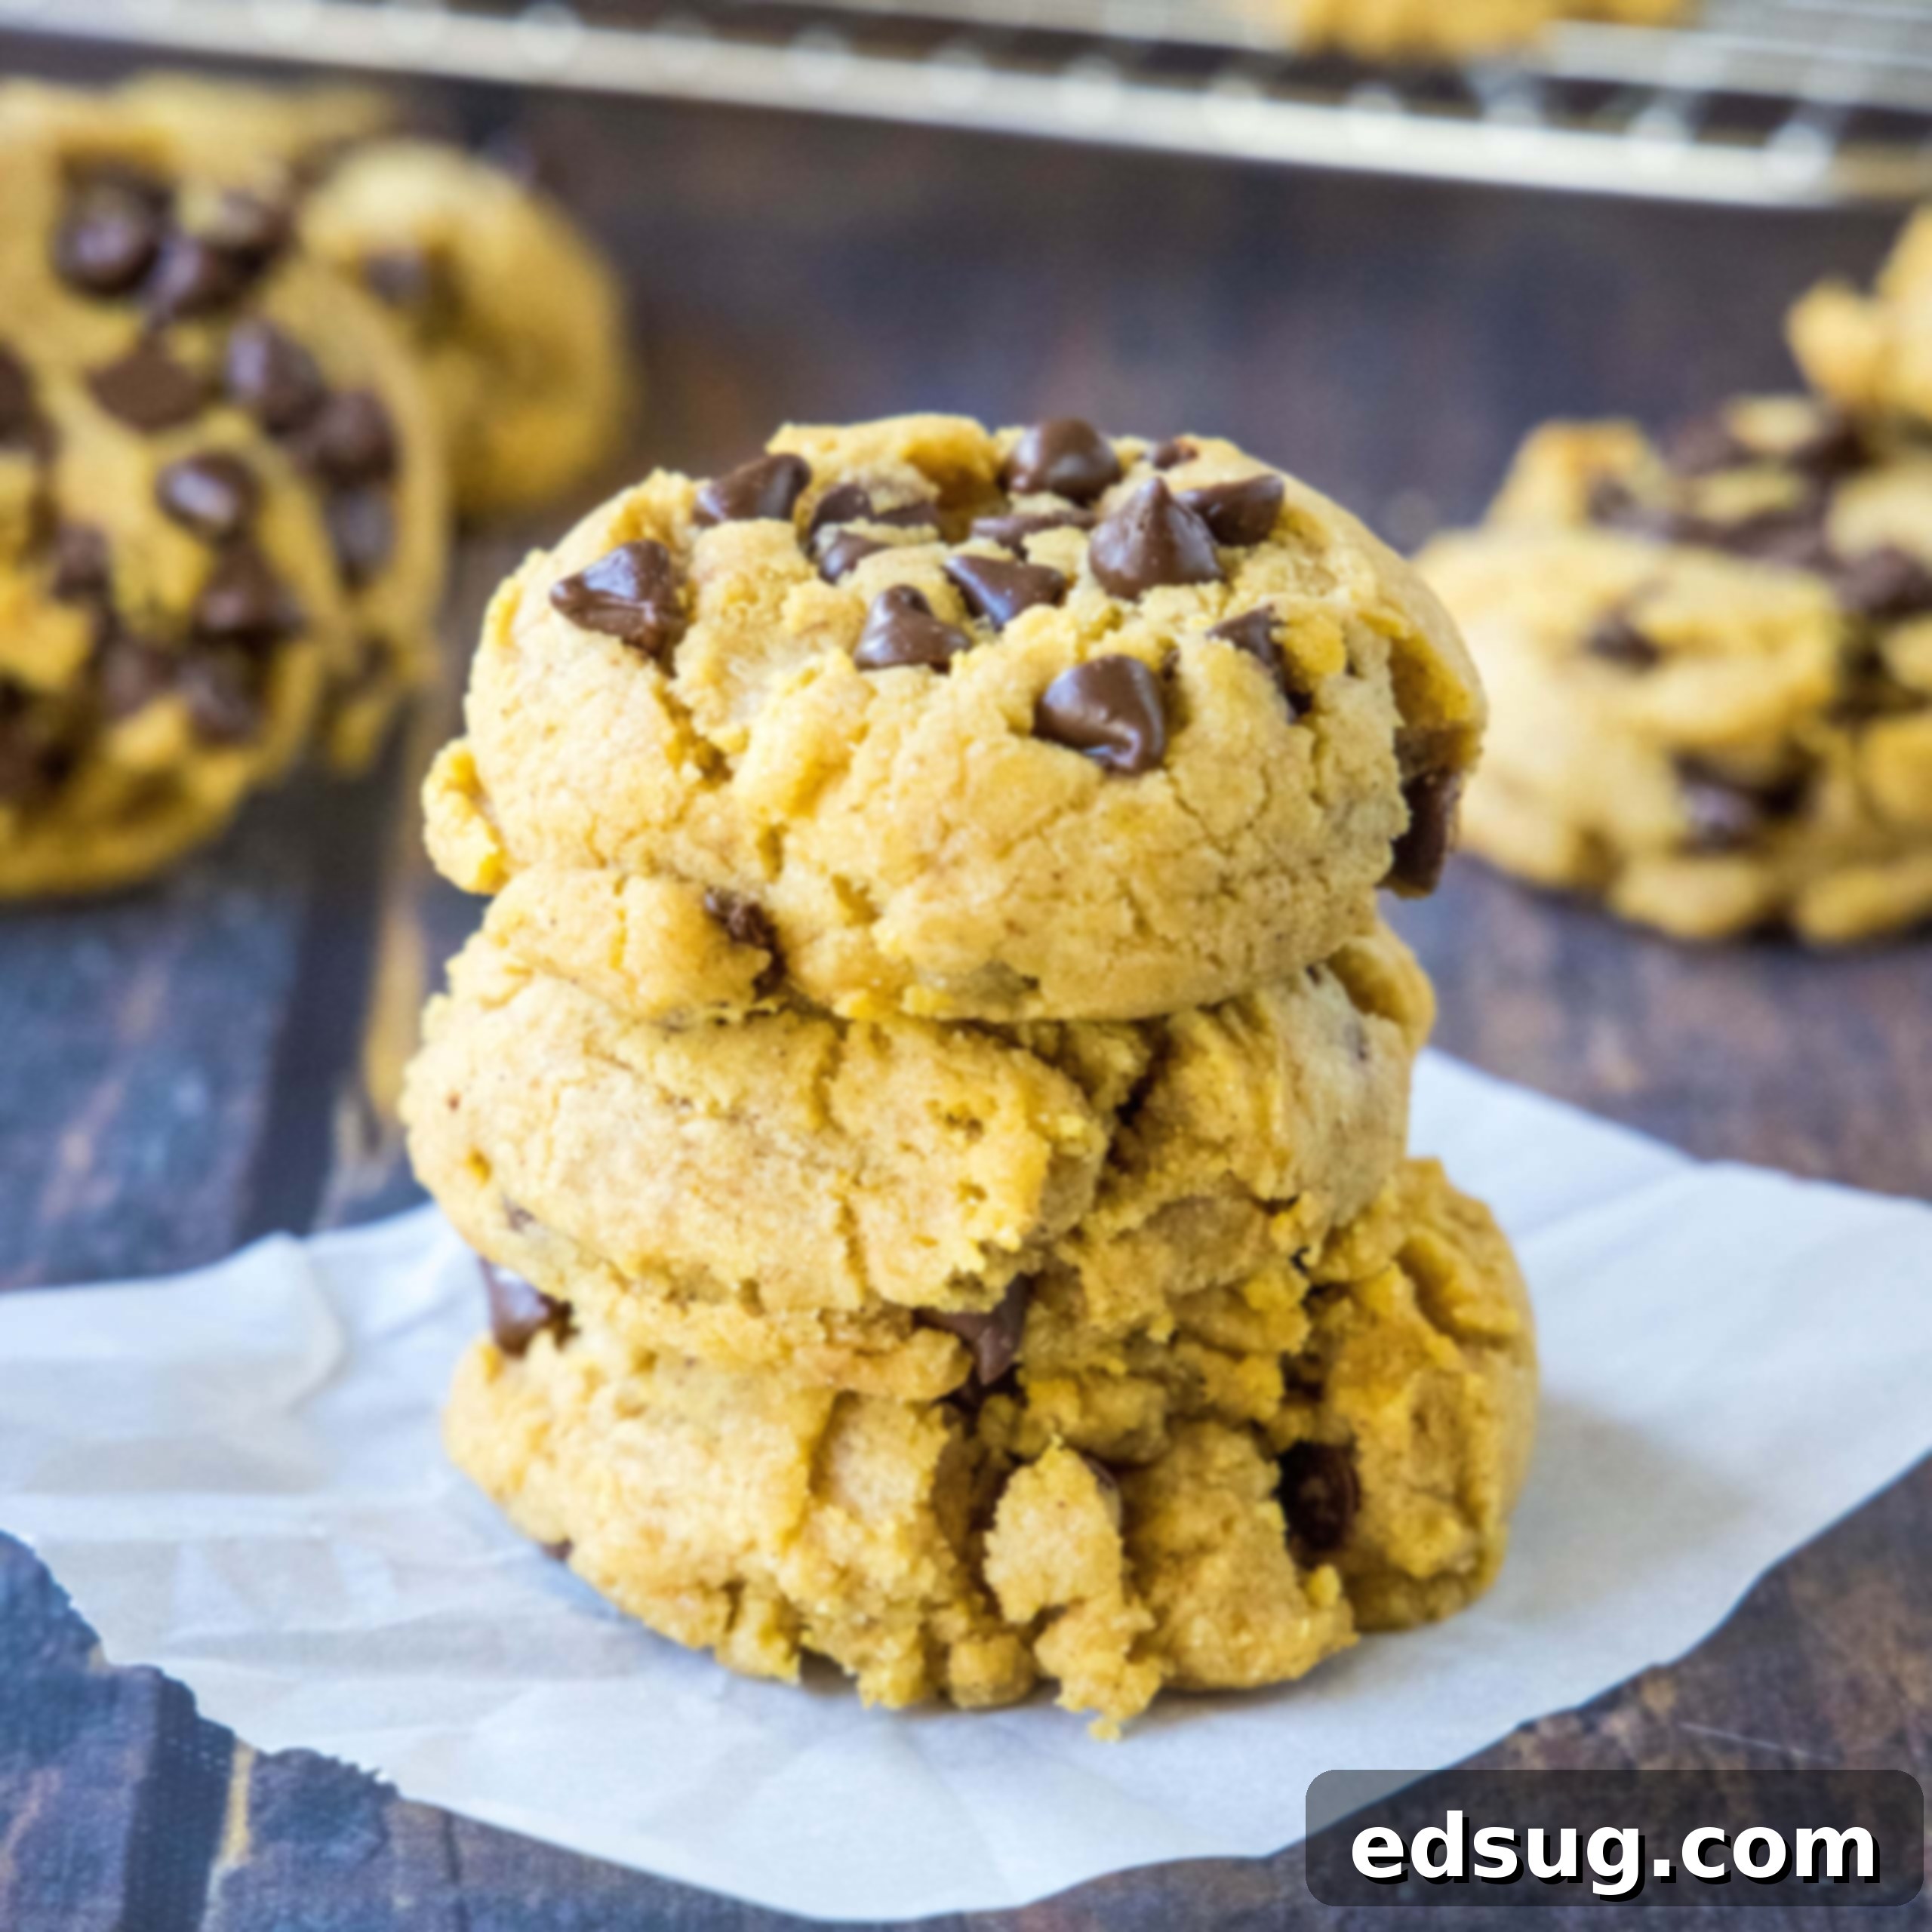
Irresistibly Chewy Pumpkin Chocolate Chip Cookies: Your New Favorite Fall Dessert!
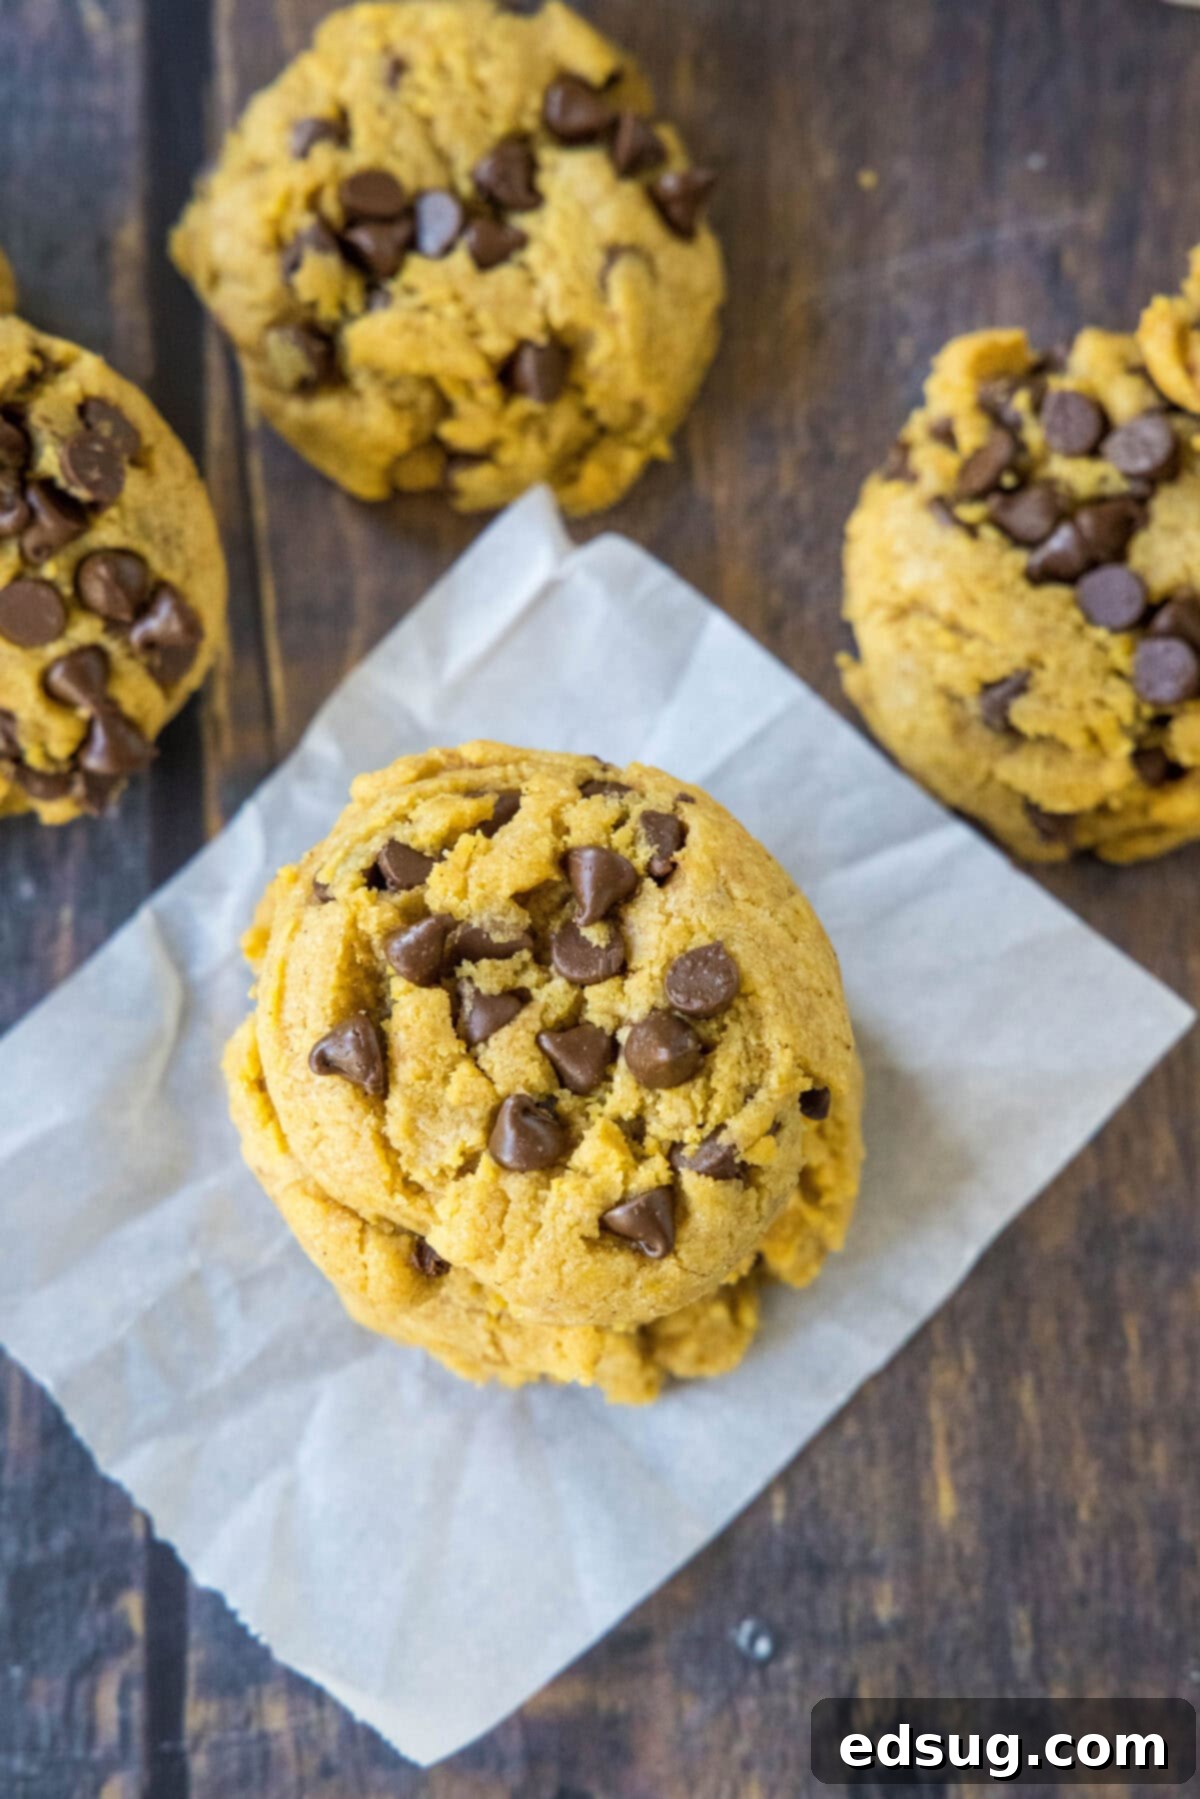
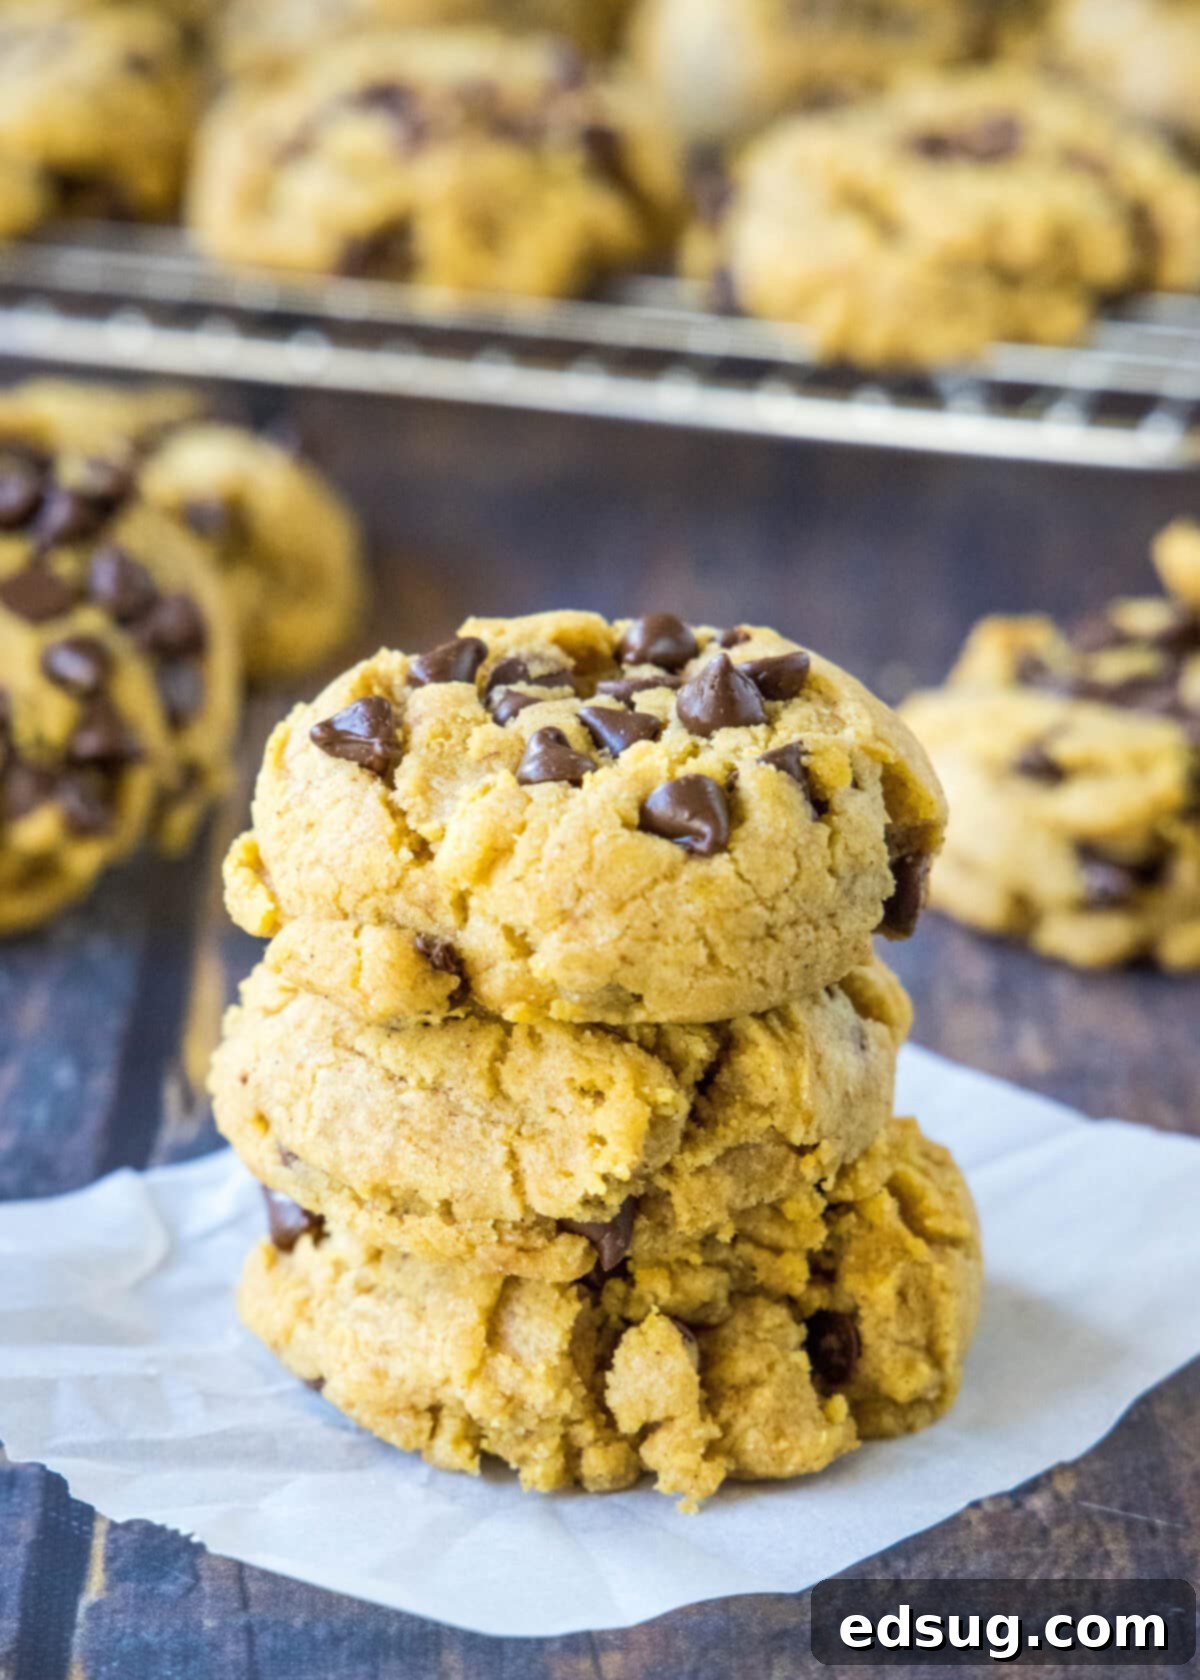
As the leaves begin to change and the air turns crisp, there’s nothing quite like the comforting aroma of freshly baked cookies filling your home. And when it comes to fall baking, pumpkin reigns supreme! But let’s be honest, many pumpkin cookie recipes often yield a soft, cake-like texture that, while delicious, isn’t quite the classic chewy experience we crave from a chocolate chip cookie. If you’re a staunch supporter of the chewy cookie camp, then prepare to have your fall baking dreams come true. These Chewy Pumpkin Chocolate Chip Cookies are thick, rich, perfectly spiced, and boast an incredible chewiness that will make them your new go-to autumn treat. Forget cakey cookies – we’re all about that delightful, melt-in-your-mouth chew!
My personal preference has always leaned towards a truly chewy cookie – those delightful bites that offer resistance before melting away, unlike their thin and crispy or soft and cakey counterparts. My Perfect Chocolate Chip Cookies are a testament to this unwavering love for chewiness. So, when fall arrives and the pumpkin obsession kicks in, the challenge becomes: how do you infuse that wonderful pumpkin flavor and warmth without sacrificing the coveted chewy texture? Pumpkin, by its very nature, adds a significant amount of moisture, which is fantastic for things like Pumpkin Cake, leading to incredibly tender and moist results. However, that same moisture can turn a cookie into a cakey disc, which is precisely what we want to avoid here.
Fear not, fellow chewy cookie enthusiasts! Achieving that perfect balance of pumpkin flavor and chewy texture in a cookie is entirely possible. It’s all about understanding a few key principles and employing some simple, yet effective, techniques. This recipe has been meticulously crafted to ensure you get all the autumnal warmth and spice of pumpkin, perfectly complemented by rich chocolate chips, all encased in a gloriously chewy package. We’re talking thick, substantial cookies that hold their shape and deliver on that satisfying bite every single time.
You might be surprised at how straightforward these pumpkin chocolate chip cookies are to create. If you can confidently bake a standard batch of chocolate chip cookies, you’ll find these equally manageable, if not easier! What’s more, this recipe doesn’t even require a stand mixer. Starting with melted butter means you just need a bowl, a spatula, and a few minutes of your time to bring this delectable dough together. It’s a low-fuss, high-reward recipe perfect for a cozy afternoon of baking.
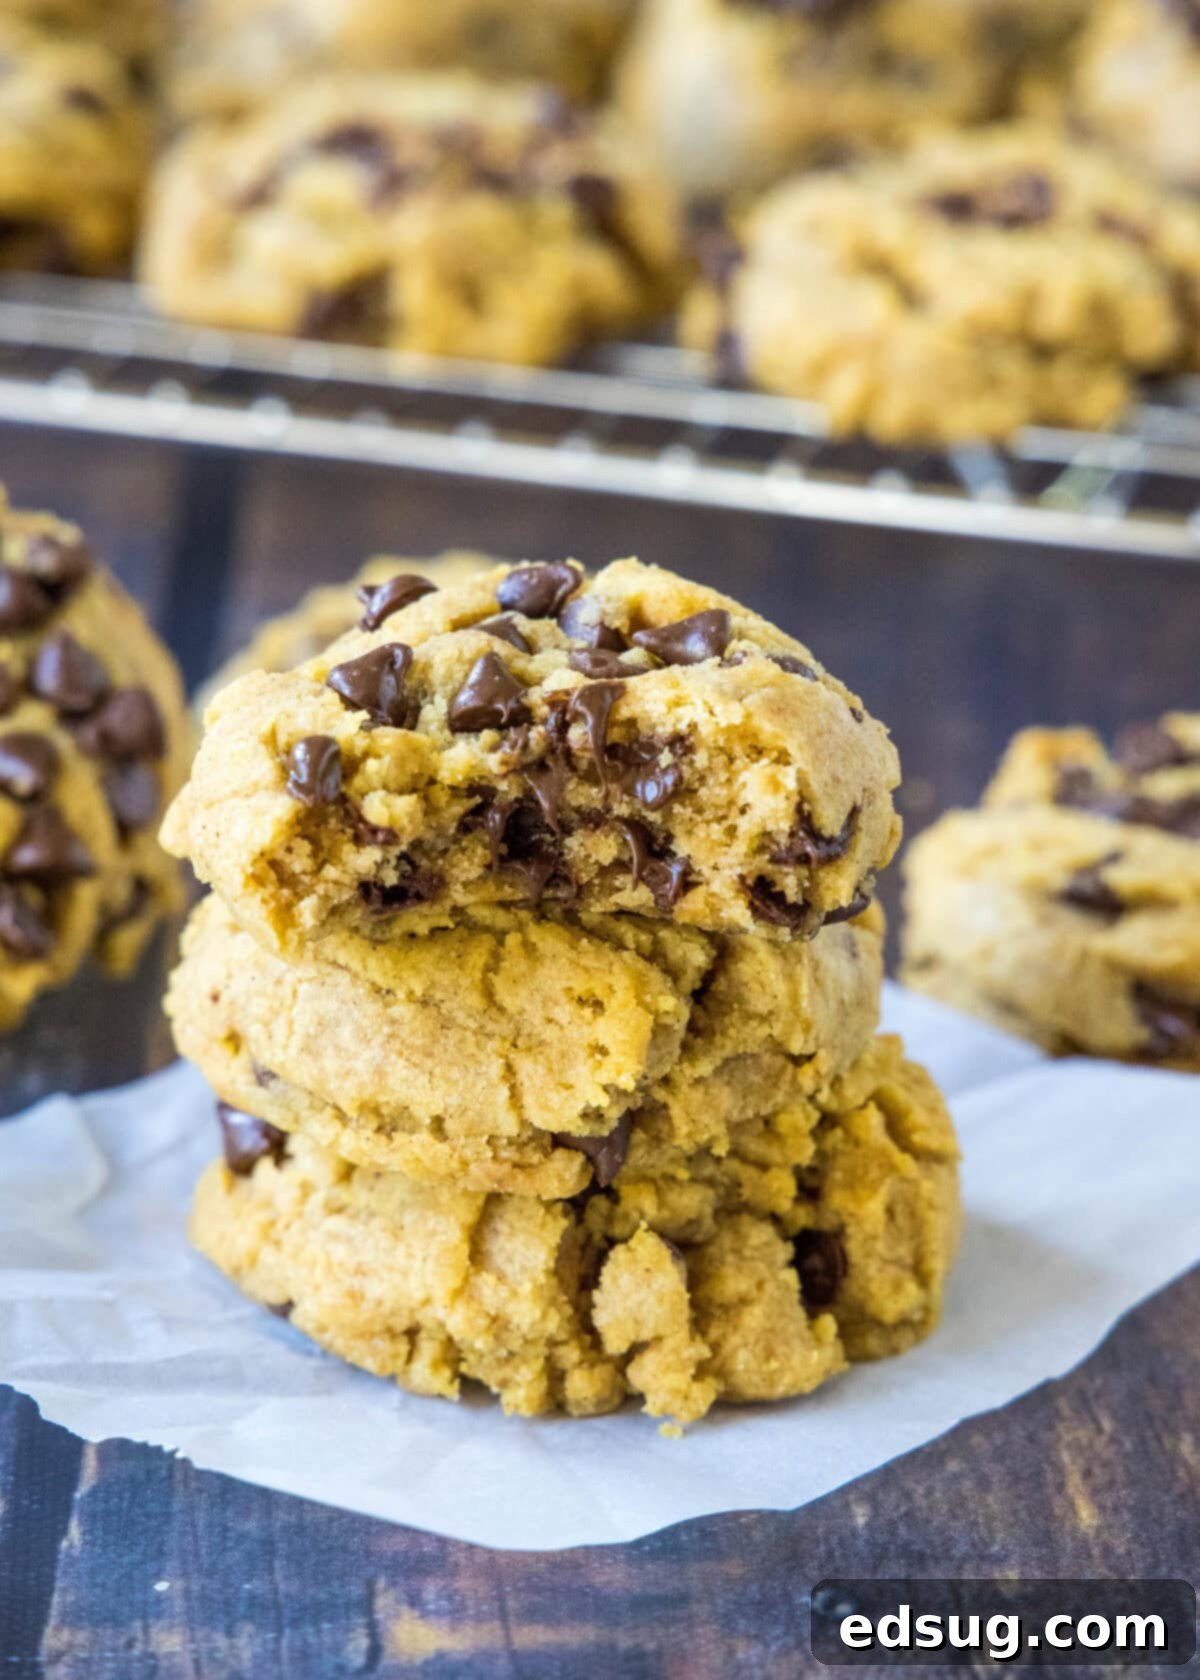
The two most critical elements in mastering the chewy texture of these pumpkin cookies are: draining the pumpkin puree and opting to skip the eggs entirely. These might sound unconventional, especially the absence of eggs in a cookie recipe, but they are the foundational secrets to preventing a cakey outcome and ensuring your cookies are wonderfully chewy and packed with concentrated pumpkin flavor.
Why You Must Drain the Pumpkin (And How To Do It Perfectly)
Pumpkin puree, while delicious, is incredibly high in moisture. In many baked goods, this moisture contributes to tenderness and a soft crumb. However, in cookies, excess moisture is the enemy of chewiness, leading directly to that undesirable cake-like texture. By draining the pumpkin, we achieve two crucial things: first, we remove the water content that would otherwise make our cookies puffy and soft, and second, we concentrate the rich, earthy pumpkin flavor, ensuring it shines through beautifully alongside the autumn spices.
Draining pumpkin is surprisingly simple and makes an enormous difference. While you could use a clean kitchen towel and squeeze out the moisture (similar to preparing zucchini for baking), I find the paper towel method less messy and just as effective. Here’s how to do it:
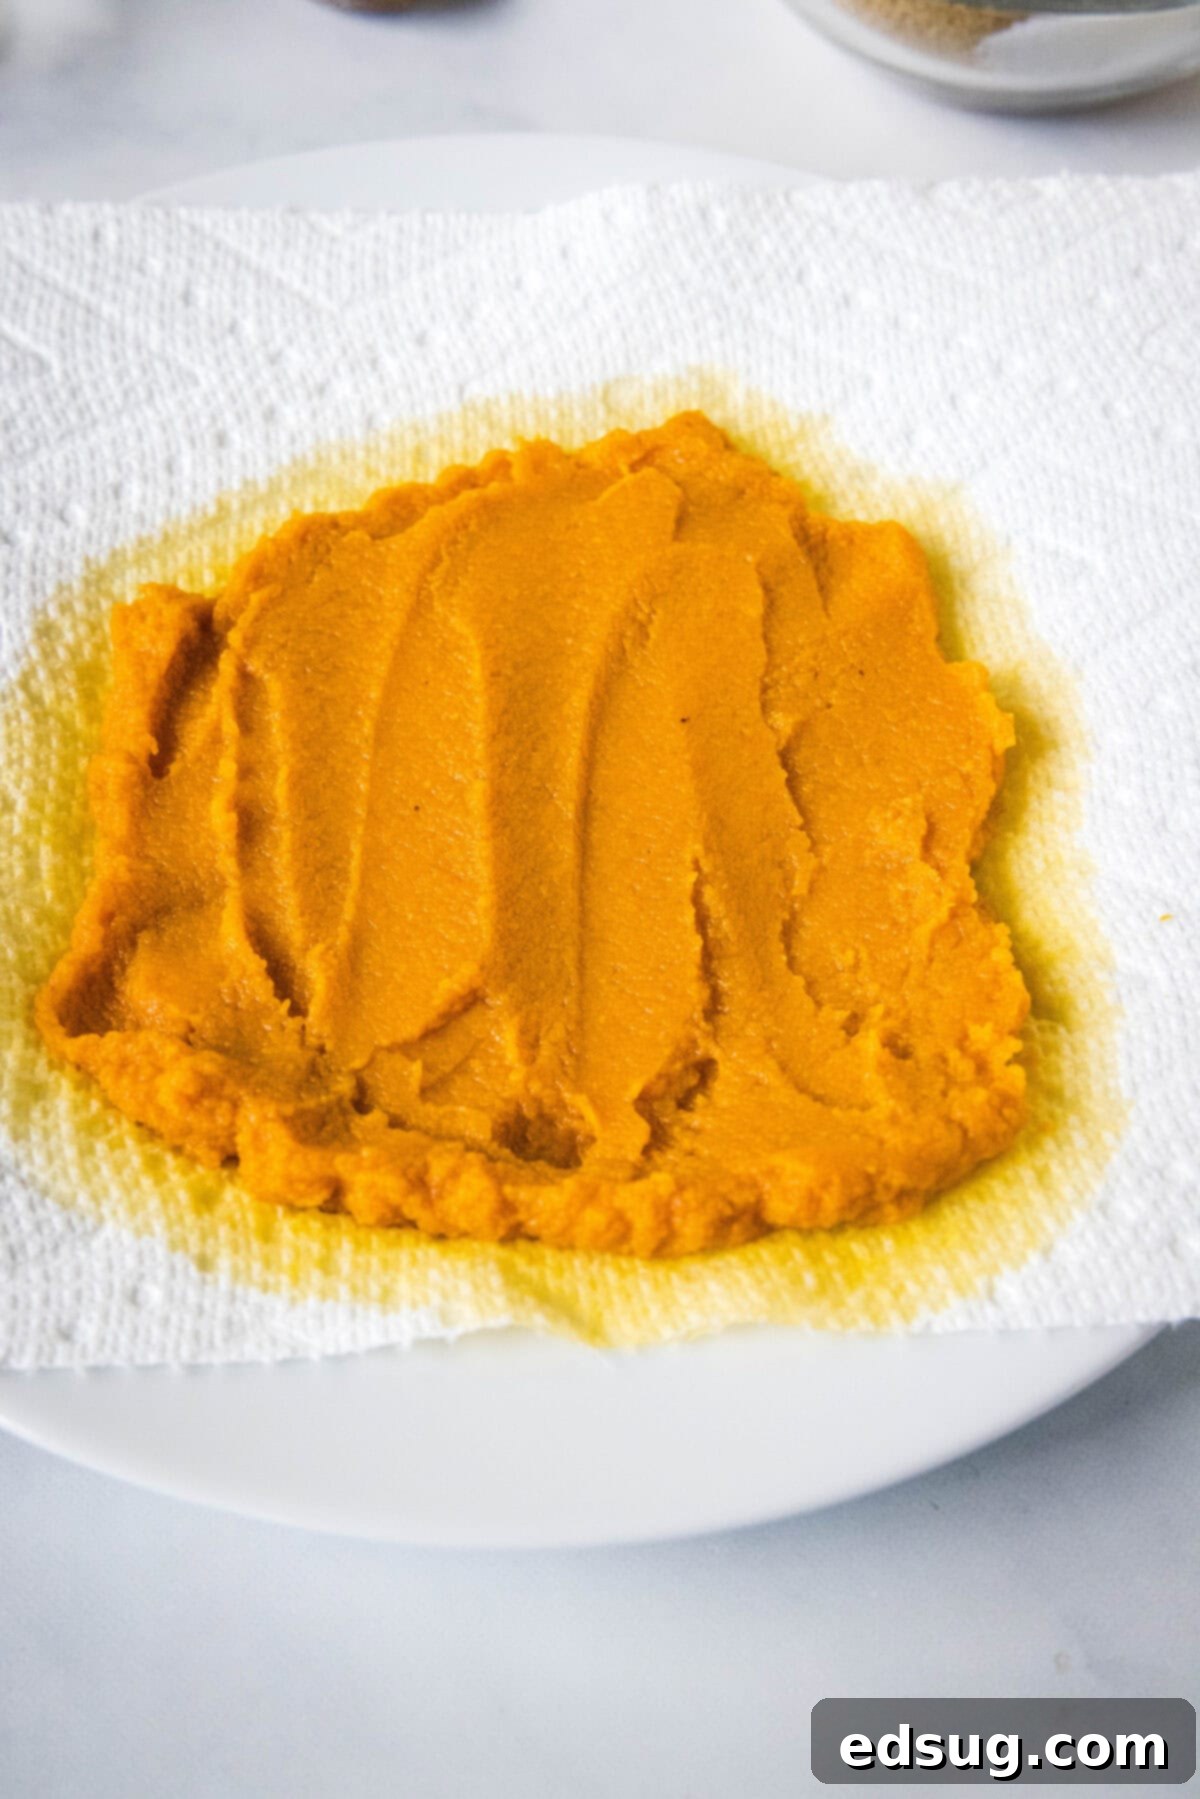
- Spread your pumpkin puree thinly onto a plate or baking sheet lined with several layers of paper towels.
- Let it sit for about 10 minutes. You’ll immediately notice the paper towels absorbing moisture from the pumpkin.
- After 10 minutes, gently blot the top surface of the pumpkin with another clean paper towel.
- For even more moisture removal, you can mix the pumpkin slightly, spread it into a thin layer again, and repeat the blotting process. You don’t need to get it bone dry, but removing a significant amount of liquid will truly elevate your cookie texture. This step is absolutely non-negotiable for that perfectly chewy result!
The No-Egg Secret for Chewy Pumpkin Cookies
In most traditional cookie recipes, eggs play a vital role. They act as a binder, holding all the ingredients together, and they also contribute moisture and help with leavening. However, in pumpkin cookies, the pumpkin puree itself provides ample binding properties and moisture. Adding extra eggs on top of the pumpkin would introduce too much liquid, once again pushing your cookies into the cakey realm. By omitting the eggs, we allow the drained pumpkin to do its job without over-hydrating the dough, resulting in a dense, chewy cookie that holds its shape beautifully and doesn’t puff up excessively.
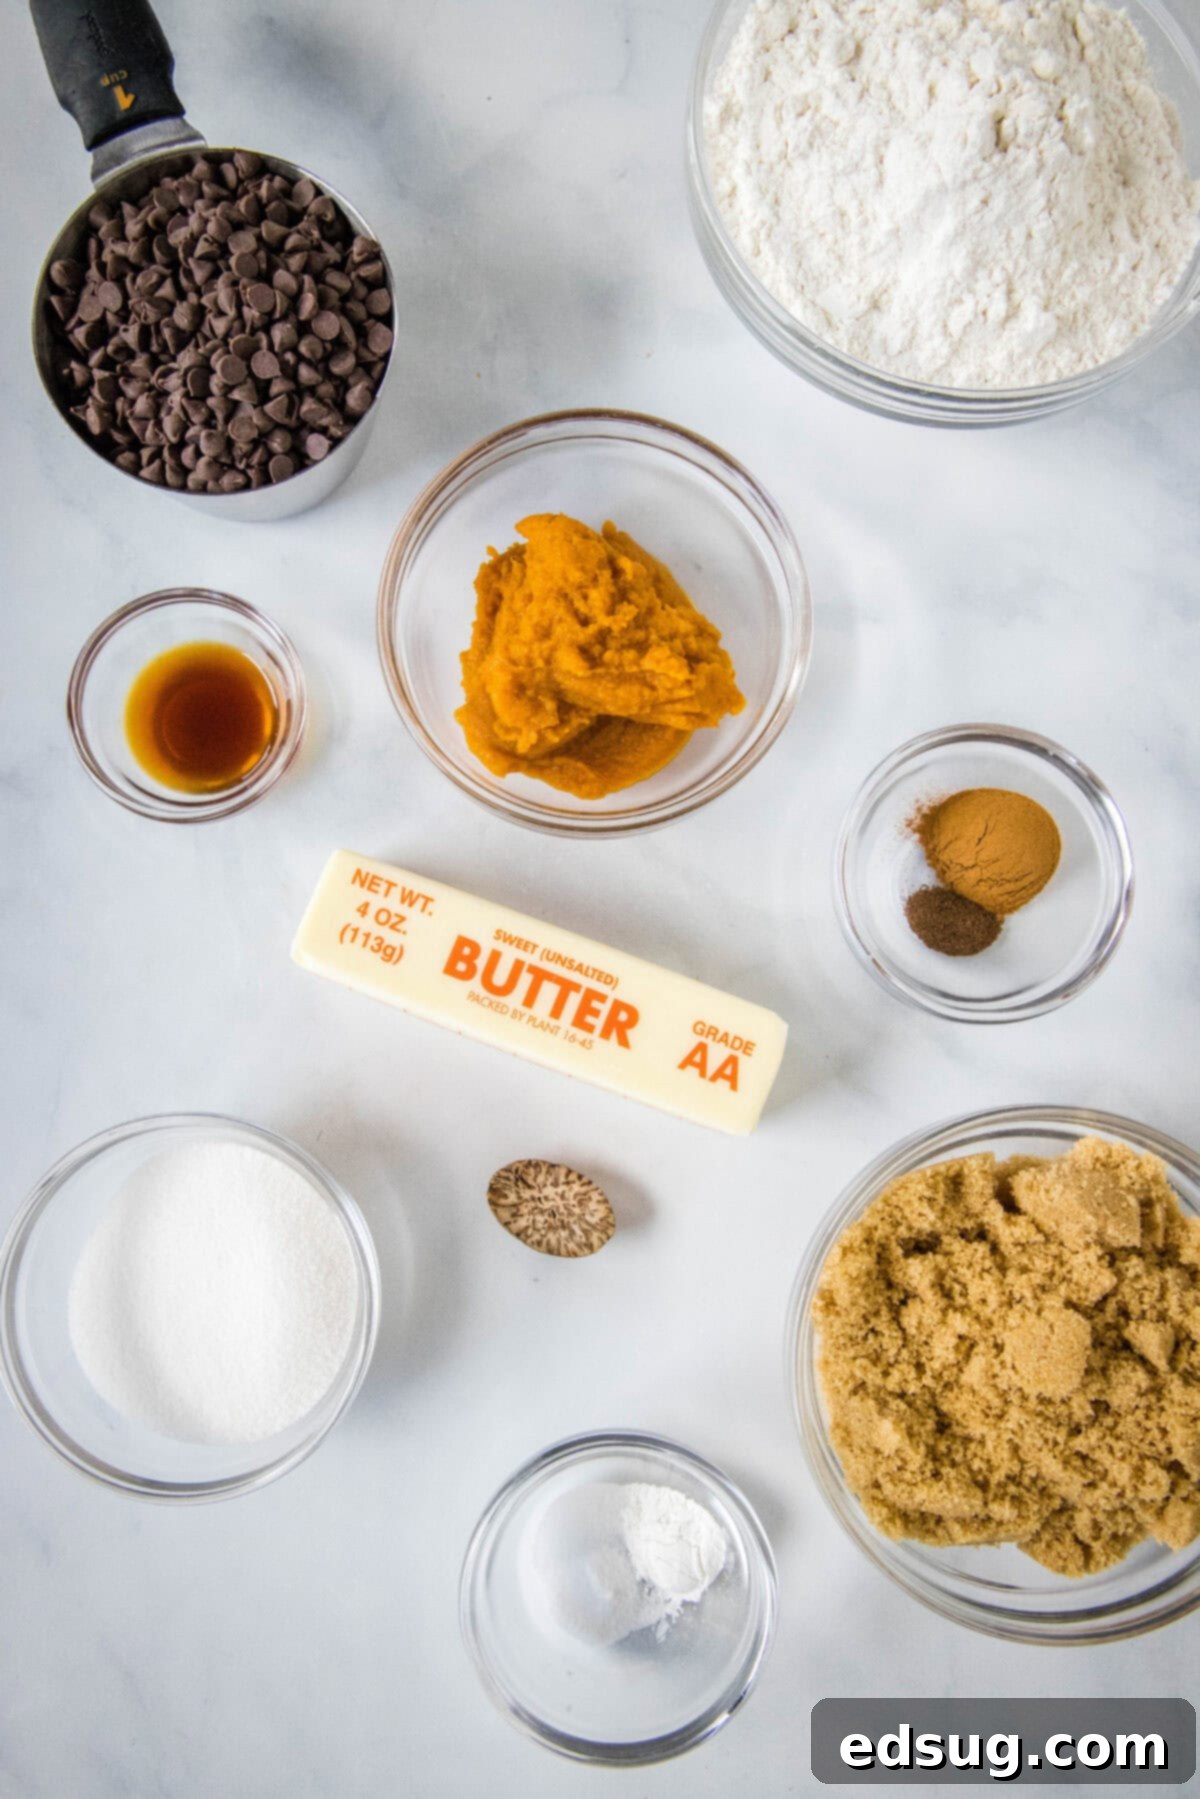
Gather Your Ingredients for the Best Chewy Pumpkin Cookies
Creating these delightful cookies requires a simple list of pantry staples, but each ingredient plays a crucial role in achieving that perfect chewy texture and warm fall flavor. Make sure to scroll to the bottom of the post for the FULL PRINTABLE recipe card with precise measurements!
- Unsalted Butter: Using melted butter is key here as it contributes to the chewy texture and eliminates the need for a mixer. Unsalted butter gives you control over the overall saltiness of the cookies.
- Light Brown Sugar: This isn’t just for sweetness; brown sugar contains molasses, which adds moisture and helps create that wonderful chewy, soft texture we’re aiming for.
- Granulated Sugar: A touch of white sugar balances the sweetness and helps with spread and crisping the edges slightly.
- Pumpkin Puree (Drained!): As discussed, this is the star of the show. Absolutely ensure it’s pure pumpkin puree, not pumpkin pie filling, which contains added sugars and spices. And remember, draining is essential!
- Vanilla Extract: A classic flavor enhancer that beautifully complements the pumpkin and spices.
- All-Purpose Flour: The foundation of our cookie structure.
- Baking Powder & Baking Soda: These leavening agents work together to give the cookies a slight lift without making them overly cakey.
- Cinnamon, Nutmeg, Allspice: This trio of spices creates the quintessential warm and inviting fall flavor profile that pairs perfectly with pumpkin. If you’re looking for a convenient shortcut, feel free to use 1.5 teaspoons of Homemade Pumpkin Pie Spice or a store-bought blend instead of individual spices.
- Salt: A pinch of salt balances the sweetness and enhances all the other flavors in the cookie. Don’t skip it!
- Chocolate Chips: I personally love mini semi-sweet chocolate chips in these cookies as they distribute evenly and melt beautifully in every bite. However, feel free to use any type of chocolate chip you prefer – milk chocolate, dark chocolate, or even white chocolate chips would be delicious!
Step-by-Step: Crafting Your Chewy Pumpkin Chocolate Chip Cookies
Follow these straightforward steps to create a batch of incredibly chewy and flavorful pumpkin chocolate chip cookies. Remember, patience with the chilling process is a virtue that will be rewarded with perfect cookies!
- Prepare the Pumpkin: Begin by spreading your 1/3 cup of pumpkin puree thinly onto a paper towel-lined plate. Allow it to sit for a few minutes, then gently blot the top with additional paper towels to remove as much excess liquid as possible. This critical step ensures a chewy, not cakey, cookie.
- Combine Wet Ingredients: In a large mixing bowl, whisk together the melted unsalted butter, light brown sugar, and granulated sugar until the mixture is thoroughly combined, smooth, and free of any lumps.
- Add Pumpkin and Vanilla: Stir in the vanilla extract and the now-drained pumpkin puree. Mix until these ingredients are fully incorporated into the butter and sugar mixture, creating a vibrant, fragrant base.
- Mix Dry Ingredients: In a separate medium bowl, whisk together the all-purpose flour, baking powder, baking soda, cinnamon, nutmeg, allspice, and salt until well combined. This ensures even distribution of the leavening and spices.
- Combine Wet and Dry: Gradually add the dry ingredient mixture to the pumpkin mixture. Mix gently with a spatula or wooden spoon until just combined. Be careful not to overmix; overmixing can lead to tough cookies. A few streaks of flour are perfectly fine.
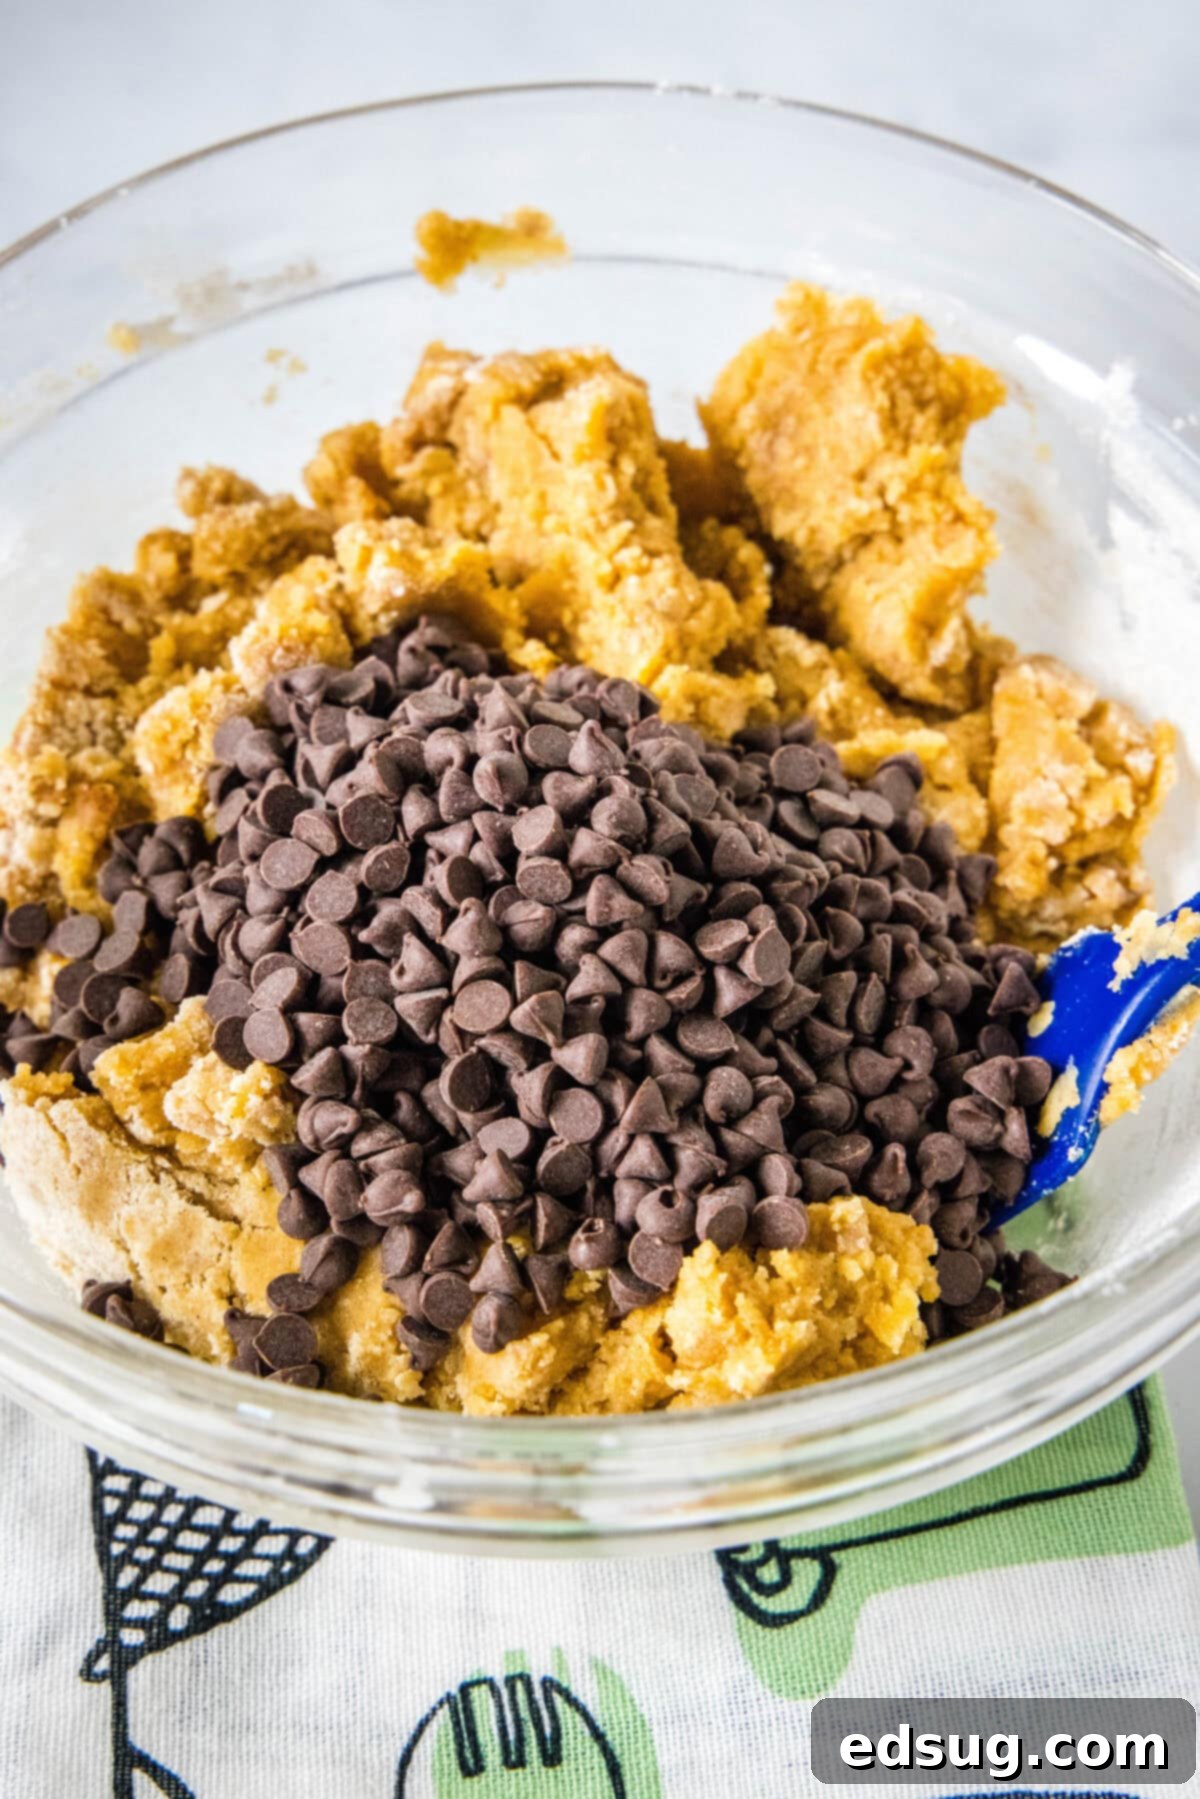
- Fold in Chocolate Chips: Gently fold in your chocolate chips until they are just evenly distributed throughout the dough.
- Chill the Dough: This step is crucial for thick, chewy cookies. Cover the bowl with plastic wrap and refrigerate the dough for at least 30 minutes. For even better results and a more developed flavor, you can chill it for up to 24 hours. The chilling time allows the flavors to meld and prevents the cookies from spreading too much during baking.
- Preheat Oven & Prepare Baking Sheet: When ready to bake, preheat your oven to 350°F (175°C). Line a baking sheet with parchment paper or a silicone baking mat.
- Scoop and Bake: Scoop uniform balls of dough (approximately 1.5 to 2 tablespoons each) onto the prepared baking sheet, leaving about 2 inches between them. Bake for 9-10 minutes, or until the edges are lightly golden and set, but the centers still look slightly soft. Remember, cookies continue to cook slightly after being removed from the oven.
- Cool: Remove the baking sheet from the oven and let the cookies set on the hot sheet for about 5 minutes. This allows them to firm up without becoming brittle. Then, carefully transfer them to a wire rack to cool completely.
- Store: Once completely cooled, store your chewy pumpkin chocolate chip cookies in an airtight container at room temperature for up to 3-4 days to maintain their freshness and chewiness.
Expert Tips & Tricks for Perfect Chewy Pumpkin Cookies
To ensure your batch of Chewy Pumpkin Chocolate Chip Cookies turns out absolutely perfect every single time, keep these expert tips and tricks in mind:
- No Eggs, Really! Yes, you read that correctly, and it’s not a typo! This recipe is intentionally designed without eggs. The pumpkin puree provides all the necessary binding and moisture, and adding eggs would introduce too much liquid, leading to a cakey rather than chewy cookie. Trust the process!
- Draining Pumpkin is Non-Negotiable: This is arguably the most critical step for achieving that signature chewy texture. If you desire a cookie with the delightful chewiness of your classic chocolate chip cookie but infused with rich pumpkin flavor, removing that excess moisture makes the biggest difference. Don’t skip it; your cookies will thank you!
- Don’t Skip Chilling the Dough: Because this recipe starts with melted butter, the dough will initially be quite soft. Chilling the dough for at least 30 minutes (and up to 24 hours for deeper flavor) allows the butter to solidify, preventing the cookies from spreading too thin in the oven. This results in thicker, chewier cookies with a much better texture and more controlled bake.
- Prevent Overmixing: Once you add the dry ingredients to the wet, mix only until just combined. Overmixing develops the gluten in the flour, which can lead to tough, dry cookies. A few streaks of flour remaining are perfectly acceptable.
- Watch Your Baking Time: Cookies continue to bake for a few minutes after being removed from the oven. For optimal chewiness, pull them out when the edges are set and lightly golden, but the centers still look slightly soft and underdone. They will firm up as they cool.
- Consider a Shortcut with Pumpkin Pie Spice: If you’re short on individual spices or prefer a simpler approach, you can easily substitute the cinnamon, nutmeg, and allspice with a good quality pumpkin pie spice blend. Use about 1.5 teaspoons in total, or adjust to your taste.
- Room Temperature Storage: Once fully cooled, store your cookies in an airtight container at room temperature. This helps maintain their soft, chewy texture.
Freeze for Fresh-Baked Cookies Anytime!
One of the best things about this cookie dough is how beautifully it freezes, allowing you to enjoy warm, fresh-baked cookies whenever the craving strikes, without the full preparation effort. You can freeze either raw cookie dough balls or already baked cookies.
How to Freeze Raw Cookie Dough Balls:
- Scoop and Flash Freeze: Begin by scooping individual balls of cookie dough onto a baking sheet lined with parchment paper. You don’t need to leave much space between them since you’re not actually baking them at this stage.
- Harden: Place the baking sheet in the freezer for at least 1 hour, or until the dough balls are completely firm and frozen solid.
- Transfer to Storage: Once hardened, transfer the frozen dough balls into a freezer-safe zip-top bag or an airtight container. Be sure to label the bag with the date and the type of cookie so you know exactly what you have later.
- Store: The frozen cookie dough can be stored for up to 3-4 months.
- Baking from Frozen: To bake, simply remove the desired number of dough balls from the freezer. Place them on a prepared baking sheet and let them sit at room temperature for about 10-15 minutes while your oven preheats. You might need to add an extra 1-2 minutes to the baking time compared to fresh dough, but otherwise, bake as directed in the recipe. This method is perfect for having warm, gooey cookies on demand!
How to Freeze Baked Cookies:
- Cool Completely: Ensure your baked cookies are cooled entirely to room temperature before freezing.
- Layer for Protection: Place cooled cookies in a single layer on a baking sheet and flash freeze for about 30 minutes, or until solid. This prevents them from sticking together.
- Store: Transfer the frozen cookies to a freezer-safe container, layering them between sheets of parchment paper. Seal tightly.
- Reheat: When ready to enjoy, simply thaw at room temperature or warm gently in a microwave for a few seconds.
Explore More Delicious Fall Pumpkin Recipes!
If you’ve fallen in love with the flavor of pumpkin, there’s a whole world of autumn desserts waiting to be explored. Here are some more of my favorite pumpkin-infused recipes that are perfect for the season:
- Pumpkin Delight: A layered dessert with a spiced pecan crust, creamy pumpkin cheesecake layer, and a whipped topping.
- Pumpkin Dump Cake: An incredibly easy and comforting dessert where pumpkin pie filling is topped with cake mix and butter, then baked to perfection.
- Pumpkin Crisp: A delightful twist on apple crisp, featuring a warmly spiced pumpkin base topped with a buttery, oat crumble.
- Pumpkin Spice Cupcakes with Cinnamon Spiced Buttercream: Fluffy, moist pumpkin cupcakes crowned with a decadent cinnamon-spiced buttercream frosting – pure fall bliss!
These chewy pumpkin chocolate chip cookies are more than just a seasonal treat; they’re a celebration of fall, a testament to clever baking techniques, and an absolute delight for anyone who loves a good, old-fashioned chewy cookie. So grab your ingredients, embrace the pumpkin, and get ready to bake a batch that will disappear faster than falling leaves. Happy baking!
Chewy Pumpkin Chocolate Chip Cookies
By Erin Sellin
Classic chewy chocolate chip cookies dressed up for fall with a little pumpkin! These are thick, chewy and anything but cakey!
Prep Time: 10 mins
Cook Time: 10 mins
Total Time: 20 mins (Excluding chilling time)
Servings: 25 cookies
Print Recipe
Equipment
- Full Sheet Pan
- Cookie Scoop
- Kitchen Aid Stand Mixer (Optional, hand whisk is sufficient)
Ingredients
- 1/2 cup unsalted butter, melted
- 3/4 cup light brown sugar, packed
- 1/4 cup granulated sugar
- 1/3 cup pumpkin puree, thoroughly drained
- 1 teaspoon vanilla extract
- 1 3/4 cup all-purpose flour
- 1/2 teaspoon baking powder
- 1/4 teaspoon baking soda
- 1 teaspoon ground cinnamon
- 1/4 teaspoon ground nutmeg
- 1/4 teaspoon ground allspice
- 1/2 teaspoon salt
- 3/4 cup mini semi-sweet chocolate chips (or your preferred type)
Instructions
- Prepare Pumpkin: Spread pumpkin puree thinly onto a paper towel-lined plate. Let it sit for a few minutes, then blot the top with more paper towels to remove as much liquid as possible. This is crucial for chewy cookies.
- Mix Wet Ingredients: In a large bowl, whisk together melted butter, light brown sugar, and granulated sugar until smooth and well combined.
- Add Flavor: Stir in vanilla extract and the drained pumpkin puree until fully incorporated.
- Combine Dry Ingredients: In a separate bowl, whisk together flour, baking powder, baking soda, cinnamon, nutmeg, allspice, and salt.
- Form Dough: Add the dry mixture to the wet ingredients. Mix until just combined. Be careful not to overmix.
- Add Chocolate: Fold in the chocolate chips until evenly distributed.
- Chill Dough: Cover the dough and refrigerate for at least 30 minutes, or up to 24 hours. Chilling is essential for thick, chewy cookies.
- Preheat Oven: Preheat oven to 350°F (175°C). Line a baking sheet with parchment paper.
- Bake: Scoop balls of dough (about 1.5-2 tablespoons) onto the baking sheet. Bake for 9-10 minutes, until edges are set and lightly golden, but centers still look soft.
- Cool: Remove from oven and let set on the baking sheet for 5 minutes before transferring to a wire rack to cool completely.
- Store: Store cooled cookies in an airtight container at room temperature.
Notes
To freeze raw dough: Shape into balls, flash freeze on a baking sheet for 60 minutes, then transfer to a freezer-safe bag. Freeze for up to 3 months. Bake from frozen, adding 1-2 minutes to baking time. For best results, allow frozen dough balls to sit at room temperature for 10-15 minutes while the oven preheats.
Nutrition (per cookie)
- Calories: 101 kcal
- Carbohydrates: 15g
- Protein: 1g
- Fat: 5g
- Saturated Fat: 3g
- Polyunsaturated Fat: 2g
- Cholesterol: 7mg
- Sodium: 70mg
- Fiber: 1g
- Sugar: 9g
Nutrition information is automatically calculated and should only be used as an approximation.
Additional Info
Course: Dessert Recipes
Cuisine: American
Rating: 5 out of 5 stars (Based on 2 votes)
