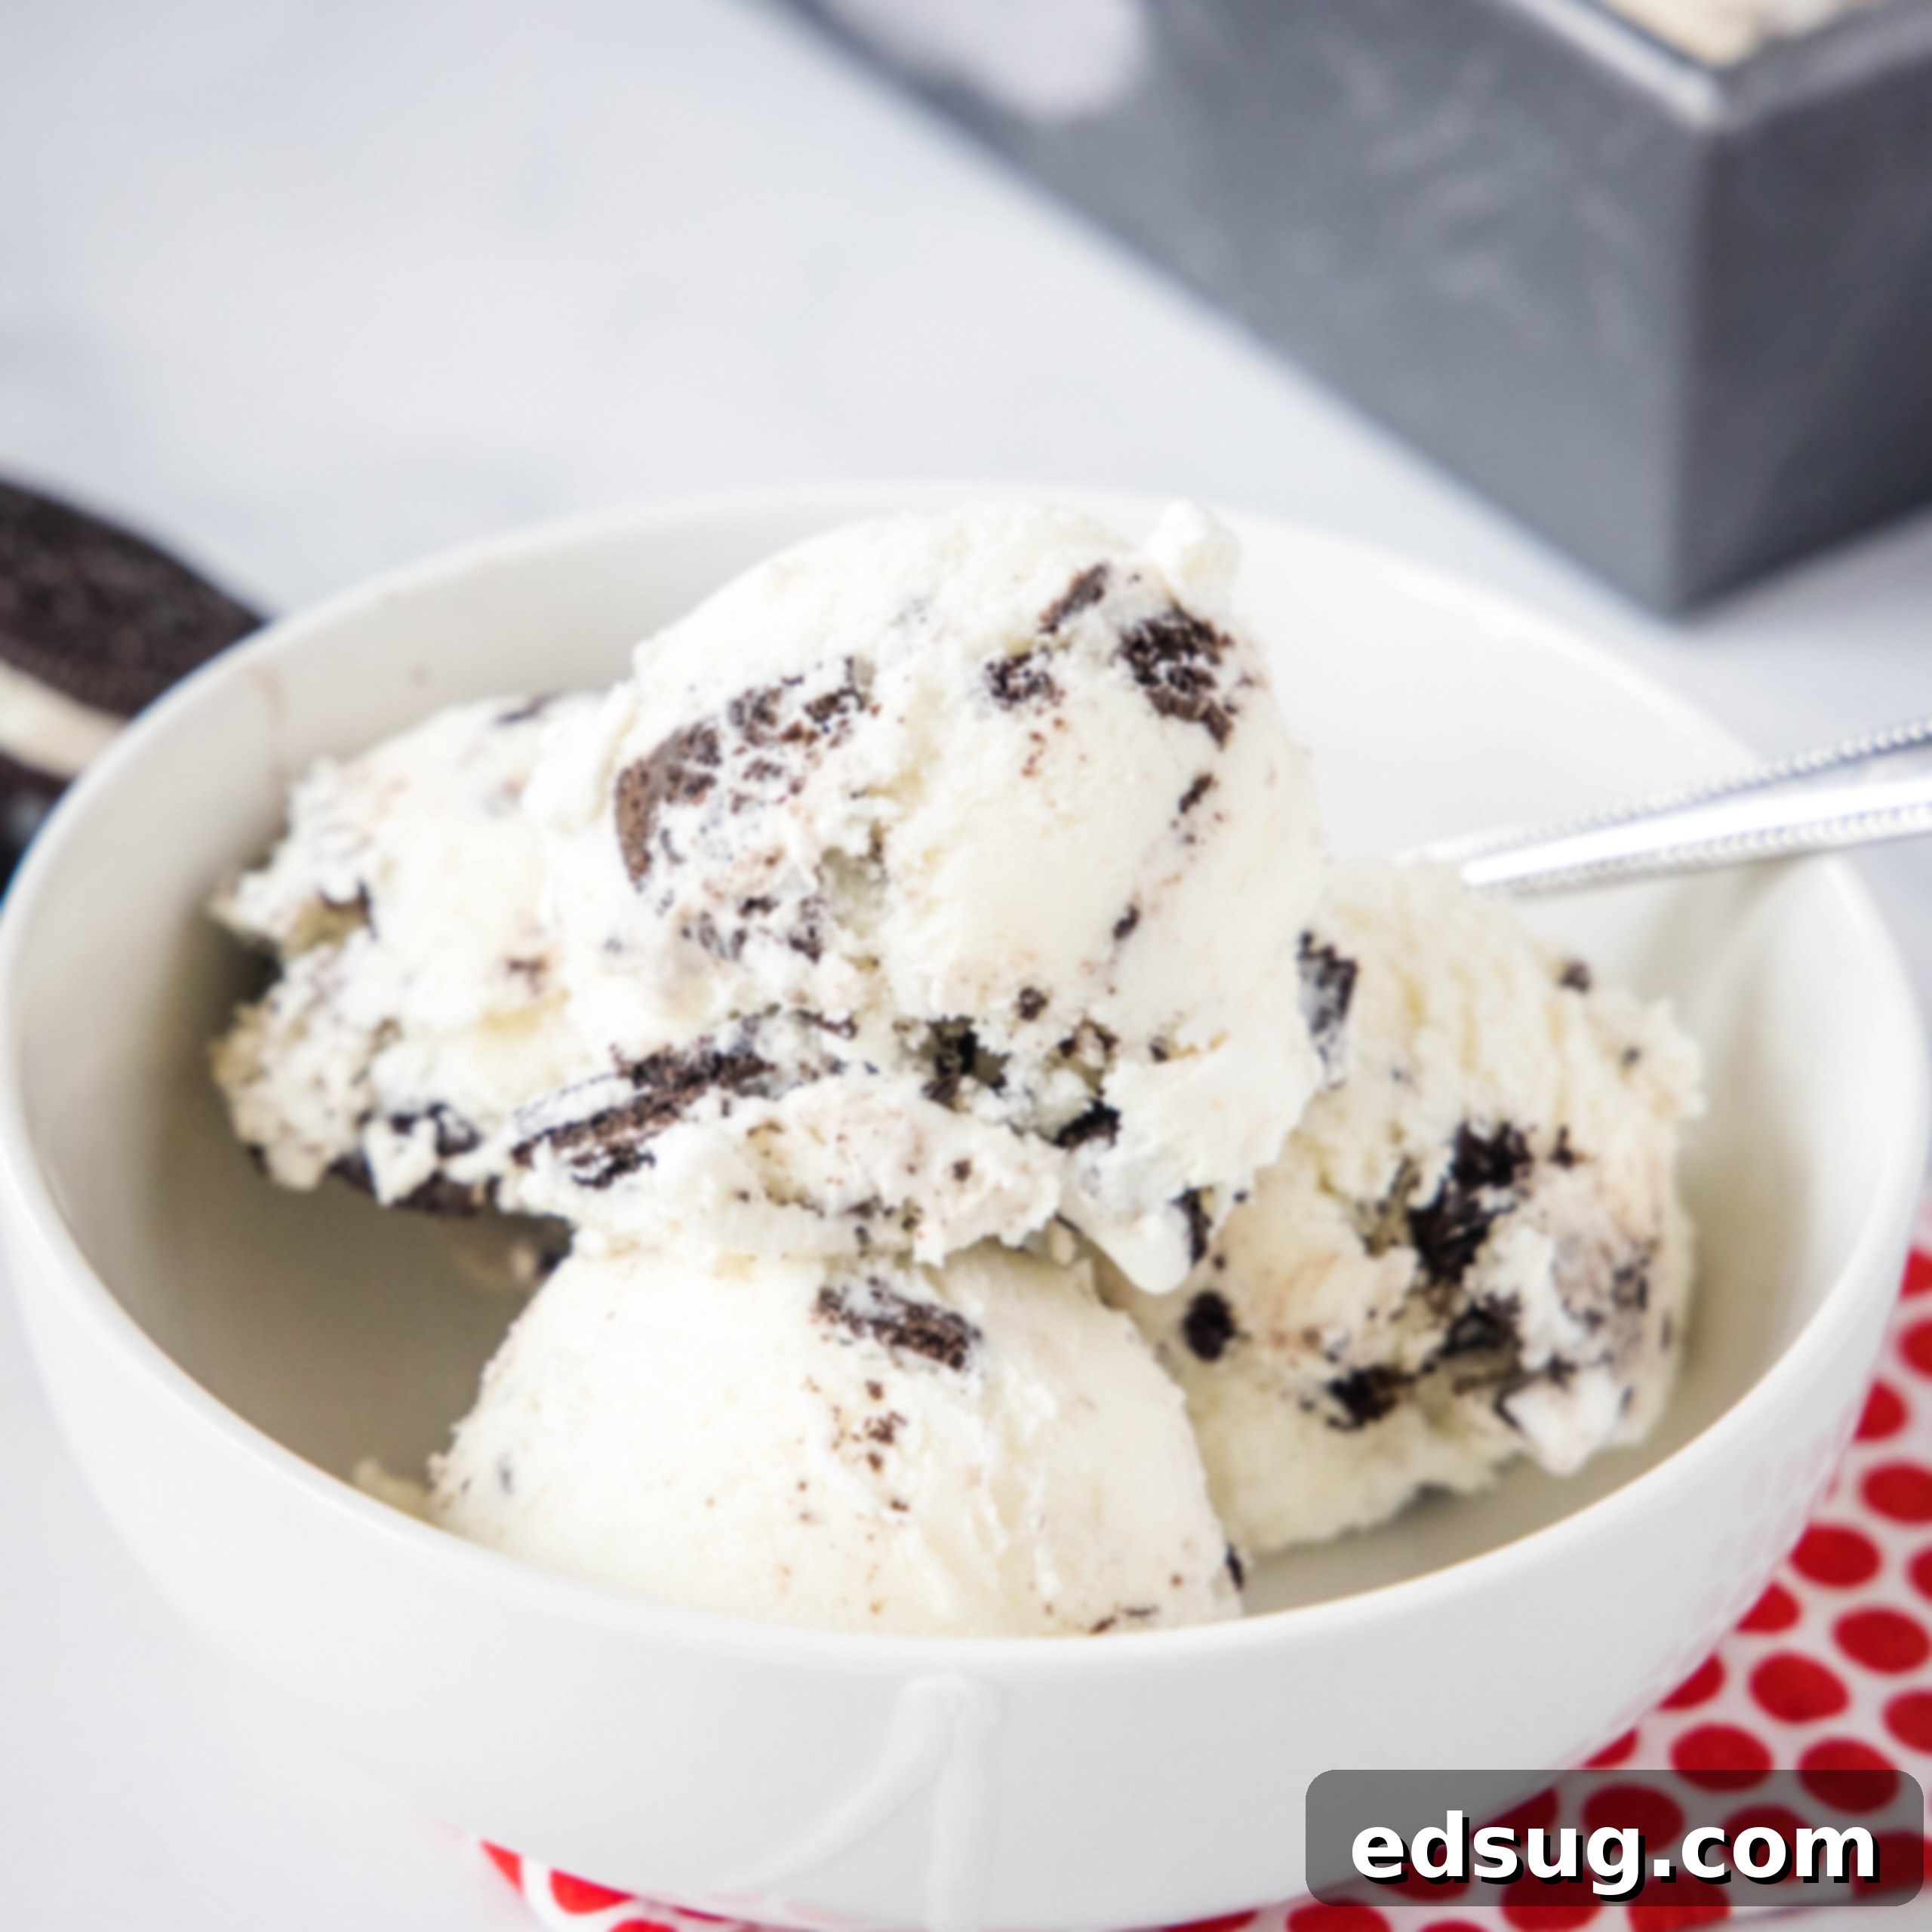
Homemade Cookies and Cream Ice Cream: The Ultimate Oreo Dessert Recipe
Indulge in the ultimate frozen treat: rich, creamy homemade vanilla ice cream generously loaded with an abundance of real Oreo cookie pieces! Forget store-bought versions – this recipe delivers on flavor and texture every single time.
There’s an undeniable magic that comes with a scoop of perfectly churned homemade ice cream. It’s a culinary experience that store-bought varieties, no matter how premium, often struggle to replicate. While commercial ice creams can be convenient, they frequently fall short on a crucial element, especially when it comes to beloved flavors like Cookies and Cream: the mix-ins.
How many times have you eagerly opened a tub of “Cookies and Cream” only to find a sparse scattering of almost-powdery cookie crumbs, leaving you longing for actual chunks? It’s a common disappointment, where the promise of a delightful texture contrast is replaced by a hint of flavor that barely registers. This frustrating lack of substantial cookie pieces is precisely why mastering homemade ice cream, particularly this Cookies and Cream masterpiece, is so incredibly rewarding.
Today, we’re taking matters into our own hands. We’re crafting an ice cream that not only boasts a luxuriously smooth and rich vanilla base but is also generously studded with real, satisfying chunks of Oreo cookies in every single bite. This isn’t just another ice cream recipe; it’s a declaration that homemade truly is superior, delivering an unparalleled texture and flavor that will undoubtedly become your new go-to summer (or anytime!) dessert.
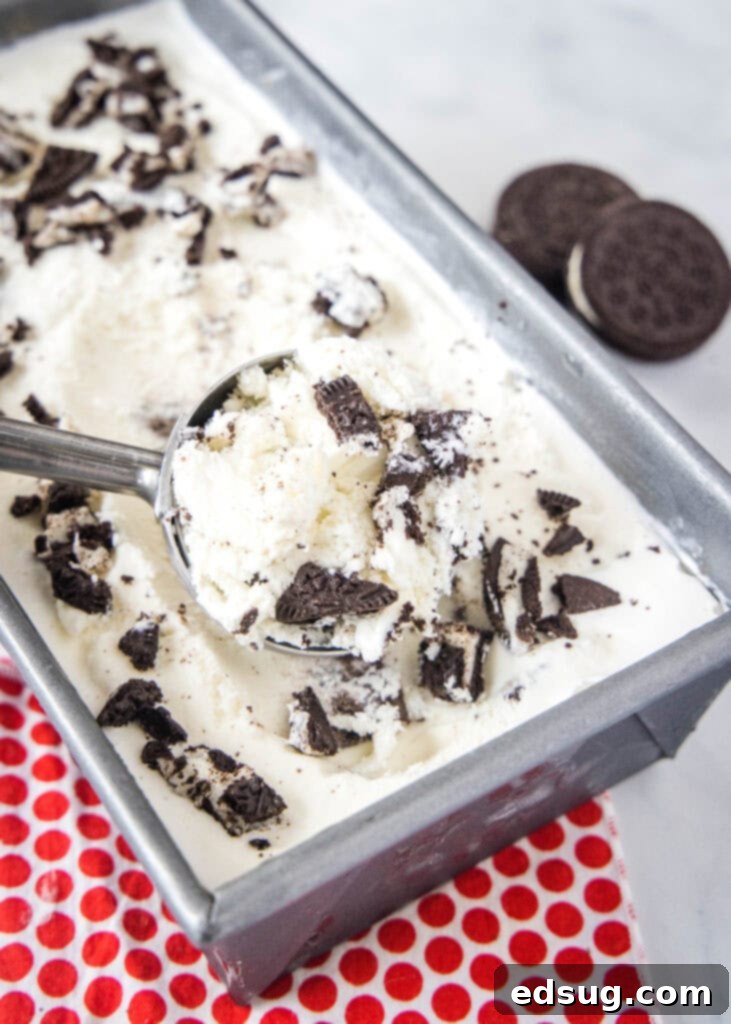
Understanding Homemade Ice Cream Bases: Custard vs. Philadelphia Style
When you embark on the delightful journey of making ice cream at home with an ice cream maker, you’ll generally encounter two primary approaches to creating the base. Each method yields a distinct texture and flavor profile, catering to different preferences and levels of commitment in the kitchen.
Custard Base (French Style)
The custard base, often referred to as French-style ice cream, is the more traditional and arguably more indulgent method. It involves eggs, typically egg yolks, which are cooked with milk, cream, and sugar over low heat to form a thick, luscious custard. The cooking process is crucial: the mixture is gently heated until it reaches a specific temperature (usually around 170-175°F or 77-79°C) to ensure the eggs are safely cooked, thickening the base beautifully. This method results in an exceptionally rich, dense, and incredibly creamy ice cream with a luxurious mouthfeel that coats your palate. However, there’s a trade-off: because the mixture is heated, it must be thoroughly chilled in the refrigerator for several hours (often overnight) before it can be churned in an ice cream maker. This makes it a more time-consuming process, but many argue the superior texture is well worth the extra effort.
Philadelphia Style (American Style)
In contrast, Philadelphia-style ice cream, also known as American-style or “no-cook” ice cream, is celebrated for its simplicity and speed. This base typically combines heavy cream and whole milk with sugar and flavorings, without the addition of eggs or any cooking step. You simply whisk the ingredients together until the sugar dissolves, and then pour the mixture directly into your ice cream maker. There’s no tempering, no careful stirring over heat, and no long chilling period required beyond what’s needed for the ice cream maker’s canister. While still wonderfully creamy and delicious, Philadelphia-style ice cream tends to be slightly lighter in texture than its custard counterpart, as it lacks the emulsifying and thickening properties of egg yolks. However, for those seeking a quicker path to homemade frozen delights, it’s an absolute winner, delivering fantastic results with minimal fuss.
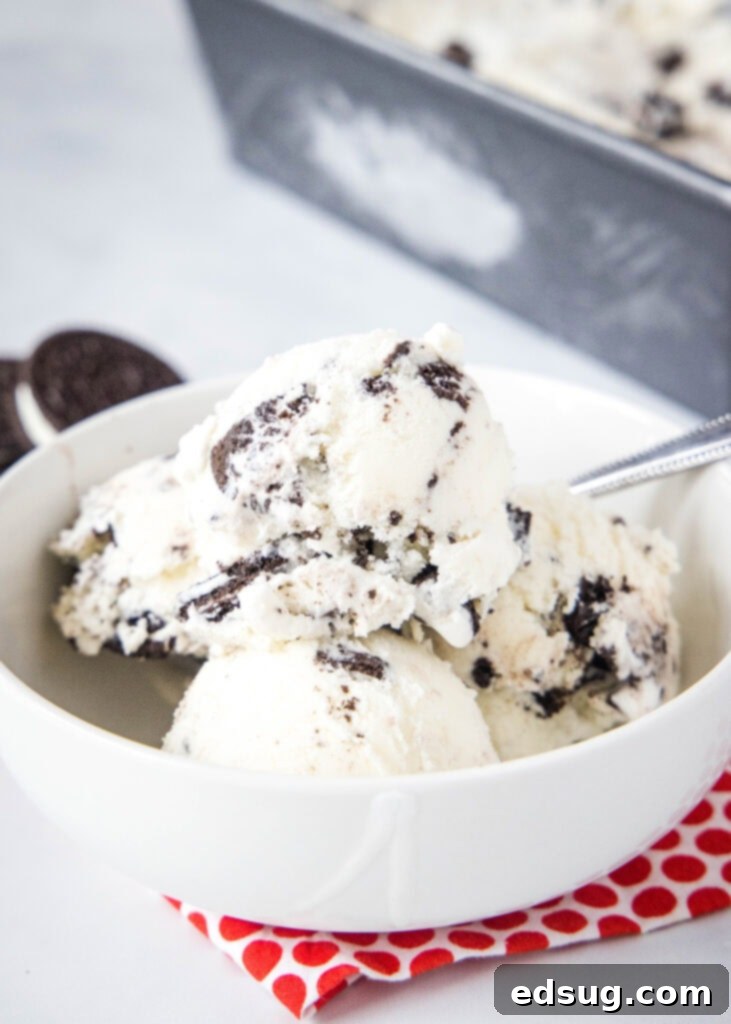
For this particular Cookies and Cream Ice Cream recipe, we are embracing the straightforward elegance of the Philadelphia Style. This choice means you won’t have to worry about any cooking or chilling the base overnight, allowing you to enjoy your intensely flavorful, cookie-studded ice cream in significantly less time. It’s the perfect balance of ease and incredible homemade taste!
The Magic Ingredients for Irresistible Cookies and Cream Ice Cream
Before we dive into the delicious process, let’s gather our essential ingredients. For the FULL PRINTABLE recipe card with exact measurements, be sure to scroll to the bottom of this post!
- Whole Milk: Provides a foundational liquid for our ice cream base and contributes to its overall body and creaminess. Using whole milk ensures a richer, fuller flavor and texture compared to lower-fat alternatives.
- Heavy Cream: This is where the magic happens for true creaminess! Heavy cream, with its high-fat content, is essential for achieving that luxurious, smooth, and rich consistency we crave in homemade ice cream. Don’t skimp on this one!
- Granulated Sugar: Beyond just sweetness, sugar plays a vital role in the texture of ice cream. It lowers the freezing point, preventing the ice cream from becoming rock-hard and icy, ensuring a scoopable, soft texture.
- Vanilla Extract: The soul of our vanilla ice cream base. A good quality vanilla extract provides a warm, aromatic foundation that perfectly complements the chocolatey notes of the Oreo cookies. Pure vanilla extract is highly recommended for the best flavor.
- Salt: A pinch of salt might seem counterintuitive in a sweet dessert, but it’s a secret weapon! Salt balances the sweetness, enhances all the other flavors, and prevents the ice cream from tasting one-dimensional.
- Oreo Cookies: The star of the show! We’re talking about real, crushed Oreo cookies – the more, the merrier! These iconic chocolate sandwich cookies provide the signature “cookies and cream” flavor and, crucially, the delightful textural contrast of crunchy cookie pieces against the smooth ice cream.
Using high-quality ingredients, especially your dairy and vanilla, will significantly elevate the final taste of your homemade ice cream. Resist the urge to use low-fat milk or half-and-half, as the fat content is key to achieving that desirable creamy, non-icy texture.
Step-by-Step Guide: How To Make Creamy Cookies and Cream Ice Cream
Making your own Cookies and Cream Ice Cream is surprisingly simple, especially with our no-cook Philadelphia-style base. Follow these steps for a perfectly creamy, cookie-filled delight:
- Prepare the Base Mixture: In a large, sturdy bowl, combine the whole milk, granulated sugar, vanilla extract, and a pinch of salt. Whisk these ingredients vigorously until the sugar is completely dissolved. This is an important step – you don’t want grainy ice cream! Ensure the mixture feels smooth when rubbed between your fingers. Once the sugar is fully dissolved, pour in the heavy cream and whisk again until everything is thoroughly combined and uniform.
- Churn the Ice Cream: Make sure your ice cream maker’s bowl is thoroughly frozen (usually requires at least 12-24 hours in the freezer). With your ice cream maker running (it’s often best to start the machine before adding the mixture to prevent it from freezing to the bottom), slowly and steadily pour the prepared liquid mixture into the churning bowl. Allow it to churn according to your ice cream maker’s manufacturer directions, which typically takes between 20 to 30 minutes. The ice cream should thicken to the consistency of soft-serve.
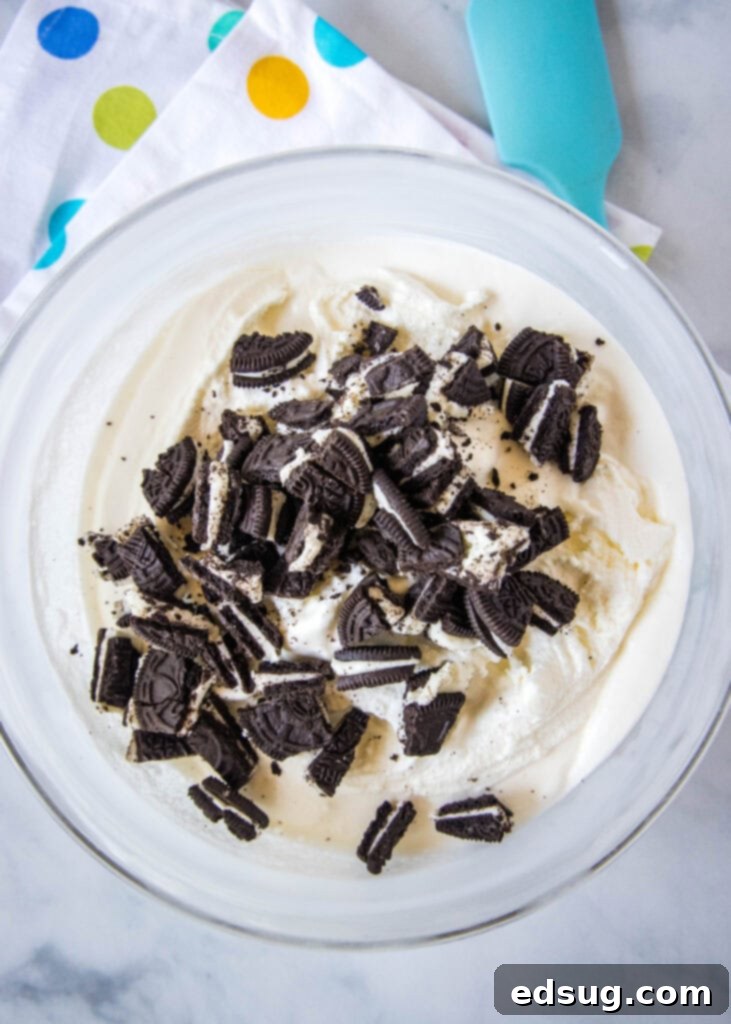
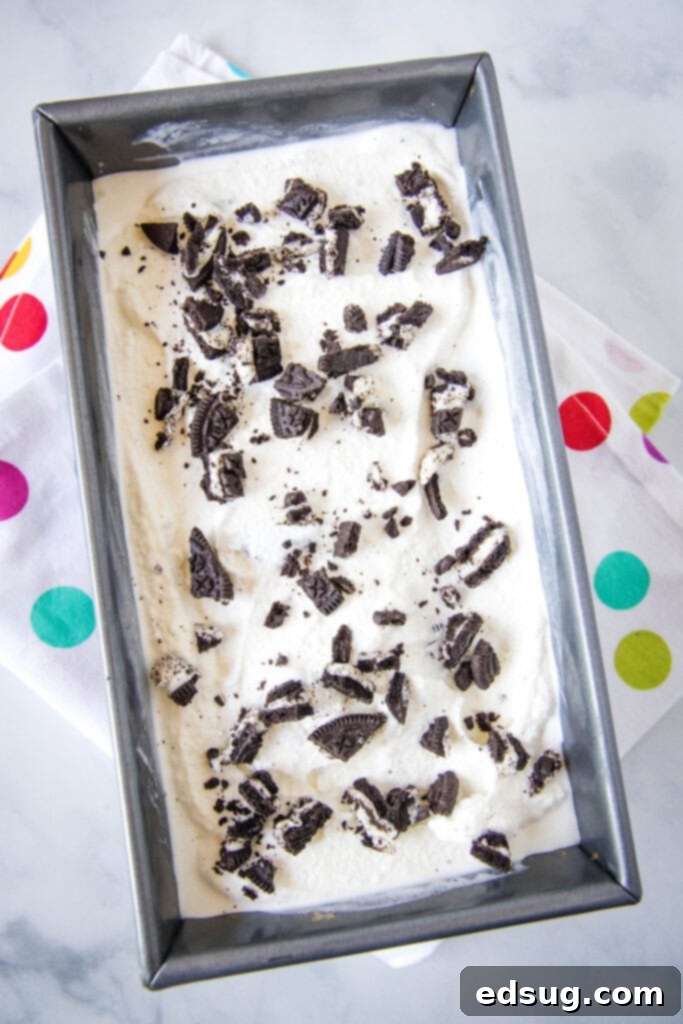
- Incorporate the Oreo Cookies: Once the ice cream has reached a soft-serve consistency, turn off your ice cream maker. Transfer the freshly churned ice cream to a large mixing bowl. Now for the best part: add your generous helping of chopped or crushed Oreo cookies. Gently fold the cookies into the ice cream using a spatula, distributing them evenly throughout the mixture. You want a good amount in every bite!
- Final Freeze & Firm Up: Transfer the cookie-filled ice cream into a freezer-safe container. A loaf pan works wonderfully for this, as does an airtight plastic container. Press a piece of parchment paper or plastic wrap directly onto the surface of the ice cream to prevent ice crystals from forming. Cover the container tightly and place it in the freezer for at least 1-2 hours to allow it to firm up to a scoopable consistency. For a firmer, more traditional scoop, freeze for 3-4 hours, or even overnight.
Tips for Success & Achieving the Creamiest Texture
- Chill Your Base: While Philadelphia style doesn’t require cooking, chilling the base mixture for at least 30-60 minutes before churning can lead to a slightly smoother texture, as the colder mixture churns more efficiently.
- Pre-freeze Your Ice Cream Maker Bowl: This is critical! Ensure your ice cream maker bowl is frozen solid, typically 12-24 hours prior to use, for optimal churning. A partially frozen bowl will result in soft, runny ice cream that won’t set properly.
- Don’t Overfill: Most ice cream makers have a maximum fill line. Keep in mind that the mixture will expand as it churns and freezes, so don’t overfill the bowl.
- Size of Oreo Chunks: For the best texture, aim for a mix of finely crushed and larger chopped Oreo pieces. The smaller bits will infuse flavor, while the larger chunks provide satisfying bites. You can pulse them briefly in a food processor or crush them by hand in a Ziploc bag.
- Add Mix-ins at the End: Always add your cookies or other mix-ins towards the end of the churning cycle, or after churning, to prevent them from getting completely pulverized by the paddle and to maintain their texture.
- Airtight Storage: Homemade ice cream is best enjoyed within a week or two. Store it in an airtight container to prevent freezer burn and keep it tasting fresh. Press plastic wrap directly onto the surface before putting on the lid.
Delicious Variations & Serving Suggestions
While classic Cookies and Cream is divine on its own, don’t hesitate to get creative!
- Different Cookies: Experiment with other sandwich cookies like Golden Oreos, mint Oreos, or even shortbread cookies.
- Added Extracts: A tiny splash of almond extract or peppermint extract can add an interesting twist to the vanilla base.
- Chocolate Chips: Fold in some white, milk, or dark chocolate chips along with the Oreos for an extra layer of chocolatey goodness.
- Sauces: My absolute favorite summer treat is a big bowl of this ice cream with a generous drizzle of Homemade Hot Fudge Sauce. Trust me, it’s infinitely better than anything you can buy in a jar! Caramel sauce or chocolate syrup are also excellent choices.
- Whipped Cream & Sprinkles: A dollop of fresh whipped cream and a sprinkle of chocolate shavings or colorful sprinkles make for a festive presentation.
- Milkshakes: Turn any leftovers into an epic Cookies and Cream milkshake by blending with a splash of milk!
Essential Equipment for Homemade Ice Cream
Making homemade ice cream is quite accessible, but a few key pieces of equipment will make the process smooth and enjoyable:
- Ice Cream Maker: This is, of course, the most crucial tool. There are various types:
- Freezer Bowl Machines: These are the most common and affordable. They require the bowl to be pre-frozen for at least 12-24 hours. Perfect for occasional use.
- Compressor Ice Cream Makers: These are more expensive but don’t require pre-freezing a bowl, as they have a built-in compressor that freezes the mixture as it churns. Ideal for frequent ice cream makers or those who want instant gratification.
- Rock Salt & Ice Machines: The old-fashioned way! These require a bit more effort but can be fun for a nostalgic experience.
- Large Mixing Bowls: For whisking your ingredients.
- Whisk: To ensure the sugar fully dissolves and ingredients are well combined.
- Spatula: For folding in your cookie pieces and transferring the ice cream.
- Airtight Freezer-Safe Container: Essential for storing your finished ice cream and preventing freezer burn. A loaf pan or a dedicated ice cream tub works perfectly.
Storage Tips for Fresh Homemade Ice Cream
Proper storage is key to maintaining the delicious texture and flavor of your homemade Cookies and Cream ice cream. Unlike commercial ice creams that often contain stabilizers, homemade versions can crystalize if not stored correctly.
- Airtight Container is a Must: Always transfer your ice cream to an airtight container immediately after churning and mixing in the cookies. This prevents the absorption of freezer odors and minimizes exposure to air, which can lead to ice crystals.
- Press Plastic Wrap Directly on Surface: For an extra layer of protection, place a piece of plastic wrap or parchment paper directly onto the surface of the ice cream before securing the lid. This creates a barrier against air and significantly reduces the formation of ice crystals.
- Store at the Back of the Freezer: The back of your freezer is typically the coldest and most temperature-stable spot. Avoid storing ice cream in the door, where temperatures fluctuate more frequently due to opening and closing.
- Optimal Enjoyment Time: Homemade ice cream is at its absolute best within the first week. While it can last longer (up to 2-3 weeks), the texture may start to degrade over time. Enjoy it fresh!
- Softening Before Serving: If your ice cream has been frozen solid for an extended period, allow it to sit on the counter for 5-10 minutes before scooping. This will soften it slightly, making it easier to serve and enhancing its creamy texture.
More Delightful Summer Dessert Recipes
If you’re looking for more sweet treats to enjoy, especially during warmer months, here are some other fantastic dessert recipes:
- No Bake Oreo Cheesecake
- Strawberry Milkshakes
- Raspberry Lemon Cupcakes
- Lemon Dessert Lasagna
- Cookie Dough Ice Cream
- No Bake Peanut Butter Bars
- Ice Cream Sandwich Icebox Cake
Cookies n’ Cream Ice Cream
Erin Sellin
5 minutes
25 minutes
2 hours
2 hours 30 minutes
8
Pin Recipe
Rate Recipe
Print Recipe
Ingredients
- 2 cups whole milk
- 3/4 cup granulated sugar
- 2 cups heavy cream
- 1 tablespoon vanilla extract
- 1 1/2 cups crushed Oreo® cookies
Instructions
-
In a large bowl whisk together milk and sugar until sugar is dissolved.2 cups whole milk, 3/4 cup granulated sugar
-
Pour in heavy cream and vanilla, and mix until everything is well blended.2 cups heavy cream, 1 tablespoon vanilla extract
-
With your ice cream maker on, gradually pour in milk mixture and churn according to manufacturer instructions.
-
Once frozen transfer to a large bowl and fold in cookie pieces.1 1/2 cups crushed Oreo® cookies
-
Store in an air tight container in freezer.
-
Freeze for at least 2 hours before serving.
Nutrition
Calories: 312kcal |
Carbohydrates: 52g |
Protein: 4g |
Fat: 10g |
Saturated Fat: 4g |
Polyunsaturated Fat: 6g |
Cholesterol: 6mg |
Sodium: 192mg |
Fiber: 1g |
Sugar: 39g
Nutrition information is automatically calculated, so should only be used as an approximation.
Additional Info
Erin Sellin
5 minutes
25 minutes
2 hours
2 hours 30 minutes
Dessert Recipes
American
8
312
Like this recipe? Leave a comment below!
I’ve created a fun and engaging community on Facebook, and I would absolutely love for you to join us! It’s a vibrant space where you can share YOUR favorite recipes, ask questions, get inspiration, and stay updated on all the new and exciting things happening at Dinners, Dishes and Desserts, ensuring you never miss a new recipe or cooking tip!
Be sure to follow me on Instagram and tag #dinnersdishes so I can see all the wonderful DINNERS, DISHES, AND DESSERTS recipes YOU create and share!
Don’t forget to follow me across my social media channels to make sure you never miss a delicious post, recipe update, or behind-the-scenes peek!
Facebook | Twitter | Pinterest | Instagram
