Ultimate Fudgy Red Velvet Brownies with Cream Cheese Frosting
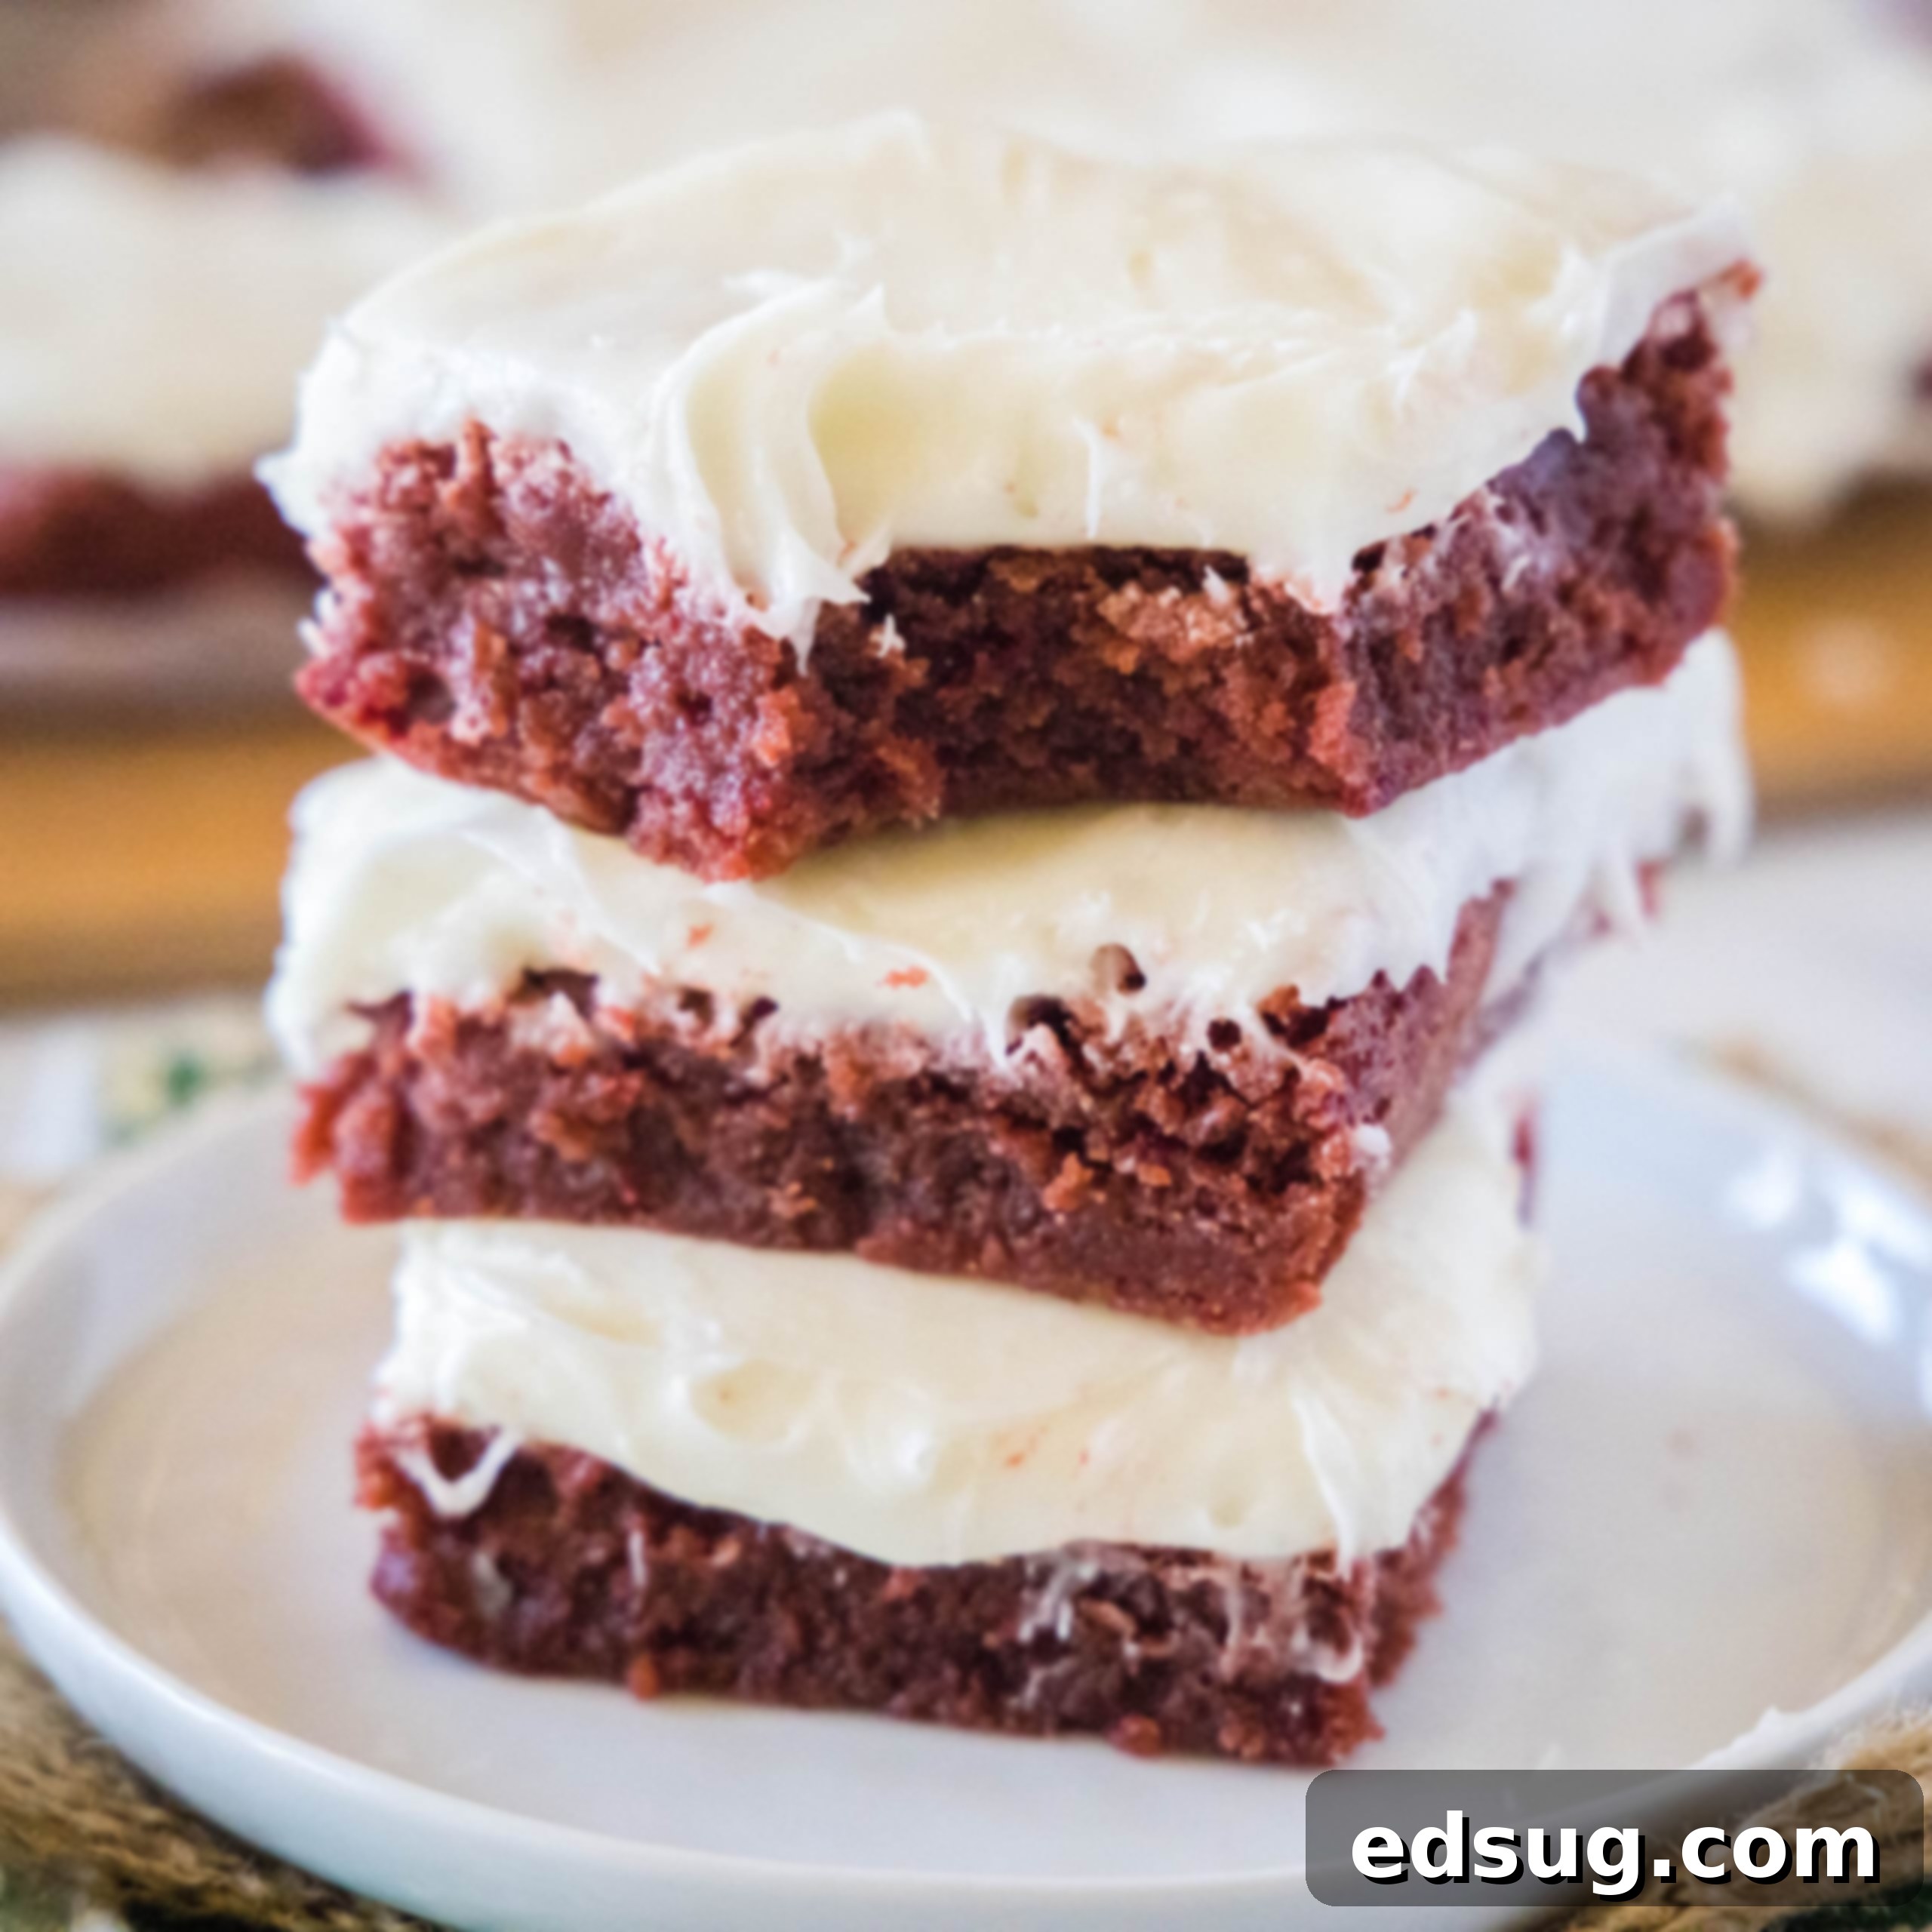
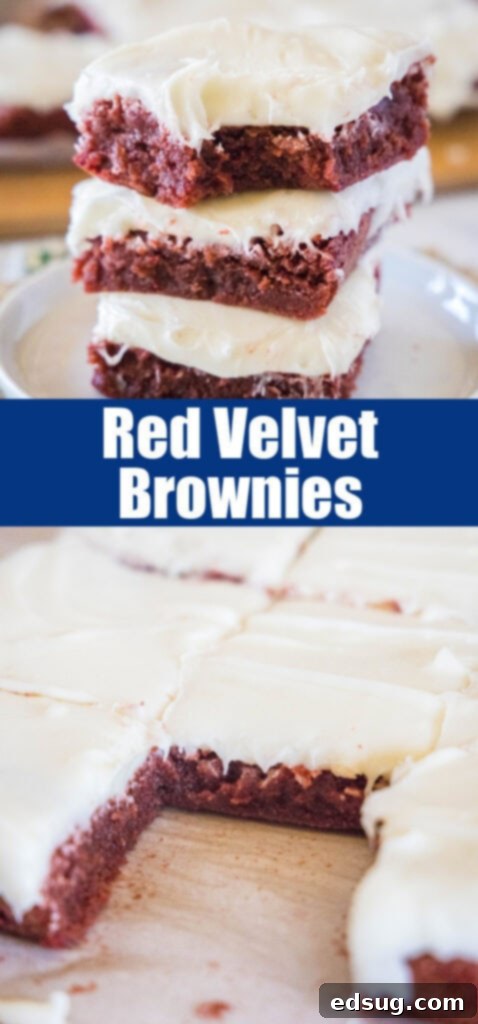
Sink your teeth into these incredibly fudgy homemade Red Velvet Brownies, showcasing the iconic vibrant red color and a subtle hint of chocolate flavor. Crowned with a rich, tangy cream cheese frosting, these brownies are elevated to an absolutely irresistible dessert. Get ready for a treat that will impress everyone!
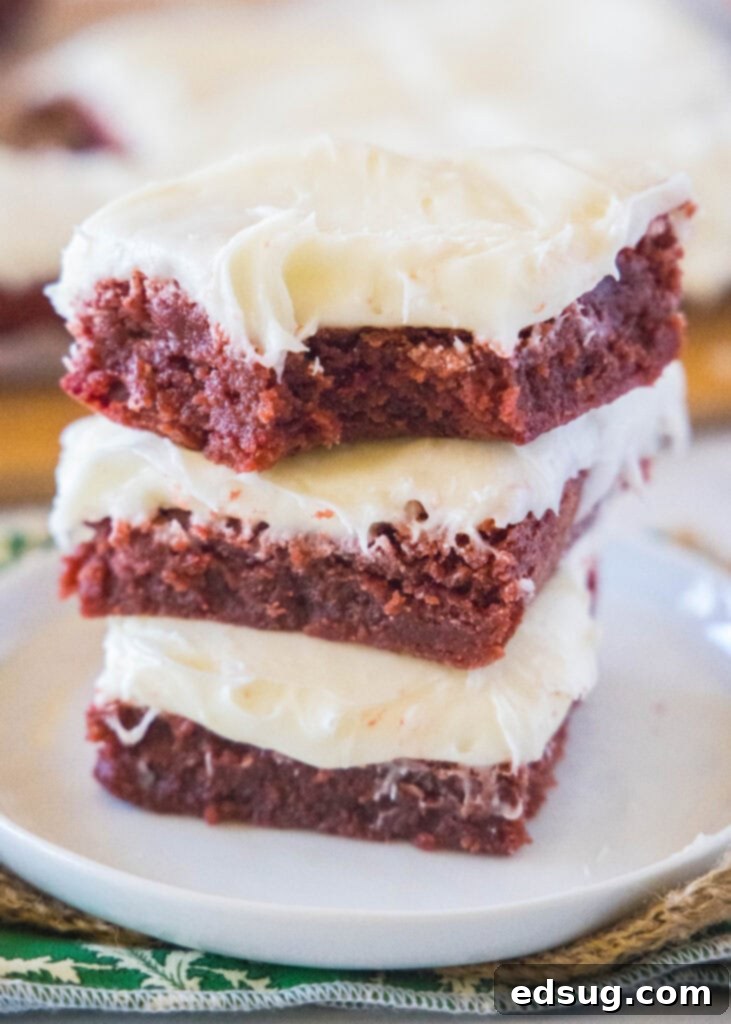
Red Velvet is more than just a color; it’s a symphony of subtle chocolate notes, a hint of tang, and an unmistakable bright red hue that makes every bite a celebration. These homemade Red Velvet Brownies capture that essence perfectly, delivering a delightful fudgy texture that brownie lovers crave, combined with the distinctive flavor profile of classic red velvet desserts. Forget dry, cakey brownies – this recipe promises an incredibly moist and dense treat that truly lives up to its name.
And what would Red Velvet be without its iconic companion? In true Red Velvet fashion, these decadent brownies are generously topped with a velvety smooth and tangy cream cheese frosting. This frosting isn’t just an afterthought; it’s an integral part of the experience, balancing the brownie’s richness with a creamy, bright finish. If you’re a devoted fan of all things red velvet, you might also enjoy these Red Velvet Muffins for a delightful breakfast or brunch idea!
Why You’ll Adore This Red Velvet Brownie Recipe
There are countless reasons to fall in love with these Red Velvet Brownies. Beyond their stunning appearance and incredible taste, this recipe offers simplicity and versatility that makes it a staple for any home baker.
- Fudgy Perfection, With or Without Frosting: While the cream cheese frosting is undeniably a highlight, these brownies are so delicious on their own that you can easily skip the frosting if you prefer. They still boast that signature shiny, crackly top and an intensely fudgy interior that homemade brownies are renowned for. Whether you’re a frosting fanatic or a purist, these brownies deliver on all fronts.
- Surprisingly Simple to Make from Scratch: Don’t be intimidated by homemade brownies! This recipe uses just a handful of straightforward ingredients and comes together in mere minutes. The mixing process is quick and easy, meaning you can have these vibrant brownies ready for the oven faster than you might think. It’s a perfect recipe for both novice and experienced bakers looking for a quick yet impressive dessert.
- A Festive Treat for Any Occasion: The bright, bold red color of these brownies makes them an instant showstopper, especially for holidays like Valentine’s Day, Christmas, or any festive gathering. However, their delicious flavor ensures they’re equally fitting for a casual weeknight dessert, a potluck, or just a special treat to brighten any ordinary day. They bring a touch of elegance and fun to any table.
- Irresistible Texture: Achieving the perfect brownie texture is key, and this recipe absolutely nails it. These are not cakey brownies; they are dense, moist, and incredibly fudgy, melting in your mouth with every bite. The contrast with the smooth, airy cream cheese frosting creates a textural delight that keeps you coming back for more.
Gather Your Ingredients: What You’ll Need
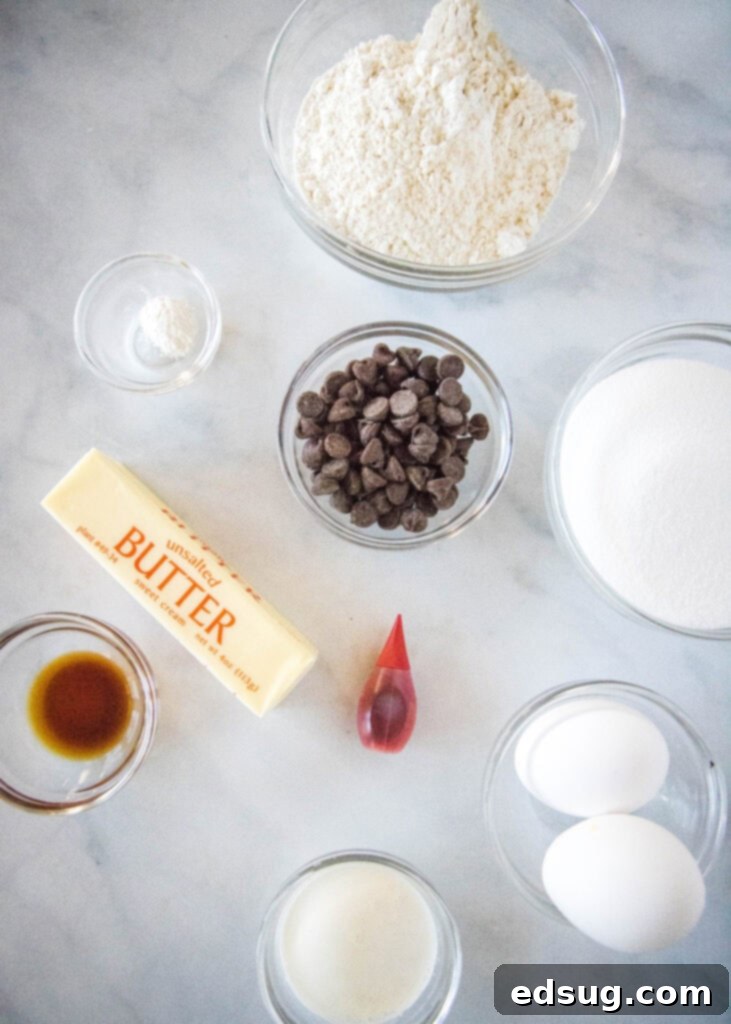
Creating these sensational Red Velvet Brownies requires a few basic baking staples for both the brownie batter and the luscious cream cheese frosting. Ensuring your ingredients are at the right temperature (especially for the frosting) is crucial for the best results.
For the Fudgy Red Velvet Brownies:
- Butter: Unsalted butter is preferred, allowing you to control the saltiness of the brownies. It contributes to the rich, moist texture.
- Semi-Sweet Chocolate Chips: These provide the subtle chocolate flavor characteristic of red velvet, without overpowering the distinctive tang. They melt beautifully into the batter, adding to the fudginess.
- Granulated Sugar: For sweetness and helps create that desirable crackly crust.
- Eggs: Large eggs bind the ingredients, add richness, and are essential for that shiny, crackly top.
- Vanilla Extract: Enhances the overall flavor profile of both the chocolate and the red velvet notes. Use pure vanilla for the best taste.
- Buttermilk: This is a key ingredient for true red velvet flavor, adding a slight tang and ensuring a wonderfully moist crumb. If you don’t have buttermilk, you can easily make a substitute at home!
- All-Purpose Flour: The structure builder for our brownies. Ensure it’s measured correctly to avoid dry, tough results.
- Baking Powder: Provides a slight lift, contributing to a tender texture without making the brownies too cakey.
- Red Food Coloring: Essential for that iconic vibrant red color! Liquid food coloring works well, but gel food coloring can give a deeper, more intense hue with less volume.
For the Decadent Cream Cheese Frosting:
- Cream Cheese: Full-fat cream cheese, softened to room temperature, is crucial for a smooth, lump-free frosting with a delightful tang.
- Softened Butter: Contributes to the creamy texture and richness of the frosting. Make sure it’s also at room temperature.
- Vanilla Extract: A touch of vanilla complements the cream cheese beautifully.
- Powdered Sugar (Confectioners’ Sugar): Provides sweetness and the fine texture needed for a silky-smooth frosting.
- Milk: Used to adjust the consistency of the frosting, making it perfectly spreadable. Whole milk works best for richness, but skim milk can also be used.
Step-by-Step: How to Make Irresistible Red Velvet Brownies
For precise measurements and detailed instructions, please refer to the comprehensive recipe card located further down below.
Crafting these red velvet brownies is a straightforward process, but paying attention to a few key steps will ensure perfect, fudgy results every time.
- Prepare Your Pan and Oven: Begin by preheating your oven to 350º F (175º C). Take an 8-inch square baking pan and either grease it thoroughly or line it with parchment paper, leaving an overhang on the sides. This parchment “sling” makes for effortless removal of the cooled brownies. Set the prepared pan aside.
- Melt Butter and Chocolate: In a microwave-safe bowl, cut the butter into smaller pieces for faster melting. Add the semi-sweet chocolate chips to the butter. Microwave for 1 minute, then remove and stir until the mixture is completely smooth and melted. If there are still a few lumps, microwave for additional 15-second intervals, stirring after each, until fully melted. Allow this mixture to stand for 3-4 minutes to cool slightly. This step is crucial to prevent the eggs from cooking when added.
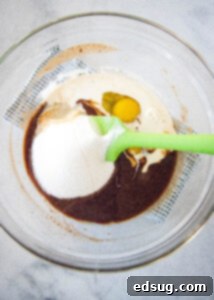
- Whisk Wet Ingredients: In a separate large mixing bowl, beat together the granulated sugar, eggs, vanilla extract, and buttermilk until the mixture is light, creamy, and smooth. This aeration helps create that desirable crackly top on your brownies.
- Combine Chocolate and Wet Mixture: Gently pour the slightly cooled melted chocolate mixture into the sugar and egg mixture. Mix until everything is just well combined and uniform in color. Avoid overmixing at this stage.
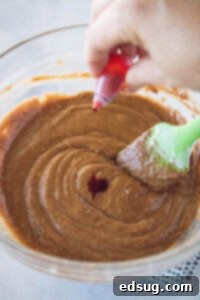
- Add the Signature Red Color: Now, it’s time for the vibrant hue! Stir in the red food coloring until you achieve your desired brightness. About 1 teaspoon of liquid food coloring typically yields the rich color seen in the pictures, but feel free to add more or less according to your preference. Mixing the food coloring at this stage, before the flour, helps prevent overmixing the batter later.
- Incorporate Dry Ingredients: Carefully add the all-purpose flour and baking powder to the wet mixture. Mix only until the dry ingredients are just combined and no white streaks of flour remain. Be very gentle and avoid overmixing, as this can develop the gluten in the flour, leading to tough, chewy brownies instead of fudgy ones.
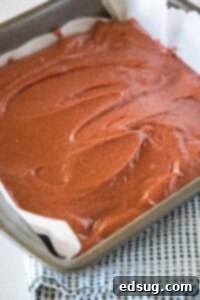
- Bake to Fudgy Perfection: Pour the beautifully red brownie batter into your prepared baking dish, spreading it evenly. Bake for approximately 25 minutes. To check for doneness, insert a toothpick into the center of the brownies. It should come out with moist crumbs attached, but not wet batter. If it comes out completely clean, your brownies might be slightly overbaked. Remove the pan from the oven and let the brownies cool completely in the pan before attempting to frost them. Cooling is paramount for easy cutting and for the frosting to set properly.
Crafting the Creamy Dream: How to Make the Frosting
This luscious cream cheese frosting is the perfect complement to the rich red velvet brownies. It’s simple to make and adds a delightful tang and creamy texture.
- Cream Cheese and Butter Base: In a medium mixing bowl, beat together the softened cream cheese and softened butter until the mixture is light, fluffy, and completely smooth. Ensure there are no lumps of cream cheese, as this can make for a grainy frosting. Room temperature ingredients are key for this step.
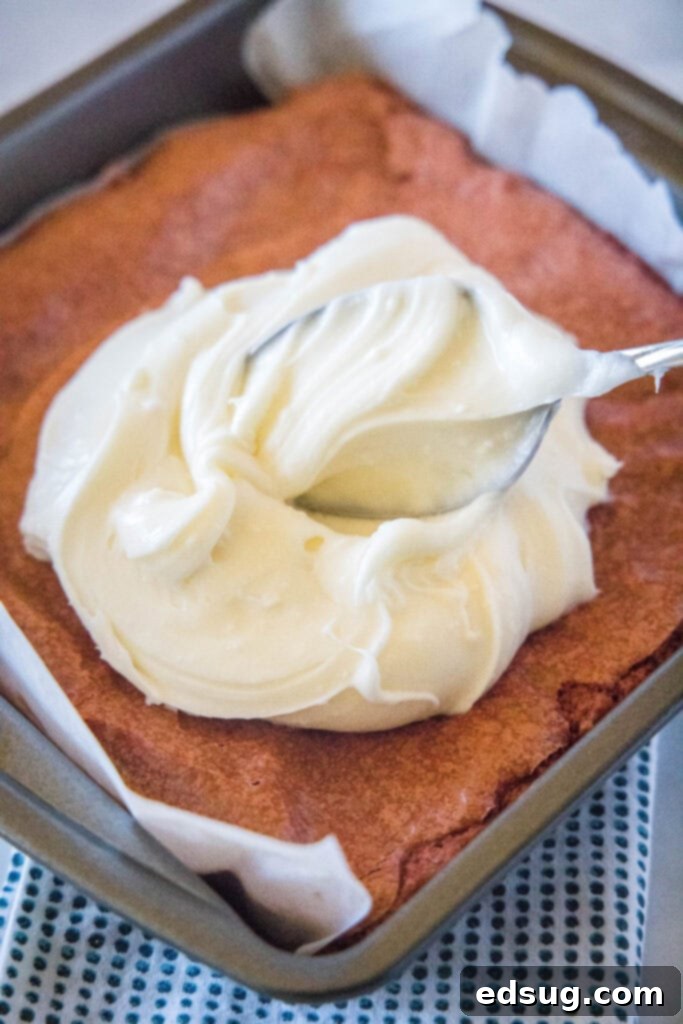
- Add Sweetness and Flavor: Incorporate the vanilla extract, powdered sugar, and milk into the cream cheese mixture. Begin beating on low speed until the powdered sugar is mostly incorporated, then increase to medium-high speed. Beat until the frosting is smooth, light, and has a wonderfully spreadable consistency. If the frosting seems too thick, add a tiny bit more milk (a teaspoon at a time) until it reaches your desired consistency. If it’s too thin, you can gradually add more powdered sugar.
Expert Tips for the Best Red Velvet Brownies
Achieving bakery-quality brownies at home is easy with these insider tips and tricks:
- Avoid Overmixing the Batter: This is perhaps the most crucial tip for any brownie recipe! Overmixing flour activates gluten, which can lead to tough, cakey brownies rather than the desired fudgy texture. Once you add the flour and baking powder, mix just until no white streaks remain. The gentle beating of the eggs earlier in the process is what helps create that beautiful, crackly top, so there’s no need for aggressive mixing after the dry ingredients are added.
- Do Not Overbake Your Brownies: Overbaking is the number one culprit for dry, crumbly brownies. Keep a close eye on them towards the end of the baking time. Once the edges appear set and slightly cracked, check for doneness by inserting a toothpick into the center. For that perfect chewy and fudgy texture, the toothpick should come out with moist crumbs clinging to it, not completely clean. A completely clean toothpick indicates they might be overbaked. Remember, brownies continue to cook slightly from residual heat after being removed from the oven.
- Ensure Complete Cooling Before Frosting: Patience is a virtue when it comes to frosting brownies. Your brownies must be completely cool – ideally, at room temperature for several hours or even chilled slightly – before you apply the cream cheese frosting. Attempting to frost warm brownies will result in a melted, runny mess, as the heat will cause the butter and cream cheese in the frosting to separate.
- Adjust Pan Size and Double the Recipe: This recipe is designed for an 8-inch square pan, yielding perfectly thick and fudgy brownies. If you wish to double the recipe, simply double all the ingredients and bake them in a larger 13×9 inch pan. Keep in mind that baking times may vary slightly with different pan sizes, so always rely on the toothpick test for accuracy.
- Customize with Flavorful Variations: While delicious as is, feel free to experiment with additions! If you’re skipping the cream cheese frosting, consider mixing in white chocolate chips directly into the brownie batter. They add a wonderful contrasting texture and a burst of sweet, creamy flavor in every bite. Other delightful additions could include chopped nuts (like walnuts or pecans), a swirl of raspberry jam, or a dash of almond extract for a different twist.
- Use Quality Ingredients: Since this recipe uses simple ingredients, their quality truly shines through. Opt for good quality butter, chocolate chips, and pure vanilla extract for the best flavor.
Storage Solutions for Your Red Velvet Brownies
Proper storage ensures your Red Velvet Brownies stay fresh and delicious for as long as possible. The presence of cream cheese frosting dictates specific storage methods.
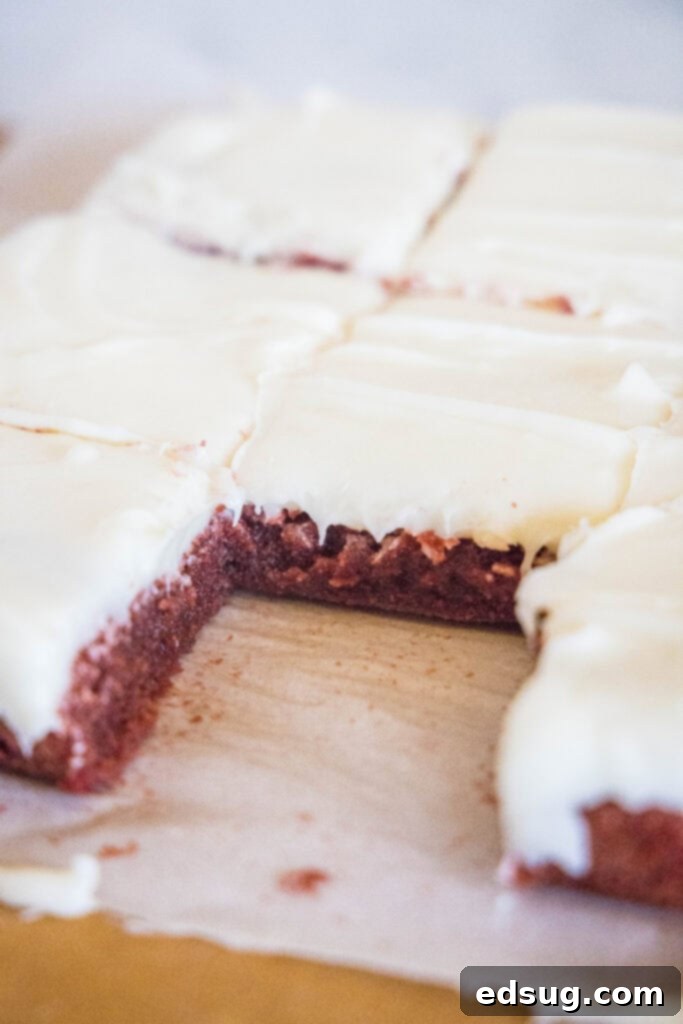
General Storage (Unfrosted Brownies): Store unfrosted brownies in an airtight container at room temperature for 3-4 days. To maintain their moisture and prevent them from drying out, you can place a piece of parchment paper directly on top of the brownies before sealing the container.
Storage for Frosted Brownies: Due to the cream cheese in the frosting, these brownies must be stored in the refrigerator. Place them in an airtight container and they will last for about 5-6 days. While chilled brownies are delicious, many prefer to let them come to room temperature for about 20-30 minutes before serving. This allows the frosting to soften slightly and the flavors to fully develop.
Freezing for Future Enjoyment
Red Velvet Brownies are excellent candidates for freezing, making them a perfect make-ahead dessert! This is especially convenient for portion control or saving treats for a later date.
Freezing Unfrosted Brownies: I recommend freezing the brownies *before* adding the frosting. Once completely cooled, cut the brownies into individual slices. Wrap each slice tightly in plastic wrap, then place them in a freezer-safe airtight container or a heavy-duty freezer bag. They can be frozen for up to 2-3 months. To thaw, simply unwrap and let them sit on the counter at room temperature for an hour or two. You can then frost them freshly before serving.
Freezing Frosted Brownies: While the frosting does freeze well, its texture can change slightly upon thawing, becoming a bit softer or grainier. If freezing frosted brownies, flash freeze the individual slices on a baking sheet until the frosting is firm (about 30 minutes to an hour). Then, wrap each slice tightly in plastic wrap and store in a freezer-safe container or bag. Thaw on the counter or in the refrigerator before serving. The texture change is usually minor and still results in a delicious treat.
You can freeze a whole pan of brownies (frosted or unfrosted) as well, by tightly wrapping the entire pan (once cooled) in multiple layers of plastic wrap and then aluminum foil. Just remember that a whole pan will take longer to thaw.
More Indulgent Brownie Recipes to Explore
If you’re a brownie aficionado, you’ll love these other fantastic recipes from our collection. There’s a perfect brownie for every craving!
- Peanut Butter Stuffed Brownies
- Grasshopper Brownies
- M&M Brownies
- S’mores Brownies
- Cosmic Brownies
- Easy Homemade Brownies
- Gooey Brownie Pie
Red Velvet Brownies
Erin Sellin
5 minutes
25 minutes
30 minutes
12
Pin Recipe
Rate Recipe
Print Recipe
Ingredients
-
1/2
cup
unsalted butter -
1/3
cup
semi-sweet chocolate chips -
1
cup
granulated sugar -
2
whole large eggs -
1
teaspoon
vanilla extract -
2
Tablespoons
buttermilk -
1
teaspoon
red food coloring, approximately -
1
cup
all-purpose flour -
1/2
teaspoon
baking powder
Cream Cheese Frosting
-
4
oz
cream cheese, room temperature -
2
Tablespoons
softened butter -
1/2
teaspoon
vanilla extract -
1 1/2
cup
powdered sugar -
3
Tablespoons
skim milk
Instructions
-
Preheat oven to 350º F. Grease or line an 8 inch baking pan with parchment paper. Set aside.
-
In a microwave safe bowl cut the butter into pieces. Add the chocolate chips and microwave for 1 minute. Remove from the microwave and stir until completely melted. Let it stand for 3-4 minutes to cool slightly.
-
Meanwhile beat together sugar, eggs, vanilla and buttermilk until nice and smooth.

-
Add the melted chocolate to the sugar mixture and mix until well combined.
-
Now stir in your food coloring to your desired brightness. You need about 1 teaspoon of liquid food coloring to get the color in the pictures. You can add more or less for your liking.

-
Mix in the flour and baking powder until it is just combined and no white streaks remain.
-
Pour into prepared baking dish and bake for about 25 minutes until a tester comes out clean. Remove from the oven and let brownies cool completely.

To Make Frosting
-
Beat together cream cheese and butter until nice and smooth.
-
Add in the vanilla extract, powdered sugar, and milk. Beat until it is a spreadable and smooth consistency. You can adjust the sugar and milk if the frosting is too thick or thin.
Nutrition
Nutrition information is automatically calculated, so should only be used as an approximation.
Additional Info
Erin Sellin
5 minutes
25 minutes
30 minutes
Dessert Recipes
American
12
336
Like this recipe? Leave a comment below!
I’ve created a fun and engaging community group on Facebook, and I’d absolutely love for you to join us! It’s a fantastic place where you can share YOUR favorite recipes, ask any cooking or baking questions you might have, and stay up-to-date with all the latest happenings at Dinners, Dishes and Desserts (so you never miss out on a delicious new recipe)!
Be sure to follow me on Instagram and tag #dinnersdishes so I can see all the wonderful DINNERS, DISHES, AND DESSERTS recipes YOU create! Your culinary creations inspire us all!
Don’t miss a single post! Be sure to follow me on my social media channels to stay connected and never miss an update, new recipe, or helpful tip!
Facebook | Twitter | Pinterest | Instagram
