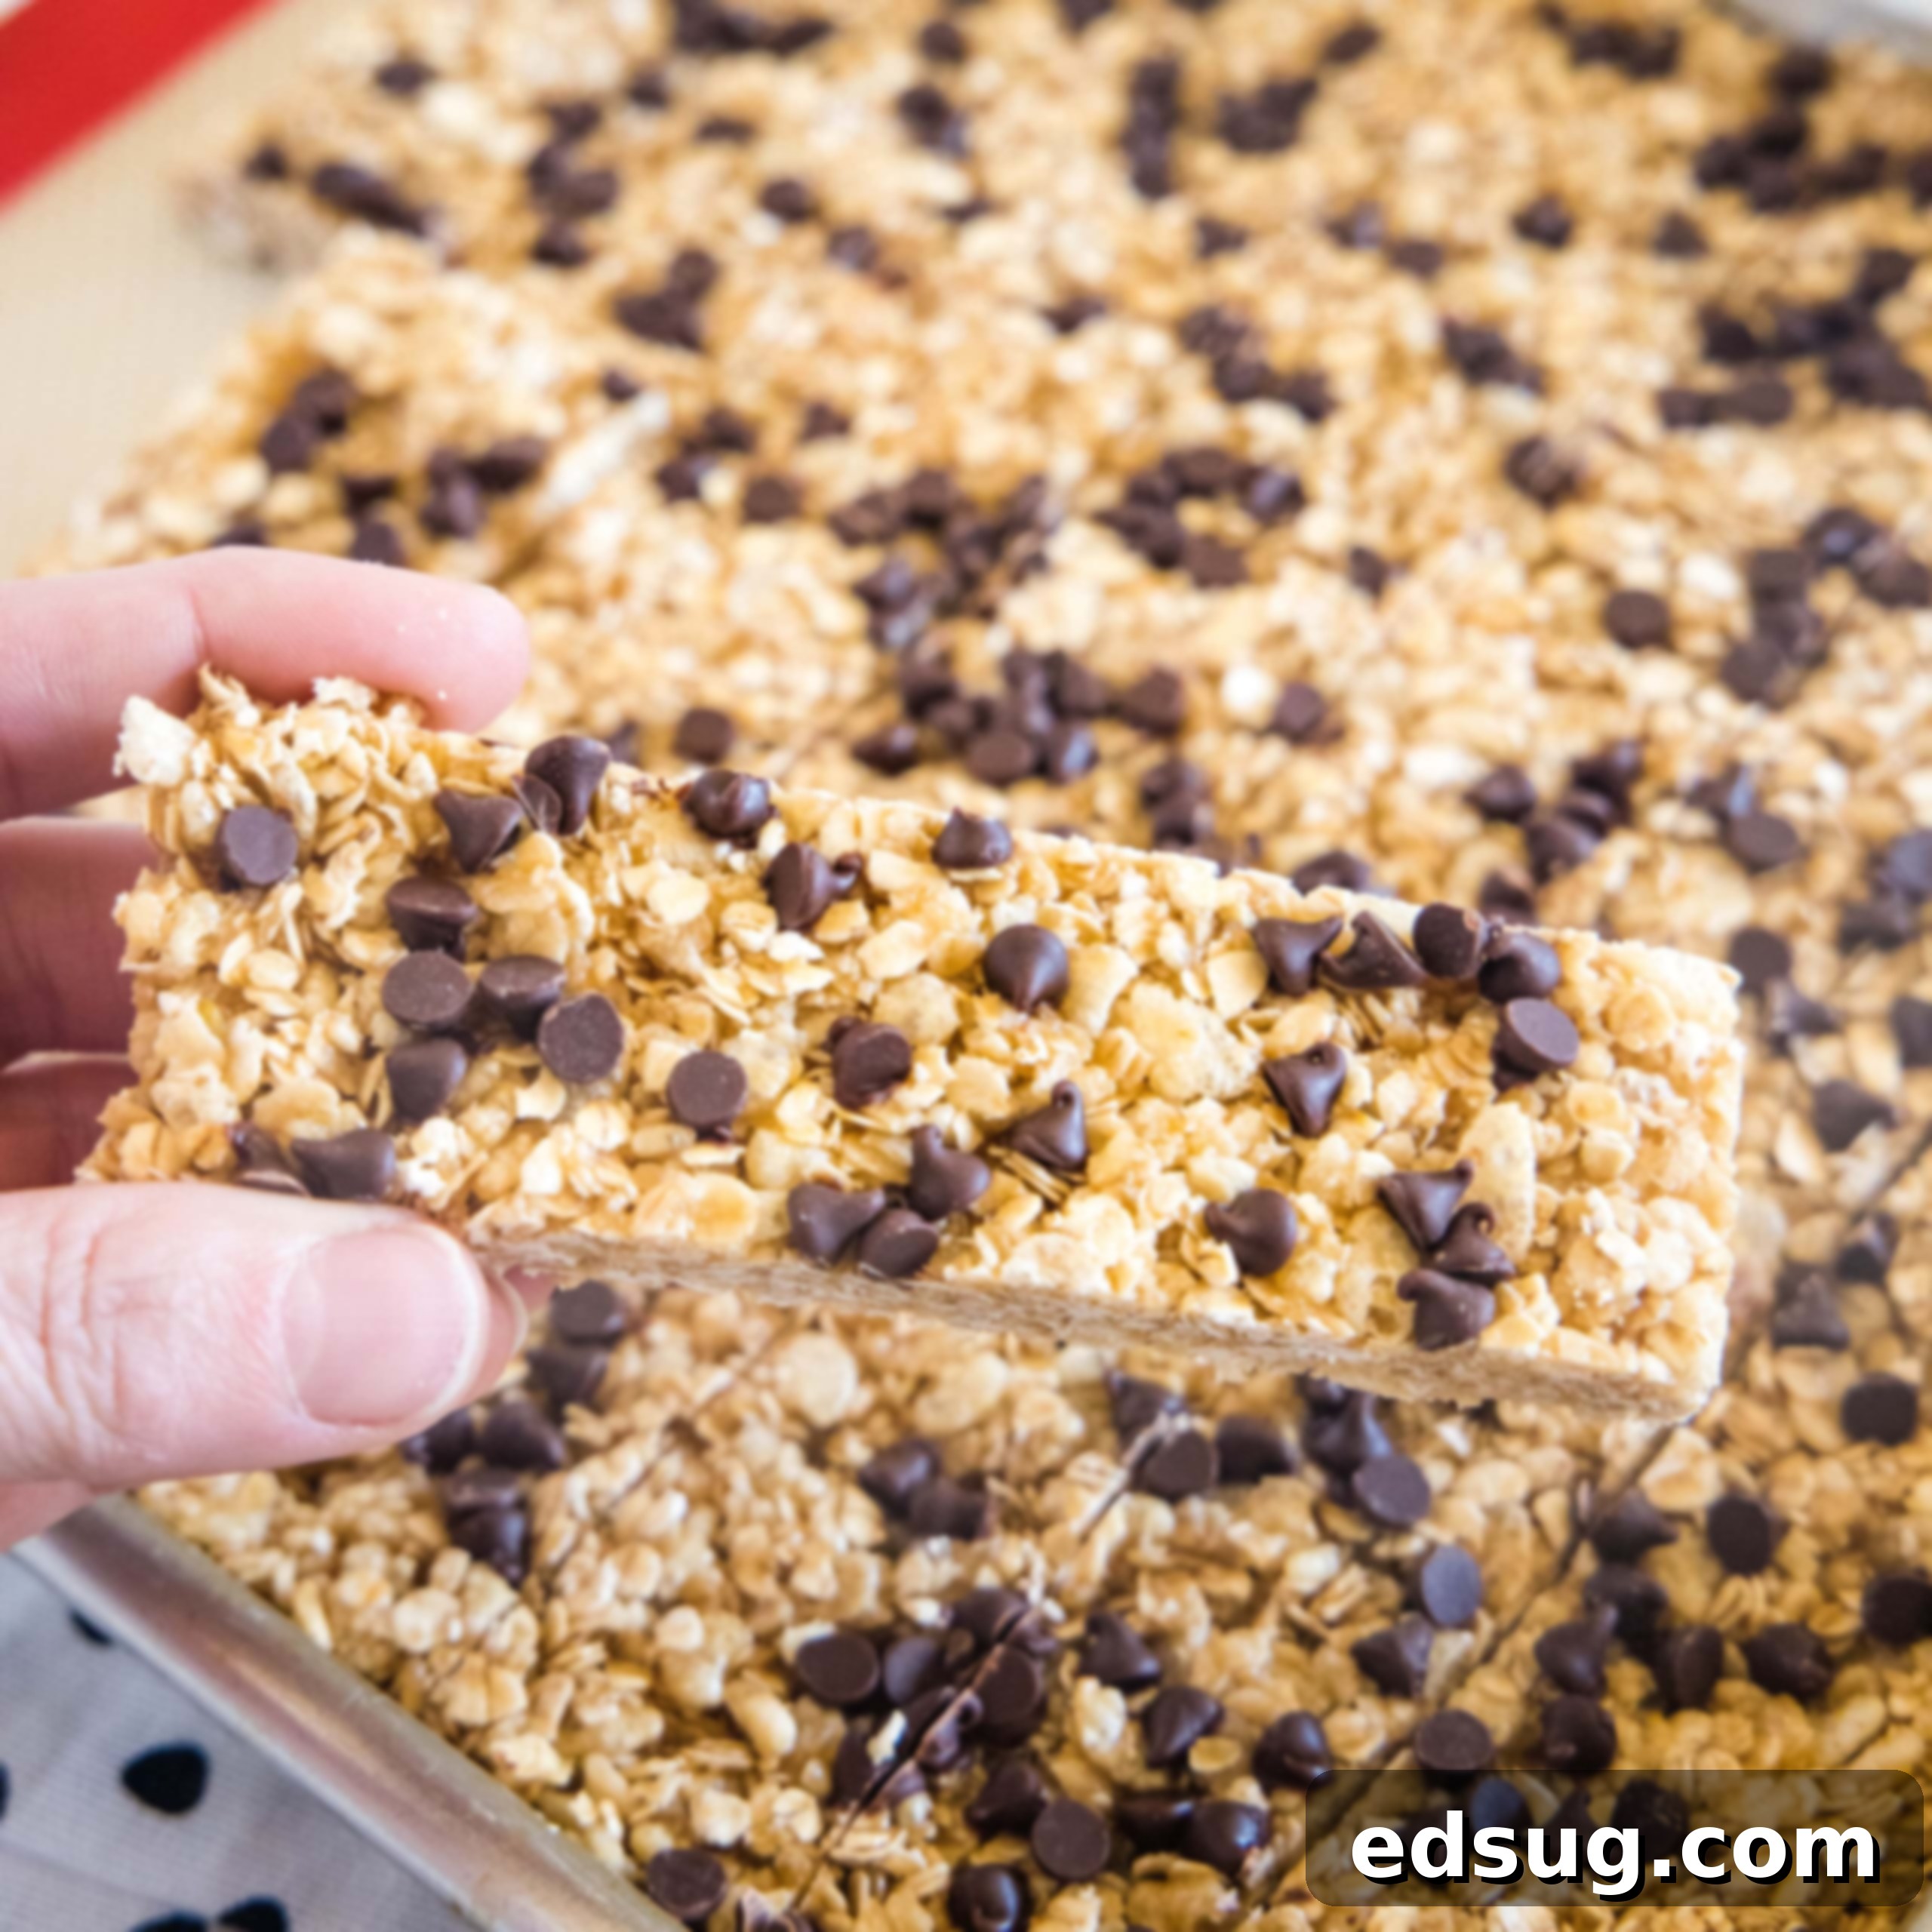
Homemade Chewy Granola Bars: Your Easy No-Bake Recipe for Healthy Snacks & Breakfasts
Whip up a batch of these wholesome, no-bake chewy granola bars – a delicious and healthy snack or breakfast option the whole family will adore. Forget the store-bought versions; these are far superior!
Get ready to fall in love with this incredibly simple recipe for homemade granola bars. They capture that perfectly chewy texture and delightful flavor you often find in your favorite store-bought varieties, but with the added benefits of being healthier, more affordable, and completely customizable. With just a handful of ingredients, you can have these delicious bars ready in under 10 minutes of active prep time, making them an ideal solution for busy mornings or an afternoon energy boost.
Making your own granola bars means you have complete control over the ingredients, allowing you to avoid unwanted additives, excessive sugars, and artificial flavors found in many commercial options. Plus, the cost savings compared to continually buying pre-packaged bars from the grocery store are significant. The best part? You can easily mix in any ingredients you love, tailoring each batch to your family’s preferences or dietary needs.
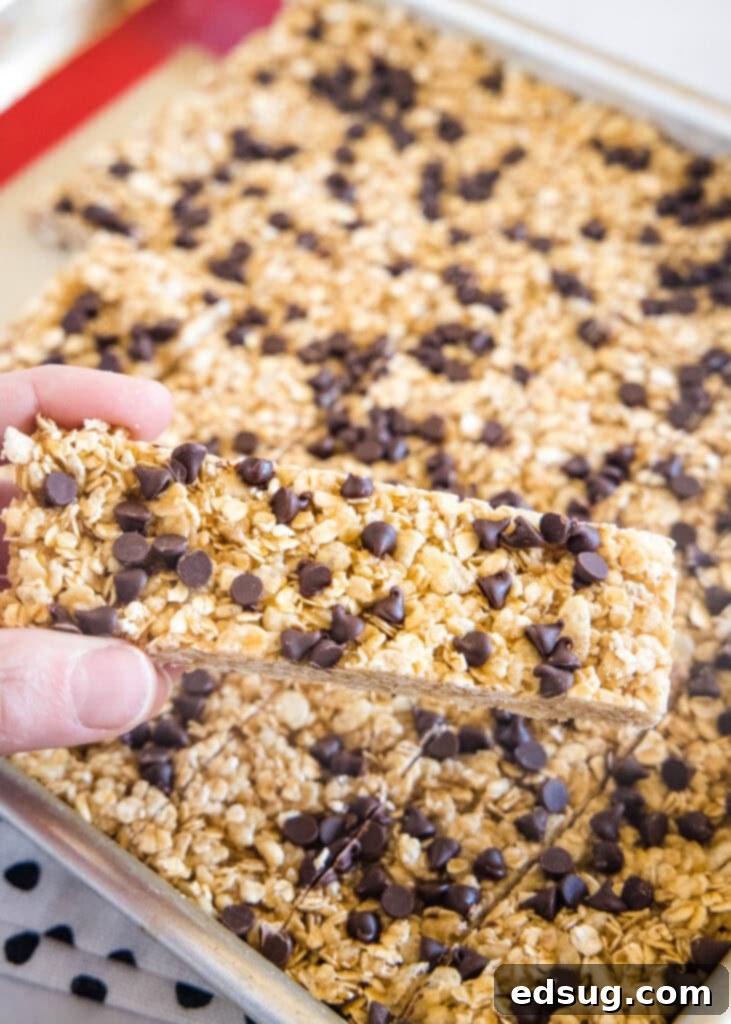
Are Chewy Granola Bars a Healthy Choice?
When considering the health aspect of chewy granola bars, it’s important to look at them in context. While not a low-calorie food, I personally view these homemade chewy granola bars as a much healthier option compared to many traditional breakfast items or quick snacks I might reach for when time is tight. They offer a balanced combination of fiber from oats, energy from natural sweeteners, and the potential for added nutrients depending on your choice of mix-ins.
These bars won’t replace a plate of fresh fruits and vegetables, but they are undeniably a better alternative to highly processed candy bars from a gas station or a sugar-laden stack of pancakes drowned in syrup for breakfast. They provide sustained energy, help to keep you full, and satisfy sweet cravings without the crash that often follows sugary treats. By making them yourself, you control the amount of sugar and fat, allowing for a more wholesome end product.
To truly maximize their health benefits, I highly recommend exploring the “Possible Variations” section further down in this post. There you’ll find plenty of ideas, such as adding nuts and seeds for extra protein and healthy fats, or incorporating dried fruits for more vitamins and fiber. These simple adjustments can transform an already good snack into an even more nutrient-dense and satisfying option for you and your family.
Essential Ingredients for Your No-Bake Granola Bars
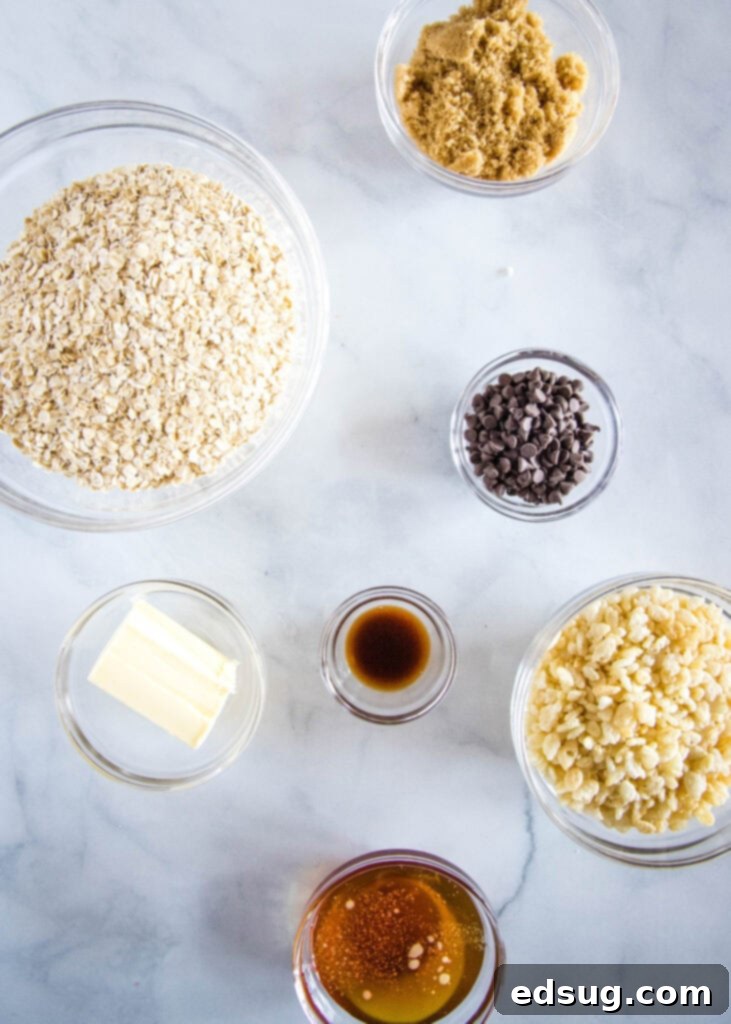
One of the beauties of this recipe is its simplicity, relying on common pantry staples to create a delicious and satisfying snack. Each ingredient plays a crucial role in achieving that perfect chewy texture and delightful flavor profile. Here’s what you’ll need, along with a brief explanation of why each component is important:
- Butter (1/4 cup): The butter contributes to the rich flavor and helps to soften the oats, ensuring a tender, chewy bar rather than a dry, crumbly one. It also adds a touch of saltiness that balances the sweetness.
- Honey (1/4 cup): This is a key binding agent, holding all the ingredients together to form a cohesive bar. Honey also provides natural sweetness and a distinct, aromatic flavor that complements the oats beautifully.
- Brown Sugar (1/3 cup): Brown sugar adds a deeper, caramel-like sweetness and helps achieve that signature chewy texture. Its molasses content contributes to the overall moistness of the bars.
- Quick Cooking Oats (2 cups): Crucial for a no-bake recipe, quick cooking oats are pre-steamed and rolled thinner than old-fashioned rolled oats, meaning they soften easily without needing to be cooked. Do NOT substitute with rolled oats, as they will result in a tougher, less pleasant texture in a no-bake application.
- Crispy Rice Cereal (1 cup): This ingredient is responsible for adding that wonderful light, airy crunch that contrasts perfectly with the chewiness of the oats. It provides a delightful textural complexity that makes these bars truly irresistible.
- Vanilla Extract (1/2 teaspoon): A touch of vanilla enhances all the other flavors, adding warmth and depth to the granola bars. It’s a small but mighty ingredient that brings everything together.
- Mini Chocolate Chips (2 Tablespoons): While optional, mini chocolate chips are a popular addition for a reason! Their small size ensures that you get just the right amount of chocolate in every bite, distributing flavor evenly throughout the bar without overpowering it.
Step-by-Step Guide: Crafting Your Own Chewy Granola Bars
Making these no-bake chewy granola bars is incredibly straightforward and quick. Follow these easy steps to create a batch of perfectly tender and delicious snacks that will impress everyone:
- Prepare Dry Ingredients: In a large mixing bowl, combine your 2 cups of quick cooking oats with 1 cup of crispy rice cereal. Stir them together thoroughly to ensure an even distribution. This mixture will form the base of your granola bars, providing both chewiness and crunch. Set this bowl aside for now.
- Melt Wet Ingredients: In a small saucepan, combine 1/4 cup butter, 1/4 cup honey, and 1/3 cup brown sugar. Place the saucepan over medium heat, stirring continuously to help the butter melt and the sugar dissolve evenly into the honey.
- Simmer to Perfection: Once the mixture begins to bubble around the edges, reduce the heat to low and let it simmer gently for exactly 2 minutes. This brief cooking time is essential for creating the perfect sticky syrup that will bind your bars without making them too hard. Be careful not to overcook, as this can make the bars too brittle.
- Infuse with Vanilla: Remove the saucepan from the heat. Stir in 1/2 teaspoon of vanilla extract. The warmth of the syrup will help the vanilla’s aroma and flavor to bloom beautifully.
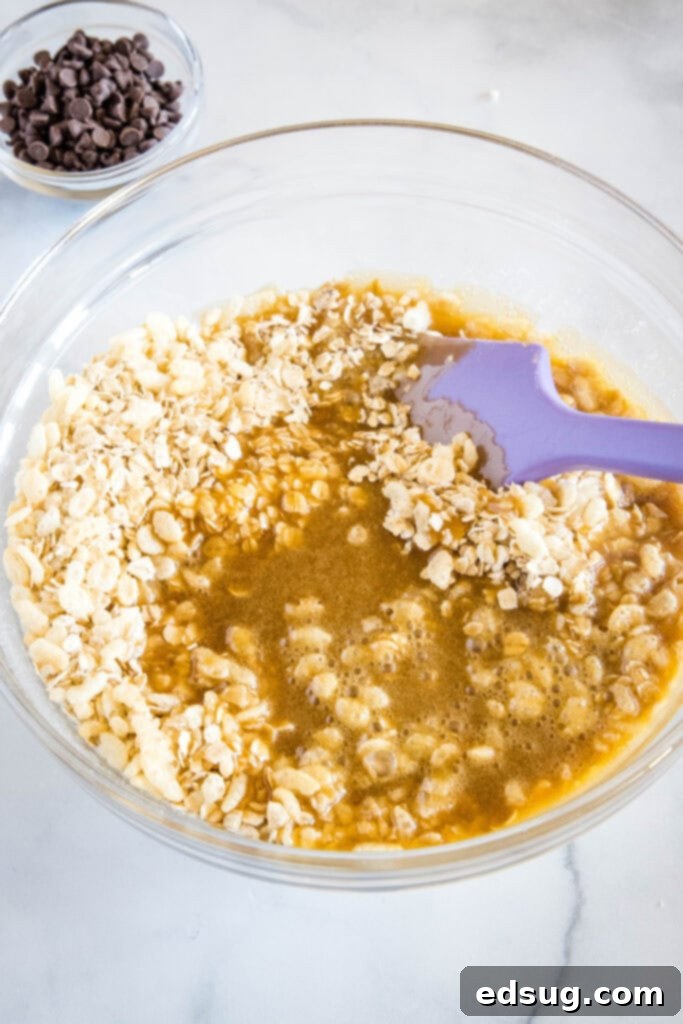
- Combine Wet and Dry: Pour the warm syrup mixture directly over the oats and crispy rice cereal in your large mixing bowl. Using a sturdy spatula or spoon, stir vigorously until the dry ingredients are completely coated in the syrup. Every oat flake and piece of cereal should be glistening with the sweet, sticky binder.
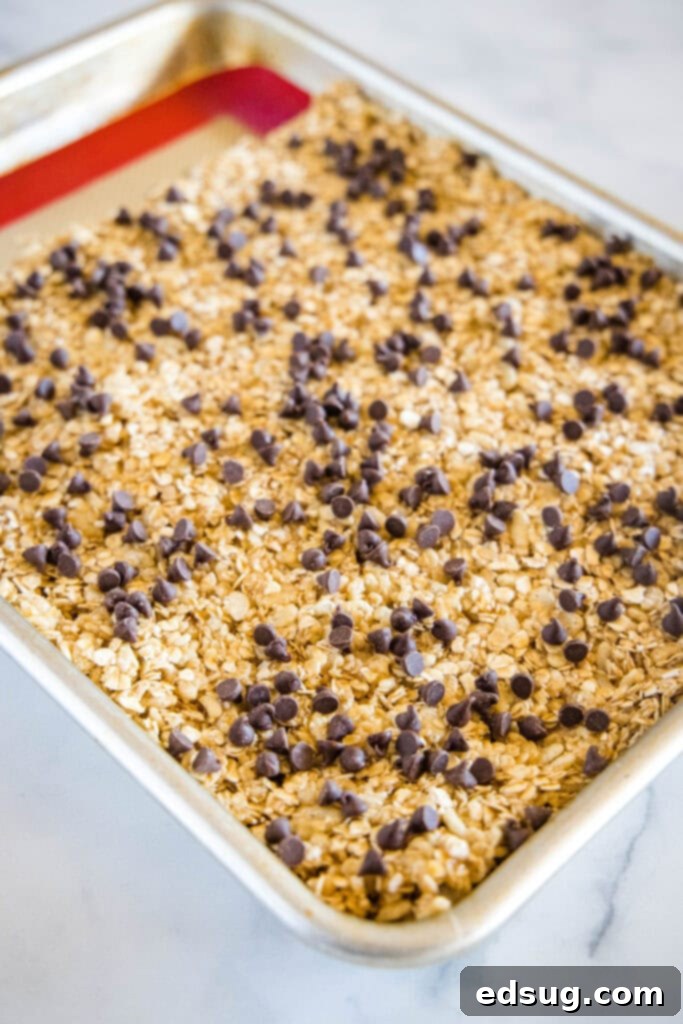
- Press into Pan: Transfer the entire mixture to a greased (or parchment-lined) 8×8 inch baking pan. This is a crucial step for achieving firm, non-crumbly bars. Press the mixture down into the pan as hard and tightly as possible. You can use the back of a spoon, a piece of parchment paper, or even your hands (lightly greased if sticking) to ensure it’s compacted. My bars typically come out about 1/2 an inch thick, but this may vary slightly depending on your pan size. The tighter you press, the less likely they are to crumble when cut.
- Add Chocolate Chips: Evenly sprinkle 2 tablespoons of mini chocolate chips over the top of the pressed granola mixture. Gently press the chocolate chips into the surface of the bars with your fingertips. This ensures they adhere and don’t fall off.
- Allow to Cool & Set: This step requires patience but is vital for perfectly firm bars. Let the granola bars cool at room temperature for at least two hours, or even longer (up to 4 hours) if your kitchen is warm. This cooling period allows the honey-sugar syrup to fully set and firm up, ensuring that when you slice them, they hold their shape beautifully. The heat from pressing the chocolate chips might melt them slightly, so cooling also helps the chocolate to re-set.
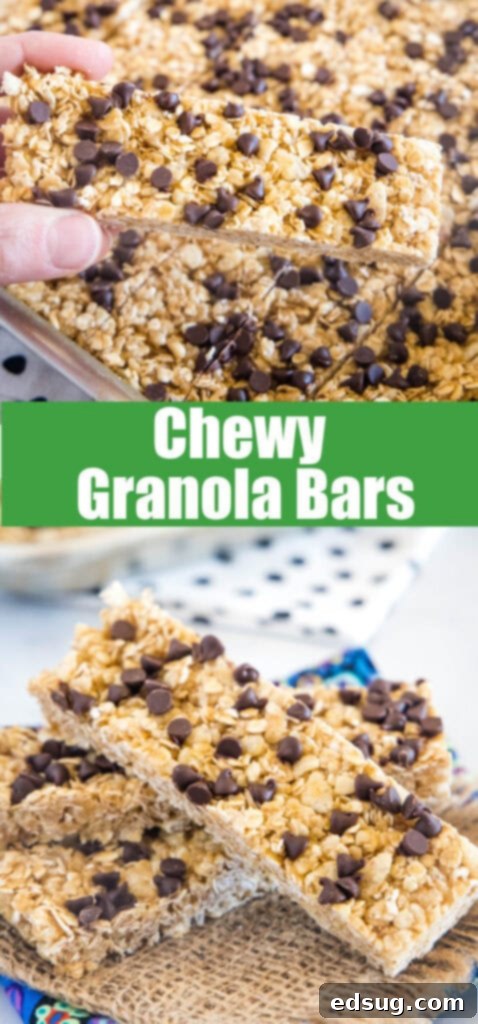
- Cut and Serve: Once completely cooled and firm, use a sharp knife to slice the slab of granola into individual bars. You can make them as large or as small as you prefer. This recipe typically yields about 12 standard-sized bars, offering plenty of delicious portions for the week.
Storing Your Homemade Chewy Granola Bars for Freshness
One of the fantastic advantages of these homemade chewy granola bars, beyond their delicious taste, is their impressive shelf life. Proper storage ensures they remain fresh, chewy, and enjoyable for an extended period, making them perfect for meal prep or batch cooking.
Countertop Storage:
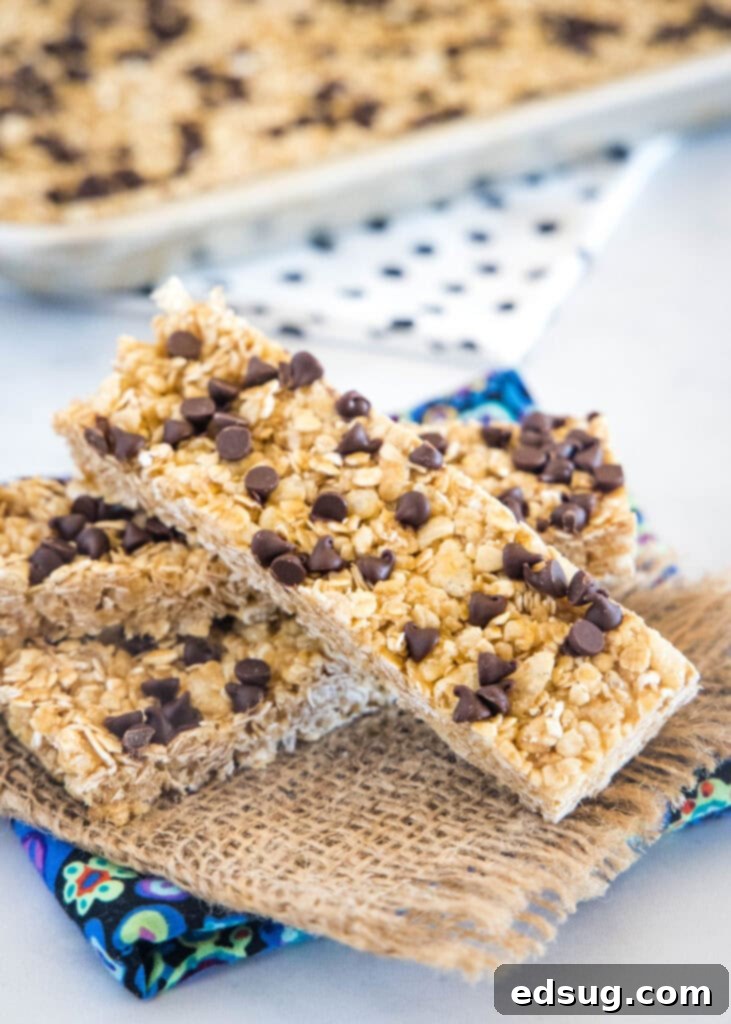
For the best texture and flavor, store your granola bars on the countertop at room temperature. They will remain fresh for 5-7 days. To prevent them from sticking together, I highly recommend wrapping each bar individually in parchment paper or wax paper. Once wrapped, place them in a large airtight container or a resealable bag. This method keeps them soft, chewy, and ready for a quick grab-and-go snack or breakfast.
Why Avoid Refrigeration:
It’s crucial to avoid refrigerating these granola bars. The honey in the recipe, which is responsible for their chewy texture, can become extremely hard and brittle when exposed to cold temperatures. This will make the bars difficult and much less enjoyable to eat. Stick to room temperature for optimal chewiness!
Freezing for Long-Term Enjoyment:
If you’re a fan of meal prepping or simply want to have a stash of healthy snacks on hand, these chewy granola bars freeze exceptionally well. You can easily make a double batch and freeze half for later. To freeze, individually wrap each cooled bar tightly in parchment paper, then place the wrapped bars into a freezer-safe airtight container or heavy-duty freezer bag. They will maintain their quality in the freezer for up to two months.
When you’re ready to enjoy a frozen bar, simply remove it from the freezer and place it in a separate container on your countertop to defrost. Allow approximately 24 hours for it to come to room temperature and regain its signature chewy texture before enjoying.
Exciting Variations for Customizing Your Granola Bars
The beauty of this Chewy Granola Bar recipe lies in its incredible versatility. It serves as a fantastic base that you can easily adapt and customize to suit your taste preferences, dietary needs, or whatever ingredients you happen to have on hand. Don’t like one of the ingredients I’ve suggested? Feel free to omit it! Have a favorite flavor combination that you’re eager to try? Go ahead and toss in some extra ingredients!
The main rule to remember for this no-bake recipe is that any additional ingredients should be pre-cooked or safe to eat raw. This ensures you’ll always end up with a perfect, ready-to-eat breakfast or an on-the-go snack without any extra fuss.
Here are some delicious and popular flavor combinations and additions I’ve tried that have turned out absolutely fantastic:
- Raisins: The sweet and slightly tart flavor of raisins pairs wonderfully with the honey and oats, adding a burst of natural fruitiness and an extra layer of chewiness.
- Peanut Butter (or other nut butters): For a boost of protein and a rich, creamy flavor, consider melting in a couple of tablespoons of peanut butter (or almond, cashew, or sunflower seed butter for nut-free options) with the butter and honey mixture. This will also make the bars even chewier.
- Marshmallows: Add a fun, gooey texture and extra sweetness by stirring in mini marshmallows after you’ve coated the oats with the syrup. The residual warmth will soften them just enough.
- Dried Cranberries: You can’t go wrong by adding a little more fruit! Dried cranberries offer a lovely tartness that provides a great contrast to the sweetness of the bars, along with a chewy texture.
- Nuts: Boost the fiber and protein content, along with healthy fats and a satisfying crunch, by adding chopped nuts like almonds, walnuts, pecans, or peanuts. Lightly toast them beforehand for enhanced flavor.
- Coconut Flakes: Toasted or untoasted coconut flakes (shredded or desicccated) add a delightful tropical flavor and a pleasant chewiness. Coconut is also a great source of healthy fats.
- Seeds (Chia, Flax, Hemp): For an added nutritional punch without altering the flavor significantly, stir in a tablespoon or two of chia seeds, ground flax seeds, or hemp hearts. They provide omega-3s, fiber, and protein.
- Other Dried Fruits: Think chopped dried apricots, dates, figs, or even small pieces of dried mango for different flavor profiles and textures.
- Spices: A pinch of cinnamon, nutmeg, or even a touch of pumpkin pie spice can add a cozy, aromatic dimension to your granola bars, especially during the colder months.
More Homemade Snack Recipes to Explore
If you’ve enjoyed making these easy and delicious chewy granola bars, you’re in for a treat! We have a wide array of other fantastic homemade snack recipes that are just as simple to prepare and equally satisfying. Whether you’re looking for more granola-based options, savory bites, or sweet treats, you’ll find something new to love in our collection. Expand your snack repertoire with these delightful recipes:
- Homemade Granola with Pumpkin Seeds, Honey & Cranberries
- Ranch Oyster Crackers
- Chewy Coconut Chocolate Chip Granola Bars
- Peanut Butter Protein Balls
- Cinnamon Toast Crunch Granola Bars
- Classic Party Mix
- Chocolate Peanut Butter Granola Bars
- Biscoff Granola Bars
- Homemade Rosemary Olive Oil Crackers
If you love these Chewy Granola Bars as much as we do, please consider sharing this recipe with your friends and family! Spreading the joy of homemade goodness is what it’s all about, and we’d love for more people to discover how easy and delicious these are to make.
No Bake Chewy Granola Bars
Erin Sellin
15 minutes
15 minutes
12
Rate Recipe
Print Recipe
Ingredients
- 1/4 cup butter
- 1/4 cup honey
- 1/3 cup brown sugar
- 2 cups quick cooking oats
- 1 cup crispy rice cereal
- 1/2 teaspoon vanilla extract
- 2 Tablespoons mini chocolate chips
Instructions
-
Stir quick cooking oats and crispy rice cereal together in a large bowl. Set aside.
-
In a small saucepan over medium heat, melt butter, honey, and brown sugar together, stirring occasionally. Once the mixture starts to bubble, reduce the heat to low and cook for 2 minutes. Remove from heat and stir in vanilla extract.
-
Pour the warm syrup over the oat and cereal mixture. Stir until all dry ingredients are thoroughly coated.
-
Press the mixture firmly and evenly into a greased 8×8 inch sheet pan. Ensure you press them down very hard and tightly; this is key to preventing them from crumbling when cut. The thickness should be about 1/2 inch.
-
Sprinkle mini chocolate chips evenly across the top of the pressed bars. Gently press the chips into the surface.
-
Allow the granola bars to cool and set for at least 2 hours at room temperature. Once completely firm, cut into bars of your desired size. Store in an airtight container on your countertop.
Notes
Nutrition
Nutrition information is automatically calculated, so should only be used as an approximation.
Additional Info
Erin Sellin
15 minutes
15 minutes
Snack Recipes
American
12
273
Like this recipe? Leave a comment below!
I’ve created a fun and engaging group on Facebook, and I would absolutely love for you to join us! It’s a wonderful community where you can
share YOUR favorite recipes, ask questions, get inspiration, and stay up-to-date with all the new happenings at Dinners, Dishes and Desserts (so that you never miss a new recipe!).
Be sure to follow me on Instagram and
tag #dinnersdishes so I can see all the wonderful DINNERS, DISHES, AND DESSERTS
recipes YOU create!
Stay connected and be sure to follow me on my social media channels, so you
never miss a post!
Facebook | Twitter | Pinterest | Instagram
