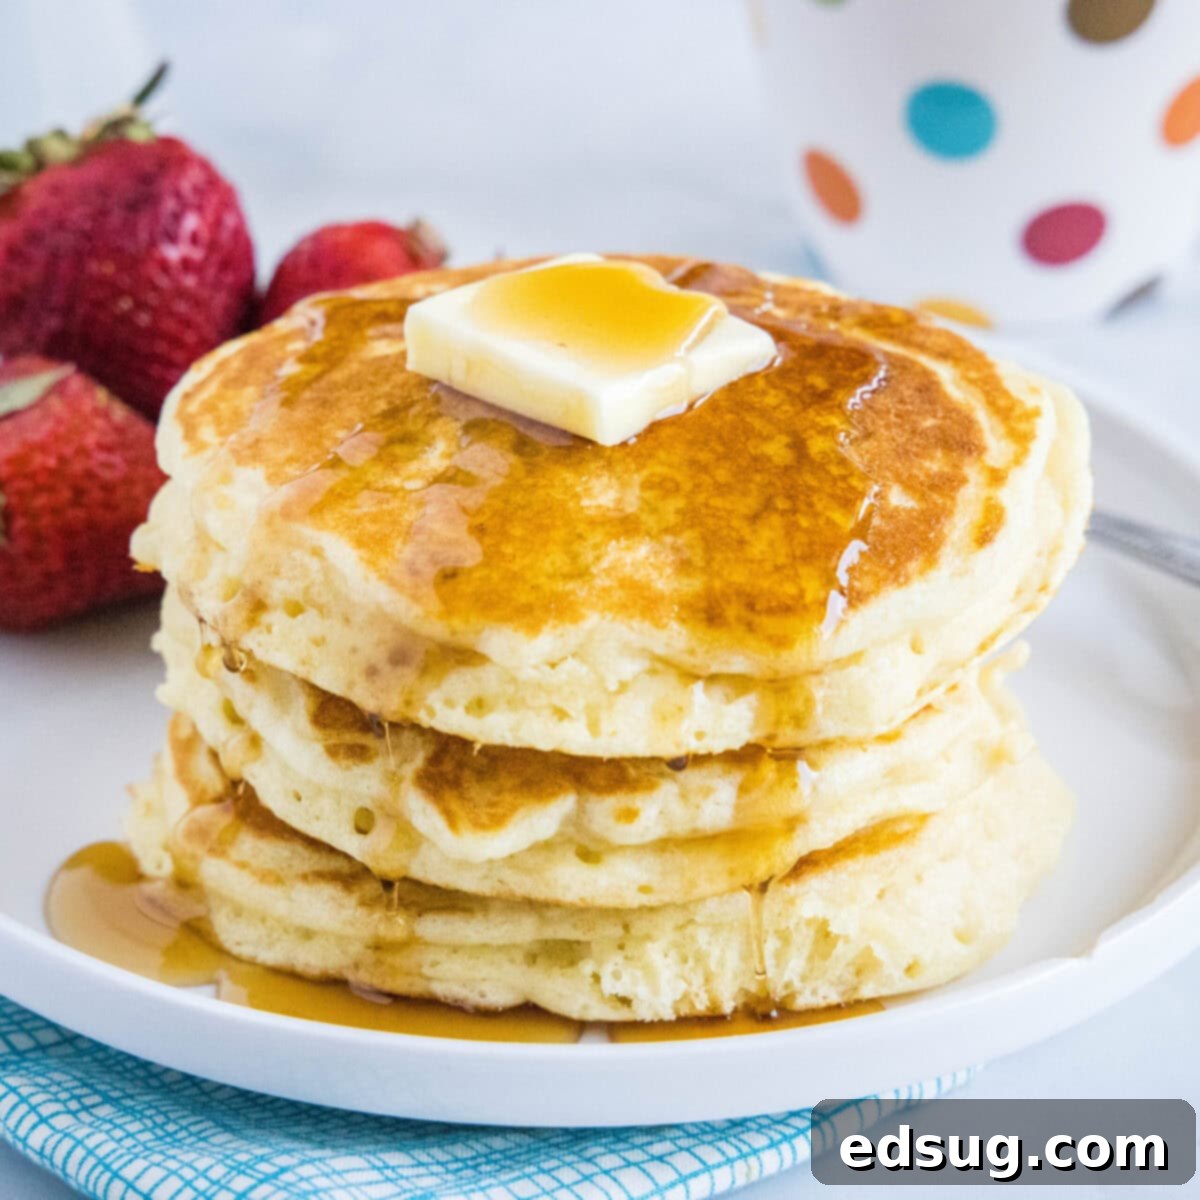
The Best Fluffy Diner-Style Buttermilk Pancakes: An Easy Homemade Recipe
There’s nothing quite like waking up to the aroma of freshly made pancakes. And when it comes to the ultimate breakfast treat, these thick and impossibly fluffy buttermilk pancakes reign supreme. Forget those sad, flat pancakes – this recipe delivers on every front: soft, moist, airy, with a delightful tang, and the perfect hint of sweetness. Best of all? They’re incredibly easy to whip up, bringing that beloved diner experience right into your kitchen.
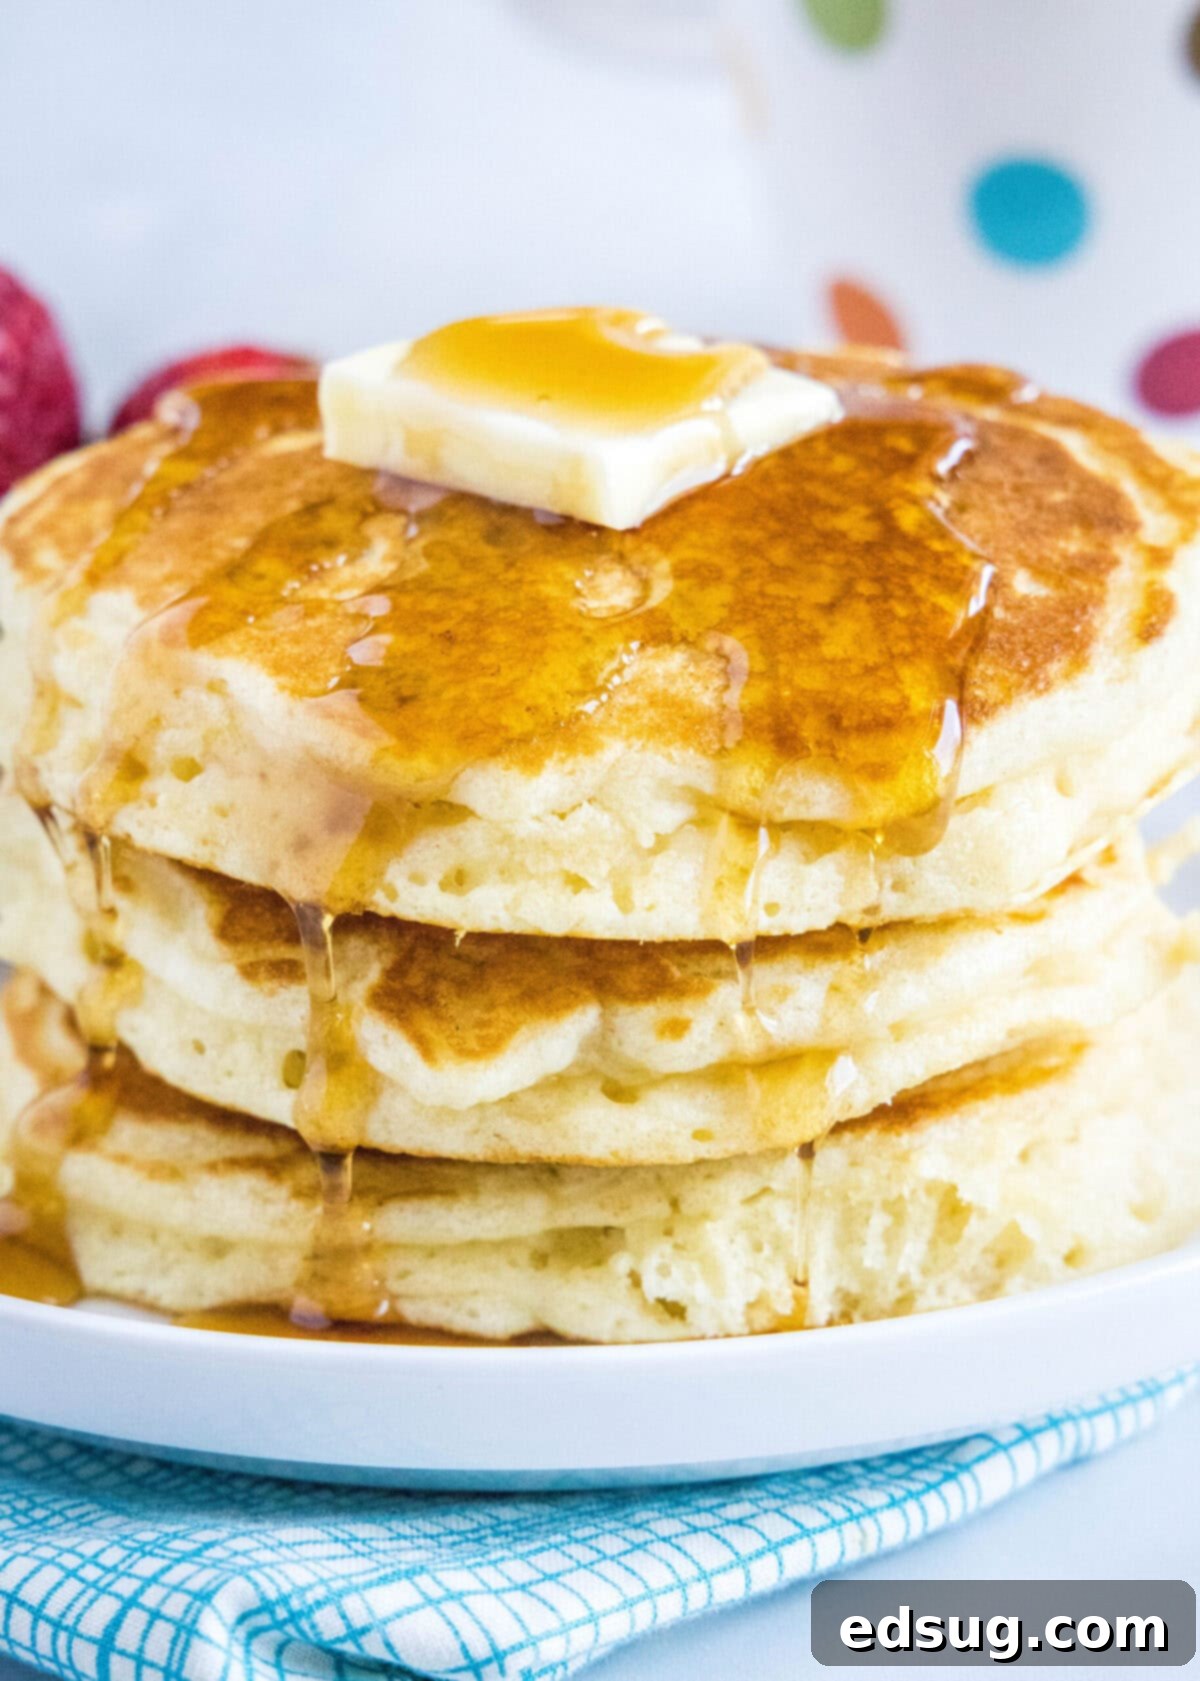
Pancakes are a timeless breakfast classic, and these homemade buttermilk pancakes are a true staple at my table. Each bite will transport you to your favorite cozy breakfast joint, where plates overflow with golden, perfectly cooked flapjacks. Our recipe yields pancakes that are wonderfully big, substantially thick, and incredibly airy, boasting that unmistakable tartness from buttermilk, all crowned with a beautiful golden crispiness on the outside. They strike that perfect balance between a satisfying chew and a melt-in-your-mouth tenderness.
What makes this recipe truly special isn’t just the incredible flavor and texture, but also its sheer simplicity. You won’t need hours in the kitchen or a culinary degree to master these buttermilk pancakes. In fact, they come together so quickly and effortlessly that you might just find yourself whipping up a batch for a spontaneous midnight snack or a weekend brunch with minimal fuss. Get ready to impress your family and friends with what will surely become your go-to buttermilk pancake recipe!
Why This is the Best Buttermilk Pancake Recipe You’ll Ever Make
The secret to achieving these divine buttermilk pancakes lies in a few simple techniques, primarily cooking them in just enough butter to develop a slight crispness on the outside while maintaining an unbelievably pillowy, soft interior. Here’s why I’m confident you’ll fall in love with these tangy, fluffy creations:
- Authentic Diner-Style Perfection: While there are countless pancake styles out there, diner-style holds a special place in my heart. These buttermilk pancakes stand proudly against any you’d find at a top-notch breakfast spot. They’re substantial, perfectly browned, and have that characteristic tangy depth that sets them apart. So, the next time a craving for your favorite breakfast diner strikes, skip the drive and head to your pantry instead – homemade perfection awaits!
- Remarkably Easy to Prepare: Don’t let their gourmet taste fool you; these homemade buttermilk pancakes are incredibly straightforward to make. The entire recipe, from start to finish, takes a mere half-hour, and you won’t be left with a kitchen in disarray. The instructions are clear, concise, and simple to follow, making this an ideal recipe for beginner cooks or a fun cooking project with kids.
- A Universal Crowd-Pleaser: In all my years, I’ve yet to encounter a single person who doesn’t adore these buttermilk pancakes. Their moist, tender texture and subtly tangy-sweet flavor profile make them an undeniable hit with everyone, whether you’re feeding discerning adults, energetic children, or even the pickiest eaters. Prepare for empty plates and requests for seconds!
- The Magic of Buttermilk: Buttermilk isn’t just for adding a tangy flavor; it’s a key ingredient for achieving that signature fluffiness. Its acidity reacts with the baking soda and baking powder, creating air bubbles that result in a light, airy texture. This reaction also helps tenderize the gluten in the flour, preventing tough pancakes and ensuring a soft, delicate crumb.
Essential Ingredients for Fluffy Buttermilk Pancakes
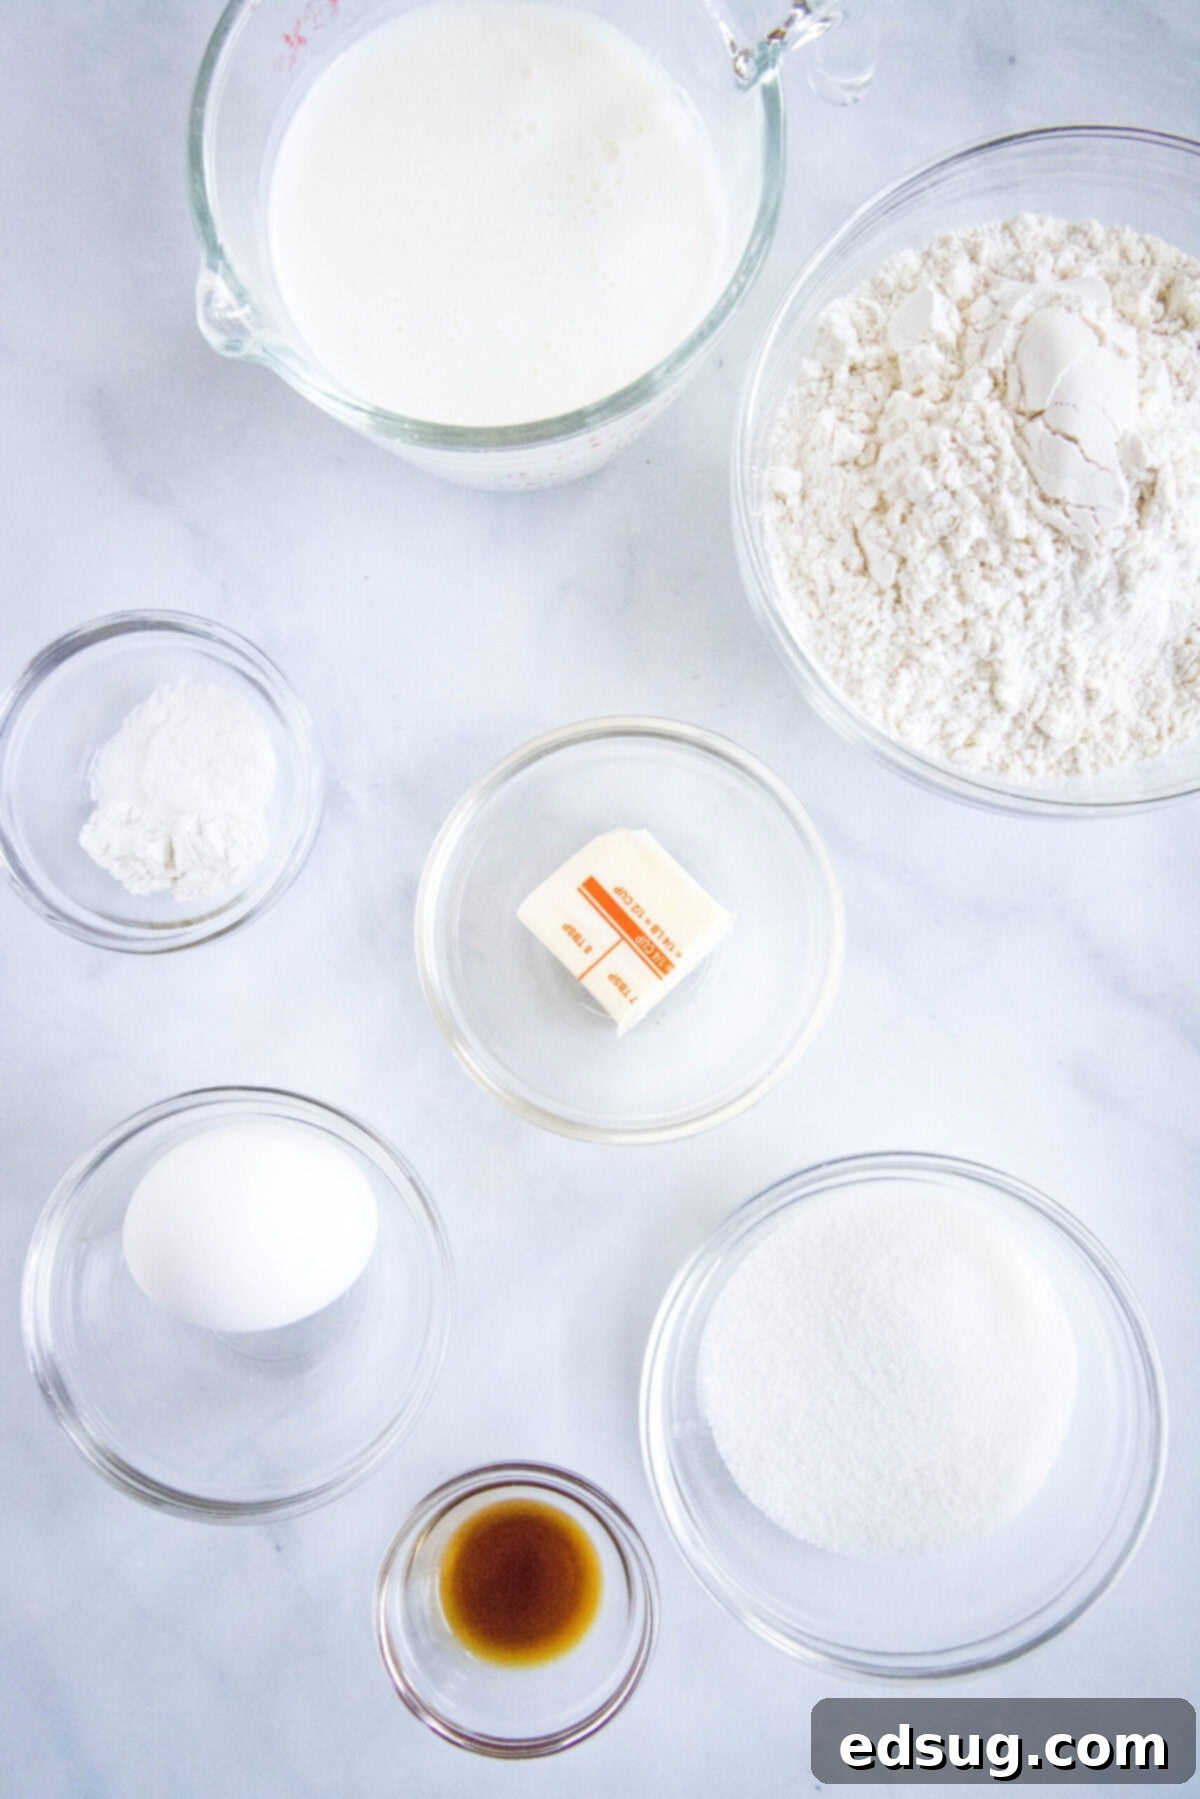
Crafting these delectable buttermilk pancakes requires just a handful of common pantry staples. While the full, precise measurements are detailed in the recipe card at the bottom of the page, here’s a quick overview of what you’ll need to gather:
- All-Purpose Flour: The foundation of our pancake batter. Sifting it will ensure an even, lump-free mixture.
- Baking Soda: Works with the buttermilk to create those essential air pockets for fluffiness.
- Baking Powder: Provides an extra lift, ensuring truly thick and airy pancakes.
- Salt: A pinch enhances all the other flavors, balancing the sweetness.
- Granulated Sugar: Adds just the right amount of sweetness to complement the buttermilk’s tang.
- Egg: Acts as a binder and contributes to the richness and structure of the pancakes. Using a room-temperature egg is highly recommended for a smoother batter.
- Buttermilk: The star ingredient! You can use store-bought buttermilk or easily make your own buttermilk at home with milk and lemon juice or vinegar if you don’t have any on hand.
- Vanilla Extract: Always opt for 100% pure vanilla extract for the best flavor depth and aroma.
- Unsalted Butter: Used both in the batter and for cooking. Using unsalted butter allows you to control the overall saltiness of the dish.
How to Make the Best Fluffy Buttermilk Pancakes
Despite their restaurant-quality appearance and taste, these fluffy pancakes are surprisingly simple to prepare. Follow these straightforward steps to achieve breakfast perfection:
- Step 1: Sift Dry Ingredients. In a large mixing bowl, sift together the all-purpose flour, baking soda, baking powder, granulated sugar, and salt. Sifting is a crucial step that helps aerate the flour and prevents lumps, resulting in a smoother, more uniform batter and ultimately, fluffier pancakes. Whisk these dry ingredients thoroughly to ensure they are well combined.
- Step 2: Mix the Wet Ingredients. In a separate bowl or a 2-cup measuring cup, add the buttermilk, room-temperature egg, and vanilla extract. Whisk these wet ingredients vigorously until the mixture is completely smooth and well incorporated. Using room-temperature ingredients helps them combine more easily.
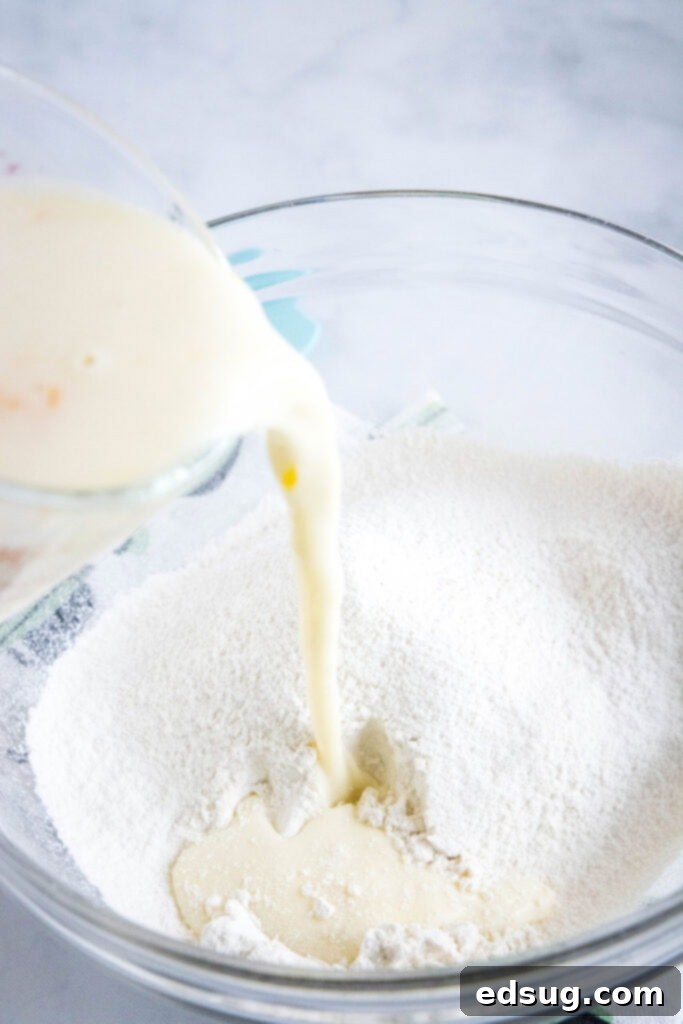
- Step 3: Combine Wet and Dry. Create a well in the center of your dry ingredients. Pour the buttermilk mixture into the flour mixture. Using a spatula or whisk, gently stir the ingredients until they are *just combined*. It’s important not to overmix the batter; a few small lumps are perfectly fine and even desirable, as overmixing can lead to tough, chewy pancakes.
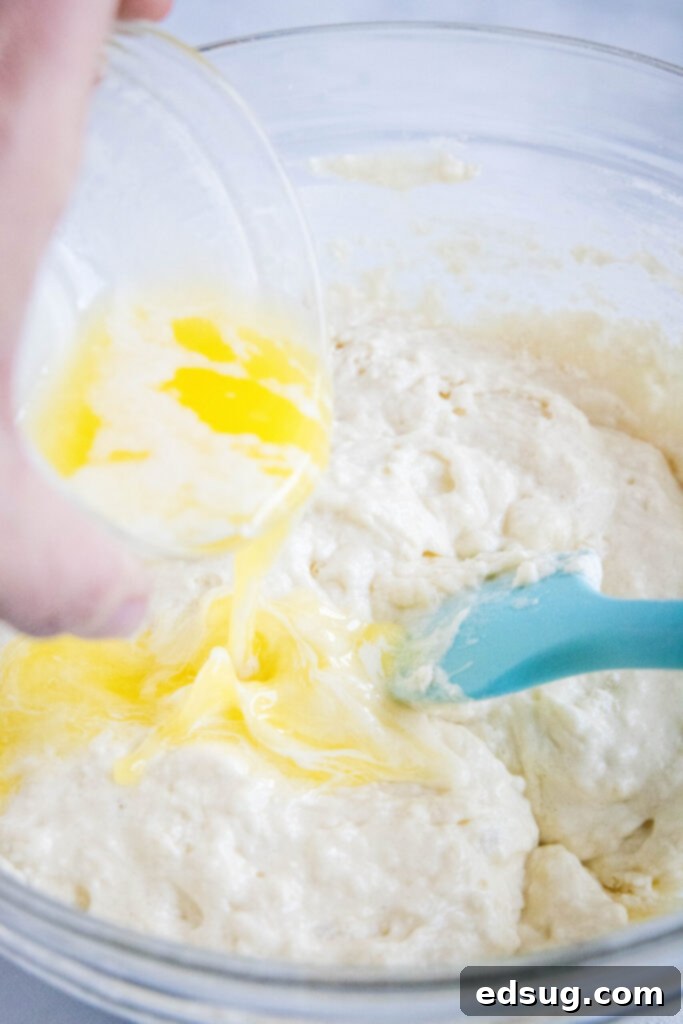
- Step 4: Incorporate Melted Butter. Carefully pour in the melted unsalted butter into the pancake batter. Gently fold it in until it’s just incorporated. Adding the butter last helps it distribute evenly without cooling down the other wet ingredients too much.
- Step 5: Rest the Batter. Allow your pancake batter to sit undisturbed for at least 10 minutes (and up to 30 minutes). This resting period is critical for several reasons: it allows the flour to fully hydrate, the gluten to relax (leading to a more tender pancake), and the leavening agents (baking soda and powder) to begin their work, resulting in noticeably thicker and fluffier pancakes.
- Step 6: Prep the Skillet. Heat a large non-stick skillet or electric griddle over medium-high heat. To test if your griddle is hot enough, sprinkle a few drops of water on the surface; if they sizzle and evaporate immediately, you’re ready. Once hot, lightly brush the surface with a small amount of butter or cooking oil. Don’t use too much, or your pancakes will be greasy.
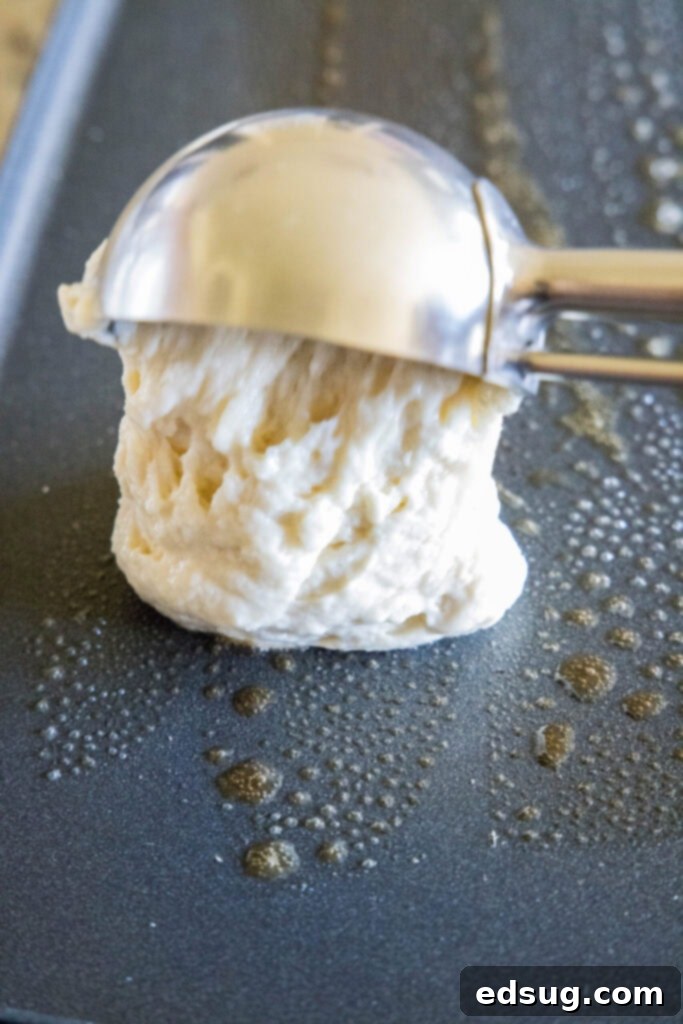
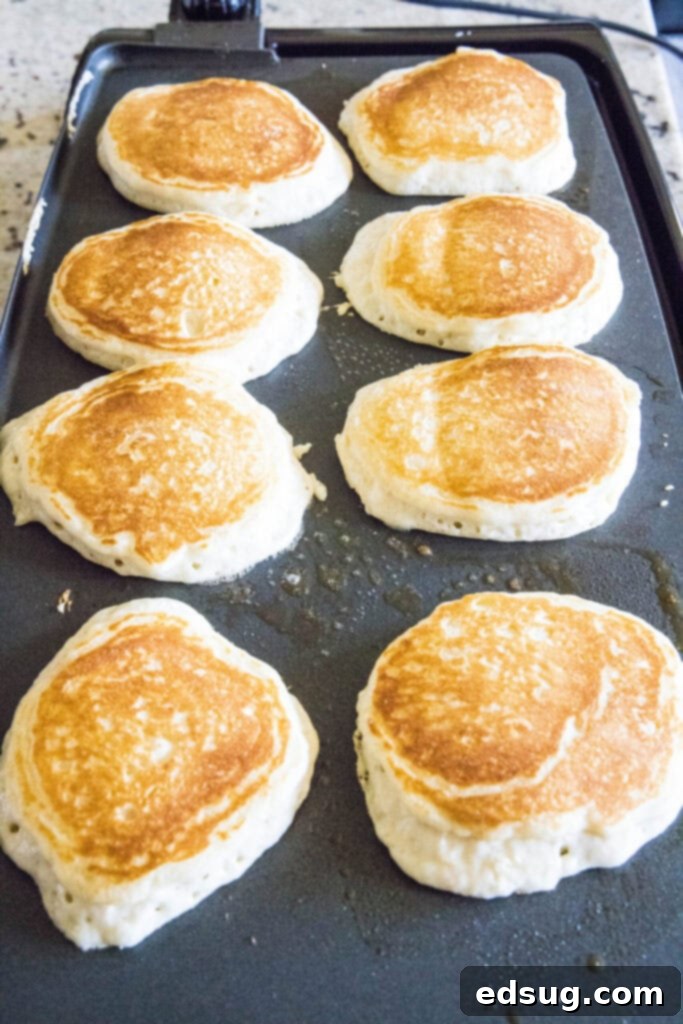
- Step 7: Cook to Golden Perfection. Using a ½-cup scoop or ladle, pour portions of the batter onto the hot griddle, ensuring not to overcrowd it. Cook for 2-3 minutes on the first side, or until you see numerous tiny bubbles forming and popping on the surface of the pancakes, and the edges look set. This is your cue to flip! Carefully slide a spatula underneath each pancake and flip it over. Cook for another 2-3 minutes on the second side, until they are golden brown and cooked through. Serve these delicious pancakes immediately while they’re hot and fresh!
Expert Tips & Delicious Variations for Your Buttermilk Pancakes
To ensure your buttermilk pancakes are consistently luscious and diner-style perfect, consider these expert tricks and delightful variations:
- Always Use Room-Temperature Eggs: This is a small but impactful tip! Cold eggs can cause the butter in the batter to seize up, and they don’t emulsify as effectively with other ingredients. By allowing your egg to come to room temperature for about half an hour before you start mixing, you’ll achieve a smoother, more uniform batter, which translates to lighter and fluffier pancakes.
- Resist the Urge to Press: A common mistake many make is pressing down on the pancakes with a spatula after flipping them. While it might seem like it speeds up cooking, it actually compresses the air out of the pancakes, making them dense and chewy instead of light and airy. Let them cook undisturbed!
- Keep Pancakes Warm While Cooking: Pancakes are always best enjoyed hot off the griddle. If you’re cooking multiple batches for a crowd, keep the cooked pancakes warm. A great method is to place them on a wire rack set on a baking sheet in an oven preheated to its lowest setting (around 170-200°F or 75-90°C). You can also loosely cover them with a kitchen towel to prevent them from drying out.
- Prevent Overmixing: We mentioned this in the instructions, but it bears repeating: do not overmix your batter! Overmixing develops the gluten in the flour too much, resulting in tough, rubbery pancakes. Mix until the wet and dry ingredients are just combined; a few small lumps are perfectly fine and indicate a perfectly mixed batter.
- Buttermilk Substitutes in a Pinch: No buttermilk on hand? No problem! You can easily make a substitute. For every 1 cup of buttermilk needed, measure 1 cup of regular milk (dairy or non-dairy) and add 1 tablespoon of white vinegar or lemon juice. Stir and let it sit for 5-10 minutes until it slightly curdles. This “soured milk” will mimic the acidity needed for the perfect fluffy texture.
- Elevate with Blueberries or Chocolate Chips: Transform your classic buttermilk pancakes with popular mix-ins! After you’ve poured the batter onto the griddle, simply sprinkle fresh or frozen blueberries, chocolate chips (milk, dark, or white), or even finely chopped nuts over the uncooked side of each pancake. Cook as directed for a burst of flavor in every bite.
- Other Fun Mix-ins: Get creative! Try adding a sprinkle of cinnamon, a dash of orange zest, or even some finely diced apple pieces to the batter before cooking for unique flavor combinations.
Delicious Serving Suggestions for Your Buttermilk Pancakes
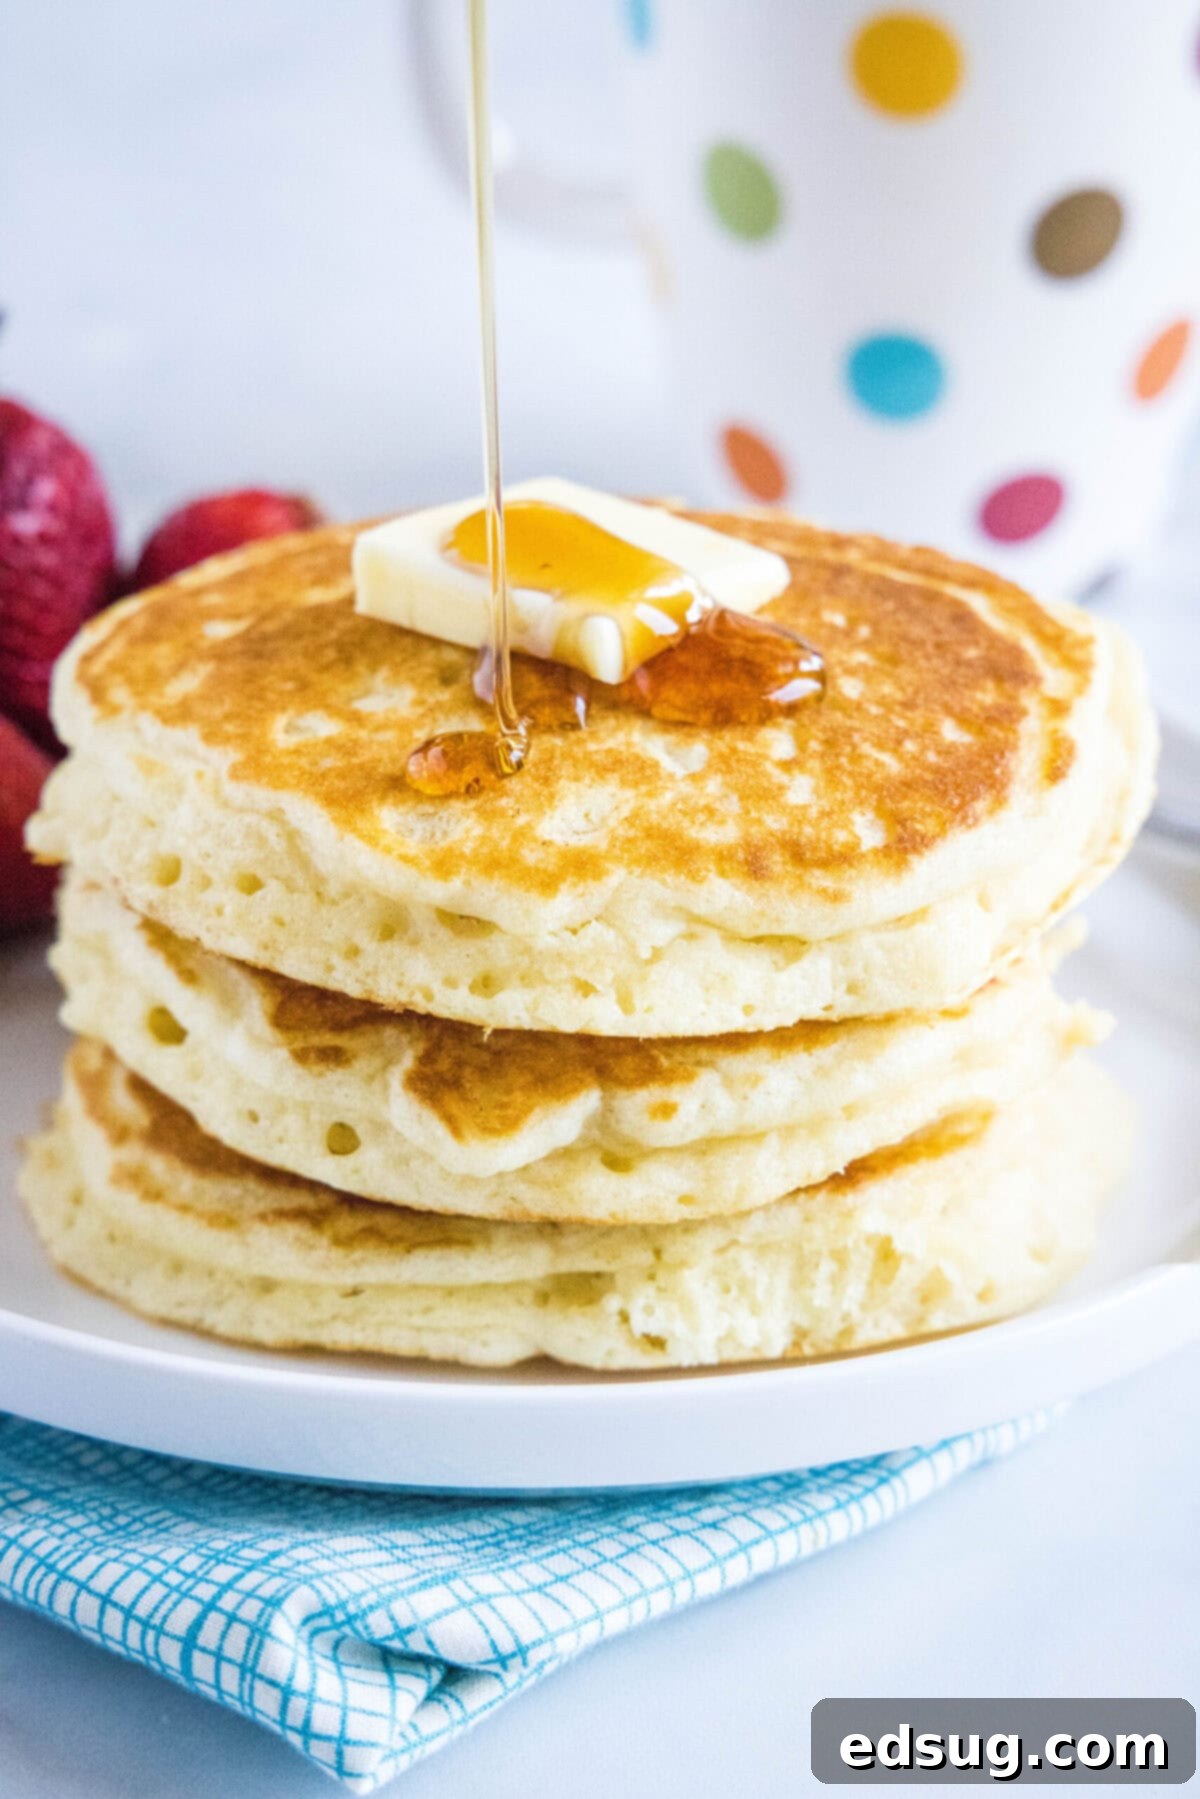
While I often keep it beautifully simple, enjoying these moist buttermilk pancakes with just a pat of melting butter and a drizzle of pure maple syrup, sometimes it’s fun to get a little more adventurous with toppings. Here are some fantastic ideas to elevate your homemade buttermilk pancakes:
- Classic Maple Syrup & Butter: The timeless duo. Don’t skimp on good quality maple syrup!
- Fresh Berries: A vibrant and healthy addition. Strawberries, blueberries, raspberries, or mixed berries provide a lovely tart contrast.
- Whipped Cream: A dollop of freshly whipped cream adds a luxurious, creamy texture.
- Fruit Sauces & Compotes: Elevate with homemade or store-bought fruit sauces. Try:
- Homemade Strawberry Syrup
- Sweet Blueberry Sauce
- Easy Raspberry Sauce
- Chocolate Goodness: Drizzle with chocolate syrup or a scoop of Homemade Nutella for a decadent treat.
- Nut Butters: A spread of peanut butter, almond butter, or cashew butter can add protein and a satisfying richness.
- Savory Pairings: Don’t forget the savory side! Pancakes pair wonderfully with crispy bacon, sausage links, or a side of scrambled eggs for a complete breakfast spread.
How to Store and Reheat Leftover Buttermilk Pancakes
One of the best things about these buttermilk pancakes is how well they store, making future breakfasts a breeze! To keep your pancakes fresh, ensure they are completely cooled to room temperature before storing. Place them in an airtight container or a resealable plastic bag, separating layers with parchment paper to prevent sticking. They will last for up to 3 days in the refrigerator.
Reheating is simple and quick:
- Toaster or Toaster Oven: For pancakes that regain a slight crispness, reheat them individually in a toaster or toaster oven on medium heat until warmed through, about 1-2 minutes.
- Microwave: For a faster option, place a few pancakes on a microwave-safe plate and heat in 10-second increments until hot and soft. Be careful not to overheat, as this can make them tough.
- Oven: If reheating a larger batch, preheat your oven to 350°F (175°C). Place pancakes in a single layer on a baking sheet, cover loosely with foil, and heat for about 5-10 minutes, or until warmed through.
Can You Freeze This Buttermilk Pancake Recipe?
Absolutely! Freezing these buttermilk pancakes is an excellent way to prepare for quick, easy breakfasts down the road. They freeze beautifully and taste almost as good as fresh when reheated. Here’s how to do it:
- Preparation for Freezing: Ensure the cooked pancakes are completely cool before freezing. To prevent them from sticking together, lay them in a single layer on a baking sheet and flash freeze for about 30 minutes to an hour until firm.
- Packaging: Once firm, stack the pancakes with a small piece of parchment paper between each one. Place the stack in a freezer-safe airtight container or heavy-duty freezer bag. Squeeze out as much air as possible to prevent freezer burn.
- Storage Time: Frozen buttermilk pancakes will maintain their quality for up to 3 months in the freezer.
- Reheating from Frozen:
- Toaster or Toaster Oven: You can reheat them straight from the freezer in a toaster or toaster oven on a medium setting until hot and lightly crispy. This is my preferred method for convenience and texture.
- Microwave: Place frozen pancakes on a microwave-safe plate. Heat in 30-60 second intervals, flipping once, until warmed through. Adjust timing based on your microwave and the number of pancakes.
- Oven: Preheat oven to 375°F (190°C). Arrange frozen pancakes in a single layer on a baking sheet. Bake for 8-10 minutes, or until heated through and soft.
More Easy & Delicious Breakfast Recipes
As they say, breakfast is the most important meal of the day – and it should also be the most delicious! If you loved these fluffy buttermilk pancakes, you’re sure to enjoy some of my other favorite easy breakfast recipes to start your day right:
- Festive Eggnog Cinnamon Rolls
- Quick & Easy Bisquick Muffins
- Nostalgic Homemade Strawberry Pop Tarts
- Hearty Sausage Breakfast Casserole
- Crispy Air Fryer Hash Browns
- Indulgent Eggnog French Toast
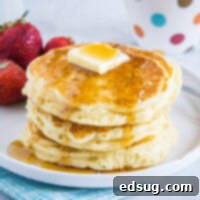
Buttermilk Pancakes
Ingredients
- 1 1/2 cups all-purpose flour
- 1 teaspoon baking soda
- 1 teaspoon baking powder
- Pinch of salt
- 1/4 cup granulated sugar
- 1 whole large egg
- 1 1/4 cup buttermilk
- 1/2 teaspoon vanilla extract
- 2 Tablespoons butter, melted
- 1 teaspoon butter, for brushing
Instructions
- Sift the flour, baking soda, baking powder, salt, and sugar into a large mixing bowl. Stir to combine thoroughly, ensuring no lumps remain.
- In a separate 2-cup measuring cup or medium bowl, add the buttermilk, room-temperature egg, and vanilla extract. Whisk until the mixture is smooth and evenly combined.
- Pour the wet buttermilk mixture into the dry flour mixture. Gently stir until just smooth, being careful not to overmix. A few small lumps are fine. Then, mix in the melted butter until just incorporated.
- Let the pancake batter rest for at least 10 minutes. This allows the flour to hydrate and the leavening agents to activate, resulting in fluffier pancakes.
- Heat a griddle or large skillet over medium-high heat. To test if it’s ready, a few drops of water should sizzle and evaporate. Once hot, lightly brush the surface with about 1 teaspoon of butter.
- Pour the pancake batter onto the griddle or skillet in ½-cup scoops, leaving enough space between each. Cook for 2-3 minutes, or until numerous tiny bubbles form on the surface and the edges look set. Carefully flip the pancakes and cook for another 2-3 minutes, until golden brown and fully cooked through.
- Serve hot and enjoy immediately with your favorite toppings like butter and maple syrup!
Notes
- Leftover buttermilk pancakes can be stored in an airtight container in the fridge for up to 3 days, or in the freezer for up to 3 months.
- To reheat from the fridge, use a toaster on medium heat or microwave in 10-second increments. From frozen, pancakes can be reheated directly in a toaster or toaster oven.
- Customize your pancakes by adding blueberries, chocolate chips, or other desired mix-ins after pouring the batter onto the griddle or skillet.
- For the fluffiest results, remember not to overmix the batter and allow it to rest for at least 10 minutes before cooking.
Nutrition
Nutrition information is automatically calculated, so should only be used as an approximation.
Additional Info
I created a fun group on Facebook, and I would love for you to join us! It’s a place where you can share YOUR favorite recipes, ask questions, and see what’s new at Dinners, Dishes and Desserts (so that you never miss a new recipe)!
Be sure to follow me on Instagram and tag #dinnersdishes so I can see all the wonderful DINNERS, DISHES, AND DESSERTS recipes YOU make!
Be sure to follow me on my social media, so you never miss a post!
Facebook | Twitter | Pinterest | Instagram
.
