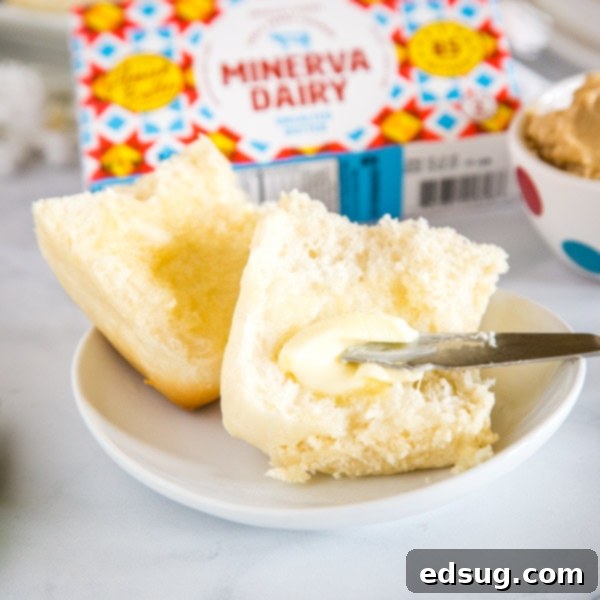
Mastering Texas Roadhouse Rolls at Home: A Step-by-Step Guide to Fluffy Dinner Rolls & Copycat Cinnamon Honey Butter
Indulge in the legendary taste of Texas Roadhouse right from your kitchen with these super soft, incredibly fluffy dinner rolls. This recipe includes the secret to that irresistible cinnamon honey butter, ensuring a delicious side dish for any meal that will have everyone asking for more.
For those who consider bread a food group and butter a condiment essential to life, this Texas Roadhouse rolls recipe is an absolute must-try. Famous for their unbelievably soft, warm rolls served with a creamy, sweet, and spiced cinnamon honey butter, Texas Roadhouse has captured the hearts (and stomachs) of millions. The good news? You no longer need to wait for a table to enjoy them. This comprehensive guide will walk you through every step, ensuring your homemade rolls turn out perfectly light, airy, and utterly delectable, just like your favorite restaurant.
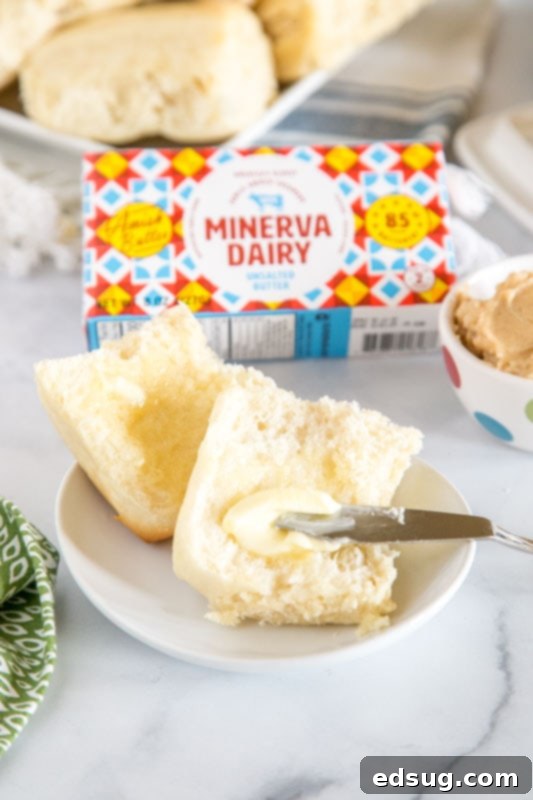
Imagine pulling apart a freshly baked, warm roll, steam gently rising, and then slathering it with that sweet, aromatic butter. It’s a culinary experience that truly elevates any meal. And trust us, achieving this restaurant-quality result at home is far simpler than you might think. We’ve meticulously detailed each stage, from activating your yeast to the final golden-brown bake, so you can confidently create these iconic dinner rolls every single time.
Essential Ingredients for Perfect Texas Roadhouse Rolls
Crafting these legendary rolls requires a few simple ingredients, but quality matters! Scroll to the bottom of the post for the FULL PRINTABLE recipe card with precise measurements.
The beauty of these rolls lies in their simplicity. You likely have most of these ingredients in your pantry already. However, paying attention to the freshness of key components, especially your yeast, will make all the difference in achieving that signature fluffy texture.
- Active Dry Yeast: This is the leavening agent that gives your rolls their airy texture. Always check the expiration date! Old yeast won’t activate properly, leading to dense rolls.
- Milk: Whole milk or 2% milk works best for a rich, tender crumb. Scalding it first helps create an even softer texture.
- Warm Water: Crucial for activating the yeast. The temperature is key – too hot will kill it, too cold won’t activate it.
- Eggs: Add richness, color, and help create a tender structure in the dough.
- Granulated Sugar: Not just for sweetness, sugar feeds the yeast, aiding in a robust rise, and contributes to the golden-brown crust.
- Butter: Essential for flavor, moisture, and that melt-in-your-mouth texture. Divided for both the dough and a final brush.
- All Purpose Flour: The foundation of your dough. While the recipe provides a range, adjust slightly as needed based on humidity and how your dough feels.
- Salt: Balances the flavors and strengthens the gluten structure in the dough. Don’t skip it!
Step-by-Step Guide: Crafting Your Own Texas Roadhouse Rolls
Making these rolls is a rewarding experience, and with our clear instructions, you’ll feel like a professional baker in no time. Each step is designed to build on the last, ensuring perfect results. Let’s get baking!
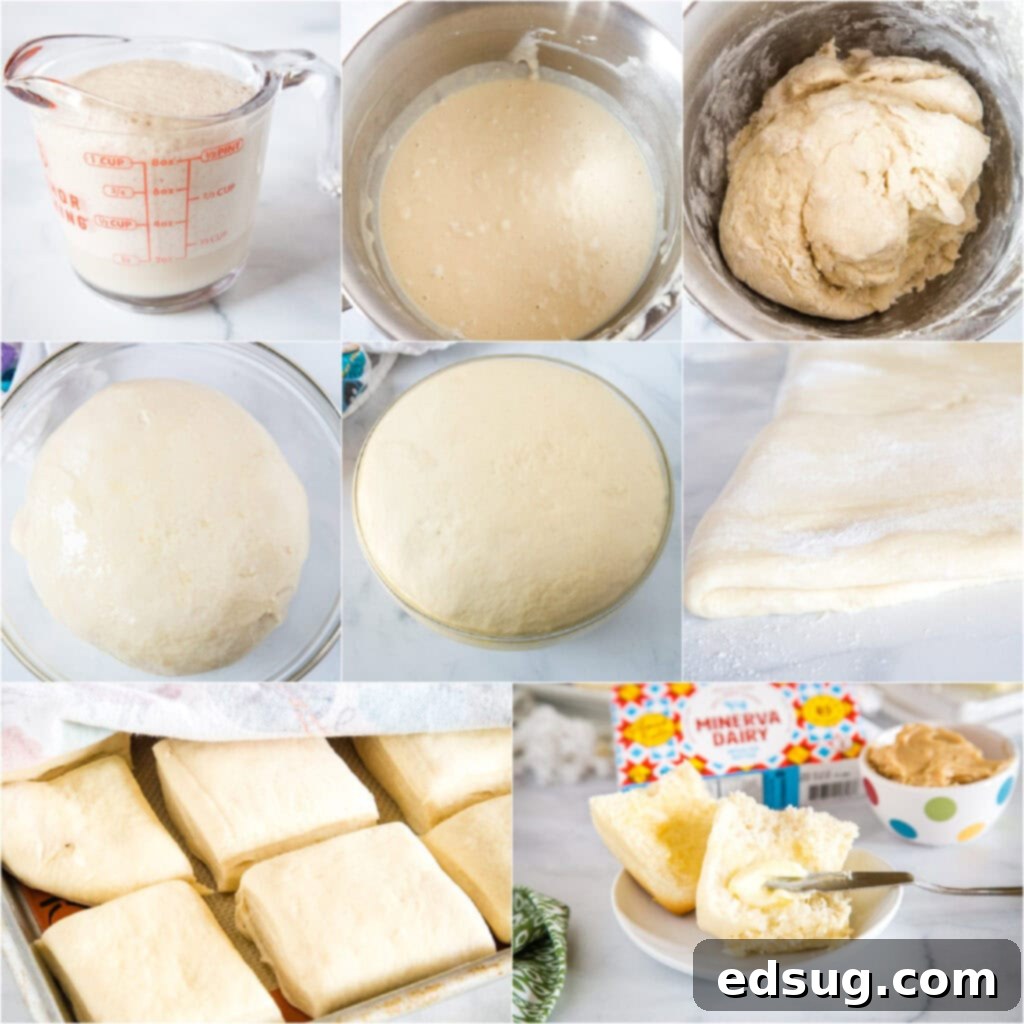
- Scald Milk. This initial step might sound fancy, but it’s incredibly simple and vital for achieving that signature soft texture. Pour 2 cups of milk into a saucepan and heat it gently until it’s almost boiling. You’ll notice small bubbles forming around the edges, some steam rising, and a thin film might even appear across the surface. Immediately remove the saucepan from the heat. It’s crucial not to let it boil vigorously. Allow the scalded milk to cool down to precisely 95 degrees F. This cooling period typically takes about 20 minutes, so be patient and use a thermometer for accuracy. Scalding denatures certain proteins in the milk that can interfere with gluten development, leading to a more tender crumb.
- Bloom Yeast. While your milk cools, prepare your active dry yeast. In a small bowl, dissolve the measured yeast and 1 teaspoon of granulated sugar into the specified amount of warm water (around 105-110 degrees F). Give it a gentle stir and let it sit undisturbed for approximately 5 minutes. During this time, the yeast should “bloom” – meaning it will become foamy and bubbly on the surface. This foam is a clear indicator that your yeast is alive and active, ready to give your rolls a fantastic rise. If it doesn’t foam, your yeast might be expired or the water temperature was off, and it’s best to start with fresh yeast.
- Make Batter. Once the scalded milk has cooled to the correct temperature, it’s time to combine the wet ingredients. In the bowl of a stand mixer fitted with a dough hook, mix together the cooled milk, the activated yeast mixture, the specified amount of melted butter (ensure it’s not hot, just melted), eggs, the remaining granulated sugar, and 4 cups of all-purpose flour. Begin mixing on a low speed. Continue mixing until these ingredients are well combined and start to form a smooth, somewhat loose batter. Scrape down the sides of the bowl as needed to ensure everything is incorporated.
- Add Flour. Now, gradually add the remaining 4 cups of all-purpose flour and the kosher salt to the batter in the stand mixer. Continue mixing on low speed. The mixture will start to transform from a loose batter into a stiff, shaggy dough. You might find that you need an additional half cup to a full cup of flour depending on the humidity in your kitchen and how the dough feels. Add it one tablespoon at a time, mixing until the dough just comes together and pulls away from the sides of the bowl. Avoid adding too much flour, as this can result in dry, tough rolls.
- Knead Dough. Once you have a stiff dough that has mostly come together, increase the mixer speed to medium-low and knead the dough for a full 10 minutes using the dough hook. Kneading is critical for developing the gluten, which gives the rolls their structure and chewiness. By the end of this period, your dough should be soft, smooth, elastic, and have a satiny appearance. To check if it’s properly kneaded, perform the “windowpane test”: pinch off a small piece of dough and gently stretch it. If you can stretch it thin enough to see light through it without tearing, it’s ready.
- First Rise. Lightly oil a large bowl, then transfer your kneaded dough into it, turning it once to coat all sides with oil. This prevents the dough from drying out. Cover the bowl tightly with plastic wrap or a clean kitchen towel. Place the covered bowl in a warm, draft-free place to rise. Ideal locations include a slightly warm oven (turned off, with the light on for gentle heat), near a sunny window, or next to a heat vent. Let the dough rise until it has visibly doubled in size. This primary fermentation typically takes between 60 to 90 minutes, depending on the ambient temperature.
- Form Rolls. After the first rise, gently punch down the dough to release the air. Turn the dough out onto a lightly floured surface. Using a rolling pin, roll the dough into a large rectangle, aiming for approximately 1/2 inch thickness. Now, take one of the shorter edges of the rectangle and fold it over onto itself, effectively folding the dough in half. This creates a thicker rectangle, about 1 inch thick. Gently roll over the folded seam with your rolling pin to seal the edges. This folding technique is what gives Texas Roadhouse rolls their signature shape and allows them to puff up beautifully. Let the dough rest for another 10 minutes to relax the gluten, making it easier to cut.
- Second Rise. Using a sharp knife or a pizza cutter, cut the rested dough into 24 uniform squares. Arrange these squares on a baking sheet that has been lined with parchment paper or lightly greased. Ensure there’s a little space between each roll to allow for expansion. Cover the baking sheet loosely with plastic wrap or a kitchen towel. Let the rolls rest in a warm, draft-free place for their second rise, which should take about 60 minutes. The rolls will puff up significantly during this time, becoming noticeably larger and softer. This second proofing ensures a light and airy final product.
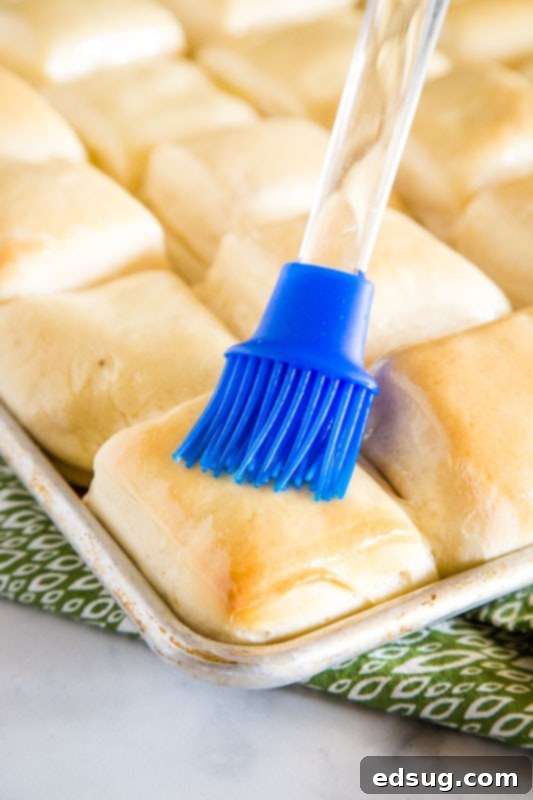
- Bake. While the rolls are completing their second rise, preheat your oven to 350 degrees F (175 degrees C). Once the rolls are puffed and the oven is ready, place the baking sheet in the preheated oven. Bake for 15-20 minutes, or until the tops are beautifully golden brown. Keep an eye on them towards the end of the baking time, as ovens can vary. Immediately upon removing them from the oven, brush the tops of the hot rolls generously with an additional tablespoon of melted butter. This adds a lovely shine, enhances flavor, and contributes to that signature soft crust.
The Secret Weapon: Copycat Cinnamon Honey Butter
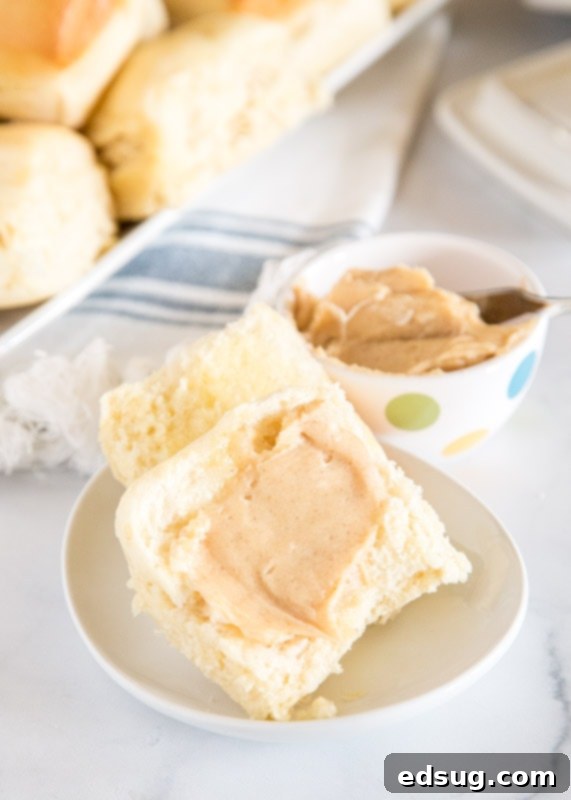
No Texas Roadhouse roll experience is complete without its iconic companion: the cinnamon honey butter. This sweet, creamy, and subtly spiced spread is what truly elevates these rolls from great to unforgettable. It’s incredibly simple to make and tastes divine.
The magic happens when creamy butter is whipped with sweet honey, delicate powdered sugar, a hint of fragrant cinnamon, and a touch of vanilla extract. The result is a light, airy, and utterly addictive spread that melts perfectly into the warm rolls. Its distinctive flavor is a hallmark of the Texas Roadhouse dining experience, and now you can recreate it effortlessly at home.
Ingredients for Cinnamon Honey Butter:
- 1/2 cup (1 stick) unsalted butter, softened
- 1/4 cup powdered sugar (also known as confectioners’ sugar)
- 1 Tablespoon honey
- 1 teaspoon ground cinnamon
- 1/4 teaspoon vanilla extract (optional, but highly recommended for depth of flavor)
To make it, simply combine all ingredients in a bowl and whip them together using an electric mixer until light and fluffy. Serve immediately with your warm rolls. While this cinnamon honey butter is truly special, if you prefer the classic simplicity of plain melted butter on your rolls, rest assured, we won’t judge. In fact, sometimes a simple brush of butter is all you need, and it’s a common practice in our kitchen too!
Storing and Reheating Your Homemade Rolls
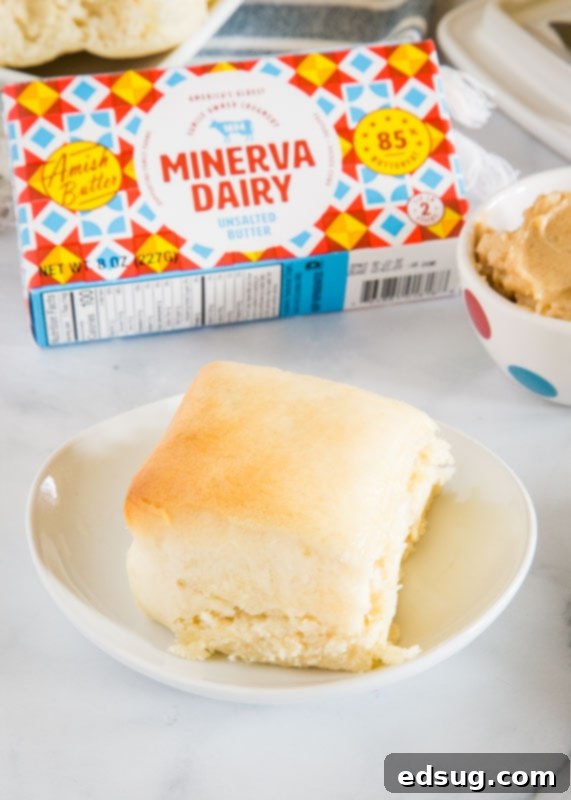
This recipe yields a generous batch of 24 rolls, making leftovers quite likely – which is a wonderful problem to have! Proper storage ensures your hard work pays off with delicious rolls for days to come. Store any leftover rolls in an airtight container at room temperature for up to 2-3 days. If you live in a humid environment or want to extend their shelf life, refrigeration can help, though it may slightly alter their ultra-soft texture.
For longer storage, freezing is your best friend. These rolls freeze beautifully! To freeze them individually, arrange the cooled rolls in a single layer on a baking sheet and place it in the freezer for a few hours until they are solid. Once frozen solid, transfer them to a freezer-safe bag or container. This method prevents them from sticking together, allowing you to grab just one or a few whenever a craving strikes. Frozen rolls can be stored for 4-5 months, providing a convenient stash of homemade goodness.
Reheating for Optimal Freshness
Reheating is key to bringing back that fresh-baked warmth and softness. If your rolls are frozen, simply take them out of the freezer and let them thaw on the counter for a couple of hours until they reach room temperature. For room-temperature rolls (fresh or thawed), place them on a baking sheet and warm them in a 350-degree F (175 degrees C) oven for about 5-10 minutes. This quick refresh will make them wonderfully warm and tender again, ready to be slathered with more cinnamon honey butter!
Expert Tips & Tricks for the Best Homemade Rolls
Baking with yeast can feel intimidating, but with these pro tips, you’ll achieve bakery-worthy results every time. Small details make a big difference in the world of bread making.
- Pay attention to the temperature of your liquids. Yeast is a living organism, and its activity is highly sensitive to temperature. The warm water for blooming your yeast should be between 105-110 degrees F (40-43 degrees C). Water that is too hot will kill the yeast, preventing any rise, while water that is too cold won’t activate it effectively. Similarly, the scalded milk must cool down to 95 degrees F (35 degrees C) before being combined with the yeast. An instant-read thermometer is your best friend here!
- Use good, active yeast. The freshness and viability of your yeast are paramount for successful bread. Always double-check the expiration date on your active dry yeast packets or jars. Store yeast in an airtight container in the refrigerator or freezer to prolong its shelf life. If your yeast doesn’t foam up after blooming in warm water and sugar, it’s likely dead or inactive, and you should discard it and get a fresh batch. Don’t waste your other ingredients on dormant yeast!
- Knead your dough adequately. Kneading is the process that develops the gluten in the flour, which gives the bread its structure, elasticity, and chewy texture. Whether you’re using a stand mixer with a dough hook or kneading by hand, stick to the recommended 10 minutes. The dough should transform from sticky and shaggy to smooth, elastic, and slightly tacky to the touch. A properly kneaded dough will pass the “windowpane test” as described in the instructions. Under-kneaded dough will result in dense rolls, while over-kneading is rare but can also lead to a tough product.
- Let your bread rise properly. Yeast thrives in a slightly warm, dark, and draft-free environment. For the first rise, your dough needs to double in size, which can take 60-90 minutes. If your kitchen is particularly cool (especially in winter), you might need to create a warmer spot. You can place the covered bowl in an oven that’s turned off with just the light on (which provides gentle heat), or near a heat vent. Some modern ovens even have a dedicated “bread proof” setting, which is perfect for this. The second rise, after shaping, is just as important for that final puffy texture. Patience is key for light, airy rolls!
- Don’t over-flour your surface: When punching down and rolling out your dough, use flour sparingly on your work surface. Too much extra flour can make your rolls dry and tough. A light dusting is all you need to prevent sticking.
- Achieve a beautiful golden crust: The final brush of melted butter right after baking not only adds flavor but also contributes to that gorgeous, shiny, golden-brown crust we all love. Don’t skip this step for that authentic Texas Roadhouse look!
Serving Suggestions: The Perfect Accompaniment for Any Meal
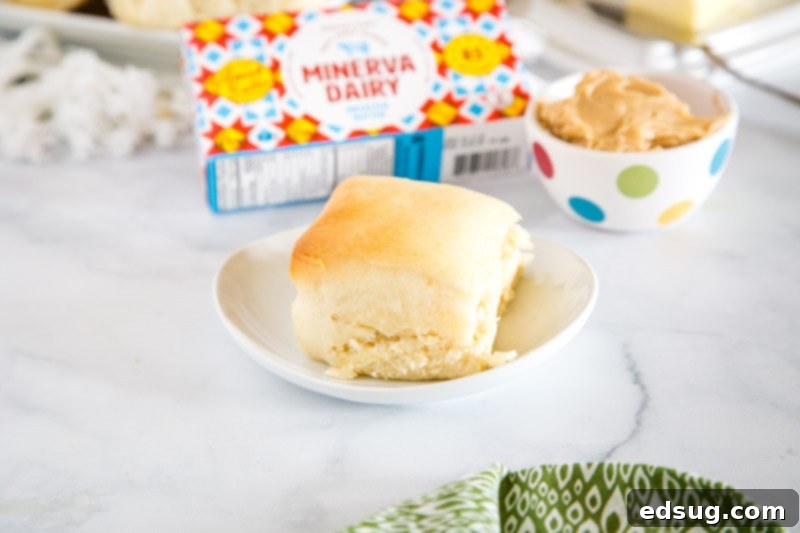
These incredibly soft and fluffy Texas Roadhouse rolls are so versatile, they pair wonderfully with almost any meal. Their slightly sweet and buttery flavor complements both savory and hearty dishes, making them a crowd-pleasing addition to your table.
Imagine these warm rolls alongside a steaming bowl of comforting soup or a rich, hearty stew – perfect for dipping and soaking up every last drop. They are also an absolute essential for holiday feasts! Their presence next to your Roasted Turkey for Thanksgiving or Christmas will undoubtedly earn you rave reviews. Beyond traditional dinners, they make fantastic sliders for pulled pork or chicken, or even a delightful accompaniment to a simple salad. Don’t forget, they’re also fantastic on their own for a comforting snack.
Here are a few specific recipes that truly shine when served with these amazing rolls:
- Cabbage Soup: A hearty and flavorful soup that benefits from a soft, buttery roll.
- Crock Pot Chili: Dip these rolls into a warm bowl of chili for the ultimate comfort meal.
- Instant Pot Country Style Ribs: The perfect savory companion to these sweet and fluffy rolls.
- Italian Chicken Bake: Use these rolls to mop up the delicious sauces from this flavorful bake.
Frequently Asked Questions About Texas Roadhouse Rolls
Can I make the dough ahead of time?
Absolutely! After the first rise, you can punch down the dough, cover it tightly with plastic wrap, and refrigerate it for up to 24 hours. When you’re ready to bake, remove the dough from the refrigerator, let it come to room temperature for about 30-60 minutes, and then proceed with forming the rolls and the second rise as directed.
What if my dough isn’t rising?
If your dough isn’t rising, the most common culprits are inactive yeast (check the expiration date and ensure proper blooming), or the liquids being too hot (killing the yeast) or too cold (slowing it down too much). Ensure your rising environment is warm and draft-free. If after an extended period (say, 2 hours) there’s still no significant rise, it’s best to start over with fresh yeast.
Can I use instant yeast instead of active dry yeast?
Yes, you can often substitute instant yeast for active dry yeast. Typically, you’d use about 25% less instant yeast, and you don’t necessarily need to bloom it first – you can add it directly to the dry ingredients. However, for this recipe, sticking to active dry yeast as specified and blooming it ensures reliable results and confirms its activity.
How do I make the rolls perfectly uniform in size?
After rolling the dough into a rectangle and folding it, use a ruler to measure and make consistent cuts. A pizza cutter can also help achieve straight, even lines for uniform squares. This ensures even baking and a professional look.

Texas Roadhouse Rolls
Pin Recipe
Rate Recipe
Print Recipe
Ingredients
- 4 1/2 teaspoons active dry yeast, 2 packets
- 2 cups milk
- 1/2 cup warm water, 105-110 degrees F
- 2 large eggs
- 1/2 cup granulated sugar, plus 1 tsp
- 5 Tablespoons butter, divided
- 8-9 cups all-purpose flour
- 1 Tablespoon kosher salt
Instructions
-
Pour 2 cups of milk in a sauce pan and heat until it is almost boiling. You will see foam start to form around the edges, it starts to steam, and bubbles are across the surface as well. Remove from the heat and let it cool to 95 degrees F (this takes about 20 minutes).2 cups milk
-
While the milk is cooling dissolve yeast and 1 tsp of sugar into the warm water. Let it sit for about 5 minutes until it starts to “bloom” or foam up.4 1/2 teaspoons active dry yeast, 1/2 cup granulated sugar, 1/2 cup warm water
-
Once the milk has cooled mix together the milk, yeast mixture, 4 Tbsp melted butter, eggs, sugar and 4 cups for flour together in a stand mixer using a dough hook. It should start to form a smooth batter.2 large eggs, 5 Tablespoons butter, 8-9 cups all-purpose flour
-
Add in 4 more cups of flour and the salt and mix until it forms a stiff dough. If you need additional flour add a little at a time to get it to come together.1 Tablespoon kosher salt
-
Once you have a stiff dough, knead for about 10 minutes, until it is soft and satiny. Place in a well oiled bowl, cover, and place in a warm draft free place to let it double in size. This should take 60-90 minutes depending on the temperature.
-
Once the dough has risen, punch it down and turn it onto a lightly floured surface.
-
Roll into a rectangle that is 1/2 inch thick. Take the short edge of the dough and fold it in half, so you now have a rectangle that is 1 inch thick. Gently roll to seal the edges. Let it rest for 10 minutes.
-
Cut the dough into 24 squares and place them on a lined or greased baking sheet. Cover and let rest for about 60 minutes, until they are puffed up.
-
Preheat oven to 350 degrees.
-
Bake 15-20 minutes until they are golden. Brush the tops with the remaining 1 Tbsp melted butter.
Notes
Nutrition
Nutrition information is automatically calculated, so should only be used as an approximation.
Additional Info
Like this recipe? Leave a comment below!
I created a fun group on Facebook, and I would love for you to join us! It’s a place where you can share YOUR favorite recipes, ask questions, and see what’s new at Dinners, Dishes and Desserts (so that you never miss a new recipe)!
Be sure to follow me on Instagram and tag #dinnersdishes so I can see all the wonderful DINNERS, DISHES, AND DESSERTS recipes YOU make!
Be sure to follow me on my social media, so you never miss a post!
Facebook | Twitter | Pinterest | Instagram
