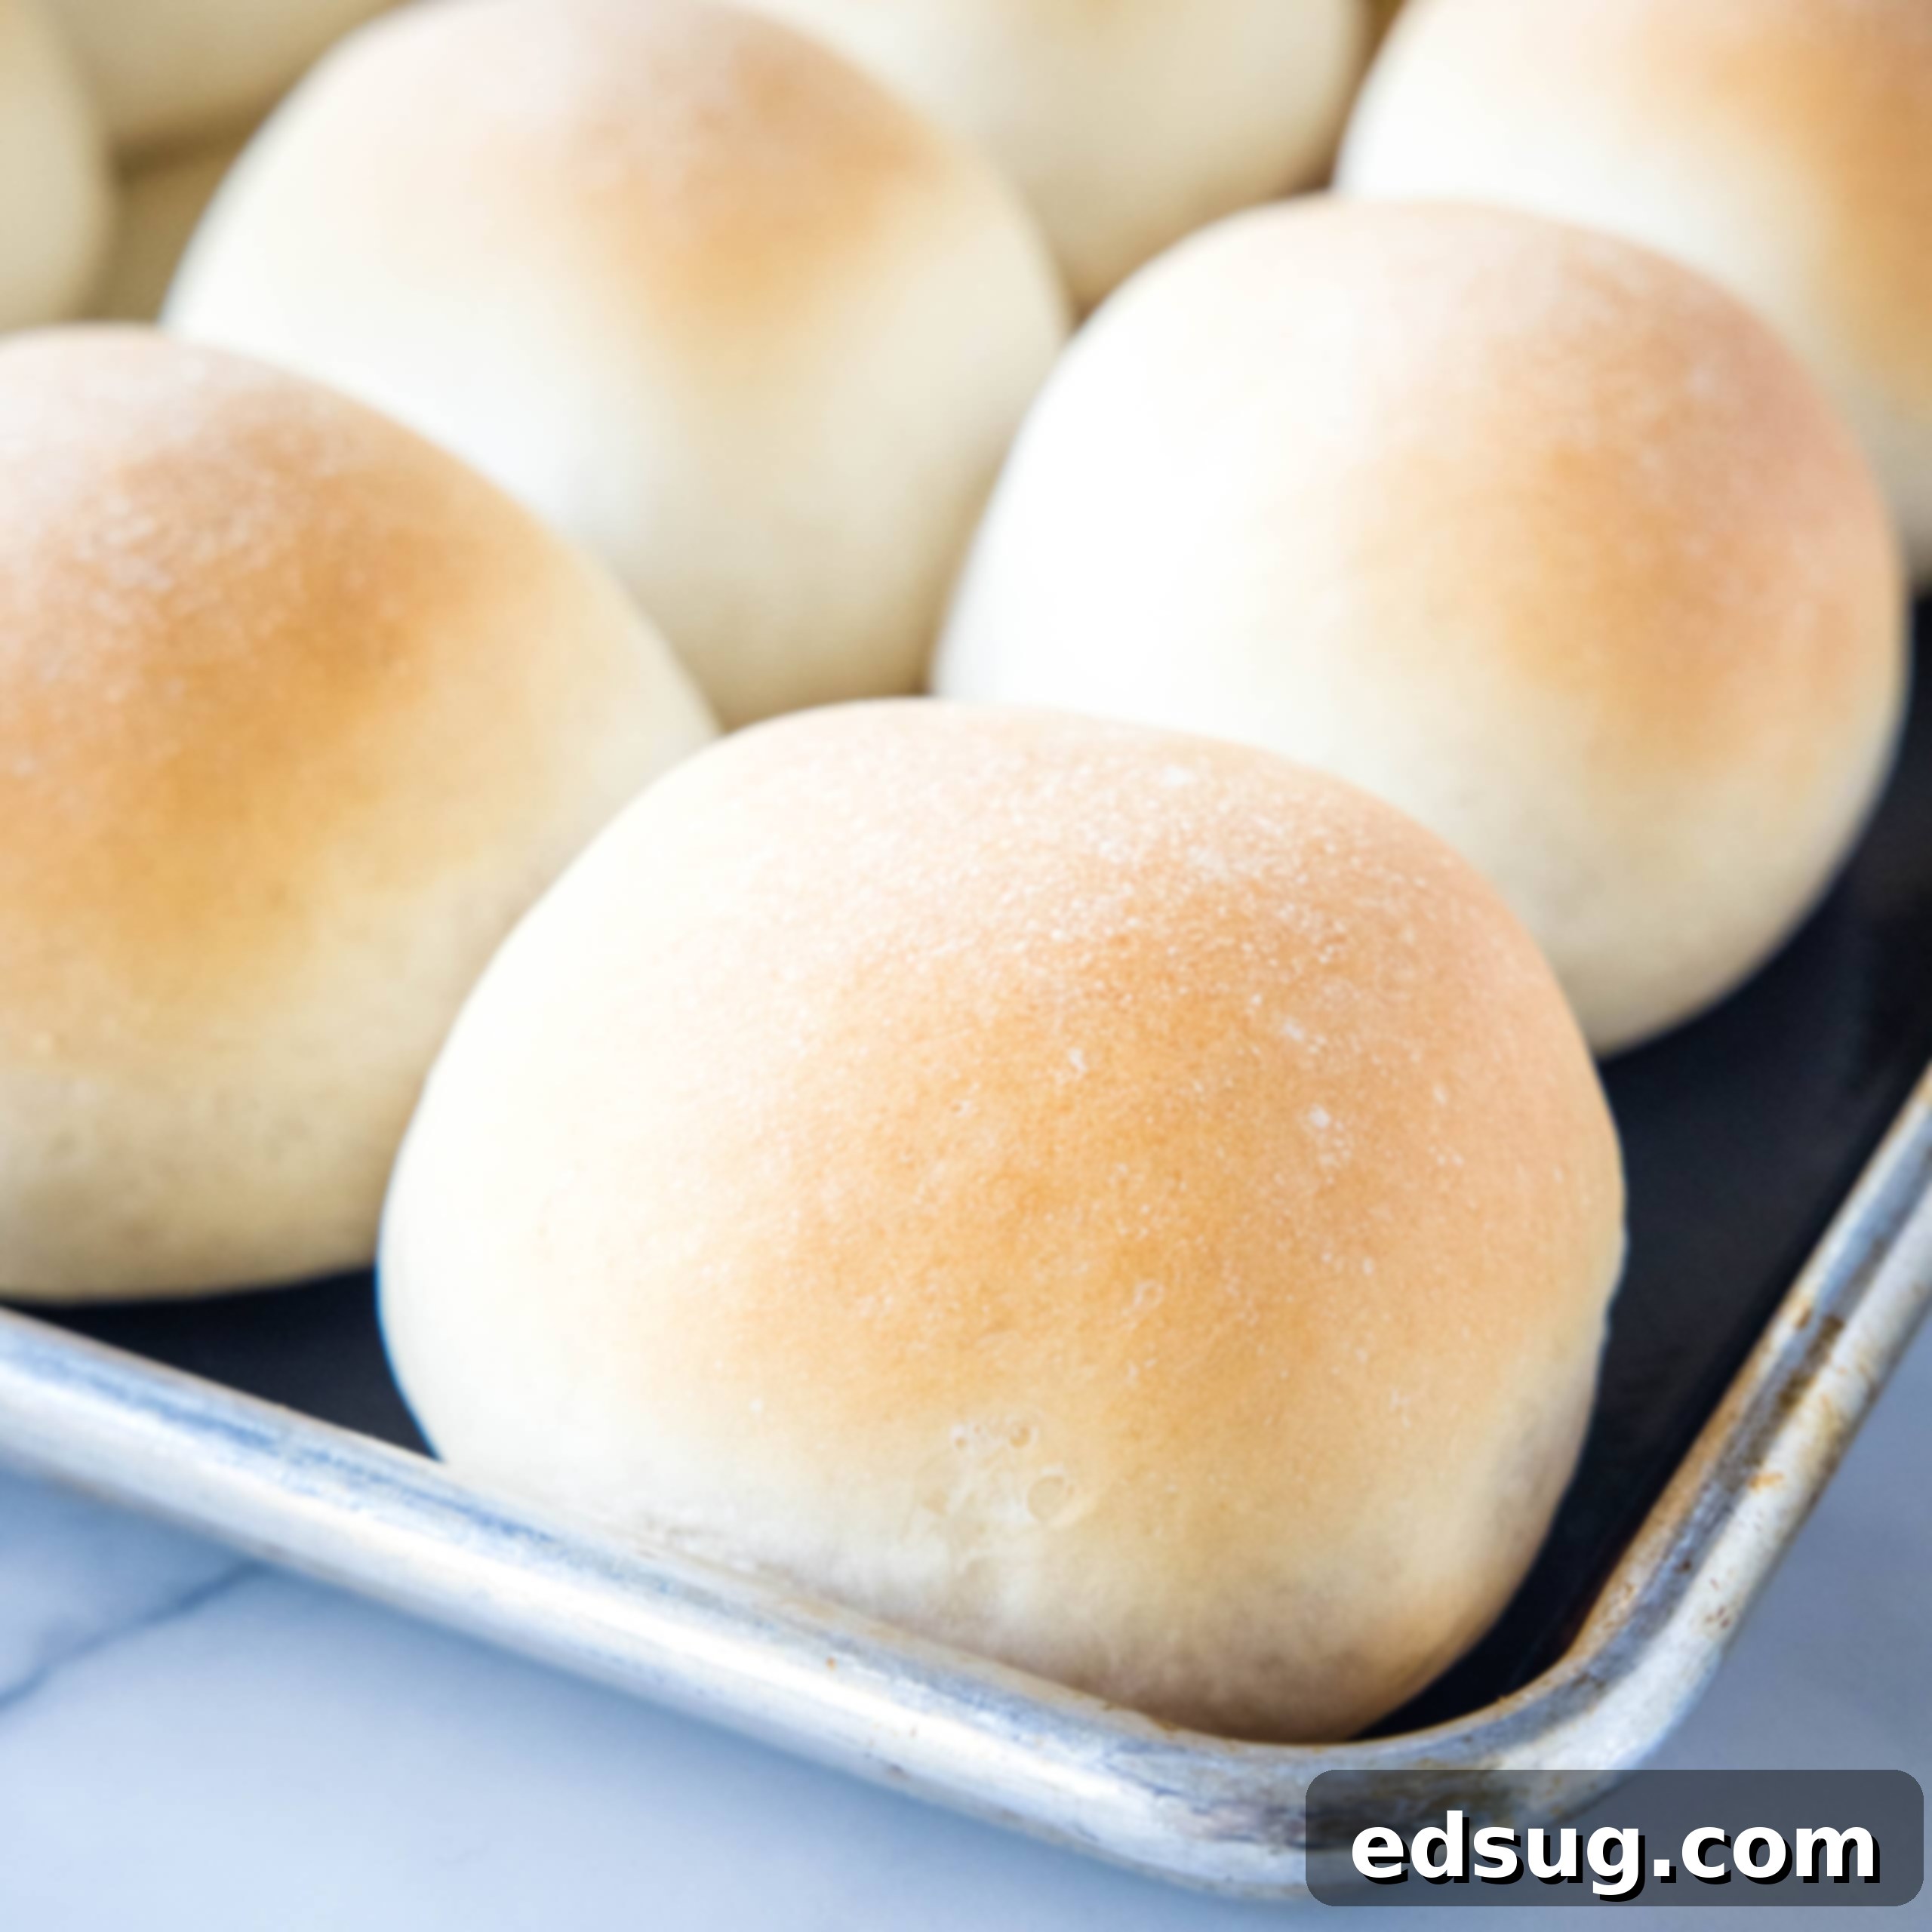
Easy Homemade French Bread Rolls: Fluffy Inside, Crusty Outside – Your Perfect Dinner Companion
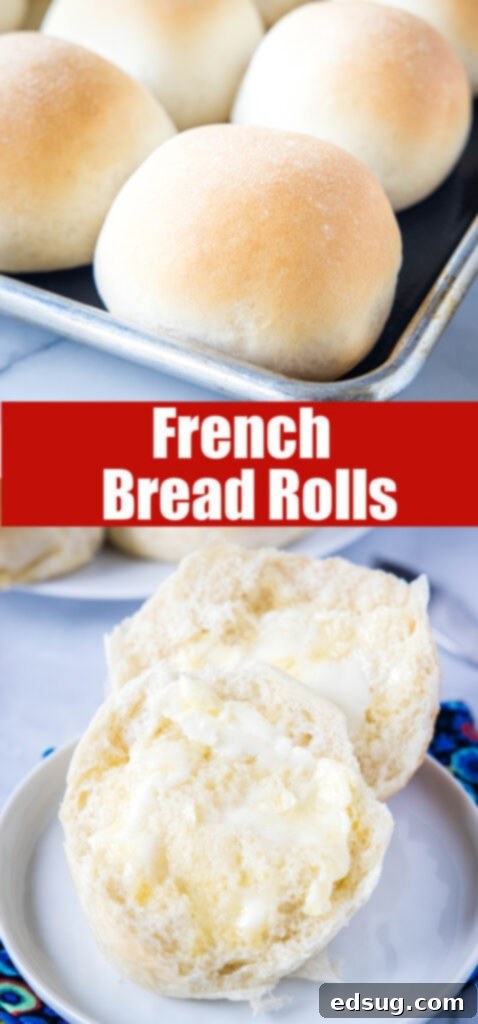
There’s an undeniable magic that fills your home when fresh bread is baking. The aroma alone is enough to get anyone excited, promising a warm, comforting treat that elevates any meal. These homemade French Bread Rolls deliver exactly that – an experience of pure culinary joy. Imagine warm, incredibly fluffy rolls with a delightful, slightly crusty exterior, ready to be slathered with butter. They are the quintessential companion for virtually any dinner, from hearty stews to light salads.
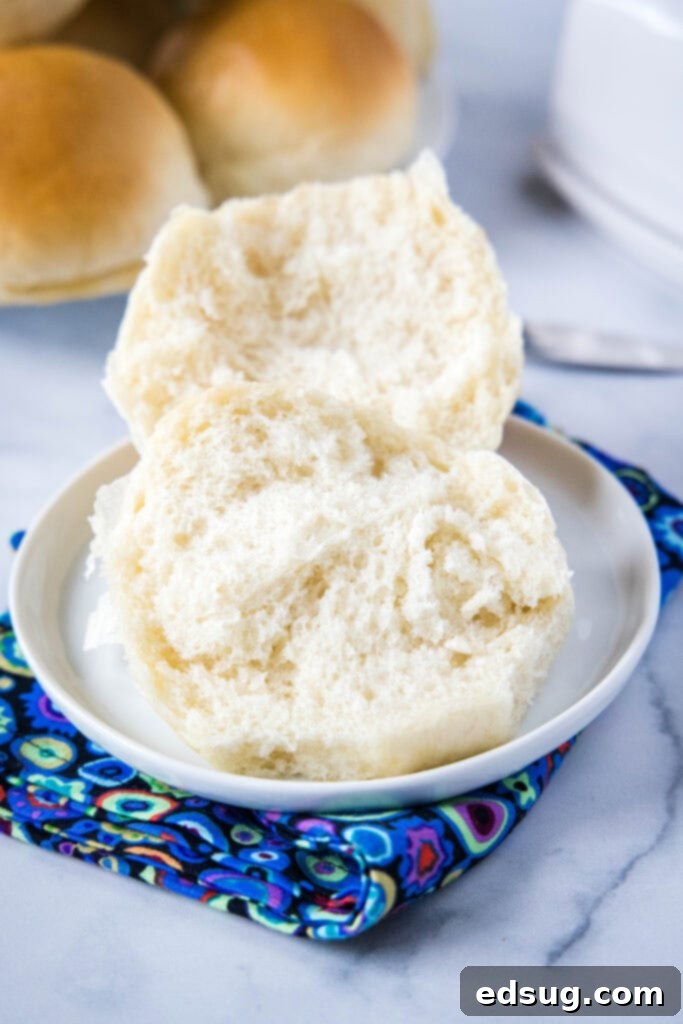
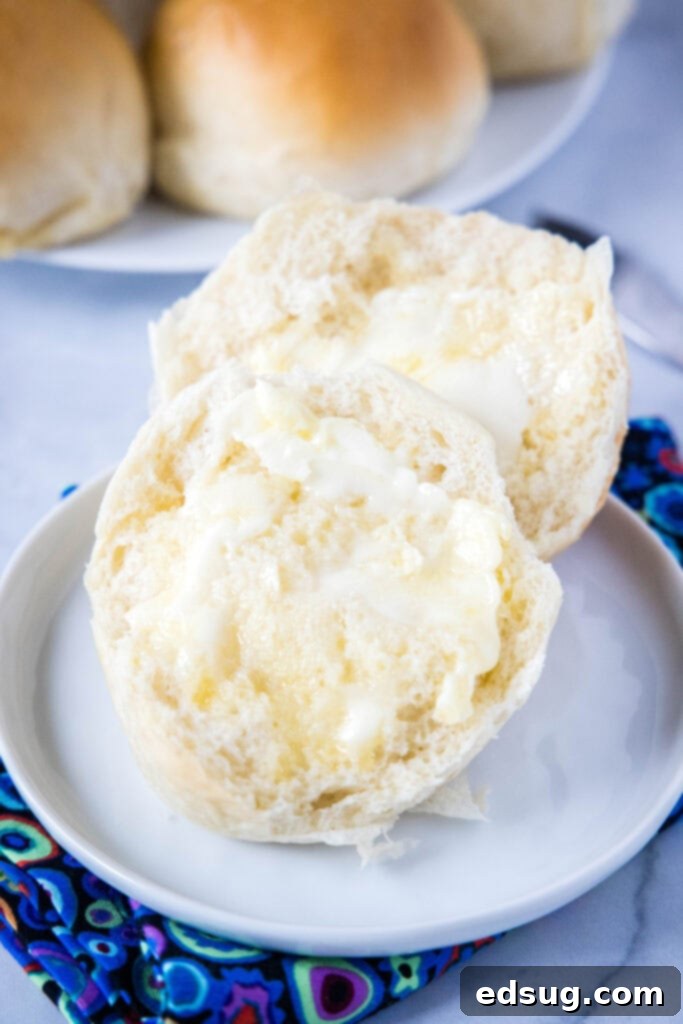
Breaking open one of these golden-brown beauties and spreading a dollop of butter on the soft, airy interior is an absolute carb heaven. You’ll quickly discover why making your own bread is so rewarding, especially with a recipe as straightforward and satisfying as this one.
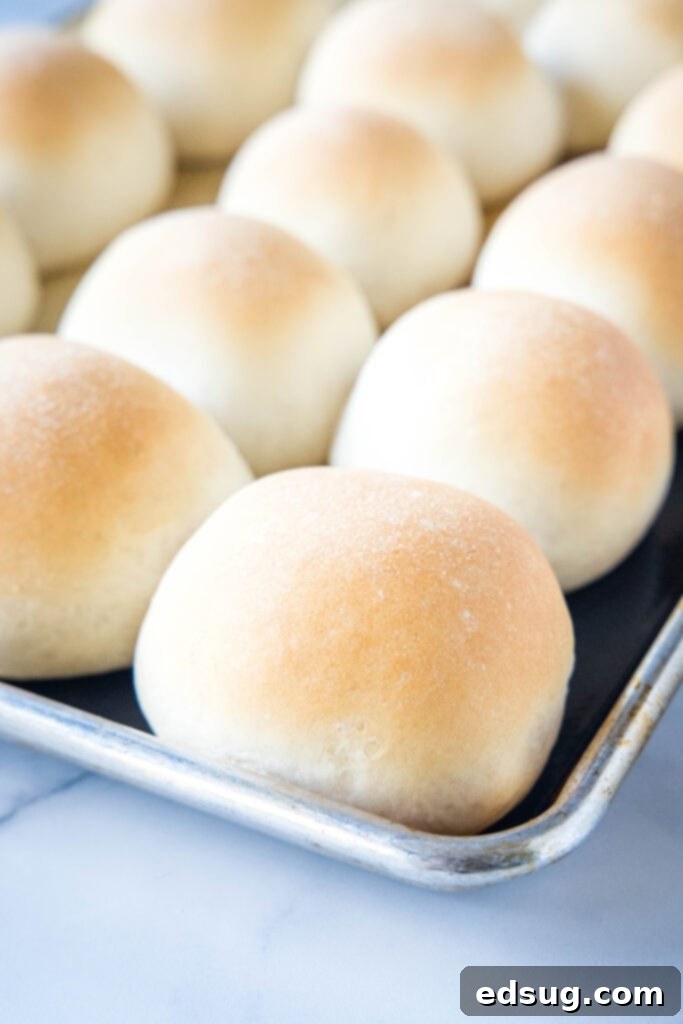
For many, the thought of baking with yeast can be intimidating. The idea of getting the temperature just right, kneading the dough, and waiting for it to rise often deters aspiring home bakers. But let me assure you, this recipe for French Bread Rolls is designed to be incredibly easy and approachable, even for beginners. I’ve gathered all the essential tips and tricks to guide you through each step, ensuring a successful and delicious batch of rolls every time. Don’t let past anxieties hold you back – stick around, read through these valuable insights, and get ready to create amazing fresh bread in your own kitchen!
What’s the worst that could happen? You end up with a slightly denser roll that still smells and tastes infinitely better than anything store-bought because it’s freshly baked with love! Even a “mediocre” homemade loaf is superior to no fresh bread at all. Embrace the process, and you’ll soon be churning out beautiful, golden French bread rolls like a seasoned pro.
Essential Ingredients for Your Perfect French Bread Rolls
Crafting these delectable French dinner rolls requires a simple list of pantry staples. Each ingredient plays a crucial role in achieving that coveted texture and flavor:
- Warm Water: The lifeblood of your yeast. Temperature is key here – about 110ºF is ideal to activate the yeast without killing it.
- Active Dry Yeast: The magic behind the rise, giving your rolls their light and airy structure. Always check the expiry date!
- Granulated Sugar: Not just for sweetness, sugar provides the necessary “food” for the yeast to bloom and become active.
- Salt: Essential for flavor, but also crucial for controlling yeast activity and strengthening the dough’s gluten structure.
- Vegetable Oil: Adds moisture, tenderness, and helps create that desirable soft crumb.
- Bread Flour: High in protein, bread flour develops strong gluten, giving the rolls their chewiness and structural integrity.
- All-Purpose Flour: Balances the bread flour, contributing to the rolls’ tender texture without making them too dense.
One of the most critical elements when working with yeast is ensuring your water is at the correct temperature. Aim for approximately 110ºF. This temperature is perfect for the yeast and sugar to work together and become active, creating that tell-tale foamy layer. If the water is too cold, the yeast will remain dormant and won’t activate. Conversely, if it’s too hot, it will kill the delicate yeast organisms, rendering them useless. Investing in a simple kitchen thermometer to accurately measure the water temperature will significantly increase your success rate and build your confidence in bread baking.
Mastering Your Homemade French Bread Rolls: A Step-by-Step Guide
Follow these detailed instructions to create the best French dinner rolls you’ve ever tasted:
- Activate the Yeast: In a 2-cup measuring cup, combine your warm water, sugar, and active dry yeast. Stir gently and let this mixture sit for about 10 minutes. You’re looking for a foamy, bubbly layer to form on the surface – this is often called “blooming” and indicates your yeast is alive and ready to work its magic. If you don’t see any foam, your yeast might be expired, or your water temperature was off. Don’t be discouraged; simply check these factors and start again.
- Combine Dry and Wet Ingredients: In a large mixing bowl (or the bowl of your stand mixer), thoroughly whisk together the bread flour, salt, and vegetable oil. Pour the activated yeast mixture into the flour mixture. Begin stirring, then gradually add the all-purpose flour, half a cup at a time. Continue mixing until the dough starts to come together and form a cohesive ball, pulling away from the sides of the bowl. The exact amount of flour can vary slightly depending on environmental factors like humidity, so you might not use all of the listed all-purpose flour. Trust the feel of the dough.
- Knead the Dough: Once the dough forms a ball, it’s time to knead! If using a stand mixer with a dough hook, knead on low speed for 5-6 minutes. If kneading by hand, prepare for a good arm workout, kneading for about 5-8 minutes. The goal is to develop the gluten, making the dough smooth, elastic, and springy to the touch. It shouldn’t be overly sticky.
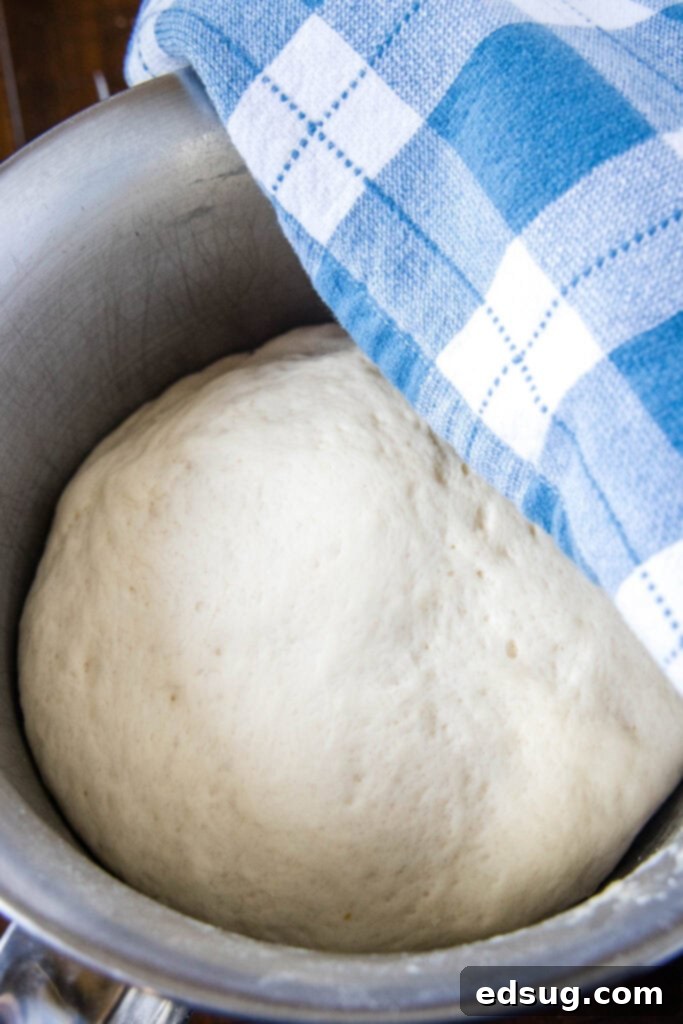
- First Rise (Bulk Fermentation): Lightly grease a clean bowl with a little vegetable oil. Place your kneaded dough ball into the oiled bowl, turning it once to coat all sides. Cover the bowl with plastic wrap or a clean kitchen towel and let it rise in a warm, draft-free place for about 1 hour, or until it has visibly doubled in size. This first rise is crucial for developing flavor and texture.
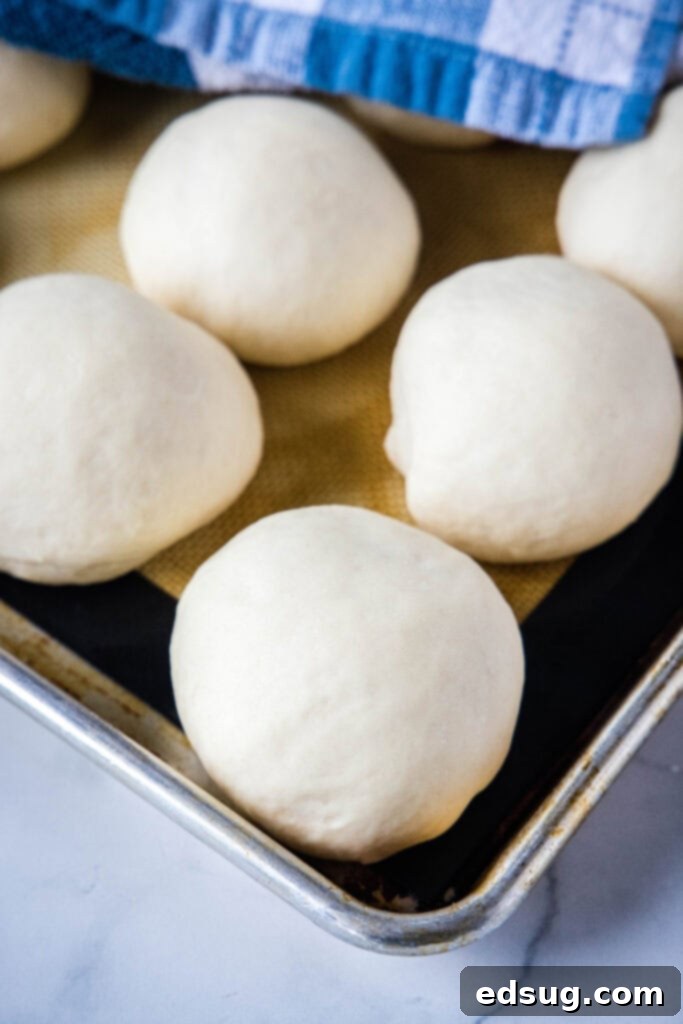
- Shape the Rolls: Once the dough has doubled, gently “punch it down” to release the air. Transfer the dough to a lightly floured surface. Divide the dough into 16 equal pieces. A kitchen scale can help ensure even sizing, which leads to uniform baking. To shape each piece, use your thumb and middle finger to roll it on the counter, creating a smooth, round ball. This technique helps create tension on the surface of the dough, contributing to a better rise and crust.
- Second Rise (Proofing): Arrange the shaped dough balls on a baking sheet lined with parchment paper, leaving about 2 inches between each roll to allow for expansion. Cover the baking sheet loosely with plastic wrap or a clean towel and let the rolls rise again for approximately 30 minutes, or until they have nearly doubled in size. This second rise, known as proofing, ensures a light and airy final product.
- Bake to Golden Perfection: While your rolls are undergoing their second rise, preheat your oven to 400ºF (200ºC). Bake the rolls for 20-25 minutes, or until they are a beautiful golden brown on the outside. To check for doneness, tap lightly on the bottom of a roll; it should sound hollow.
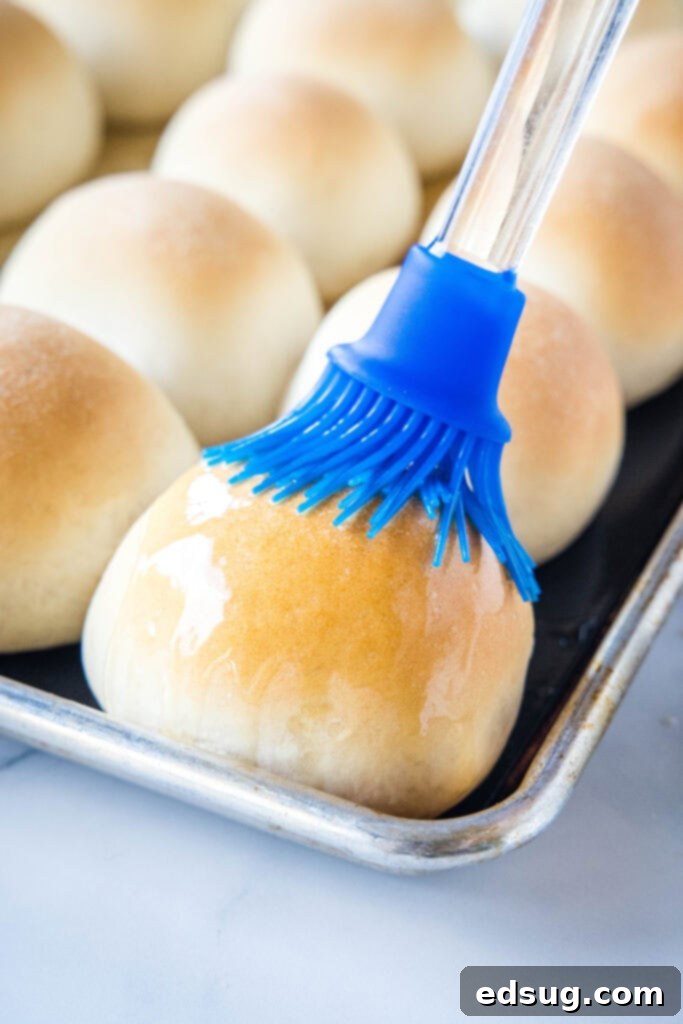
- Serve Warm: As soon as the rolls come out of the oven, brush them generously with melted butter. This adds a beautiful sheen, enhances the flavor, and helps soften the crust slightly. Serve these glorious French bread rolls warm and enjoy!
Storage Solutions for Your French Bread Rolls
These delightful dinner rolls are best enjoyed fresh, but they also store well for a few days. To maintain their freshness, simply keep them in an airtight container at room temperature. They will last for about 4-5 days. If you desire that wonderful, slightly crusty exterior again before serving, you can easily re-warm them in a preheated oven at 350ºF (175ºC) for 5-10 minutes, or until heated through and crisp.
Can You Freeze French Dinner Rolls? Absolutely!
Freezing is a fantastic way to enjoy homemade French bread rolls whenever the craving strikes, and you have multiple convenient options:
To Freeze Baked Rolls: Once your rolls are completely cooled, place them in a freezer-safe plastic bag or an airtight container. They will maintain their quality in the freezer for 2-3 months. When you’re ready to enjoy them, simply remove them from the freezer and let them thaw on the counter for a couple of hours. For a warm, just-baked experience, pop them into a hot oven (around 350°F or 175°C) for 5-10 minutes before serving. This revives their texture and warmth beautifully.
To Freeze Unbaked Rolls (Dough): This method allows you to have fresh-baked rolls with minimal effort on a busy day. After you have rolled the dough into individual balls (step 5 in the instructions), instead of letting them undergo their 30-minute second rise, place them directly onto a baking sheet and transfer them to the freezer. Once the dough balls are completely frozen (this usually takes 1-2 hours), transfer them to a freezer-safe plastic bag. They can be stored for up to 1-2 months. When you’re ready to bake, remove the desired number of frozen dough balls from the freezer and place them on a parchment-lined baking sheet. Let them thaw and rise at room temperature for 1-2 hours, or until they have thawed and doubled in size. This process is similar to how commercially frozen rolls work. Once they’ve risen, bake them according to the recipe instructions (step 7).
Perfect Pairings: What to Serve with Your Dinner Rolls
These versatile French bread rolls are a delightful addition to so many meals. While they are perfect on their own, especially with a pat of butter, they truly shine when paired with comforting dishes. Beyond the suggested soups below, consider serving them with hearty stews, a fresh garden salad, alongside pasta dishes, or even sliced open for mini-sandwiches. They are also wonderful for sopping up gravy or flavorful sauces.
- Instant Pot Chicken Wild Rice Soup
- Creamy Chicken Tortellini Soup
- Chicken Gnocchi Soup
- Lasagna Soup
- Minestrone Soup
Expert Tips for Successful Yeast Baking
Baking with yeast doesn’t have to be a mystery. By understanding a few key principles, you can confidently create beautiful, fluffy bread every time. Here are some essential tips:
- Precision with Liquid Temperature: As highlighted earlier, the temperature of your liquid (water or milk) is paramount. It needs to be warm enough to activate the yeast but not so hot that it kills it. Aim for 105-115ºF (40-46ºC). Always use a thermometer, especially when you’re starting out. Too cold, and your yeast won’t wake up; too hot, and it’s game over for your rise.
- High-Quality, Fresh Yeast: Yeast is a living organism, and its freshness directly impacts your bread’s rise. Always double-check the expiration date on your yeast package. For optimal longevity, store active dry yeast in an airtight container in the refrigerator or freezer. If your yeast is old or has been stored improperly, it’s best to discard it and buy new. A fresh batch of yeast is the foundation of light, airy bread.
- Thorough Kneading is Non-Negotiable: Kneading develops the gluten strands in the dough, which are responsible for its elasticity and structure. Whether you’re using a stand mixer with a dough hook or kneading by hand, pay close attention to the recommended kneading time in the recipe. Don’t eyeball it! When I first started baking, I often cut this step short, leading to dense, less flavorful bread. Proper kneading will result in a smooth, pliable, and resilient dough.
- Optimize Rising Conditions: Yeast thrives in a slightly warm, draft-free environment. If your kitchen is cool, find a warm spot for your dough to rise. This could be near a heat vent, in a slightly warmed (but turned off!) oven, or in an oven with a “bread proof” setting if you have one. Covering the dough loosely with plastic wrap or a damp towel will also prevent it from drying out during its rise. Adequate rising time is crucial for developing flavor and achieving the perfect texture.
More Tasty Bread Recipes to Explore
If you loved making these French Bread Rolls, you’ll surely enjoy experimenting with other fantastic homemade bread recipes. Expand your baking repertoire with these delicious options:
- Olive Garden Breadsticks
- English Muffins
- Potato Bread
- Texas Roadhouse Rolls
- Honey Oat Bread
- Garlic Knots
- Honey Butter Rolls
- Classic Oatmeal Bread
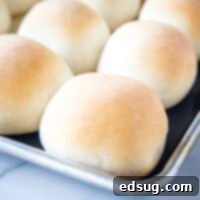
French Bread Dinner Rolls
Pin Recipe
Rate Recipe
Print Recipe
Ingredients
- 1 1/2 cups warm water, (about 110º F)
- 1 Tablespoon active dry yeast
- 2 Tablespoon granulated sugar
- 2 Tablespoons vegetable oil
- 1 1/4 teaspoon salt
- 2 cups bread flour
- 2 cups all-purpose flour
- 2 Tablespoons melted butter
Instructions
-
In a 2 cup measuring cup, stir together warm water, yeast, and sugar. Let stand for 10 minutes, or until foamy.
-
In stand mixer bowl combine 2 cups of bread flour, salt, oil, and the yeast mixture. Add the remaining all-purpose flour 1/2 cup at a time, until the dough pulls away from the sides, and forms a ball.
-
Turn mixer on low, using the dough hook, and let mix for 5 minutes. If you don’t have a stand mixer you can knead it by hand for about 5-8 minutes.
-
Place dough in a lightly oiled bowl. Cover and let rise until doubled in volume, about 1 hour.
-
Press dough down, and form into 16 balls of dough. Roll into round balls, and place on a lined baking sheet, about 2 inches apart. Cover and let rise for 30 minutes, or until the rolls have doubled in size.
-
Preheat over to 400º F.
-
Bake rolls for 20-25 minutes, until golden brown and they sound hollow when you knock on them.
-
Brush with melted butter while hot and serve warm.
Notes
Nutrition
Nutrition information is automatically calculated, so should only be used as an approximation.
Additional Info
Like this recipe? Leave a comment below!
I created a fun group on Facebook, and I would love for you to join us! It’s a place where you can
share YOUR favorite recipes, ask questions, and see what’s new at Dinners, Dishes and Desserts (so that you never miss a new recipe)!
Be sure to follow me on Instagram and
tag #dinnersdishes so I can see all the wonderful DINNERS, DISHES, AND DESSERTS
recipes YOU make!
Be sure to follow me on my social media, so you
never miss a post!
Facebook | Twitter | Pinterest | Instagram
