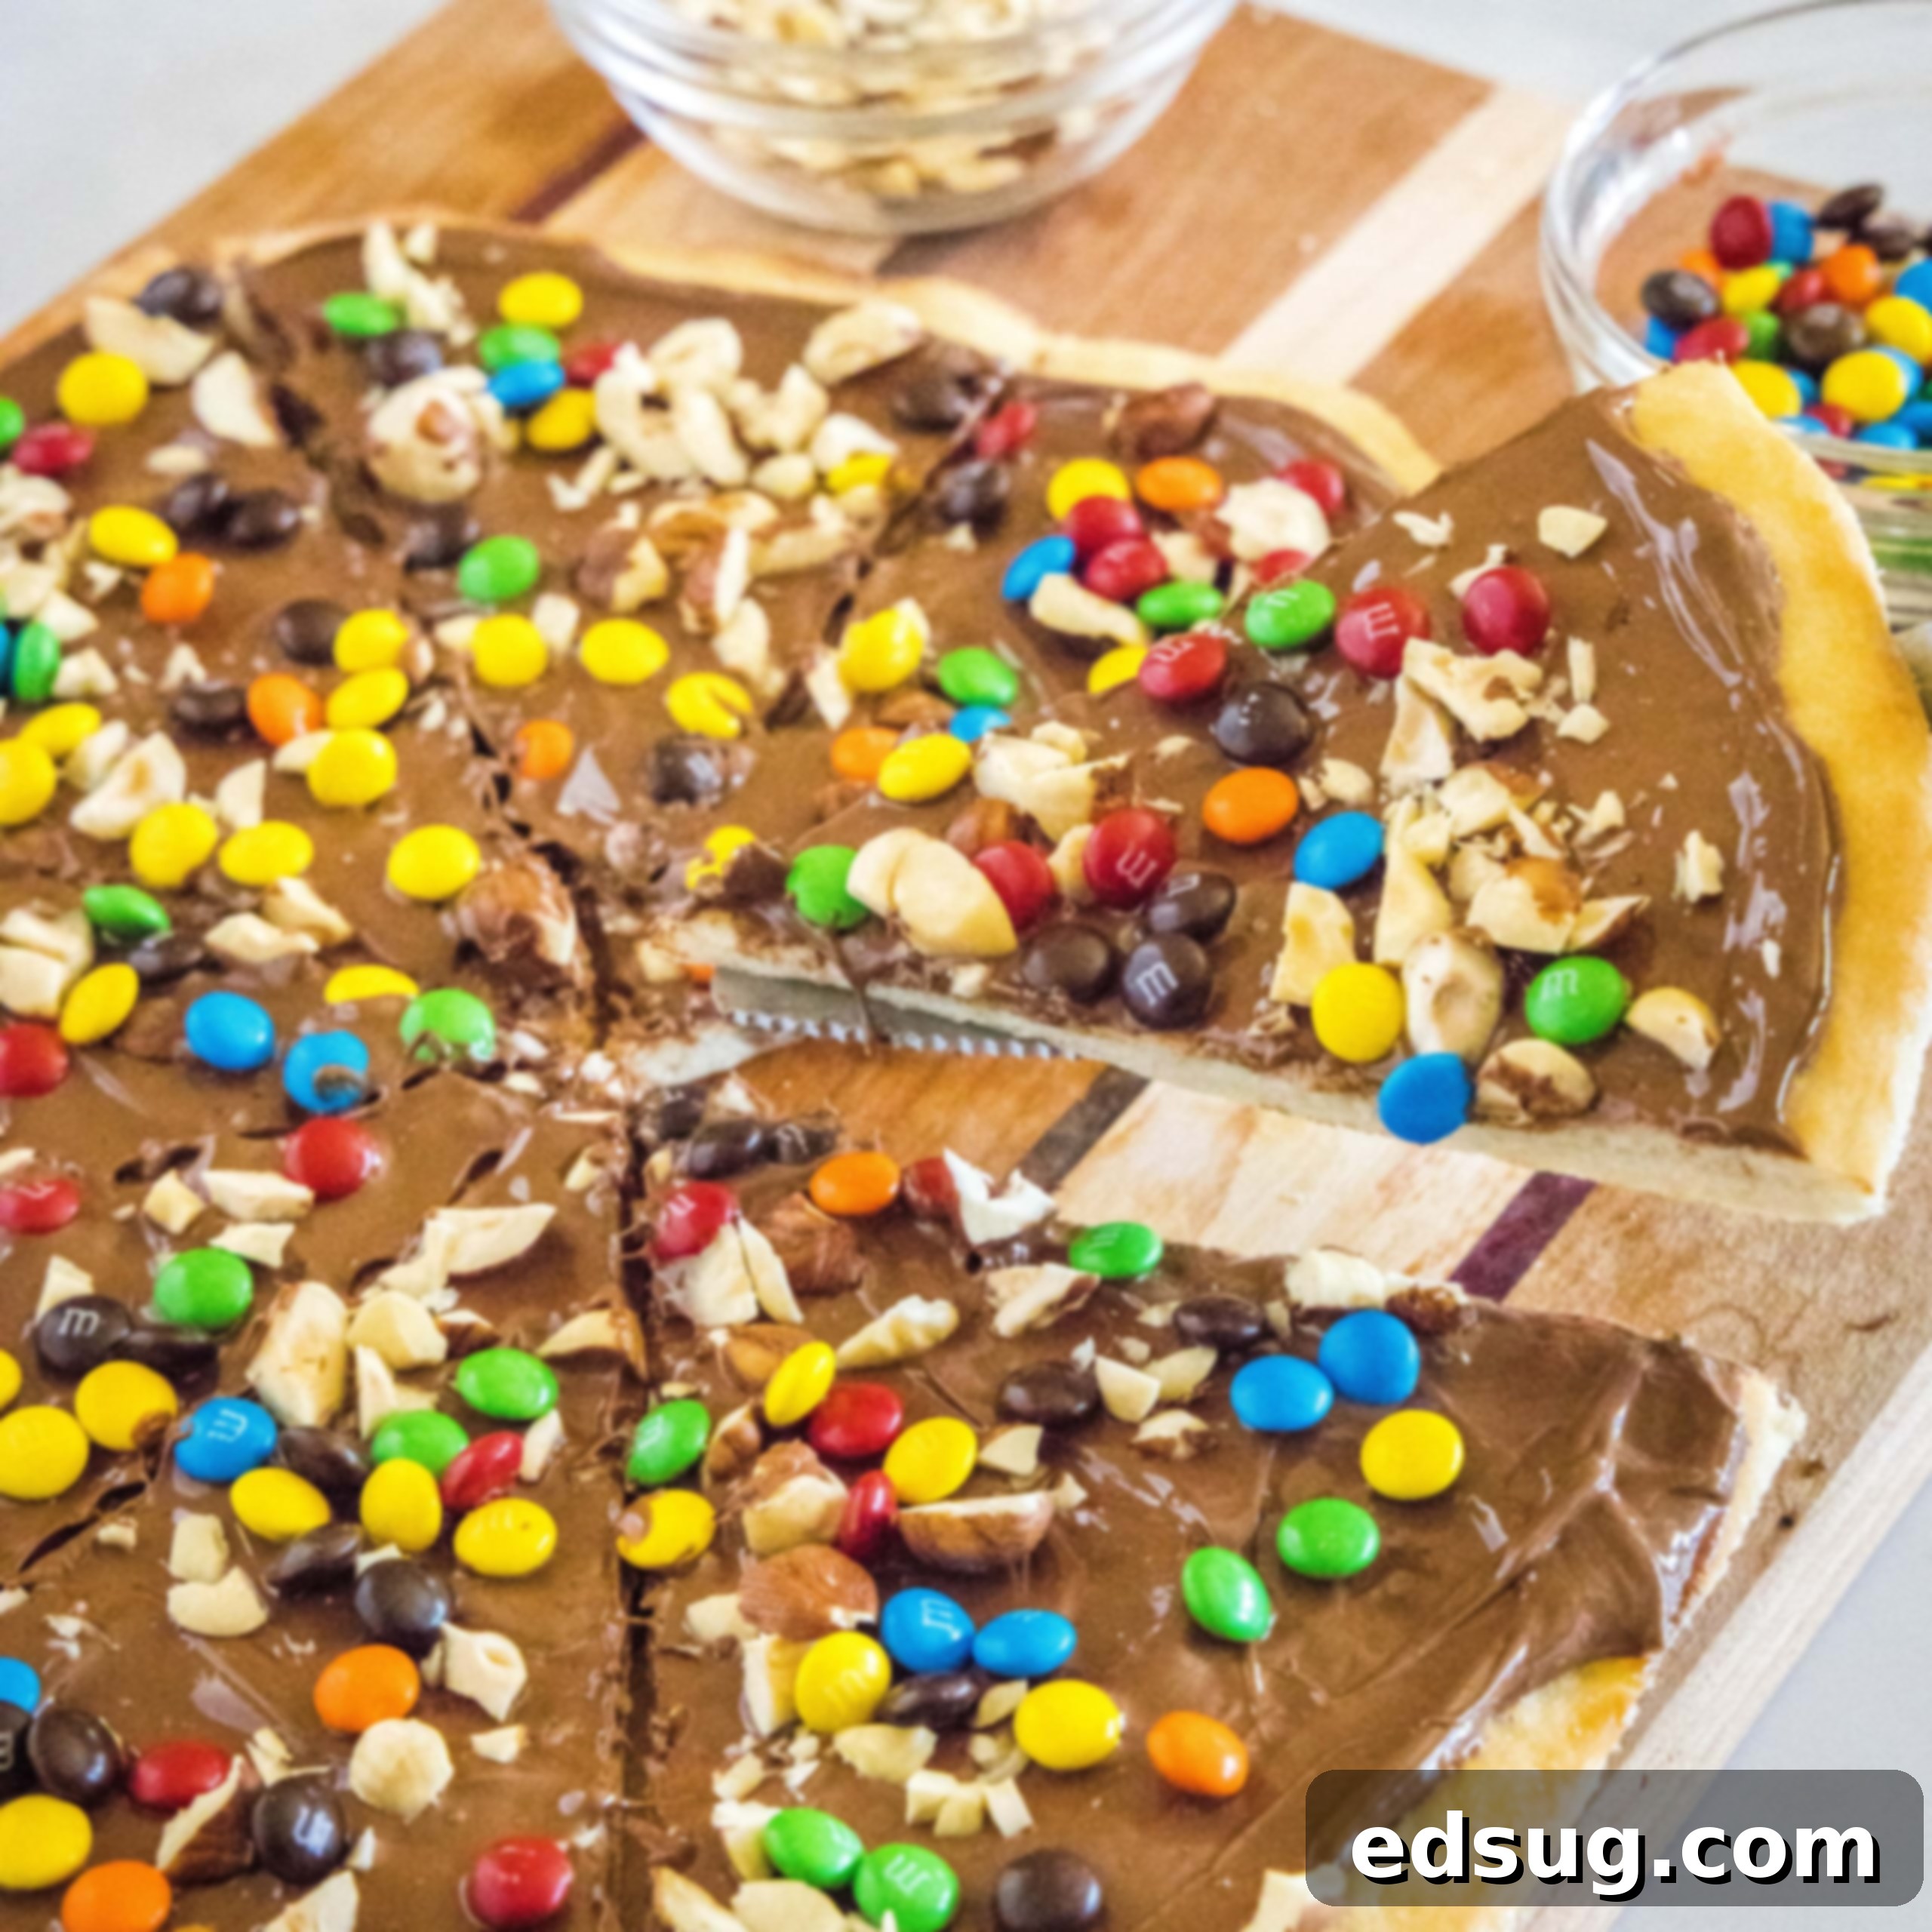
Easy Homemade Chocolate Pizza Recipe: Your Ultimate Dessert Pizza Guide
Indulge in a delightful chocolate dessert pizza, just like the ones from your favorite pizzeria, but made easily at home! Customize it with an array of toppings for an extra special treat.
There’s something uniquely exciting about a dessert pizza. When you visit a pizzeria, sometimes you stumble upon a menu item that instantly catches your eye: a dessert pizza or, even better, a chocolate pizza. These sweet creations are always a joy to discover because every place puts its own unique spin on them. Typically, they start with a familiar pizza crust, which is then generously slathered with a rich chocolate spread and adorned with a medley of toppings, ranging from fresh fruits to assorted candies or crunchy nuts. This article will guide you through creating your very own version of this beloved dessert, ensuring it’s not only simple to make but also incredibly delicious and fully customizable to your taste.
The true magic of chocolate pizza lies in its versatility when it comes to toppings. This is where you can unleash your creativity and tailor the pizza to perfectly suit your preferences or those of your family. While I’ll provide a classic, simple example to get you started, remember that the possibilities are endless. Think beyond the ordinary and explore combinations that excite your palate!
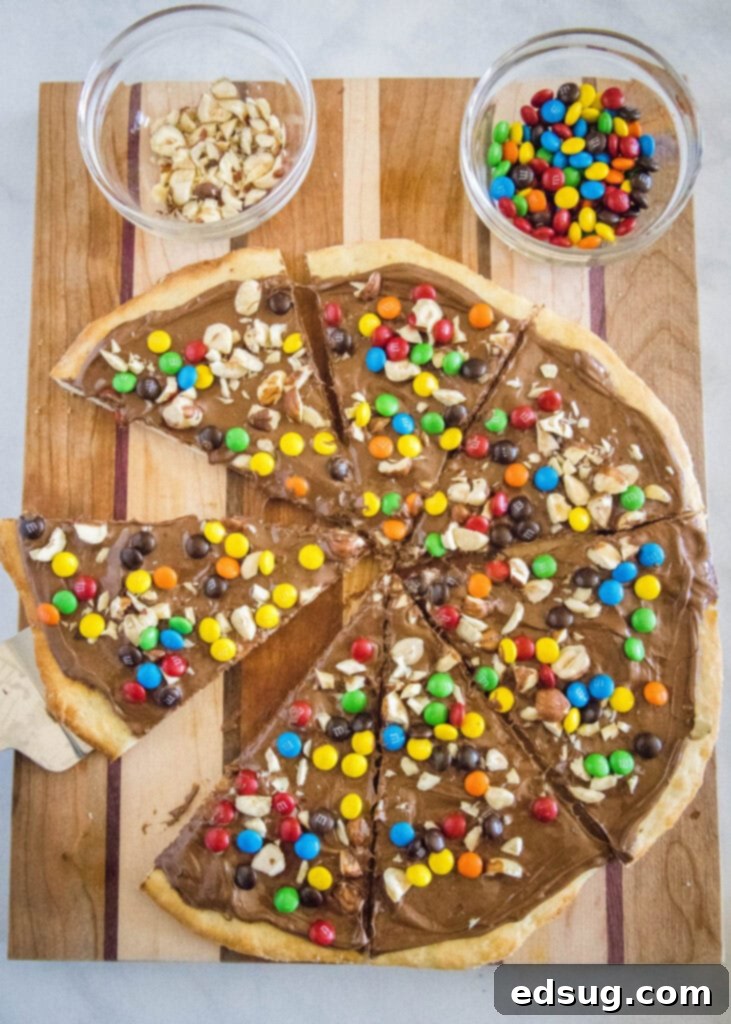
The Perfect Pizza Dough Base for Your Dessert Pizza
Every great pizza, even a sweet one, begins with a fantastic crust. For this chocolate pizza, the foundation is a simple yet sturdy pizza dough. While you can certainly opt for store-bought dough – and many varieties work wonderfully – I highly recommend trying out our homemade recipe. It’s a super easy no-knead dough that requires minimal effort, making it accessible even for novice bakers. In just about 30 minutes from start to finish (including a crucial 20-minute resting period), you’ll have a perfectly pliable dough with only about 3 minutes of active work. The result is a delightfully crisp yet tender crust that serves as the ideal canvas for your sweet toppings.
Using a homemade dough not only gives you superior flavor and texture but also allows you to control the ingredients. However, if time is of the essence or you prefer convenience, feel free to use any store-bought pizza dough. Many supermarkets offer excellent fresh or frozen options. You might even be able to pick up a fresh ball of dough from your local pizzeria – just ask! The key is to have a reliable base that bakes up nicely golden brown, providing a slight structural integrity to hold all those decadent chocolatey toppings without becoming soggy. No matter your choice, ensure the dough is at room temperature before spreading for the best results.
Gather Your Ingredients: What You’ll Need
For precise measurements and full instructions, remember to scroll down to the bottom of the post for the COMPLETE PRINTABLE recipe card.
For the Homemade Dough:
- All-Purpose Flour: The backbone of your crust, providing structure.
- Salt: Essential for flavor balance, enhancing the sweetness.
- Olive Oil: Adds richness and helps achieve a tender crumb.
- Warm Water: Crucial for activating the yeast; ensure it’s between 105-115°F (40-46°C).
- Active Dry Yeast: The leavening agent that makes your dough rise and become airy.
- Granulated Sugar: A small amount helps activate the yeast and adds a hint of sweetness to the crust.
For the Irresistible Toppings:
This is where your chocolate pizza truly comes alive! Don’t be shy about experimenting with various combinations to create your signature dessert.
- Chocolate Hazelnut Spread: The primary sweet base. Nutella is a popular choice, but any other brand works well. For an extra special touch, consider making a homemade version.
- Alternative Chocolate Bases: Homemade Hot Fudge can also be an amazing, gooey chocolate topping, offering a different texture and richness.
- Candies: A classic choice for color and crunch! Think M&M’s, Reese’s Pieces, chopped Peanut Butter Cups, Snickers, or Butterfinger. Really, any of your favorite bite-sized candies will work beautifully. Mini marshmallows can also create a wonderful texture, especially if lightly toasted.
- Nuts: For a delightful crunch and nutty flavor, try chopped peanuts, hazelnuts (especially with chocolate-hazelnut spread), walnuts, almonds, or pecans. Toasting them lightly beforehand can enhance their flavor profile.
- Fresh Fruit: A refreshing contrast to the rich chocolate. Strawberries and raspberries are perennial favorites, their slight tartness cutting through the sweetness. Sliced bananas or blueberries are also fantastic options.
- Miscellaneous & Creative Options: This category is for all the wild ideas!
- S’mores Theme: Combine mini marshmallows and crushed graham crackers for a campfire-inspired treat. A quick flash under the broiler (watch carefully!) can lightly toast the marshmallows.
- Chocolate Extravaganza: Use a variety of chocolate chips – milk, dark, white, or even butterscotch – for different chocolate notes and textures.
- Drizzles: After adding your main toppings, drizzle with melted white chocolate, caramel sauce, or extra hot fudge for an artistic and flavorful finish.
- Coconut Flakes: Toasted coconut adds a lovely tropical touch and a chewy texture.
- Sprinkles: A simple way to add fun and festivity, perfect for birthday celebrations.
How To Make This Irresistible Chocolate Pizza
Creating your own chocolate pizza is a straightforward and rewarding process. Follow these steps for a dessert that will impress everyone.
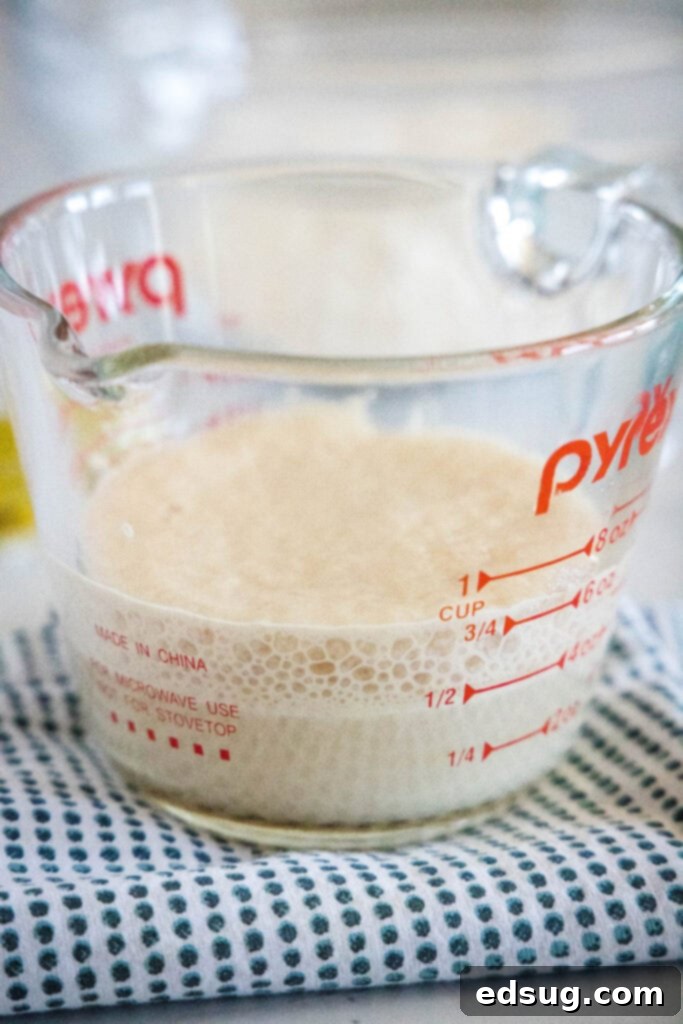
- Prepare the Yeast Mixture: In a liquid measuring cup, combine warm water (ensure it’s between 105-115°F / 40-46°C), sugar, and active dry yeast. Stir gently and let it sit for about 5 minutes. You’ll know it’s ready when the mixture becomes foamy and bubbly, indicating the yeast is active.
- Combine Dry Ingredients: While the yeast is blooming, in a large mixing bowl, whisk together the all-purpose flour and salt. This ensures even distribution of the salt throughout the dough.
- Form the Dough: Add the activated yeast mixture and olive oil to the flour and salt. Mix thoroughly with a spoon or spatula until all ingredients are well combined and a rough, shaggy dough forms. There’s no need for extensive kneading; this recipe is designed to be low-effort!
- First Rise (Resting Period): Cover the bowl with a clean kitchen towel and let the dough rest at room temperature for 20 minutes. This short rise allows the gluten to relax and the flavors to develop, making the dough easier to spread.
- Prepare for Baking: Preheat your oven to 425°F (220°C). Lightly grease a baking sheet with nonstick spray or butter, then generously sprinkle it with 1-2 tablespoons of granulated sugar. This is a crucial step that prevents sticking and adds a delightful caramelized sweetness to the crust, unlike traditional savory pizzas where cornmeal is used.
- Shape the Crust: Once the dough has rested, gently transfer it to the prepared baking sheet. Using your fingertips or a rolling pin, spread the dough evenly into a 10-12 inch circle. It doesn’t have to be perfectly round; rustic shapes are charming too!
- Pre-bake the Crust: Use a fork to prick holes all over the top surface of the dough. This helps prevent large bubbles from forming during baking. Brush the entire surface with melted butter for a richer flavor and golden finish. Bake the crust for about 12 minutes, or until it’s golden brown and cooked through.
- Cool Slightly Before Topping: Remove the baked crust from the oven and let it cool on the baking sheet for approximately 10 minutes. This cooling period is vital; if the crust is too hot, the chocolate spread will melt too quickly and become runny, making a mess and potentially sliding off the pizza.
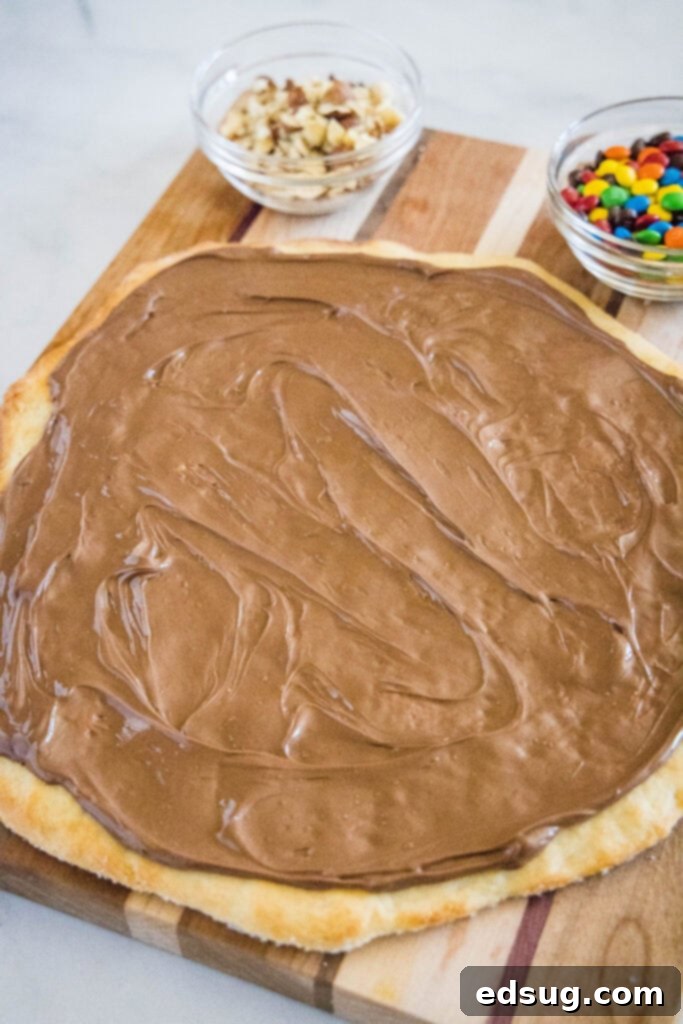
- Add Toppings: After the crust has cooled sufficiently, spread your chosen chocolate hazelnut spread evenly over the surface, leaving a small border for the crust. Then, sprinkle generously with your desired candies, nuts, fruits, or other creative toppings.
- Serve Immediately: Slice your chocolate pizza into wedges and serve right away while it’s still slightly warm and the chocolate is perfectly soft. This dessert is truly at its best when fresh out of the oven!
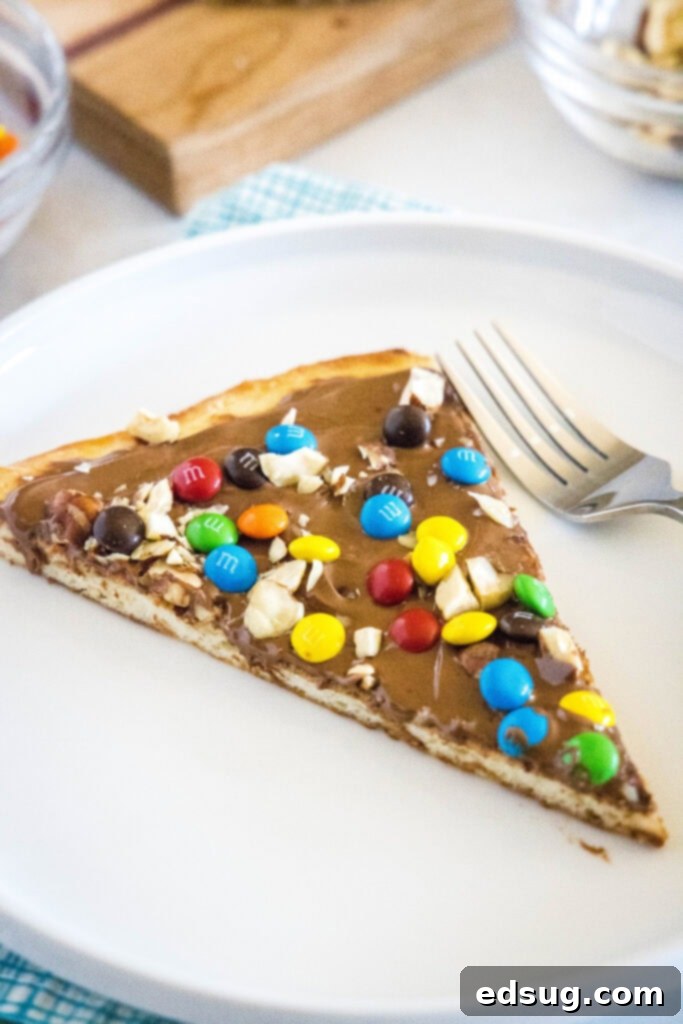
Expert Tips for the Best Chocolate Pizza
Achieving a truly outstanding chocolate pizza involves a few key techniques and considerations. Here are some invaluable tips to ensure your dessert pizza is a showstopper every time:
- The Sugar vs. Cornmeal Secret: When baking traditional savory pizzas, it’s common to grease your baking sheet and then sprinkle it with cornmeal. This prevents the dough from sticking and helps achieve a crispy bottom crust. For our dessert pizza, however, we swap cornmeal for granulated sugar. The sugar serves the same purpose of preventing sticking and creating a slightly crisp base, but with a delicious added benefit: it caramelizes slightly during baking, infusing the crust with a subtle, sweet flavor that perfectly complements the chocolate. Using cornmeal here would introduce an odd, savory note, so trust me on this sweet substitution for the best results!
- Embrace Your Creativity with Toppings: While the basic concept is simple – crust, chocolate, toppings – the real fun comes from customizing it. I’ve offered a straightforward example, but consider this a starting point for your culinary imagination. Think about different themes or seasonal ingredients. For instance, during summer, a vibrant mix of fresh berries (strawberries, raspberries, blueberries) with a delicate drizzle of white chocolate creates a light and refreshing profile. In the fall, a sprinkle of cinnamon, chopped apples, and a caramel drizzle could be wonderfully cozy. Don’t be afraid to mix textures and flavors!
- Serve Immediately for Optimal Enjoyment: This chocolate pizza is undeniably at its peak when served fresh out of the oven. The crust is warm and slightly crisp, the chocolate spread is perfectly soft and gooey, and any added toppings like marshmallows might be beautifully toasted. While you can certainly prepare the pizza dough ahead of time (see FAQ below), it’s best to bake the crust and add the toppings just before you plan to serve dessert. This ensures the ultimate texture and flavor experience.
- Don’t Skip the Homemade Dough!: I cannot stress this enough – our homemade no-knead dough is incredibly easy to make, and it truly elevates this recipe. The term “no-knead” means exactly that; there’s no laborious kneading required, which is often a barrier for those hesitant about baking with yeast. As long as you can accurately measure the temperature of your water (a kitchen thermometer is a small but mighty investment here), you’ll find yourself with a foolproof dough that you’ll want to make again and again, not just for chocolate pizza, but for all your pizza recipes. The subtle sweetness and perfect texture of this homemade crust make all the difference.
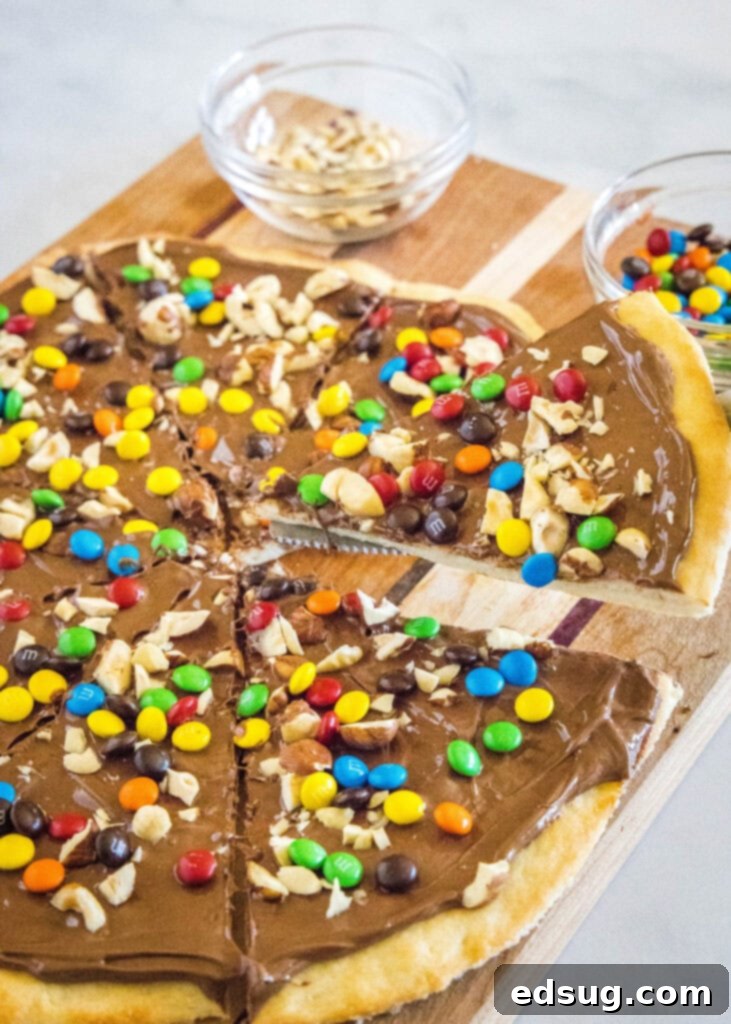
Frequently Asked Questions About Chocolate Pizza
You can absolutely prepare the pizza dough ahead of time. It can be stored in the fridge for up to 2-3 days, allowing the flavors to develop even further. Just be sure to bring it back to room temperature before you attempt to spread it onto the baking sheet. However, once you bake the pizza crust and add your chocolate spread and toppings, it is highly recommended to serve it immediately. The textures and warmth are best enjoyed fresh.
If you pre-bake the pizza crust without any toppings, you can certainly rewarm just the crust in the oven. However, once you’ve added the chocolate spread, candies, fruits, or other toppings, reheating is generally not advisable. The chocolate spread and most candies would melt and become a messy, unappealing liquid, and fresh fruit would likely become mushy. This dessert truly shines when served fresh, so plan accordingly!
More Decadent Chocolate Dessert Recipes You’ll Love
- Hot Chocolate Cookies: A cozy treat for any chocolate lover.
- Chocolate Pavlova: An elegant, gluten-free dessert with a crispy meringue and rich chocolate.
- French Silk Pie: Smooth, creamy, and intensely chocolatey.
- Death By Chocolate Pie: For when you can’t get enough chocolate!
- Texas Sheet Cake Cookies: A classic cake transformed into a convenient cookie.
- Brownie Batter Dip: A fun, edible way to enjoy brownie batter.
- Cosmic Brownies: Nostalgic, chewy, and topped with colorful candy bits.

Chocolate Pizza
Erin Sellin
15 minutes
12 minutes
27 minutes
8
Pin Recipe
Rate Recipe
Print Recipe
Ingredients
Pizza Crust
- 1 cup all-purpose flour
- 1/2 teaspoon salt
- 1 tablespoon olive oil
- 1/2 cup water, 110-115º F
- 1 teaspoon granulated sugar
- 1 teaspoon active dry yeast
Pizza Toppings
- Nonstick spray or butter for greasing tray
- 1-2 tablespoons granulated sugar
- 2 tablespoons unsalted butter, melted
- 1/2 cup chocolate hazelnut spread or other chocolate spread
- 1 cup candies, nuts, sprinkles etc. (or your preferred mix of toppings)
Instructions
-
In a liquid measuring cup, thoroughly mix together the warm water, granulated sugar, and active dry yeast. Allow this mixture to stand undisturbed for 5 minutes, until it visibly foams up. Meanwhile, in a separate large bowl, combine the all-purpose flour and salt.
-
Add the foamy yeast mixture and olive oil to the dry ingredients. Mix everything until it is well combined and forms a rough, shaggy dough. No extensive kneading is required.
-
Cover the bowl with a clean kitchen towel and let the dough rest at room temperature for 20 minutes. This helps the dough relax and makes it easier to handle.
-
Preheat your oven to 425°F (220°C).
-
While the oven preheats, grease a baking sheet with nonstick spray or butter, then evenly sprinkle it with 1-2 tablespoons of granulated sugar. This creates a sweet, non-stick surface.
-
Once the dough has rested, transfer it to the prepared baking sheet and spread it into a 10-12 inch circle.
-
Use a fork to prick holes all over the top of the dough. Brush the entire surface with melted butter. Bake the crust for approximately 12 minutes, or until it’s beautifully golden brown and fully cooked through.
-
Carefully remove the baked crust from the oven and let it cool on the baking sheet for about 10 minutes. This cooling step is essential to prevent the chocolate spread from melting too quickly. Once slightly cooled, spread your chosen chocolate hazelnut spread evenly over the pizza crust and sprinkle generously with your desired toppings.
-
Slice your chocolate pizza into wedges and serve immediately to enjoy it at its absolute best!
Nutrition
Carbohydrates: 56g |
Protein: 4g |
Fat: 14g |
Saturated Fat: 9g |
Polyunsaturated Fat: 5g |
Cholesterol: 11mg |
Sodium: 173mg |
Fiber: 2g |
Sugar: 32g
Nutrition information is automatically calculated, so should only be used as an approximation.
Additional Info
Love this recipe? Don’t keep it a secret! Leave a comment and rating below!
I’ve created a fantastic community on Facebook, and I would absolutely love for you to join us! It’s a vibrant space where you can share your favorite recipes, ask questions, and stay updated on all the exciting new creations from Dinners, Dishes and Desserts, ensuring you never miss a new recipe!
Be sure to follow me on Instagram and tag #dinnersdishes so I can see all the wonderful DINNERS, DISHES, AND DESSERTS recipes YOU make!
Don’t miss out on any delicious updates! Be sure to follow me on my social media channels:
Facebook | Twitter | Pinterest | Instagram
