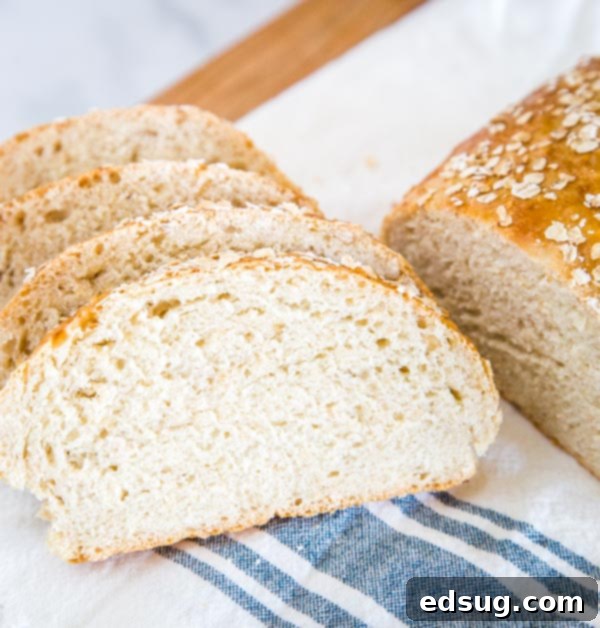
Easy No-Knead Honey Oat Bread: A Soft and Sweet Homemade Loaf Recipe
There’s truly nothing quite like the comforting aroma of freshly baked bread wafting through your home. It’s a scent that promises warmth, coziness, and deliciousness, and it’s an experience many believe requires hours of strenuous effort. But what if we told you that baking incredibly soft, tender, and sweet bread could be surprisingly simple? Enter this fantastic Honey Oat Bread recipe – a delightful, no-knead bread that will have your kitchen smelling heavenly and your taste buds singing with joy. Perfect for beginners and seasoned bakers alike, this recipe removes the intimidation factor of traditional bread-making, proving that homemade goodness is always within reach.
This particular oat bread stands out for its simplicity and its irresistible flavor profile. Infused with the natural sweetness of honey and the wholesome goodness of oats, it creates a loaf that is both nourishing and incredibly satisfying. Whether you’re craving a slice for breakfast toast, a sturdy foundation for your favorite sandwich, or a comforting accompaniment to a hearty bowl of soup, this easy no-knead bread is versatile enough for any meal. Get ready to impress your family and friends with a truly exceptional homemade loaf!
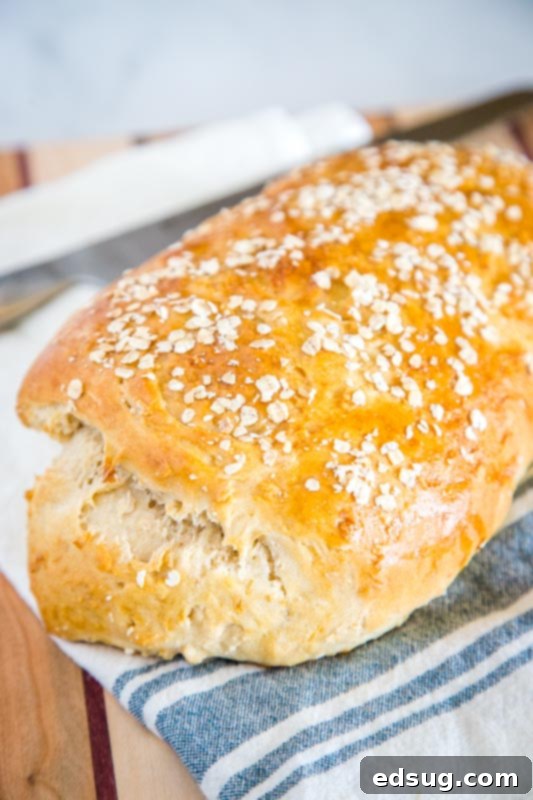
Understanding No-Knead Bread: Simplicity Meets Deliciousness
The term “no-knead bread” truly means what it says: you simply mix all the ingredients together, and there’s no need to spend time kneading the dough by hand or with a machine. In traditional bread making, kneading is the crucial step that develops the gluten network within the dough. This network is what gives bread its characteristic chewy texture and structure. Without kneading, how does this process happen?
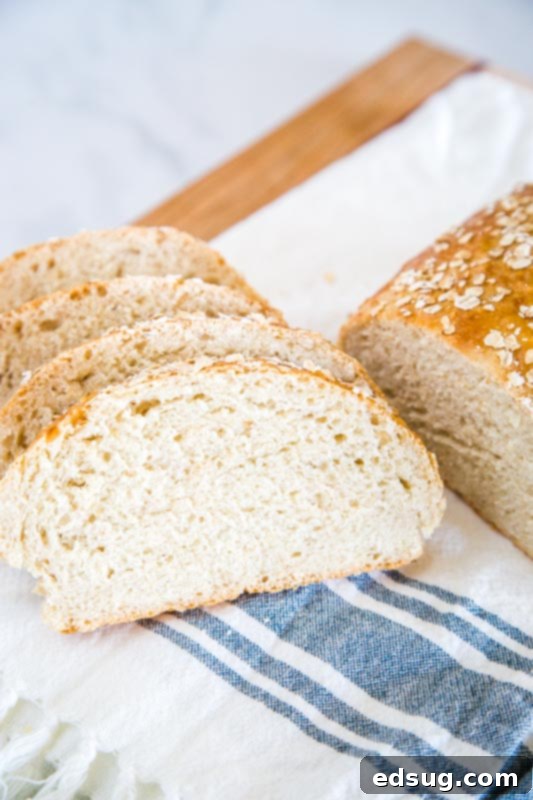
In no-knead methods, the long fermentation (rising) time takes over the role of kneading. Over several hours, or sometimes even overnight, the yeast slowly works its magic, breaking down the starches and allowing the gluten strands to naturally align and strengthen. This extended rise develops the glutens and imparts a deeper, more complex flavor to the bread, often mimicking the qualities of artisanal loaves. Another common characteristic of many no-knead doughs is their higher hydration level, making them stickier and more fluid than traditional kneaded doughs. While some no-knead recipes produce a very rustic, crusty exterior, this particular honey oat bread offers a wonderfully soft and tender crumb, making it incredibly approachable for home bakers.
The Sweet Benefits of Honey and Oats
This recipe isn’t just easy; it’s also packed with flavor and wholesome ingredients. Honey lends a beautiful, subtle sweetness that complements the earthy notes of the oats, creating a balanced and comforting taste. Beyond flavor, honey also contributes to the bread’s soft texture and helps keep it moist for longer. Oats, on the other hand, add a delightful chewiness and a boost of fiber and nutrients. Quick-cooking oats are used here to integrate seamlessly into the dough, providing texture without being overly dominant. This combination makes for a bread that is not only delicious but also feels hearty and satisfying, a perfect alternative to plain white bread.
Storing Your Homemade Honey Oat Bread for Maximum Freshness
One of the joys of homemade bread is its fresh, preservative-free quality. However, this also means it has a shorter shelf life than store-bought varieties. This Honey Oat Bread, with its soft crust, will stay fresh and tender for about 3-4 days when stored properly. To keep it at its best, simply wrap the cooled loaves tightly in plastic wrap or aluminum foil and store them at room temperature. Avoid refrigerating homemade bread, as this can actually cause it to dry out and become stale more quickly.
This recipe yields two generous loaves, which is perfect for enjoying one immediately and saving the other for later. Freezing is an excellent option for extending the life of your bread. To freeze, ensure the loaf has cooled completely to prevent condensation and ice crystals from forming. Once cool, wrap it first in a layer of plastic wrap, followed by a layer of aluminum foil. This double-layer protection is key to preventing freezer burn and keeping the bread moist. Properly wrapped, your honey oat bread can be stored in the freezer for 2-3 months. When you’re ready to enjoy it, simply thaw it at room temperature, or for a warm, fresh-baked experience, you can gently reheat it in a low oven after thawing or directly from frozen for a slightly longer time.
Perfect Pairings: What to Serve with Honey Oat Bread
The versatility of Honey Oat Bread makes it a fantastic addition to almost any meal. Its subtle sweetness and tender texture pair beautifully with both savory and sweet dishes. Here are some ideas to inspire your culinary creations:
- Carrot Ginger Soup: The slight sweetness of the bread complements the warmth and spice of a hearty soup.
- Oven Baked Pork Chops: Serve slices alongside tender pork chops for a satisfying and comforting meal.
- Sausage & Wild Rice Salad: Use it to scoop up a flavorful salad or serve it as a side for a balanced lunch.
- Honey Dijon Chicken: The honey notes in the bread echo the flavors of this delicious chicken dish.
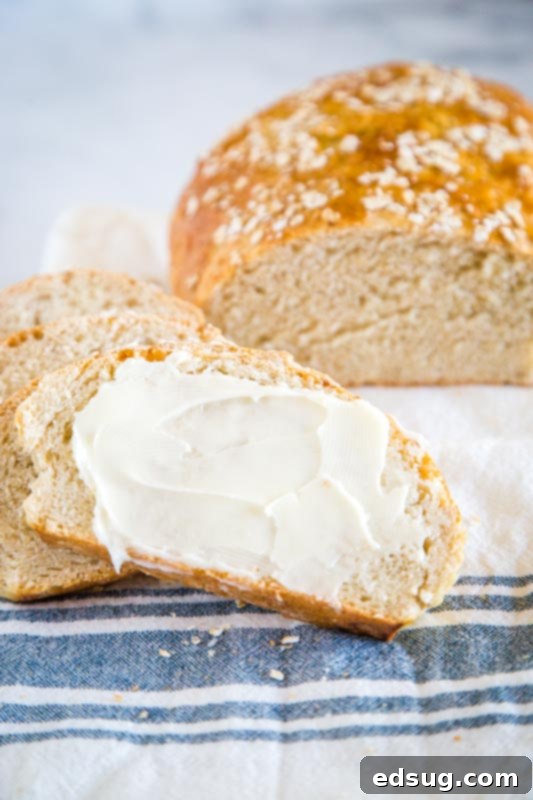
- For breakfast, it’s incredible toasted with butter and your favorite jam, or even a drizzle of extra honey.
- Make gourmet sandwiches with deli meats, cheese, and fresh veggies for a lunch upgrade.
- Serve it as a side with almost any dinner, ready to soak up delicious sauces or gravies.
Step-by-Step: Making Your Delicious No-Knead Honey Oat Bread
Creating this delicious bread is straightforward, even for those new to baking. The magic lies in the simple process and the patience during the rising times. Here’s how you’ll bring this soft, sweet loaf to life:
- Activate the Yeast (Proofing): Begin by combining warm water and active dry yeast in a large bowl. The water should be comfortably warm, around 105-115°F (40-46°C) – think warm bathwater, not hot. This warmth helps activate the yeast. Let the mixture sit for about 10 minutes until it becomes foamy and visibly puffs up. This “blooming” confirms your yeast is active and ready to make your bread rise. If it doesn’t foam, your yeast might be old, or the water temperature was off, and it’s best to start again.
- Combine Ingredients: Once your yeast is active, add the oats, honey, canola oil, and salt to the same bowl. Stir these ingredients thoroughly with a sturdy spatula or a wooden spoon. Gradually add the all-purpose flour, starting with about 4 ½ cups. Mix until the dough just comes together and starts to form a shaggy ball. The beauty of no-knead bread is that you don’t need a smooth, elastic dough at this stage; just ensure all ingredients are incorporated.
- First Rise: Transfer your dough ball to a large bowl that has been lightly coated with non-stick spray or a little oil. Turn the dough over once to ensure it’s fully coated. Cover the bowl tightly with plastic wrap and then drape a kitchen towel over it to create a warm, draft-free environment. Let the dough rise in a warm spot for approximately 1 hour, or until it has visibly doubled in volume. This slow rise is crucial for gluten development and flavor.
- Shape the Loaves and Second Rise: After the first rise, gently “punch down” the dough to release the accumulated air. Turn it out onto a lightly floured surface and divide it into two equal portions. Shape each portion into a loaf. You can either free-form them directly onto a baking sheet lined with parchment paper or, for a more uniform shape, place them into greased loaf pans. This recipe makes two standard loaves. Cover the shaped loaves again with plastic wrap or a kitchen towel and let them rise for another 20 minutes. This second, shorter rise helps achieve a light and airy texture.
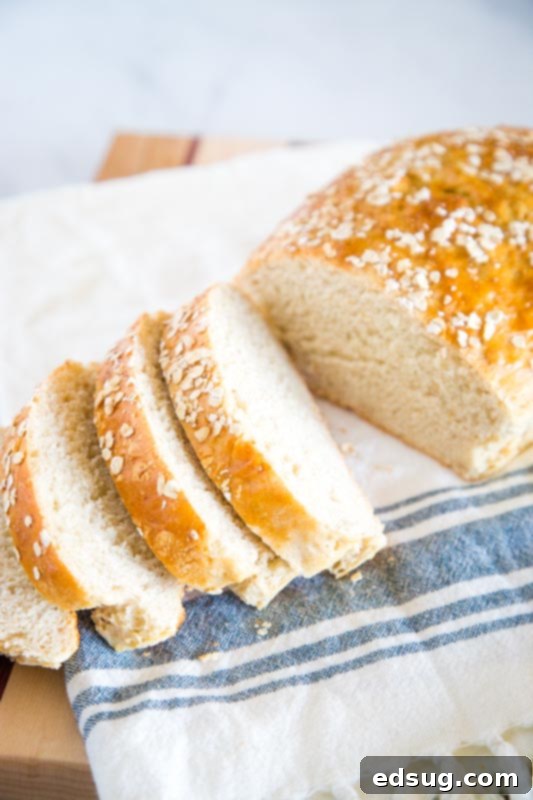
- Bake to Golden Perfection: While your loaves are undergoing their second rise, preheat your oven to 350°F (175°C). In a small bowl, whisk together one large egg with 1 tablespoon of water to create an egg wash. Lightly brush the tops of each loaf with this egg wash; it will give your bread that beautiful, shiny golden-brown crust and help the additional oats adhere. Sprinkle the remaining 2 tablespoons of oats over the tops of the loaves. Bake for 35-40 minutes, or until the crust is golden brown and the internal temperature reaches 200-210°F (93-99°C). A classic test for doneness is to tap the bottom of the loaf – if it sounds hollow, it’s likely done. Allow the bread to cool completely on a wire rack before slicing for the best texture.
Unleash Your Inner Baker: Tips and Customizations for Honey Oat Bread
This recipe is incredibly forgiving and offers room for personalization. While it already tastes much like the beloved Subway honey oat bread, offering that slightly sweet, dense yet soft and chewy goodness, you’re not limited to just traditional loaves. Consider shaping the dough into individual sub buns for homemade sandwiches or dinner rolls. The possibilities are endless!
- Add-ins: Enhance the texture and flavor by incorporating nuts like walnuts or pecans, seeds such as sunflower or flax seeds, or even dried fruits like raisins or cranberries into the dough during the mixing stage.
- Spice it Up: A pinch of cinnamon or nutmeg can add a wonderful warmth, especially if you plan to enjoy the bread toasted for breakfast.
- Honey Varieties: Experiment with different types of honey, such as clover, wildflower, or even a darker buckwheat honey, for subtle variations in flavor.
- Water Temperature is Key: Always ensure your water is warm, not hot. Too hot will kill the yeast, too cold won’t activate it properly.
- Measuring Flour Correctly: For best results, spoon your flour into a measuring cup and level it off with a straight edge, rather than scooping directly from the bag, which can compact the flour and lead to a denser loaf.
- Know Your Oven: Ovens can vary. If your bread is browning too quickly, you can loosely tent it with aluminum foil during the last part of baking.
Whether you stick to the classic recipe or experiment with these suggestions, you’ll end up with a delightful homemade bread that surpasses any store-bought option. It’s truly fantastic toasted with jam for breakfast, perfect for creating delicious sandwiches, or simply enjoyed plain with soup for dinner.
More Homemade Bread Recipes to Explore
If you’ve enjoyed the process of making this Honey Oat Bread, you’ll love exploring other bread recipes. Baking bread at home is a rewarding experience, and there’s a whole world of delicious options waiting for you. Here are some more of our favorite bread recipes to inspire your next baking adventure:
- Olive Garden Breadsticks
- Parmesan Garlic Knots
- Honey Butter Dinner Rolls
- Italian Cheese Pull Apart Bread
- Rosemary Focaccia
- Classic Oatmeal Bread

Recipe: Honey Oat Bread
Honey Oat Bread – a soft and tender bread with oats and sweet honey. This is an easy no-knead bread that is great for toast, sandwiches, or even with soup for dinner.
By: Erin Sellin
Prep Time: 5 minutes
Cook Time: 45 minutes
Additional Time (Rising): 1 hour 30 minutes
Total Time: 2 hours 20 minutes
Servings: 20 slices (makes 2 loaves)
Ingredients
- 1 ¾ cup warm water
- 1 Tablespoon Active Dry Yeast
- ¾ cups quick-cooking oats
- ⅓ cup honey
- 3 Tablespoons Canola Oil
- 2 ½ teaspoons salt
- 5 cups (about) all purpose flour
- 1 large egg, beaten (for egg wash)
- 1 Tablespoon water (for egg wash)
- 2 Tablespoons additional oats (for topping)
Instructions
- Sprinkle the yeast over the warm water in a large bowl. Let it set for 10 minutes until it becomes frothy and bubbly, indicating the yeast is active.
- In the same bowl, add the quick-cooking oats, honey, canola oil, and salt to the yeast mixture. Stir to combine. Gradually stir in enough of the all-purpose flour to form a soft, slightly sticky dough. I recommend starting with 4 ½ cups and adding more as needed until the dough comes together.
- Lightly coat a large clean bowl with non-stick spray or a thin layer of oil. Transfer the dough to this bowl, turning it over once to ensure it’s coated. Cover the bowl tightly with plastic wrap and then with a kitchen towel. Let the dough rise in a warm, draft-free place for about 1 hour, or until it has doubled in volume.
- Once the dough has risen, gently punch it down to release the air. Divide the dough into two equal portions. Shape each portion into a loaf. You can free-form them on a baking sheet lined with parchment paper, or place them into greased loaf pans. Cover the shaped loaves and let them rise again for 20 minutes.
- Preheat your oven to 350°F (175°C). In a small bowl, whisk together the beaten egg and 1 tablespoon of water to create an egg wash. Brush the tops of the risen loaves with this egg wash, then sprinkle evenly with the additional 2 tablespoons of oats.
- Bake in the preheated oven for 35-40 minutes, or until the loaves are golden brown and sound hollow when tapped on the bottom. An instant-read thermometer inserted into the center of a loaf should read between 200-210°F (93-99°C) for optimal doneness.
- Remove from the oven and transfer the loaves to a wire rack to cool completely before slicing and serving.
Notes
Recipe adapted from Bon Appetit.
Nutrition Information
Serving: 1 slice | Calories: 180kcal | Carbohydrates: 33g | Protein: 5g | Fat: 3g | Polyunsaturated Fat: 3g | Cholesterol: 9mg | Sodium: 296mg | Fiber: 2g | Sugar: 5g
Nutrition information is automatically calculated and should only be used as an approximation.
Like this recipe? Leave a comment below! We love hearing from you!
I created a fun group on Facebook, and I would love for you to join us! It’s a place where you can share YOUR favorite recipes, ask questions, and see what’s new at Dinners, Dishes and Desserts (so that you never miss a new recipe)! If you’d like to check it out, you can request to join HERE.
Be sure to follow me on Instagram and tag #dinnersdishes so I can see all the wonderful DINNERS, DISHES, AND DESSERTS recipes YOU make!
Connect with Dinners, Dishes, and Desserts!
Be sure to follow me on my social media, so you never miss a post!
Facebook | Twitter | Pinterest | Instagram
