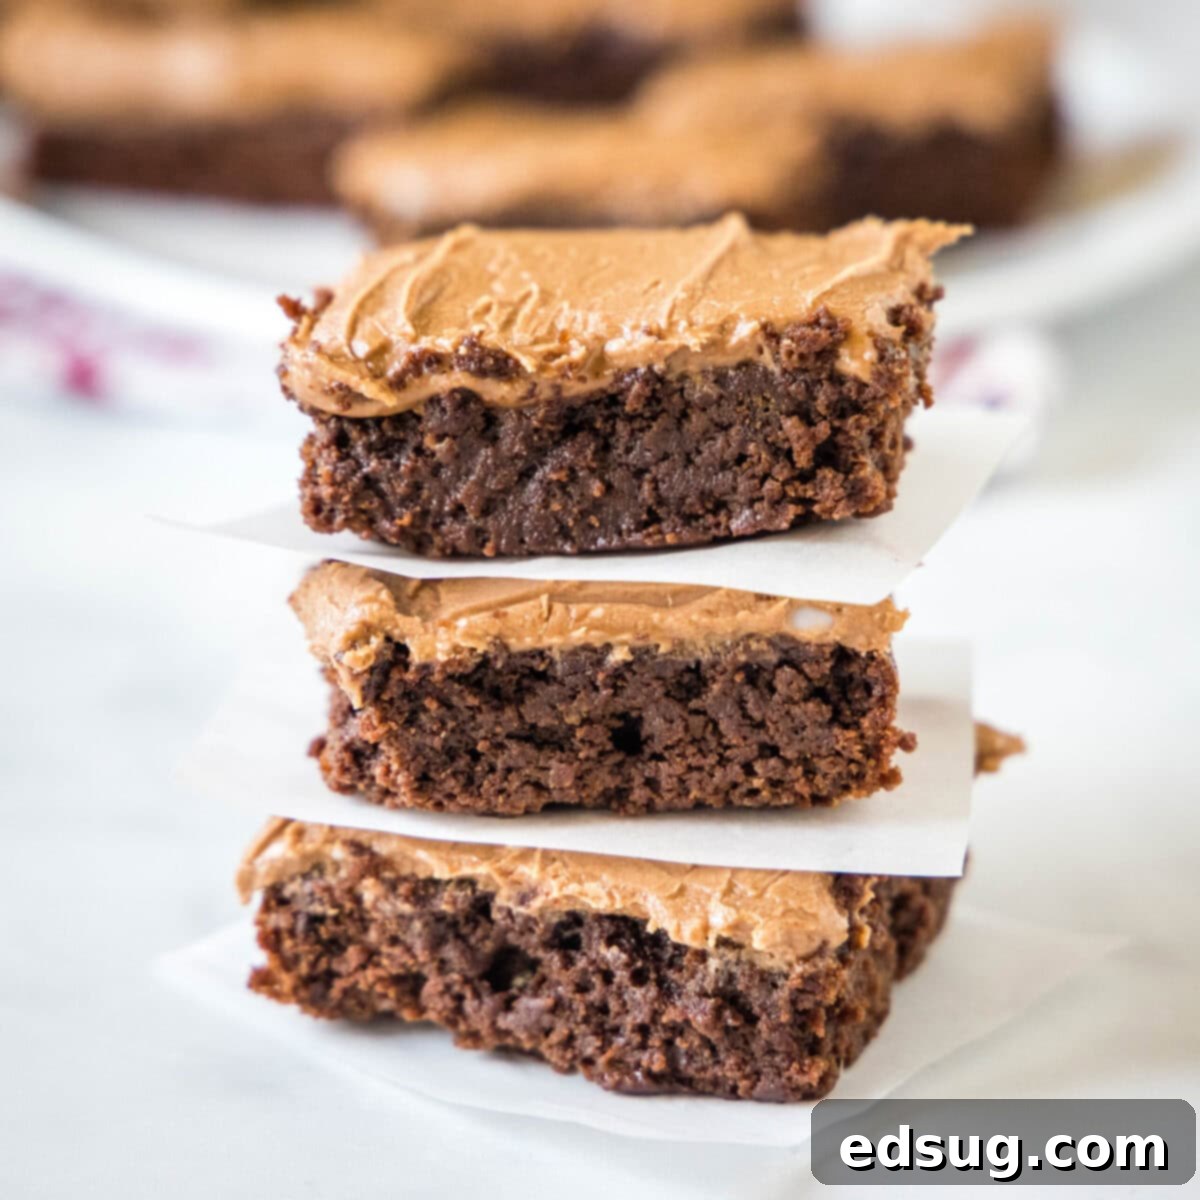
Irresistibly Fudgy Dairy-Free Brownies with Chocolate Frosting: Your New Go-To Recipe
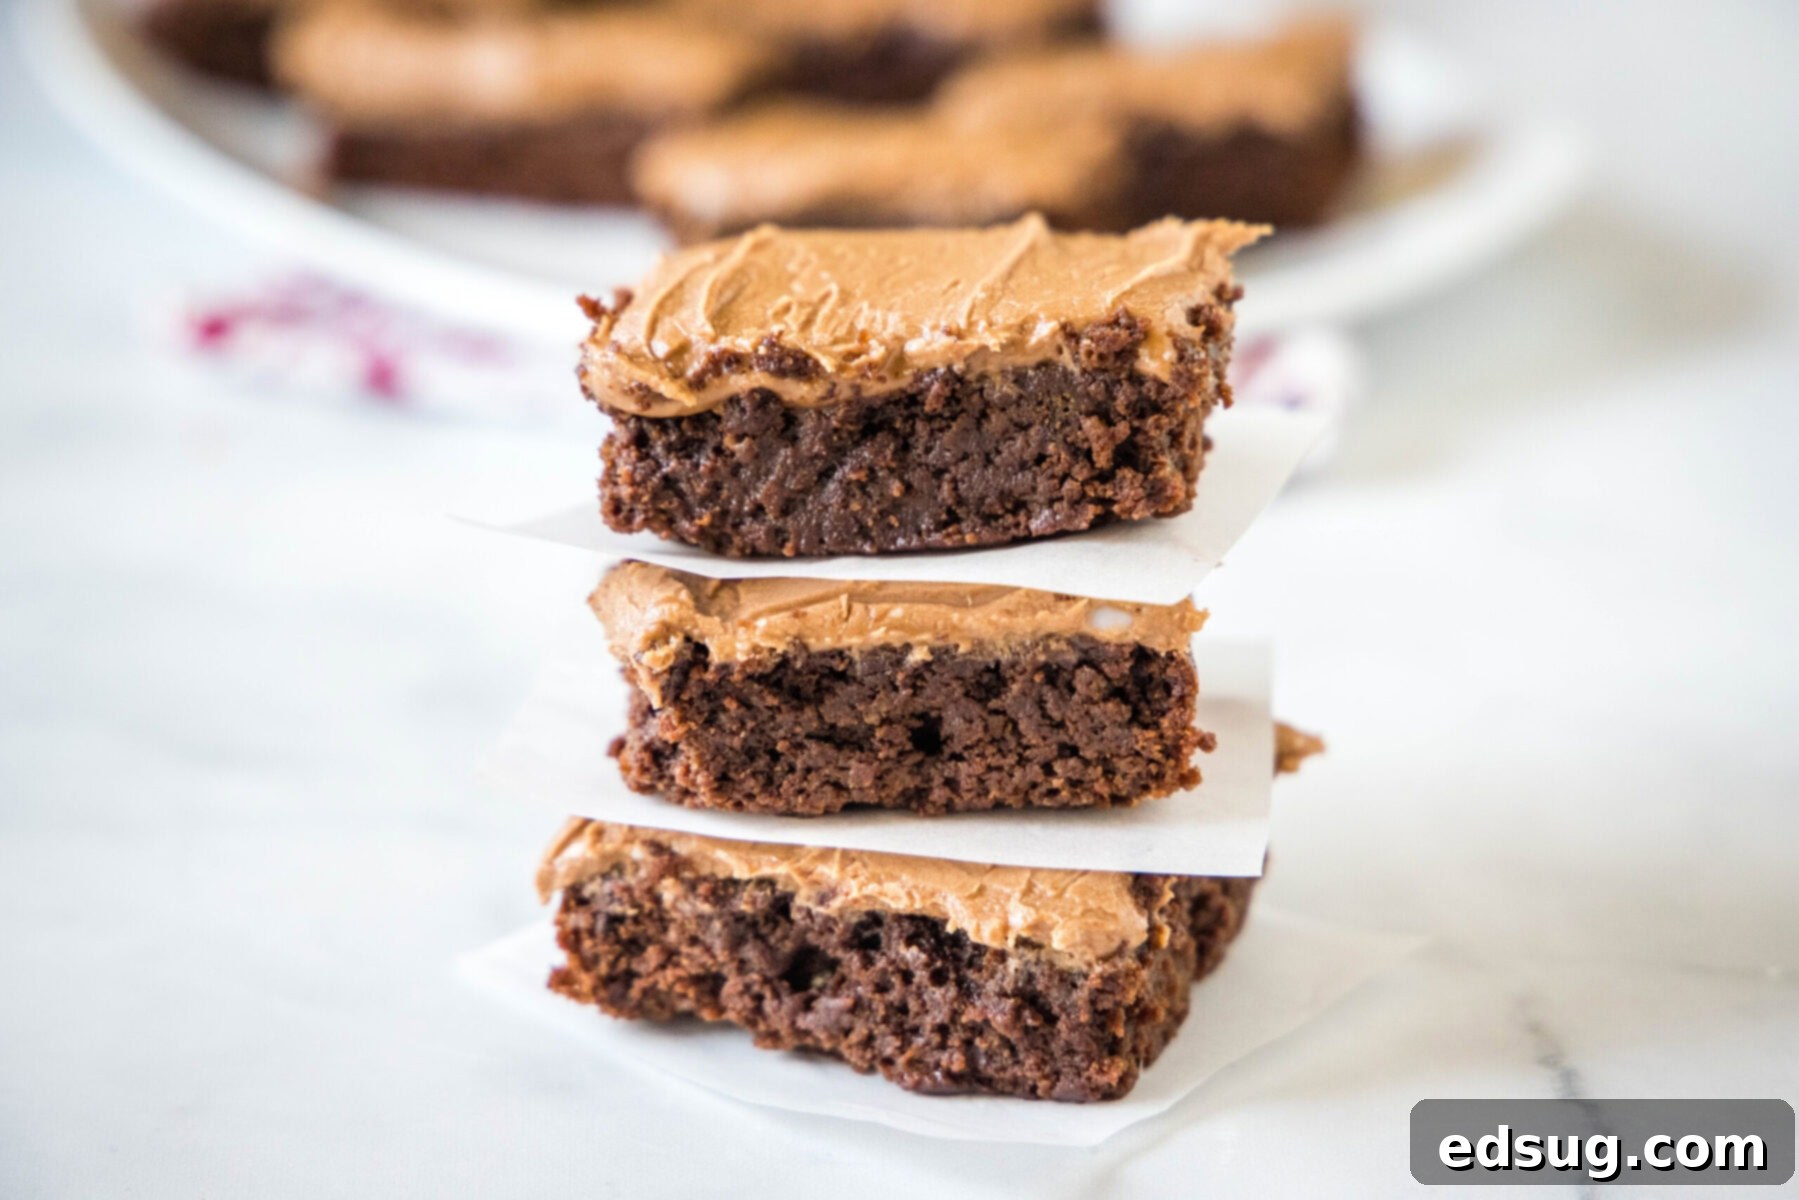
Prepare to fall in love with these incredibly rich, fudgy, and super moist dairy-free brownies. They’re designed to be a hit with everyone, whether you follow a dairy-free diet or not. This recipe is wonderfully quick and easy to make, completely free of butter or milk, and crowned with a luscious, creamy chocolate frosting. Get ready for a dessert that’s not just good for being dairy-free, but simply *delicious* in its own right.
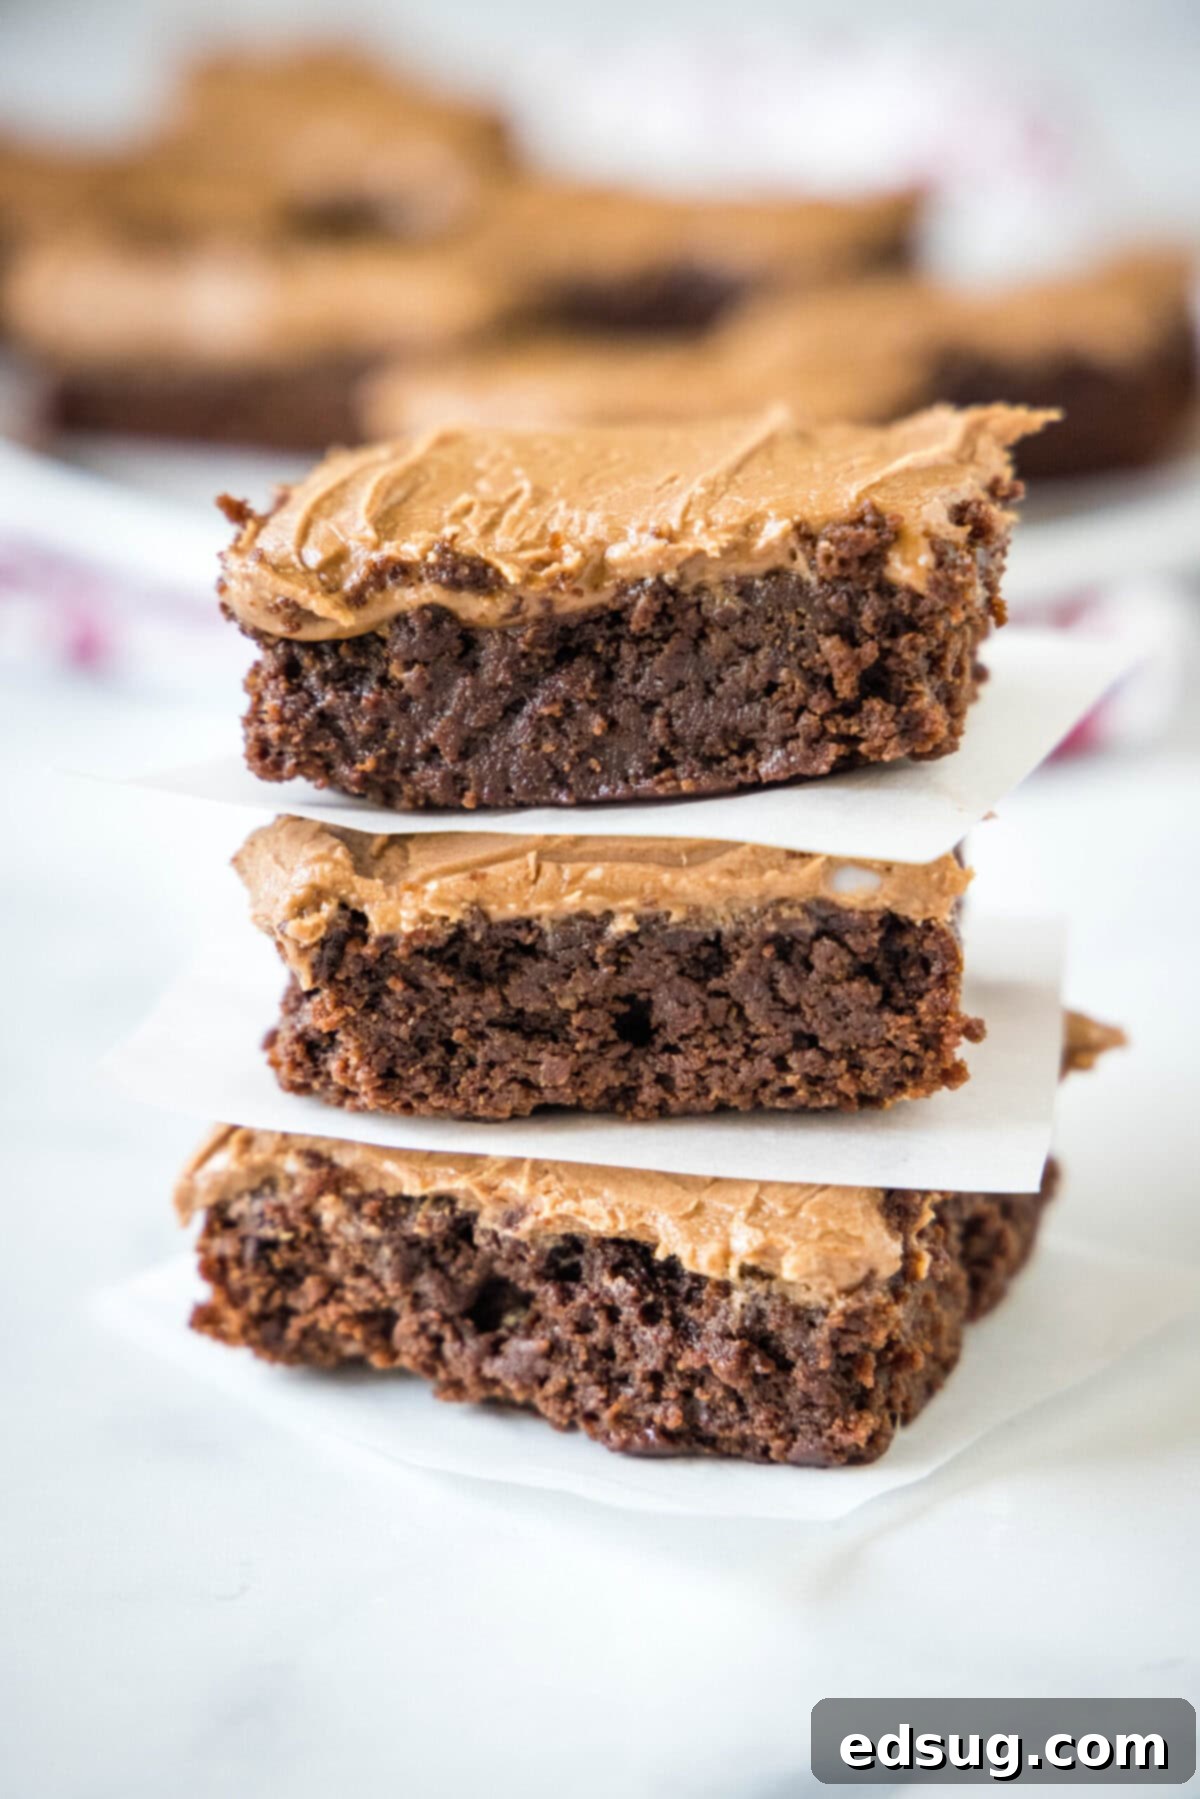
Is there a sweet treat that brings more pure joy than a perfectly baked brownie? I certainly don’t think so. Brownies are the ultimate comfort dessert, satisfying any chocolate craving, whether it’s a rich indulgence after dinner or a sweet pick-me-up during the day. And for those seeking a delightful alternative without compromising on taste or texture, these moist and tender dairy-free brownies are about to become your absolute favorite recipe. This isn’t just a substitute; it’s a superior brownie experience.
Many people hesitate to try dairy-free baking, fearing dry or dense results. However, this recipe defies those expectations by expertly using ingredients like vegetable or coconut oil in place of traditional butter, and almond milk instead of dairy milk. These thoughtful substitutions don’t just eliminate dairy; they actually contribute to the brownies’ superior texture, making them incredibly silky smooth and perfectly soft. The magic doesn’t stop there. Each brownie is generously topped with a velvety, rich vegan chocolate frosting, elevating the treat to a double-chocolate dream. Best of all, this entire indulgent recipe, from start to finish, comes together in just about 35 minutes. You are truly going to adore these dairy-free chocolate brownies!
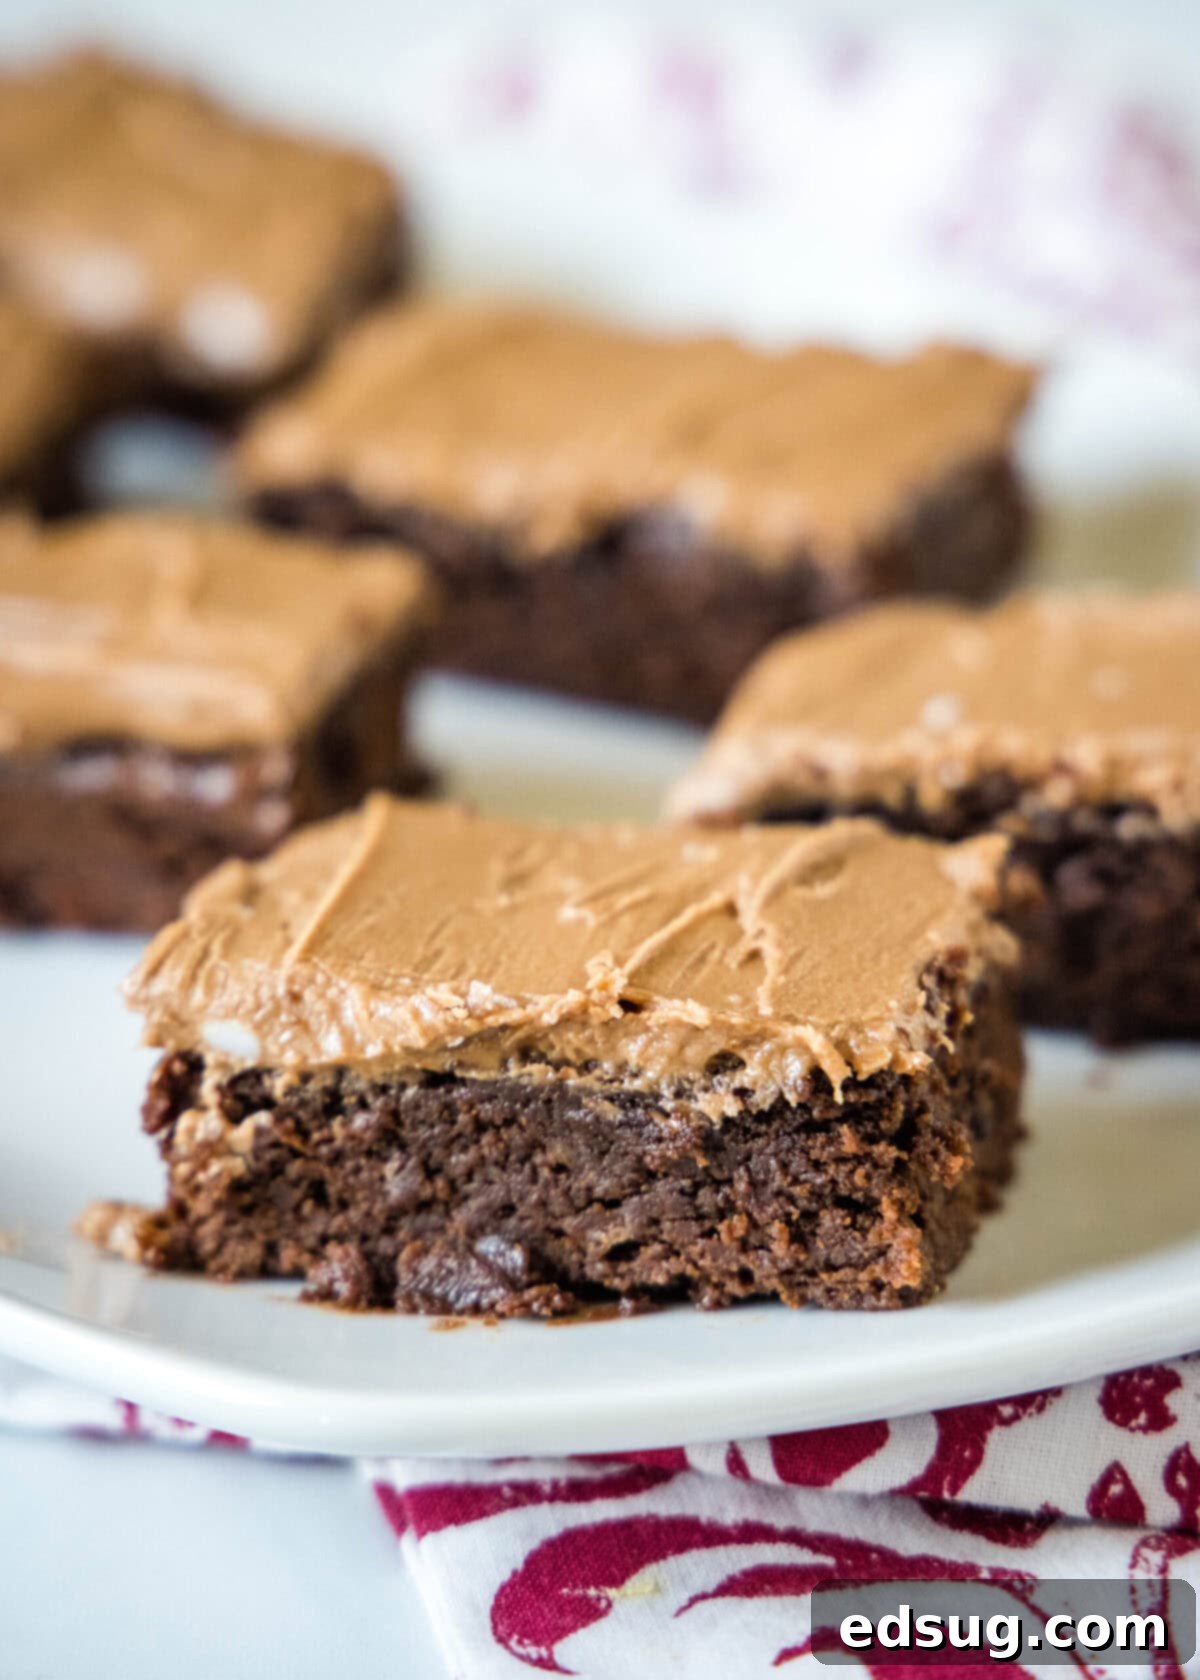
Why These Dairy-Free Brownies Will Become Your Favorite
This recipe has become my absolute go-to whenever I crave a deeply chocolatey baked treat. Here’s a closer look at why you absolutely need to try making these dairy-free brownies:
- Effortlessly Quick and Easy: Forget complicated recipes that take hours. This simple creation comes together in just about 35 minutes, making it perfect for a last-minute dessert or a spontaneous baking session. It utilizes common and affordable household ingredients, and the instructions are so straightforward that even novice bakers will achieve perfect results. The minimal prep and bake time mean less waiting and more enjoying!
- A True Double Chocolate Indulgence: If you’re baking brownies, it’s safe to say you’re a chocolate lover. And the absolute best thing about these luscious, fudgy brownies is their glorious double layer of chocolate. The brownie base itself boasts a decadent, intense chocolate flavor, which is then magnificently complemented by a creamy, smooth, and utterly delicious chocolate frosting. It’s a symphony of chocolate in every bite!
- A Guaranteed Crowd-Pleaser for All: These dairy-free brownies are universally adored. They are ideal for serving to your family for a cozy dessert, or for bringing to a party or potluck where they are sure to disappear quickly. Kids can’t get enough of them, and even guests who regularly consume dairy will be astonished by their incredible taste and texture, often declaring them some of the best brownies they’ve ever had. They cater to various dietary needs without sacrificing an ounce of flavor or appeal.
- Remarkably Moist and Fudgy Texture: Unlike some dairy-free baked goods that can turn out dry or crumbly, these brownies are exceptionally moist and boast that coveted fudgy interior. The carefully selected dairy-free ingredients ensure a rich, tender crumb that melts in your mouth, proving that you don’t need dairy for a luxurious texture.
- Versatile for Various Dietary Needs: Not only are these brownies dairy-free, but with a simple substitution, they can also be made completely vegan (see our tips below!). This versatility makes them an excellent choice for households with mixed dietary preferences or for entertaining guests with specific needs, ensuring everyone can enjoy a truly decadent dessert.
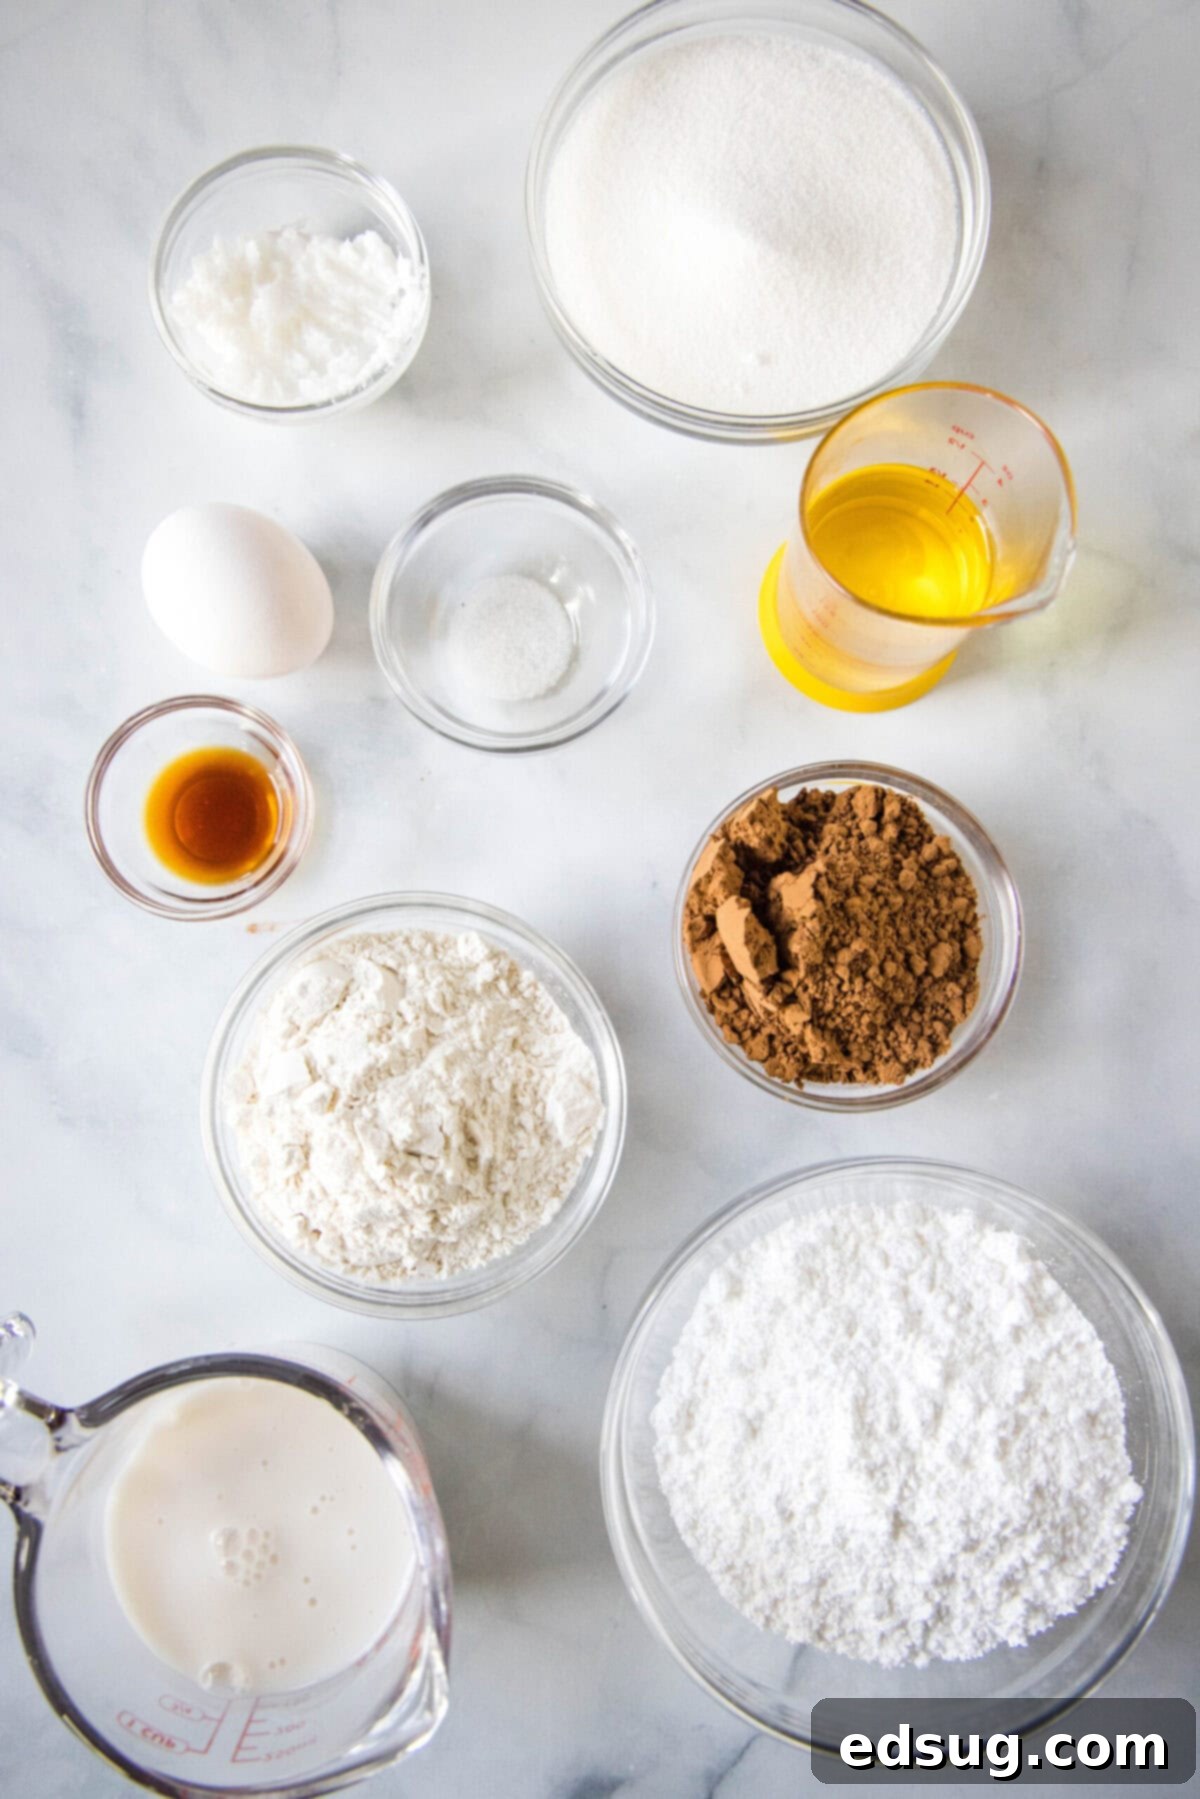
Essential Ingredients for Your Dairy-Free Brownies
Gathering your ingredients is the first step towards creating these moist, double-chocolate dairy-free brownies. The beauty of this recipe lies in its use of accessible items you likely already have in your pantry. For precise measurements, always refer to the detailed recipe card at the end of this page.
For the Fudgy Brownie Base:
- Vegetable Oil: This is our primary fat source, replacing butter. Vegetable oil contributes to the brownies’ incredible moisture and fudgy texture. You can also use coconut oil (refined, to avoid coconut flavor) or your favorite brand of dairy-free butter for similar results. The key is to ensure it’s a liquid fat at room temperature.
- Almond Milk: Choose unflavored and unsweetened almond milk to avoid altering the brownie’s taste profile. Its creamy consistency is perfect for creating a smooth batter. Feel free to substitute with another type of non-dairy milk, such as oat milk or soy milk, if you have a preference or allergy.
- Unsweetened Cocoa Powder: This is where the deep, rich chocolate flavor for the brownies comes from. Ensure it’s unsweetened to control the overall sweetness of the dessert. High-quality cocoa powder makes a significant difference in flavor.
- Granulated Sugar: Provides sweetness and helps create that desirable crackly top crust often found on classic brownies. It also contributes to the fudgy texture by attracting and retaining moisture.
- Egg: Acts as a binder, providing structure and contributing to the moistness and rise of the brownies. If aiming for a vegan version, a flax egg is an excellent substitute (instructions provided in tips).
- Vanilla Extract: Always opt for 100% pure vanilla extract. It enhances the chocolate flavor and adds a warm, aromatic depth to the brownies.
- All-Purpose Flour: The structural backbone of our brownies. Ensure it’s sifted to prevent lumps and create a smooth batter. For a gluten-free option, a good quality 1:1 gluten-free baking flour blend can often be used successfully, though results may vary slightly.
- Salt: A crucial ingredient that balances the sweetness and intensifies the chocolate flavor, making every bite more profound and satisfying.
For the Creamy Chocolate Frosting:
- Powdered Sugar: Also known as confectioners’ sugar, this fine sugar is essential for achieving a smooth, lump-free frosting texture.
- Coconut Oil: It’s vital that the coconut oil is at room temperature – soft but not melted – to achieve the right consistency for a creamy frosting. If it’s too hard, it won’t cream properly; if it’s liquid, the frosting will be too thin. Dairy-free butter can also be used here as a substitute, ensuring it is also at room temperature.
- Unsweetened Cocoa Powder: Gives the frosting its rich chocolate flavor and beautiful color. Again, unsweetened is key for taste control.
- Almond Milk: Helps achieve the desired consistency for the frosting. Add it gradually to ensure you don’t make the frosting too thin.
- Vanilla Extract: Just like in the brownies, vanilla extract in the frosting enhances the overall flavor profile, complementing the chocolate perfectly.
Step-by-Step Guide: Crafting Your Delicious Dairy-Free Brownies
Making these rich, smooth dairy-free chocolate brownies with their luscious creamy frosting is surprisingly simple. Follow these easy steps for a perfect result every time:
- Step 1: Prepare Your Baking Environment. Begin by preheating your oven to 350°F (175°C). Next, prepare an 8-inch square baking dish. The best way to ensure easy removal and clean slices is to line it with parchment paper, leaving an overhang on two sides to create “handles.” If parchment paper isn’t available, simply grease the dish thoroughly and dust lightly with all-purpose flour. This step prevents sticking and ensures your beautiful brownies come out intact.
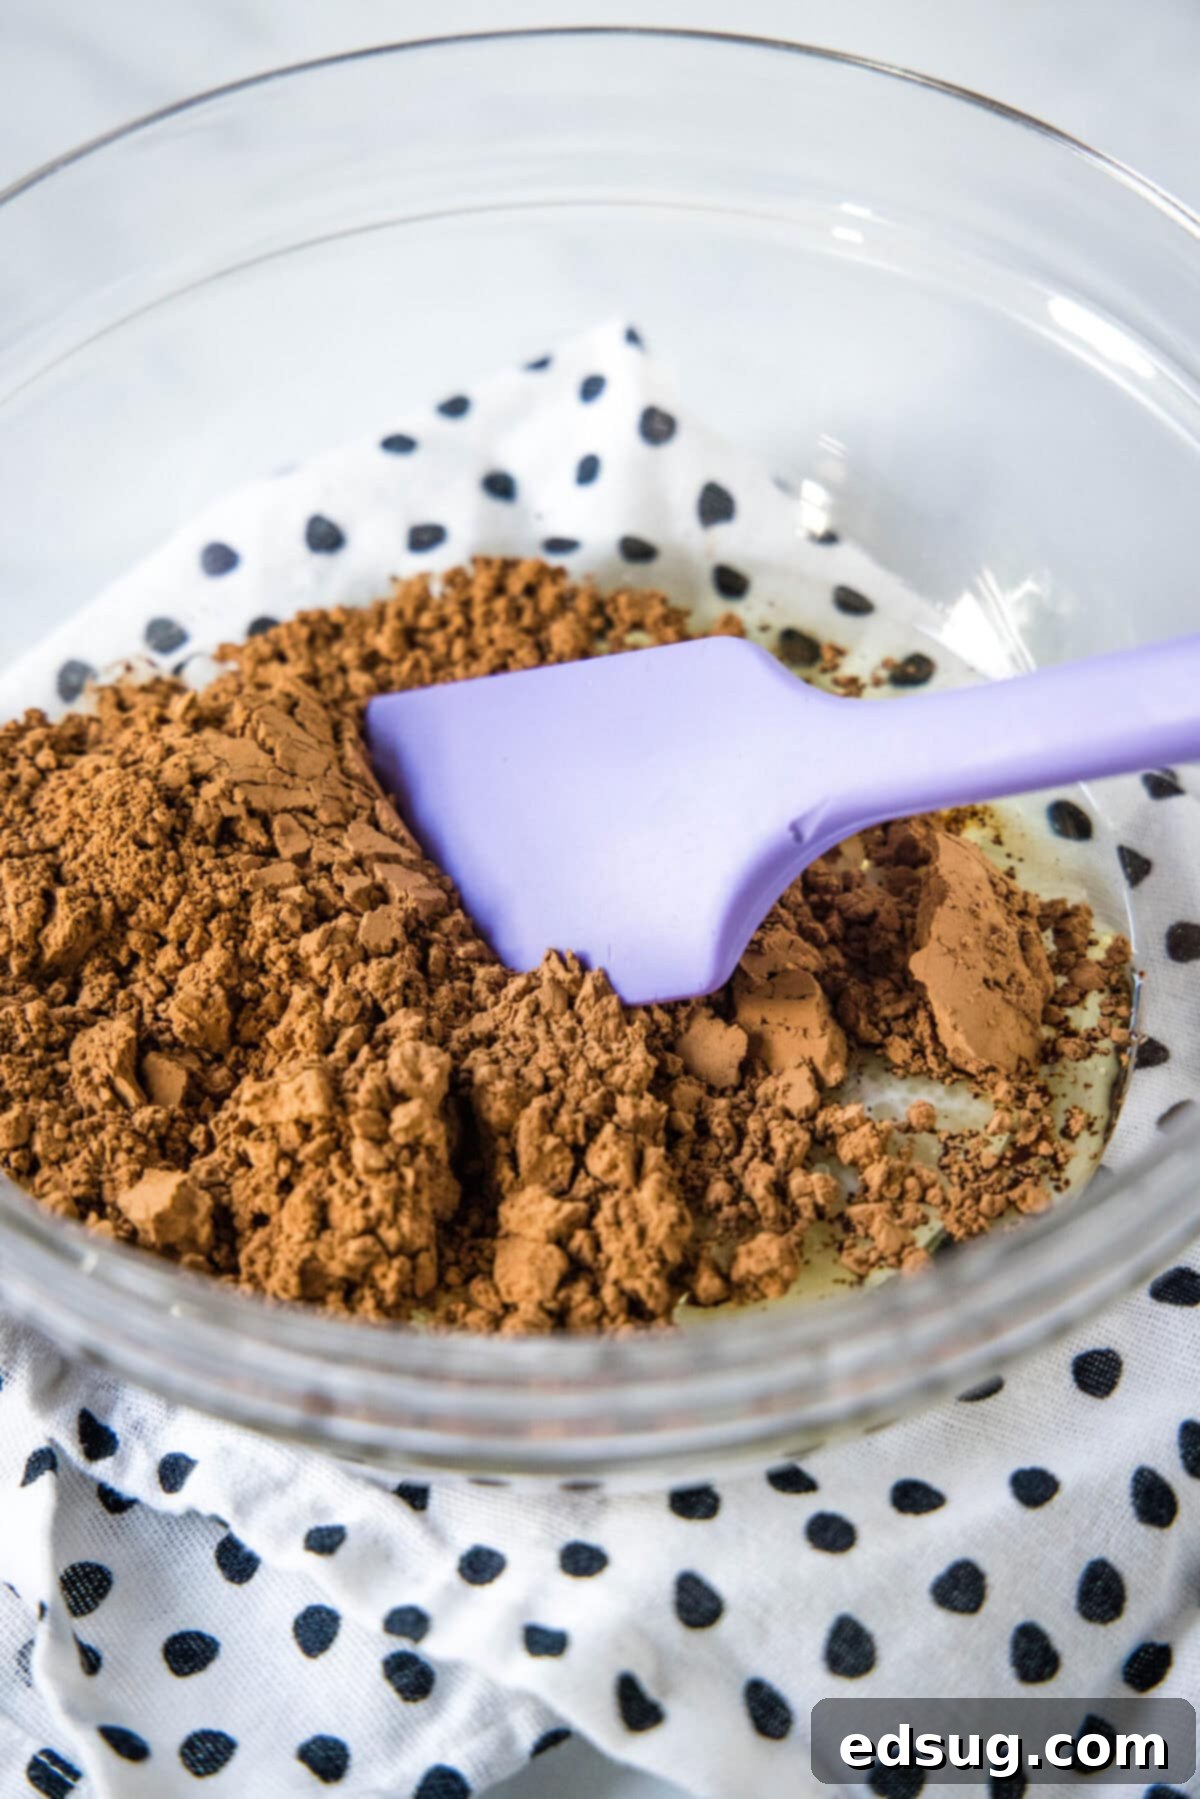
- Step 2: Combine Wet Ingredients and Cocoa. In a large mixing bowl, combine the vegetable oil, almond milk, and unsweetened cocoa powder designated for the brownie batter. Whisk these ingredients together until they are completely smooth and well-incorporated. This initial mix helps dissolve the cocoa powder, preventing lumps and ensuring a consistently chocolatey base.
- Step 3: Incorporate Sweetness and Binding. To the wet cocoa mixture, add the granulated sugar, the room-temperature egg, and the vanilla extract. Mix these ingredients thoroughly until everything is well combined and the mixture is smooth. The sugar will start to dissolve, and the egg will begin to emulsify the mixture, contributing to the brownie’s final texture.
- Step 4: Gently Fold in Dry Ingredients. Now, add the all-purpose flour and salt to your brownie batter. Using a rubber spatula or a wooden spoon, stir until the dry ingredients are just incorporated. Be careful not to over-mix at this stage; over-mixing can develop the gluten in the flour, leading to tough or dense brownies instead of the desired fudgy texture. Stop mixing as soon as no streaks of flour remain.
- Step 5: Transfer to the Baking Pan. Pour the prepared brownie batter evenly into your lined or greased 8-inch square pan. Use your spatula to spread the batter out to the edges and ensure a level surface for even baking.
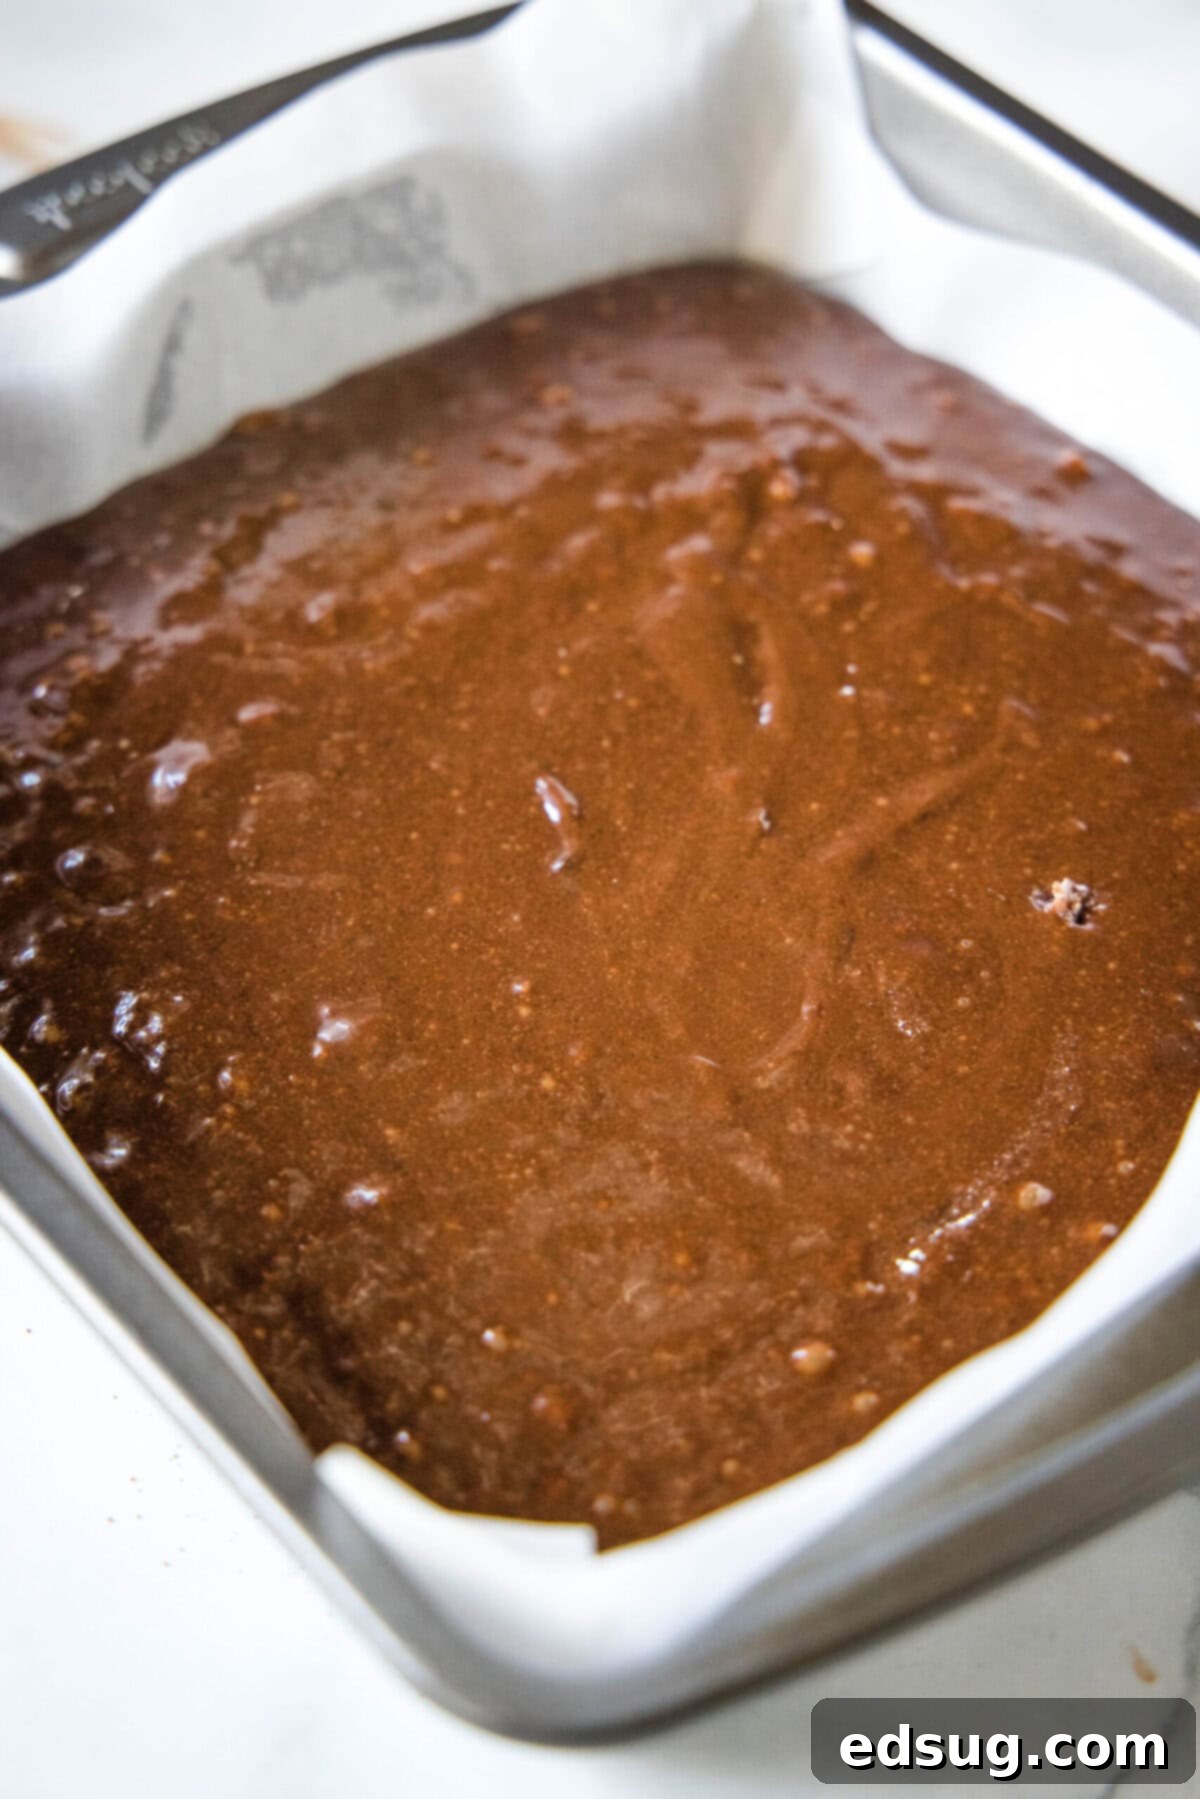
- Step 6: Bake to Perfection. Place the pan in your preheated oven and bake for approximately 25-30 minutes. To test for doneness, insert a wooden skewer or toothpick into the center of the brownies. It should come out with moist crumbs attached, but not wet batter. Over-baking can lead to dry brownies, so keep a close eye on them towards the end of the baking time.
- Step 7: Allow to Cool Completely. Once baked, remove the brownies from the oven and place the pan on a wire rack to cool completely. This step is crucial! Attempting to frost warm brownies will only result in melted, messy frosting. Patience is a virtue here.
- Step 8: Prepare the Creamy Frosting. While the brownies are baking or cooling, you can prepare the delicious chocolate frosting. In a separate bowl, combine all the frosting ingredients: powdered sugar, room-temperature coconut oil (or dairy-free butter), cocoa powder, almond milk, and vanilla extract. Using an electric mixer (handheld or stand mixer), beat these ingredients together until the frosting is smooth, creamy, and reaches your desired consistency. If it’s too thick, add a tiny bit more almond milk; if too thin, a touch more powdered sugar.
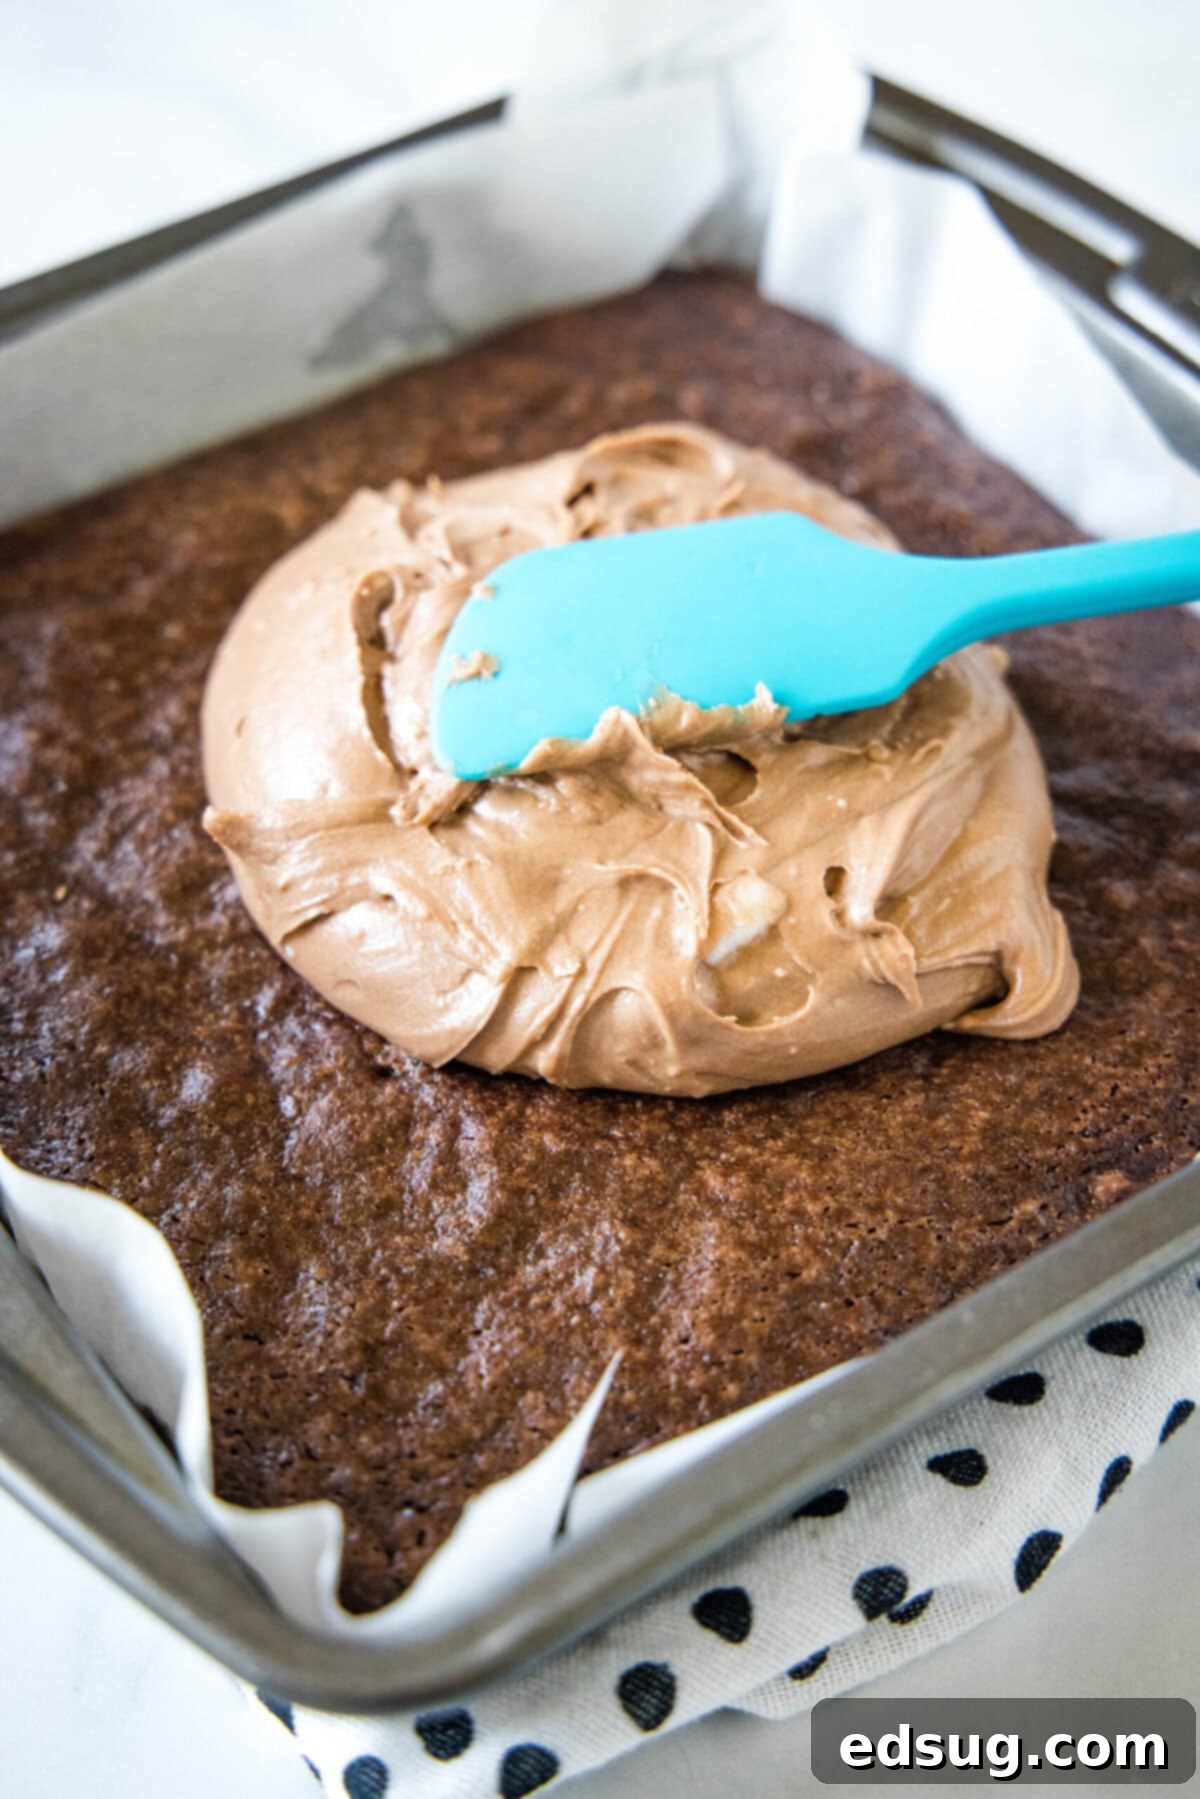
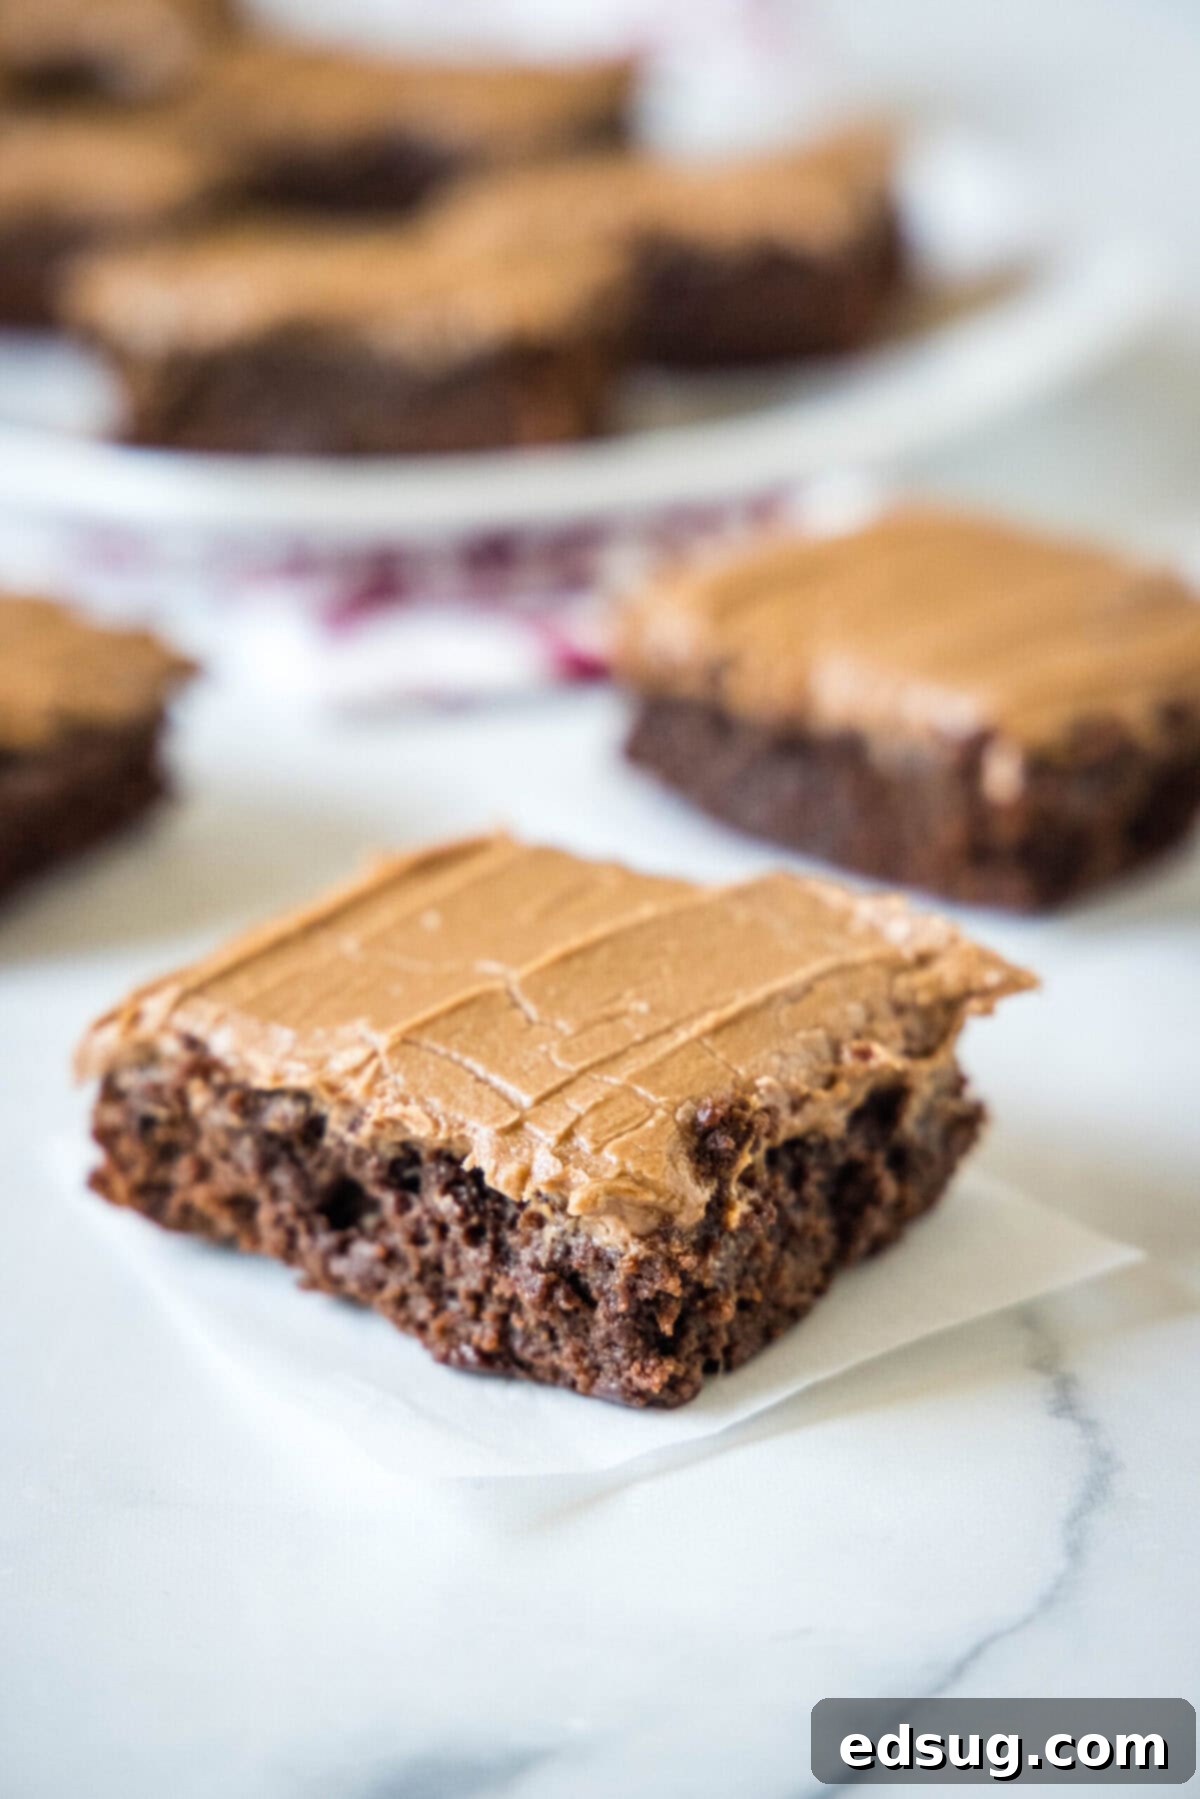
- Step 9: Frost and Serve. Once the brownies are completely cool, spread the prepared chocolate frosting evenly over the top using an offset spatula or the back of a spoon. For the neatest slices, you can chill the frosted brownies for about 15-20 minutes to allow the frosting to set slightly before cutting. Then, slice and serve your magnificent dairy-free brownies!
Expert Tips for Perfect Dairy-Free Brownies Every Time
Achieving bakery-quality dairy-free chocolate brownies is easier than you think with these expert tricks and tips:
- Utilize Room-Temperature Eggs: This is a golden rule in baking! Eggs at room temperature emulsify better with other ingredients, creating a smoother, more uniform batter. Cold eggs can cause the fat to seize, leading to dense or lumpy baked goods. Simply take your egg out of the fridge about 30 minutes before you plan to start baking, or quickly warm it in a bowl of warm (not hot) water for 5-10 minutes.
- Embrace Patience – Especially with Cooling: It’s incredibly tempting to dive into these brownies as soon as they emerge from the oven, filling your home with an amazing aroma. However, patience is key for perfection. Allow the brownies to cool completely on a wire rack before you even think about frosting them. If you frost warm brownies, the frosting will melt and create a sticky mess. After frosting, letting them rest for another 15-30 minutes allows the frosting to set slightly, resulting in cleaner cuts and a more satisfying texture.
- Easily Adapt for a Vegan Treat: To transform these double-chocolate brownies into a fully vegan delight, simply replace the egg with a “flax egg.” To make one flax egg, combine 1 tablespoon of ground flaxseed meal with 3 tablespoons of water, stir well, and let it sit for 5-10 minutes until it thickens to a gel-like consistency. This substitution works beautifully without altering the texture significantly.
- Tap the Pan for a Perfect Top: After pouring the brownie batter into your prepared baking dish, gently tap the pan on your kitchen counter a few times. This simple action helps to evenly distribute the batter, release any trapped air bubbles, and settle the surface, which contributes to that desirable slightly crinkly top crust and a uniform, dense texture.
- Customize Your Frosting Consistency and Sweetness: The frosting is yours to perfect! If you find the frosting is too thick or stiff, gradually add a tiny bit more almond milk (half a teaspoon at a time) until it reaches your preferred spreadable consistency. Conversely, if it’s not sweet enough for your taste, mix in an additional tablespoon or two of powdered sugar until it meets your desired sweetness level.
- Avoid the Pitfall of Over-Mixing: Once you add the flour to the wet ingredients, mix gently and only until the ingredients are just combined. Over-mixing the batter, especially after flour is added, can over-develop the gluten, leading to brownies that are tough, dry, and chewy rather than soft and fudgy. A few visible streaks of flour are better than an over-mixed, dense batter.
- Use Quality Cocoa Powder: The flavor of your brownies largely depends on the cocoa powder. Invest in a good quality unsweetened cocoa powder for a deeper, richer chocolate taste. Dutch-processed cocoa powder can yield a darker brownie with a milder chocolate flavor, while natural cocoa powder offers a fruitier, more intense chocolate punch.
Delightful Serving Suggestions
These dairy-free brownies are magnificent on their own, but pairing them with the right accompaniments can elevate the experience even further. If I’m enjoying them during the day, a rich cup of coffee or a creamy latte is the perfect complement, cutting through the sweetness with its bold flavor. For a more indulgent dessert experience, a generous scoop of ice cream is a must. Here are a few homemade ice cream recipes that I believe pair perfectly with these decadent dairy-free chocolate brownies:
- Classic Chocolate Ice Cream
- Decadent Double Cookie Dough Ice Cream
- Creamy Cookies and Cream Ice Cream
- Rich Nutella Ice Cream
- Unique Pistachio Ice Cream
- Refreshing No-Churn Mint Chocolate Chip Ice Cream
Beyond ice cream, consider other dairy-free toppings like a dollop of coconut whipped cream, fresh berries for a touch of tartness, a sprinkle of chopped nuts for crunch, or a drizzle of dairy-free caramel or chocolate sauce. These brownies are also fantastic served warm with a scoop of vanilla bean dairy-free ice cream for a classic à la mode experience.
Storing Your Dairy-Free Chocolate Brownies for Freshness
Proper storage ensures your delicious dairy-free brownies stay fresh and fudgy for as long as possible. Here’s how to store them effectively:
- Room Temperature: For immediate enjoyment, store leftover brownies in an airtight container or a resealable bag at room temperature. They will remain wonderfully fresh and moist for up to 4 days. Keep them away from direct sunlight or heat sources.
- Refrigeration: If you prefer a firmer brownie or want to extend their shelf life, place them in an airtight container in the refrigerator. They will keep well for up to 7 days. Allow them to come to room temperature for a softer texture, or enjoy them chilled for a chewier bite.
- Freezing for Longer Storage: These brownies freeze beautifully! For longer-term storage, wrap individual brownies or the entire slab (once cut) tightly in plastic wrap, then place them in a double layer of airtight freezer bags or a freezer-safe container. They can be stored in the freezer for up to 3 months. When you’re ready to enjoy them, simply thaw them at room temperature for a few hours or overnight in the refrigerator.
Explore More Decadent Brownie Creations
If your love for brownies runs as deep as mine, then you’re in luck! I have a plethora of other fantastic brownie recipes waiting for you to discover and try. Each one offers a unique twist on this beloved classic. Here are some more of my favorite brownie recipes that are definitely worth baking:
- Peanut Butter Cookie Dough Brownies: A delightful combination of two favorite desserts, featuring a rich brownie base topped with a creamy peanut butter cookie dough layer.
- Easy Cake Mix Brownies: For those days when you need a quick and simple solution, these brownies leverage a cake mix for effortless baking without sacrificing flavor.
- Luxurious Red Velvet Brownies: Indulge in the vibrant color and subtle cocoa flavor of red velvet, perfectly captured in a fudgy brownie form.
- Surprising Avocado Brownies: Don’t let the name fool you! Avocado lends incredible moisture and a healthy fat boost, resulting in incredibly fudgy brownies with no avocado taste.
- Decadent Turtle Brownies: A classic combination of chocolate, caramel, and pecans, these brownies are a sweet and nutty delight.
- Fresh Strawberry Brownies: A wonderful seasonal treat, these brownies incorporate the sweet and slightly tart flavor of strawberries for a fruity twist.
Dairy Free Brownies
Pin Recipe
Rate Recipe
Print Recipe
Ingredients
For the Brownies:
- 1/3 cup vegetable oil, coconut oil or dairy free butter will also work
- 1/2 cup almond milk
- 1/2 cup unsweetened cocoa powder
- 1 cup granulated sugar
- 1 whole large egg
- 1/2 teaspoon vanilla extract
- 3/4 cup all-purpose flour
- 1/2 teaspoon salt
For the Frosting:
- 1 1/2 cup powdered sugar
- 2 Tablespoons coconut oil or dairy free butter, at room temperature
- 1 Tablespoon unsweetened cocoa powder
- 2 Tablespoons almond milk
- 1/2 teaspoon vanilla extract
Instructions
-
Preheat the oven to 350º F. Line an 8-inch square baking dish with parchment paper. If you don’t have parchment paper, just grease the baking dish and dust with flour.
-
In a large bowl mix together the oil, almond milk, and cocoa powder for the brownies.
-
Add in the sugar, egg, and vanilla, and mix until well combined.
-
Add the flour and salt. Mix until just combined
-
Pour the brownie batter into the prepared pan and make sure it’s spread evenly.
-
Bake for 25-30 minutes, until a tester comes out mostly clean.
-
Remove the brownies from the oven and allow to cool completely.
-
While the brownies bake or cool, add all the frosting ingredients to a bowl and beat together until the frosting is the desired consistency. Adjust the sugar if the frosting isn’t sweet enough, and add more almond milk if the frosting is too thick.
-
When the brownies are cooled, frost them and enjoy.
Notes
- Store leftovers in an airtight container at room temperature for 4 days or in the fridge for 1 week.
- Leftovers can also be stored in two layers of airtight bags in the freezer for 3 months.
- To make the brownies vegan, replace the egg with a flax egg.
Nutrition
Nutrition information is automatically calculated, so should only be used as an approximation.
Additional Info
Like this recipe? Leave a comment below!
I created a fun group on Facebook, and I would love for you to join us! It’s a place where you can share YOUR favorite recipes, ask questions, and see what’s new at Dinners, Dishes and Desserts (so that you never miss a new recipe)!
Be sure to follow me on Instagram and tag #dinnersdishes so I can see all the wonderful DINNERS, DISHES, AND DESSERTS recipes YOU make!
Be sure to follow me on my social media, so you never miss a post!
Facebook | Twitter | Pinterest | Instagram
.
