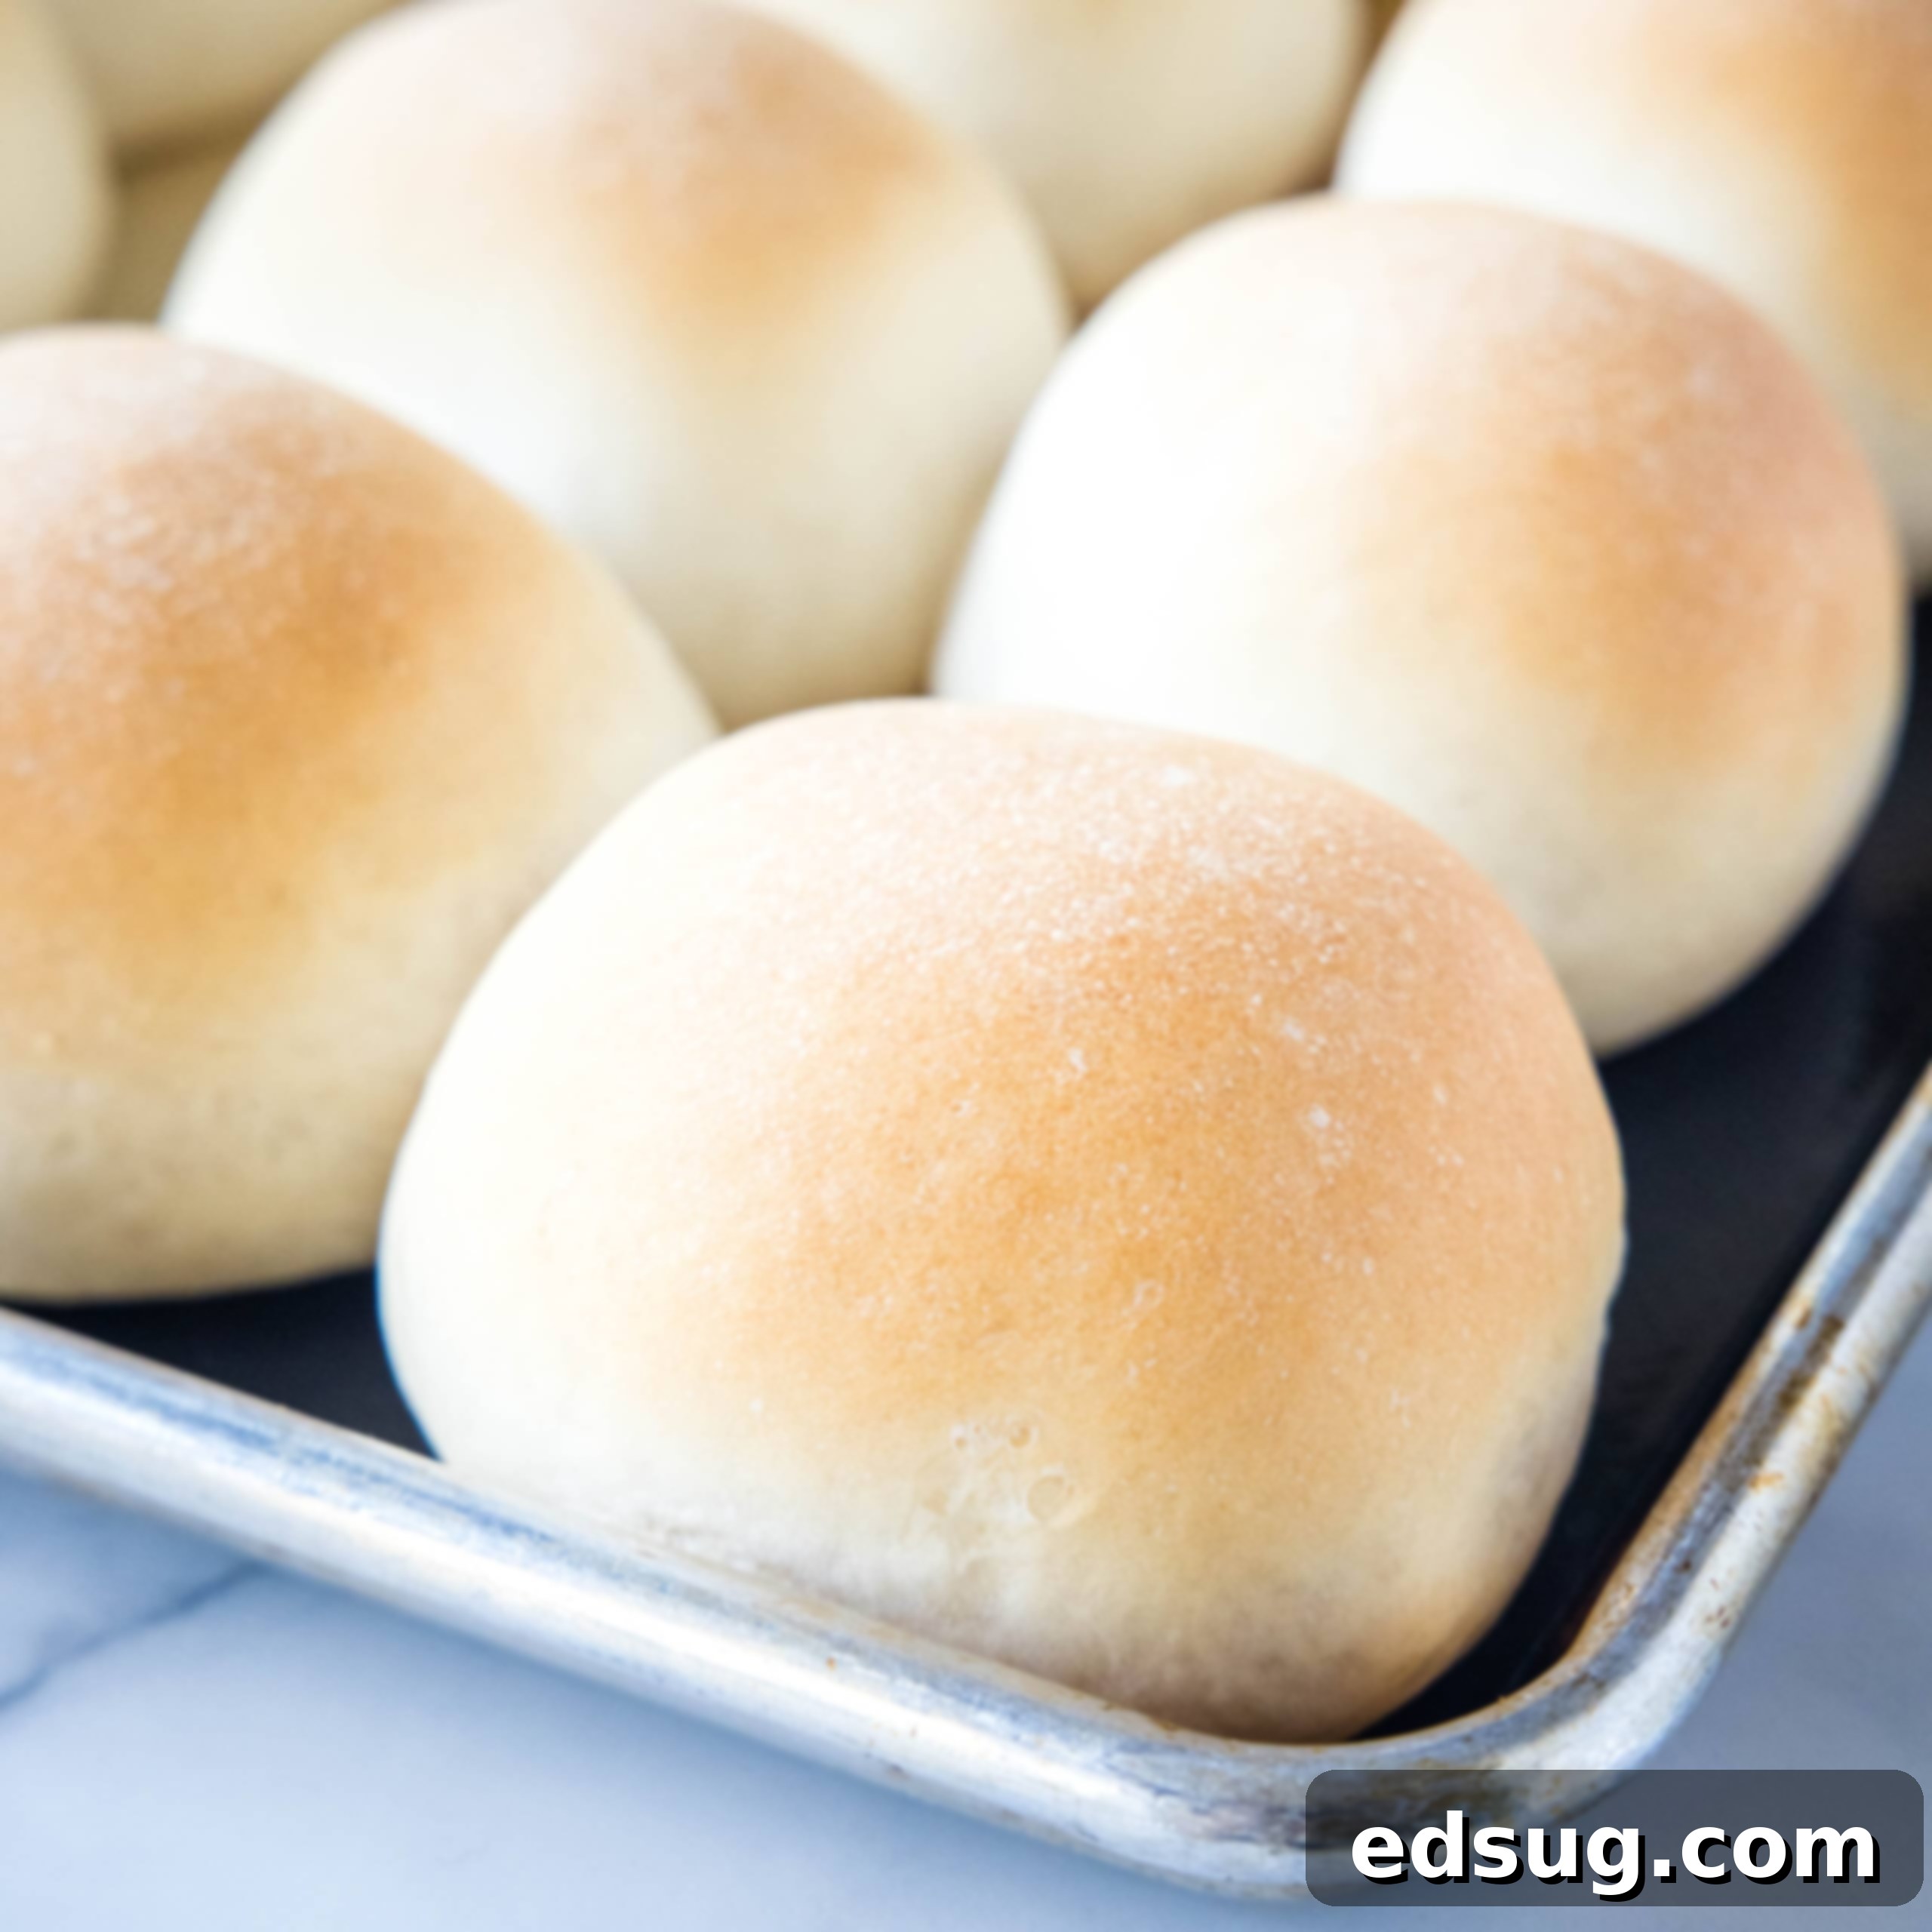
Effortless Homemade French Bread Rolls: Your Guide to Fluffy, Crusty Perfection
Indulge in the simple pleasure of warm, homemade French Bread Rolls – soft and fluffy on the inside with a delightful, slightly crusty exterior. This easy recipe promises a perfect accompaniment to any meal, transforming ordinary dinners into something special.
There’s an undeniable magic that fills your home when fresh bread is baking. The rich, yeasty aroma wafts through every room, creating an atmosphere of comfort and anticipation. Few things compare to the satisfaction of pulling a warm, golden loaf from the oven, especially when it’s a batch of these incredibly easy-to-make French Bread Rolls. They’re not just bread; they’re a centerpiece, a conversation starter, and a universal crowd-pleaser that pairs wonderfully with virtually any dish you can imagine.
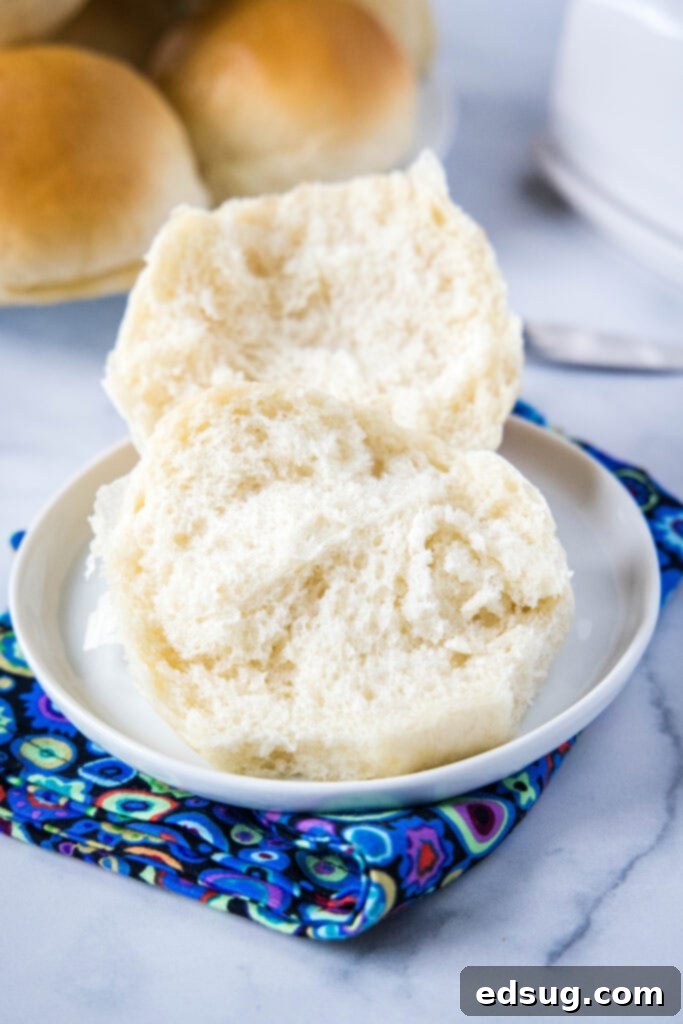
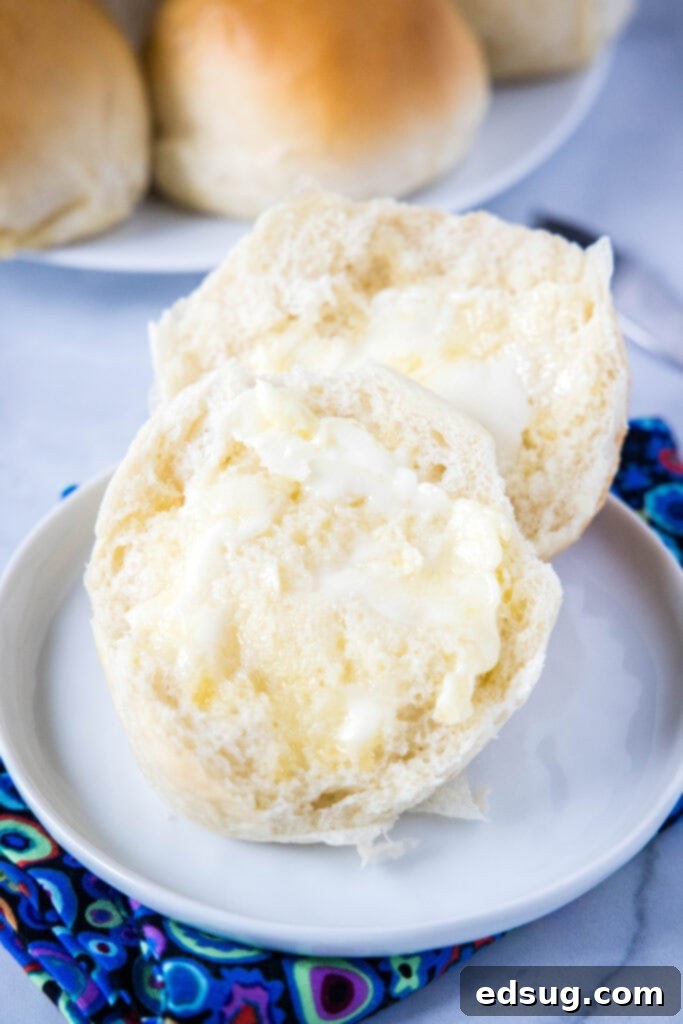
Imagine breaking open one of these warm rolls, the steam gently rising, revealing its soft, airy interior. A generous smear of melting butter quickly turns it into pure, blissful carb heaven. Whether you’re serving a hearty stew, a light salad, or a simple pasta dish, these homemade dinner rolls elevate the entire dining experience. Their versatility and irresistible texture make them a staple you’ll want to bake again and again.
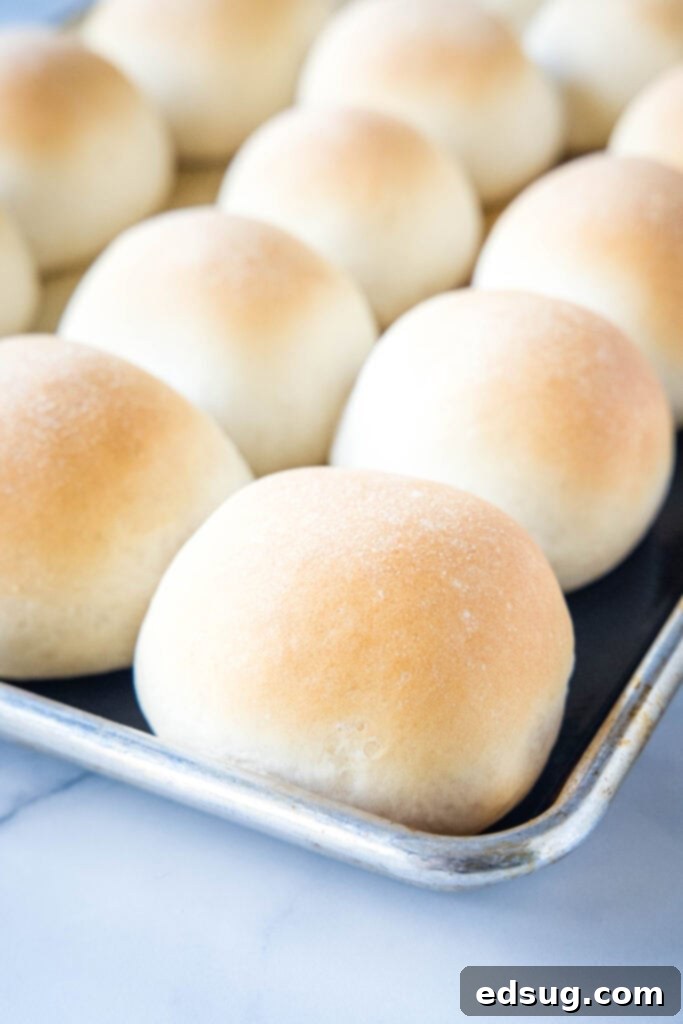
For many, the thought of baking with yeast can feel a bit daunting. Visions of dense, failed loaves or unrisen dough might deter even the most enthusiastic home cooks. But I assure you, this French bread roll recipe is designed to be straightforward and forgiving, making it perfect for beginners and seasoned bakers alike. I’ve gathered all the essential tips and tricks to guide you through each step, ensuring your success. So, take a deep breath, read through the advice, and get ready to discover the joy of baking your own incredible bread!
What’s the worst that could happen? Even if your first batch isn’t picture-perfect, a slightly dense but freshly baked roll still beats store-bought any day. Baking bread is a skill, and like any skill, it improves with practice. The aroma alone is worth the effort, and the taste of warm, homemade bread is an unparalleled reward. Don’t let apprehension hold you back; embrace the process and enjoy the delicious results!
Essential Ingredients for Perfect French Bread Rolls
Crafting these delectable French bread rolls requires a few simple ingredients, each playing a crucial role in achieving that perfect fluffy interior and crusty exterior. Quality ingredients are key, but don’t worry, they are all readily available at your local grocery store.
- Warm Water: The foundation for activating your yeast. Precise temperature is vital.
- Active Dry Yeast: The leavening agent that gives your rolls their light and airy texture.
- Sugar: Provides food for the yeast, helping it activate and produce carbon dioxide, which makes the dough rise. It also adds a touch of sweetness and helps with browning.
- Salt: Essential for flavor, it also helps to control yeast activity and strengthen the gluten structure in the dough.
- Vegetable Oil: Adds tenderness to the crumb and helps keep the rolls moist.
- Bread Flour: High in protein, bread flour develops strong gluten, contributing to the chewiness and structure characteristic of French bread.
- All-Purpose Flour: Balances the bread flour, ensuring the rolls are tender, not overly chewy, and easy to work with.
One of the most critical aspects of working with yeast is ensuring your water is at the correct temperature. Aim for approximately 110º F (43º C). This temperature is ideal for the yeast to “feed” on the sugar and become active, a process often referred to as “blooming.” If the water is too cold, the yeast will remain dormant and won’t activate. Conversely, if the water is too hot, it can kill the yeast, preventing your dough from rising. Investing in a good kitchen thermometer is highly recommended for accuracy, eliminating any guesswork and setting you up for success from the start.
Step-by-Step Guide to Making Fluffy French Bread Rolls
Follow these detailed steps to create a batch of perfect French Bread Rolls that will impress everyone at your dinner table. Remember, baking is a journey, and with each roll you make, you’ll gain more confidence and skill!
- Activate the Yeast: Begin by measuring your warm water into a 2-cup measuring cup. Stir in the sugar and active dry yeast. Give it a gentle stir and then let it rest for about 10 minutes. During this time, the yeast will “bloom,” meaning it will become foamy and bubbly on the surface. This foam is a sign that your yeast is alive and active, ready to work its magic. If your mixture doesn’t foam up, it likely means your yeast is expired, or the water temperature was incorrect. Don’t be discouraged; simply check these factors and start again. It’s a vital first step for light, airy rolls.
- Combine Dry and Wet Ingredients: In a large mixing bowl (or the bowl of a stand mixer), combine the bread flour, salt, and vegetable oil. Pour in your activated yeast mixture. Gradually add the remaining all-purpose flour, about ½ cup at a time, mixing until the dough starts to come together and pull away from the sides of the bowl, forming a cohesive ball. The exact amount of flour can vary slightly depending on factors like humidity and how accurately you measured your liquids. You might not need all of the suggested flour, or you might need a tiny bit more – trust the feel of the dough.
- Knead the Dough: Once the dough forms a ball, it’s time to knead. If using a stand mixer with a dough hook, knead on low speed for 5-6 minutes. If kneading by hand, prepare for a bit of an arm workout and knead for about 5-8 minutes on a lightly floured surface. You’ll know the dough is properly kneaded when it becomes smooth, elastic, and springs back when gently poked. This step is crucial for developing the gluten, which gives the rolls their structure and chew.
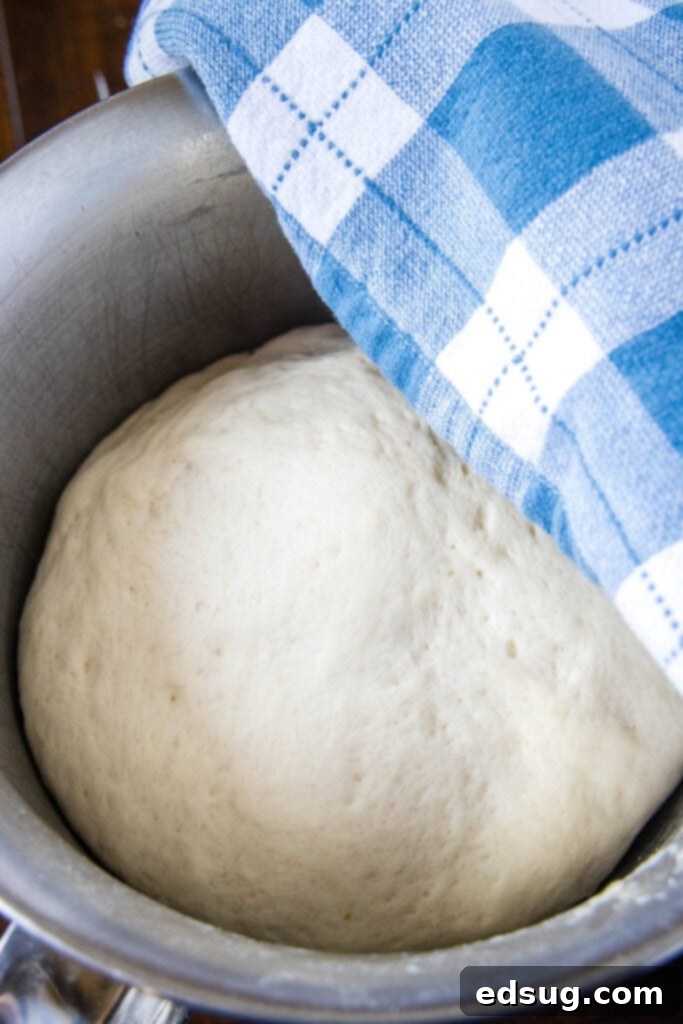
- First Rise (Proofing): Lightly oil a clean bowl, then place your kneaded dough inside, turning it once to coat all sides. Cover the bowl tightly with plastic wrap or a clean kitchen towel. Allow the dough to rise in a warm, draft-free place for approximately an hour, or until it has visibly doubled in size. A warm oven (turned off, with just the light on) or a spot near a heat vent can work wonders in colder environments.
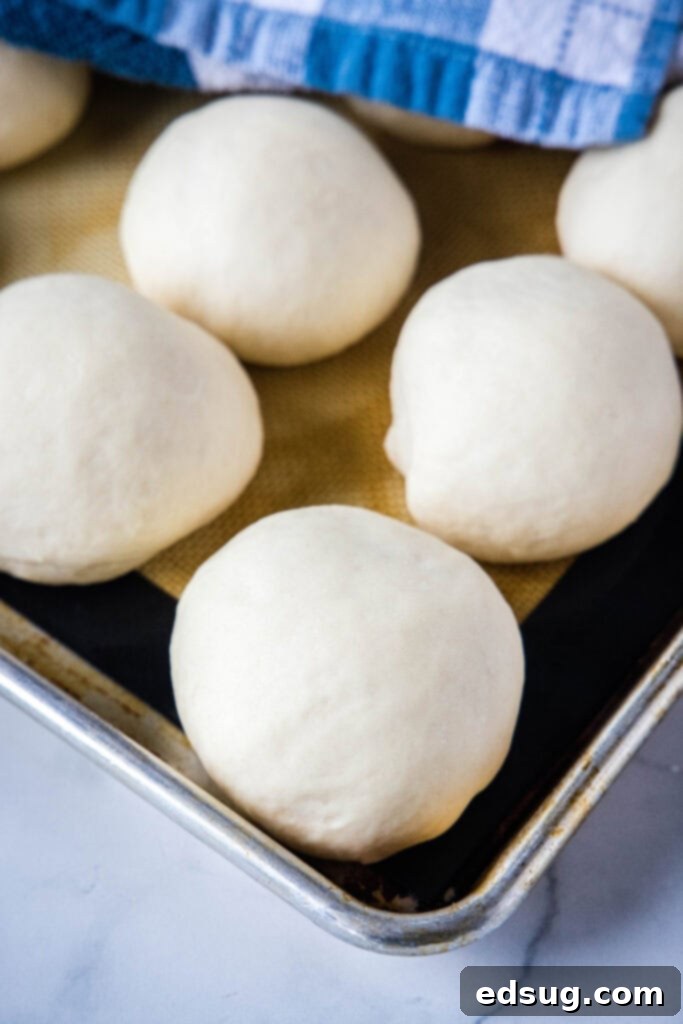
- Shape the Rolls: Once the dough has doubled, gently “punch down” the dough to release the air. Transfer it to a lightly floured surface and divide it into 16 equal pieces. For uniform rolls, you can even weigh them. Take each piece of dough and, using your palm and slightly cupped hand, roll it on the counter to form a smooth, round ball. The goal is to create surface tension, which helps the rolls hold their shape and rise beautifully.
- Second Rise: Arrange the shaped dough balls on a baking sheet lined with parchment paper, leaving about 2 inches between each roll to allow for expansion. Cover the baking sheet loosely with plastic wrap or a clean towel. Let the rolls rise again for about 30 minutes, or until they have noticeably doubled in size and look puffy. This second rise contributes to the light and airy texture.
- Bake to Golden Perfection: While the rolls are completing their second rise, preheat your oven to 400º F (200º C). Once preheated and the rolls have risen, place them in the oven. Bake for approximately 20-25 minutes, or until they are beautifully golden brown on the outside and sound hollow when you gently tap their bottoms. The crust should be crisp, and the interior should be light and cooked through.
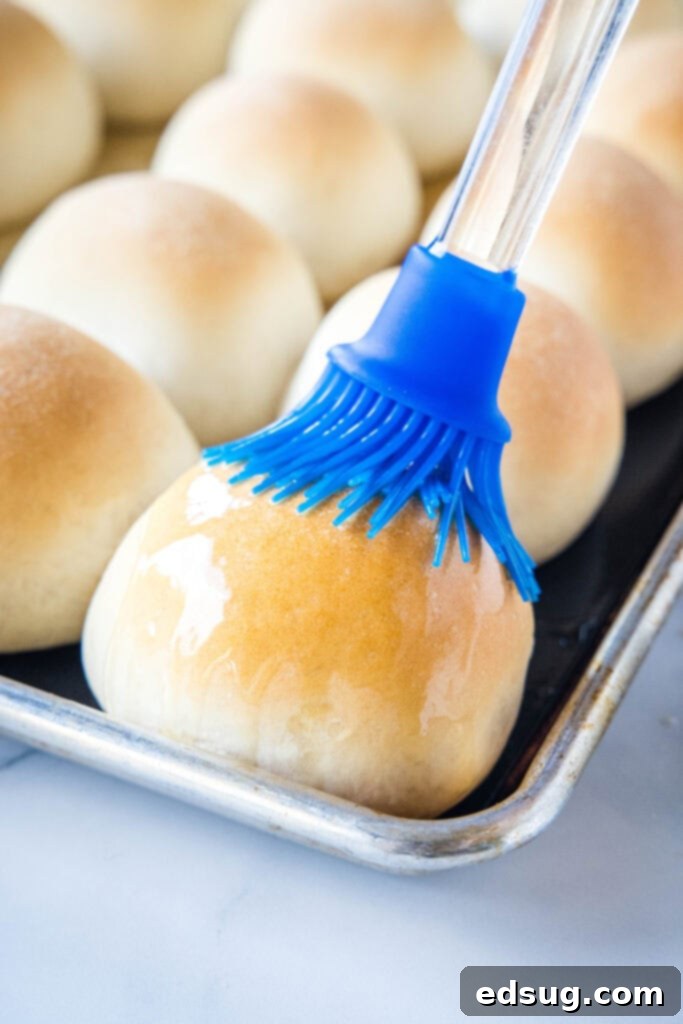
- Finish and Serve: As soon as the rolls come out of the oven, brush their tops generously with melted butter. This adds a lovely sheen, a touch of richness, and helps soften the crust slightly. Serve these glorious French bread rolls warm and enjoy the fruits of your labor!
Storage and Freezing Tips for French Bread Rolls
These delicious dinner rolls are best enjoyed fresh, but sometimes you’ll have leftovers or want to get ahead with meal prep. Proper storage ensures they remain delightful, and freezing offers incredible flexibility.
For optimal freshness, store your baked French bread rolls in an airtight container at room temperature for about 4-5 days. While they will soften over time, you can easily re-crisp them. To regain that wonderful crusty exterior, simply pop them into a preheated oven at 350º F (175º C) for 5-10 minutes before serving. This revives their texture beautifully.
Can You Freeze French Dinner Rolls? Absolutely!
Freezing homemade French dinner rolls is a fantastic way to enjoy them anytime without the full baking process each time. You have two excellent options for freezing, depending on your preference and schedule:
To Freeze Baked Rolls: Once your rolls are completely baked and have cooled to room temperature, place them in a freezer-safe plastic bag or an airtight container. They will maintain their quality in the freezer for 2-3 months. When you’re ready to enjoy them, simply remove the desired number of rolls from the freezer and let them thaw on the counter for a couple of hours. For a warm, freshly baked experience, place thawed rolls in a hot oven (around 350ºF/175ºC) for 5-10 minutes to heat through and re-crisp the crust. They’ll taste almost as good as day one!
To Freeze Unbaked Rolls (Dough Balls): This method is perfect for preparing ahead. After you’ve shaped the dough into individual balls (step 5 in the instructions), instead of letting them rise for 30 minutes, immediately place them on a parchment-lined baking sheet and transfer them to the freezer. Once the dough balls are completely frozen solid (this usually takes 1-2 hours), you can transfer them to a freezer-safe plastic bag or container. This prevents them from sticking together. When you’re ready to bake, remove the frozen dough balls from the freezer and arrange them on a lined baking sheet. Let them thaw and rise at room temperature for 1-2 hours, or until they have doubled in size and are soft to the touch. The rising time will be longer than fresh dough, so plan accordingly. Once risen, you can bake them according to the recipe instructions (step 7). This is very similar to how store-bought frozen dinner rolls work, giving you fresh-baked results on demand!
Perfect Pairings: What to Serve With Your Dinner Rolls
These versatile French bread rolls are the ultimate companion to a wide array of meals. Their fluffy texture and subtle flavor make them ideal for soaking up sauces, accompanying hearty dishes, or simply enjoying on their own. Here are some fantastic ideas to serve alongside your homemade rolls:
Hearty Soups & Stews:
A classic pairing! There’s nothing more comforting than dipping a warm, crusty roll into a rich, flavorful soup or stew. The rolls are perfect for soaking up every last drop.
- Instant Pot Chicken Wild Rice Soup
- Creamy Chicken Tortellini Soup
- Chicken Gnocchi Soup
- Lasagna Soup
- Minestrone Soup
- Classic Beef Stew or Chicken Noodle Soup
- Creamy Tomato Soup or Broccoli Cheddar Soup
Other Delicious Meal Ideas:
- Pasta Dishes: Use them to sop up flavorful marinara, Alfredo, or pesto sauces from your favorite pasta recipes.
- Salads: A refreshing salad becomes a full meal with a side of warm bread. Think Caesar salads, garden salads, or even heartier Cobb salads.
- Roasts & Poultry: They are an excellent side for Sunday roasts, grilled chicken, or baked fish, providing a perfect balance to rich main courses.
- Sandwiches & Sliders: Their small size makes them ideal for creating mini sandwiches with leftover meats or cheeses.
- Holiday Feasts: These rolls are a must-have on any holiday table, from Thanksgiving to Christmas, loved by all ages.
- Garlic Bread: Slice them in half, spread with garlic butter, and toast lightly for an incredible garlic bread experience.
Mastering Yeast Baking: Essential Tips for Success
Working with yeast can sometimes feel like a delicate science, but with these proven tips, you’ll gain confidence and consistently achieve beautifully risen, flavorful bread every time. These principles apply not just to French bread rolls but to almost any yeast-leavened dough.
- Precise Liquid Temperature is Paramount: As mentioned, this is often the make-or-break factor. Your water or milk needs to be warm enough to activate the yeast but not so hot that it kills it. The sweet spot for most active dry yeast is between 105ºF and 115ºF (40ºC-46ºC). A food thermometer is your best friend here. If it’s too cold, the yeast won’t wake up; too hot, and it will perish, resulting in dough that simply won’t rise.
- Ensure Your Yeast is Fresh and Viable: Yeast is a living organism, and like all living things, it has a shelf life. Always check the expiration date on your yeast package. For best results, store active dry yeast in an airtight container in the refrigerator or freezer, which significantly extends its potency. If your yeast doesn’t foam or “bloom” when mixed with warm water and sugar (as in the first step of this recipe), it’s likely no longer active, and you’ll need to use a fresh batch. Don’t waste your precious flour on dead yeast!
- Kneading Develops Structure: Kneading is more than just mixing; it’s the process of developing gluten, the protein network that gives bread its elasticity, chewiness, and ability to hold air bubbles. Whether you’re using a stand mixer with a dough hook or kneading by hand, follow the recipe’s recommended kneading time diligently. Resist the urge to add too much extra flour during hand kneading, as this can make your bread dense. The dough should feel smooth and elastic, stretching without tearing easily. A good test is the “windowpane test”: stretch a small piece of dough thinly; if you can see light through it without it tearing, it’s sufficiently kneaded.
- Create an Ideal Environment for Rising (Proofing): Yeast loves warmth and a humid, draft-free environment to thrive. If your kitchen is cool, finding the right spot for your dough to rise is crucial. A few ideas include:
- Placing the covered bowl in a slightly warm, turned-off oven (just the oven light can provide enough warmth).
- Setting the bowl near a sunny window or a warm appliance (like a stove burner that’s been on, or a heat vent).
- Using a “proof” setting if your oven has one.
- Placing the bowl in a large container with a bowl of hot water for a makeshift proofing box.
The goal is a consistent, gentle warmth, around 75ºF-85ºF (24ºC-30ºC).
- Don’t Rush the Rise: Patience is a virtue in bread making. While recipes provide estimated rising times, these are just guidelines. Factors like room temperature, humidity, and yeast activity can all influence how quickly your dough rises. Always go by visual cues – “doubled in size” and “puffy” are your indicators, not just the clock. An under-risen dough will be dense, while an over-risen dough can sometimes collapse or have a yeasty flavor.
- Flour Measurement Matters: For consistent results, accurately measure your flour. The best method is using a kitchen scale for weight measurement. If using measuring cups, spoon the flour lightly into the cup and level it off with a straight edge; don’t scoop directly from the bag, as this compacts the flour, resulting in too much.
More Irresistible Homemade Bread Recipes
If you’ve enjoyed making these French Bread Rolls and are feeling inspired, there’s a whole world of delicious homemade bread waiting for you to explore! Baking bread from scratch is a rewarding experience that fills your home with incredible aromas and your table with satisfying delights. Expand your baking repertoire with these other fantastic bread recipes:
- Olive Garden Style Breadsticks
- Fluffy Homemade English Muffins
- Hearty Potato Bread with Chives
- Sweet & Soft Texas Roadhouse Rolls
- Wholesome Honey Oat Bread
- Cheesy Parmesan Garlic Knots
- Melt-in-Your-Mouth Honey Butter Dinner Rolls
- Classic Hearty Oatmeal Bread


French Bread Dinner Rolls
Pin Recipe
Rate Recipe
Print Recipe
Ingredients
- 1 1/2 cups warm water, (about 110º F / 43º C)
- 1 Tablespoon active dry yeast
- 2 Tablespoon granulated sugar
- 2 Tablespoons vegetable oil
- 1 1/4 teaspoon salt
- 2 cups bread flour
- 2 cups all-purpose flour
- 2 Tablespoons melted butter
Instructions
-
In a 2 cup measuring cup, stir together warm water, yeast, and sugar. Let stand for 10 minutes, or until foamy. This confirms your yeast is active.
-
In a stand mixer bowl (or large mixing bowl), combine 2 cups of bread flour, salt, oil, and the bloomed yeast mixture. Add the remaining all-purpose flour ½ cup at a time, mixing until the dough pulls away from the sides and forms a soft, cohesive ball. You might not need all the flour; adjust based on dough consistency.
-
Turn the mixer on low, using the dough hook, and let it knead for 5 minutes until smooth and elastic. If kneading by hand, work the dough for about 5-8 minutes on a lightly floured surface until it’s pliable and springs back when pressed.
-
Lightly oil a clean bowl. Place the dough inside, turning once to coat. Cover the bowl with plastic wrap or a clean kitchen towel and let it rise in a warm, draft-free place for about 1 hour, or until it has doubled in volume.
-
Gently punch down the risen dough to release air. Transfer it to a lightly floured surface and divide it into 16 equal pieces. Roll each piece into a smooth, round ball using your palm and counter. Place the shaped rolls on a parchment-lined baking sheet, spaced about 2 inches apart. Cover and let rise again for 30 minutes, or until the rolls have visibly doubled in size and look puffy.
-
While the rolls are completing their second rise, preheat your oven to 400º F (200º C).
-
Bake the rolls for 20-25 minutes. They are done when they are golden brown on the outside and sound hollow when gently tapped on the bottom.
-
As soon as they come out of the oven, brush the hot rolls generously with melted butter. Serve warm and enjoy your delicious homemade French bread rolls!
Notes
Nutrition
Nutrition information is automatically calculated, so should only be used as an approximation.
Additional Info
Like this recipe? Leave a comment below!
I created a fun group on Facebook, and I would love for you to join us! It’s a vibrant community where you can share YOUR favorite recipes, ask questions, and stay updated on all the exciting new recipes from Dinners, Dishes and Desserts (so you never miss a delicious post)!
Be sure to follow me on Instagram and tag #dinnersdishes so I can see all the wonderful DINNERS, DISHES, AND DESSERTS creations YOU make!
Stay connected and ensure you never miss a new recipe or update!
Facebook | Twitter | Pinterest | Instagram
Enjoy your baking adventure!
