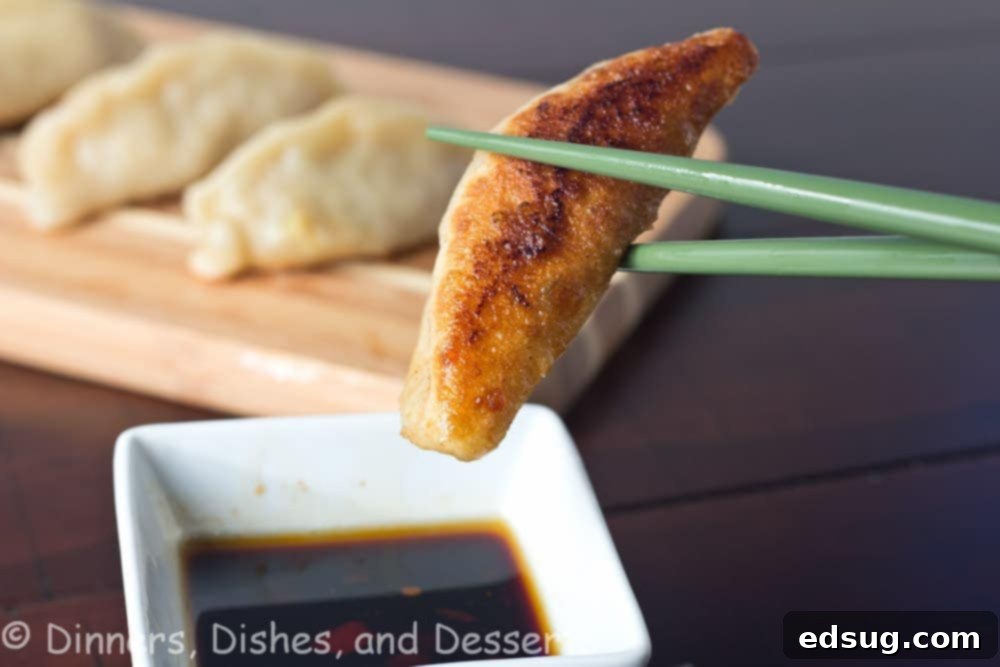
Homemade Pan-Fried Shrimp and Pork Potstickers: Your Guide to Crispy, Flavorful Dumplings at Home
There’s an undeniable joy that comes with biting into a perfectly cooked potsticker – that crispy, golden-brown bottom giving way to a tender, savory filling. If you’ve ever ordered Chinese takeout, these delightful dumplings, sometimes called steamed or fried dumplings, are likely a staple on your order. But what if you could recreate that magic in your own kitchen, achieving a flavor and texture far superior to anything from a restaurant? Get ready to skip the takeout menu and dive into making these incredible pan-fried shrimp and pork potstickers right at home.
This recipe isn’t just about making dumplings; it’s about crafting an experience. Imagine pairing these homemade potstickers with your Chicken Lo Mein for a complete, authentic Asian feast. You’ll be amazed at how a few simple ingredients can transform into a dish that’s bursting with freshness and homemade goodness. The process might seem a little involved at first, but with our step-by-step guide, you’ll be pleating and pan-frying like a pro in no time.
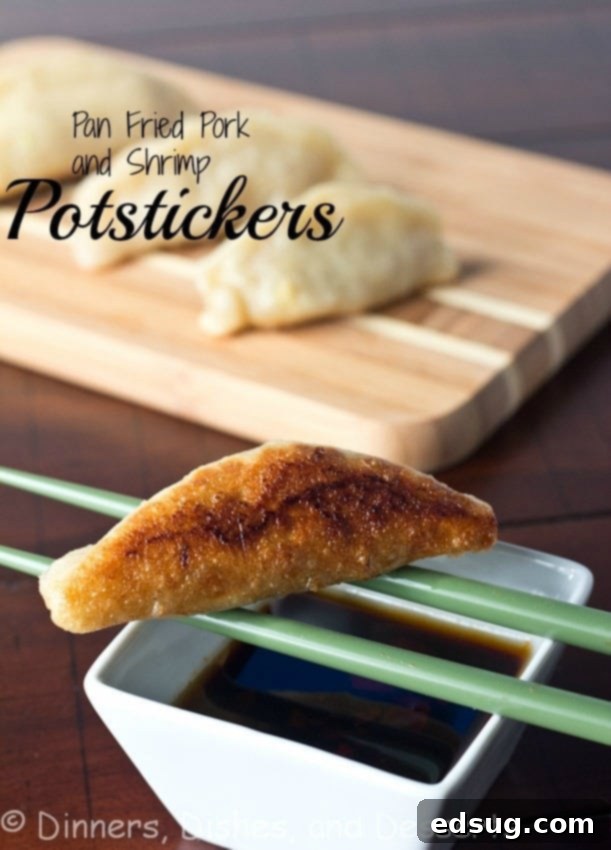
What Exactly Are Potstickers? A Culinary Journey
Potstickers are a beloved type of dumpling that hails from Chinese cuisine, though similar variations exist across Asia under different names. In Japan, they’re known as Gyoza, often featuring ground chicken and an abundance of green onions. Korean mandu, and various forms of jiaozi throughout China, all share the common theme of a delicious filling encased in a thin dough wrapper. The term “potsticker” itself comes from the traditional cooking method where dumplings are pan-fried until the bottom is wonderfully crispy and golden, sometimes sticking slightly to the wok or skillet, before water is added to steam them to perfection. This two-stage cooking process is what gives them their unique and irresistible texture: a satisfyingly crunchy base and a soft, chewy wrapper with a juicy interior.
Our recipe focuses on a classic Chinese-style potsticker, featuring a rich and flavorful blend of ground pork and succulent shrimp. This combination offers a delightful balance of textures and tastes, making each bite an experience. We’ll guide you through preparing the filling, expertly wrapping the dumplings, and achieving that signature crispy bottom that makes potstickers so addictive.
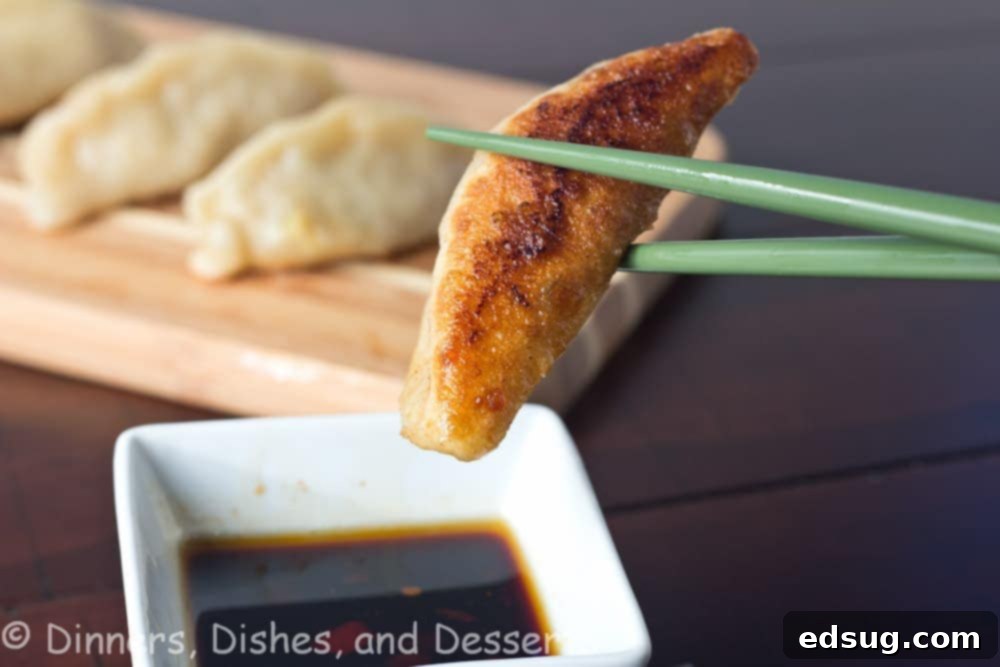
Crafting the Perfect Filling: A Symphony of Flavors
The heart of any great potsticker is its filling, and this shrimp and pork combination is truly exceptional. We start with fresh, raw shrimp, which is briefly pulsed in a food processor. This technique ensures the shrimp is finely chopped enough to meld seamlessly with the ground pork, creating a cohesive yet distinctly textured mixture. The goal is to break down the shrimp just enough so it isn’t chunky, but still retains its oceanic sweetness and characteristic bite. Over-processing can turn it into a paste, so a few quick pulses are key.
Beyond the primary proteins, a medley of aromatic and savory ingredients elevates the filling to gourmet status. Fresh green onions add a vibrant, peppery note, while canned bamboo shoots contribute a subtle crunch and earthy flavor. These aren’t just for texture; they also absorb the rich juices released during cooking, adding to the overall succulence. Soy sauce provides essential umami and saltiness, balanced by a touch of fresh grated ginger for warmth and a zesty kick. A tablespoon of rice wine (or dry sherry) deepens the flavor profile, and cornstarch acts as a binder, ensuring the filling remains moist and prevents it from falling apart. Together, these ingredients create a filling that is incredibly savory, slightly sweet, and wonderfully complex.
I remember years ago, I used to search high and low for a particular brand of frozen potstickers that I absolutely loved. They were consistently flavorful and had just the right amount of crispiness. But then, they disappeared from shelves. That’s when I discovered a recipe from Steamy Kitchen, a fantastic resource for easy, healthy Asian recipes. Her cookbook also provides quick and delicious meal ideas. This particular potsticker recipe became my go-to, and I haven’t looked back since. The filling was everything I remembered and more, and the dipping sauce was the perfect complement. While folding them can be a bit tedious at first, the overall process comes together surprisingly quickly, making the effort entirely worth it for the incredible results.
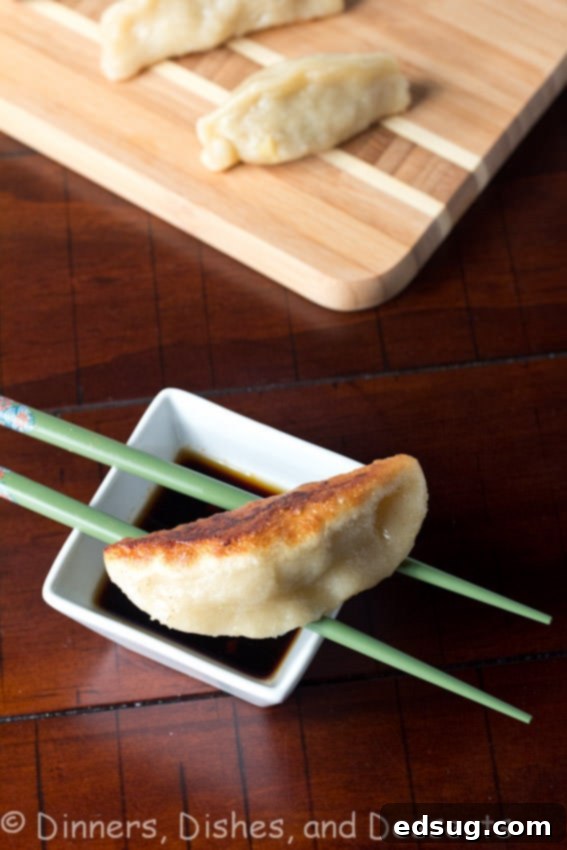
Assembling Your Masterpieces: Tips for Perfect Potsticker Folding
While making the filling is straightforward, assembling the potstickers can feel like the most intimidating part for beginners. Rest assured, it’s easier than it looks, especially when using readily available frozen dumpling skins, which should be defrosted beforehand. The key to successful sealing is a simple “slurry” – a mixture of cornstarch and water. This creates a natural adhesive that binds the edges of the dumpling skin together, preventing any delicious filling from escaping during cooking.
To assemble, place about a teaspoon of the filling in the center of each dumpling skin. Then, moisten the edges of the wrapper with the cornstarch slurry using your finger or a small brush. Fold the wrapper in half to create a semi-circle. You can simply press the edges together to seal for a rustic look, or for a more classic potsticker appearance, create small pleats along one side of the wrapper, pressing them firmly against the other side to form a sealed, crescent shape. Don’t worry if your first few aren’t perfect; practice makes progress! As you work, keep the assembled dumplings covered with a damp towel or plastic wrap to prevent the skins from drying out, which can make them crack or difficult to seal.
The Art of Pan-Frying: Achieving That Signature Crispy Bottom
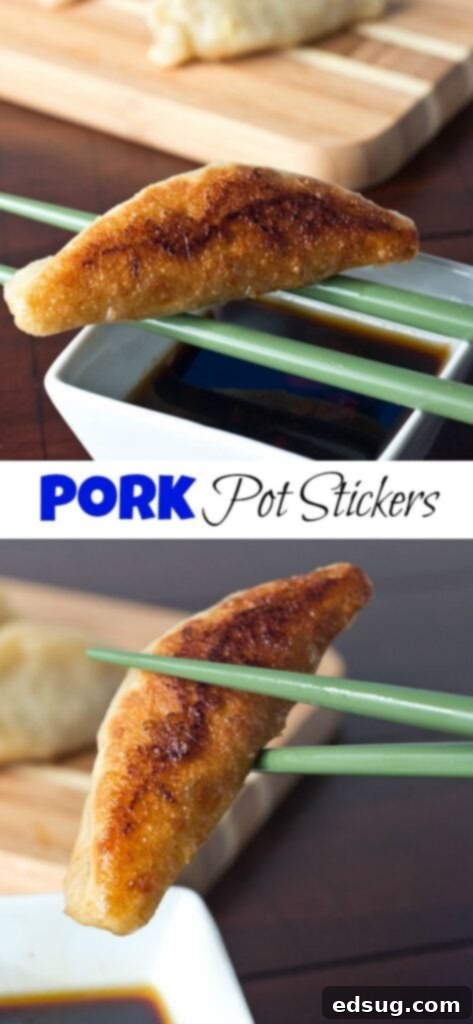
The cooking method is what truly distinguishes potstickers and gives them their name. It’s a two-stage process that delivers both a crispy base and a tender, steamed interior. First, you’ll pan-fry the dumplings in a hot, nonstick skillet with a little canola oil. The goal here is to achieve that beautiful golden-brown and crispy texture on the bottom. It’s crucial not to overcrowd the pan; cook them in batches, leaving enough space between each potsticker for proper browning.
Once the bottoms are nicely browned, which usually takes about a minute or two over medium-high heat, carefully pour in a measured amount of water (typically 1/4 cup per batch) and immediately cover the skillet with a lid. This traps the steam, effectively cooking the filling through and softening the upper part of the dumpling wrapper. Reduce the heat to medium and let them steam for about 3 minutes. Finally, remove the lid and continue to cook for another 1-2 minutes until all the water has evaporated. This last step allows the bottom to crisp up again, ensuring that delightful crunch. Remove the potstickers from the pan and repeat with the remaining batches, adding a little more oil if needed.
The Essential Dipping Sauce: A Perfect Partner
No potsticker experience is complete without a complementary dipping sauce. Our easy and delicious sauce perfectly balances the rich flavors of the potstickers. It’s a simple blend of chili garlic sauce for a touch of heat, soy sauce for umami, sesame oil for its distinctive nutty aroma, a hint of sugar to balance the savory notes, and rice wine vinegar for a tangy finish. Whisk all the ingredients together in a small bowl, and it’s ready to serve alongside your freshly cooked potstickers. Feel free to adjust the proportions to your liking – more chili for extra spice, or a touch more sugar for sweetness. This sauce isn’t just a condiment; it’s an integral part of the potsticker experience, enhancing every bite.
The Rewards of Homemade: Why Make Potstickers From Scratch?
There’s a special satisfaction that comes with making potstickers from scratch. Beyond the bragging rights, homemade potstickers offer unparalleled freshness and control over ingredients. You know exactly what goes into your meal, free from artificial additives or preservatives often found in store-bought versions. You can customize the filling to your preference, adding extra vegetables, adjusting the spice level, or experimenting with different herbs. It’s also a wonderfully engaging culinary project, perfect for a cozy weekend activity or a fun cooking session with family and friends. The effort truly pays off with a superior taste and texture that takeout simply can’t match. Plus, making a big batch means you can enjoy delicious potstickers anytime you crave them, thanks to their excellent freezer-friendly qualities.
Can You Make Potstickers Ahead? Absolutely!
Yes, you absolutely can prepare potstickers in advance, making them perfect for entertaining or meal prepping. After assembling the dumplings, arrange them in a single layer on a baking sheet lined with parchment paper. Cover them with a damp paper towel and then tightly with plastic wrap to prevent them from drying out. Store them in the refrigerator for up to 4 hours. When you’re ready to cook, proceed with the pan-frying and steaming steps as usual. This make-ahead option allows you to spread out the preparation, making the cooking process on the day of serving much quicker and more enjoyable.
Can You Freeze Potstickers? A Freezer-Friendly Delight!
Most definitely! Given that making potstickers is a labor of love, it’s highly recommended to make a large batch and freeze some for later. This way, you always have a delicious, homemade meal or appetizer ready to go. To freeze uncooked potstickers, arrange them in a single layer on a baking sheet (again, lined with parchment paper to prevent sticking). Place the baking sheet in the freezer for about an hour, or until the potstickers are completely frozen solid. Once frozen, transfer them to a freezer-safe bag or airtight container. This initial freezing on the tray prevents them from sticking together in the bag.
When you’re ready to cook your frozen potstickers, there’s no need to defrost them! You can cook them directly from frozen, simply adding 3-4 extra minutes to the steaming time in the pan-frying method. The process remains the same: pan-fry the bottoms until golden, add water and cover to steam, then remove the lid to crisp up the bottoms again. Having a stash of these in your freezer is a game-changer for quick, delicious meals whenever the craving strikes.
Ready to connect with a community of food lovers? Join our fun group on Facebook! It’s the perfect place to share YOUR favorite recipes, ask questions, and stay updated on all the new recipes from Dinners, Dishes and Desserts. If you’d like to check it out, you can request to join HERE.
And don’t forget to follow me on Instagram and tag #dinnersdishes so I can see all the wonderful DINNERS, DISHES, AND DESSERTS recipes YOU make!
Connect with Dinners, Dishes, and Desserts on social media!
Be sure to follow me on my social media, so you never miss a post!
Facebook | Twitter | Pinterest | Instagram

Pan Fried Shrimp and Pork Potstickers
Pin Recipe
Rate Recipe
Print Recipe
Ingredients
Potstickers
- 1 package of frozen dumpling skins, defrosted
- 12 oz raw shrimp, peeled and deveined.
- 3 green onions, roughly chopped
- 1 can, 5oz bamboo shoots, drained
- 1/2 pound ground pork
- 2 Tbls soy sauce
- 1/2 tsp salt
- 2 Tbls cornstarch
- 1 tsp fresh ginger, grated
- 1 Tbls rice wine, or sherry
Slurry
- 1 Tbls cornstarch
- 1/4 cup water
- canola oil for frying, approx 3 Tbls
Dipping Sauce
- 1 tsp chili garlic sauce
- 1/4 cup soy sauce
- 2 tsp sesame oil
- 1/2 tsp sugar
- 1/2 tsp rice wine vinegar
Instructions
-
Combine shrimp, bamboo shoots, and green onions in a food processor. Pulse a few times, until the shrimp is coarsely chopped.
-
In a large bowl mix together the shrimp mixture with the pork, soy sauce, salt, cornstarch, ginger, and rice wine. Mix until well combined.
-
In a small bowl dissolve the cornstarch in the water to create the slurry.
-
Spoon about 1 tsp of filling into the center of each dumpling skin. Brush a little bit of the slurry around the edges of the dumpling. Fold over, and press to seal. For a classic look, pleat one side of the wrapper and press firmly against the other side. Place the dumpling on a baking sheet, so that the bottom is flat. Continue with the rest of the filling. Cover the dumplings with a damp towel or plastic wrap so they don’t dry out.
-
To prepare dipping sauce, mix all of the ingredients together in a small bowl. Set aside until ready to serve.
-
Heat a large nonstick skillet over medium high heat. Add 1 Tbls canola oil, heat until very hot, but not smoking. You will have to cook the dumplings in batches. Place 8-10 dumplings in the pan, ensuring they are not touching. Cook for 1-2 minutes, checking the bottom to see they are getting golden brown and crispy. Pour in 1/4 cup of water, cover immediately with a lid, and reduce heat to medium. Let cook for 3 minutes. Remove lid, and cook for an additional 1-2 minutes until all of the water has cooked off and the bottoms are crisp again. Remove from pan, and repeat with the remaining dumplings.
-
Serve immediately with the prepared dipping sauce.
Notes
Nutrition
Nutrition information is automatically calculated, so should only be used as an approximation.
Additional Info
Like this recipe? Leave a comment below!
