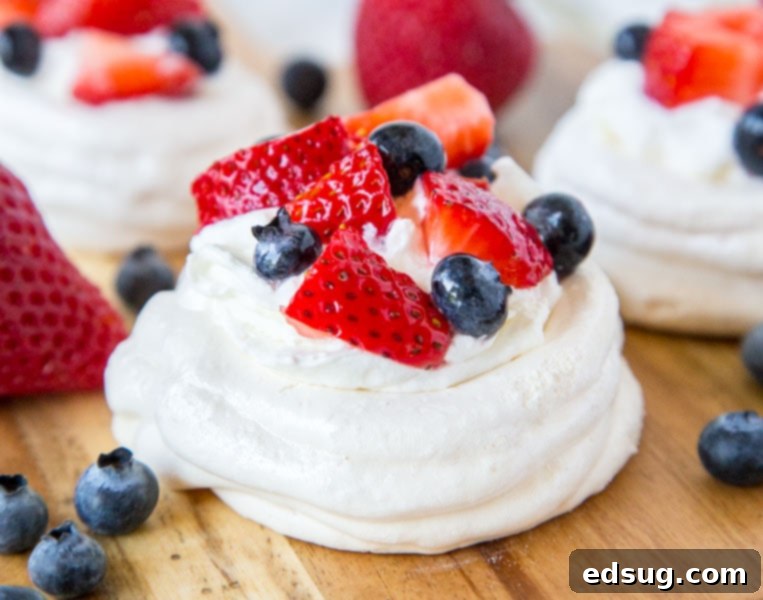
Mini Pavlova Perfection: Your Guide to Crispy Meringue Desserts with Fresh Berries
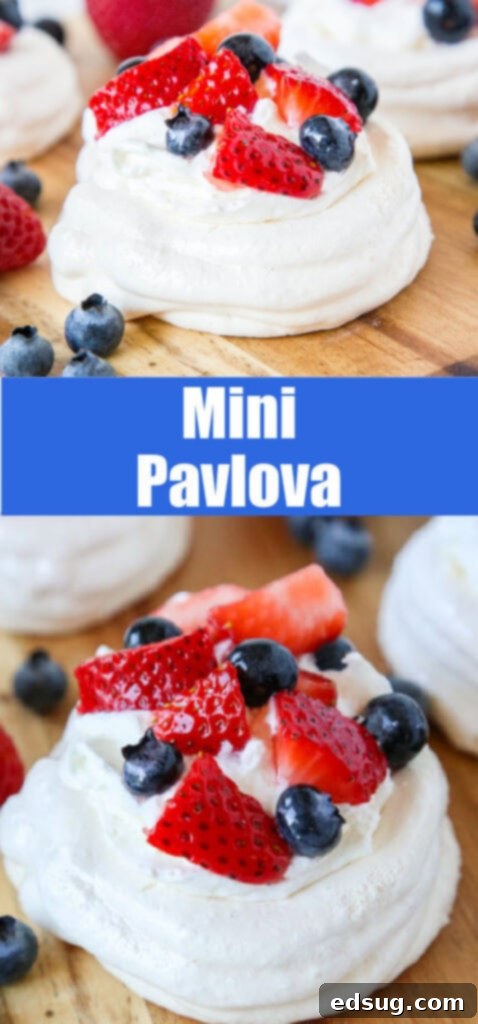
Indulge in the delicate crispness of Mini Pavlovas, perfectly portioned meringues topped with luscious whipped cream and a vibrant medley of fresh berries. This recipe offers a light, elegant, and utterly delicious dessert experience for any occasion.
This delightful culinary adventure is brought to you with support from Princess Cruises, reflecting the unforgettable dining experiences found at sea. All perspectives and opinions expressed are entirely my own.
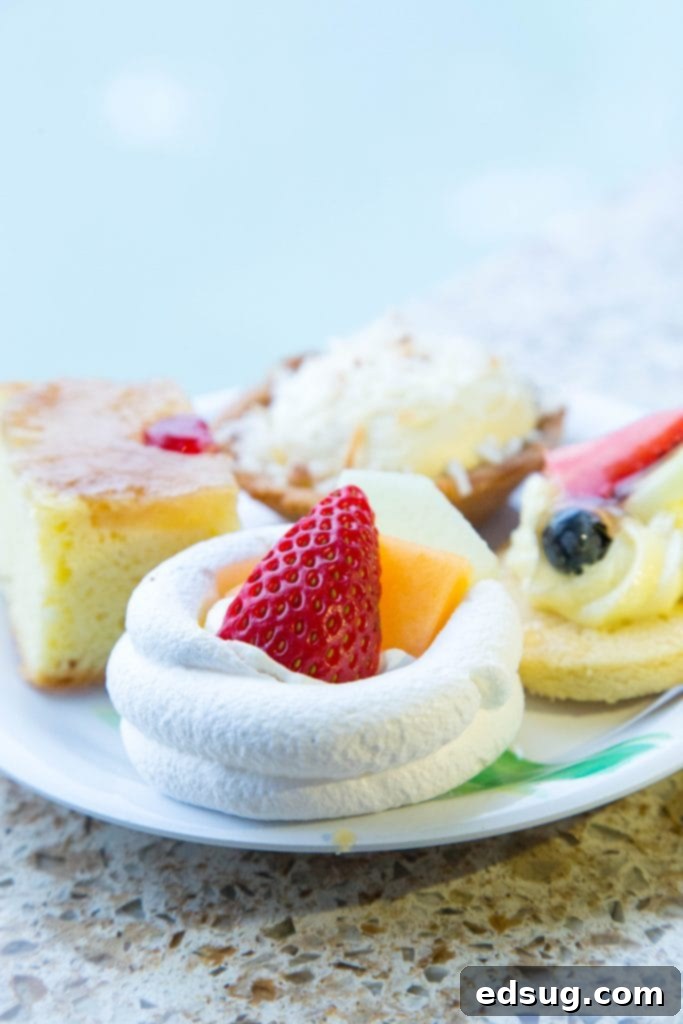
My journey into the wonderful world of Pavlova began unexpectedly during an incredible Alaska Cruise with Princess Cruises. Alaska had long held a coveted spot on my travel bucket list, and I’m thrilled to say it became my 50th state to visit! The experience was nothing short of breathtaking – so much so that I’m already planning a return trip with my family next year. Cruises are renowned for their culinary delights, and the Princess fleet certainly delivers. Imagine enjoying a rich chocolate milkshake while cruising through the majestic Glacier Bay National Park – truly an unforgettable moment. But it’s the pastry chefs on board who often steal the show with their exceptional talent, inspiring me to recreate some of those memorable desserts at home.
It was during a previous trip to New Zealand, when my son was in kindergarten, that I first encountered Pavlova. There’s an ongoing, good-natured debate about whether Pavlova originated in New Zealand or Australia. Honestly, I don’t mind where it comes from, as long as I get to savor every delightful bite! This ethereal dessert quickly earned its place as one of my all-time favorites, thanks to its unique texture and refreshing taste.
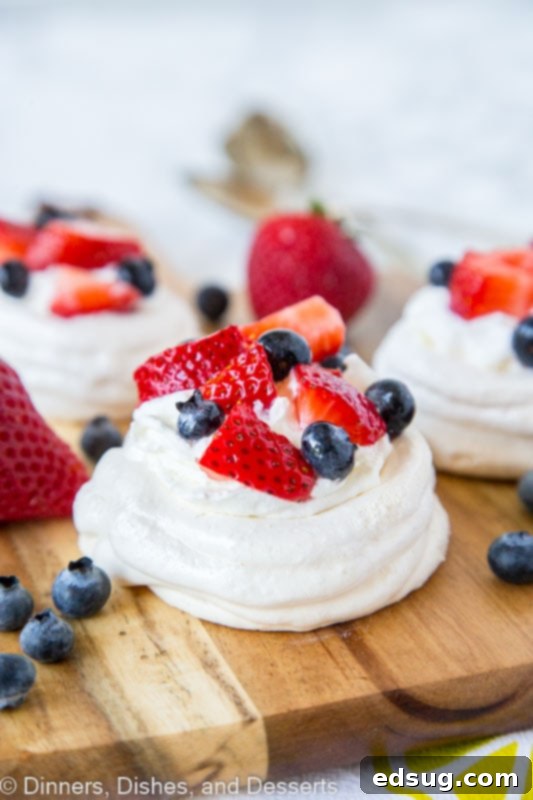
This particular mini pavlova recipe is remarkably straightforward to create, relying heavily on your stand mixer to do most of the hard work. The process involves vigorously beating egg whites until they transform into a thick, glossy, and incredibly stable meringue, a magical transformation where air and sugar combine to form a cloud-like base. You might think such an elegant dessert would be complicated, but it’s truly about letting the mixer perform its wonders. While a hand mixer can be used, a stand mixer makes the process much easier and ensures the consistent aeration needed for perfect stiff peaks. Then, it’s just a matter of baking them to crispy perfection.
What Exactly Is Pavlova?
At its heart, Pavlova is an elegant meringue-based dessert, characterized by a wonderfully crisp outer shell and a soft, marshmallow-like interior. This delicate base is then typically adorned with a generous dollop of freshly whipped cream and an assortment of fresh fruits. While berries are a popular and classic choice, my first experience in New Zealand featured the exotic flavors of passion fruit and kiwi, showcasing the versatility of this dessert.
The core ingredients that give Pavlova its signature texture and flavor are egg whites, granulated sugar, a touch of cornstarch, a hint of white vinegar, and a dash of vanilla extract. The egg whites provide the structure, whipped to incorporate air that expands during baking. Sugar not only sweetens but also helps stabilize the meringue and contributes to the crisp exterior. Cornstarch ensures that desirable soft, chewy, marshmallowy center, preventing it from becoming uniformly brittle. White vinegar adds a subtle acidity that aids in stabilizing the egg whites and preventing cracking, resulting in a beautifully formed meringue. Finally, vanilla extract imparts a warm, aromatic flavor that complements the richness of the cream and the freshness of the fruit. The combination of these simple ingredients creates a dessert that is both light and incredibly satisfying.
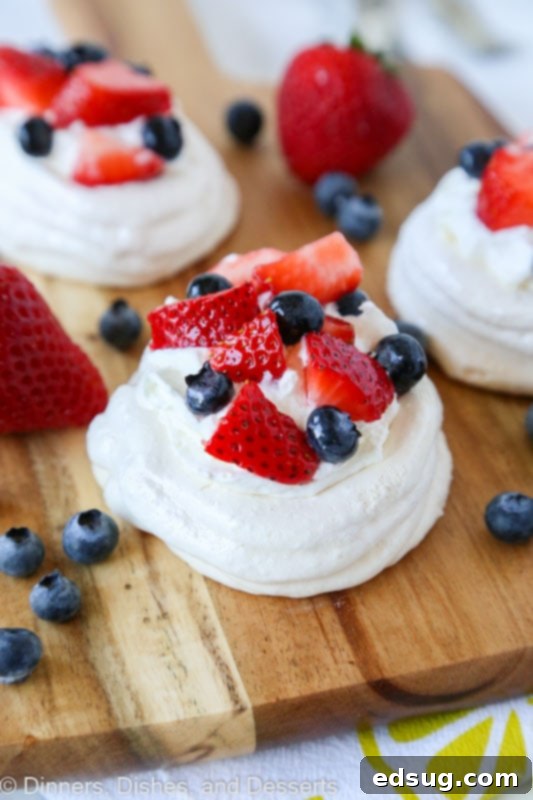
The Best Toppings for Your Mini Pavlovas
One of the joys of making Pavlova is the freedom to customize its toppings. You can truly use almost any fruit you love or whatever is perfectly in season, allowing for endless creative combinations and seasonal variations. The key is to choose fresh, vibrant fruits that offer a contrast in flavor and texture to the sweet, airy meringue and creamy whipped topping.
- Berries: A timeless classic, offering a burst of tartness and beautiful colors. Think luscious strawberries, sweet blueberries, tangy raspberries, and rich blackberries. A mix of these creates a stunning visual and flavor profile.
- Tropical Fruits: For an exotic twist, consider pineapple (diced), bright green kiwi slices, or cubes of juicy mango. These add a tropical sweetness and often a pleasant acidity that cuts through the richness.
- Stone Fruits: When peaches are in season, their soft texture and sweet flavor are a fantastic addition. Nectarines or plums could also work wonderfully.
- Melons: For a refreshing option, try small cubes of watermelon, musk melon, or cantaloupe, especially during warmer months.
- Lemon Curd: A zesty and creamy lemon curd can be a sensational topping, providing a bright, tangy counterpoint that elevates the entire dessert.
- Chocolate: For those who crave a bit of indulgence, I’ll let you in on a secret: a spoonful of Nutella (or any chocolate-hazelnut spread) spread lightly before adding fruit is an absolutely divine addition. I’ve done it once, and I guarantee I’ll be doing it again – it was unexpectedly crazy good and adds a layer of decadent richness.
Don’t be afraid to experiment with combinations. A mix of berries with a drizzle of passion fruit puree, or mango with a touch of lime zest, can create truly memorable desserts. The possibilities are only limited by your imagination and what fresh produce is available!
Can You Make Pavlovas Ahead of Time?
Absolutely! This is one of the fantastic advantages of Pavlova, making it an ideal dessert for entertaining. You can prepare the delicate meringue shells up to three days in advance, which significantly reduces stress on the day of your event. To ensure they retain their signature crispness, store the completely cooled meringue shells in an airtight container at room temperature. It’s crucial that they are fully cooled and protected from humidity. Avoid refrigerating them, as the moisture in the fridge can soften the meringue and ruin its delicate texture.
The beauty of this make-ahead strategy is that you can then assemble your Mini Pavlovas just before serving. This timing is important because once the whipped cream is added, its moisture begins to soften the meringue. While a slight softening can be pleasant, you don’t want to assemble them too far in advance, or you’ll lose that delightful contrast between the crispy shell and the creamy topping. Plan to add your whipped cream and fresh fruit within an hour or two of serving for the best texture and freshness.
Essential Tips for Perfect Mini Pavlovas
Creating perfect mini pavlovas is an enjoyable process, and a few key tips can ensure your meringues turn out beautifully crispy on the outside and wonderfully soft on the inside:
- Piping for Perfection: For an elegant presentation and consistent sizing, I highly recommend using a piping bag to pipe your meringue onto the baking sheet. This allows you to create uniform circles with a lovely little well in the center for your toppings. If you don’t have a piping bag, simply use two spoons to dollop the meringue and gently shape it into circles, creating a slight indentation in the middle. Ensuring even sizes is key for consistent baking.
- Lined Baking Sheet is a Must: Always line your baking sheet. A silicone baking mat is fantastic for this, providing a non-stick surface and even heat distribution. Alternatively, parchment paper works perfectly. This prevents sticking and makes transferring the delicate meringues much easier once they’re baked and cooled.
- Room Temperature Eggs: This is a crucial step! Egg whites separate and whip up to a much greater volume when they are at room temperature. If you’re short on time, you can quickly bring cold eggs to temperature by placing them in a bowl of warm water for about 10-15 minutes before separating them. More volume means lighter, airier meringues.
- The Power of a Mixer: While possible with a hand mixer, a stand mixer with a whisk attachment is truly your best friend for making meringue. It takes several minutes of continuous beating on high speed to achieve stiff, smooth, and glossy peaks. Don’t rush this process; proper whipping is fundamental to the meringue’s structure. You’ll know it’s ready when the meringue holds its shape firmly and has a beautiful sheen.
- Humidity is the Enemy of Meringue: The drying process is just as important as the baking itself. Humidity can significantly affect how quickly your pavlovas dry out and crisp up. After the baking time is complete, turn off the oven but leave the pavlovas inside with the oven door closed for at least 30 minutes, or even longer. This slow cooling and drying process is vital for achieving that desired crispy exterior. If you live in a very humid climate, like Florida in the summer, you might need to extend this drying time considerably, sometimes even for several hours, to ensure they are fully dried and stable. Resist the urge to open the oven door during this period!
Explore More Delicious Dessert Recipes
- Strawberry Cake
- Instant Pot Cheesecake
- Flourless Chocolate Cake
- Cream Puffs
- French Silk Pie
- Mini Key Lime Cheesecakes

Mini Pavlova Recipe
Rate Recipe
Print Recipe
Equipment
-
Kitchen Aid Stand Mixer
-
Full Sheet Pan
-
Silicon Baking Mat
Ingredients
Pavlovas
- 4 oz egg whites
- Pinch kosher salt
- 6 oz granulated sugar
- 1 teaspoon cornstarch
- 1/2 teaspoon vanilla extract
- 1/2 teaspoon white vinegar
Whipped Cream
- 1 cup heavy cream
- 1/4 cup powdered sugar
- 1/2 teaspoon vanilla extract
Topping
- 8 oz strawberries, chopped
- 1/4 cup blueberries
- 2 Tablespoon sugar
Instructions
-
Begin by preheating your oven to 250°F (120°C). Prepare a large baking sheet by lining it with either parchment paper or a silicone baking mat. This ensures the meringues won’t stick and can be easily removed.
-
In the clean bowl of your stand mixer, add the room temperature egg whites and a pinch of kosher salt. Using the whisk attachment, beat on high speed until stiff peaks form. This typically takes about 4 to 5 minutes. The egg whites should be glossy and hold their shape firmly.
-
Reduce the mixer speed to medium-low. Gradually add the granulated sugar, a spoonful at a time, over a period of 2 minutes. This slow addition allows the sugar to dissolve properly into the egg whites without deflating the meringue.
-
Stop the mixer and use a spatula to scrape down the sides of the bowl, ensuring all the sugar is incorporated. Increase the speed back to high and continue to whisk for another 6 to 7 minutes, or until the mixture is exceptionally smooth, glossy, and forms very stiff peaks. When you lift the whisk, the meringue should stand straight up.
-
Decrease the mixer speed to low. Add the vanilla extract, white vinegar, and cornstarch. Mix just until combined, being careful not to overmix, which can deflate the meringue.
-
Gently spoon or pipe 8 individual meringues into circular shapes on your lined baking pan. Create a slight well or indentation in the center of each circle. Ensure there is enough space between each meringue for air to circulate during baking.
-
Place the baking sheet with the meringues into the preheated oven and bake for 75 minutes. After the baking time, turn off the heat, but leave the meringues in the closed oven for an additional 30 minutes (or longer in humid conditions). This slow cooling and drying process is essential for achieving the crisp exterior. Finally, remove them from the oven and allow them to cool completely on the pan before handling.
To make Whipped Cream
-
In a separate bowl, using an electric mixer, beat the cold heavy cream until soft peaks begin to form. Gradually add the powdered sugar and vanilla extract. Continue beating until stiff peaks are achieved, ensuring the cream is firm and holds its shape.
To serve
-
In a small bowl, gently mix the chopped strawberries and blueberries with the 2 tablespoons of sugar. Let this mixture sit for about 30 minutes. This process allows the sugar to draw out the juices from the berries, creating a delicious, syrupy topping.
-
Just before serving, carefully place a generous dollop of whipped cream into the well of each cooled meringue. Spoon the juicy berry mixture (or your fruit of choice) over the whipped cream. Serve immediately to enjoy the perfect crisp-to-creamy texture contrast.
Nutrition
Nutrition information is automatically calculated, so should only be used as an approximation.
Additional Info
Like this recipe? Leave a comment below!
I’ve created a fun and engaging community group on Facebook, and I’d be absolutely delighted for you to join us! It’s the perfect spot to share YOUR favorite recipes, ask any cooking or baking questions you might have, and stay up-to-date with all the latest happenings and new recipes from Dinners, Dishes and Desserts. Never miss out on a delicious update!
Be sure to follow me on Instagram and remember to tag #dinnersdishes! I absolutely love seeing all the wonderful DINNERS, DISHES, AND DESSERTS recipes YOU create in your kitchens.
Stay connected and follow me on my social media channels so you never miss a post or a new delicious recipe!
Facebook | Twitter | Pinterest | Instagram
