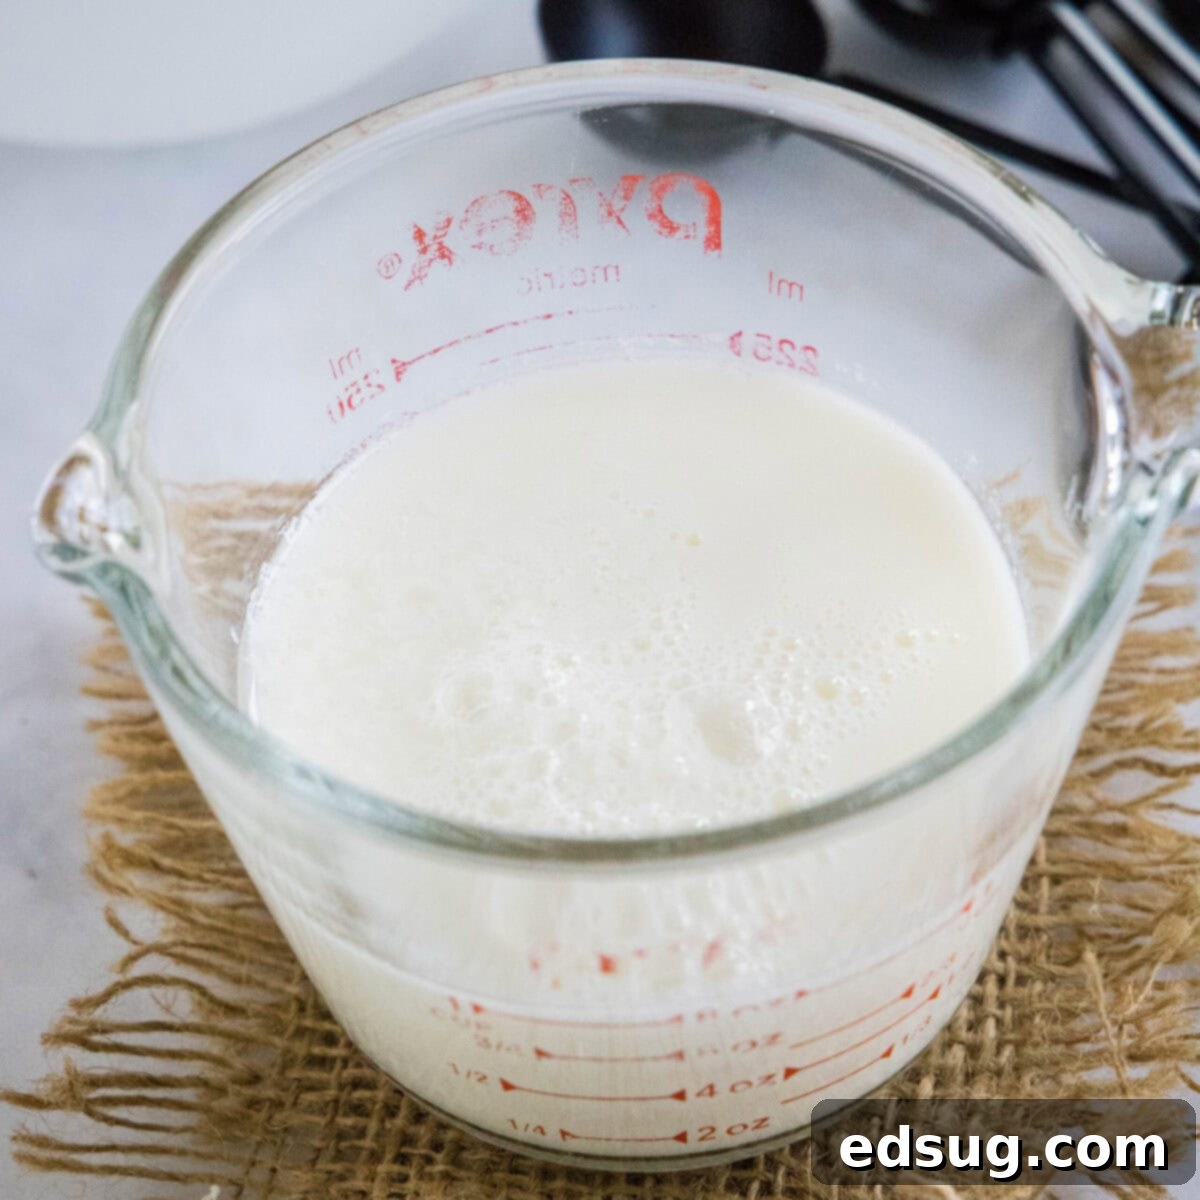
Easy Homemade Buttermilk: Your 5-Minute DIY Substitute for Any Recipe
Ever find yourself in the middle of a baking frenzy, only to realize your refrigerator is completely devoid of buttermilk? It’s a common kitchen predicament, and one that can easily derail your recipe. But what if we told you that running out of buttermilk doesn’t have to be a culinary crisis? This incredible homemade buttermilk recipe is your ultimate solution! It’s delightfully creamy, perfectly acidic, and serves as an impeccable substitute for store-bought buttermilk in virtually any recipe. Best of all, it requires just two simple ingredients and takes a mere five minutes to prepare. Say goodbye to last-minute grocery runs and hello to effortless, delicious homemade buttermilk!
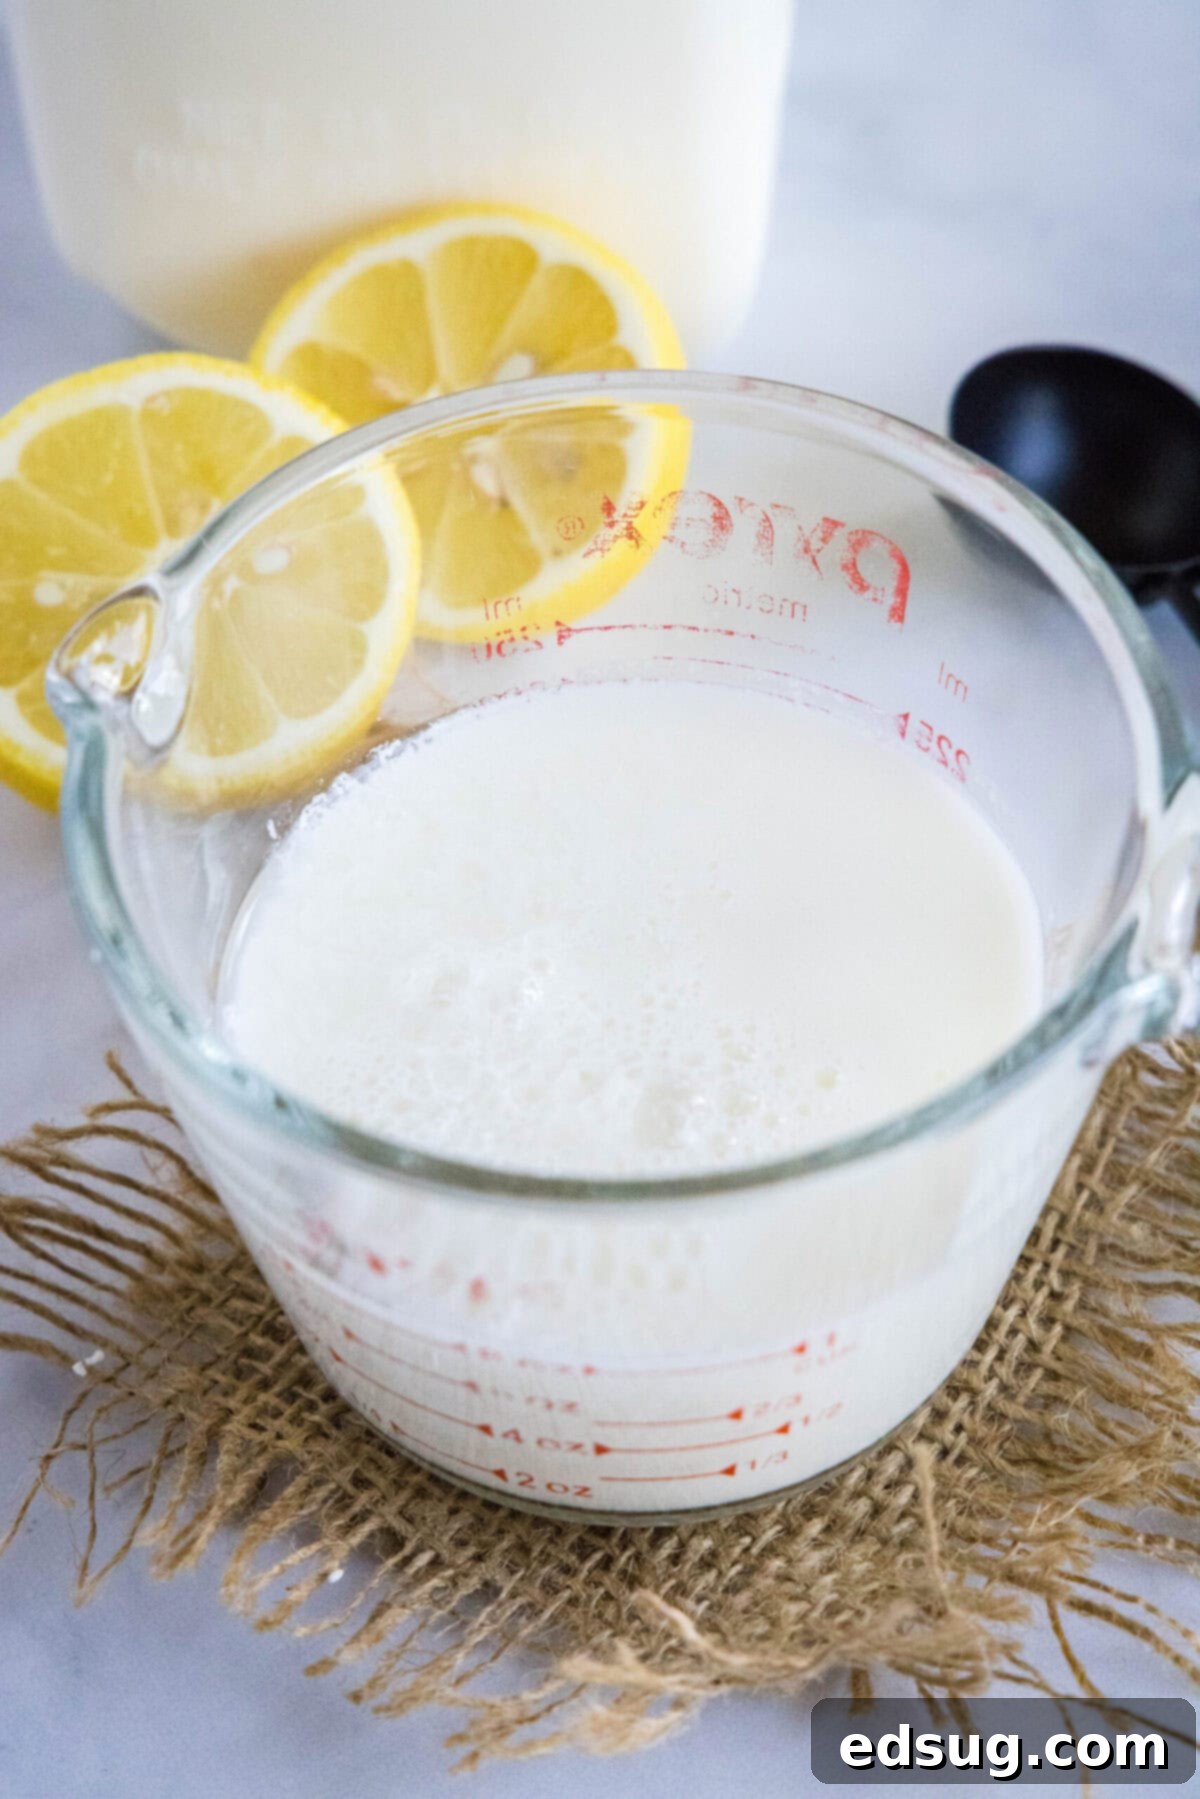
Buttermilk holds a special place in my kitchen. Its distinctive rich, tangy flavor and tenderizing properties make it a secret weapon for an astonishing array of dishes. From fluffy, light-as-air pancakes and tender biscuits to crispy, succulent fried chicken and moist cakes, buttermilk elevates everything it touches. However, its elusive nature often means it’s the one ingredient I seem to be missing exactly when a recipe calls for it. The good news? You absolutely don’t need to dash to the store. Making your own buttermilk at home is not only incredibly easy but also yields a product that’s just as good, if not better, than its store-bought counterpart.
This DIY buttermilk is a perfect substitute in every sense of the word. It replicates the creamy texture and characteristic tang of traditional buttermilk beautifully, ensuring your recipes turn out exactly as intended. Whether you choose to make buttermilk with vinegar, lemon juice, or even cream of tartar, the process is straightforward and the results are consistently excellent. So, the next time you’re faced with an empty buttermilk carton, simply gather two ingredients and whip up this quick, effective alternative. You’ll be amazed at how simple it is to have fresh buttermilk on hand whenever inspiration strikes!
Why Make Your Own Buttermilk?
Beyond the convenience of avoiding a trip to the grocery store, there are several compelling reasons to embrace homemade buttermilk:
- Always Available: Never let a recipe be put on hold again! With milk and an acid on hand, you’re always just minutes away from fresh buttermilk.
- Cost-Effective: You’re likely to have the necessary ingredients in your pantry already, saving you money compared to buying a full carton of buttermilk that might go to waste.
- Freshness: You control the ingredients, ensuring a fresh product without added preservatives.
- Versatility: It performs identically to store-bought buttermilk in all your favorite recipes, from tenderizing meats to activating baking soda for leavening.
The Science Behind Homemade Buttermilk
So, how does plain milk transform into tangy buttermilk with just a bit of acid? It’s a fascinating chemical reaction! Traditional buttermilk is the slightly acidic liquid left over after churning butter from cream. Its tang comes from lactic acid bacteria. When you make homemade buttermilk, you’re essentially mimicking this process by adding an acid directly to regular milk. The acid (like vinegar or lemon juice) reacts with the proteins in the milk, causing them to coagulate or “curdle” slightly. This creates the characteristic thickened texture and tangy flavor we associate with buttermilk. While it’s not truly cultured buttermilk in the traditional sense, it works perfectly as a substitute in recipes, providing the necessary acidity for leavening agents like baking soda and contributing to tenderness and moisture.
What You’ll Need: Essential Ingredients
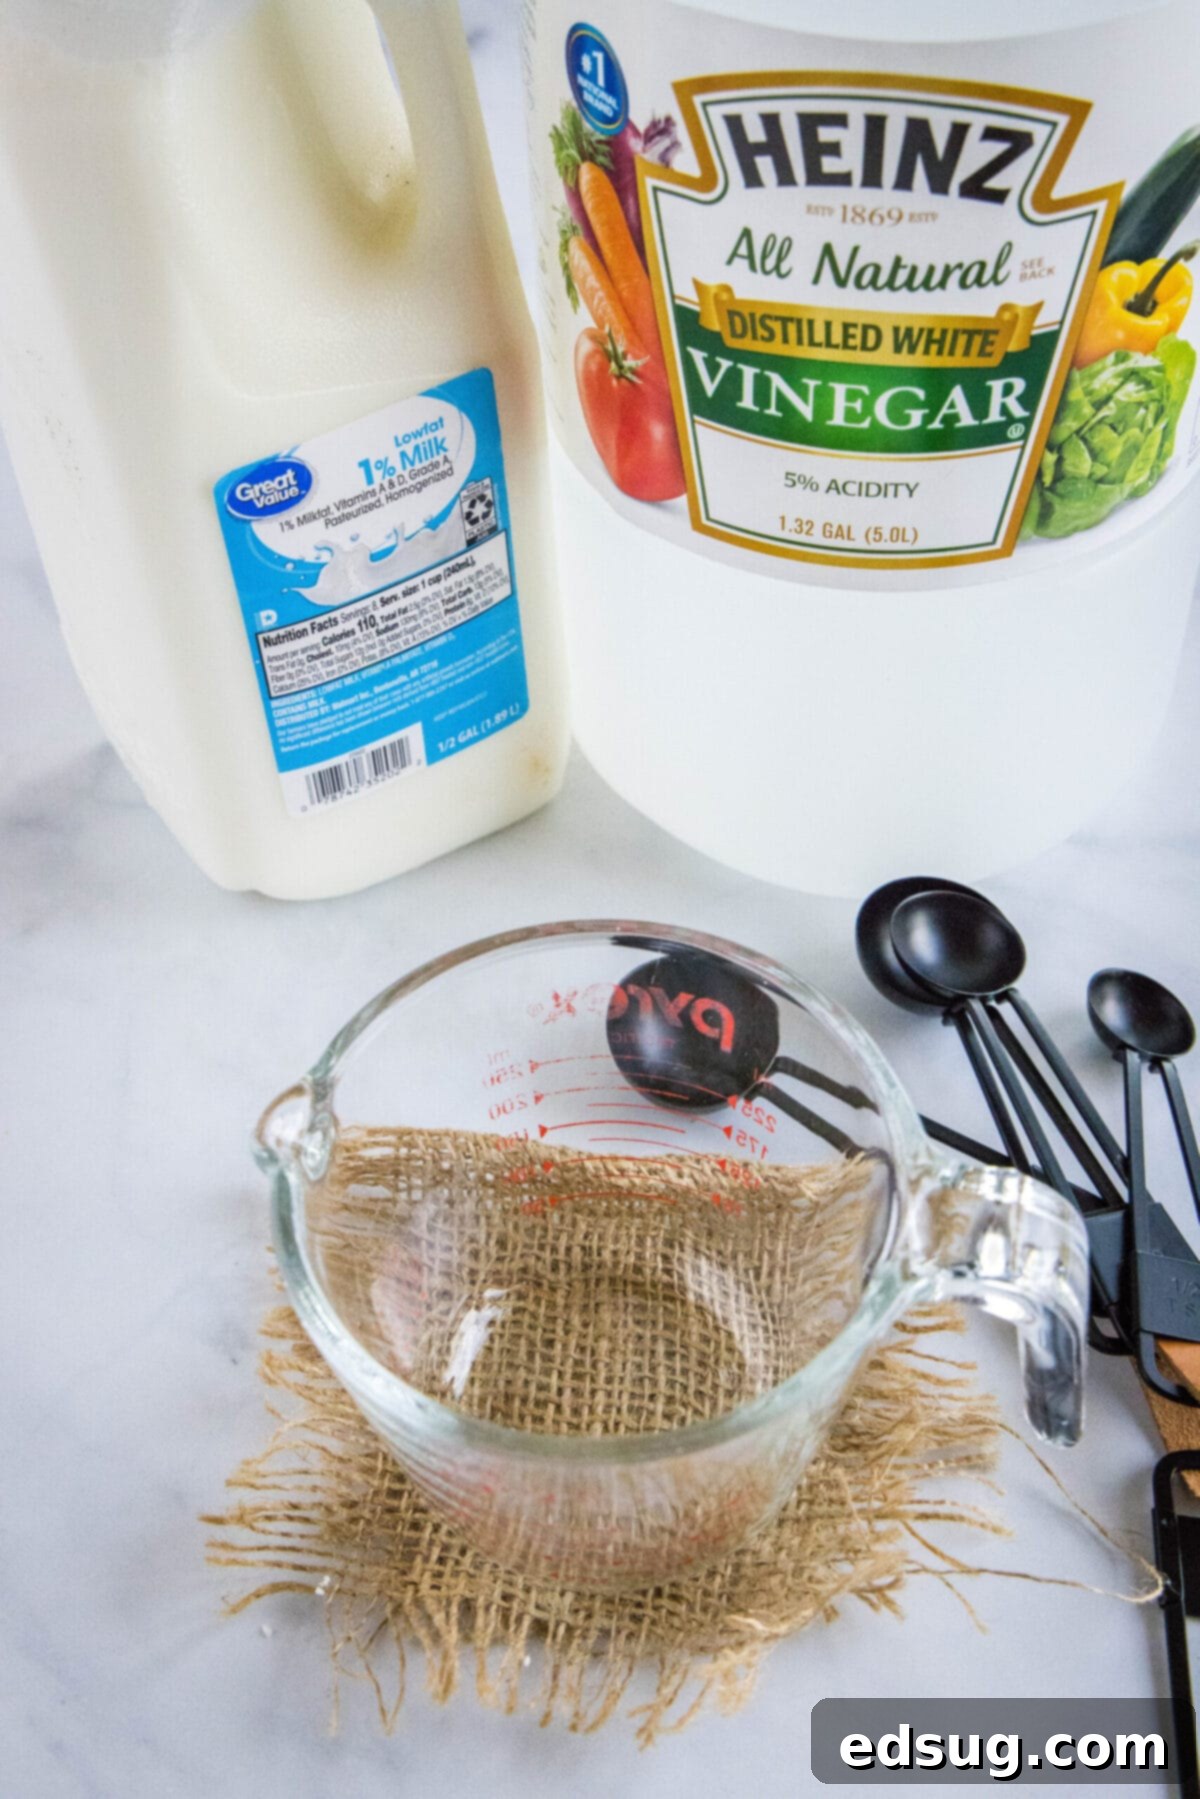
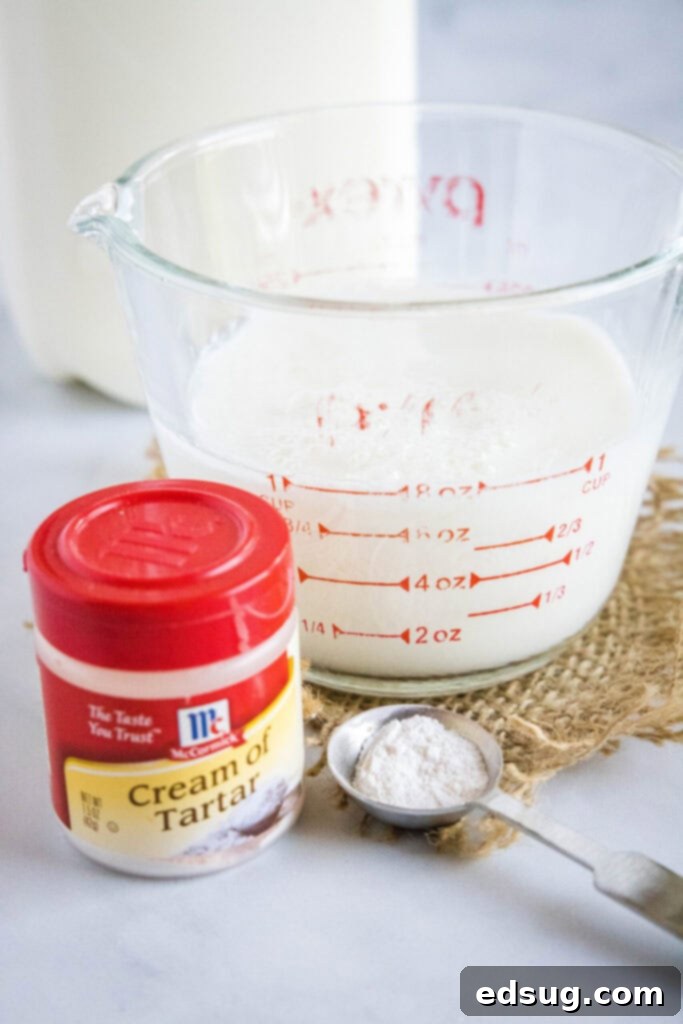
The beauty of this recipe lies in its utter simplicity. You only need two basic ingredients to create this amazing buttermilk from scratch. The exact amounts for each ingredient are provided in the recipe card below, but here’s a breakdown of what you’ll need and some considerations:
- Milk: While most milk types will work, low-fat milk (1% or 2%) tends to yield the best results for consistency and flavor profile that closely mimics traditional buttermilk. Whole milk can also be used, but may result in a slightly thicker final product. Skim milk works, but the texture will be thinner. Avoid ultra-pasteurized milk if possible, as it sometimes reacts less effectively with the acid due to altered protein structure. Bring your milk to room temperature for about 10-15 minutes before mixing for a slightly quicker and more consistent curdling process.
- Acidic Agent: This is the key ingredient that transforms your milk. You have a few excellent options, each contributing a slightly different nuance to the flavor:
- Distilled White Vinegar: This is my go-to for its neutral flavor profile, which allows the tangy buttermilk taste to shine through without any additional notes.
- Lemon Juice: Freshly squeezed lemon juice is another fantastic choice. It imparts a brighter, slightly more citrusy tang, which can be lovely in certain recipes.
- Cream of Tartar: This fine, white powder is a baking staple and an excellent acid source. It creates a very subtle flavor and a good consistency.
For every 1 cup of milk, you will typically need 1 tablespoon of vinegar or lemon juice, or 1 ¾ teaspoons of cream of tartar. Consistency is key here for optimal curdling.
How to Make Buttermilk: A Simple 5-Minute Guide
As promised, this is truly one of the easiest “recipes” you’ll ever master. Here’s a detailed breakdown of how to prepare your homemade buttermilk:
- Step 1: Measure Your Acid. Begin by pouring your chosen acidic agent – be it distilled white vinegar, fresh lemon juice, or cream of tartar – into a liquid measuring cup. Ensure you use the correct amount based on the quantity of buttermilk you intend to make (e.g., 1 tablespoon per cup of milk).
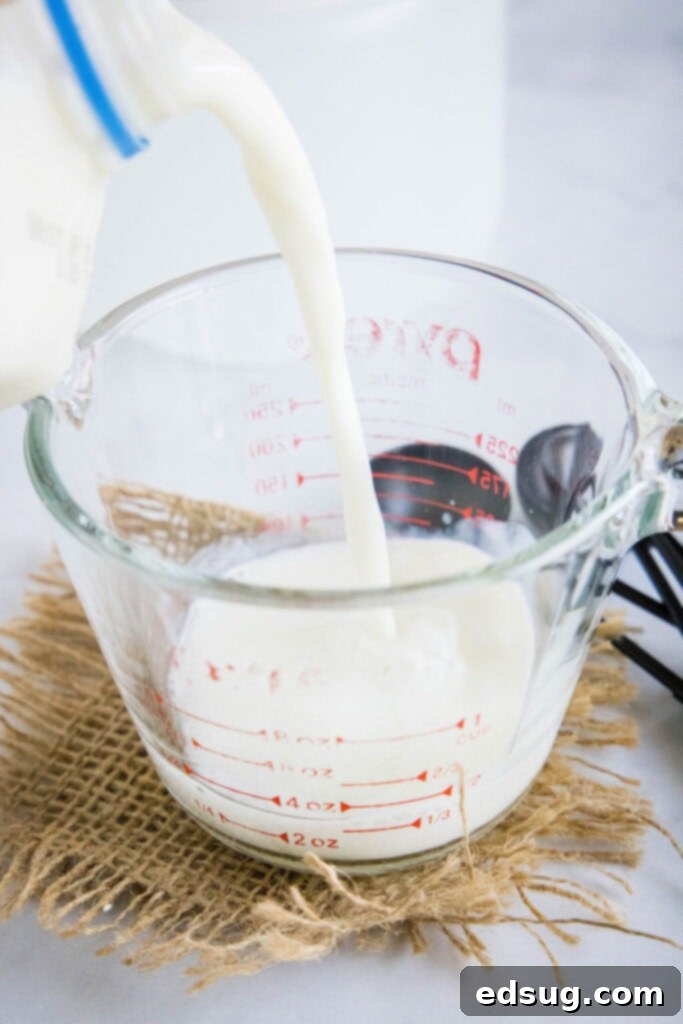
- Step 2: Add the Milk. Carefully pour the milk directly into the same measuring cup, on top of the acid. Fill it until the milk reaches the 1-cup mark (or your desired total volume). The acid will be at the bottom, so don’t worry about immediate mixing.
- Step 3: Gentle Mix. Using a spoon or small whisk, gently stir the milk and acid together for about 10-15 seconds. You want to ensure the acid is fully incorporated into the milk to kickstart the curdling process evenly.
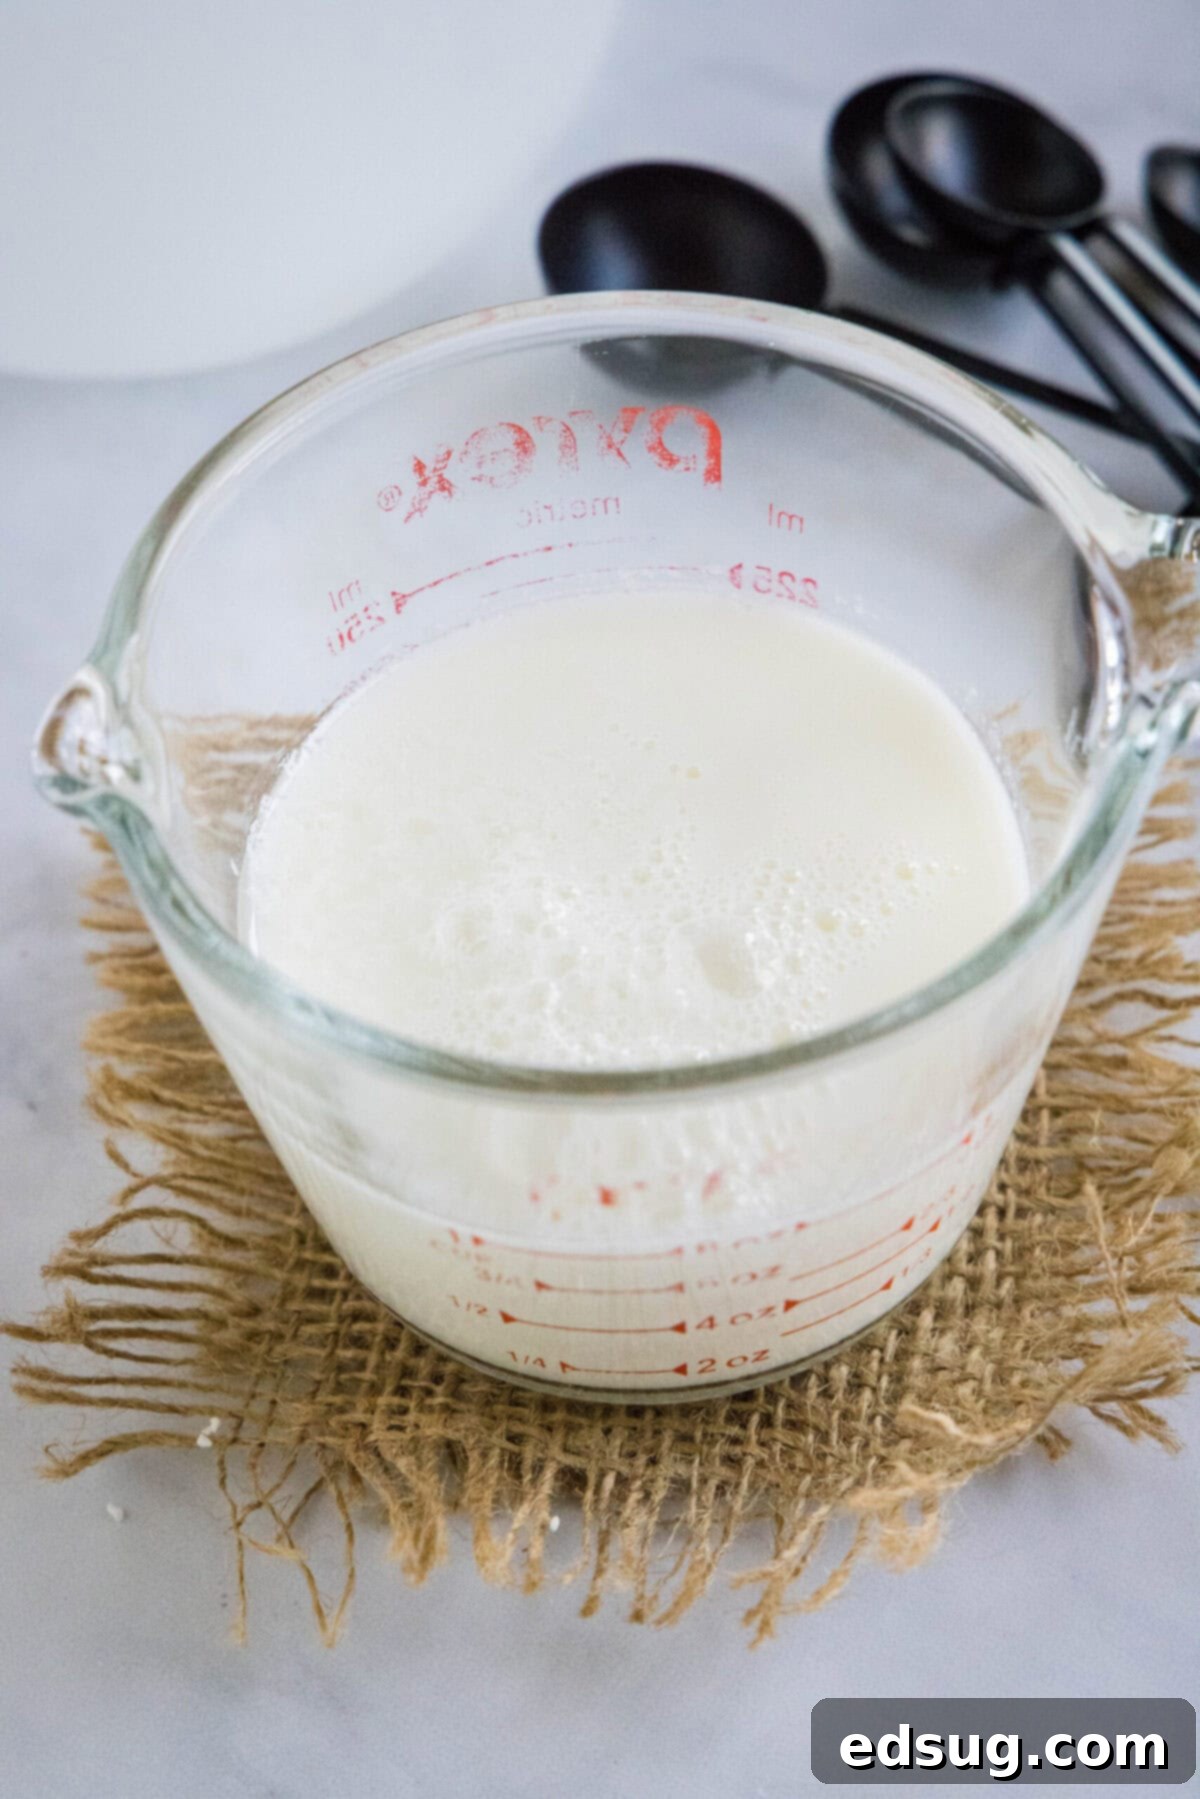
- Step 4: Rest and Observe. Now, let the mixture sit undisturbed at room temperature for 5 to 10 minutes. During this time, the acid will work its magic, causing the milk proteins to curdle slightly. You’ll notice the milk beginning to thicken and small, distinct curds forming, giving it that characteristic buttermilk texture. It won’t look like cottage cheese, but rather like slightly lumpy, thickened milk. Once it reaches this point, your homemade buttermilk is ready to use in any recipe that calls for it!
Expert Tips for the Best Homemade Buttermilk
While DIY buttermilk is inherently straightforward, a few clever tricks and variations can elevate your results and ensure consistency every time:
- Opt for Fresh Lemon Juice: If you choose lemon juice as your acid, make a point to use freshly squeezed lemon juice. Bottled lemon juice, while convenient, often contains preservatives and lacks the vibrant, bright flavor that fresh lemons provide. The difference in taste will be noticeable in your buttermilk and, subsequently, in your finished dish.
- Quality Milk Matters: Since milk is the foundational ingredient in this simple recipe, using high-quality milk can genuinely impact the flavor and texture of your homemade buttermilk. Choose a brand you enjoy drinking on its own. While low-fat milk is recommended for optimal consistency mirroring traditional buttermilk, don’t hesitate to experiment with whole milk if you prefer a richer flavor and thicker texture.
- Ensure Proper Temperature: For the most efficient and effective curdling, it’s beneficial to use milk that is closer to room temperature rather than straight from the fridge. Cold milk can slow down the chemical reaction, requiring a longer resting time. Let your milk sit on the counter for 10-15 minutes before mixing if you have the time.
- Consider Different Acids: While vinegar and lemon juice are common, cream of tartar is an excellent alternative, especially if you want a very neutral flavor or if you’re out of liquid acids. Baking powder is NOT a substitute for cream of tartar or other acids, as it already contains an acid and a base.
- Make Vegan Buttermilk: For those following a vegan diet, or simply if dairy milk isn’t available, this recipe is incredibly adaptable! Substitute dairy milk with a plant-based alternative. Soy milk and almond milk are excellent choices, curdling effectively with vinegar or lemon juice. Oat milk also works well, providing a creamy texture. Coconut milk (the carton kind, not canned) can also be used, though it might impart a slight coconut flavor. The ratio of acid to plant milk remains generally the same: 1 tablespoon of acid per cup of plant milk.
- Troubleshooting – If It Doesn’t Curdle: If your milk isn’t curdling after 5-10 minutes, try adding another half teaspoon of your chosen acid and let it rest for a few more minutes. Sometimes, very fresh milk or ultra-pasteurized milk needs a little extra help. Ensure your milk isn’t expired, as spoilage can also affect the curdling process.
Delicious Recipes to Make With Homemade Buttermilk
The beauty of this 5-minute homemade buttermilk is its versatility. You can truly use it in any recipe that explicitly calls for buttermilk. Its tangy acidity is crucial for activating baking soda, leading to perfectly risen baked goods, and its tenderizing properties create incredibly moist and flavorful results. Here are some of my favorite recipes that truly shine with the addition of buttermilk, whether store-bought or your fantastic homemade version:
- Fluffy Buttermilk Biscuits
- Hearty Oatmeal Pancakes
- Irresistible Buttermilk Chocolate Chip Muffins
- Moist Blueberry Breakfast Cake
- Soft Buttermilk-Oat Dinner Rolls
- Buttermilk Fried Chicken (for that extra tender crispiness!)
- Buttermilk Ranch Dressing (tangy and creamy!)
- Red Velvet Cake (the acidity gives it that classic richness)
Storage and Freezing Instructions
One of the great advantages of homemade buttermilk is its impressive shelf life, comparable to its store-bought counterpart. Proper storage ensures you can enjoy your DIY creation for an extended period.
- Refrigeration: Once prepared, transfer your homemade buttermilk to a clean, airtight container. It will comfortably last in the refrigerator for up to 2 weeks. Before each use, give the buttermilk a good stir or shake, as some separation is natural due to the curdling process.
- Freezing: Yes, you can absolutely freeze homemade buttermilk! This is a fantastic way to prepare larger batches and have it ready for future use without worrying about spoilage. To freeze, pour the buttermilk into an airtight freezer-safe container, leaving a little headspace for expansion. For convenient portioning, you can also freeze it in ice cube trays. Once frozen solid, transfer the buttermilk cubes to a freezer bag. Frozen buttermilk will retain its quality for up to 3 months. When you’re ready to use it, simply let it thaw overnight in the refrigerator. Stir well before incorporating it into your recipes.
Frequently Asked Questions (FAQ)
Here are some common questions about making and using homemade buttermilk:
- Can I use expired milk? No, for best results and safety, always use fresh milk that is not expired. While the acid will curdle it, it won’t magically make unsafe milk safe to consume.
- Does it taste exactly like store-bought buttermilk? It’s a very close substitute in terms of acidity and texture for baking and cooking. The flavor is slightly less complex than traditionally cultured buttermilk but performs identically in recipes.
- What if it doesn’t curdle enough? If you don’t see enough thickening, add another ½ teaspoon of your chosen acid and let it rest for a few more minutes. Ensure your milk isn’t ultra-pasteurized, as it can sometimes be more resistant to curdling.
- Can I use any type of vinegar? Distilled white vinegar is recommended because of its neutral flavor. Apple cider vinegar can work but may impart a slight apple flavor to your buttermilk.
More Essential Kitchen Basics to Master
Mastering fundamental kitchen staples can transform your cooking experience. Once you’ve perfected homemade buttermilk, consider tackling these other easy and rewarding basic recipes:
- Crispy Homemade Croutons
- Flavorful Homemade Ketchup
- Versatile Ranch Dressing Mix
- Authentic Homemade Corn Tortillas
- Soft Homemade Flour Tortillas
Homemade Buttermilk
Erin Sellin
5 minutes
5 minutes
1
cup
Rate Recipe
Print Recipe
Ingredients
-
1
cup
low fat milk -
1
tablespoon
distilled white vinegar,
or 1 tablespoon lemon juice, or 1 3/4 teaspoons cream of tartar
Instructions
-
Pour the distilled white vinegar, lemon juice, or cream of tartar into a measuring cup.
-
Add the milk until it reaches the 1-cup line on the measuring cup.
-
Mix gently, then let stand for 5-10 minutes until it almost curdles and thickens.
Notes
- Store leftover homemade buttermilk in an airtight container in the fridge for up to 2 weeks, or in the freezer for up to 3 months. Remember to stir before use.
- For the best flavor and results, use high-quality milk and freshly-squeezed lemon juice when applicable.
- For vegan buttermilk, substitute dairy milk with soy, almond, or oat milk.
Nutrition
Serving:
1
cup
|
Calories:
26
kcal
|
Carbohydrates:
3
g
|
Protein:
2
g
|
Fat:
1
g
|
Cholesterol:
3
mg
|
Sodium:
27
mg
|
Sugar:
3
g
Nutrition information is automatically calculated, so should only be used as an approximation.
Additional Info
Erin Sellin
5 minutes
5 minutes
The Basics
American
1
cup
26
DIY buttermilk, homemade buttermilk, how to make buttermilk, make your own buttermilk, making buttermilk with vinegar, vegan buttermilk, buttermilk substitute
Like this recipe? Leave a comment below!
I created a fun group on Facebook, and I would love for you to join us! It’s a wonderful place where you can share YOUR favorite recipes, ask questions, and stay updated on all the new culinary delights from Dinners, Dishes and Desserts (so that you never miss a new recipe)!
Be sure to follow me on Instagram and tag #dinnersdishes so I can see all the wonderful DINNERS, DISHES, AND DESSERTS recipes YOU make!
Don’t miss out on any delicious updates! Be sure to follow me on my social media channels:
Facebook | Twitter | Pinterest | Instagram
