Unlock the Sweetness: How to Make Perfect Instant Pot Corn on the Cob Every Time
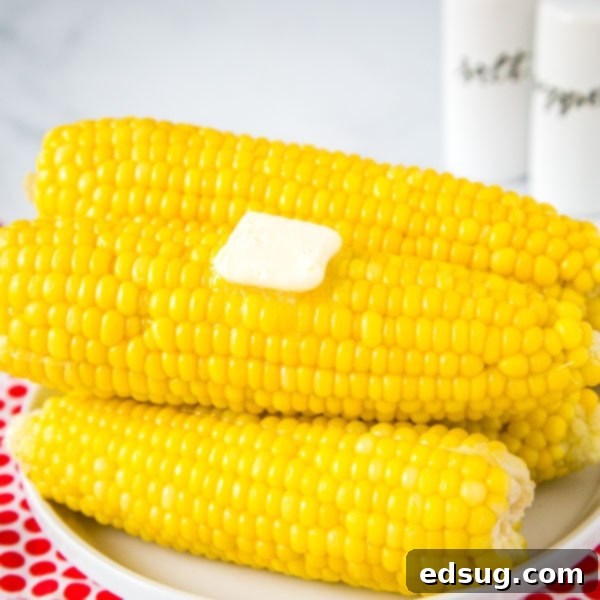
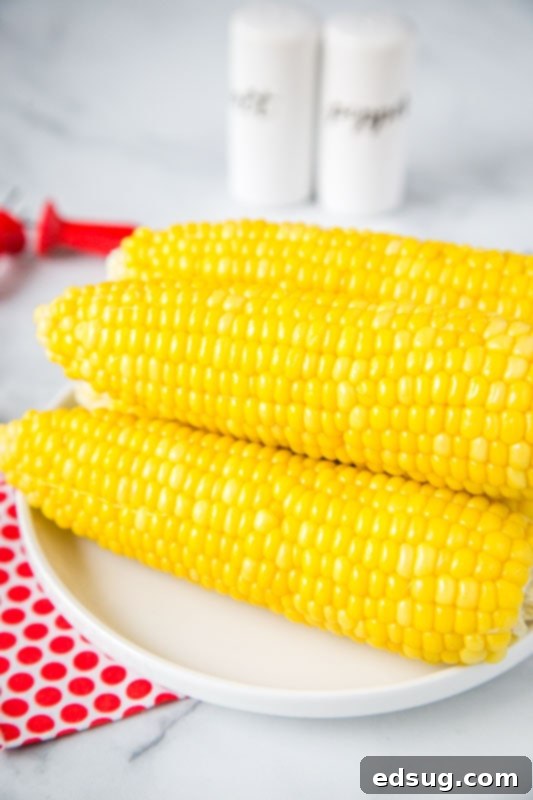
Instant Pot Corn on the Cob – an effortlessly delicious side dish you’ll want to make all summer long. Experience corn that’s incredibly juicy, perfectly tender, and consistently flawless!
There’s nothing quite like biting into a fresh ear of corn on the cob, especially when it’s at the peak of its season during the warm summer months. For many, it evokes fond memories of childhood barbecues and family dinners. Growing up, my mom had a secret weapon for perfectly cooked corn: her trusty old-fashioned pressure cooker. Long before the Instant Pot became a kitchen staple, she swore by this method, and the results were always spectacular – sweet, tender, and incredibly flavorful. It was the one dish I consistently remember her making in that pressure cooker, and it never disappointed.
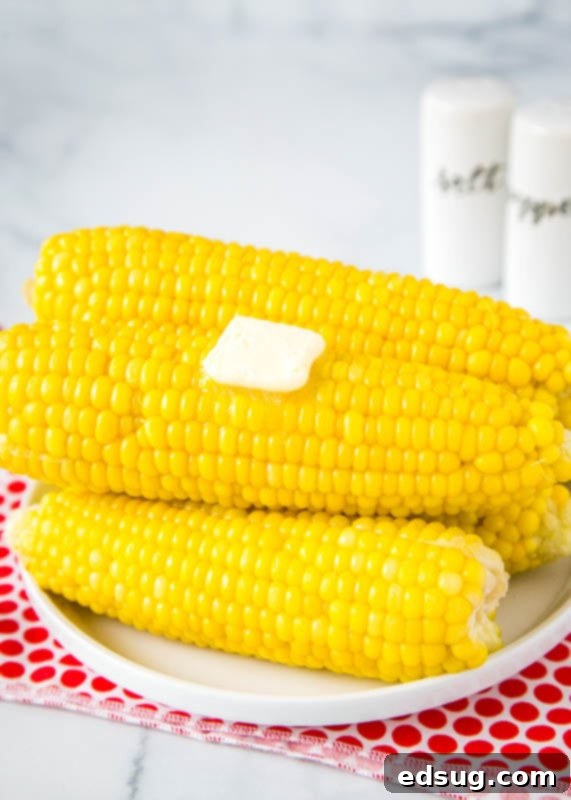
As I ventured into cooking on my own, I initially resorted to the simplest method I knew: steaming corn on the stove in a regular pot of water. While it certainly got the job done, the corn never quite matched the delightful texture and sweetness I remembered from my mother’s kitchen. It was good, but not *that* good. Then, a revelation – I decided to apply my mom’s pressure cooker wisdom to my modern Instant Pot. And just like that, I rediscovered the secret to truly the BEST corn on the cob! The magic of pressure cooking transforms fresh sweet corn into a succulent, flavorful delight that will become your go-to method.
You’ll be amazed at how incredibly easy and efficient it is to cook corn on the cob in the Instant Pot. Once you try it, you’ll likely never go back to traditional boiling or steaming. What’s even better is that it doesn’t add any extra time to your cooking process; from start to finish, you’ll have perfectly cooked corn in roughly the same amount of time, but with vastly superior results. Trust me, Instant Pot corn on the cob is pure culinary magic, elevating your fresh summer sweet corn to an unparalleled level of deliciousness.
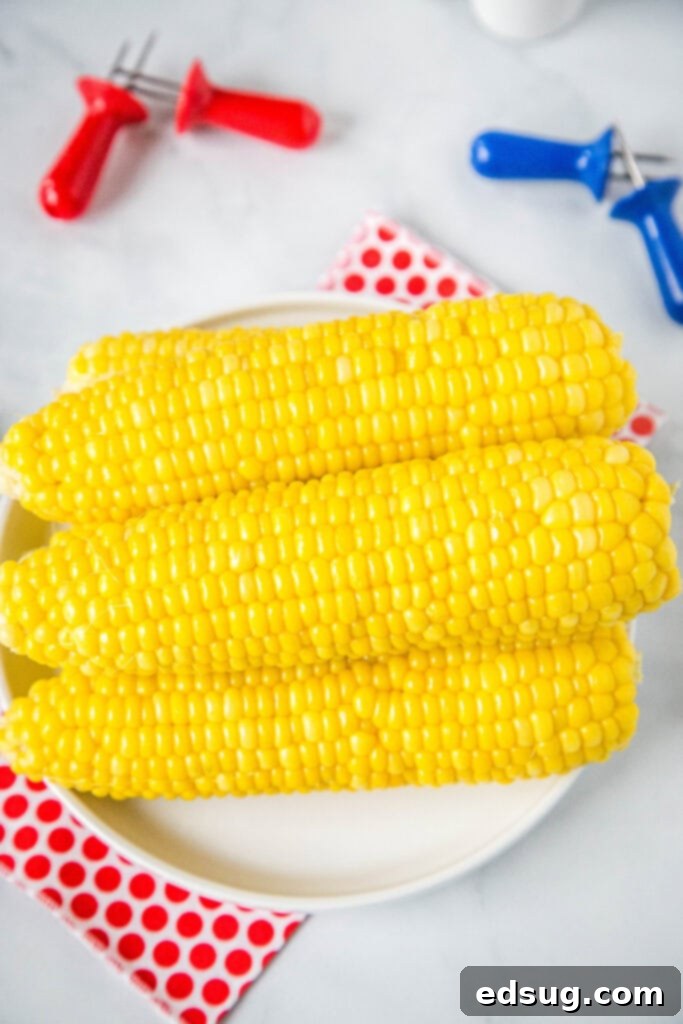
Why the Instant Pot is the Best Method for Corn on the Cob
There are several compelling reasons why the Instant Pot stands out as the superior way to prepare corn on the cob:
- Unbeatable Speed: With just 5 minutes of high-pressure cooking time (plus pressure build-up), you can have perfectly cooked corn ready in a flash. This makes it ideal for busy weeknights or when you need a quick side dish for a large gathering.
- Consistent Perfection: The sealed environment of the Instant Pot ensures even cooking, resulting in every kernel being tender and juicy without any dry spots or undercooked areas.
- Enhanced Flavor and Sweetness: Pressure cooking locks in the corn’s natural sugars and moisture, intensifying its inherent sweetness and giving it a vibrant, fresh flavor that often gets diluted with traditional boiling methods.
- Perfect Texture: Say goodbye to mushy, waterlogged corn. The Instant Pot cooks corn to an ideal crisp-tender consistency – firm enough to have a satisfying bite, yet tender enough to melt in your mouth.
- Hands-Off Cooking: Once you set the timer, you’re free to focus on other parts of your meal. No need to constantly monitor a boiling pot or steam basket.
- Minimal Cleanup: All the cooking happens in one pot, making cleanup quick and easy.
Choosing the Best Sweet Corn
The key to truly delicious corn on the cob, regardless of the cooking method, starts with selecting the freshest ears. Here’s what to look for when you’re at the farmer’s market or grocery store:
- Green Husks: Look for husks that are bright green, tightly wrapped around the corn, and feel slightly damp. Avoid husks that are dry, yellow, or peeling back, as this indicates older corn.
- Moist Silk: The silk (the threads inside the husk) should be light in color and slightly sticky or damp. Dark brown or dry silk suggests the corn is past its prime.
- Plump Kernels: Gently feel the ear through the husk. You want to feel plump, firm kernels all the way to the tip. Avoid ears with missing kernels or soft spots.
- Freshly Picked: Corn begins to lose its sweetness shortly after being picked, as its sugars convert to starch. The fresher the corn, the sweeter and more flavorful it will be. Local farmer’s markets are often the best source for truly fresh sweet corn.
Step-by-Step Guide: How to Make Instant Pot Corn on the Cob
Cooking corn in your Instant Pot is incredibly simple, requiring just a few basic steps to achieve delicious results:
- **Prepare the Corn:** Start by shucking your corn as you normally would. This means removing all the green husks and as much of the fine silk threads as possible. If the ears are too long to fit comfortably in your Instant Pot, you may need to trim off the stem end or even cut the ears in half. Don’t worry, they’ll cook just as well!
- **Add Water and Trivet:** Pour 1 cup of cold water into the bottom of your Instant Pot’s inner pot. Next, place the metal trivet (the steamer rack that comes with your Instant Pot) into the base of the pot. The trivet is crucial as it keeps the corn elevated above the water, allowing it to steam efficiently under pressure.
- **Load the Corn:** Carefully arrange the shucked corn ears on top of the trivet. You can fit quite a few ears in your Instant Pot, depending on its size. For a 6-quart model, you can usually stack 4-6 ears. Lay them crisscross or stand them vertically if space is tight. The main goal is to ensure you can securely place and lock the lid without having to force it down onto any of the corn.
- **Pressure Cook:** Secure the Instant Pot lid, making sure the sealing ring is properly in place and the steam release valve is set to the “Sealing” position. Select the “Manual” or “Pressure Cook” button (depending on your model) and set the cooking time to 5 minutes on high pressure. The Instant Pot will take some time to build pressure before the 5-minute countdown begins.
- **Quick Release and Serve:** Once the 5 minutes of high-pressure cooking are complete, immediately perform a quick release. Carefully turn the steam release valve from “Sealing” to “Venting” (use a long spoon or oven mitt to protect your hand from the steam). Allow all the steam to escape until the float valve drops. Once the pressure has fully released, you can safely open the lid. Carefully remove the hot corn using tongs. Serve immediately with a generous slather of butter and a sprinkle of salt.
Mastering the Cook Time: Why 5 Minutes is Perfect
When searching for pressure cooker corn recipes, you might encounter a wide range of suggested cooking times. However, through years of experience and countless batches, I’ve found that 5 minutes on high pressure consistently yields the perfect result in the Instant Pot. This timing is a direct inheritance from my mother’s old-fashioned pressure cooker method, and it translates beautifully to modern electric pressure cookers.
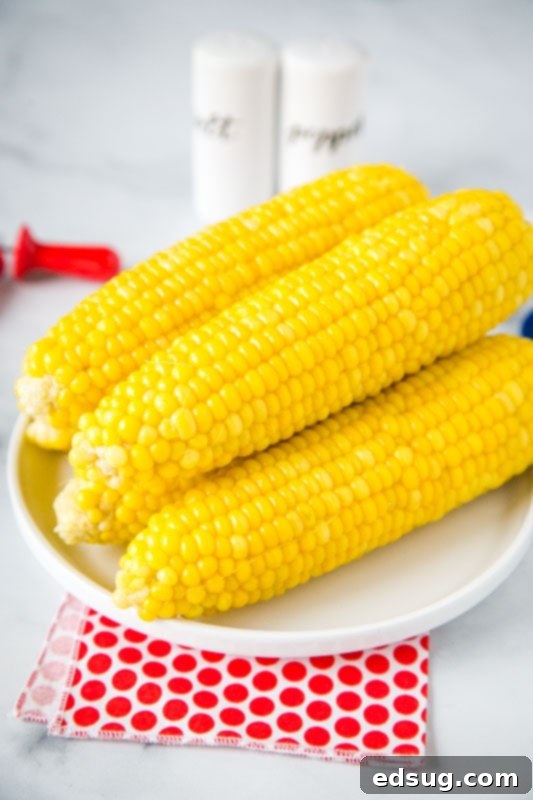
Why 5 minutes? This duration strikes an ideal balance. It’s just enough time for the corn to cook thoroughly, allowing its natural sugars to fully develop and create that characteristic sweet flavor. Crucially, it prevents the corn from becoming mushy or overcooked, retaining a satisfying, crisp bite. You’ll get corn that is wonderfully juicy and tender, without being soft or losing its structural integrity. It truly brings out the best in fresh sweet corn, making it a perfect complement to any summer meal.
Essential Tips for the Best Instant Pot Corn
- Don’t Skimp on Freshness: The fresher the corn, the better the flavor. Try to cook corn within a day or two of purchasing for optimal sweetness.
- Use a Trivet: Always use the metal trivet to keep the corn out of the water. This ensures steaming, not boiling, which is key to its tender texture.
- Don’t Overfill: While you can stack corn, ensure the Instant Pot lid can close easily without compressing the corn. Overfilling can impede proper pressure build-up and cooking.
- Season Immediately: Corn tastes best when buttered and salted while it’s still piping hot, allowing the seasonings to melt and absorb into the kernels.
- Experiment with Toppings: While butter and salt are classics, feel free to get creative! Try a sprinkle of chili powder and lime juice for a Mexican street corn (Elote) vibe, or fresh herbs like parsley or cilantro.
Frequently Asked Questions About Instant Pot Corn
Can I cook frozen corn on the cob in the Instant Pot?
Yes, you absolutely can! If cooking frozen corn on the cob, you’ll want to increase the high-pressure cooking time slightly. A good starting point is 7-8 minutes on high pressure with a quick release. Ensure you use the same amount of water (1 cup) and the trivet.
Do I need to use the trivet?
While you *can* cook corn directly in the water, using the trivet is highly recommended. It allows the corn to steam evenly, preventing it from sitting in hot water which can make it waterlogged and dilute its flavor. The trivet helps achieve that perfect, crisp-tender texture.
Can I add butter or milk to the Instant Pot with the corn?
For flavor, you can add a tablespoon of butter or a splash of milk to the 1 cup of water in the Instant Pot. This can infuse the corn with extra richness. However, for most recipes, simply serving with butter and salt after cooking is sufficient and allows the corn’s natural flavor to shine.
How do I store leftover cooked corn on the cob?
Allow cooked corn to cool completely, then wrap it tightly in plastic wrap or aluminum foil, or place it in an airtight container. Store in the refrigerator for up to 3-4 days. You can reheat it in the microwave, on the grill, or briefly steam it again.
Can I cut the corn before cooking?
Yes, if your corn on the cob ears are too long to fit in your Instant Pot, feel free to cut them in half or into smaller pieces. This won’t affect the cooking time or the quality of the corn.
What size Instant Pot is best for corn?
This recipe works well with any size Instant Pot, from 3-quart to 8-quart models. The amount of water and cooking time remain the same; simply adjust the number of corn ears to fit your specific pot size.
What to Serve Corn on the Cob With
Instant Pot Corn on the Cob is a versatile and crowd-pleasing side dish that pairs beautifully with a wide variety of main courses, especially during barbecue season. Its sweet and tender kernels complement smoky meats, grilled delights, and hearty sandwiches:
- Smoked Baby Back Ribs: The sweetness of the corn is a perfect contrast to rich, smoky ribs.
- Grilled Chicken Sandwich: A light and fresh side that doesn’t overpower the sandwich.
- Chili Lime Grilled Chicken Drumsticks: The subtle sweetness of the corn balances the spicy and tangy notes of the chicken.
- Buffalo Chicken Burger: A refreshing counterpoint to the heat of buffalo sauce.
- Beer Brats: A classic combination that defines summer cookouts.
More Delicious Summer Side Dishes
If you’re looking for more fantastic side dishes to complete your summer meals, consider these other fresh and flavorful options:
- Grilled Zucchini
- BLT Pasta Salad
- Greek Salad
- Loaded Potato Salad
- Homemade Baked Beans
- Caesar Pasta Salad

Instant Pot Corn on the Cob Recipe
This quick and easy recipe ensures tender, juicy corn on the cob every time!

Prep Time: 5 minutes
Cook Time: 5 minutes
Additional Time: 15 minutes (for pressure build-up/release)
Total Time: 25 minutes
Servings: 4
Ingredients
- 4-6 ears fresh corn on the cob, shucked and trimmed
- 1 cup water
- Optional: Butter, salt, and pepper for serving
Instructions
- **Prepare Corn:** Shuck all husks and silk from the corn on the cob. If needed, trim the stem ends so each ear fits within your Instant Pot’s inner pot.
- **Setup Pot:** Pour 1 cup of cold water into the Instant Pot’s inner pot. Place the metal trivet (steamer rack) at the bottom.
- **Add Corn:** Carefully arrange the corn ears on the trivet. You can stack them crisscross to fit as many as possible, ensuring the lid can still close without obstruction.
- **Pressure Cook:** Secure the Instant Pot lid and make sure the steam release valve is set to “Sealing.” Select the “Manual” or “Pressure Cook” setting and set it to HIGH pressure for 5 minutes.
- **Release & Serve:** Once the cooking cycle is complete, perform a quick release of the pressure by carefully turning the steam release valve to “Venting.” Allow all steam to escape until the float valve drops. Open the lid, remove the hot corn with tongs, and serve immediately with butter, salt, and pepper to taste.
Nutrition (Approximate per serving)
(Based on one ear of corn, unbuttered/unsalted)
- Calories: 114 kcal
- Carbohydrates: 25g
- Protein: 4g
- Fat: 2g
- Polyunsaturated Fat: 1g
- Sodium: 302mg
- Fiber: 3g
- Sugar: 5g
Nutrition information is automatically calculated and should only be used as an approximation.
Like this recipe? Leave a comment below!
I created a fun group on Facebook, and I would love for you to join us! It’s a place where you can share YOUR favorite recipes, ask questions, and see what’s new at Dinners, Dishes and Desserts (so that you never miss a new recipe)! If you’d like to check it out, you can request to join HERE.
Be sure to follow me on Instagram and tag #dinnersdishes so I can see all the wonderful DINNERS, DISHES, AND DESSERTS recipes YOU make!
Connect with Dinners, Dishes, and Desserts!
Be sure to follow me on my social media, so you never miss a post!
Facebook | Twitter | Pinterest | Instagram
