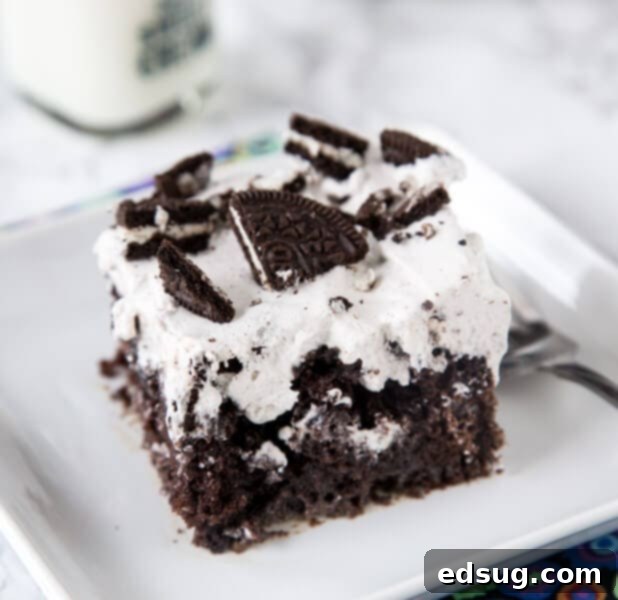
Easy Oreo Poke Cake: Your Go-To Recipe for a Decadent Cookies and Cream Dessert
Discover how to make the ultimate Oreo Poke Cake – a simple, moist chocolate cake infused with Oreo pudding and crowned with a light, creamy whipped topping. It’s pure dessert bliss!
Are you searching for an effortlessly delicious dessert that’s guaranteed to impress? Look no further than the delightful world of poke cakes! These ingenious treats, which have enjoyed waves of popularity over the years, are celebrated for their incredible moisture, tender texture, and customizable flavors. At the heart of a poke cake lies a simple concept: a baked cake is generously “poked” with holes, then drenched in a liquid or filling that seeps into every crevice, transforming an ordinary cake into an extraordinary, flavor-packed experience. This method ensures every bite is bursting with taste and moisture, making them undeniably addictive. From a festive Irish Cream Poke Cake for adult gatherings to a refreshing Mint Chocolate Poke Cake, the possibilities are endless. The beauty of a poke cake is its adaptability – simply choose your favorite cake base, a complementary filling, and a luscious topping, and you’re well on your way to dessert perfection.
While many poke cake variations exist, few capture hearts quite like the Oreo Poke Cake. This recipe elevates a classic chocolate cake by infusing it with the iconic cookies and cream flavor of Oreos, creating a dessert that’s rich, creamy, and undeniably satisfying. What makes this recipe truly special is its incredible ease of preparation. Starting with a boxed chocolate cake mix, it streamlines the baking process without compromising on flavor or texture. We even incorporate crushed Oreos into the cake batter before baking, adding an extra layer of cookie goodness right from the start! While chocolate frosting might be a classic love, the light and creamy topping of this poke cake provides a refreshing contrast, making it a strong contender for your favorite dessert. Just like using Oreos for a crust in a No Bake Mint Chocolate Chip Pie, incorporating them as a topping and within the cake itself takes this dessert to another level of deliciousness!
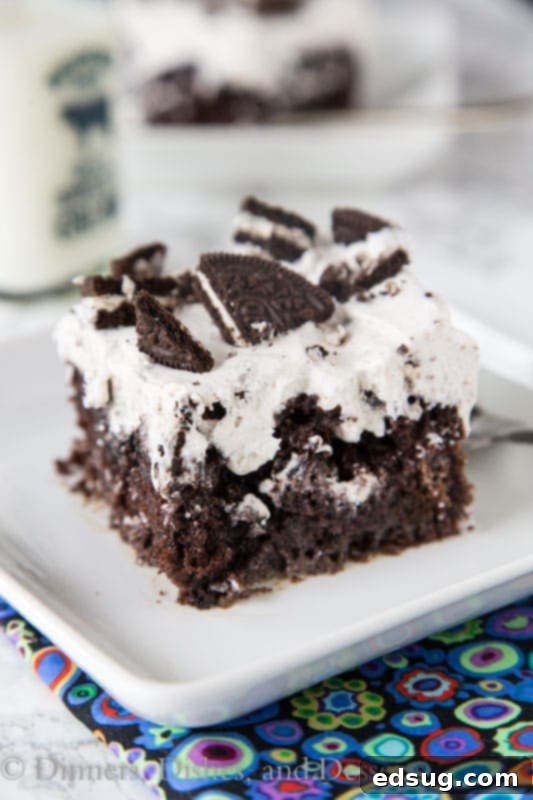
The Perfect Dessert for Any Occasion: Light, Creamy, and Delicious
Especially as warmer months approach, finding a dessert that feels light yet decadent can be a challenge. That’s where this Chocolate Poke Cake, featuring the delightful Oreo twist, truly shines. It is so easy to put together, making it a fantastic last-minute dessert option when you need something quick yet impressive. Topped with a light and creamy pudding and whipped cream mixture, you won’t feel like you’re indulging in a heavy cake. This makes it a perfect choice for summer gatherings, barbecues, or any occasion where a refreshing dessert is preferred. While a No Bake Kool-Aid Pie is a favorite no-bake dessert for many, sometimes you just crave the classic combination of chocolate and cookies. For those moments, this Oreo Poke Cake delivers every time. Its universal appeal extends to almost everyone, even those who might not typically consider themselves chocolate cake enthusiasts. The balanced sweetness and delightful texture make it a crowd-plepleaser you’ll want to make again and again.
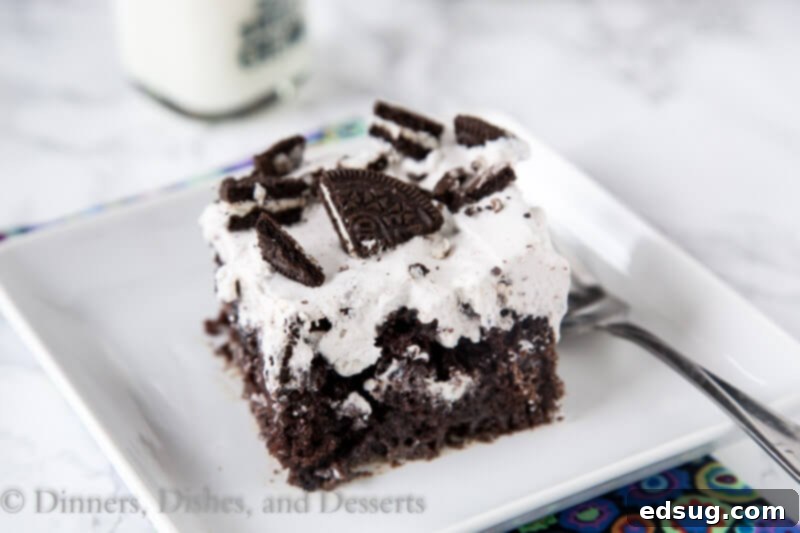
Mastering the Oreo Poke Cake: A Step-by-Step Guide for Home Bakers
Crafting this delightful Oreo Poke Cake is incredibly straightforward, even for novice bakers. Here’s a detailed look at each step to ensure your cake turns out perfectly moist, creamy, and utterly delicious:
- Bake Your Cake Base: Begin by preparing a chocolate cake in a 13×9 inch baking pan. Whether you opt for a convenient box mix (following the package instructions for preparation and baking) or your favorite homemade recipe, ensure the cake is fully cooked and a tester inserted into the center comes out clean. Once baked, the most crucial step is to allow the cake to cool completely. This prevents the warm cake from melting the subsequent layers and ensures proper absorption of the delicious filling, contributing to that desired moist texture.
- Poke Those Holes: Once your cake is thoroughly cooled, it’s time for the “poke” part of the poke cake! Use the back of a wooden spoon, the handle of a spatula, or even a knife to create a pattern of holes across the entire surface of the cake. Aim for holes that are deep enough to reach the bottom but not so wide they tear the cake apart. Spacing them about every 1 to 2 inches apart will ensure even distribution of the filling. These holes are the magic conduits that will allow the rich, sweet liquid to infuse every crumb, making the cake wonderfully moist from within.
- Infuse with Sweetened Condensed Milk: This is where the cake gets its incredible moisture and an extra boost of sweetness. Gently pour the entire 14 oz can of sweetened condensed milk over the poked cake. Use a spatula to carefully spread it, ensuring the milk seeps into all the holes. Take your time with this step, allowing the thick, sweet liquid to fully penetrate the cake. The condensed milk will not only add sweetness but also a delightful chewiness and a rich, satisfying texture.
- Prepare the Dreamy Topping: In a separate large bowl, whisk together the Oreo pudding mix with 1 ½ cups of milk for approximately two minutes until the mixture begins to thicken. Let it stand for another three minutes to ensure it sets properly. Then, gently fold in the entire 8 oz container of whipped topping (like Cool Whip). This creates a light, fluffy, and incredibly flavorful cookies and cream topping that complements the rich chocolate cake perfectly. The combination of creamy pudding and airy whipped topping is simply divine!
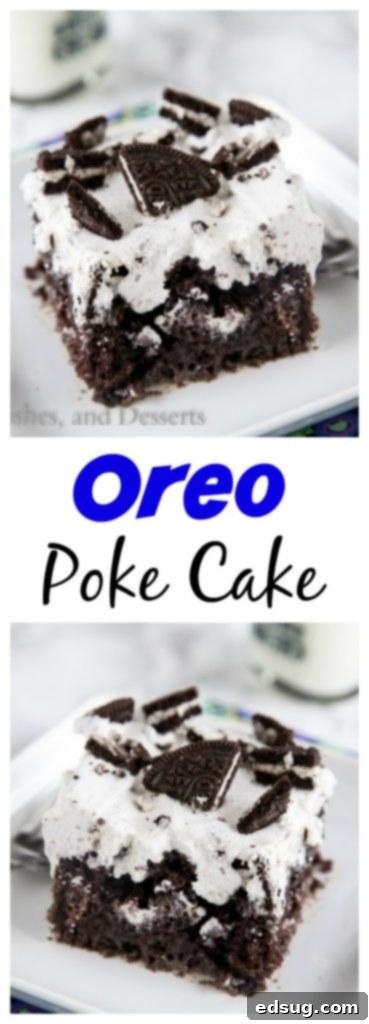
- Assemble and Garnish: Carefully spread the prepared pudding and whipped cream mixture over the cooled, milk-infused cake in a nice, even layer. Take care to cover the entire surface right to the edges. For the ultimate Oreo experience and an appealing presentation, coarsely chop the remaining row of Oreo cookies and sprinkle them generously over the top of the cake. The crushed cookies add a delightful crunch and an unmistakable Oreo flavor to every single slice, making it visually and texturally appealing.
- Chill for Perfection: While it might be tempting to dig in immediately, patience is key for a truly magnificent poke cake. Place the assembled cake in the refrigerator and allow it to chill for at least one hour, or ideally longer – up to 2-3 hours is perfect. This crucial step allows the sweetened condensed milk to fully absorb and moisten the cake, and for the pudding and whipped cream topping to set properly. Chilling also makes slicing and serving much cleaner, preventing the topping from becoming a messy ordeal. The longer it chills, the better the flavors meld and the moister the cake becomes, enhancing its overall deliciousness!
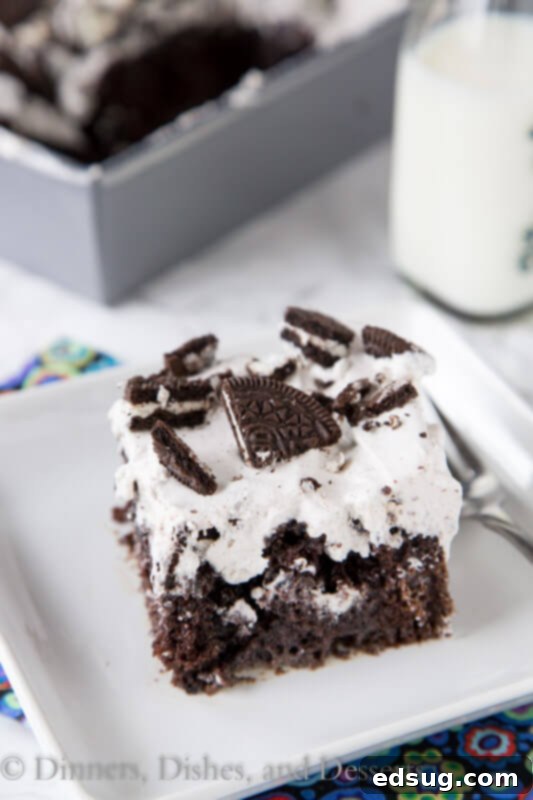
Customizing Your Oreo Poke Cake: Tips & Variations
The beauty of the Oreo Poke Cake lies not only in its ease but also in its versatility. While the classic version is undeniably a hit, there are many ways to customize it to suit your taste or the occasion. You can use whatever your favorite chocolate cake recipe or mix is. I often find a box mix to be incredibly convenient for this recipe, offering consistent results every time. However, if you have a cherished homemade chocolate cake recipe, feel free to use it – the robust chocolate flavor serves as an excellent foundation for the Oreo layers. Don’t limit yourself to just one type of chocolate cake either; dark chocolate, chocolate fudge, devil’s food, or even German chocolate mixes can all create unique and delicious flavor profiles that pair wonderfully with the creamy whipped topping and crunchy Oreos.
Beyond the cake base, consider other variations to make this dessert uniquely yours. Instead of Oreo pudding, you could try vanilla pudding, cheesecake pudding, or even a different flavor of instant pudding for a unique twist. For an extra layer of indulgence, a drizzle of hot fudge or caramel sauce over the pudding layer before adding the whipped cream can elevate the flavors further. If you prefer a homemade touch for the topping, substitute the Cool Whip with freshly whipped cream (see the recipe notes for instructions). Poke cakes are inherently forgiving desserts, making them perfect for experimentation. They are designed to be easy to assemble and deliver impressive results every single time. So, don’t be afraid to get creative in the kitchen and make this cake truly your own!
Serving Your Perfect Oreo Poke Cake and Storage Advice
This Oreo Poke Cake is not only a fantastic dessert to bring to a party but also an excellent addition to your fridge for when those spontaneous sweet cravings strike. It’s a guaranteed big hit with everyone who tries it, and remarkably, only takes minutes of active prep time to throw together! Its creamy, light texture makes it suitable for any time of year, providing a refreshing dessert during hot summer months or a comforting treat in cooler weather. Even my husband, who generally doesn’t prefer chocolate cakes, absolutely loved this one, highlighting its broad appeal and perfect balance of flavors.
To ensure your cake remains fresh and delicious for as long as possible, store it covered tightly in the refrigerator. It will keep beautifully for 3-4 days, allowing you to enjoy slices over several days or prepare it a day in advance for an event, reducing stress on the day of your gathering. This also allows the flavors to meld even further, often making the cake taste even better on the second or third day! If you happen to have extra Oreos on hand and are looking for another no-bake delight, don’t let them go to waste! This No Bake Oreo Cheesecake is a must-try, especially during those hot summer months when turning on the oven is the last thing you want to do. Embrace the joy of baking and sharing this simple yet spectacular Oreo Poke Cake with your loved ones!
Other Delicious Dessert Recipes to Try:
- Reese’s Fudge
- No Bake Strawberry Jello Pie
- No Bake Oreo Cream Squares
- Easy No Bake Avalanche Cookies
- Easy Homemade Brownies
- Strawberry Poke Cake
- No Bake Peanut Butter Cheesecake
- Gooey Brownie Pie

Oreo Poke Cake
Pin Recipe
Rate Recipe
Print Recipe
Video
Equipment
-
Hand Mixer
-
GIR Spatula
-
Mixing Bowls
Ingredients
- 1 (15.25 oz) box chocolate cake mix + ingredients on package
- 2 rows of Oreo cookies, (2/3 of the package)
- 1 (14 oz) can sweetened condensed milk
- 1 package Oreo pudding mix
- 1 1/2 cups milk
- 1 8 oz package Cool Whip
Instructions
-
Preheat oven to 350 degrees. Spray a 9×13 inch baking dish with non-stick spray, or grease. Set aside.
-
Prepare cake batter according to the package instructions. Pour into prepared baking dish. Crush 1 row of Oreo cookies, and sprinkle over the cake batter. Bake for 25-30 minutes, until cake is done and a tester comes out clean. Let cool for 30 minutes.
-
Using the handle of a wooden spoon, poke holes (about every 2 inches), over the cake. Pour sweetened condensed milk over the cake, using a spatula to spread evenly. Let cake cool completely, about 2 hours.
-
In a large bowl whisk together pudding mix and milk for 2 minutes. Let stand for 3 minutes. Fold in cool whip. Spread over the cake.
-
Coarsely chop 1 row of Oreo cookies. Sprinkle evenly over the cake.
-
Place in fridge and let set for at least 1 hour before serving.
Notes
Nutrition
Nutrition information is automatically calculated, so should only be used as an approximation.
Additional Info
Like this recipe? Leave a comment below!
