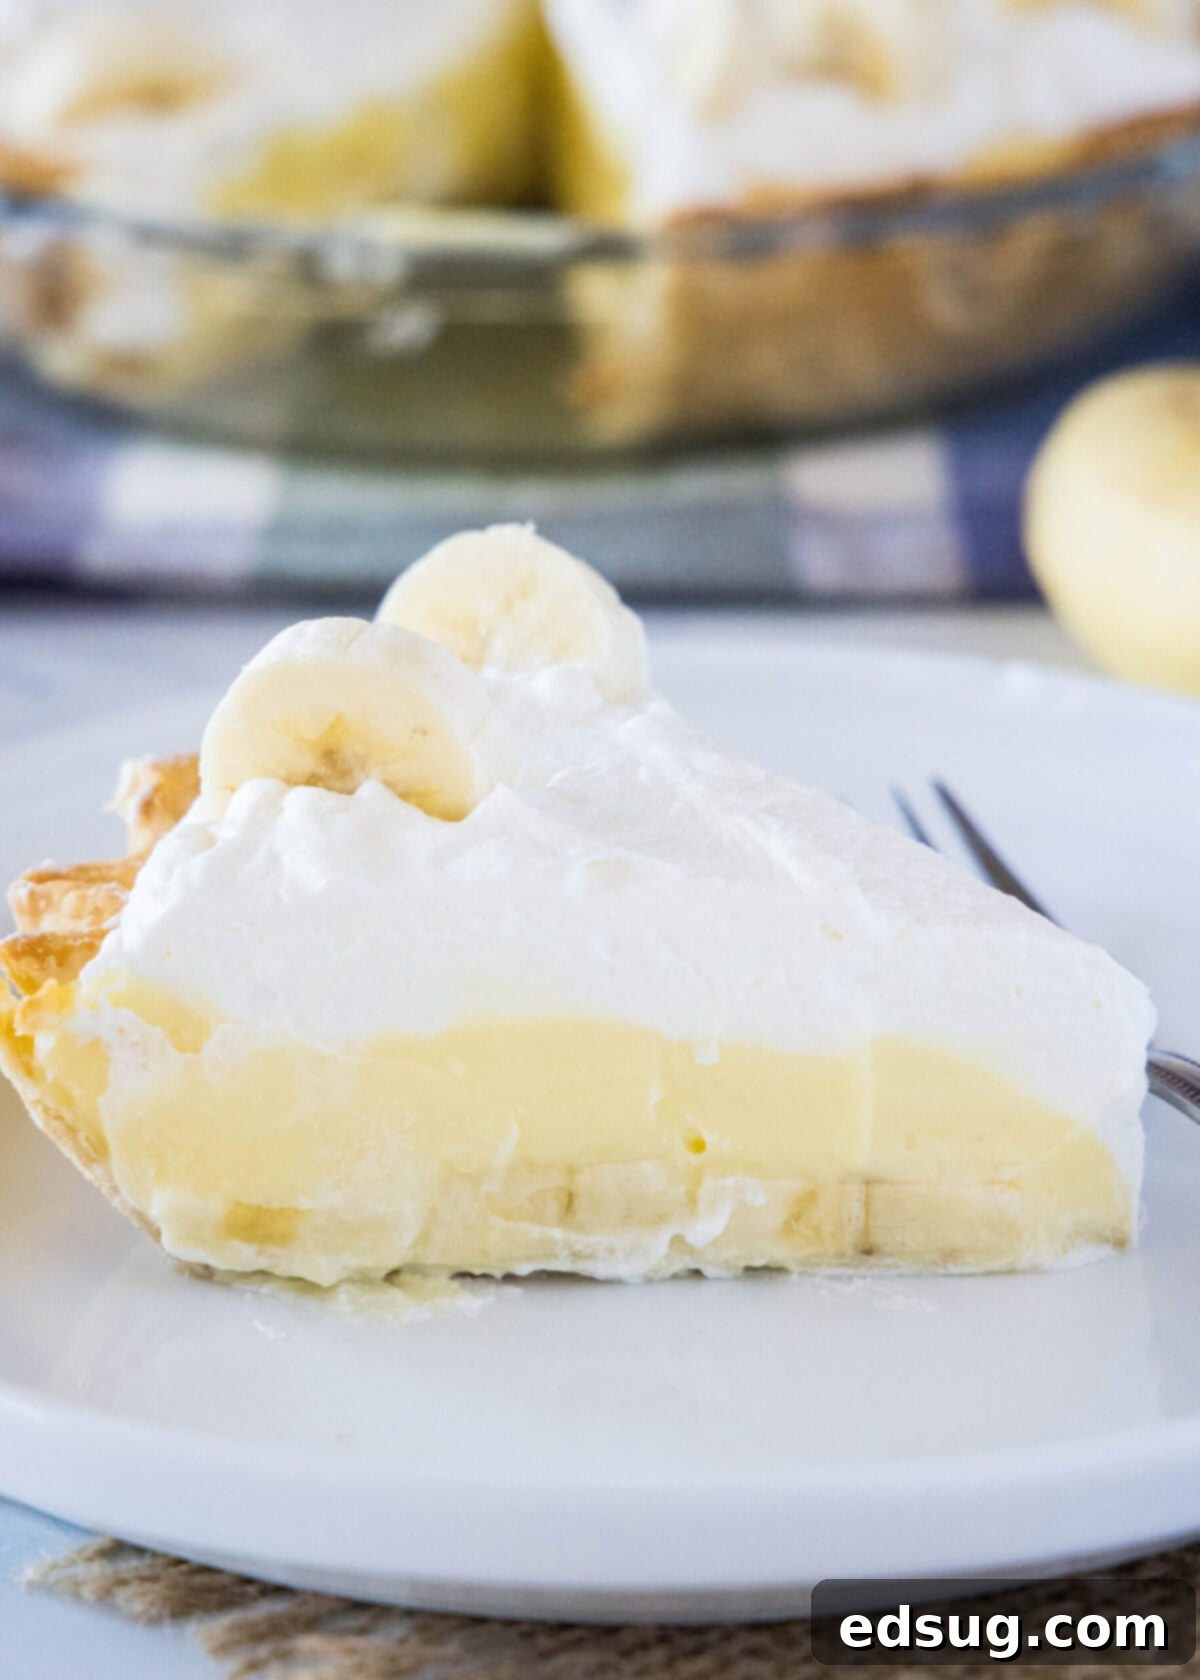
Ultimate Homemade Banana Cream Pie: Easy, Decadent, and Utterly Delicious
There are few desserts as universally loved and instantly comforting as a classic banana cream pie. This recipe delivers a pie that is nothing short of rich, luxurious, and bursting with authentic banana flavor. Forget store-bought versions; this homemade banana cream pie rivals any you’d find at a high-end bakery, yet it’s surprisingly straightforward to prepare in your own kitchen. Its velvety smooth custard, fresh banana slices, and light-as-air whipped cream topping create a symphony of textures and tastes that will leave everyone craving another slice.
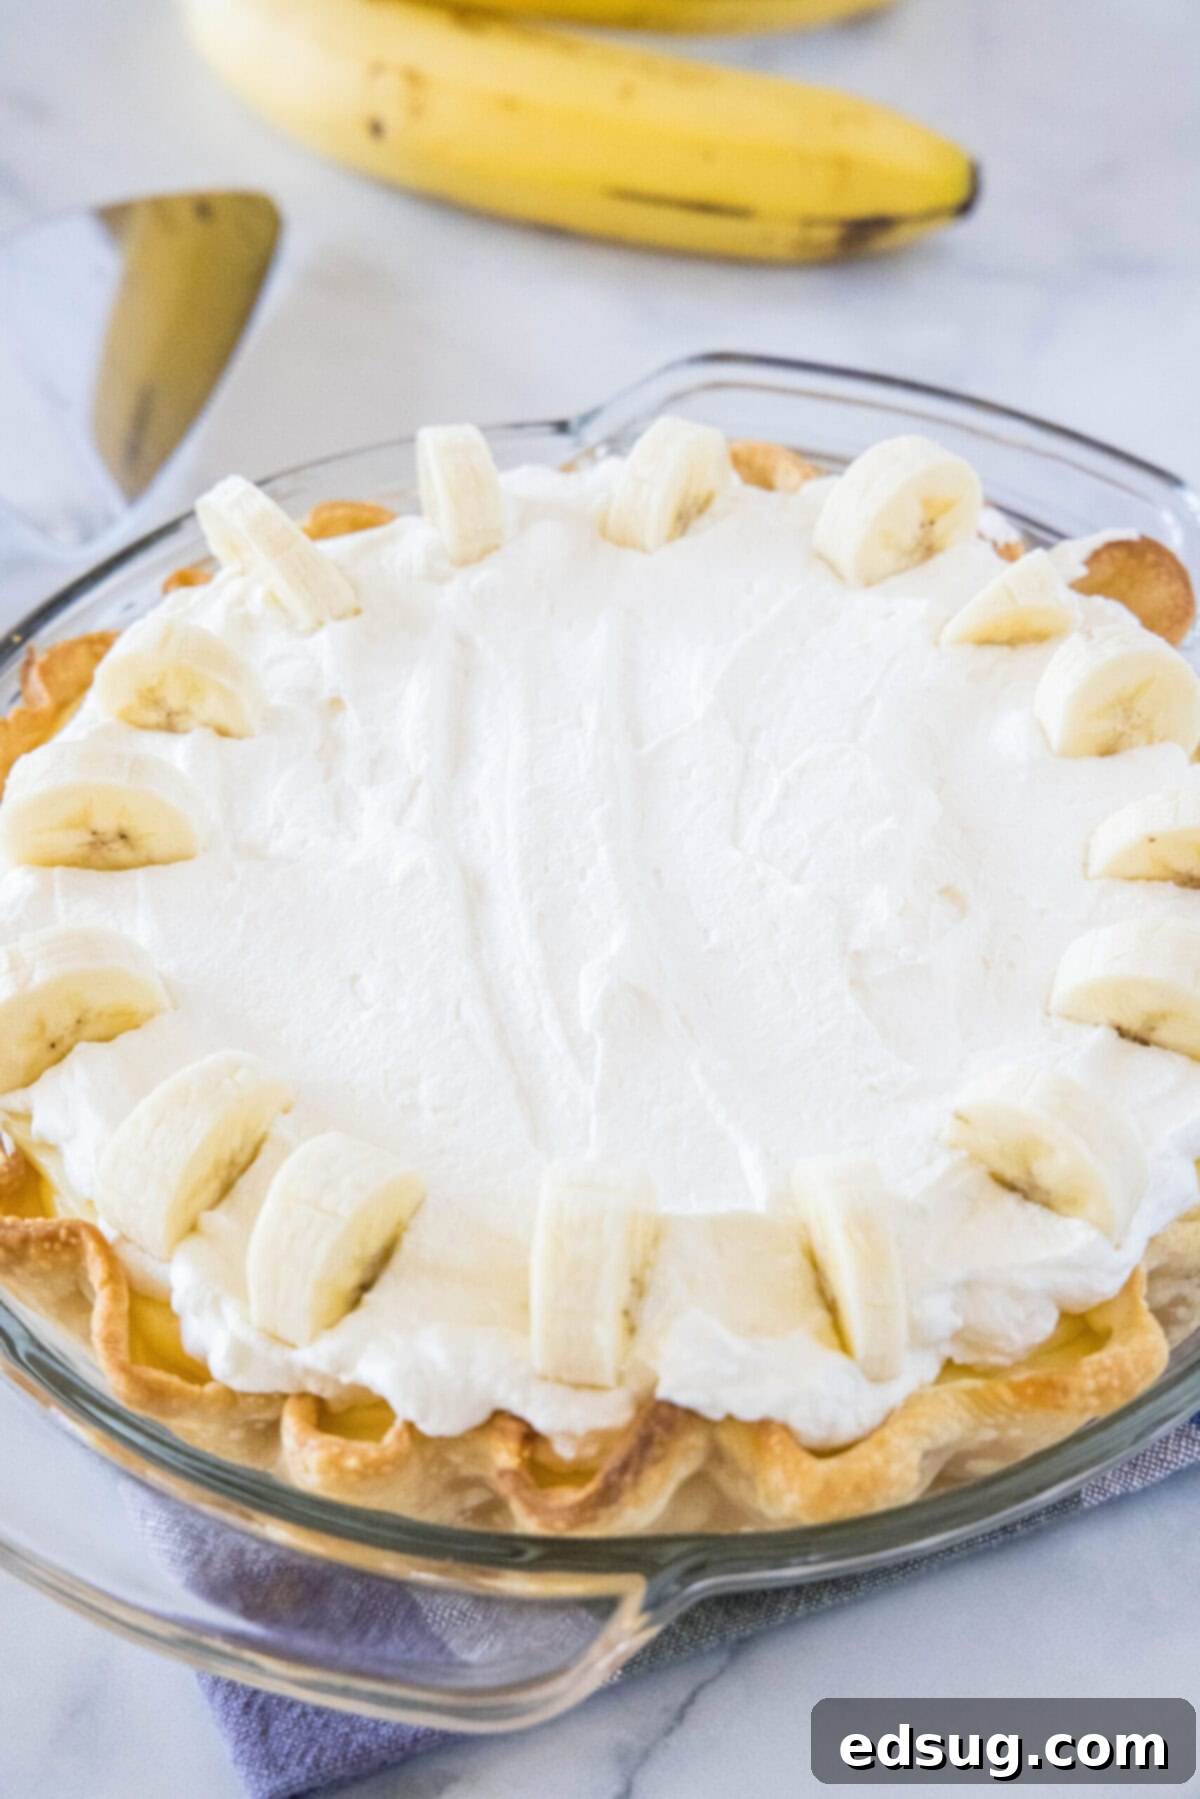
For me, banana cream pie holds a special place among desserts. There’s an undeniable magic in its combination: the lavish, rich, and utterly decadent custard paired with the bright, tropical notes of fresh bananas. Each spoonful offers a soft, smooth consistency that melts in your mouth, making it a truly perfect dessert in my culinary repertoire. That’s why it was essential for me to develop a flawless banana cream pie recipe – one that I could confidently recreate at home whenever the craving for this extraordinary sweet treat struck.
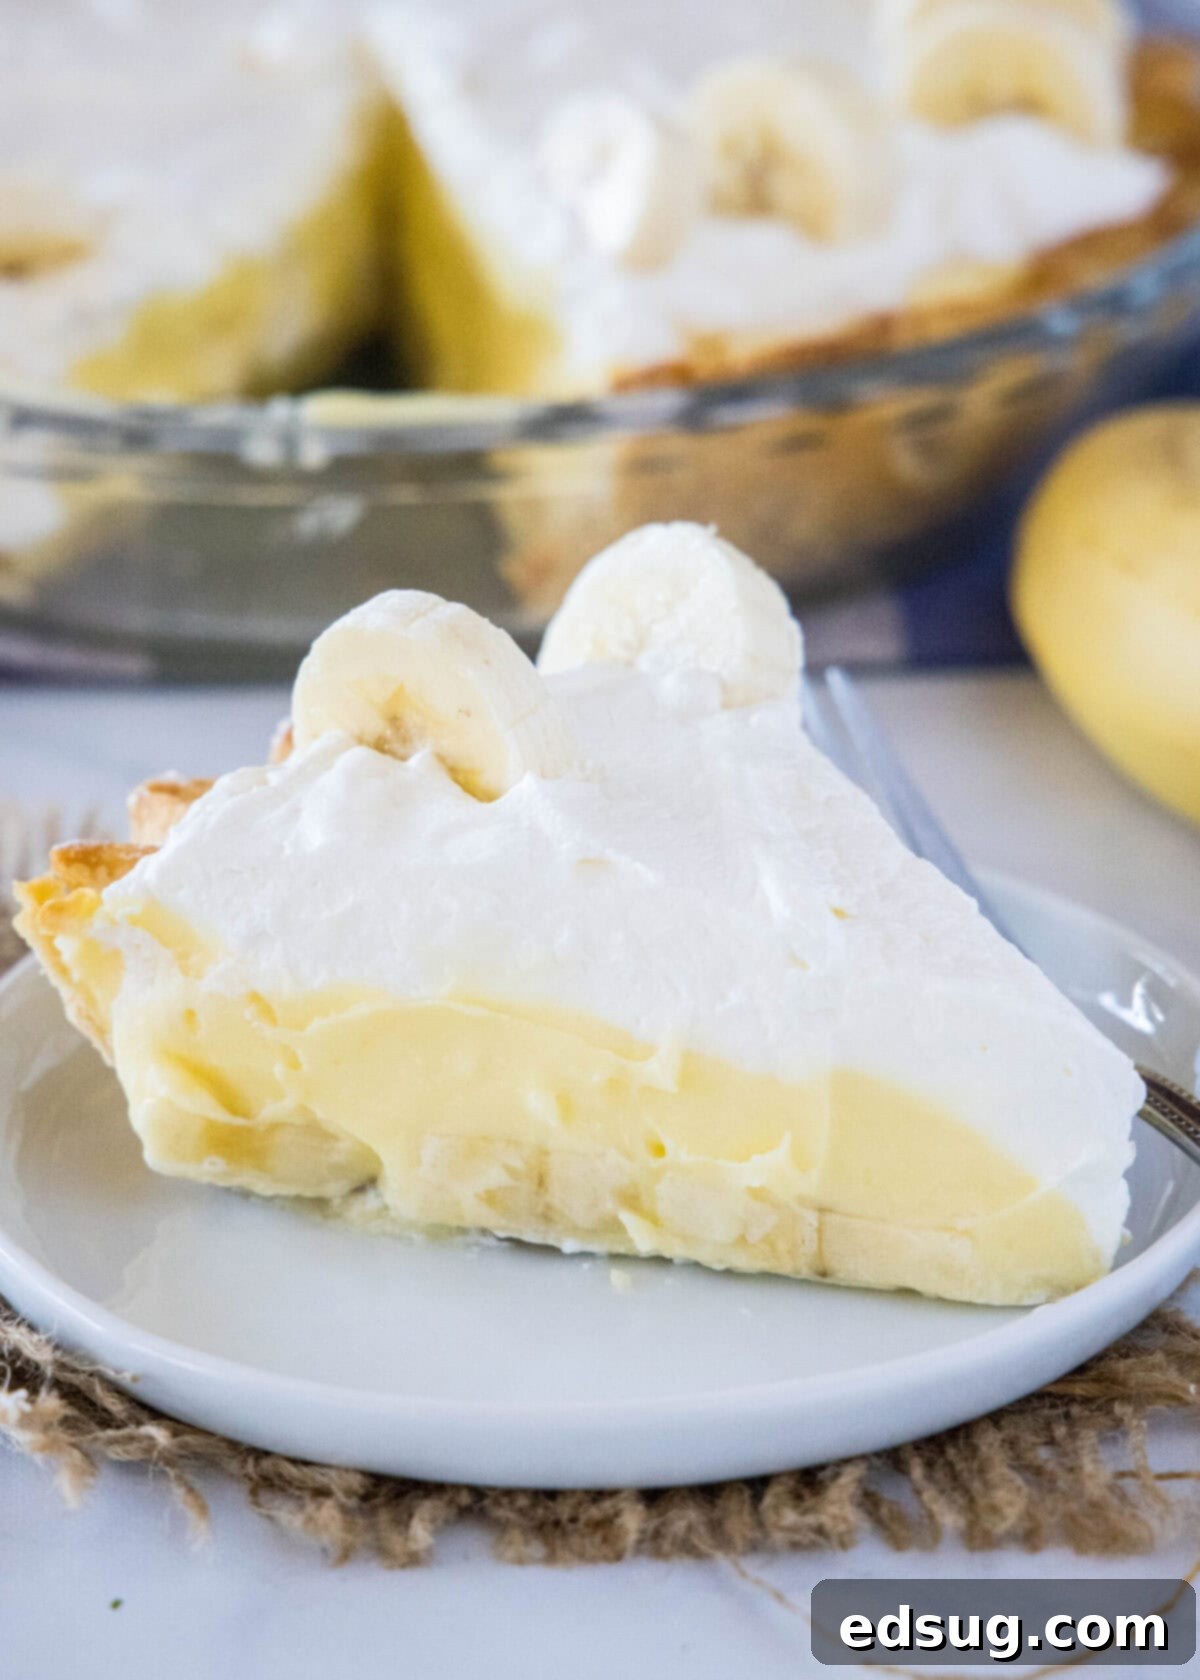
This particular recipe stands out as absolutely fantastic. The texture of the custard consistently turns out perfect, achieving that ideal balance of firm yet yielding, while the natural flavor of the banana truly takes center stage. Despite its elegant appearance and taste, reminiscent of a gourmet dessert from a sophisticated patisserie, this recipe is remarkably simple to follow. It requires moderate effort but yields immense rewards, proving that you don’t need professional skills to create something truly spectacular. So, the next time you find yourself dreaming of banana cream pie, skip the trip to the bakery and create this magnificent dessert yourself – you won’t regret it!
Why You’ll Adore This Decadent Homemade Banana Cream Pie
There are countless reasons to fall in love with this banana cream pie recipe. Here’s what makes it an absolute standout:
- Bakery-Quality Perfection: This isn’t just a good homemade pie; it’s a showstopper. The velvety custard, the fresh fruit, and the light, sweet whipped topping combine to create a dessert so exquisite, your friends will be convinced you bought it from a gourmet bakery. The rich flavor and smooth texture elevate it far beyond typical home baking, making it perfect for impressing guests or simply indulging yourself.
- Surprisingly Easy to Follow: While the end result looks incredibly impressive and complex, the individual steps of this banana cream pie recipe are surprisingly straightforward. It does require a bit of time for chilling and setting, but the actual hands-on preparation is manageable, even for novice bakers. The detailed instructions ensure a smooth process from start to finish, building confidence as you create this masterpiece.
- Ideal for Gatherings and Parties: Hosting a dinner party or attending a potluck? This banana cream pie is your secret weapon. Not only will every guest be thoroughly impressed by your baking prowess, but this recipe is also incredibly easy to scale. You can effortlessly make two, three, or even four pies at once, often requiring only a minimal increase in overall time and effort compared to making a single one. Its crowd-pleasing flavor ensures there are never any leftovers!
Essential Ingredients for Your Luscious Banana Cream Pie
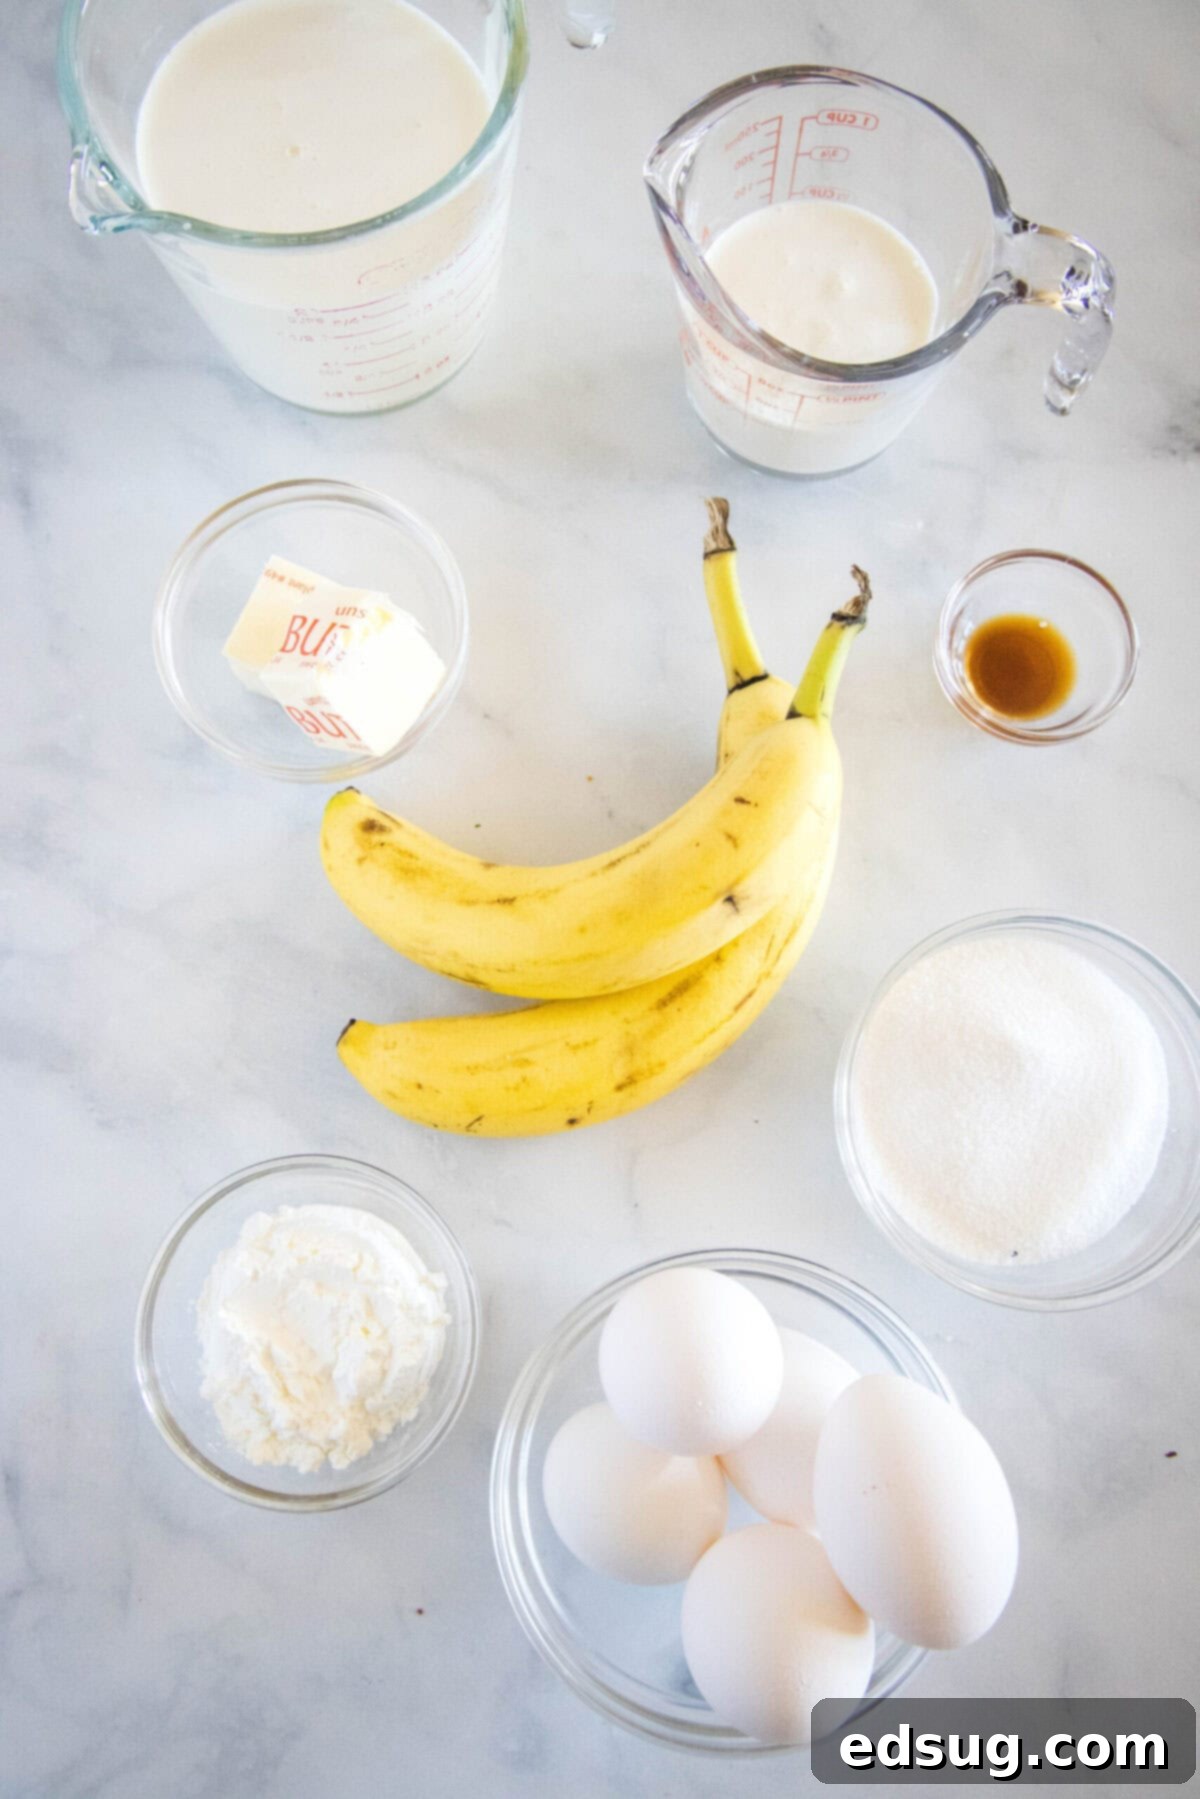
Gathering your ingredients is the first step to creating this melt-in-your-mouth banana pie. For precise measurements, please refer to the detailed recipe card conveniently located at the bottom of this page. Here’s what you’ll need:
For the Velvety Custard Filling:
- Granulated Sugar: Provides the perfect sweetness to balance the rich custard and tart bananas.
- Cornstarch: Acts as our primary thickening agent, ensuring a smooth, stable, and perfectly set custard.
- Salt: A pinch of salt is crucial for enhancing all the other flavors, preventing the pie from tasting bland or overly sweet.
- Egg Yolks: These are vital for richness, color, and contributing to the silky-smooth texture of the custard.
- Whole Milk: For the absolute best results, whole milk is recommended. Its higher fat content creates a creamier, more decadent custard.
- Heavy Cream: Adds another layer of richness and a luxurious mouthfeel to the filling.
- Unsalted Butter: Using unsalted butter allows you to control the overall saltiness of the pie. It adds incredible flavor and helps create that glossy, smooth finish.
- Pure Vanilla Extract: Always opt for 100% pure vanilla extract for the most authentic and aromatic vanilla flavor, which complements the banana beautifully.
For the Fluffy Whipped Cream Topping:
- Heavy Cream: Chilled heavy cream is essential for whipping into stable, fluffy peaks.
- Powdered Sugar: Also known as confectioners’ sugar, it sweetens the whipped cream and helps stabilize it for a smooth finish without grittiness.
- Vanilla Extract: A touch of vanilla enhances the overall flavor of the whipped cream, making it even more irresistible.
For the Assembly:
- Baked and Cooled Pastry Shell: You’ll need a single, pre-baked pie crust. Ensure it’s completely cooled before you begin filling to prevent a soggy bottom.
- Ripe Bananas: Choose ripe but firm bananas. They should be yellow with perhaps a few small brown spots, indicating optimal sweetness and flavor.
Crafting Your Perfect Homemade Banana Cream Pie: Step-by-Step Guide
Here’s a detailed guide on how to assemble this truly perfect, delectable dessert:
- Prepare the Dry Ingredients: In a medium-sized bowl, combine the granulated sugar and cornstarch. Whisk them thoroughly together. This step is crucial because it ensures the cornstarch is evenly distributed and prevents lumps from forming when wet ingredients are added, leading to a consistently smooth custard.
- Incorporate the Eggs: Add the egg yolks and pure vanilla extract to the bowl with your whisked dry ingredients. Continue to whisk vigorously until the mixture is completely smooth, lump-free, and has lightened slightly in color, indicating the sugar is beginning to dissolve.
- Gently Heat the Dairy: Pour the whole milk and heavy cream into a heavy-bottomed saucepan. Heat this mixture over medium heat, stirring occasionally, until you observe small bubbles forming around the edges of the pan, and it’s just about to reach a boil. Do not let it boil vigorously.
- Master the Tempering Process: This is arguably the most critical step for a silky-smooth custard. When you slowly drizzle the hot milk and cream into the whisked egg yolks, you are gently bringing the egg mixture up to temperature without shocking it. If you add the dairy too quickly, the sudden heat will scramble the egg yolks, resulting in an unappealing texture. Be incredibly patient and pour a very thin stream while whisking vigorously and constantly. Once a small amount of the hot liquid has been successfully incorporated and the eggs are warmed, you can gradually increase the speed of your pour, but never stop whisking.
- Cook the Custard: Return the entire mixture to the saucepan on the stovetop and cook over medium heat. Whisk continuously, paying close attention to the bottom of the pan, until the mixture thickens significantly, reaching a rich, pudding-like consistency. It should be thick enough to coat the back of a spoon. This typically takes about 5-8 minutes.
- Finish with Butter and Cool: Remove the custard from the heat immediately. Stir in the unsalted butter until it is completely melted and fully incorporated, making the custard incredibly smooth and glossy. Transfer the mixture to a clean bowl, cover the surface directly with plastic wrap (this prevents a skin from forming), and let it cool. Stir occasionally during the initial cooling phase to help it reach room temperature faster and maintain its smooth texture.
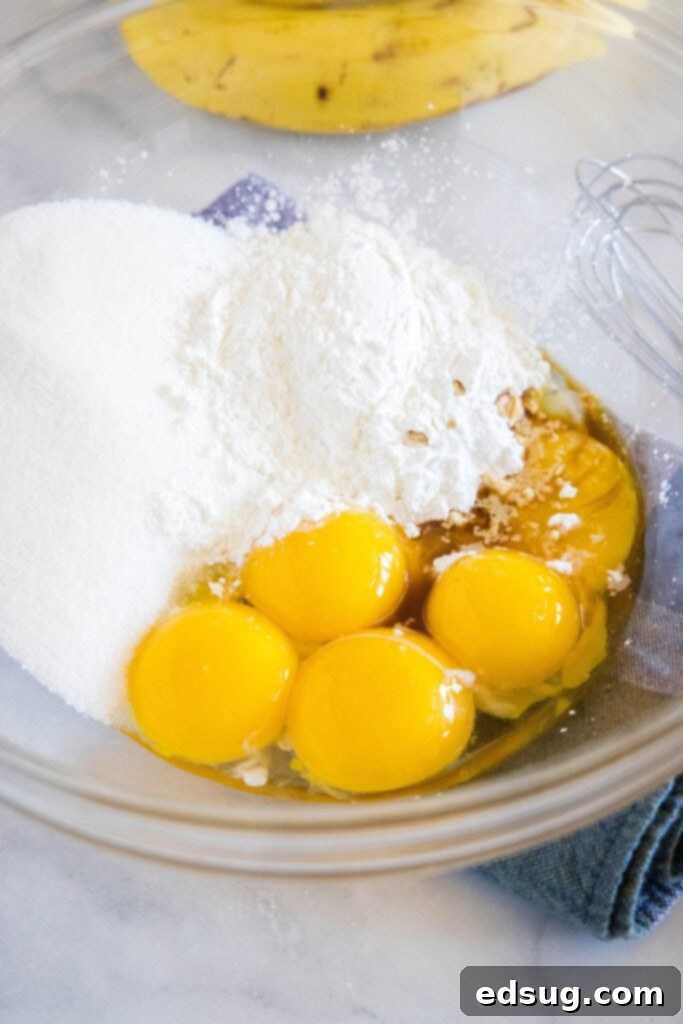
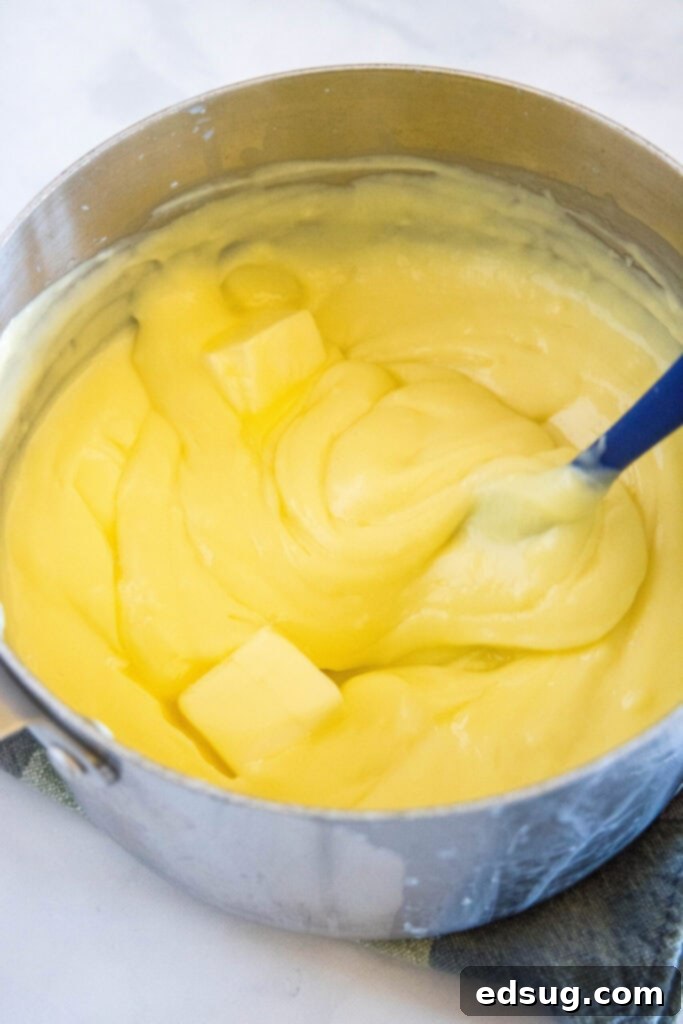
- Thoroughly Chill the Filling: Once the custard has cooled sufficiently, ensure the plastic wrap is pressed directly onto its surface to prevent any skin from forming. Place the bowl in the refrigerator for at least 3 hours, or ideally until it is very cold and completely set. This chilling time is crucial for the custard to firm up properly and for the flavors to fully meld, resulting in a superior pie.
- Assemble the First Layer: Retrieve your completely cooled, pre-baked pastry crust. Spread a small, even amount of the chilled custard filling across the bottom of the crust. This thin layer acts as a barrier. Next, meticulously arrange a layer of freshly sliced bananas over the custard, ensuring they cover the entire surface. This first layer of custard helps prevent the bananas from browning too quickly.
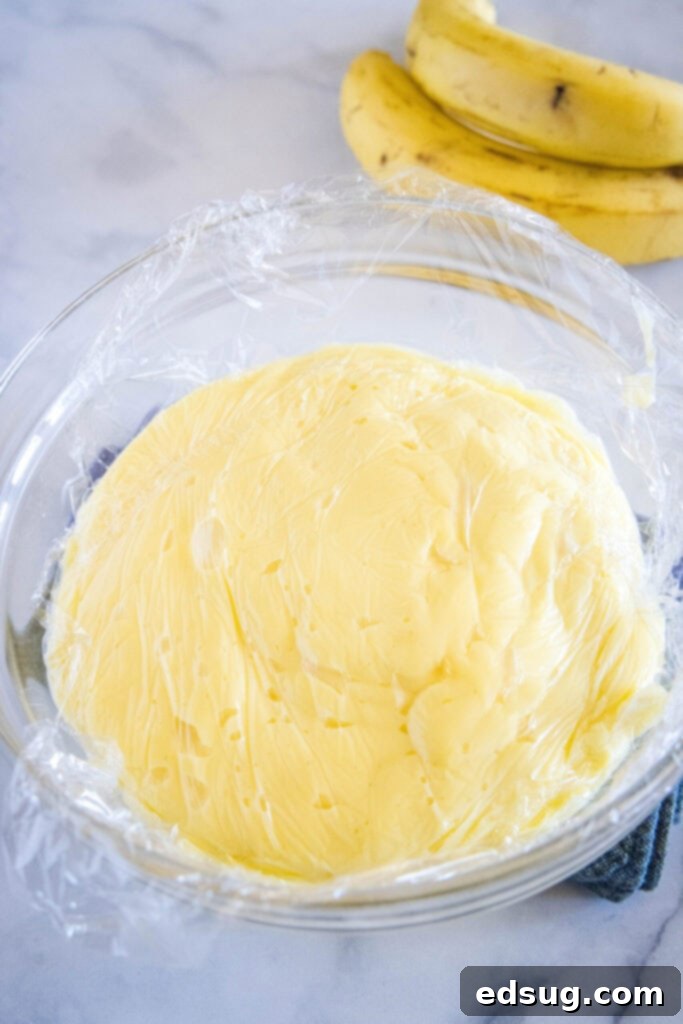
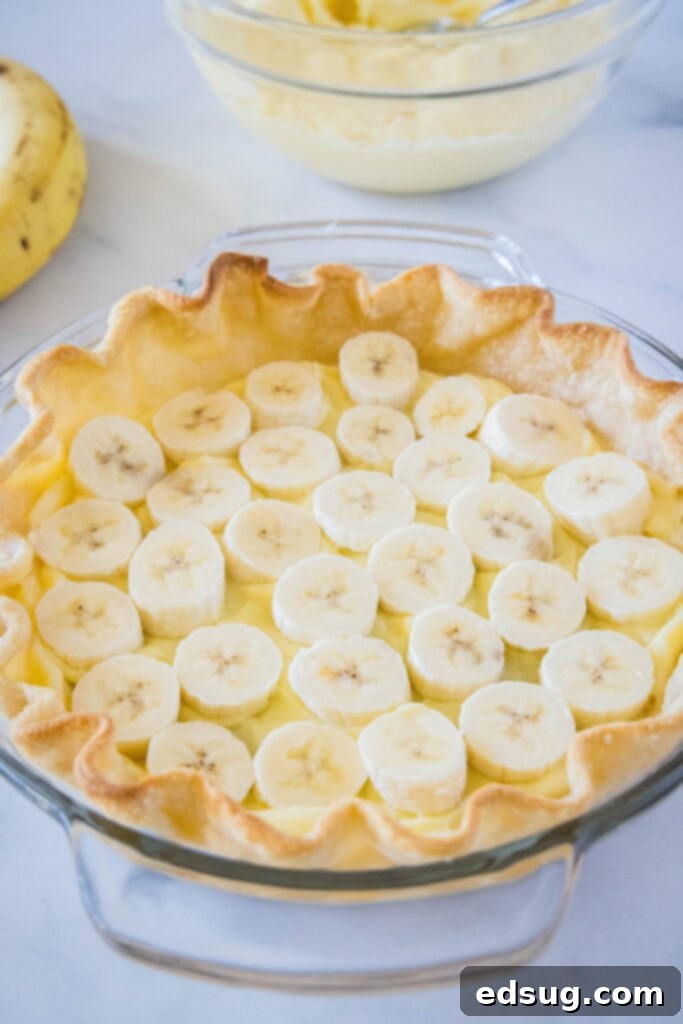
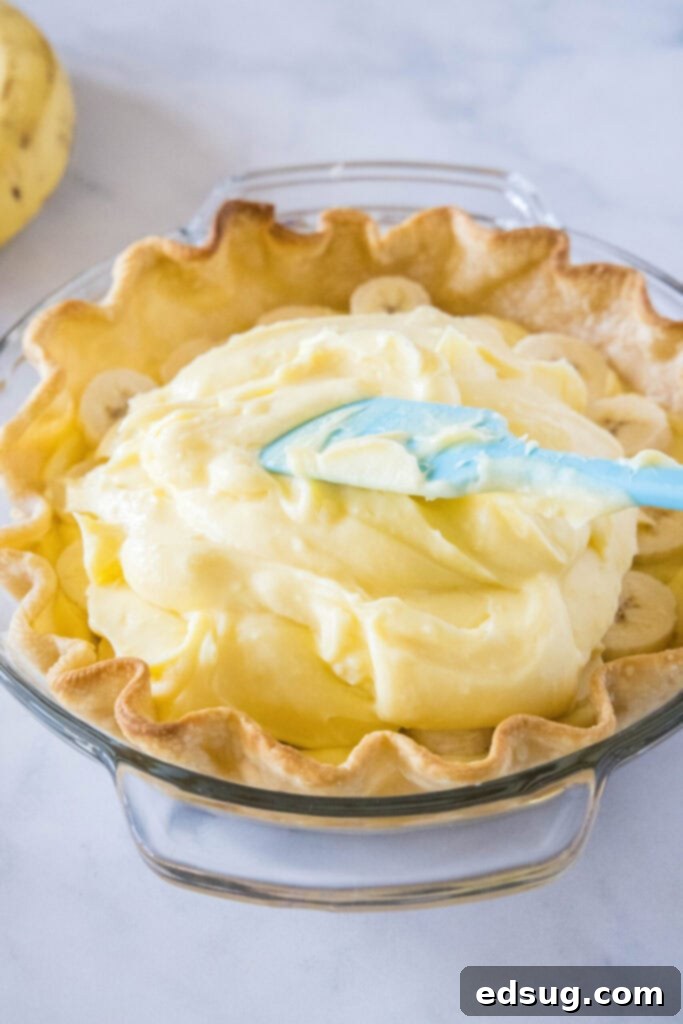
- Add the Remaining Filling: Carefully pour the rest of the chilled custard filling over the layer of bananas. Use a spatula to gently spread it around, ensuring an even, smooth surface that completely covers the banana slices. This creates a beautiful, seamless appearance for your pie.
- Whip the Cream: In a separate, very cold bowl (chilling the bowl and beaters helps!), beat the heavy cream with an electric mixer on medium-high speed until soft peaks begin to form. Gradually add the powdered sugar and vanilla extract, then continue beating until stiff peaks are achieved. The whipped cream should hold its shape firmly.
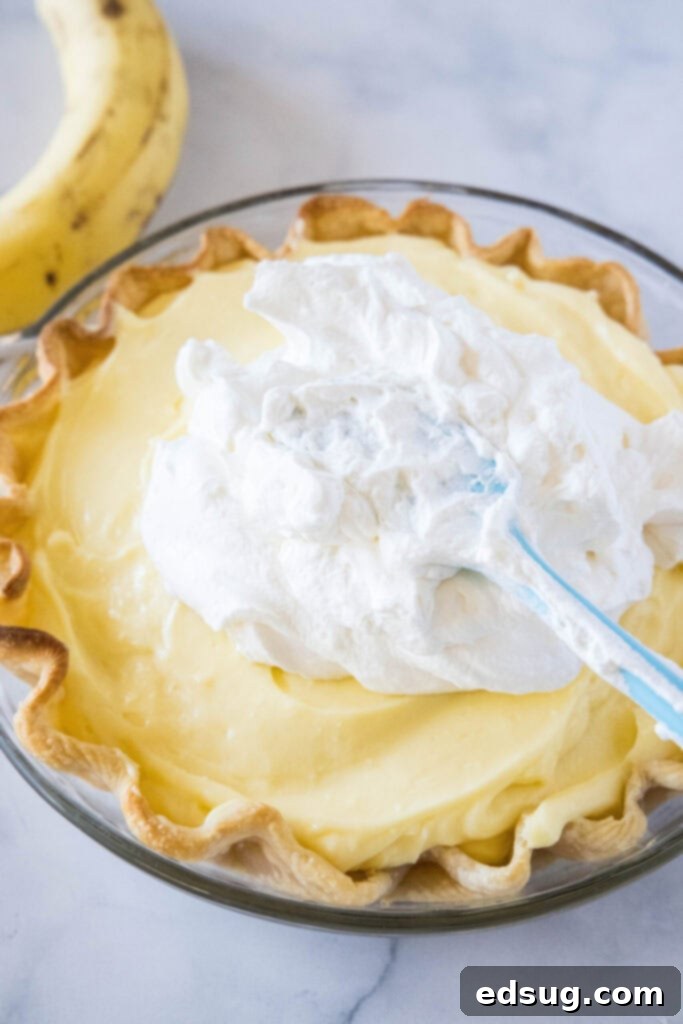
- Top the Pie: Gently spoon the freshly whipped cream onto the top of the pie. Use a spatula to spread it evenly across the entire surface, creating an appealing dome or swirling pattern. You can also pipe it on for a more decorative finish.
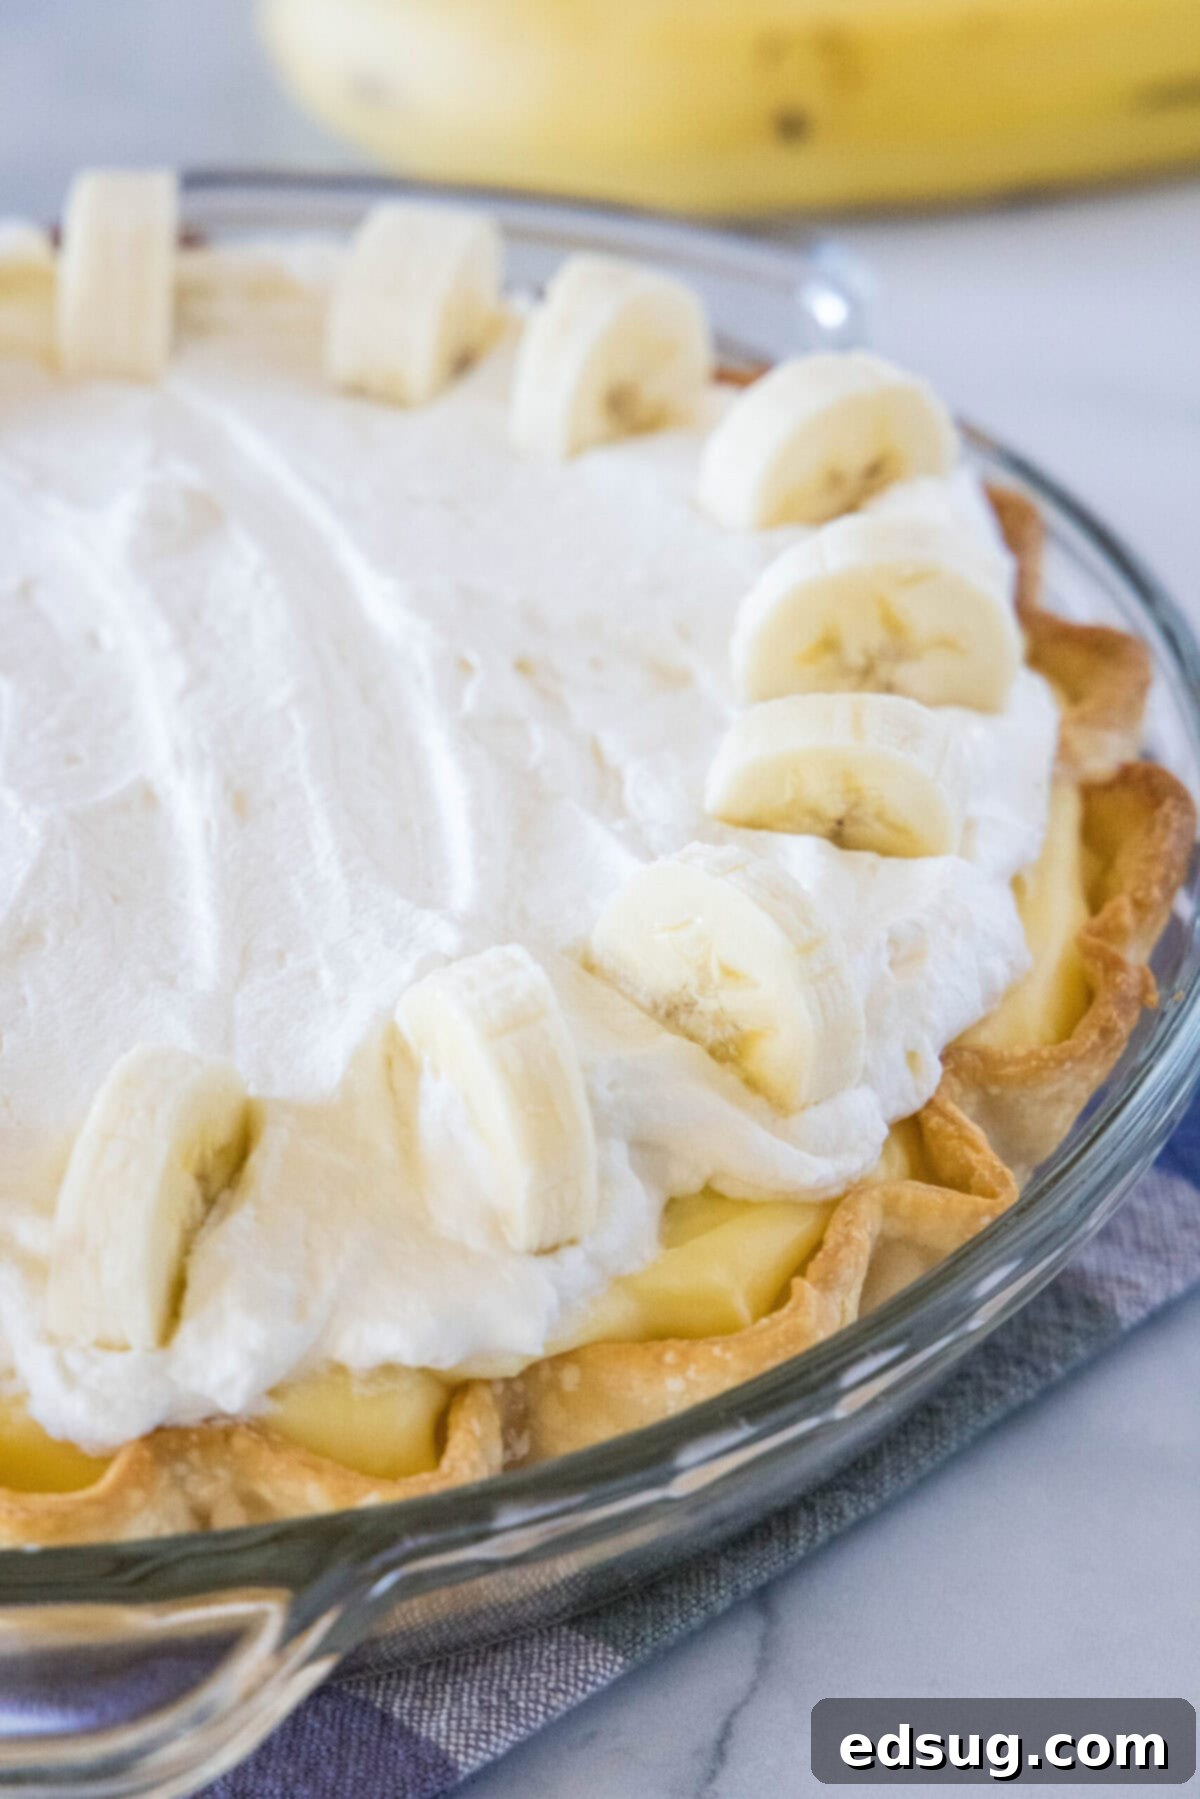
- Serve and Enjoy: For an extra touch of visual appeal and flavor, garnish the finished pie with a few more fresh banana slices just before serving. Slice, serve, and bask in the adoration for your amazing homemade banana cream pie!
Expert Tricks and Tips for Your Best Banana Cream Pie Ever
To ensure your banana cream pie reaches its full potential, here are some invaluable tips and tricks:
- Room-Temperature Eggs are Key: This is a golden rule in baking, especially for custards. Cold eggs don’t emulsify or blend as smoothly with other ingredients. By using room-temperature egg yolks, you’ll achieve a much smoother, silkier, and more homogenous custard base, preventing any grainy texture. Simply take your eggs out of the fridge about 30-60 minutes before you plan to use them.
- The Art of Slow Milk Addition (Tempering): The tempering step is the most critical part of preventing a culinary disaster. When you slowly drizzle the hot milk and cream into the whisked egg yolks, you are gently bringing the egg mixture up to temperature without shocking it. If you add the dairy too quickly, the sudden heat will scramble the egg yolks, resulting in an unappealing texture. Be incredibly patient and pour a very thin stream while whisking vigorously and constantly. Once a small amount of the hot liquid has been successfully incorporated and the eggs are warmed, you can gradually increase the speed of your pour, but never stop whisking.
- Strain for Perfection: Despite your best efforts, sometimes a tiny bit of scrambled egg can form. Don’t despair! If you notice a few small pieces in your mixture after tempering, simply pour the entire custard through a fine-mesh strainer into a clean bowl before returning it to the saucepan for cooking. This will remove any unwanted lumps and ensure your final custard is impeccably smooth. This trick works best for minor incidents, not if the majority of your eggs have scrambled.
- Chill for Optimal Flavor and Texture: While tempting to dive in immediately, resisting the urge to eat your banana cream pie right after assembly is highly recommended. Chilling the pie in the refrigerator for at least an hour or two (or even longer) allows the custard to firm up to the perfect sliceable consistency. More importantly, this resting period allows all the flavors—the sweet bananas, rich vanilla, and creamy custard—to meld and deepen, resulting in a much more harmonious and delicious dessert.
- Choose Ripe, But Not Overripe, Bananas: The quality of your bananas significantly impacts the pie’s flavor. Look for bananas that are yellow with a few small brown specks – this indicates peak sweetness and aroma. Avoid green, unripe bananas (which lack flavor) and overly brown, mushy ones (which can make the pie watery).
- Prevent Banana Browning: Bananas notoriously brown when exposed to air. To keep your slices looking fresh and appealing, gently toss them with a tiny amount of lemon juice (about 1/2 teaspoon per banana) before arranging them in the pie. Ensure they are fully covered by the custard filling as quickly as possible.
- Blind Bake Your Crust Properly: A pre-baked (or blind-baked) crust is essential to prevent a soggy bottom. Make sure your crust is fully baked through and golden brown before adding any filling.
- Pure Vanilla is Non-Negotiable: Vanilla extract plays a crucial supporting role. Invest in good quality pure vanilla extract; imitation vanilla simply won’t deliver the same depth and richness of flavor.
Perfect Pairings: What to Serve with Your Banana Cream Pie
Given the sweet and indulgent nature of this banana cream pie, it truly stands alone as a complete dessert. However, I often find myself enjoying a lovely beverage alongside a generous slice of this heavenly treat. Here are a few drink suggestions that complement its creamy richness and tropical notes beautifully:
- Homemade Strawberry Milk: A sweet, fruity, and nostalgic pairing.
- Copycat Orange Julius: The bright, citrusy notes offer a refreshing contrast.
- Peppermint Hot Chocolate: A comforting and unique flavor combination, especially for cooler months.
- Baileys White Russian: For an adult indulgence, the creamy liqueur complements the pie’s richness perfectly.
- A Freshly Brewed Coffee: The robust bitterness of coffee provides an excellent counterpoint to the pie’s sweetness.
- Iced Tea: A simple unsweetened or lightly sweetened iced tea can be wonderfully refreshing.
Storing Your Delicious Leftover Banana Cream Pie
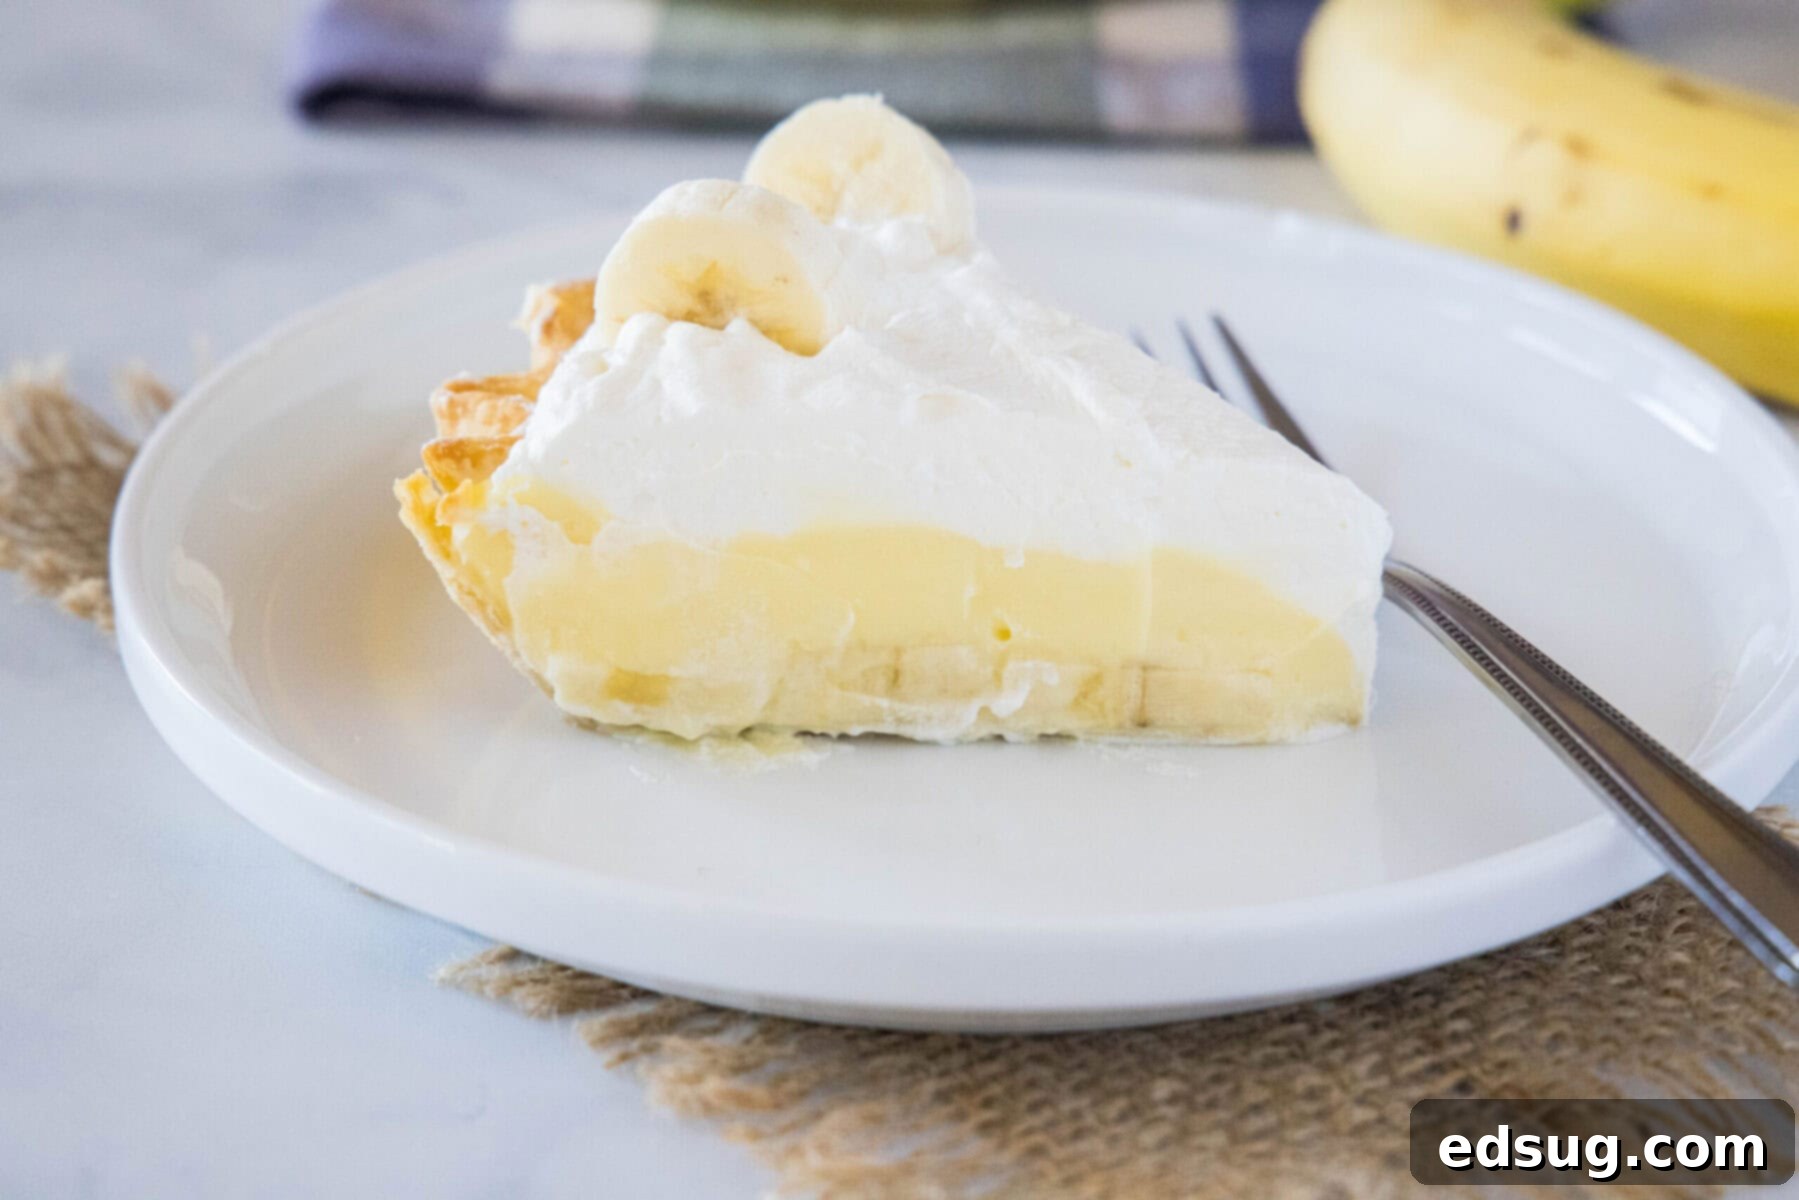
Should you be fortunate enough to have any leftover banana cream pie (a rare occurrence!), it can be stored in the refrigerator for up to 4 days. To maintain its freshness and prevent it from absorbing any fridge odors, ensure it is properly stored. The best way is to place the pie in an airtight container. If you don’t have one large enough, cover the pie tightly with plastic wrap, pressing it gently onto the surface of the whipped cream to minimize air exposure.
Can You Freeze Banana Cream Pie?
Yes, you can freeze this dessert, but with a small caveat: the texture might not be quite as pristine after thawing, particularly the whipped cream. If you plan to freeze your banana cream pie, it’s highly recommended to do so *before* adding the whipped cream topping. Whipped cream tends to become watery and lose its fluffy consistency upon thawing. To freeze, place the pie (without the whipped cream) in an airtight container or wrap it very securely in several layers of plastic wrap and then foil. It can be stored in the freezer for up to 3 months. When you’re ready to enjoy it, thaw the pie overnight in the refrigerator, then prepare fresh whipped cream and top it just before serving for the best possible experience.
Explore More Easy and Delicious Pie Recipes!
Can’t get enough of delightful pies? You’re in good company! Here are some more of my favorite, easy-to-make pie recipes that are sure to satisfy your sweet tooth:
- French Silk Pie: A rich, chocolatey indulgence.
- Lemonade Pie: A bright, tangy, and refreshing no-bake treat.
- No-Bake Strawberry Jello Pie: Simple, fruity, and perfect for summer.
- Fresh Strawberry Pie: Highlighting the natural sweetness of fresh strawberries.
- No-Bake Kool-Aid Pie: A fun, colorful, and super easy option.
- Chocolate Peanut Butter Cream Pie: A heavenly combination for chocolate and peanut butter lovers.

Decadent Homemade Banana Cream Pie
Ingredients
For the Filling:
- 1/2 cup granulated sugar
- 1/4 cup cornstarch
- 1/8 teaspoon salt
- 5 egg yolks
- 2 cups whole milk
- 1/2 cup heavy cream
- 3 tablespoons butter
- 1 teaspoon vanilla extract
For the Topping:
- 1 cup heavy cream
- 1/4 cup powdered sugar
- 1 teaspoon vanilla extract
For the Assembly:
- 1 baked and cooled pastry shell
- 2 bananas, peeled and sliced
Instructions
- Whisk together the granulated sugar and cornstarch in a large bowl until well combined. Add the egg yolks and vanilla extract, and whisk until the mixture is smooth and lightens in color, ensuring no lumps remain.
- Combine the whole milk and heavy cream in a medium saucepan. Heat over medium heat, stirring occasionally, until bubbles just begin to form around the edge of the saucepan and the mixture is almost boiling. Do not allow it to come to a full, rolling boil.
- To temper the eggs, slowly drizzle about one cup of the hot milk and cream mixture into the egg yolk mixture while continuously whisking. This gradual addition helps to gently raise the temperature of the eggs without scrambling them. Once tempered, slowly add the remaining hot liquid, continuing to whisk constantly, until fully incorporated.
- Return the entire mixture to the saucepan and place it back on the stovetop over medium heat. Whisk constantly and vigorously, paying attention to the bottom of the pan, until the filling thickens considerably and reaches a very thick, pudding-like consistency that coats the back of a spoon.
- Remove the custard filling from the heat. Stir in the butter until it is completely melted and the custard is perfectly smooth and glossy. Transfer the custard to a clean bowl, press plastic wrap directly onto its surface to prevent a skin from forming, and allow it to cool, stirring occasionally to help it come to room temperature.
- Place the covered filling in the fridge for at least 3 hours, or until it is very cold and fully set, ensuring optimal texture and flavor development.
- Once chilled, spread a very thin layer of the cold custard over the bottom of your baked and completely cooled pastry crust. Arrange the freshly sliced bananas evenly over this custard layer, ensuring they are well covered.
- Pour the remaining custard filling over the bananas and carefully spread it around until it forms an even, smooth layer, completely covering the banana slices.
- In a separate, chilled bowl, beat the heavy cream until soft peaks begin to form. Add in the powdered sugar and vanilla extract, then continue to beat until stiff peaks are achieved and the whipped cream holds its shape firmly.
- Gently spread the whipped cream over the top of the banana cream pie, creating a decorative surface. Garnish with additional fresh banana slices just before serving for an extra flourish.
Nutrition
Nutrition information is automatically calculated, so should only be used as an approximation.
Additional Info
I’ve created a fantastic community group on Facebook, and I’d be absolutely delighted for you to join us! It’s a vibrant space where you can share YOUR most cherished recipes, ask any cooking questions, and stay up-to-date with all the latest happenings and new recipes from Dinners, Dishes and Desserts (so you never miss out on delicious inspiration)!
Be sure to follow me on Instagram and tag #dinnersdishes so I can see all the wonderful DINNERS, DISHES, AND DESSERTS creations YOU bring to life!
Don’t miss a single delicious post! Be sure to follow me on my social media channels:
Facebook | Twitter | Pinterest | Instagram
.
