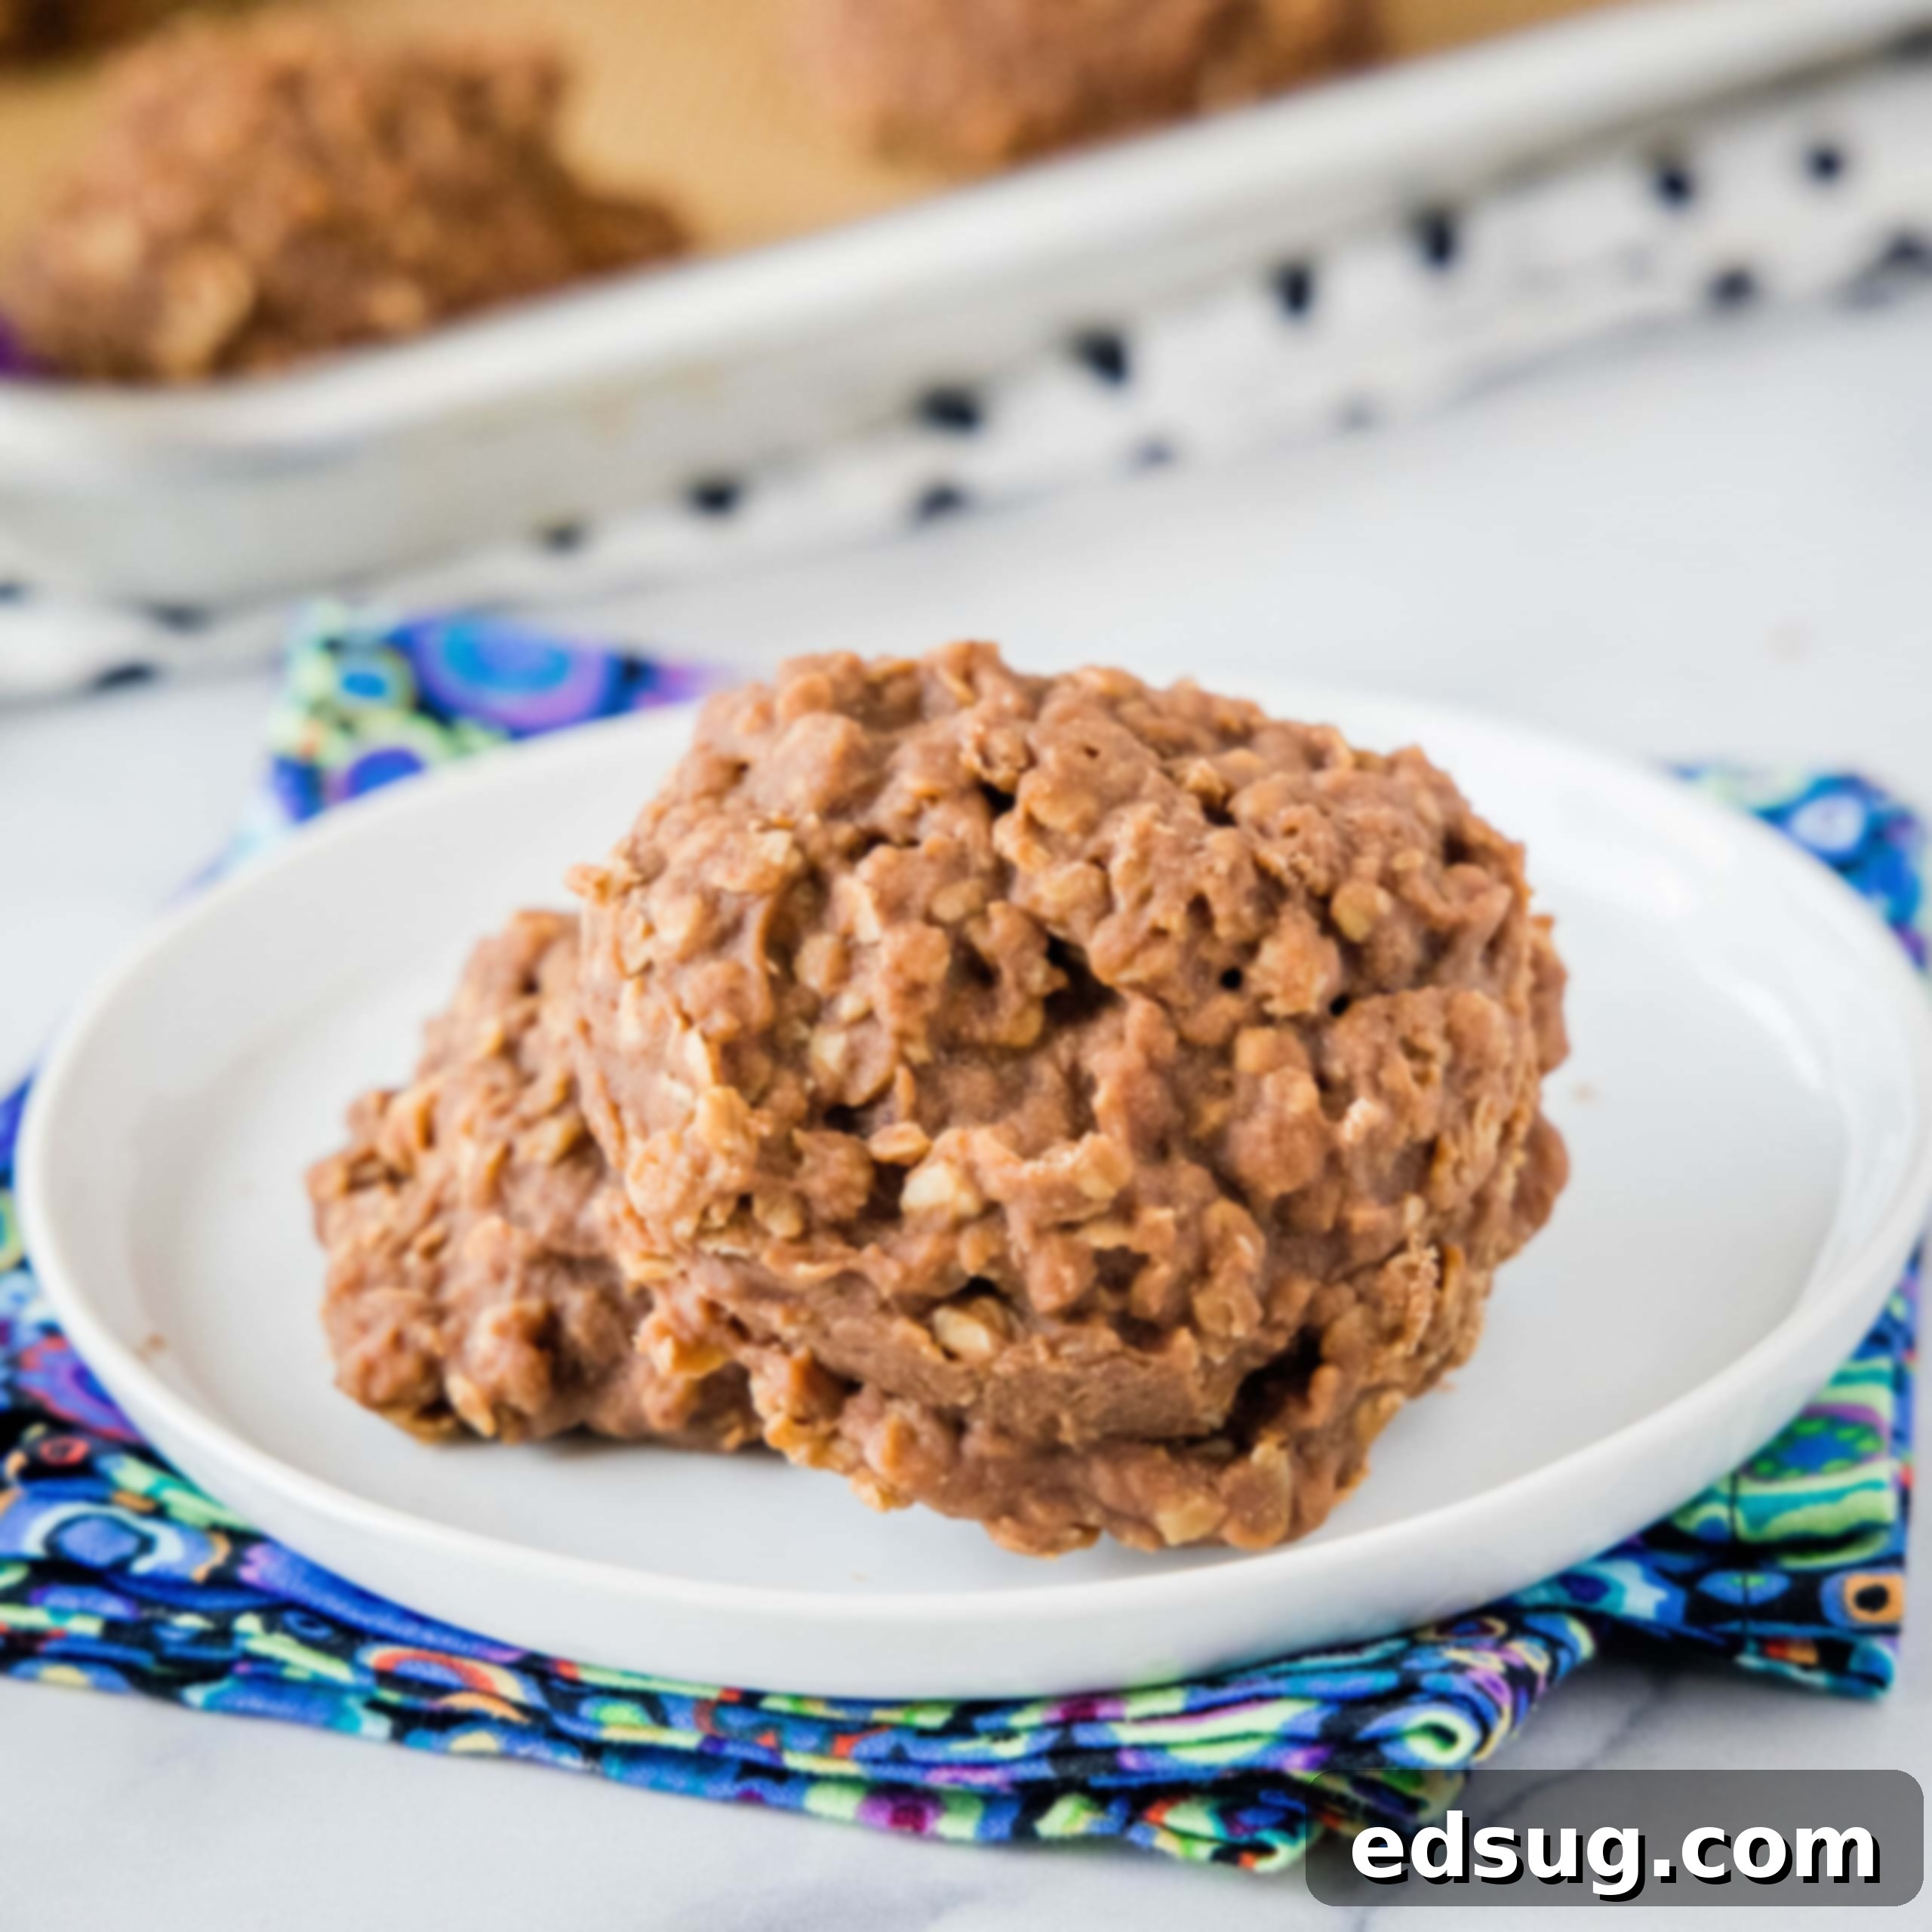
Easy Classic No Bake Cookies: Chocolate, Peanut Butter & Oats for Quick Treats
Discover the timeless delight of Classic Chocolate, Peanut Butter, and Oats No Bake Cookies. These perfect treats are ideal for hot summer days when you want a delicious dessert without heating up your kitchen. They’re also wonderfully freezer-friendly, making them excellent for school lunches and quick snacks!
For generations, these beloved no bake cookies have graced kitchen counters and lunchboxes. Packed with the irresistible combination of rich chocolate, creamy peanut butter, and hearty oats, they offer a satisfyingly sweet and chewy bite. What makes them truly legendary is their incredible ease of preparation: they can be whipped up in just about 10 minutes from start to finish. Imagine going from a sudden cookie craving to enjoying a homemade treat almost instantly, without even turning on your oven!
While I adore no-bake desserts especially during the scorching summer months – keeping the house cool is a major win – these cookies are truly a year-round favorite. Their simplicity and deliciousness make them perfect any time. If you’re looking for other addictive no-bake delights, you might also love our Monster Cookie No Bake Bars, which are always a hit!
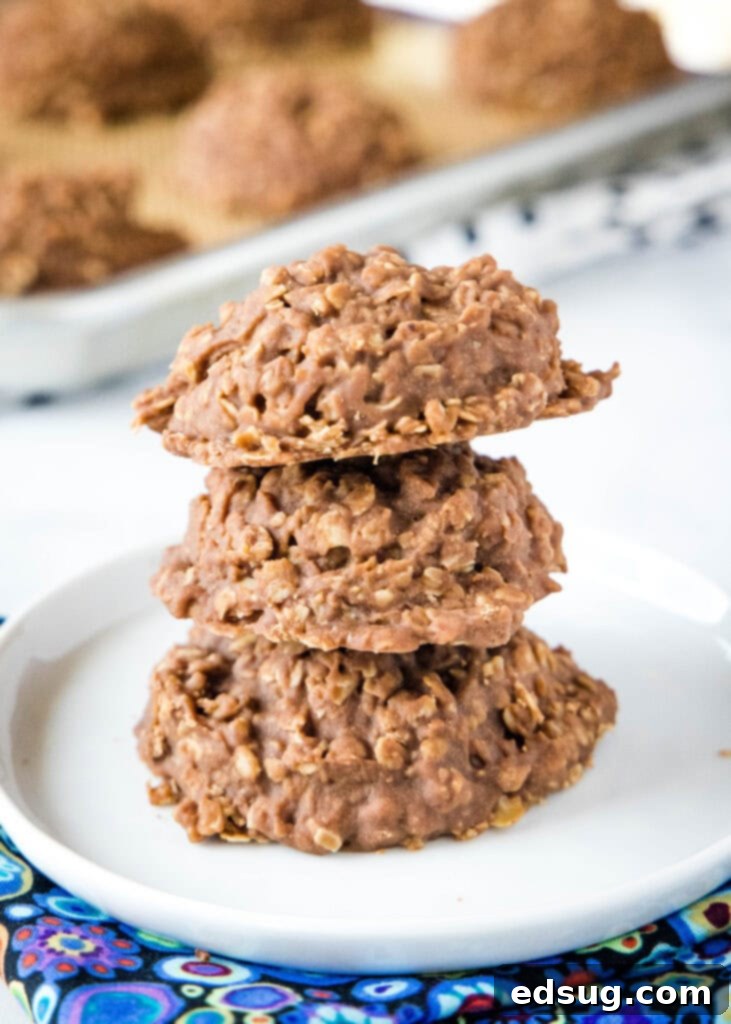
These no bake cookies are an absolute staple in my household, particularly for lunchboxes. Their freezer-friendly nature makes meal prep a breeze. Simply grab one or two from the freezer in the morning, and by lunchtime, they’ll have thawed to perfect chewy goodness. This convenient storage method also makes them an ideal grab-and-go snack. Even better, they’re so straightforward to make that older children can practically prepare them on their own, fostering a love for baking (or, in this case, non-baking!) from an early age.
The texture of these no bake cookies is uniquely satisfying. They’re almost fudgy, thanks to the rich chocolate base that sets up beautifully. The addition of oats provides a wonderful chewiness that perfectly complements the smooth peanut butter. If these delightful treats weren’t a part of your childhood, it’s high time to introduce them into your life. Trust me, once you try them, you’ll wonder how you ever lived without this quick and easy indulgence!
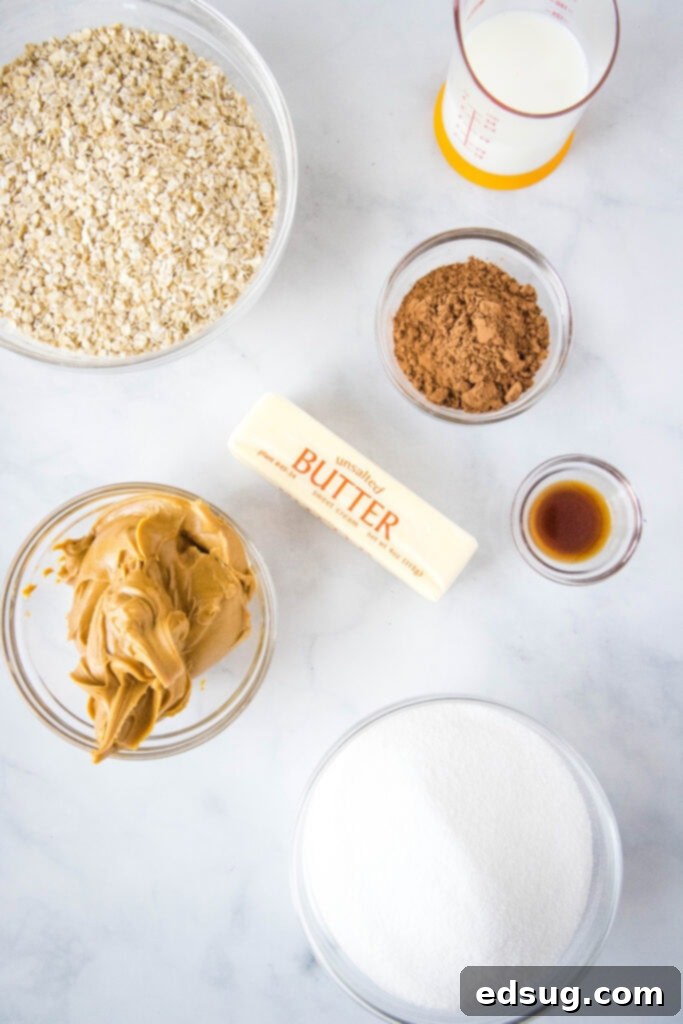
No Bake Cookie Ingredients: Simple & Delicious
One of the best aspects of these classic no bake cookies is their reliance on simple, everyday pantry staples. You likely already have most, if not all, of these ingredients on hand, making a spontaneous batch entirely possible!
- Butter: Essential for richness and proper setting.
- Sugar: Provides sweetness and helps create the fudge-like consistency.
- Cocoa Powder: Delivers that deep, beloved chocolate flavor.
- Milk: Acts as a liquid base, helping everything dissolve and blend.
- Creamy Peanut Butter: The star, offering its signature creamy texture and nutty flavor.
- Vanilla Extract: A touch of vanilla elevates all the other flavors.
- Oats: The backbone, adding chewy texture and wholesome goodness.
When it comes to oats, you truly can use either old-fashioned rolled oats or quick-cooking oats. Both will work in this recipe, so don’t feel limited if you only have one type. However, I personally prefer to use old-fashioned oats. I find they lend a slightly chewier texture to the finished cookies and result in a thicker, more satisfying bite. Quick oats will still give you a delicious cookie, but the texture might be a little softer.
For those who aren’t huge fans of chocolate, or simply want to switch things up, these Peanut Butter No Bake Cookies offer a fantastic alternative. They follow a very similar method but omit the cocoa, focusing entirely on that delightful peanut butter flavor. They are perfect for the ultimate peanut butter lover in your life!
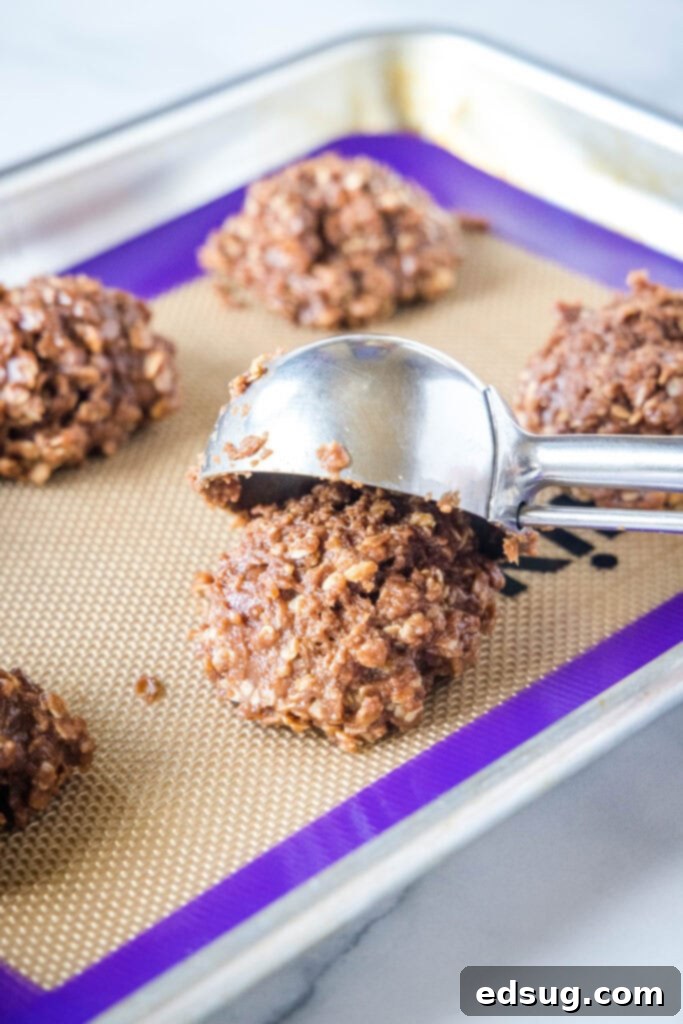
How To Make No Bake Cookies: Your Quick Guide
Making these no bake cookies is incredibly straightforward, involving just a few simple steps and minimal cooking time. The key is to follow the instructions carefully, especially the boiling time, to ensure your cookies set up perfectly. For the exact measurements and a detailed recipe, be sure to scroll down to the recipe card below. But first, here’s an overview of the process:
- Melt & Combine Wet Ingredients: In a medium-sized saucepan, begin by melting the butter over medium heat. Once melted, add in the sugar, cocoa powder, and milk. Stir these ingredients together until they are well combined and the sugar begins to dissolve. This creates the foundational chocolatey, sweet base for your cookies.
- Bring to a Boil & Cook Precisely: Increase the heat slightly to bring the mixture to a rolling boil. This is a critical step for the cookies to set properly. Once boiling, continue to cook the mixture for exactly 1 minute, stirring frequently. This ensures the sugar cooks just enough to create the right consistency for setting without becoming too hard or too soft. Precision here makes all the difference!
- Remove from Heat & Add Flavor Enhancers: Immediately remove the saucepan from the heat after the 1-minute boil. Quickly stir in the vanilla extract and the creamy peanut butter. Continue mixing until the peanut butter is completely melted and smoothly incorporated into the chocolate mixture. The warmth of the mixture will help the peanut butter melt effortlessly.
- Fold in the Oats: Once your chocolate-peanut butter base is smooth, gently fold in the oats. Stir until all the oats are thoroughly coated with the delicious mixture. Work quickly but ensure every oat flake gets its share of the rich coating.
- Scoop & Set: Using a spoon, a small cookie scoop, or an ice cream scoop, drop rounded tablespoons full of the warm batter onto a baking sheet lined with parchment paper or wax paper. Work relatively quickly as the mixture will start to set as it cools.
- Cool Completely: Allow the scooped cookies to cool completely at room temperature or in the refrigerator. As they cool, they will firm up and hold their shape. Once fully set, they can be easily removed from the paper and stored. Patience here is rewarded with perfectly structured cookies!
And just like that, you’ll have a batch of delicious no bake cookies ready to enjoy!
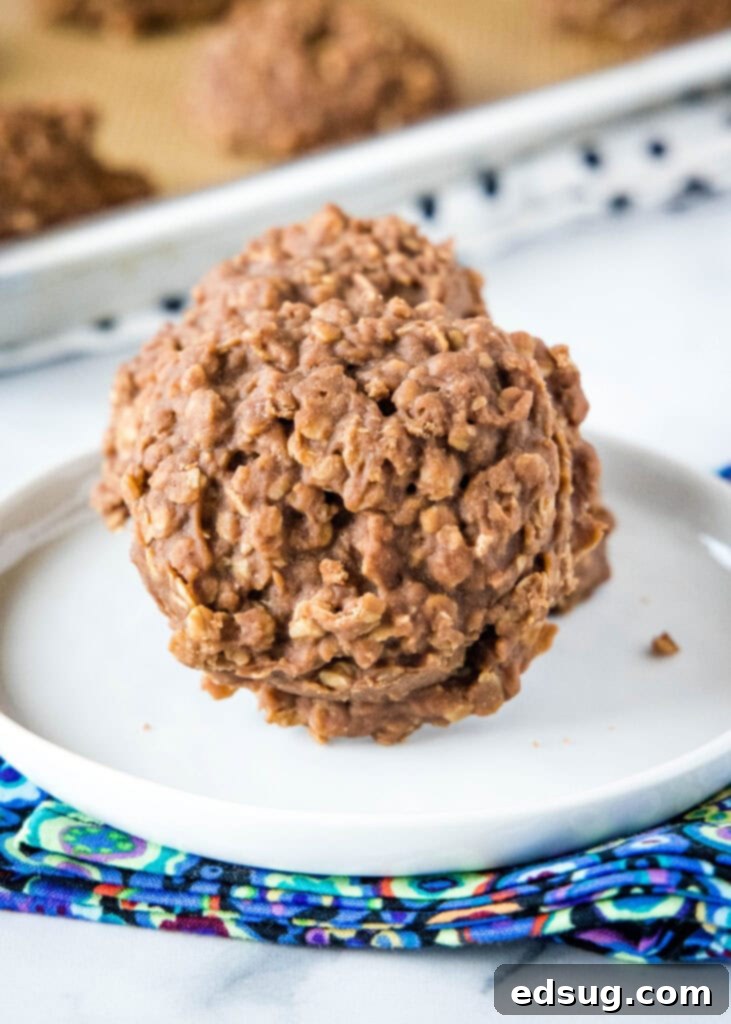
Storage Solutions for Your No Bake Cookies
Proper storage is key to keeping your no bake cookies fresh and delicious. These cookies are quite versatile in how they can be stored, offering options for both short-term enjoyment and long-term convenience.
For shorter periods, I personally prefer to store these cookies in an airtight container in the refrigerator. They will stay fresh for up to a week this way. While refrigeration isn’t strictly required for these cookies to set, the chocolate can become quite soft or even melt slightly if your house is particularly warm. Keeping them chilled helps them maintain their firm, fudgy texture, making them even more enjoyable, especially on a hot day.
If you’re planning ahead or simply want to have a stash of treats readily available, these no bake cookies are excellent for freezing. To freeze them, place the cooled and set cookies in a single layer on a baking sheet and freeze until solid. Once frozen, transfer them to an airtight freezer-safe container or a heavy-duty freezer bag. Stored this way, they will last wonderfully in the freezer for up to 3 months. This method is perfect for preparing school lunches; just toss one or two frozen cookies into a lunchbox, and they’ll be perfectly thawed and ready to eat by lunchtime.
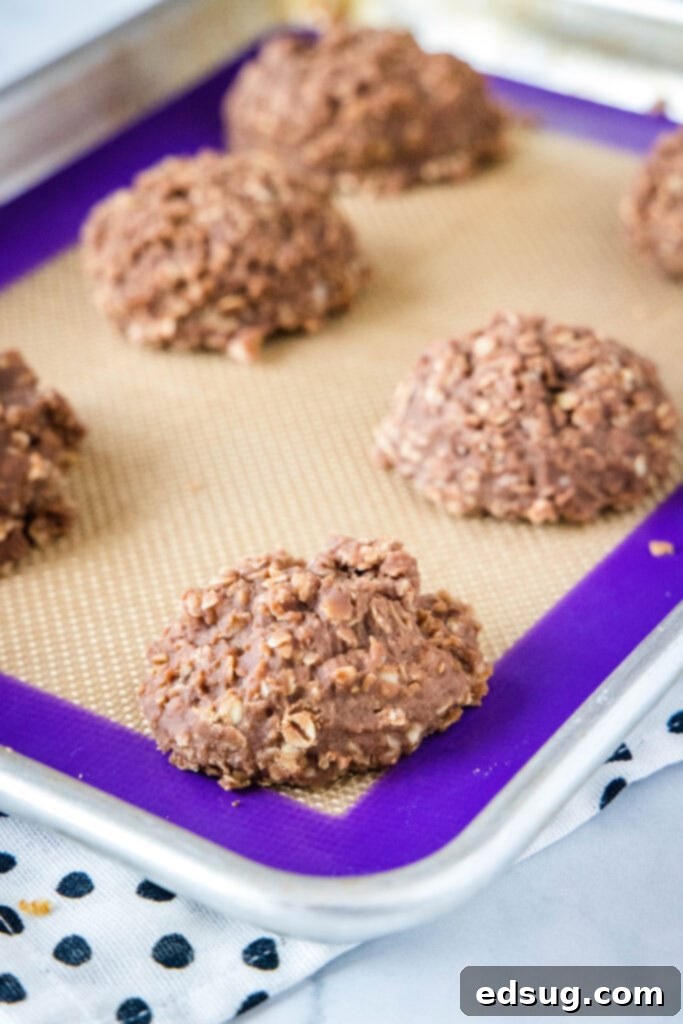
Expert Tips for Perfect No-Fail No Bake Cookies
Achieving the perfect batch of no bake cookies is simple, but a few key tips can ensure they turn out beautifully every time. Pay close attention to these details for consistency and delicious results:
- Choose Your Milk Wisely (or Any Milk Will Do!): Any kind of milk works wonderfully in this recipe. Whether you have skim milk, 2% milk, whole milk, or even a non-dairy alternative like almond milk, feel free to use what you have on hand. The fat content may slightly alter the richness, but it won’t prevent the cookies from setting up correctly.
- Oat Type Matters for Texture: As mentioned, both Old-Fashioned or Quick Cooking Oats work well. However, for a chewier, more substantial cookie, I highly recommend old-fashioned rolled oats. Quick-cooking oats will result in a slightly softer texture. Use whichever you prefer or have available.
- Crunchy Peanut Butter for an Added Twist: If you enjoy a little extra texture and crunch in your treats, feel free to swap out creamy peanut butter for crunchy peanut butter. This simple substitution adds a fantastic textural dimension without changing the fundamental recipe.
- Stirring is Key During Boiling: Make sure to stir the mixture frequently while it’s heating and boiling. This prevents the sugar from sticking and burning to the bottom of the pan, which can ruin the flavor and texture of your cookies. Consistent stirring ensures even heating and dissolution of sugar.
- The Critical 1-Minute Boil: Once the mixture comes to a full, rolling boil, continue stirring and set a timer for exactly 1 minute. This precise boiling time is crucial because it cooks the sugar just enough to allow the cookies to set up and hold their shape once cooled. If they are too soft and don’t set, the sugar likely needed a little more cooking time. Conversely, if they turn out too hard or crumbly, the sugar was cooked for too long. This 1-minute window is the most vital step in the entire process!
- Always Use Real Butter: The recipe specifically calls for butter, and this is not a time to substitute with margarine. Margarine has a different fat and water content, which means it won’t melt and cook in the same way as butter. Using margarine will likely prevent your cookies from setting up properly, resulting in a sticky mess rather than firm cookies.
- Achieve Uniformity with a Scoop: For consistently sized and perfectly shaped cookies, I like to use a large cookie scoop or even an ice cream scoop to drop the batter onto the baking sheet. This ensures that all your cookies are the same size, leading to an even cooling process and a beautifully thick, chewy, and almost fudgy result every time!
- Optional Mix-Ins for Customization: While perfect as they are, feel free to experiment with additional mix-ins. Consider adding a handful of mini chocolate chips, shredded coconut, or even a sprinkle of sea salt before they set for extra flavor and texture.
- Patience During Cooling: It can be tempting to try them immediately, but allowing the cookies to cool completely is essential for them to set fully. If you’re in a rush, you can place the baking sheets in the refrigerator for about 15-20 minutes to speed up the setting process.
With these tips, you’re well on your way to mastering these delicious no bake cookies!
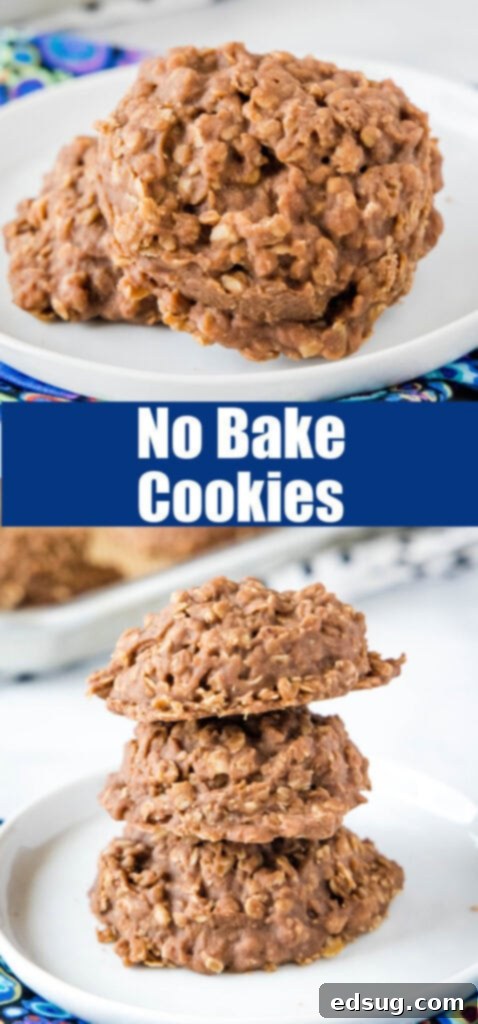
More Easy No Bake Dessert Recipes
If you’ve fallen in love with the convenience and deliciousness of no-bake desserts, there’s a whole world of quick and easy treats waiting for you to explore. Here are some more fantastic no bake recipes that are sure to satisfy your sweet tooth without ever needing to turn on your oven:
- Reese’s Fudge: A decadent, creamy fudge packed with the irresistible flavor of peanut butter and chocolate.
- No Bake Oreo Cheesecake: A rich and creamy cheesecake bursting with chunks of everyone’s favorite cookie.
- No Bake Peanut Butter Cheesecake: For the ultimate peanut butter enthusiast, a velvety smooth and incredibly easy cheesecake.
- Easy Avalanche Cookies: A delightful mix of peanut butter, marshmallows, chocolate, and rice cereal.
- No Bake Kool-Aid Pie: A vibrant, fruity, and refreshingly simple pie that’s perfect for summer.
- Mint Chocolate Chip Pie: A cool, refreshing, and incredibly easy pie with classic mint chocolate chip flavor.
- Monster Cookies Bars: All the flavors of monster cookies in a convenient, no-bake bar form.
No Bake Cookies
Pin Recipe
Rate Recipe
Print Recipe
Ingredients
- 1/2 cup butter
- 2 cups sugar
- 4 Tablespoons cocoa powder
- 1/2 cup milk
- 1 cup creamy peanut butter
- 1 Tablespoons vanilla extract
- 2 1/2 cups Oats, (any kind)
Instructions
-
In a large sauce pan melt butter. Add sugar, cocoa powder and milk. Bring to a boil, and cook for 1 minute.
-
Remove from heat, add vanilla and peanut butter. Stir until smooth. Fold in oats.
-
Scoop rounded tablespoons full of batter onto lined cookie sheets. Allow to cool before removing. Store in an air tight container.
Notes
Nutrition
Nutrition information is automatically calculated, so should only be used as an approximation.
Additional Info
Like this recipe? Leave a comment below!
I created a fun group on Facebook, and I would love for you to join us! It’s a place where you can share YOUR favorite recipes, ask questions, and see what’s new at Dinners, Dishes and Desserts (so that you never miss a new recipe)!
Be sure to follow me on Instagram and tag #dinnersdishes so I can see all the wonderful DINNERS, DISHES, AND DESSERTS recipes YOU make!
Be sure to follow me on my social media, so you never miss a post!
Facebook | Twitter | Pinterest | Instagram
