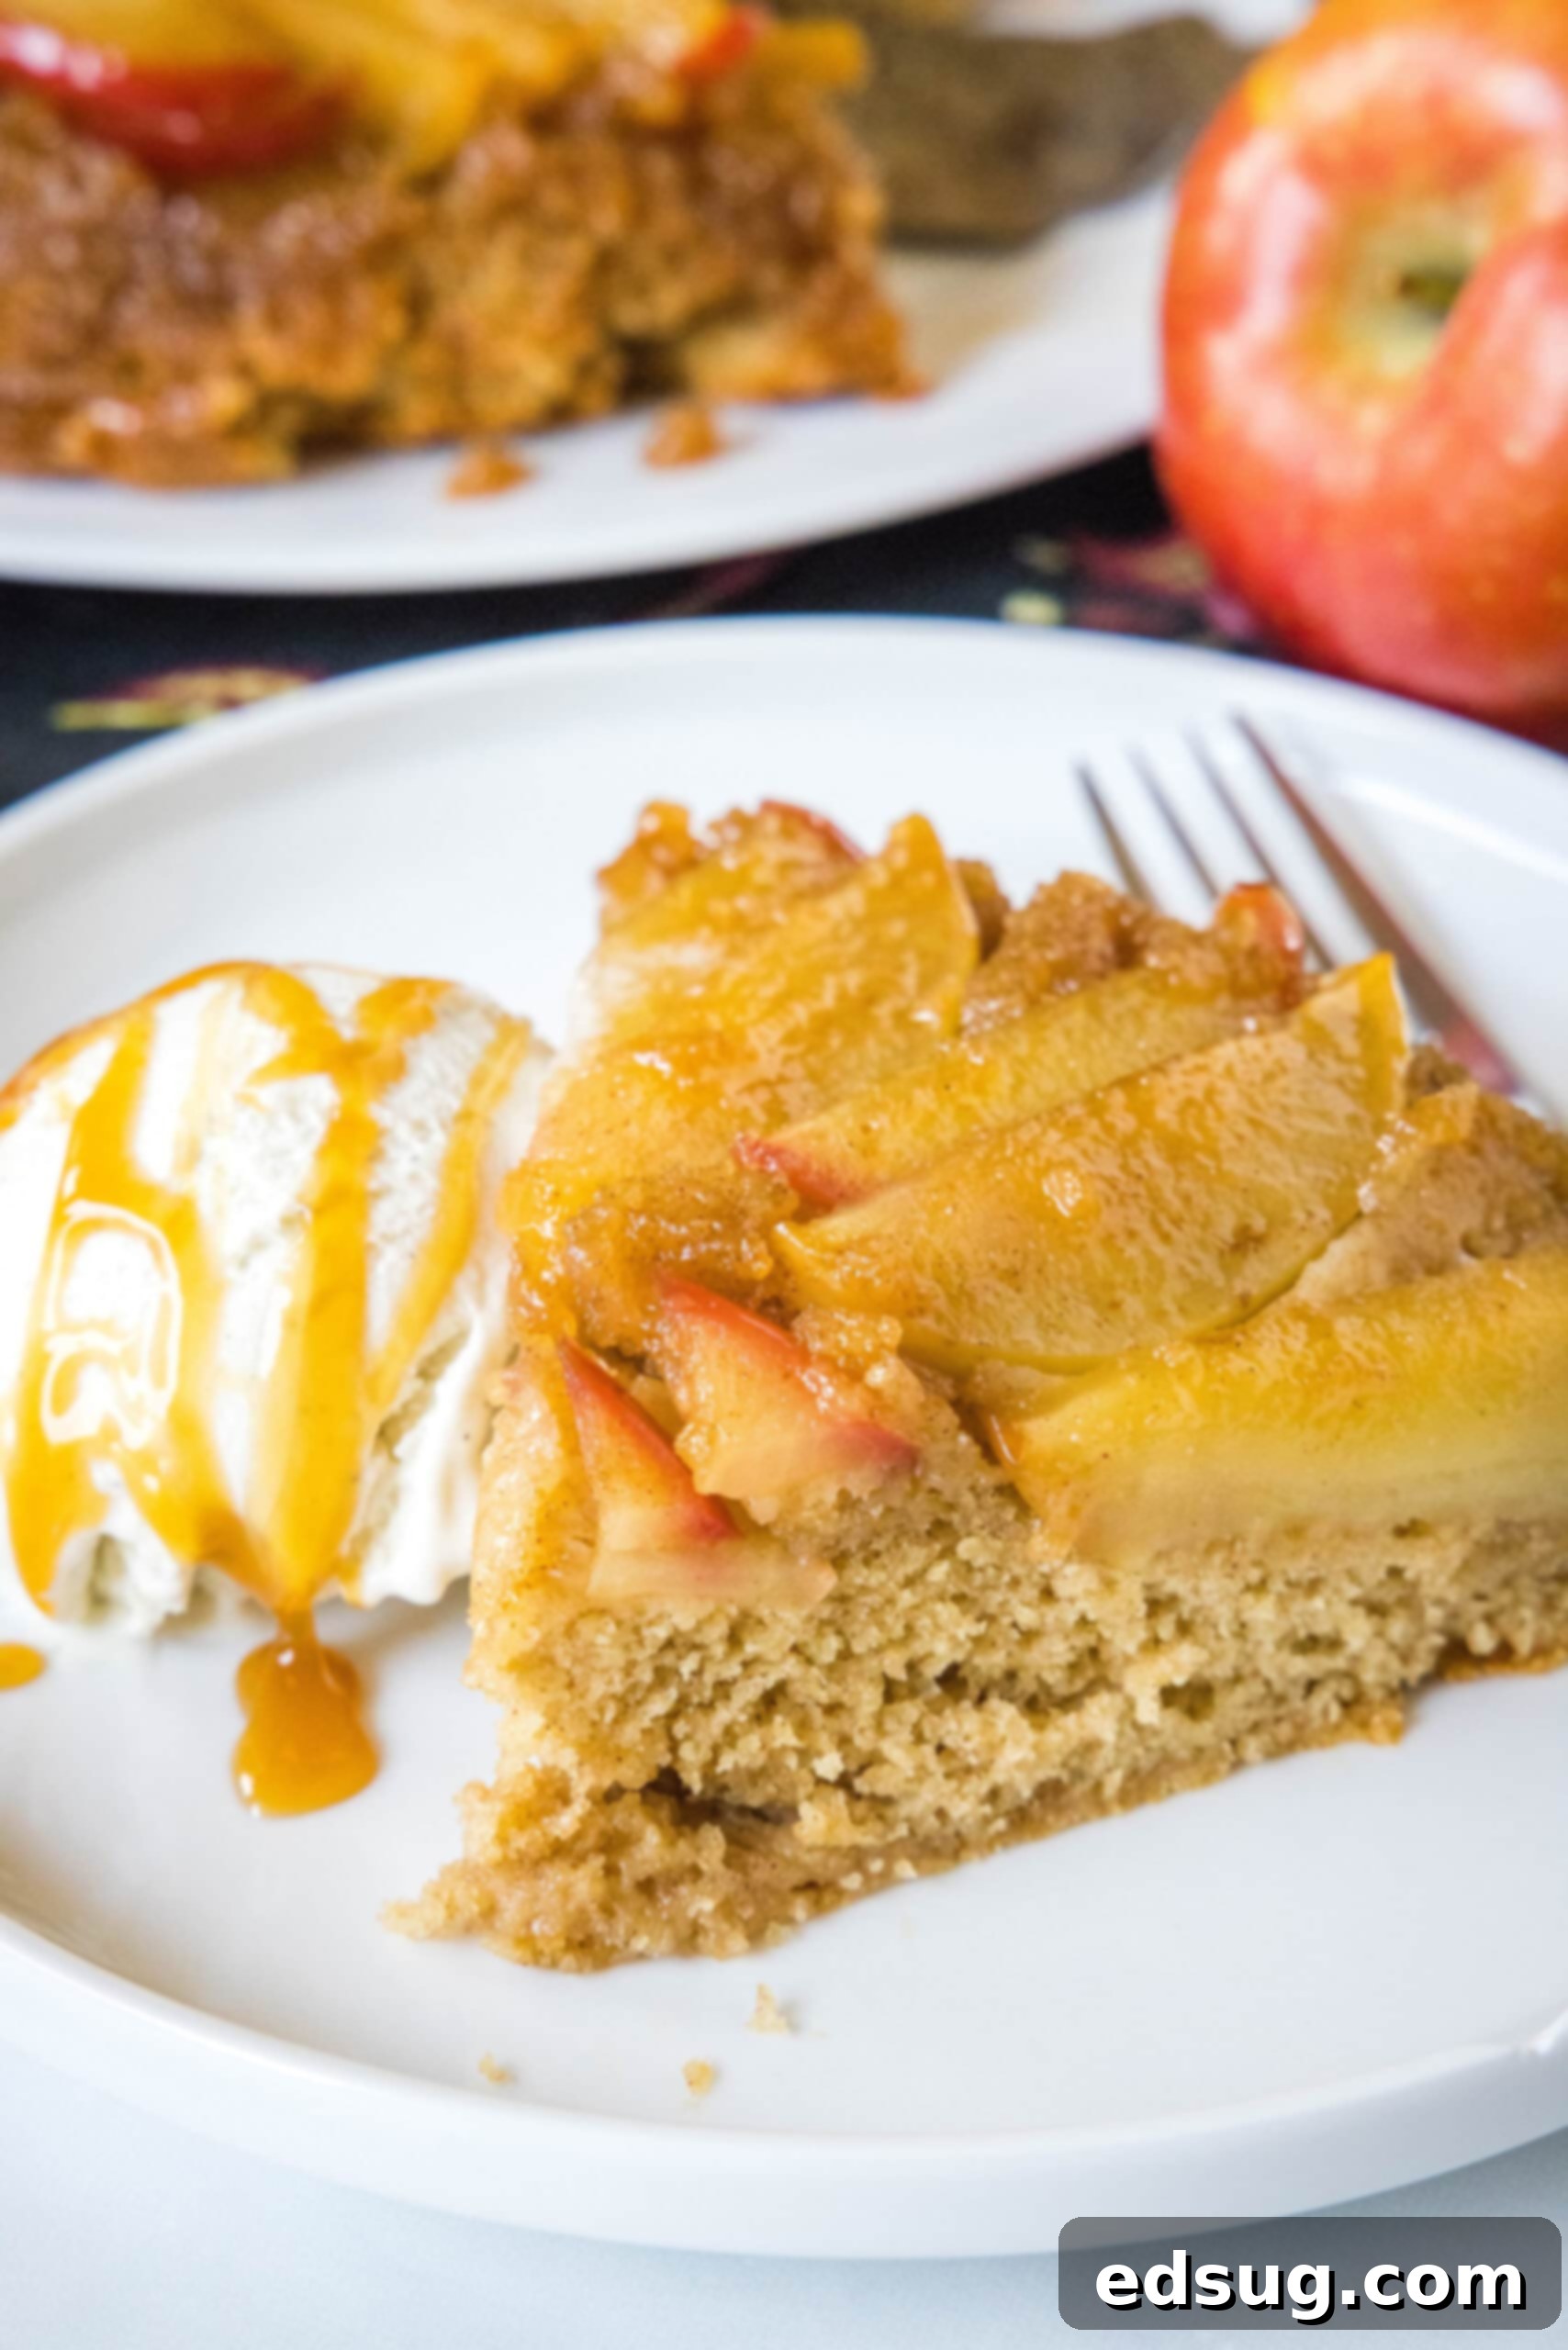
Easy Caramel Apple Upside Down Cake: Your Ultimate Fall & Holiday Dessert
You simply *must* try this incredible apple upside down cake! It’s a delightful autumn reimagining of a beloved retro dessert, masterfully combining a soft, warmly spiced vanilla cake with a luscious topping of gooey, perfectly caramelized apples. This cake captures the very essence of the fall season, and it’s a guaranteed showstopper that I eagerly anticipate making again for upcoming holiday gatherings and special occasions!
This heartwarming fall dessert embraces the same ingenious baking technique as the classic pineapple upside down cake. However, instead of tropical fruit, it features a rich, buttery layer of caramelized apples that infuse every bite with irresistible autumnal flavors. If you find yourself captivated by the cozy spices and sweet apple notes in this recipe, you’ll also adore my easy apple dump cake, another fantastic fall treat!
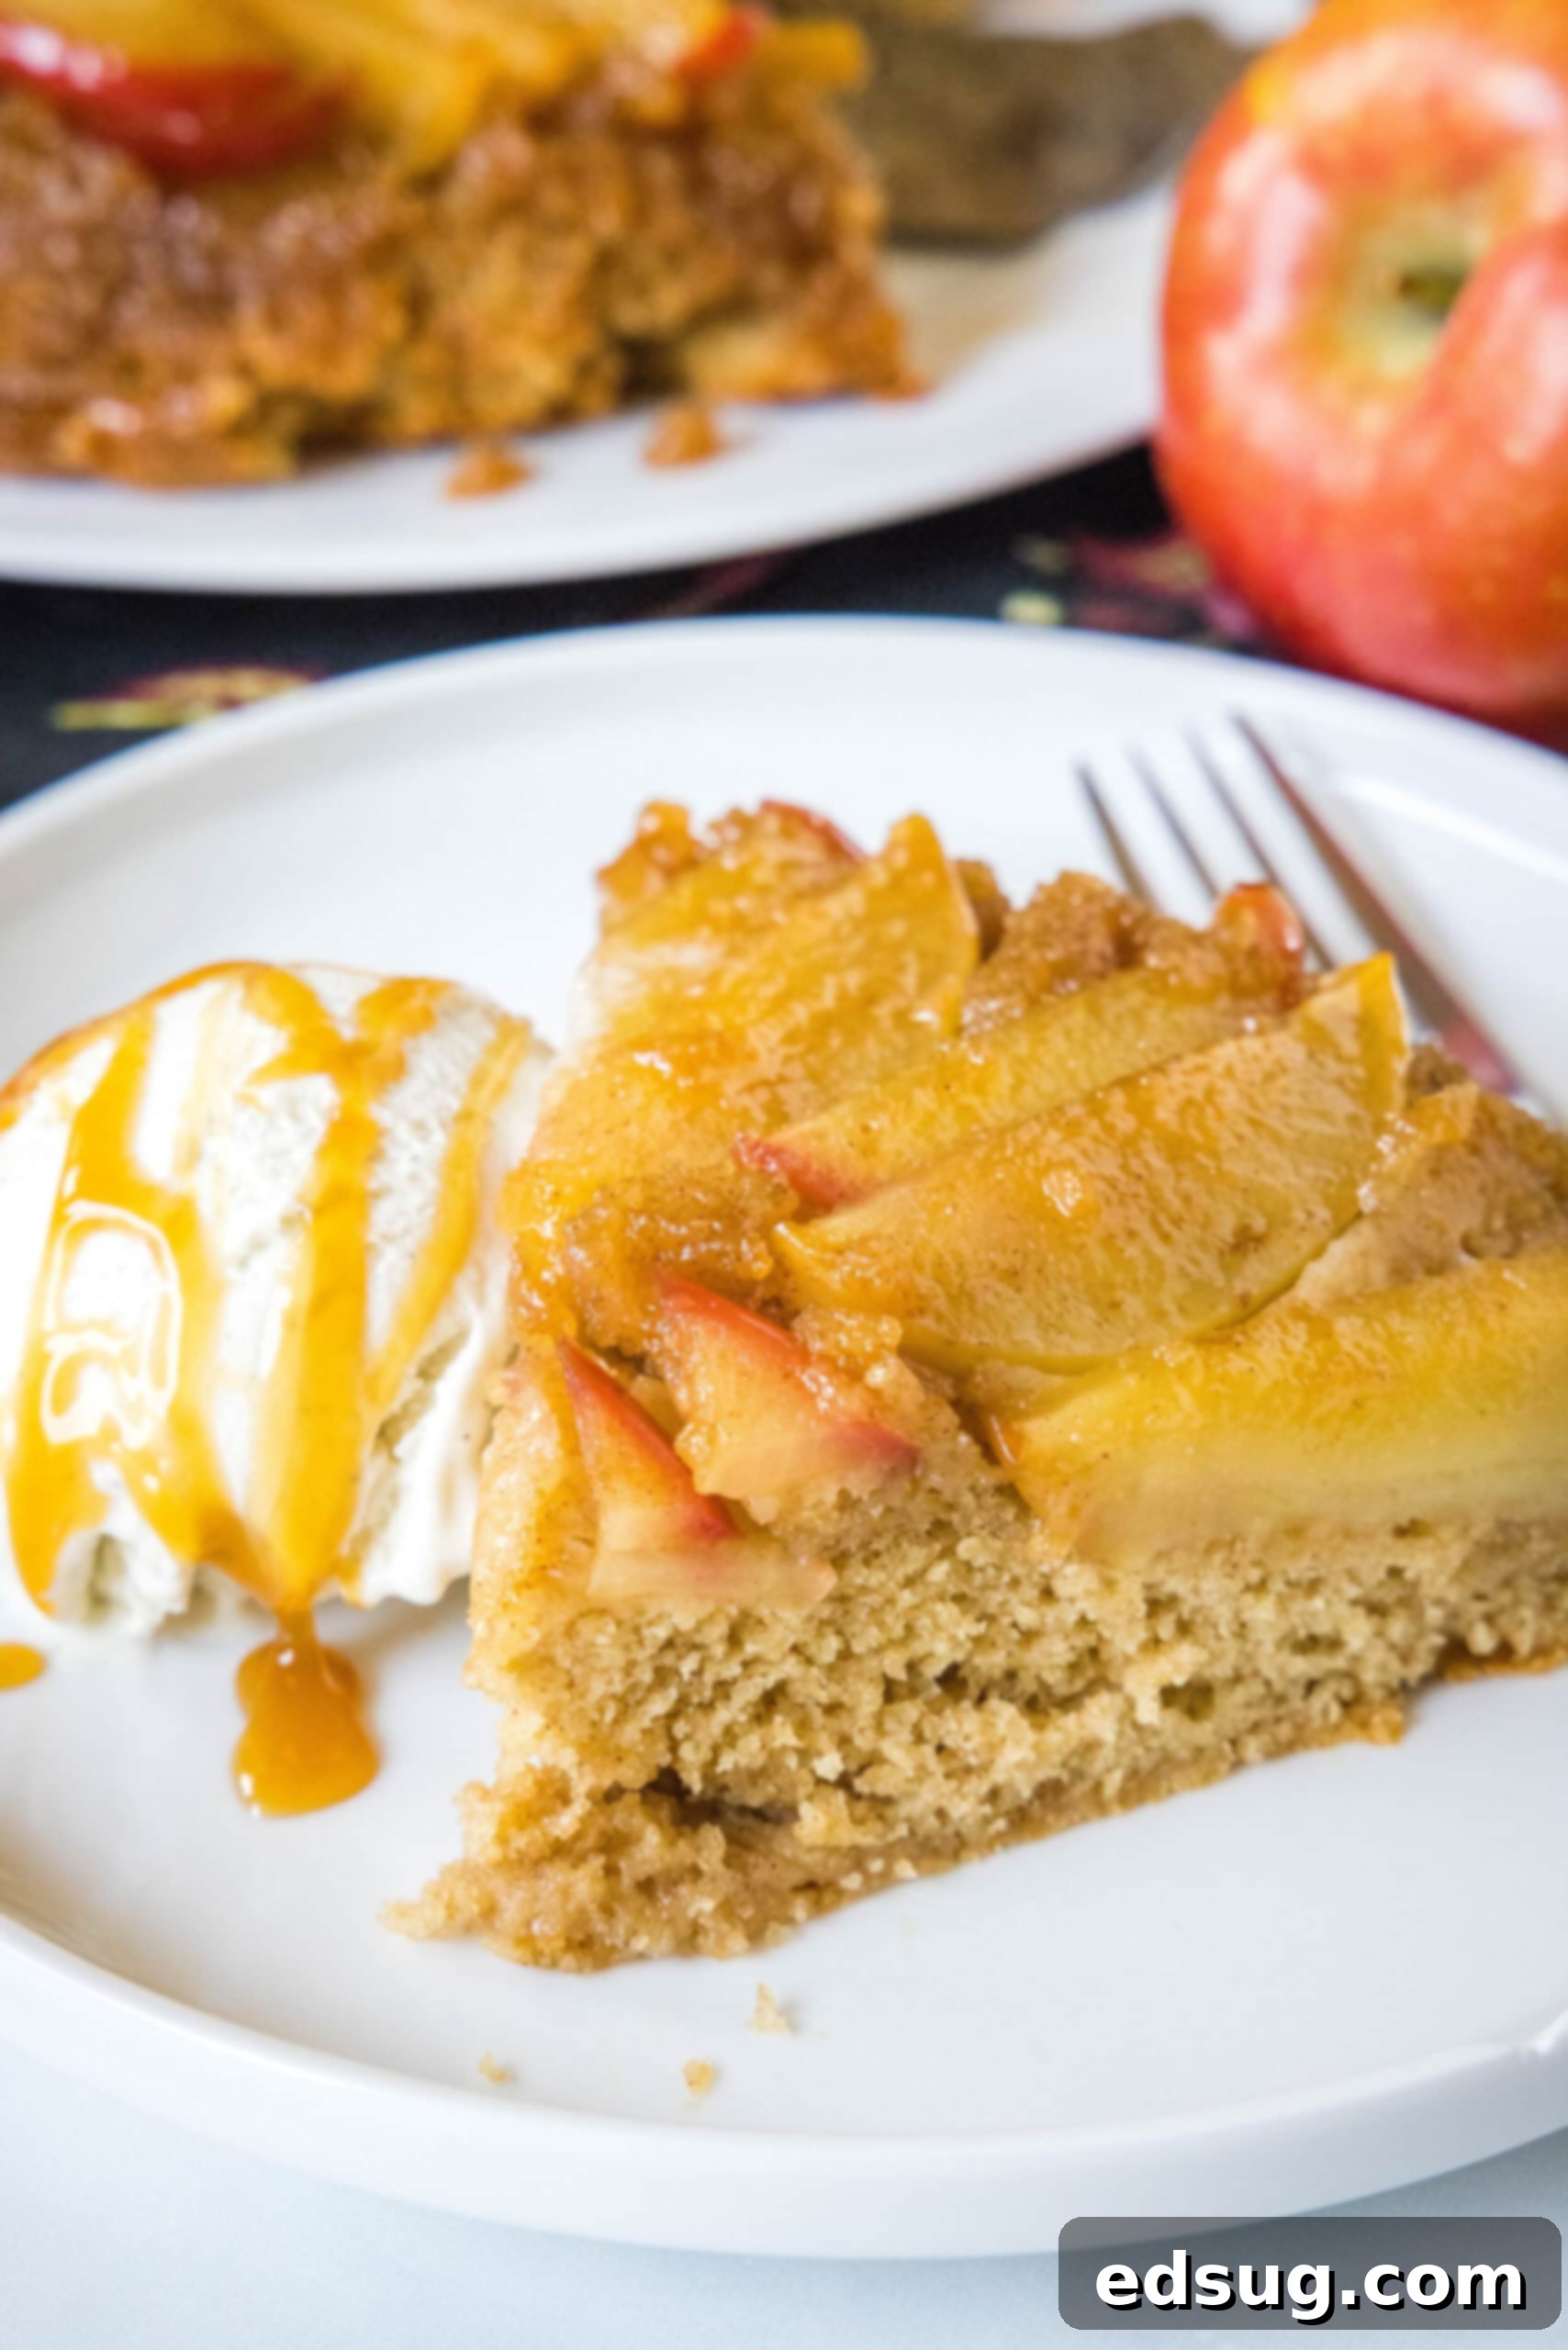
Table of Contents
- Why You’ll Love This Apple Upside Down Cake
- Why Is It Called Upside-Down Cake?
- Ingredients You’ll Need
- How to Make a Caramel Apple Upside Down Cake
- Recipe Notes
- Frequently Asked Questions
- Serving Suggestions
- How Long Does an Upside-Down Cake Last?
- More Apple Recipes
- Apple Upside Down Cake Recipe
I’m absolutely thrilled with how brilliantly this apple upside down cake turned out. For a long time, I’ve wanted to create a seasonal, autumnal version of the traditional pineapple upside down cake, and at last, my vision has come to fruition! After a recent, delightful visit to an apple orchard, where I splurged on a generous bag of freshly picked apples, I was inspired to give this vintage cake recipe a rich, buttery caramel apple layer as its centerpiece. And I am so incredibly glad I did. This truly is one of those effortlessly delicious fall desserts that I’ll be baking continuously from now through the entire holiday season, standing proudly alongside other favorites like my delectable apple cider cookies and luscious caramel apple pie bars!
Why You’ll Absolutely Love This Apple Upside Down Cake
- Perfect for Fall & Beyond. There’s something uniquely comforting about baking this cake, especially after a fun day of apple picking or whenever I can source crisp, fresh fall apples. The aroma that fills your kitchen while it bakes is simply divine, creating a cozy atmosphere. It’s truly one of my most cherished, home-style desserts, offering warmth and satisfaction on even the chilliest autumn days. Its rich flavors also make it ideal for Thanksgiving, Christmas, and other holiday celebrations.
- Ooey-Gooey Caramelized Goodness. The star of this cake is undoubtedly its magnificent topping, which masterfully combines thinly sliced apples with a rich, homemade caramel sauce. This sweet and tangy layer provides an incredible contrast and complements the subtle flavors of the tender cake layer perfectly. Every single bite delivers that ideal balance: the sweet, yielding texture of caramelized apples, coupled with the soft, fluffy, vanilla-scented cake. It’s an indulgence you won’t soon forget.
- Surprisingly Easy to Make. Don’t be intimidated if you’ve never attempted an upside down cake before; the method is incredibly straightforward and forgiving. The process is simple: you begin by artfully layering your sweet and spiced apples at the bottom of the pan, then gently pour the luscious cake batter over them, and finally, bake to golden perfection. I’ve also included some invaluable, easy-to-follow tips specifically designed to ensure you can remove this cake from the pan with absolute ease, revealing its beautiful topping intact every time.
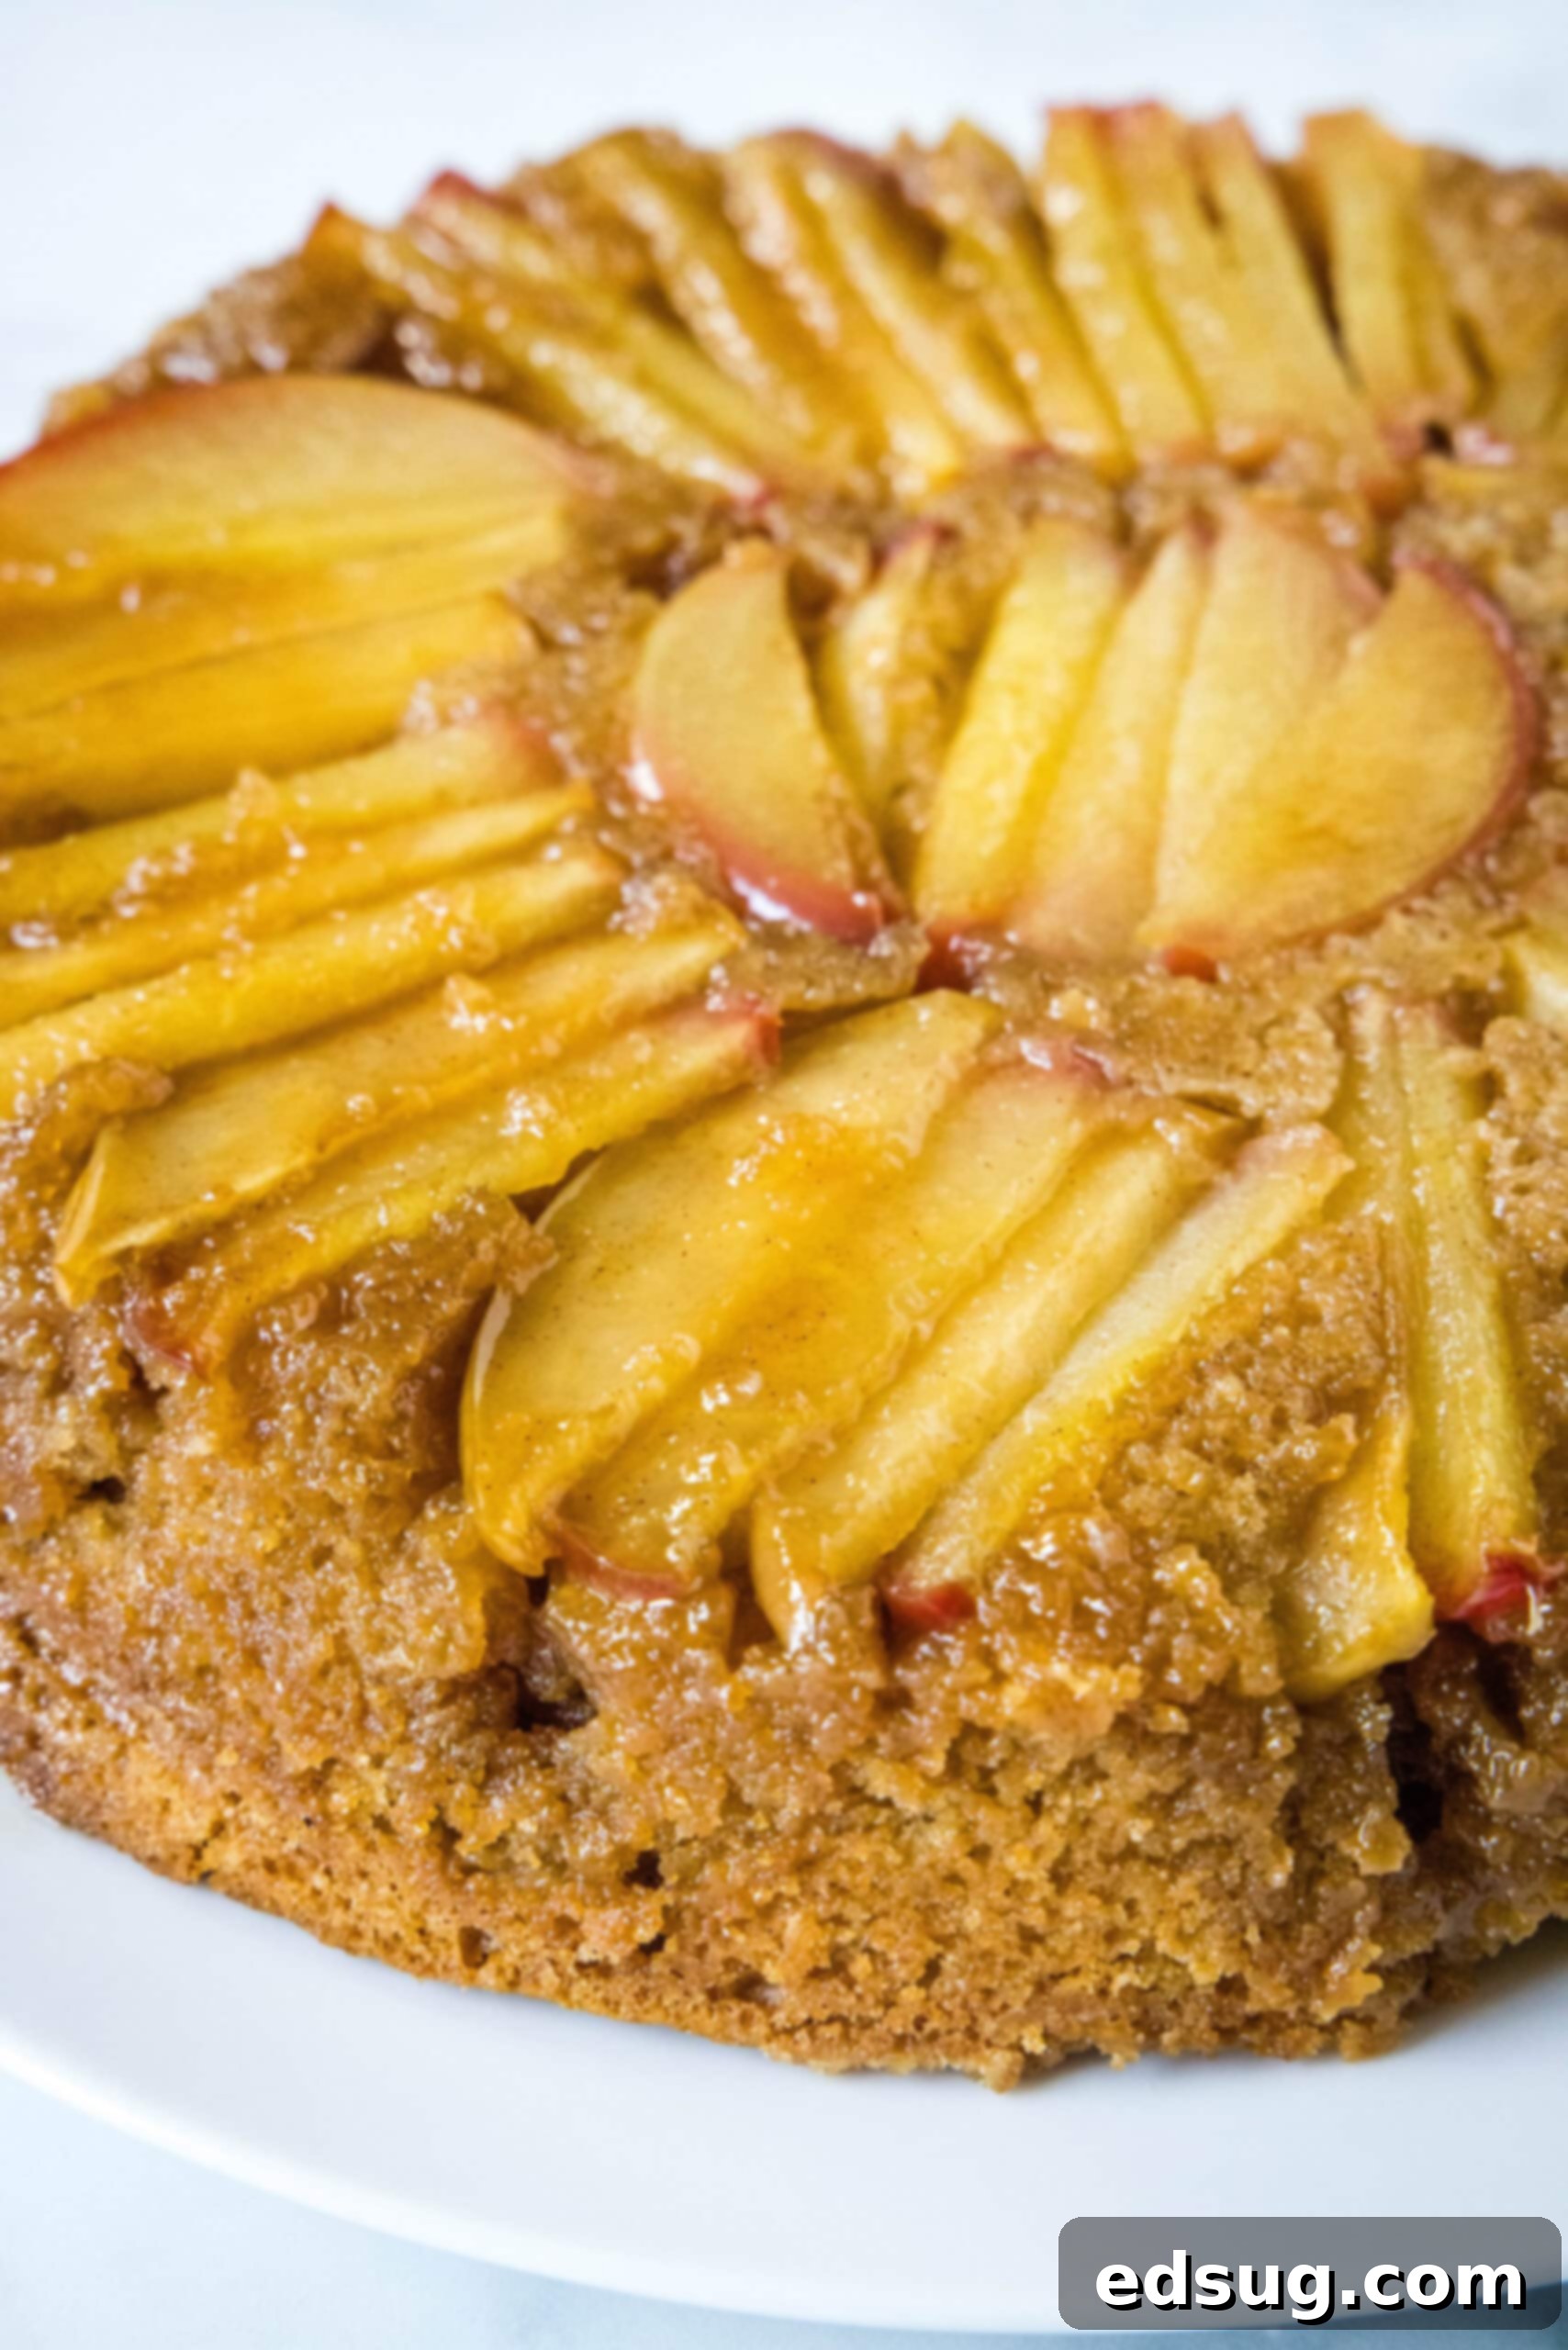
Why Is It Called Upside-Down Cake? Understanding the Unique Baking Method
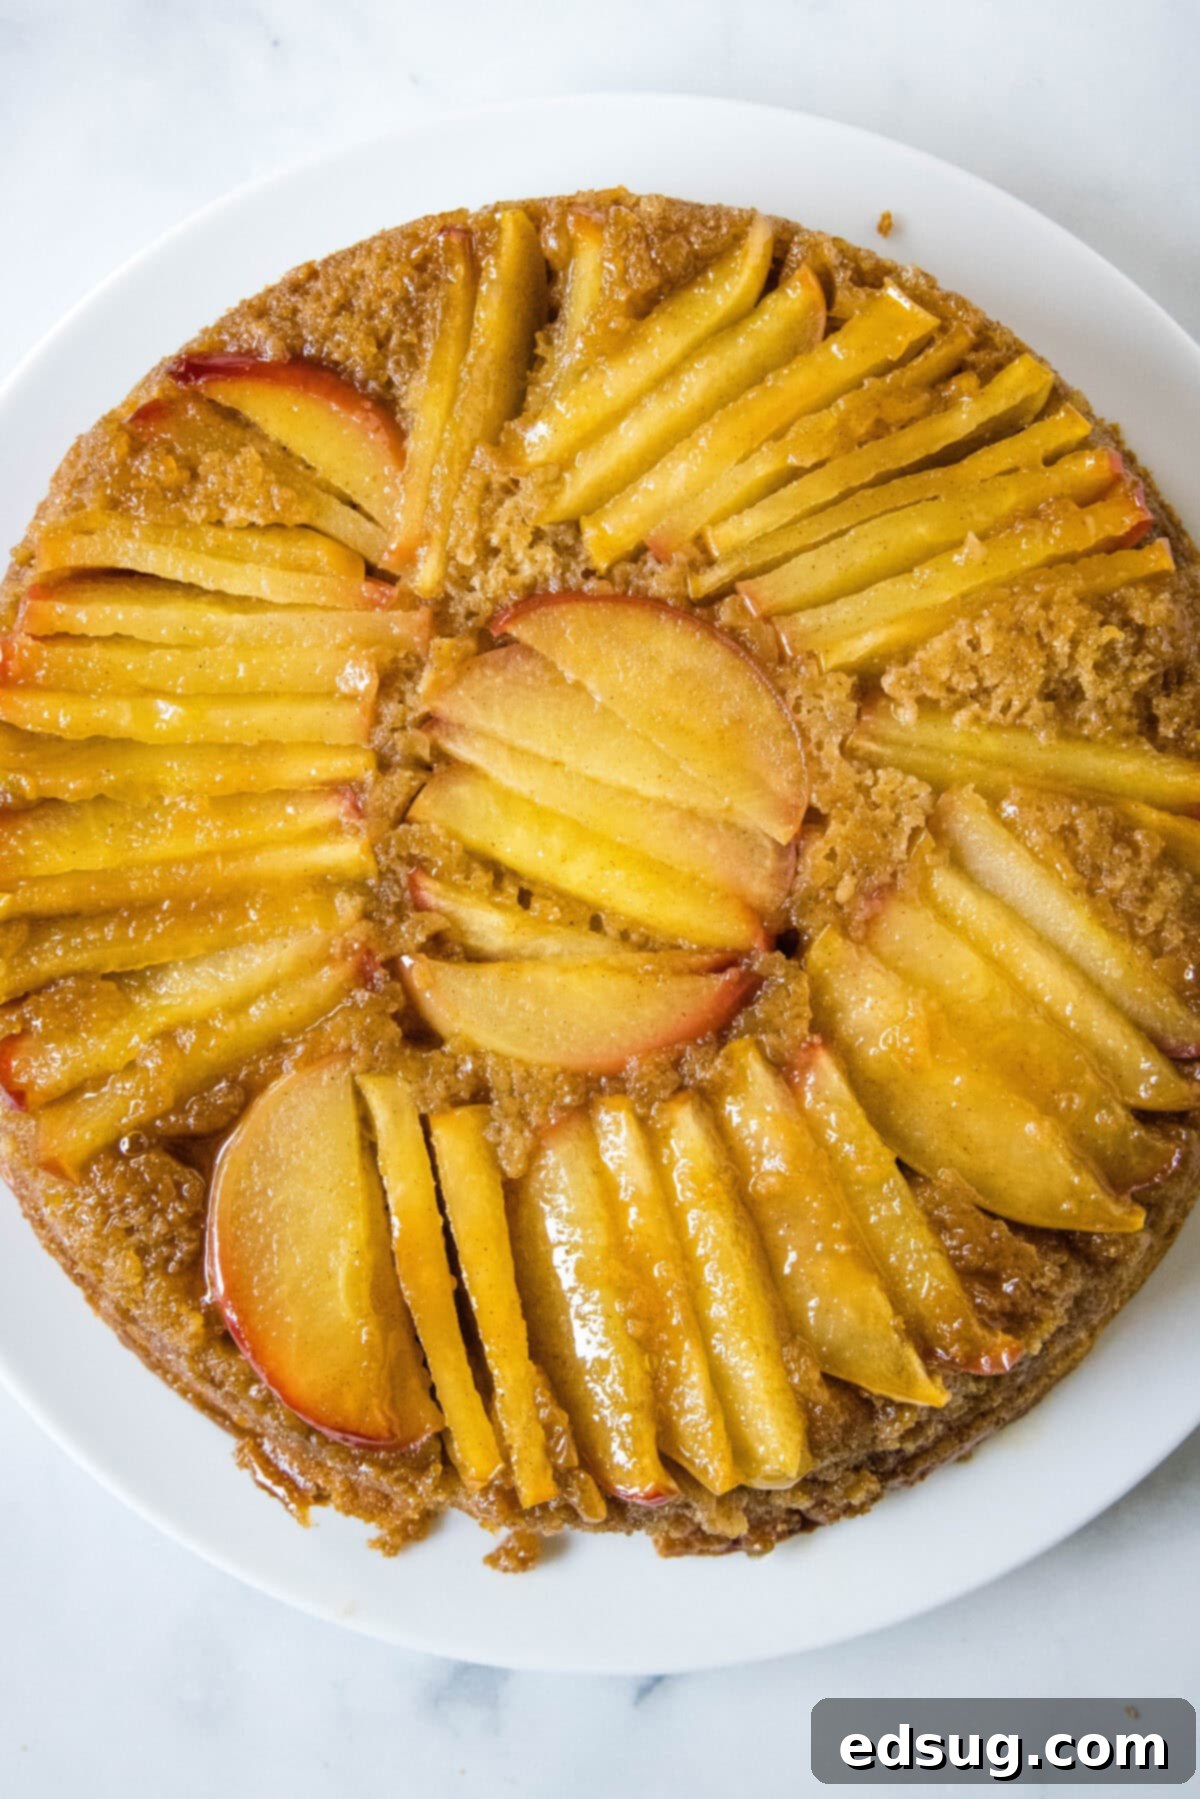
Unlike a traditional apple coffee cake, where the delicious topping is sprinkled or drizzled on top before baking, the entire concept and charm of an upside down cake lies in its unique baking orientation. As its name cleverly suggests, it’s baked, quite literally, upside down! In this delightful variation, the rich, buttery caramel apples are carefully arranged in a single, decorative layer at the very bottom of the baking pan. The light, airy cake batter is then poured directly over this fruit layer. The magic truly happens after baking. Once baked to perfection, you’ll perform the grand reveal by flipping the finished cake onto a serving plate, transforming its orientation so that it’s “right-side-up” for presentation and serving. During this transformation, the apples, having simmered in caramel at the bottom of the pan, become beautifully caramelized, creating a glossy, glistening, and irresistibly candied fruit layer that now adorns the very top of your magnificent cake!
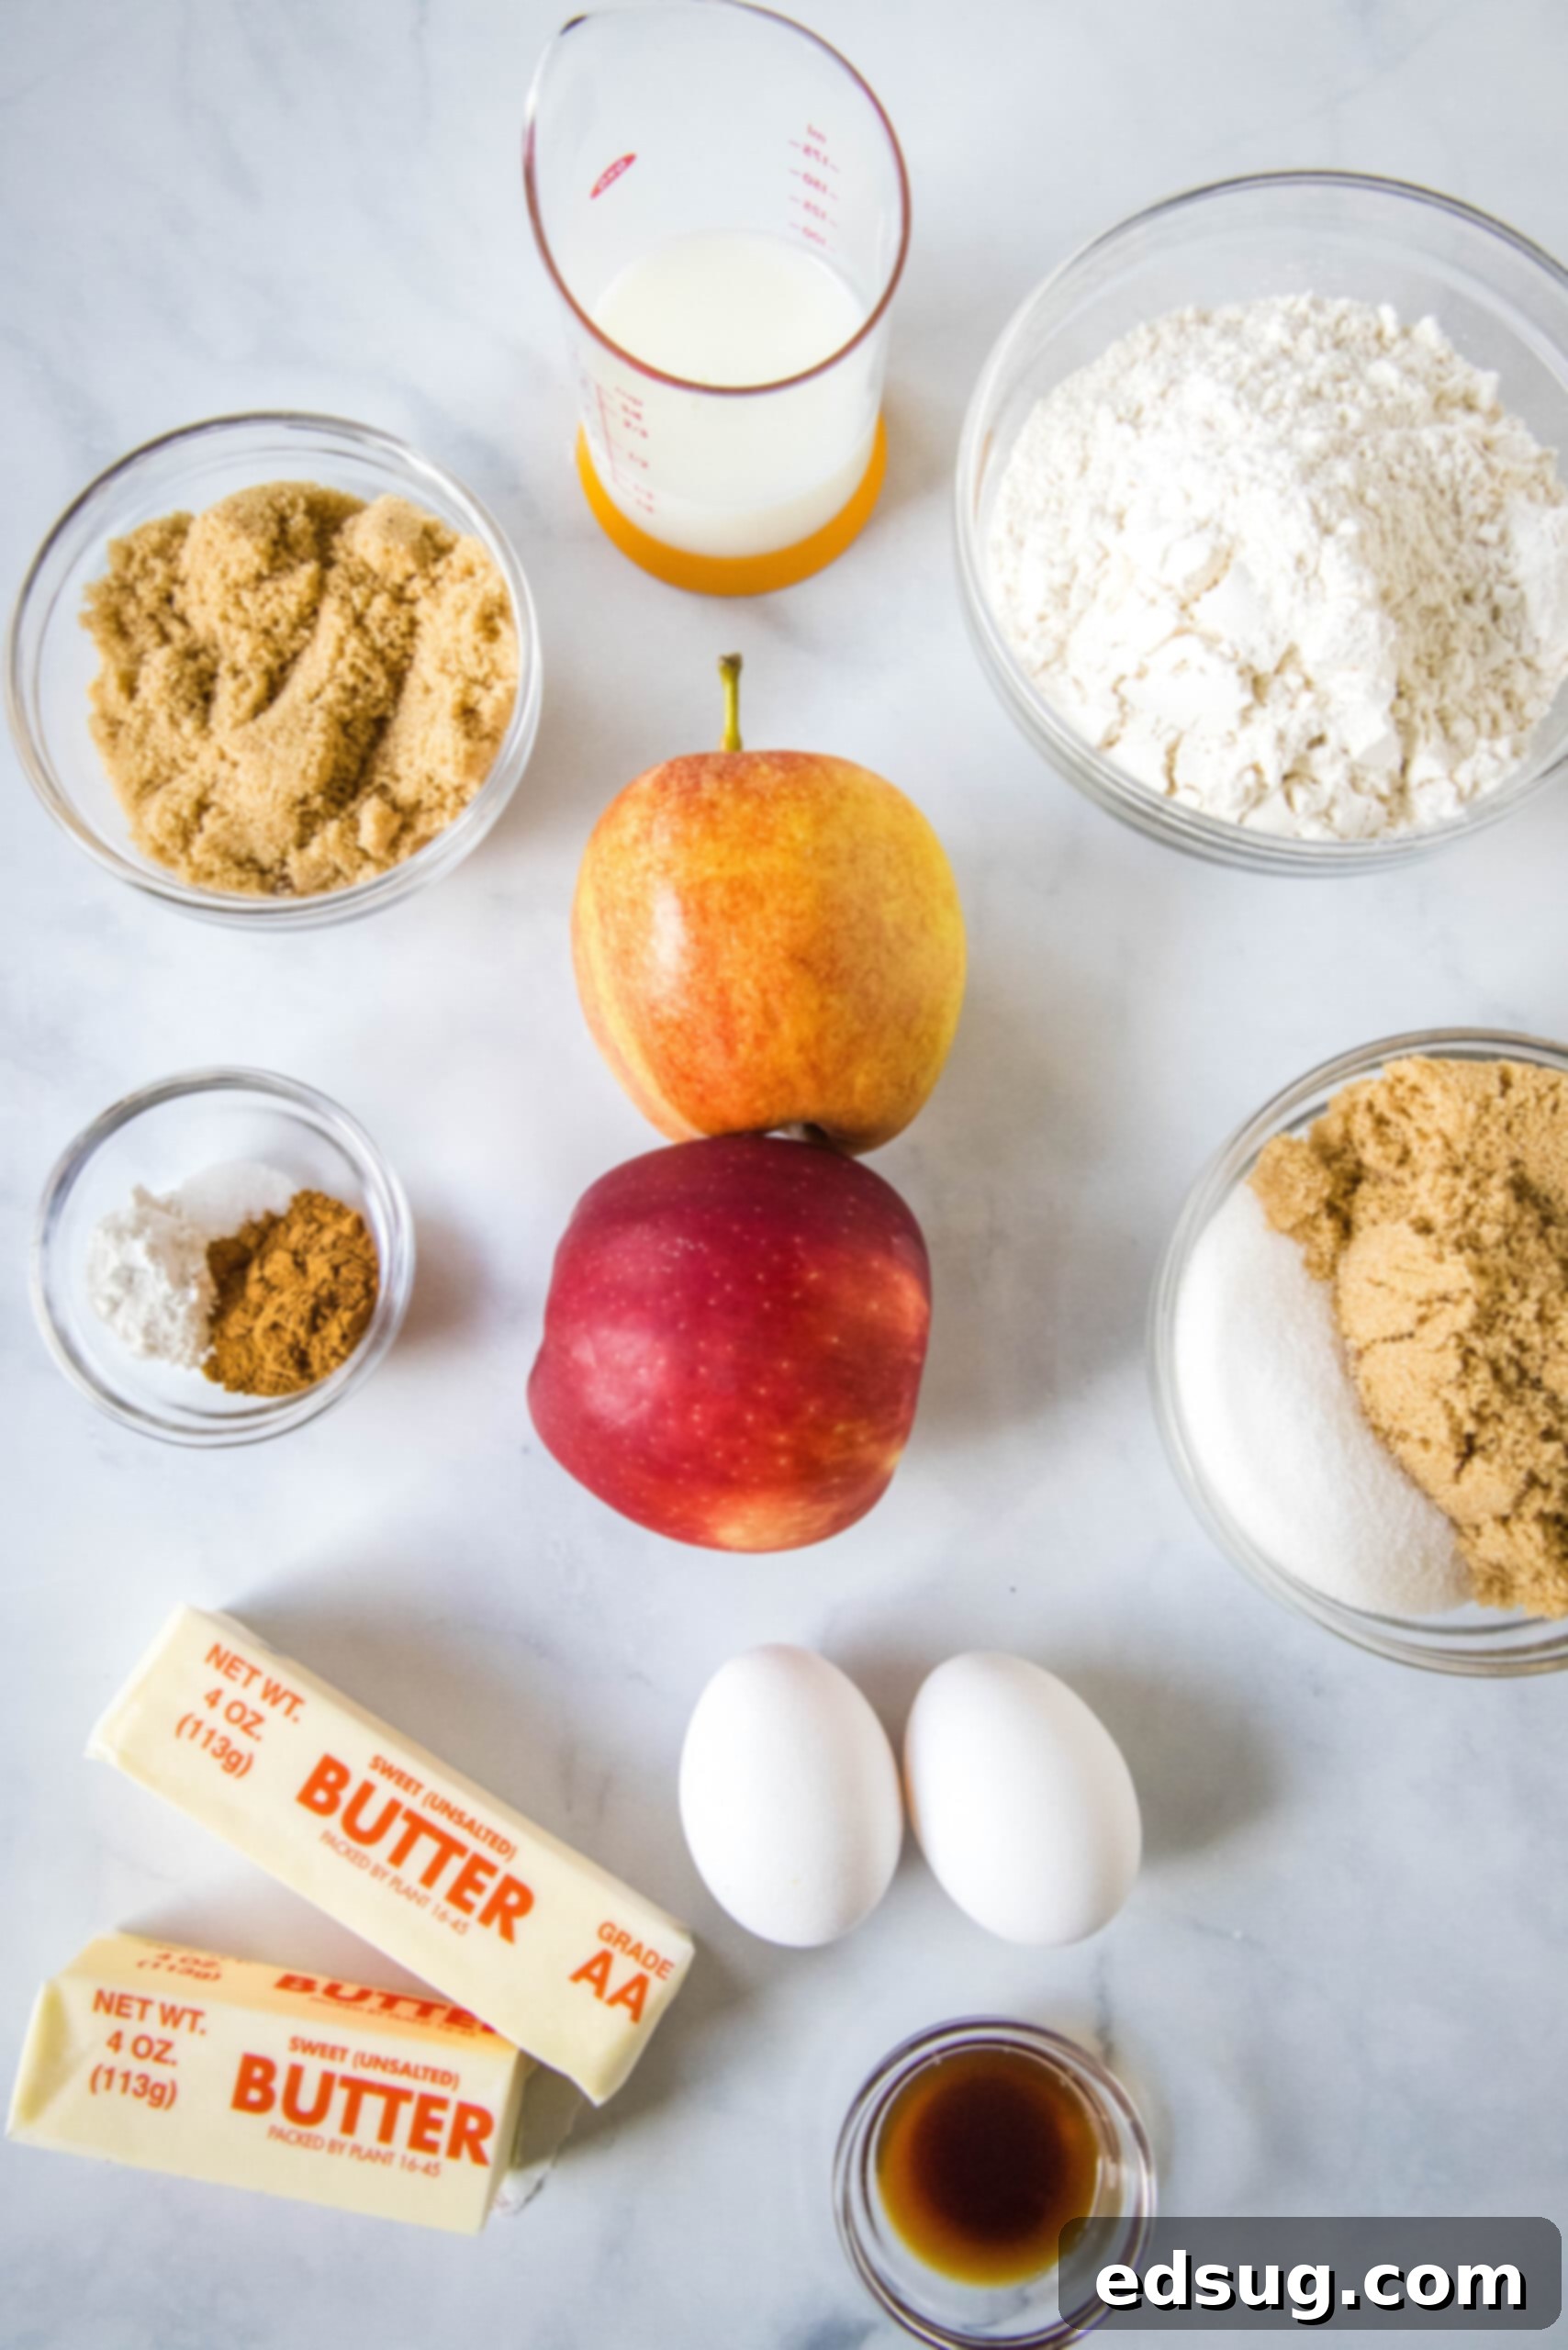
Essential Ingredients You’ll Need for This Delicious Cake
Crafting this easy apple upside down cake requires a few simple, wholesome ingredients, many of which you likely already have in your pantry. Here are some detailed notes and tips on each component to ensure your cake turns out perfectly every time. For a complete, printable list with precise ingredient amounts, please scroll down to the recipe card located after the main article.
For the Irresistible Caramel Apple Topping
- Apples – The choice of apples is key to the topping’s flavor and texture. While you can use any variety you prefer, I highly recommend using baking apples that hold their shape well, such as crisp Fuji or sweet Gala (my personal favorites for this recipe). Tart Granny Smith apples are another excellent option, especially if you enjoy a more pronounced contrast to the sweet caramel. Feel free to mix and match different kinds for a more complex flavor profile. Peeling the apples is entirely optional and a matter of personal preference; just ensure you slice them uniformly and thinly for even cooking and a beautiful presentation.
- Brown Sugar – This is crucial for achieving that deep, rich caramelized flavor and a wonderfully gooey texture in the topping. While granulated sugar can be substituted in a pinch, it won’t yield the same complex, molasses-infused taste that brown sugar provides, which truly enhances the autumnal notes of the apples.
- Butter – Whether you opt for salted or unsalted butter, it will contribute to the luxurious richness and smooth texture of the caramel. If using unsalted, you might consider adding a tiny pinch of extra salt to balance the sweetness.
- Cinnamon – Ground cinnamon is a quintessential fall spice that beautifully complements apples. However, don’t hesitate to experiment! You could swap it for another warm fall spice like nutmeg, or even use a pre-mixed blend such as apple pie spice for an extra layer of complexity.
- Vanilla – A touch of vanilla extract elevates the overall flavor of the caramel. For the most authentic and robust vanilla notes, always opt for real vanilla extract, or substitute an equal amount of vanilla paste for a visually appealing speckle of vanilla bean.
For the Moist and Fluffy Cake
- Dry Ingredients – This essential blend includes all-purpose flour, ground cinnamon (to carry the spice theme throughout the cake), baking powder for lift, and salt to balance the sweetness and enhance other flavors. Always double-check the expiration date on your baking powder to ensure it’s fresh and active, as this is vital for a properly risen, tender cake!
- Butter – Ensure your butter is softened to room temperature before you begin mixing. This allows it to cream properly with the sugars, creating a light, airy base for the cake batter and contributing to a tender crumb.
- Sugar – This recipe uses a combination of both granulated sugar for sweetness and structure, and brown sugar for added moisture and a subtle molasses flavor that pairs wonderfully with the apples and spices. If absolutely necessary, you can substitute all of one type of sugar for the other, but the combination yields the best results.
- Eggs – Large eggs, ideally at room temperature, act as a binder, provide structure, and add richness to the cake, contributing to its overall moistness and texture.
- Vanilla – Just like in the topping, real vanilla extract in the cake batter enhances the overall sweetness and provides a warm, inviting aroma and flavor.
- Milk – Milk adds moisture and helps to create a tender, soft crumb. You can use whole milk, 2%, or even a non-dairy alternative like almond or oat milk if preferred. Ensure it’s also at room temperature to prevent the batter from seizing.
How to Make a Caramel Apple Upside Down Cake: Step-by-Step Guide
Making this perfect apple upside down cake is a straightforward and enjoyable process. Follow these easy steps to achieve a wonderfully moist cake with a glistening, caramelized apple topping every time. You will find the complete, printable instructions, along with ingredient quantities, in the dedicated recipe card located at the end of this post.
- Begin with the Caramel. First, in a medium saucepan, combine the melted butter and brown sugar designated for the caramel topping. Simmer this mixture over medium heat, stirring constantly until the sugar dissolves and it begins to bubble gently. Allow it to cook for just 1 minute without stirring to thicken slightly, then immediately remove it from the heat. Stir in the ground cinnamon and vanilla extract until everything is thoroughly combined and fragrant. This quick caramel forms the delicious base of your cake’s topping.
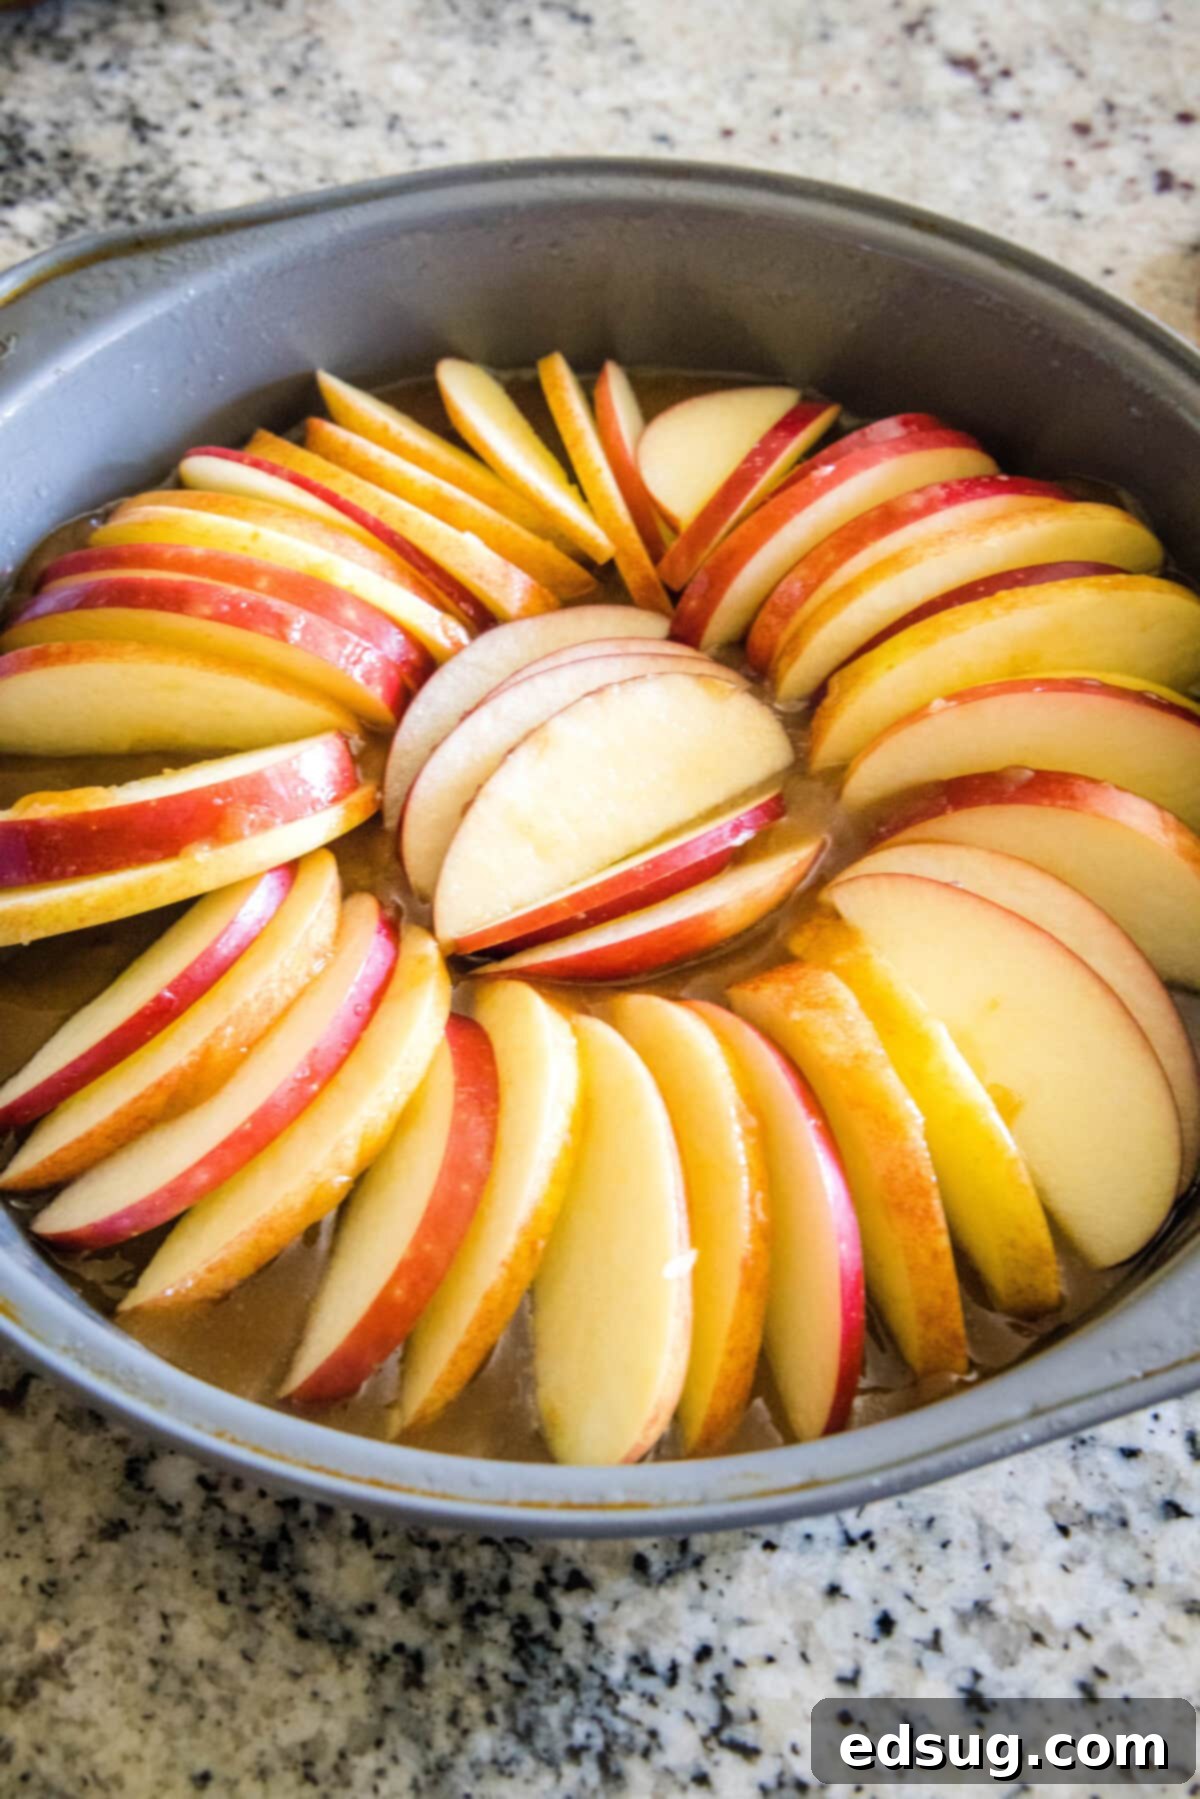
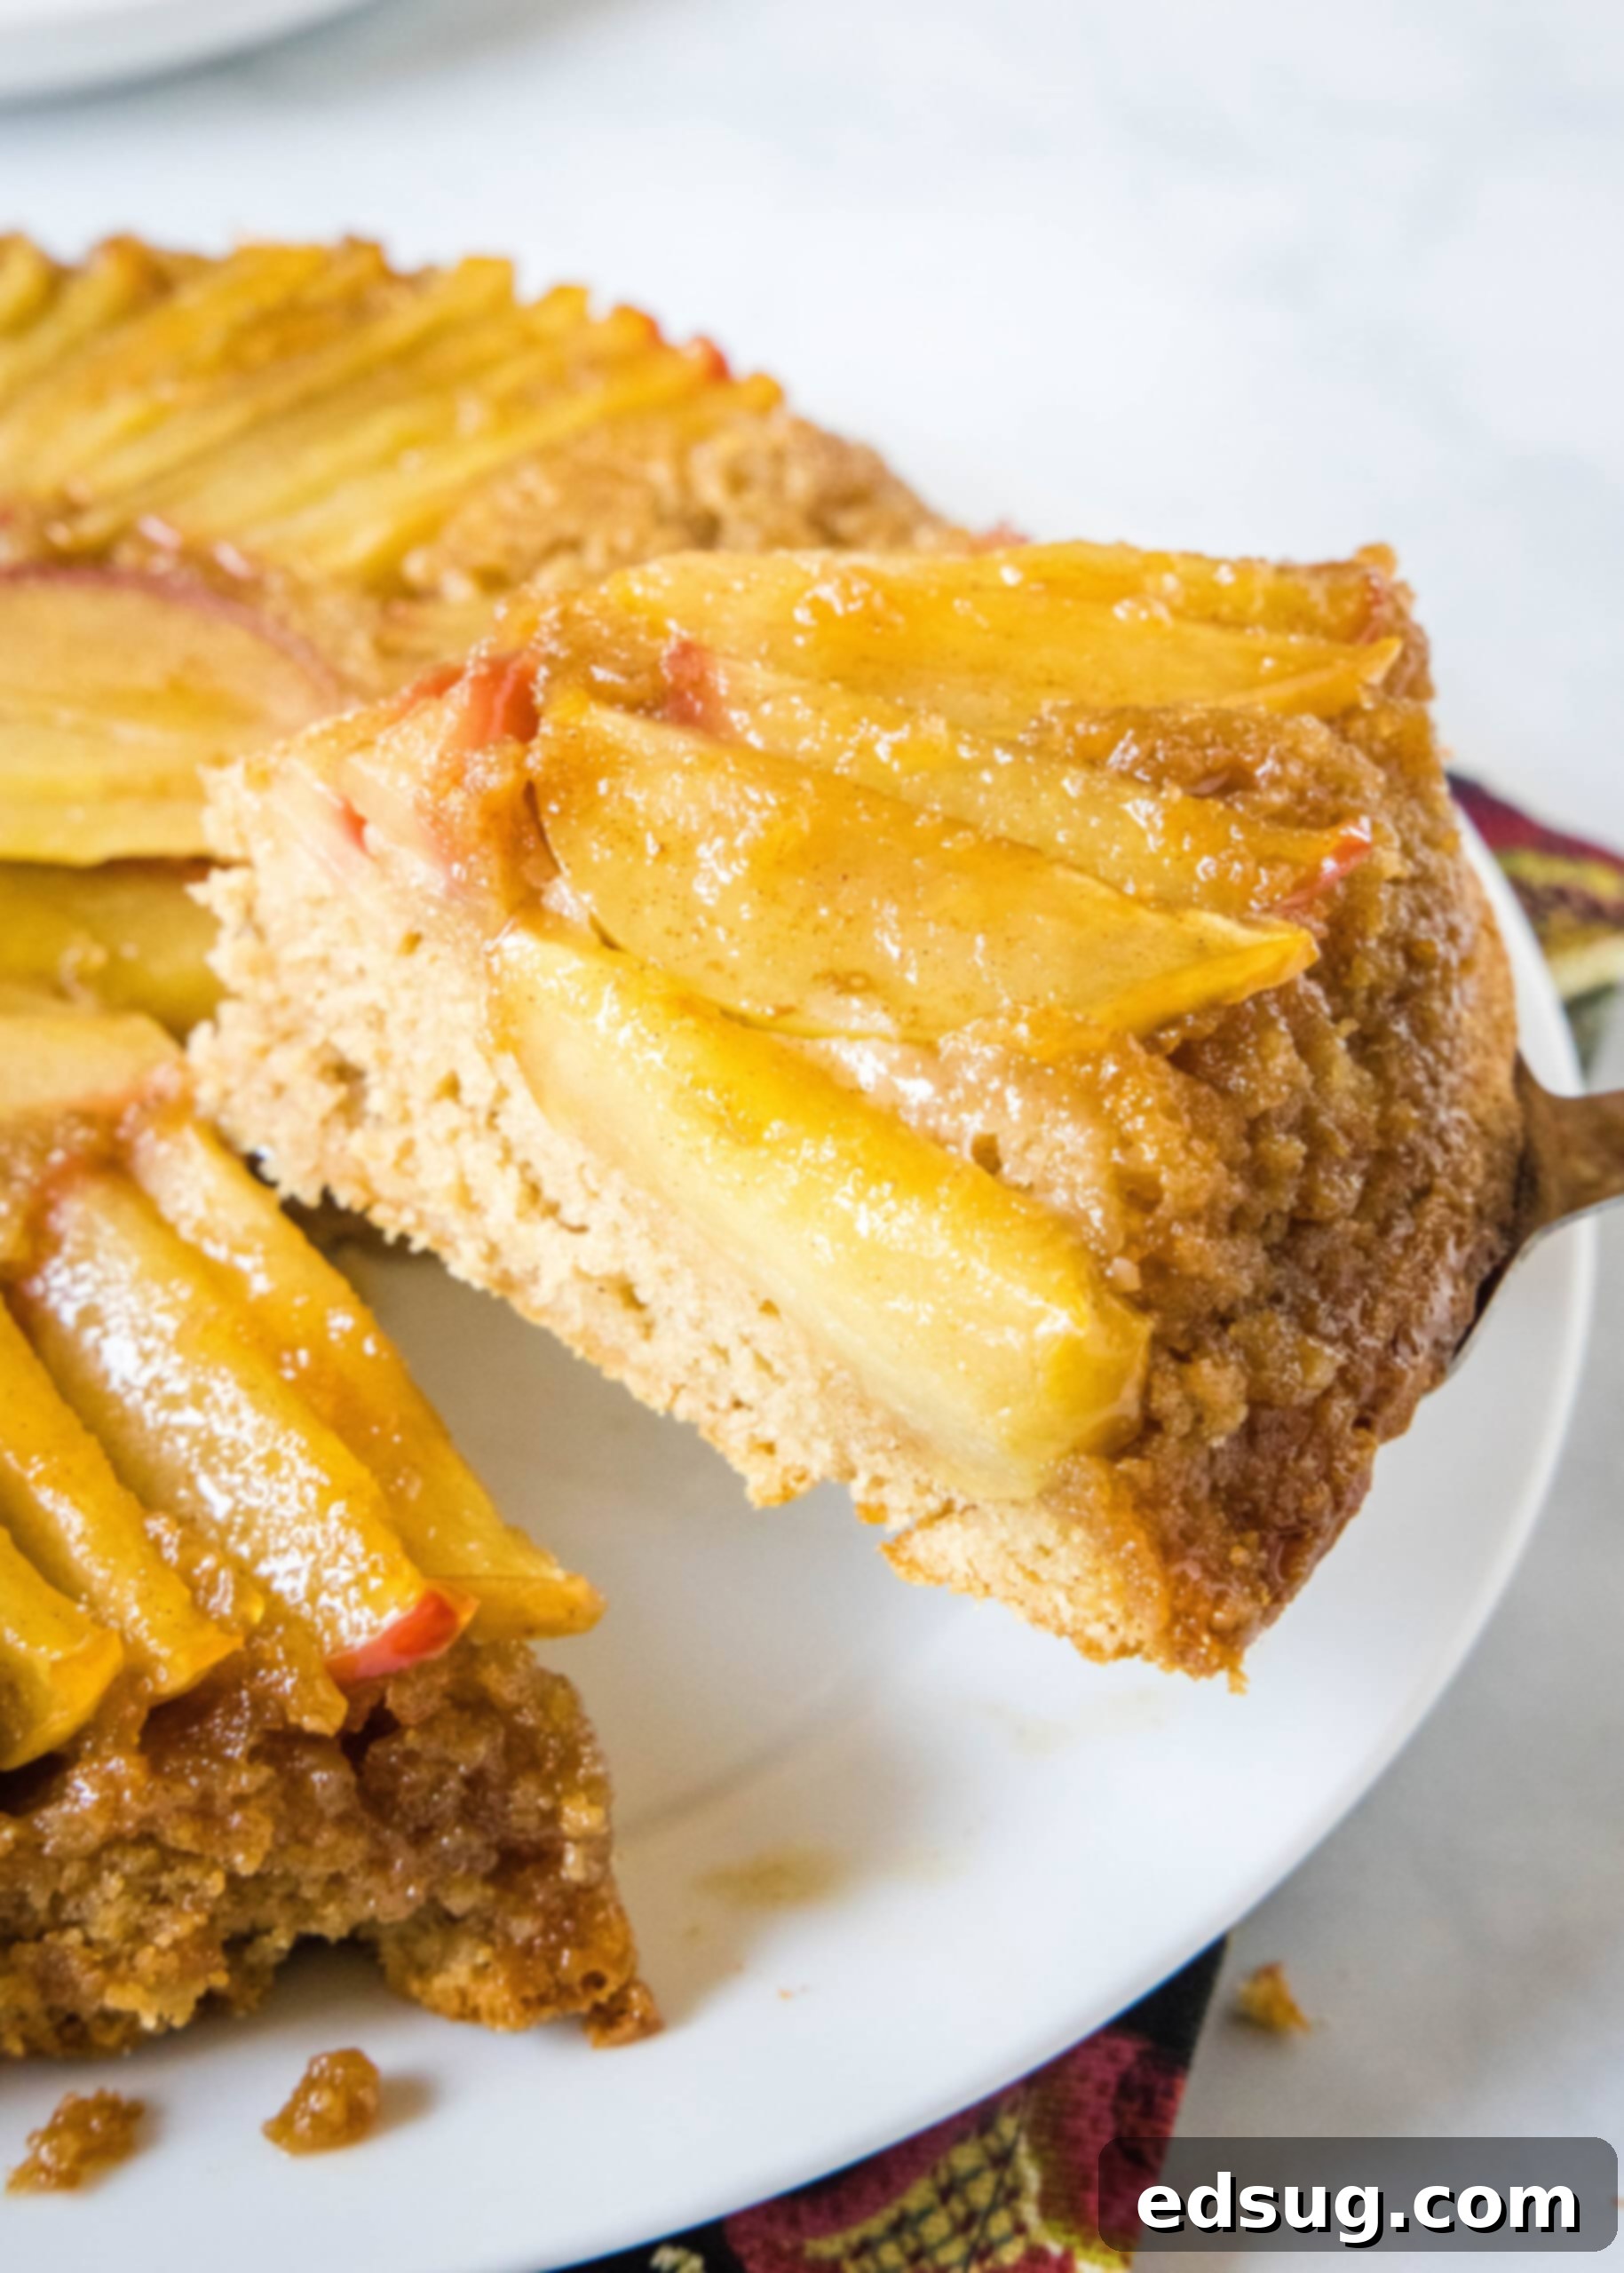
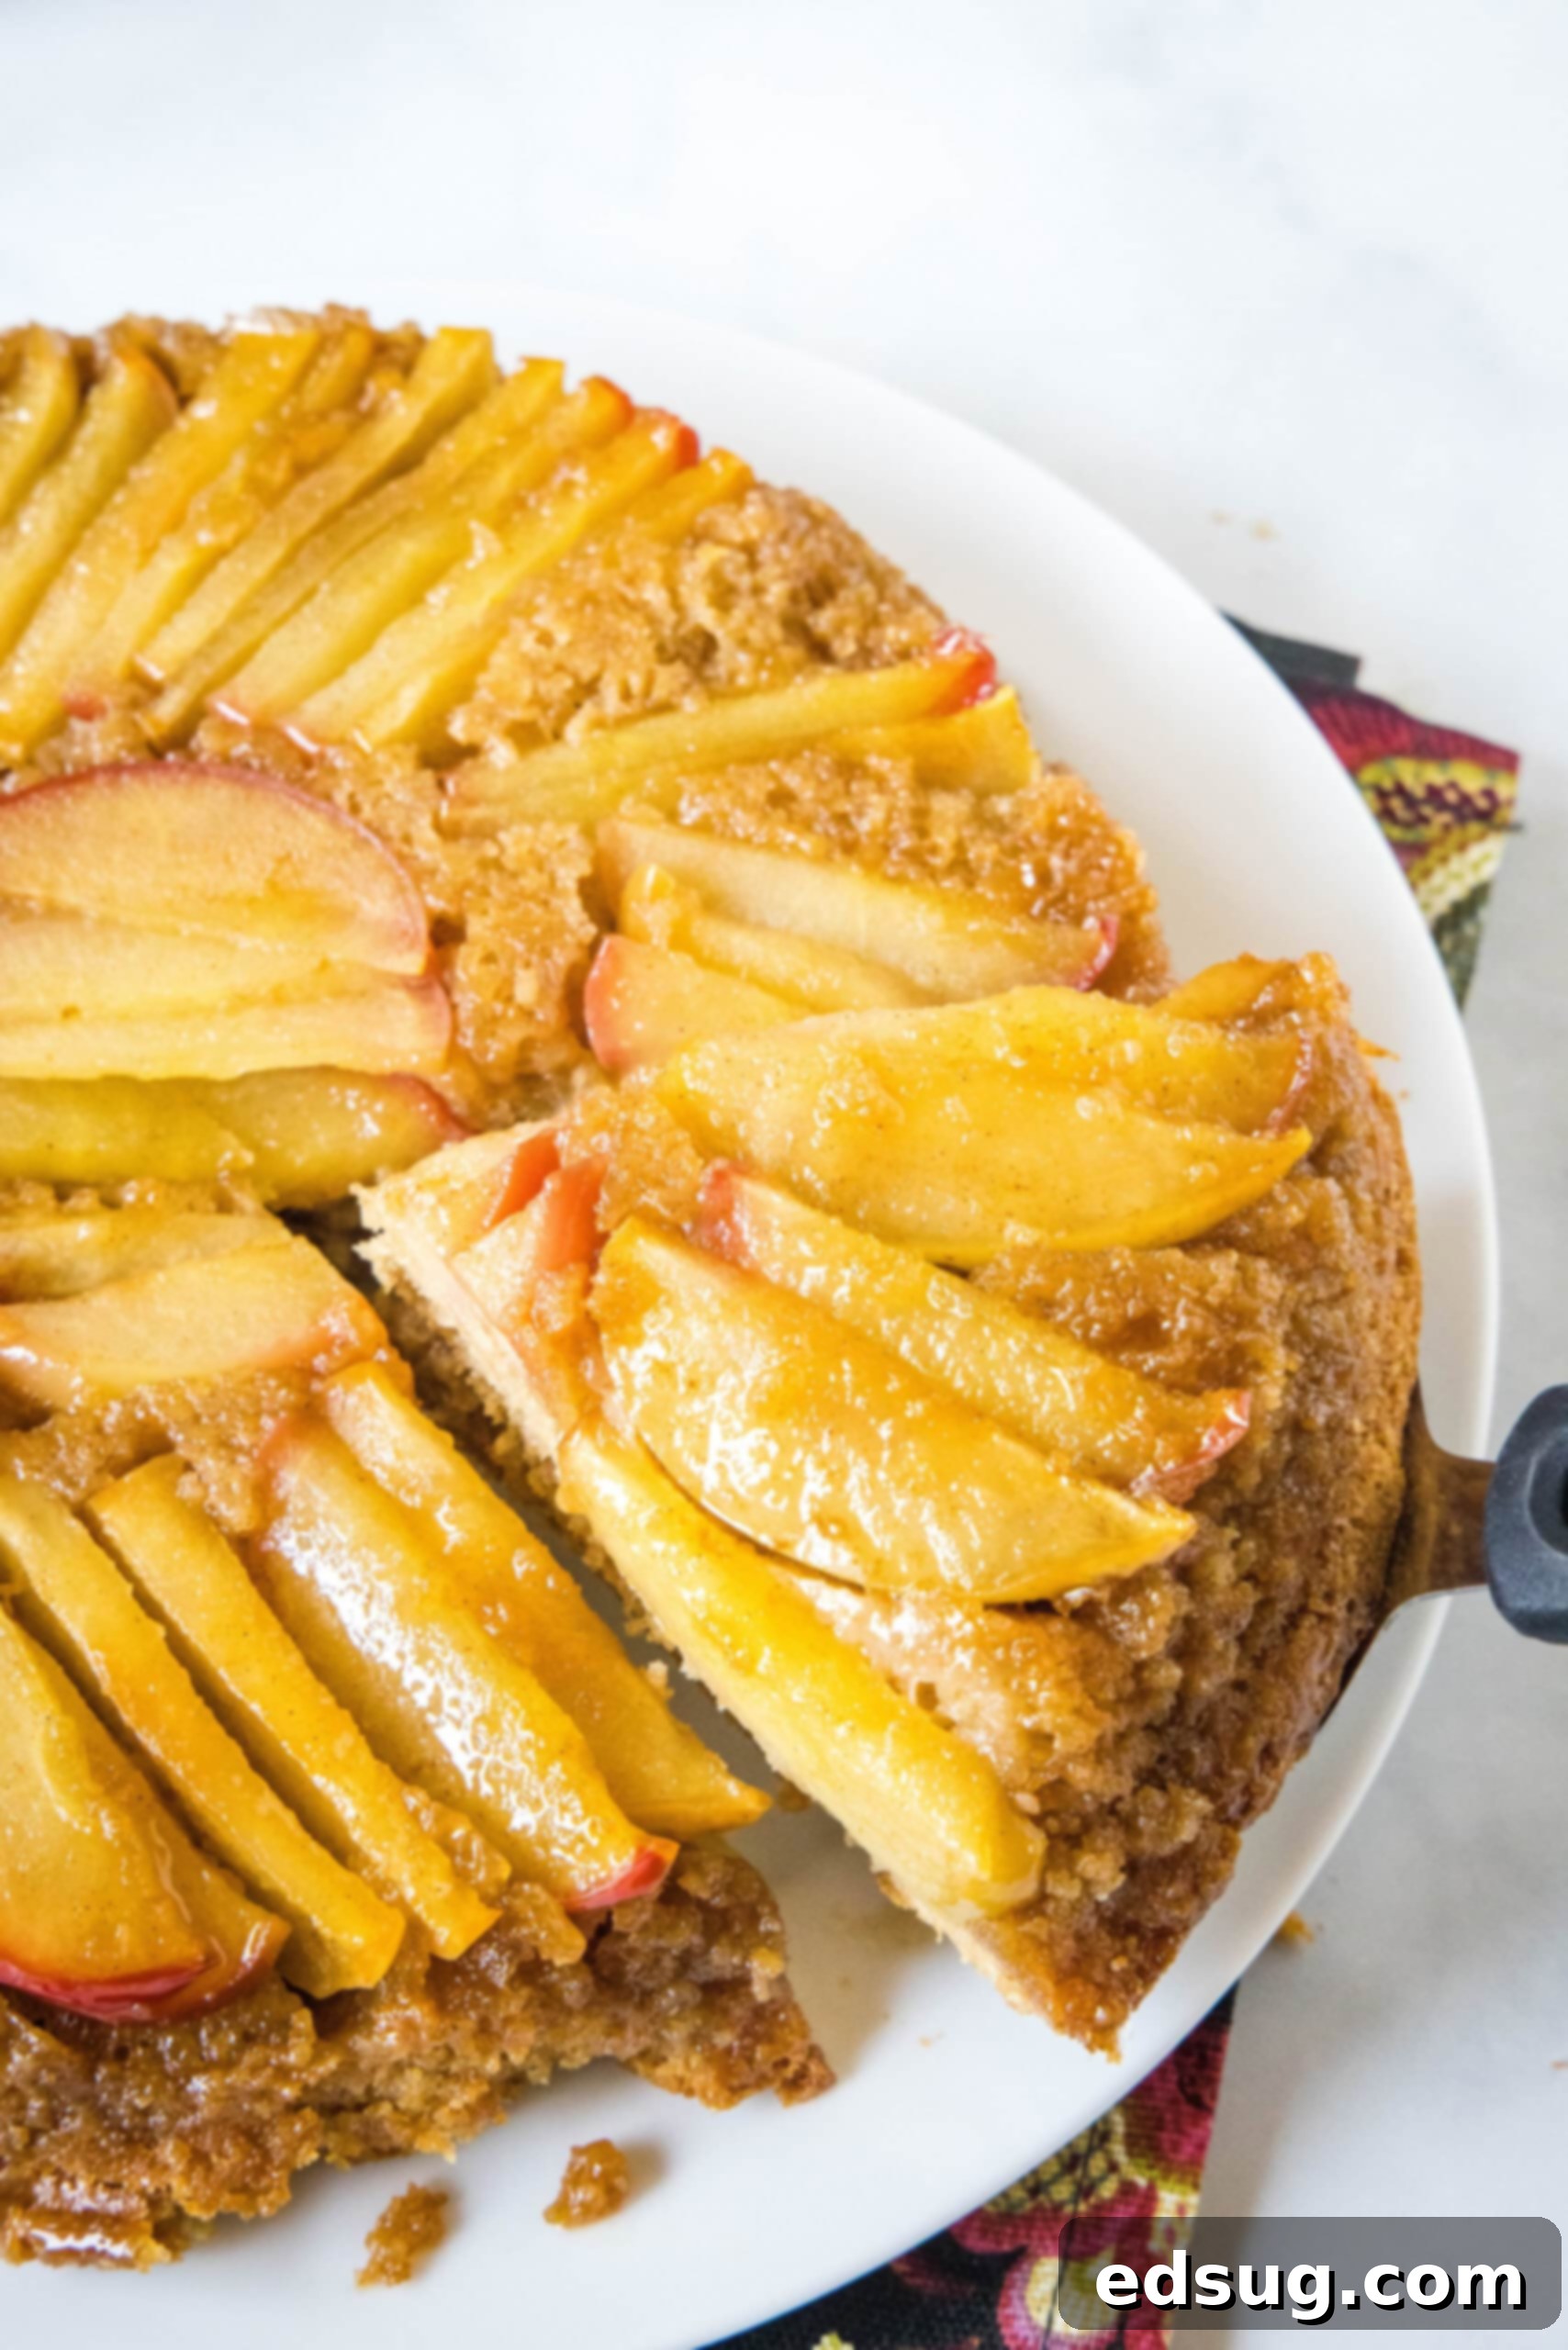
- Assemble the Apple Layer. Carefully pour the freshly made caramel mixture into the bottom of a generously greased 9-inch round baking pan. Immediately after, arrange your thinly sliced apple pieces over the warm caramel. I find that arranging them in an elegant fan shape, much like you would for a ratatouille, as shown in the picture, creates a stunning visual effect when the cake is inverted. Once the apples are arranged, place the pan into the refrigerator to chill briefly while you prepare the cake batter. This helps the caramel to set slightly, ensuring the apples stay in place.
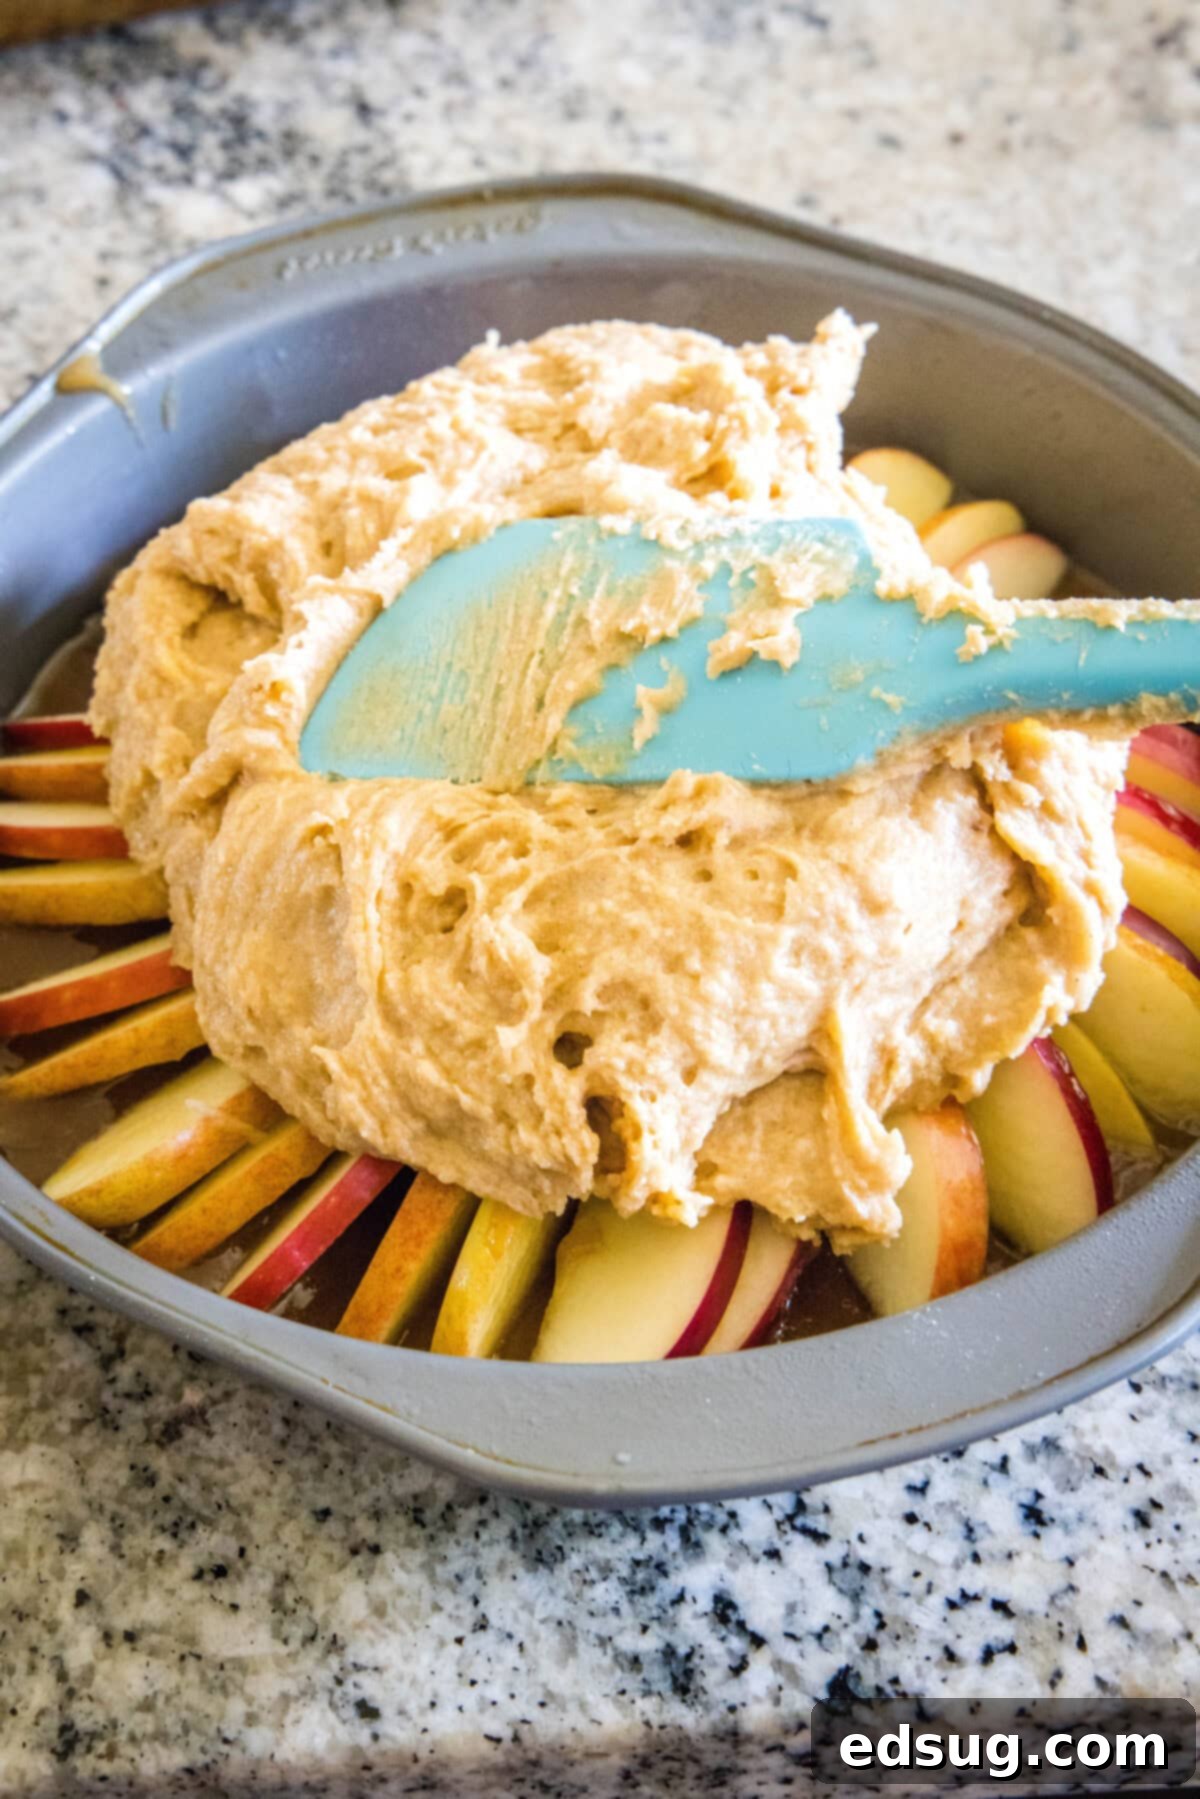
- Prepare the Cake Batter. In a medium bowl, whisk together all the dry ingredients: all-purpose flour, cinnamon, baking powder, and salt. Set this aside. In a separate, larger mixing bowl, cream together the softened butter with both the granulated sugar and brown sugar until the mixture is light, fluffy, and pale. Beat in the eggs one at a time, followed by the vanilla extract, ensuring each is fully incorporated before adding the next. Gradually add the dry ingredients to the wet mixture, alternating with splashes of milk, mixing on low speed until the batter is just combined. Avoid overmixing to keep the cake tender. Retrieve the chilled pan with the caramel apples and gently spread the prepared cake batter evenly over the apple layer, taking care not to disturb the arrangement.
- Bake to Perfection. Transfer the cake pan to a preheated oven and bake at 350ºF for approximately 40-45 minutes. Keep an eye on the cake; if you notice the top browning too rapidly, you may need to loosely cover the pan with a piece of aluminum foil to prevent over-browning while allowing the cake to finish cooking through. The cake is done when a wooden skewer or toothpick inserted into the center (avoiding the apple layer) comes out clean.
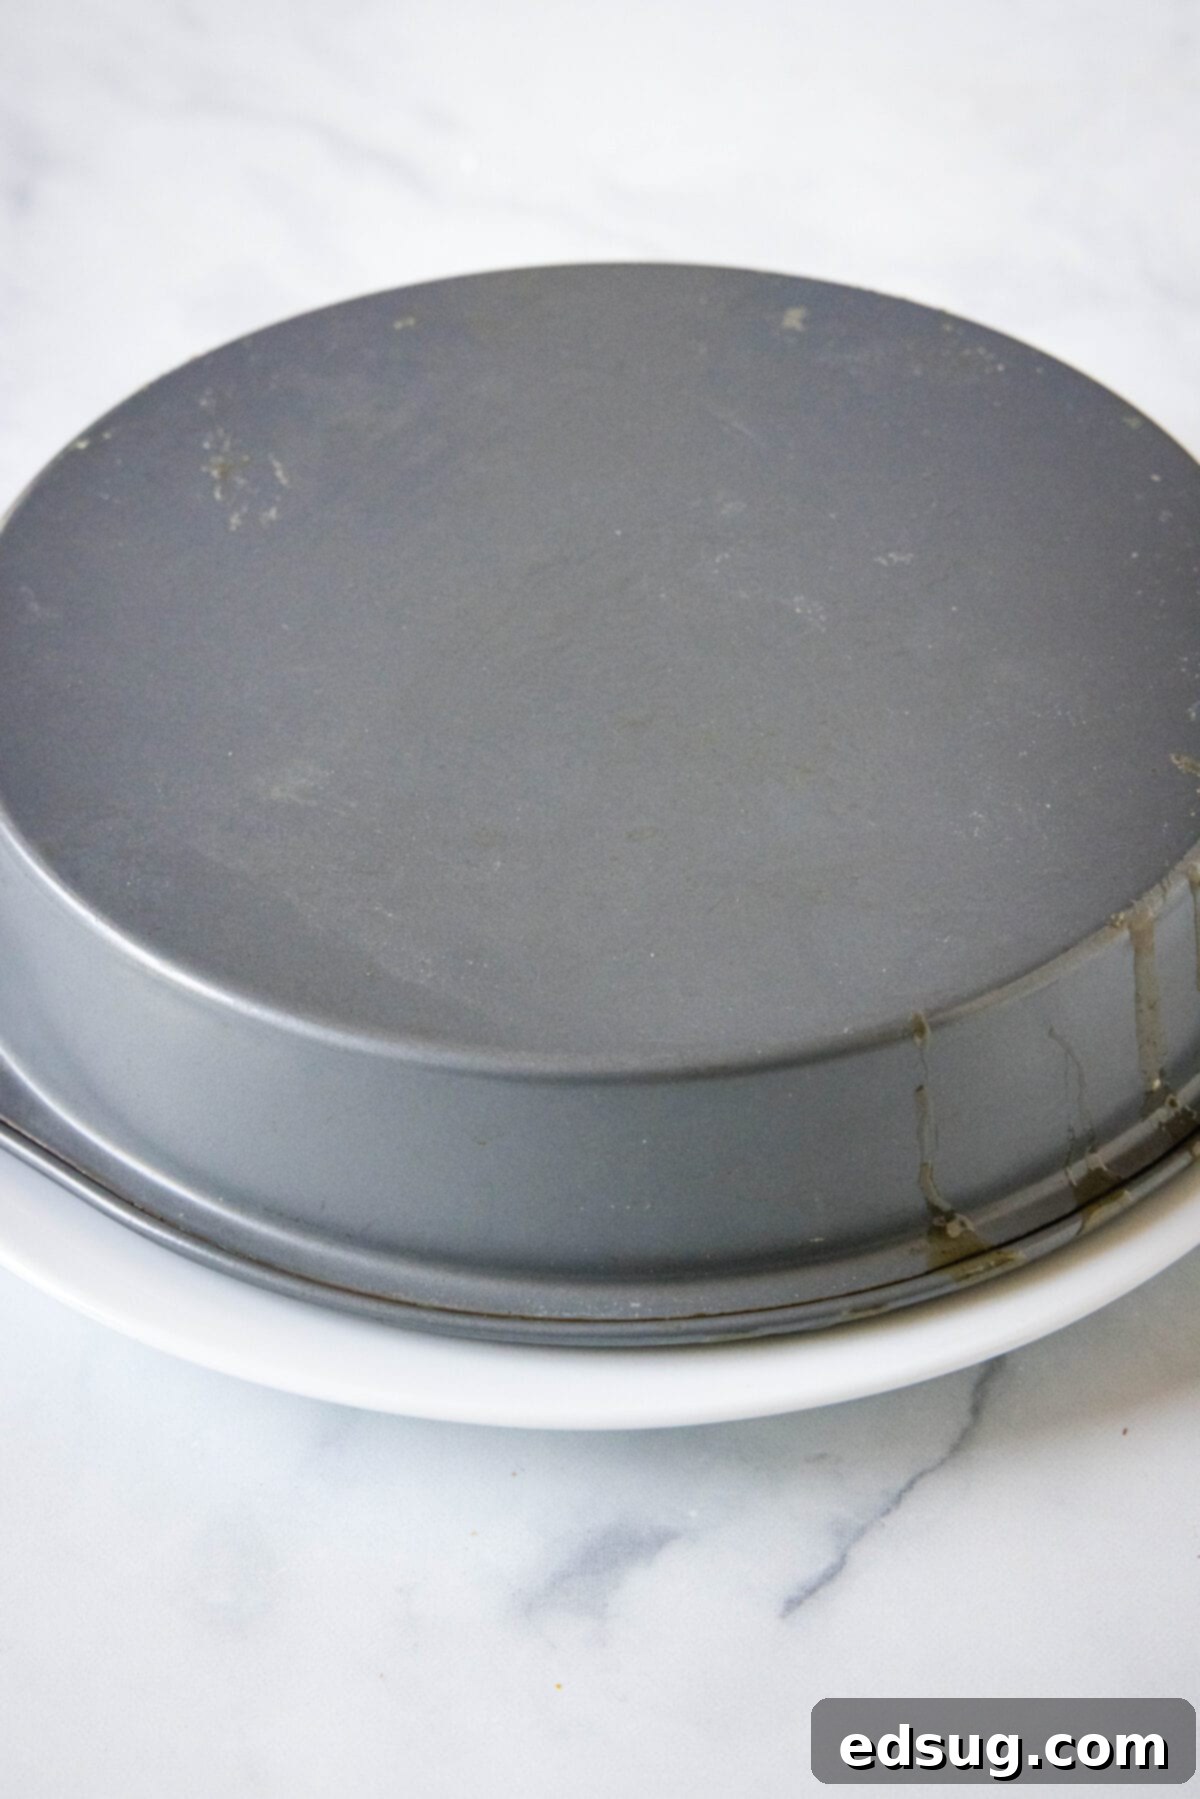
- The Grand Flip! Once baked, remove the cake from the oven and allow it to rest in the pan for a crucial 15 minutes. This cooling period is important, as it allows the cake to set slightly and the caramel to remain warm and pliable. After 15 minutes, carefully run a thin knife around the edges of the cake to loosen it from the pan. Then, place a large, sturdy serving plate face-down over the top of the cake pan. Grip the pan and the plate together tightly and, with a swift, confident motion, flip them over. Give the bottom of the pan a few gentle taps to encourage the cake’s release, then slowly and carefully lift the pan away to reveal your stunning, caramelized apple upside down cake! Voila! Your masterpiece is ready to be admired and served.
Helpful Recipe Notes & Expert Tips
- Caramel Consistency is Key. It’s absolutely vital not to overcook the caramel topping. Once the butter and sugar mixture begins to simmer, let it cook for precisely one minute before removing it from the heat. Overcooking the caramel will cause it to become too stiff and hard once it cools, resulting in a texture more akin to chewy caramels rather than the luscious, gooey topping we’re aiming for. A minute is usually perfect for a thick, pourable caramel that sets beautifully.
- Avoid Overmixing the Batter. When combining the wet and dry ingredients for the cake batter, mix only until the flour streaks have just disappeared. Overmixing the batter develops the gluten excessively, which can lead to a dense, tough cake that won’t rise as well in the oven, losing that desirable light and fluffy texture. A gentle hand is best!
- Flip with Care and Confidence. The inversion process is a key moment! To ensure a smooth release, first, gently loosen the edges of the cake from the pan using a thin knife or offset spatula. Then, swiftly and confidently place a large, flat serving plate face-down directly over the cake pan. Grip both the pan and the plate firmly together, then flip them over in one fluid motion. Allow the cake to rest on the plate for a few seconds, then give the bottom of the pan a few light taps to help gravity do its work. Finally, lift the pan slowly and steadily. This careful process prevents the cake from breaking apart and ensures the beautiful apple topping remains intact.
- Cool Before Slicing for Best Results. While this cake is absolutely delicious served warm, with the caramel still slightly gooey and the ice cream melting, I personally find it much easier to achieve clean, perfect slices if you allow it to cool closer to room temperature first. This gives the cake structure a chance to firm up slightly, resulting in neater presentation.
Frequently Asked Questions About Apple Upside Down Cake
For the best results with an apple upside down cake, it is crucial to flip it while the caramel topping is still warm and soft, but the cake itself has had a moment to set. I typically recommend removing the cake from the oven and letting it rest in the pan for approximately 15 minutes. It’s absolutely vital not to let this apple upside down cake cool completely in the pan. If the cake cools down too much, the buttery caramel will solidify and harden, causing the cake to stick firmly to the bottom of the pan and making it very difficult to release cleanly. This 15-minute resting period allows the cake to firm up enough to handle the flip without crumbling, while ensuring the caramel remains pliable enough for a smooth release and a beautiful, glossy topping.
Ideally, the round cake pan you choose for baking this delicious apple upside down cake should have sides that are at least 2 inches deep. This extra depth is important to prevent any potential overflow of the caramel sauce or cake batter in the oven, especially as the cake rises and the caramel bubbles. My own pan isn’t quite that high, so as a precaution, I always place a baking sheet underneath it in the oven to catch any caramel sauce that might bubble over. Regardless of your pan’s depth, it’s absolutely essential to generously grease the pan with cooking spray or shortening, paying close attention to the sides and bottom. This thorough greasing creates a non-stick surface, which is key to ensuring the cake releases cleanly and beautifully after baking, revealing its stunning caramelized apple topping.
Absolutely! Using a mix of different apple varieties can add wonderful complexity and depth to your apple upside down cake. Combining sweet apples like Gala or Fuji with a tart apple like Granny Smith creates a beautiful balance of flavors. The tartness of the Granny Smith will cut through the sweetness of the caramel and cake, providing a delightful contrast. Just ensure all apples are sliced thinly and uniformly to ensure even cooking and a consistent texture in the topping.
Delightful Serving Suggestions for Your Apple Upside Down Cake
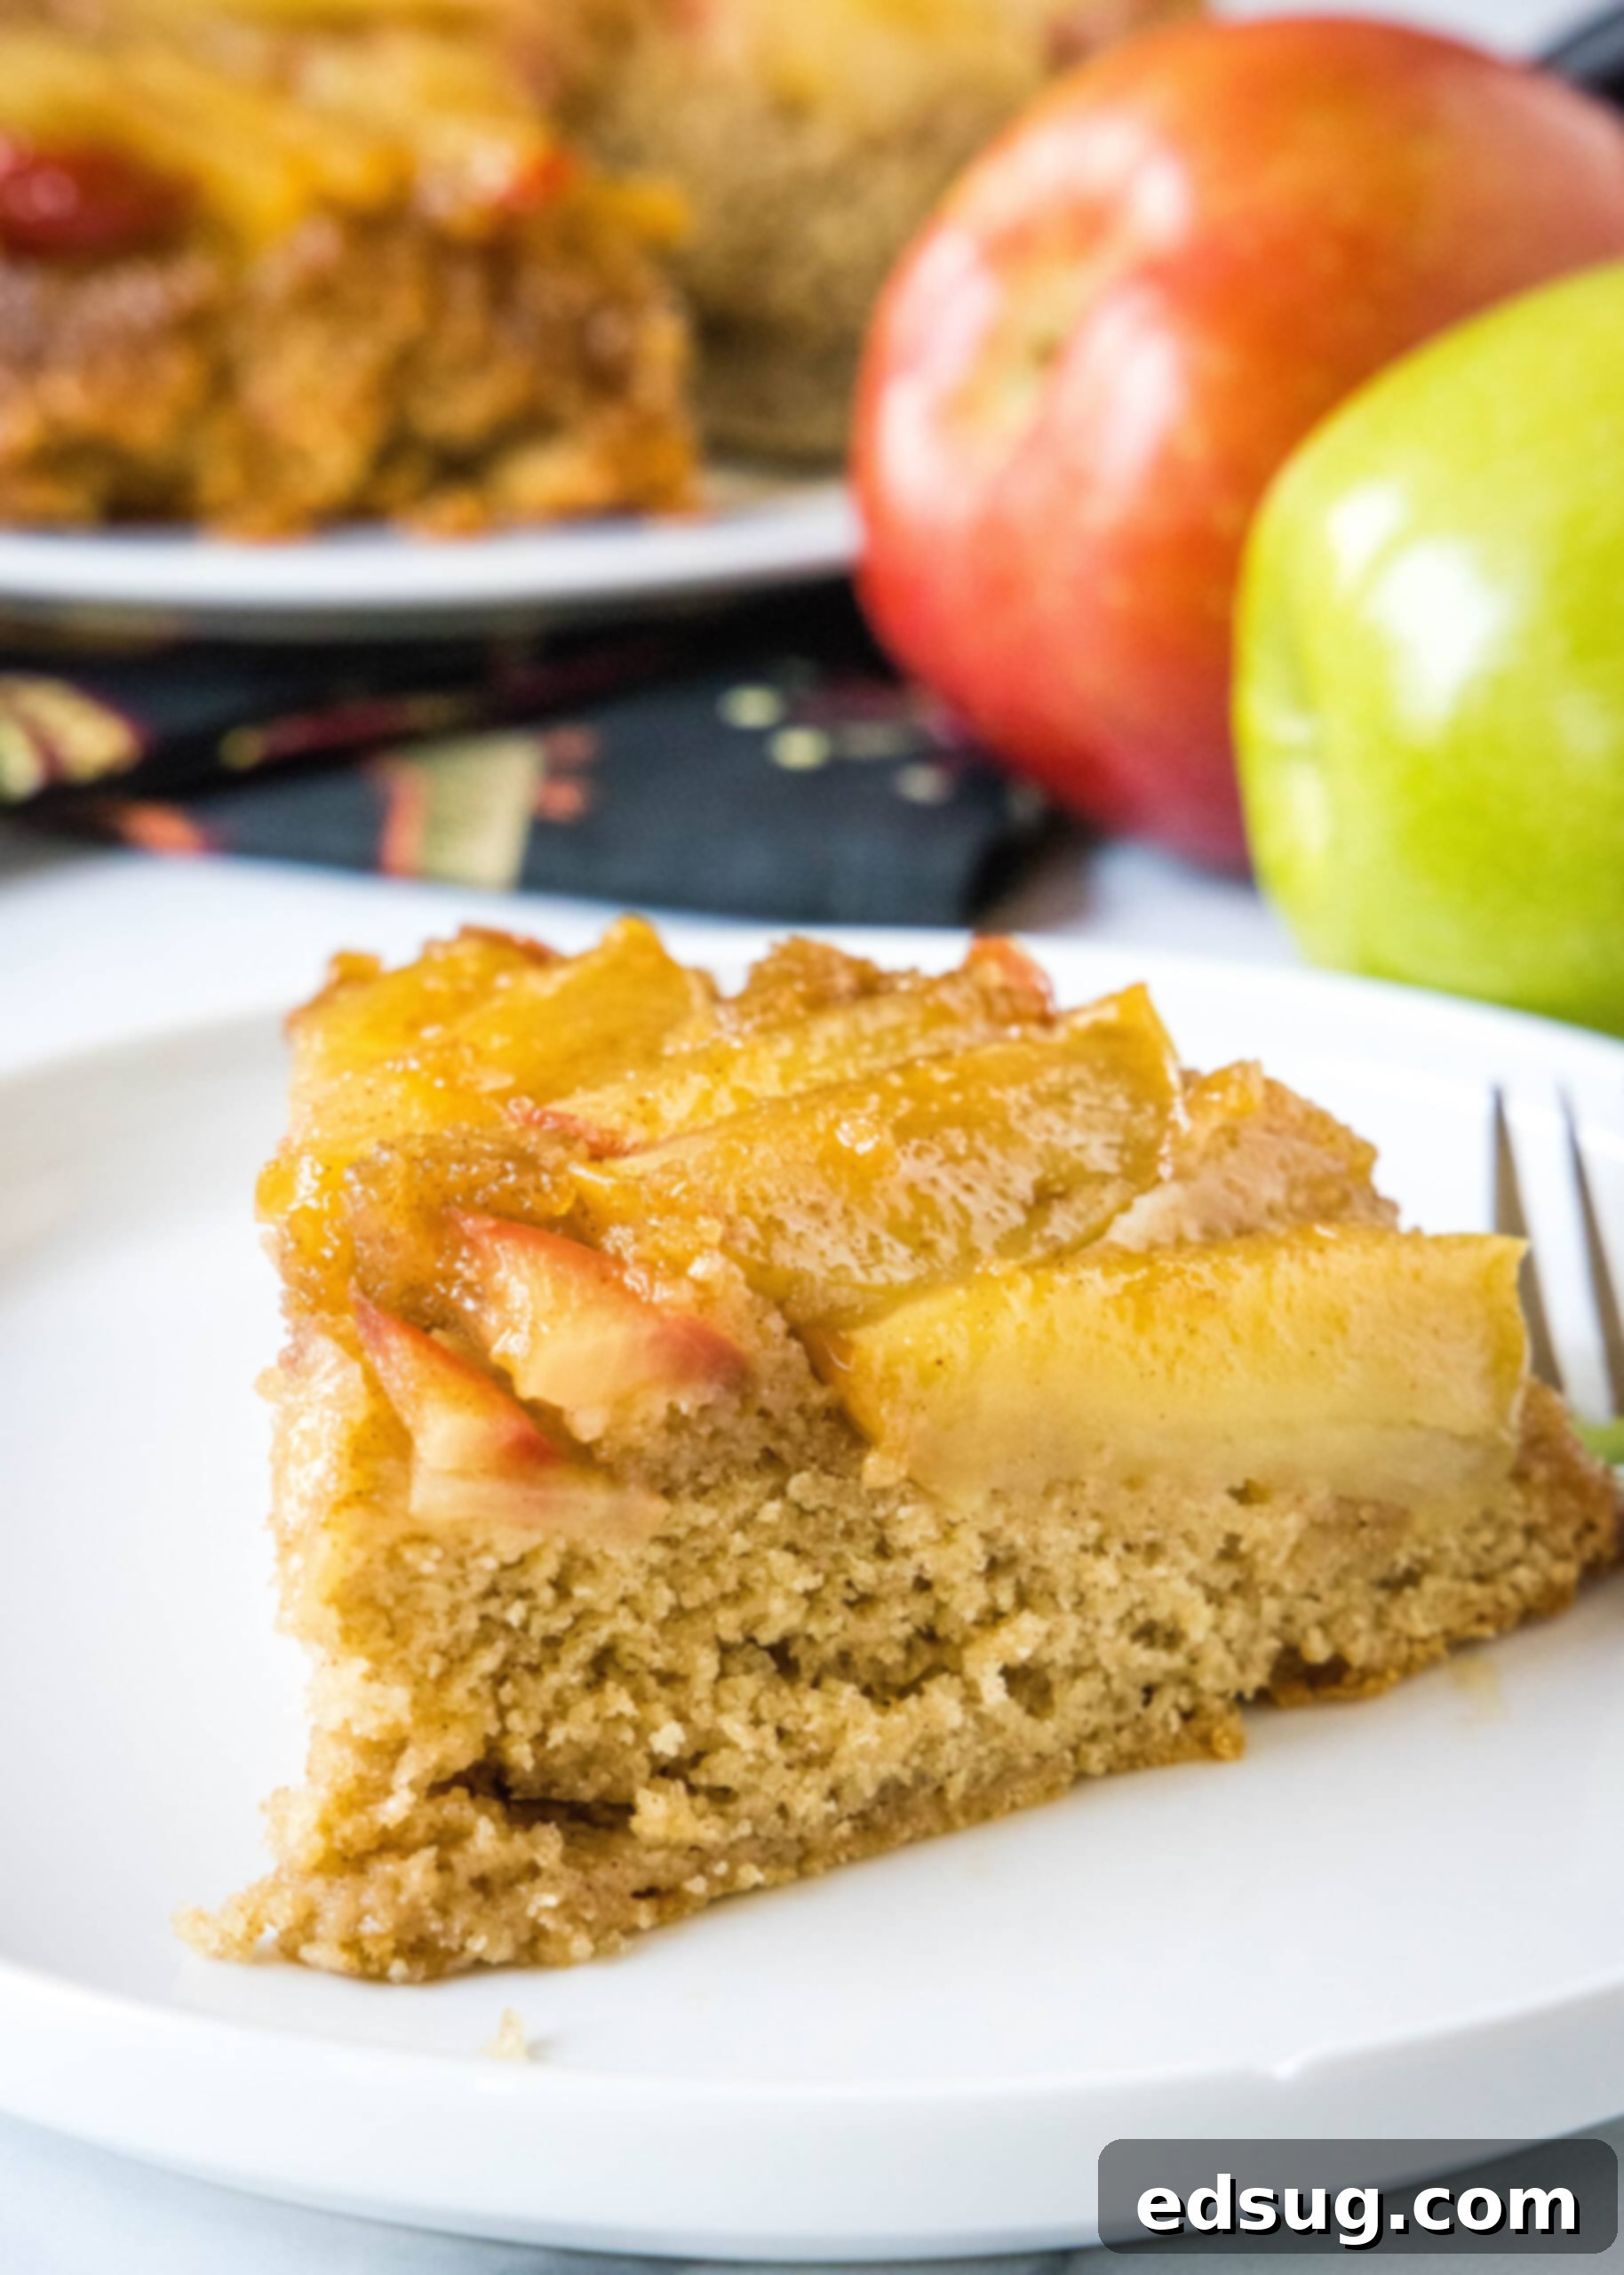
This wonderfully cozy apple upside down cake is a dessert that truly shines on its own, but it reaches new heights when paired with a few thoughtful additions. For an utterly indulgent experience, I highly recommend serving a warm slice alongside a generous scoop of rich vanilla bean ice cream, allowing its creamy texture to melt slightly into the warm, gooey caramel. A final drizzle of extra caramel sauce takes it over the top! This cake makes for the perfect comforting fall dessert to enjoy with a steaming cup of coffee or a luxurious mug of Kahlua hot chocolate after a satisfying dinner. Don’t limit it to evenings, though! I’ve been known to savor a slice for a decadent breakfast or a delightful brunch, especially when accompanied by a sparkling cranberry mimosa on the side for a touch of festive elegance. Enjoy it however you like – it’s a versatile treat!
How Long Does an Upside-Down Cake Last? Storage Tips
Ensuring your delicious apple upside down cake stays fresh and flavorful for as long as possible is important so you can enjoy every last bite. Here’s how to store it effectively:
- Fridge Storage. This apple upside down cake will retain its excellent taste and moist texture for up to 3 days when stored properly in the refrigerator. To keep it fresh, make sure to transfer it to an airtight container. Alternatively, you can wrap it tightly with several layers of plastic wrap to prevent it from drying out or absorbing any unwanted odors from other foods in your fridge.
- Freezer Storage. If you’ve baked a large cake or wish to enjoy a slice at a later date, this cake freezes beautifully. To freeze, first allow the cake to cool completely to room temperature. Then, double-wrap the entire cake or individual slices very tightly in plastic wrap, followed by a layer of aluminum foil. This double protection helps prevent freezer burn. It can be stored in the freezer for up to 1 month. When you’re ready to enjoy it, simply thaw the cake overnight in the refrigerator before serving.
Discover More Delicious Apple Recipes
If you love the comforting flavors of apple and are looking for more ways to incorporate this versatile fruit into your baking, explore some of my other favorite apple-centric recipes:
- Apple Bars
- Apple Cider Donuts
- Apple Turnovers
- Apple Crisp Cheesecake

Apple Upside Down Cake
Pin Recipe
Rate Recipe
Print Recipe
Ingredients
Caramel Topping
- 2 apples, thinly sliced (peeling is optional and up to you; Fuji, Gala, or Granny Smith recommended)
- ½ cup light brown sugar
- 6 Tablespoons butter
- ½ teaspoon cinnamon
- ½ teaspoon vanilla extract
Cake
- 1 ½ cups all-purpose flour
- 2 teaspoons cinnamon
- 1 ½ teaspoon baking powder
- ½ teaspoon salt
- ½ cup butter, softened to room temperature
- ½ cup granulated sugar
- ½ cup light brown sugar
- 2 whole large eggs, at room temperature
- 2 teaspoons vanilla extract
- 1/3 cup milk, whole or 2%, at room temperature
Instructions
-
Preheat your oven to 350º F (175ºC). Lightly spray an 9-inch round cake pan with non-stick baking spray or grease it thoroughly with butter and flour. Set the prepared pan aside.
-
In a small saucepan, melt the butter and light brown sugar for the caramel topping over medium heat. Stir constantly to ensure the sugar dissolves evenly. Once the mixture comes to a gentle simmer, let it cook undisturbed for exactly 1 minute to thicken. Immediately remove the saucepan from the heat and stir in the ½ teaspoon of cinnamon and ½ teaspoon of vanilla extract until fully combined and fragrant. Be careful not to overcook the caramel.½ cup light brown sugar, 6 Tablespoons butter, ½ teaspoon cinnamon, ½ teaspoon vanilla extract
-
Pour the warm caramel mixture into the bottom of your prepared cake pan, spreading it evenly. Neatly arrange the thinly sliced apples over the caramel in a decorative circle, fanning them out like an accordion. Place the pan in the fridge to chill and set the caramel while you prepare the cake batter. This helps prevent the apples from shifting.2 apples
-
In a medium bowl, whisk together the 1 ½ cups of all-purpose flour, 2 teaspoons of cinnamon, 1 ½ teaspoons of baking powder, and ½ teaspoon of salt until well combined. Set this dry mixture aside.1 ½ cups all-purpose flour, 2 teaspoons cinnamon, 1 ½ teaspoon baking powder, ½ teaspoon salt
-
Using an electric mixer, cream together the softened ½ cup butter with both ½ cup granulated sugar and ½ cup light brown sugar for about 2 minutes. Beat until the mixture is light, fluffy, and pale in color. Incorporate the 2 large eggs one at a time, followed by the 2 teaspoons of vanilla extract, beating until each is fully combined into the mixture.½ cup butter, ½ cup granulated sugar, ½ cup light brown sugar, 2 whole large eggs, 2 teaspoons vanilla extract
-
Gradually add the whisked flour mixture to the wet batter, mixing on low speed. Slowly pour in the 1/3 cup milk, continuing to mix just until the batter comes together and no dry streaks of flour remain. Be careful not to overmix, as this can result in a dense cake.1/3 cup milk
-
Remove the cake pan from the fridge. Carefully pour the prepared cake batter over the apple and caramel layer in the pan, gently spreading it into an even layer with a spatula, ensuring the apple arrangement remains undisturbed.
-
Bake for 40-45 minutes, or until a wooden skewer or toothpick inserted into the center of the cake (avoiding the apple layer) comes out clean. If the top of the cake starts to brown too quickly after about 30 minutes, loosely cover the pan with aluminum foil to prevent burning. Remove from the oven and let the cake stand in the pan for exactly 15 minutes.
-
After 15 minutes, run a thin knife carefully around the edge of the cake to loosen it from the pan. Place a large, flat serving plate face-down over the top of the cake pan. Grip the pan and the plate firmly together and quickly invert the cake onto the plate. Give the bottom of the pan a few gentle taps, then slowly and carefully lift the cake pan to reveal your perfectly inverted apple upside down cake! Allow it to cool slightly before slicing and serving.
Notes
- Store any leftover cake in an airtight container in the fridge for up to 3 days to maintain freshness and moisture.
- While the cake can be served warm for a gooey caramel experience, it’s generally easier to get clean and precise slices if you allow it to cool closer to room temperature first.
- Feel free to use any type of baking apple for this recipe. I find a mix of Fuji and Gala apples works beautifully, offering a balance of sweetness and firmness, but tart Granny Smith apples are also an excellent choice for a bolder flavor.
- Ideally, your chosen cake pan should be at least 2 inches deep to comfortably contain the batter and prevent any caramel overflow during baking. If your pan is slightly shallower, simply place a baking sheet underneath it in the oven to catch any caramel that might bubble up, ensuring a clean oven.
Nutrition Information (Approximate)
Nutrition information is automatically calculated, so should only be used as an approximation.
Additional Info
Love this delicious fall recipe? Leave a comment and a star rating below!
