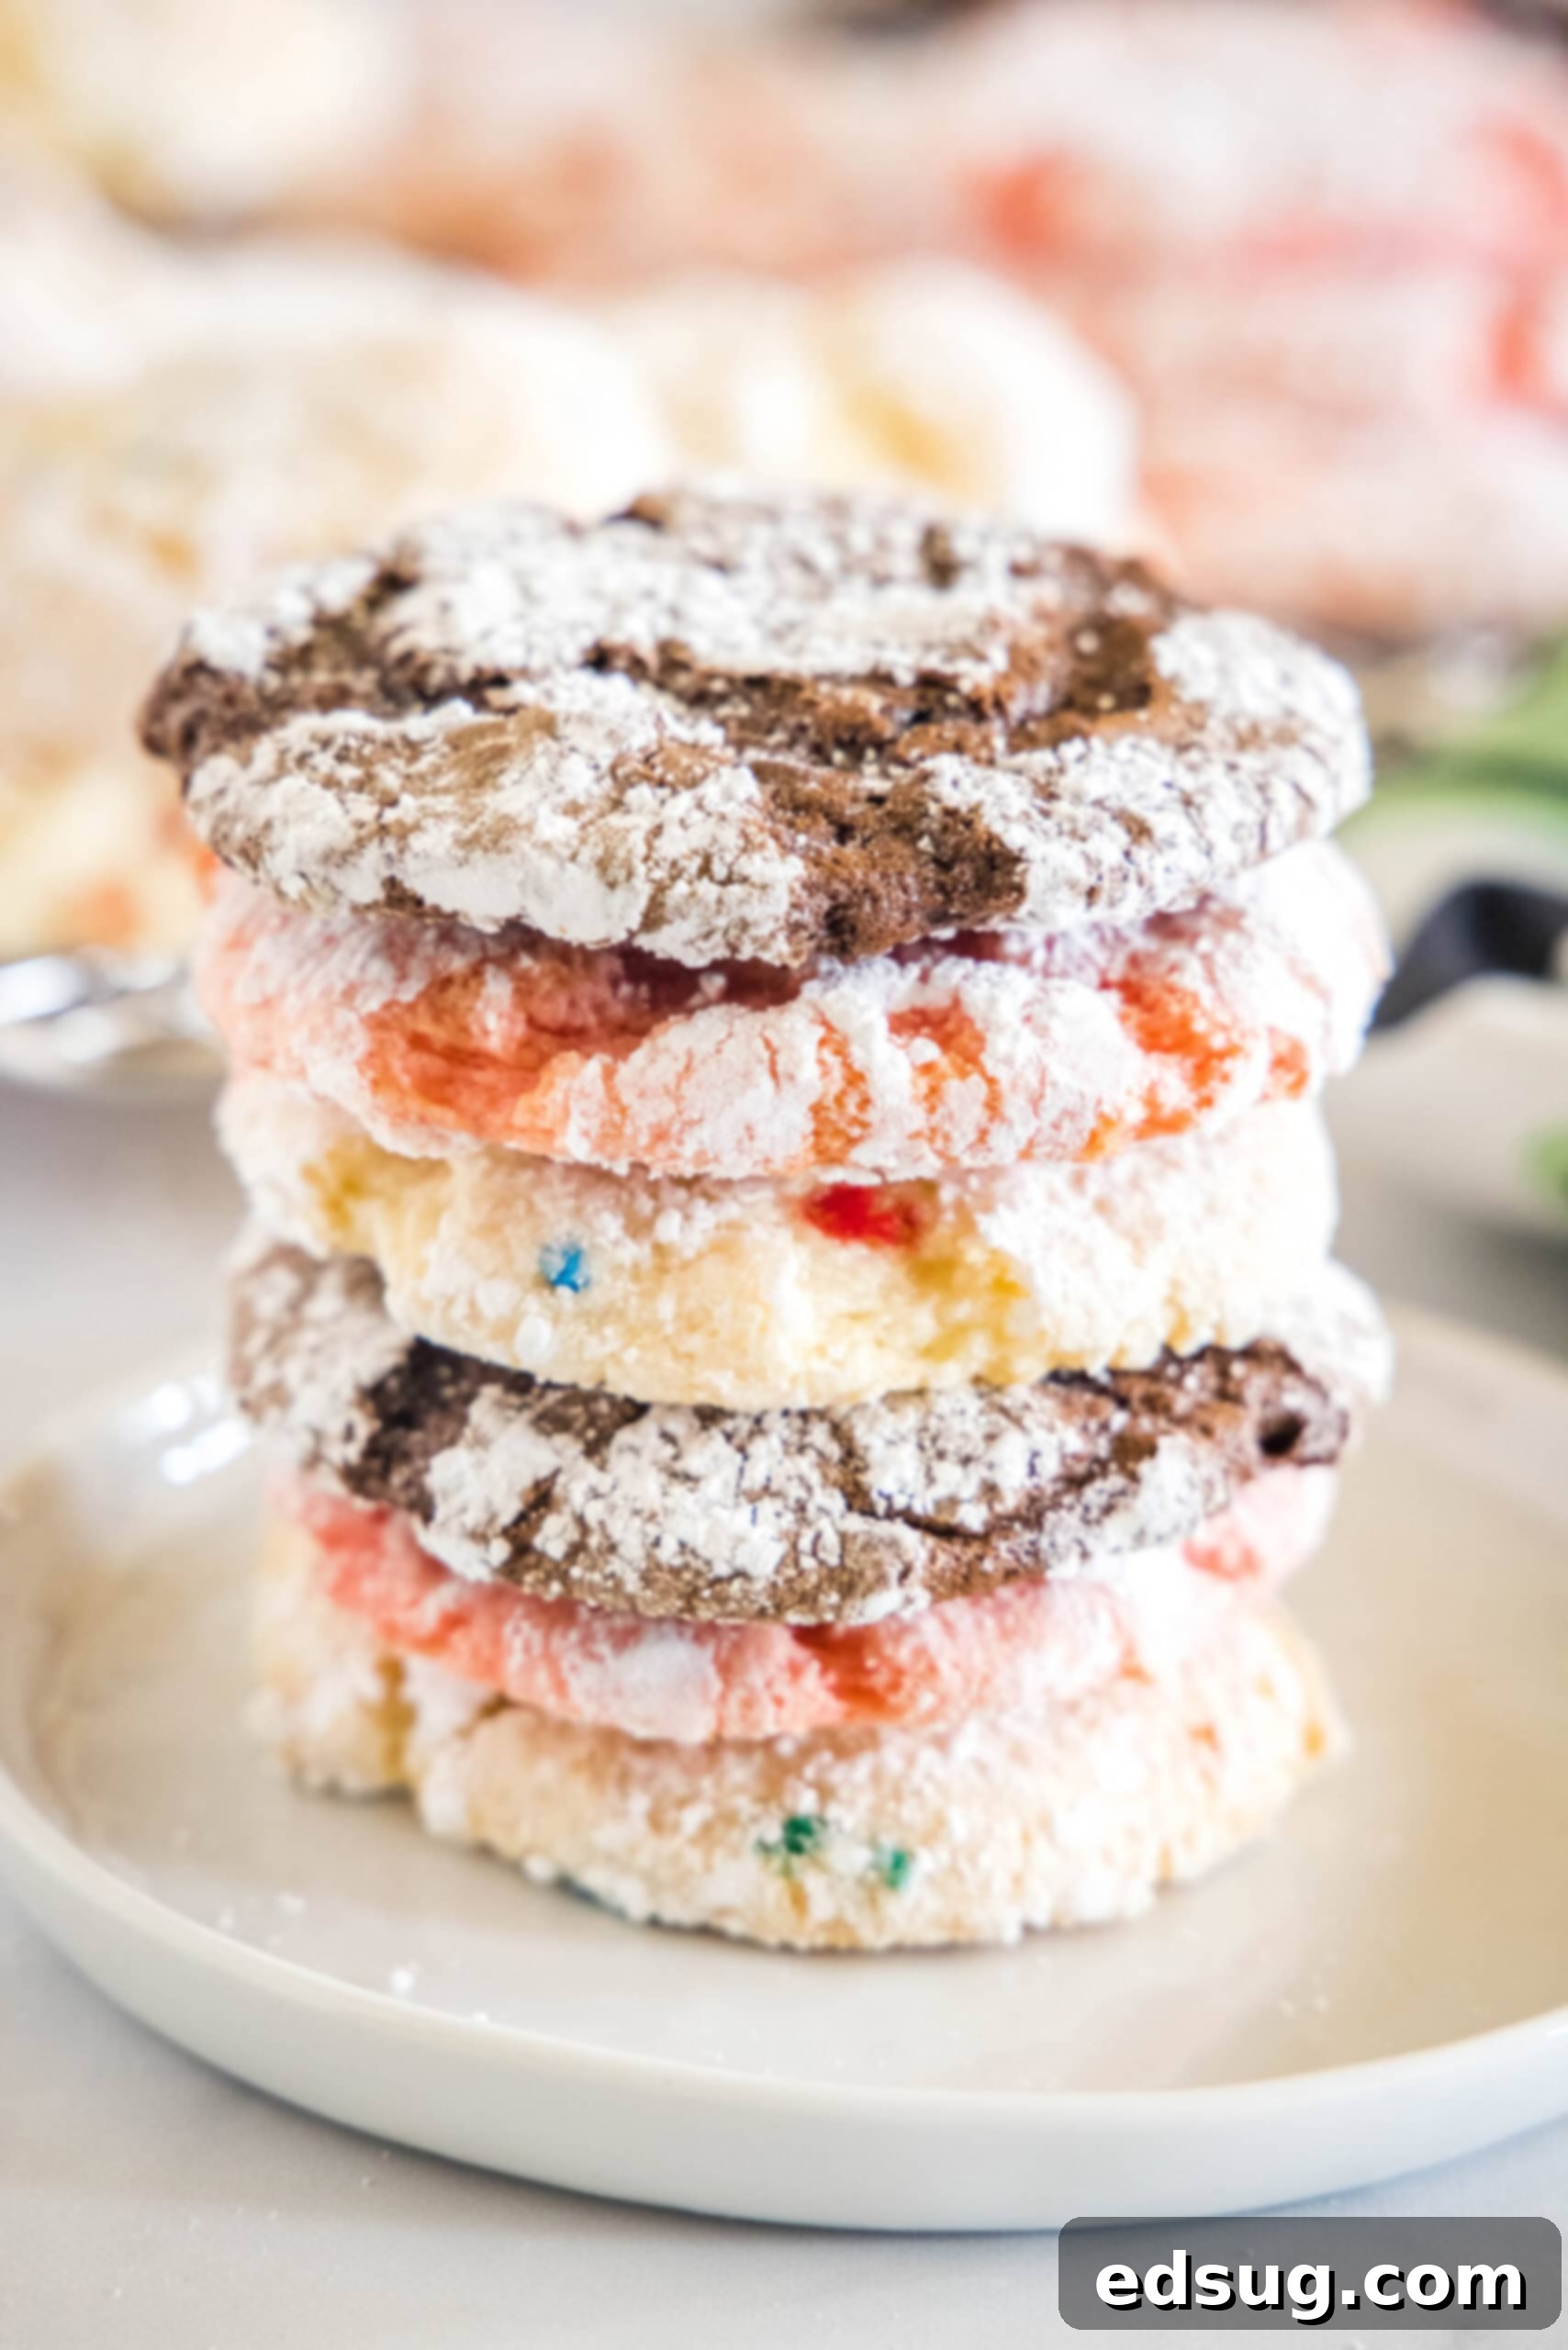
Easy 4-Ingredient Cool Whip Cookies with Cake Mix: Soft, Chewy, and Customizable!
Discover the magic of effortlessly delicious baking with these incredibly simple Cool Whip cookies! Requiring just 4 basic ingredients, this recipe transforms a humble box of cake mix into wonderfully soft, sweet, and chewy treats. Whether you’re a seasoned baker or just starting out, these cake mix cookies are designed for quick success and delightful results. Get ready to customize flavors for every season, holiday, or special occasion, making them a go-to favorite for last-minute desserts, bake sales, or simply a sweet indulgence for your family and friends.
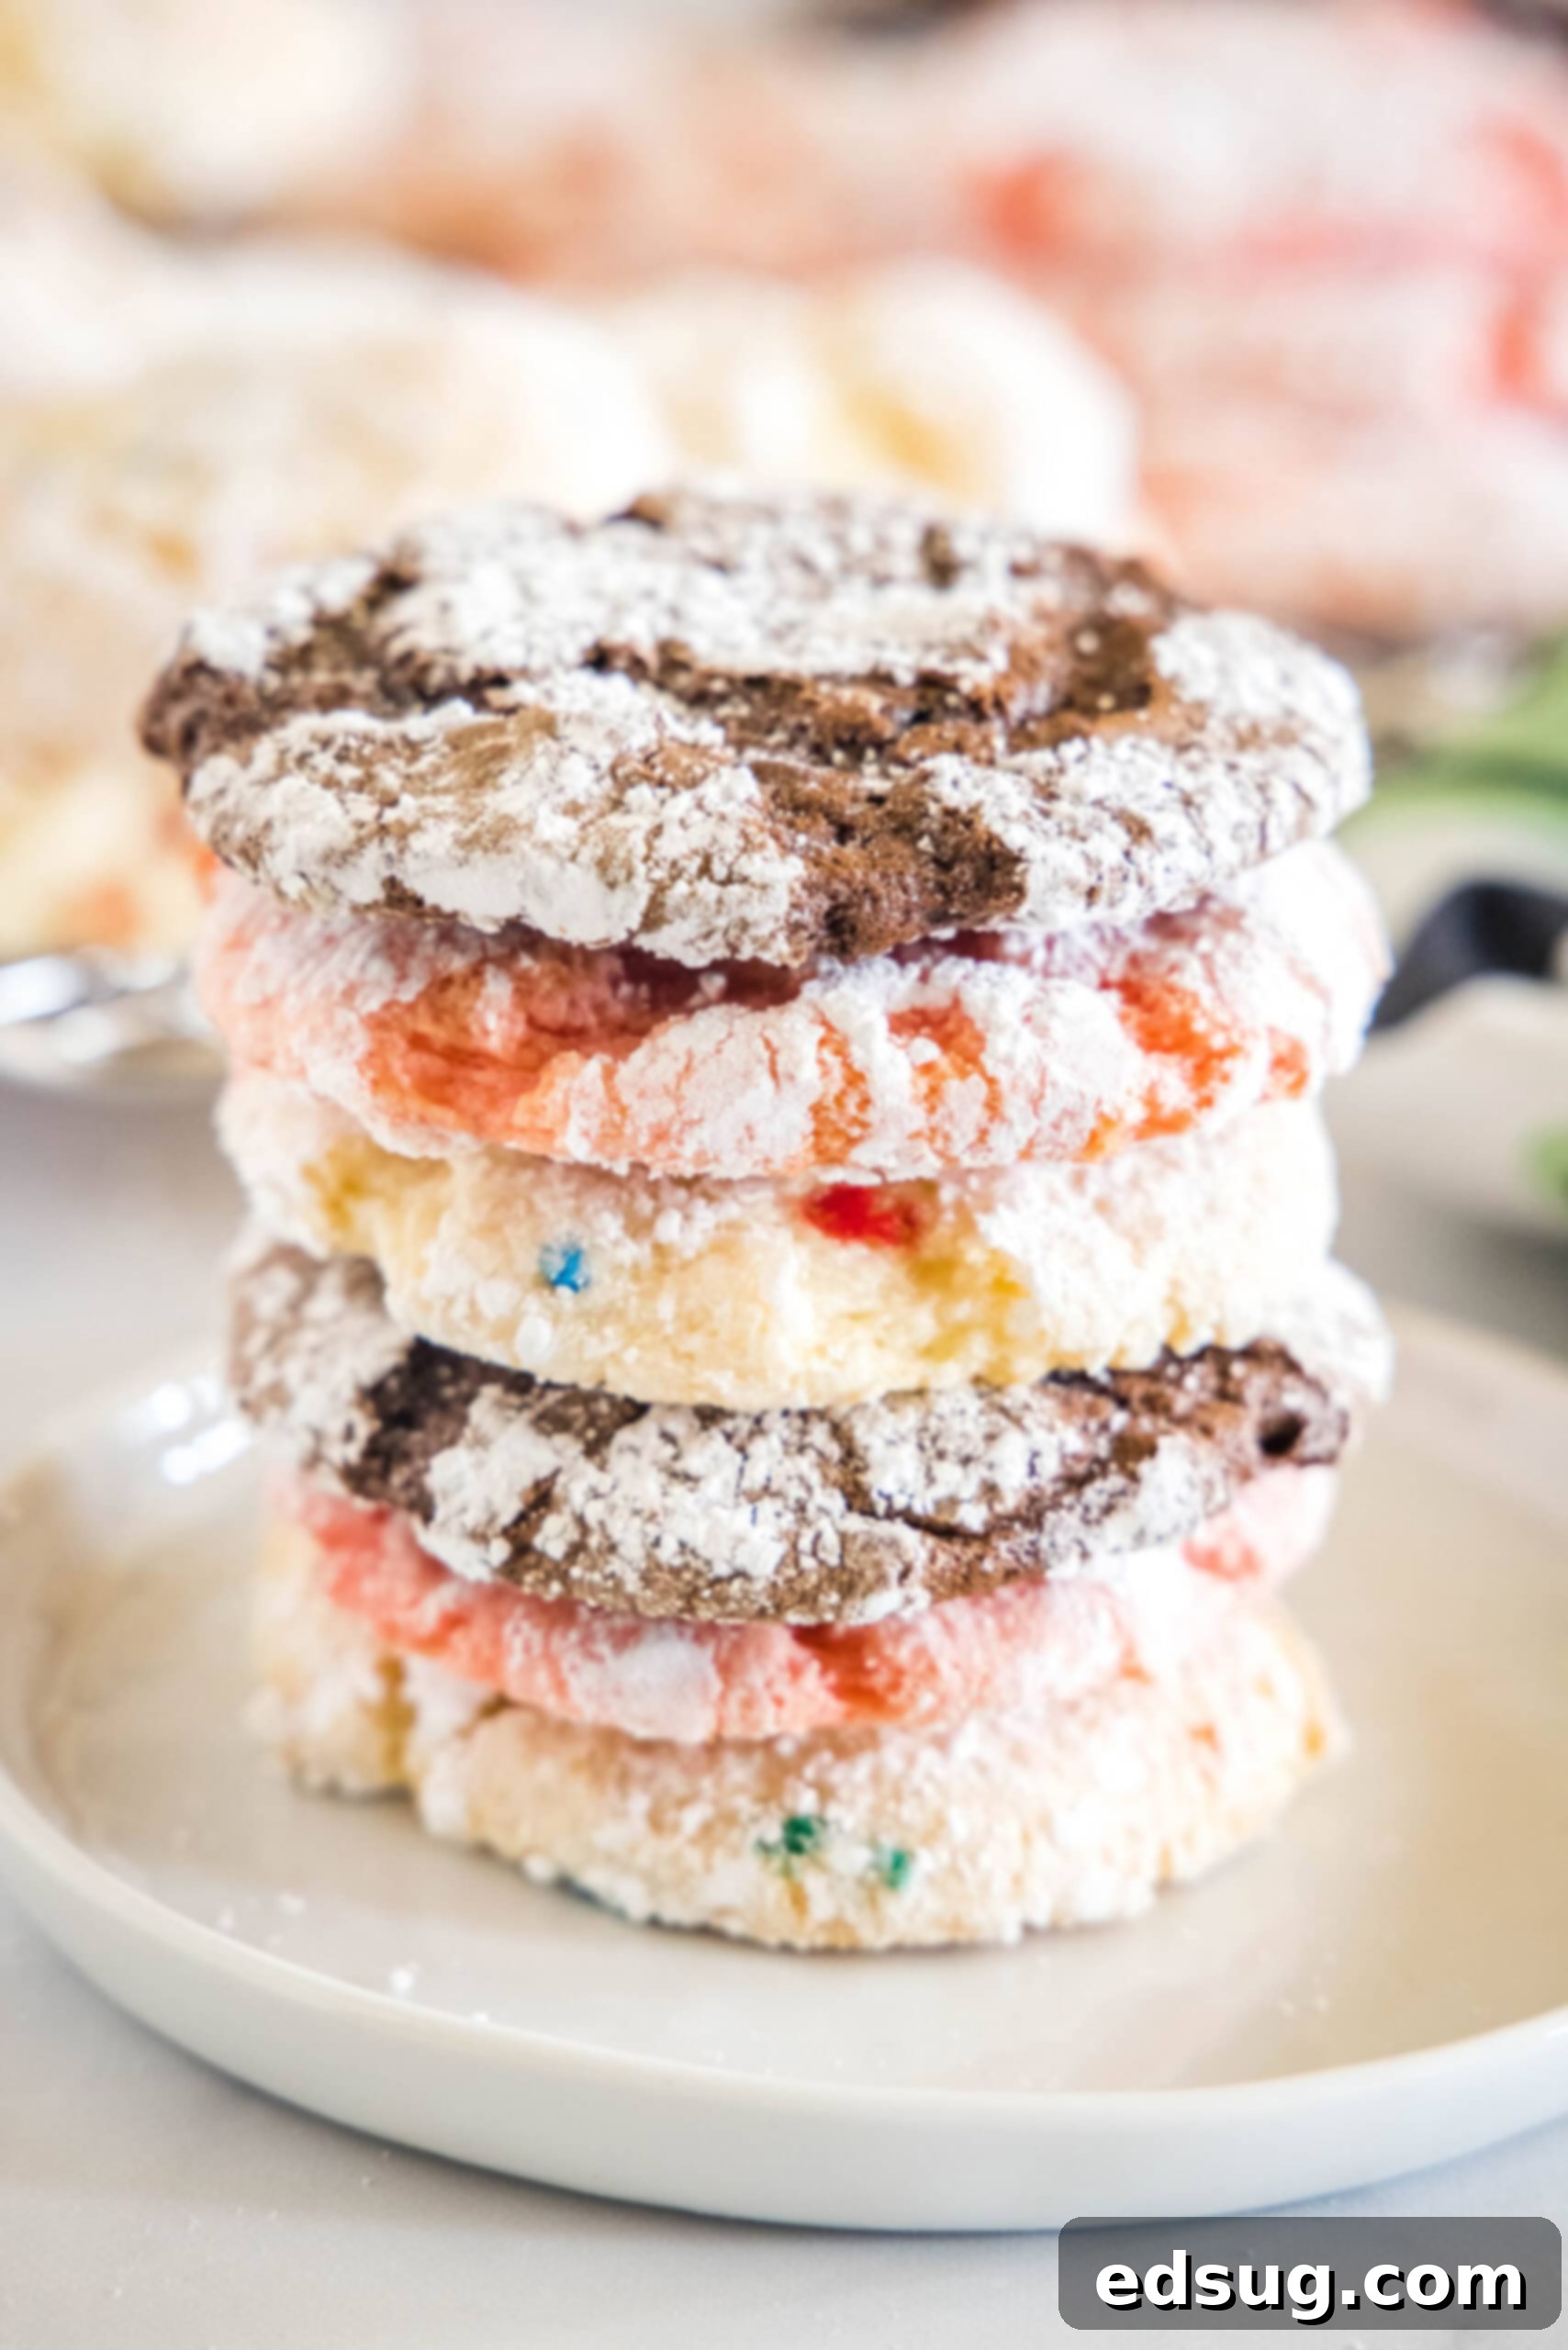
Cool Whip cookies stand out as one of the easiest cookie recipes you’ll ever encounter, a true testament to the genius of using a boxed cake mix for a shortcut to homemade goodness. These delightful treats are perfect for any time of year, from festive Christmas gatherings to casual weeknight cravings. Their light and fluffy texture, combined with a perfectly sweet and chewy finish, makes them utterly irresistible. Plus, the distinctive crinkly tops, achieved with a simple roll in powdered sugar, add a beautiful artisanal touch, mimicking classic crinkle cookies without the fuss. This recipe is your secret weapon for delicious, easy-to-make cookies that everyone will adore.
Why You’ll Absolutely Love These Cool Whip Cookies
These cake mix and Cool Whip cookies aren’t just easy; they’re genuinely delicious and incredibly versatile. Here’s why they’ll become a permanent fixture in your recipe rotation:
- Unbeatable Simplicity: Just 4 Ingredients. Forget long grocery lists or complex measurements. This recipe slashes prep time and keeps things straightforward. You only need a box of cake mix, a container of thawed whipped topping (Cool Whip), an egg, and a bit of powdered sugar for that signature finish. This minimal ingredient list means less shopping, less fuss, and more time enjoying your delicious creations. It’s an ideal recipe for busy schedules, budget-conscious bakers, or anyone seeking instant gratification in the kitchen without sacrificing flavor or quality.
- Melt-in-Your-Mouth Soft and Chewy Texture. Unlike some cookies that can turn out dry or stiff, Cool Whip cookies consistently deliver a wonderfully soft, almost pillowy interior with a delightful chew. The Cool Whip contributes to their unique lightness and moistness, ensuring every bite is a pleasure. The beautiful crinkly tops add visual appeal and a slight textural contrast, making them truly irresistible. These cookies have a delicate crumb that melts in your mouth, making them perfect with a glass of milk or a cup of coffee.
- Endlessly Customizable to Your Taste. The beauty of using cake mix is the built-in versatility. Changing the flavor of these cookies is as simple as picking a different box of cake mix. From classic chocolate and vanilla to vibrant strawberry or zesty lemon, the possibilities are endless. You can tailor them to any holiday, personal preference, or seasonal theme, making them fresh and exciting every time you bake. Add-ins like chocolate chips, nuts, or sprinkles can further enhance their appeal, allowing you to create a unique cookie for every occasion.
Essential Ingredients for Your Cool Whip Cookies
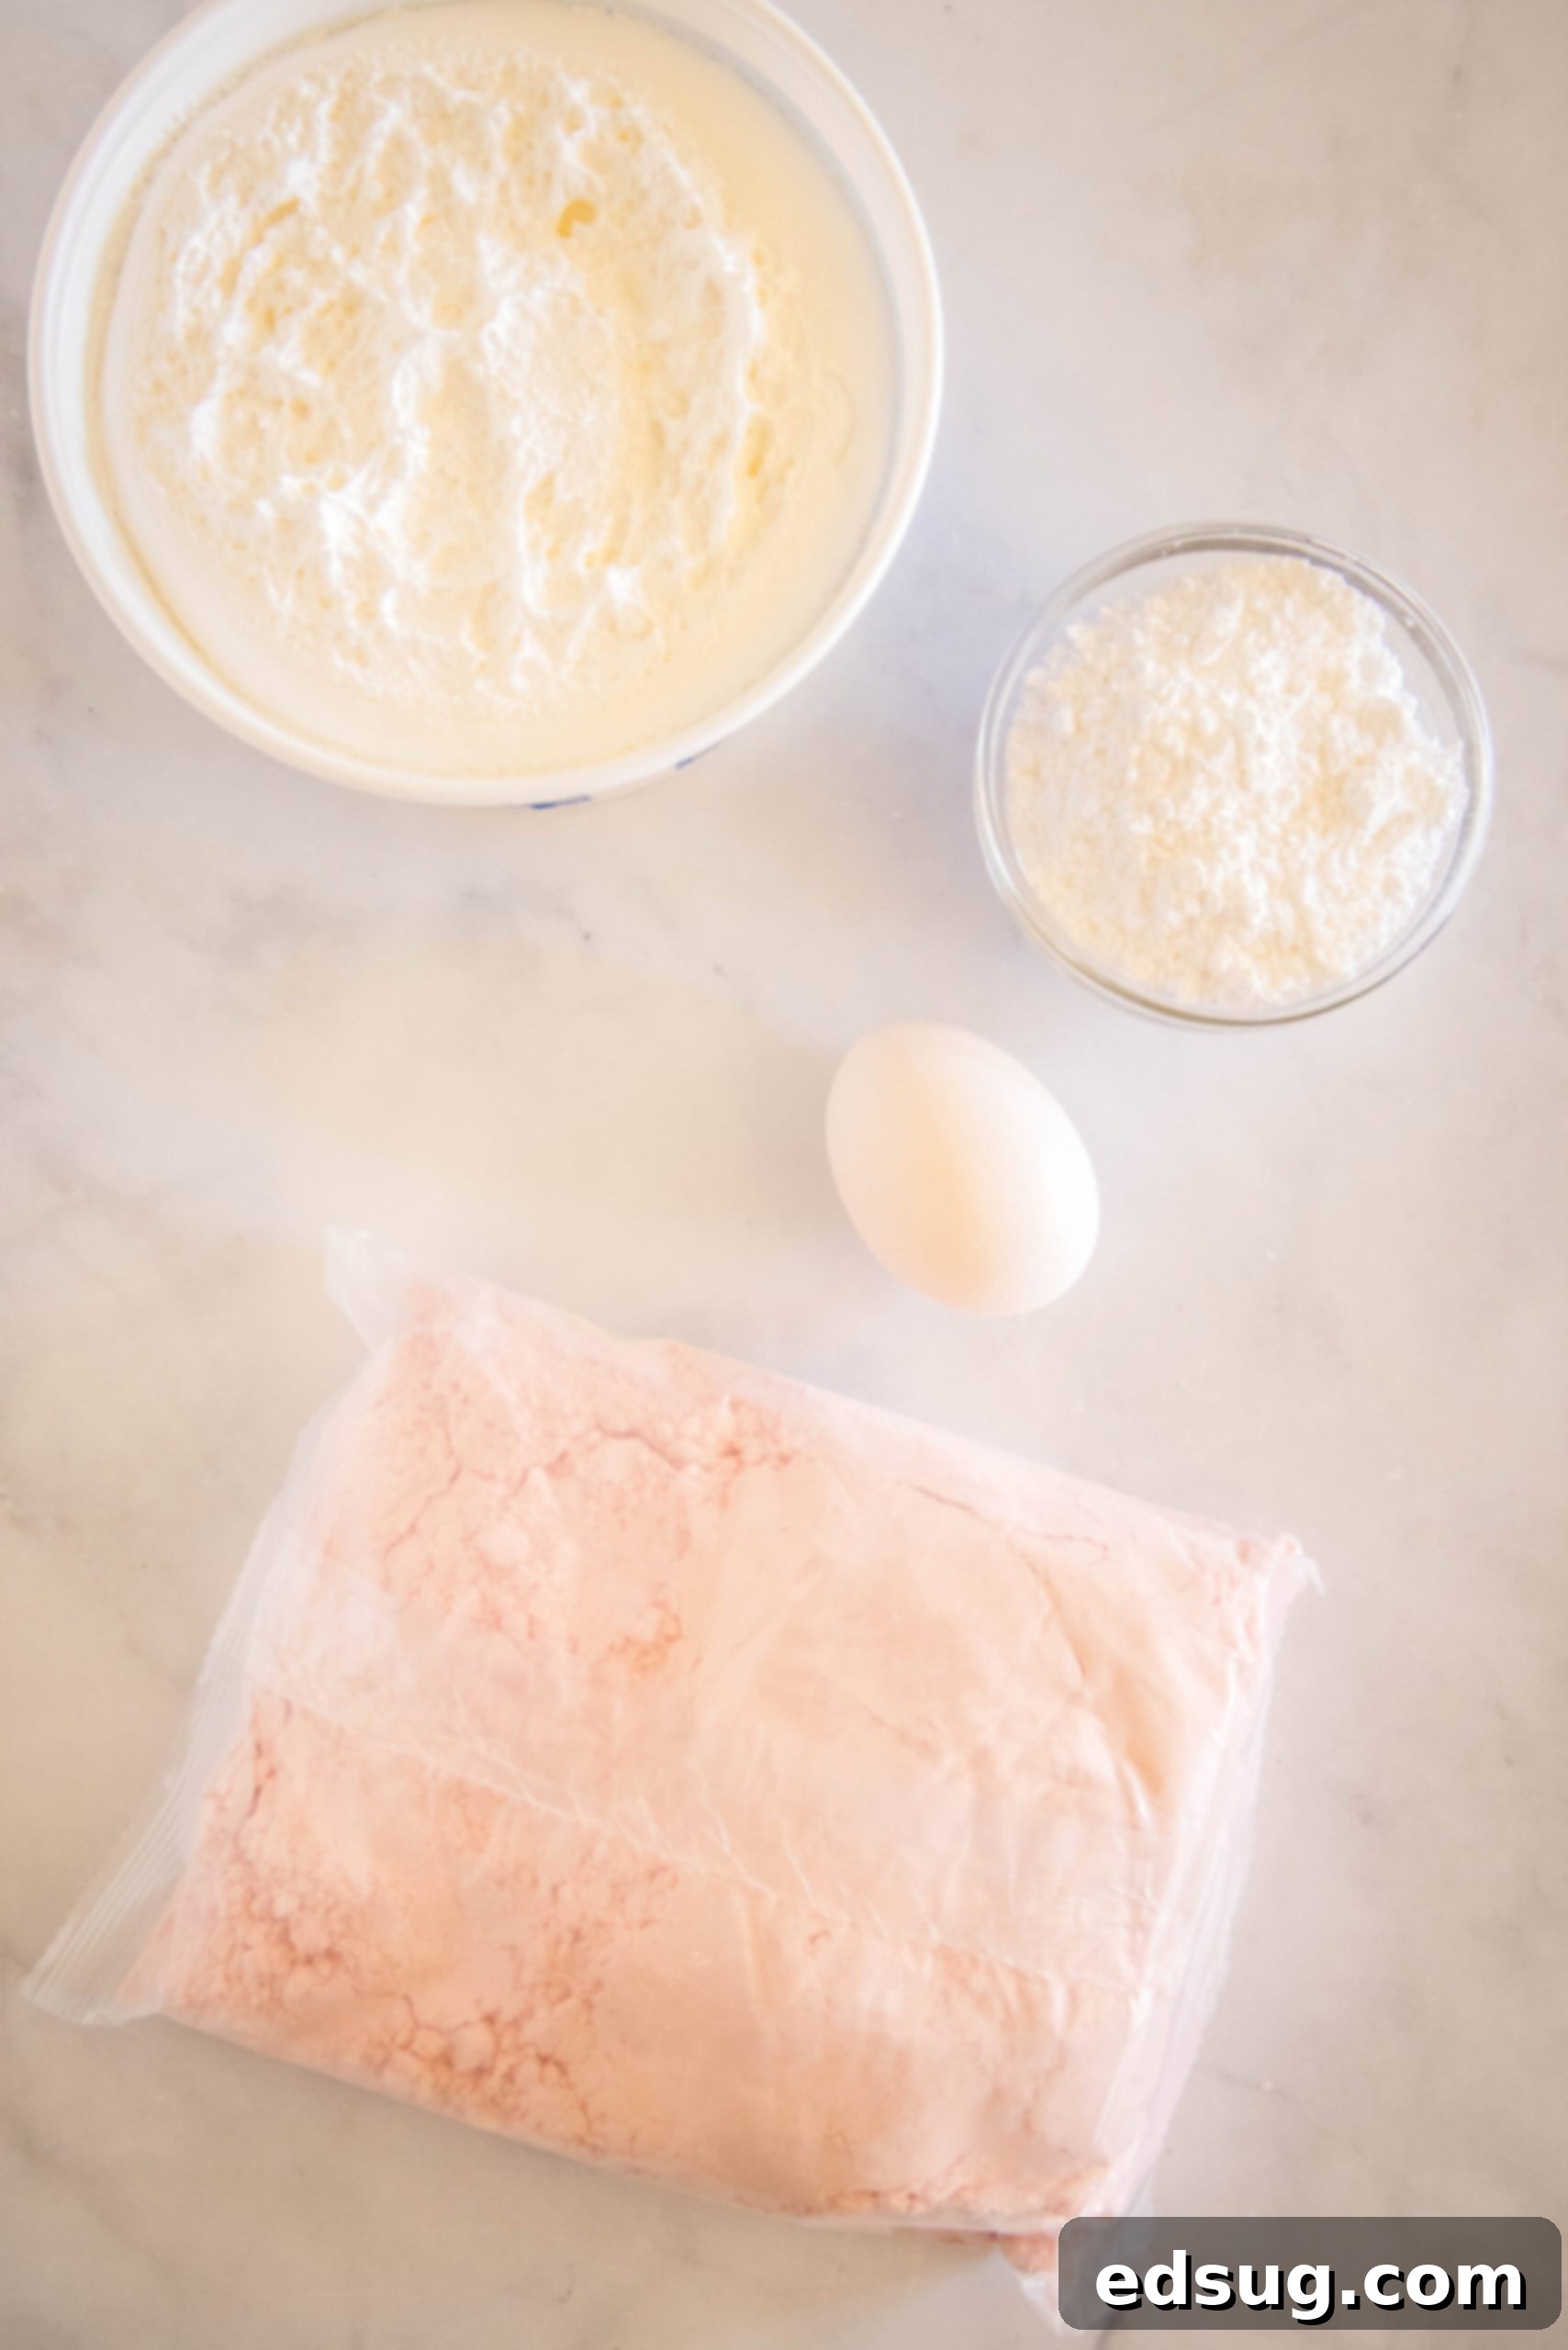
As promised, you only need a handful of items to whip up a batch of these soft, chewy, and irresistible cookies. Here’s a closer look at the key players:
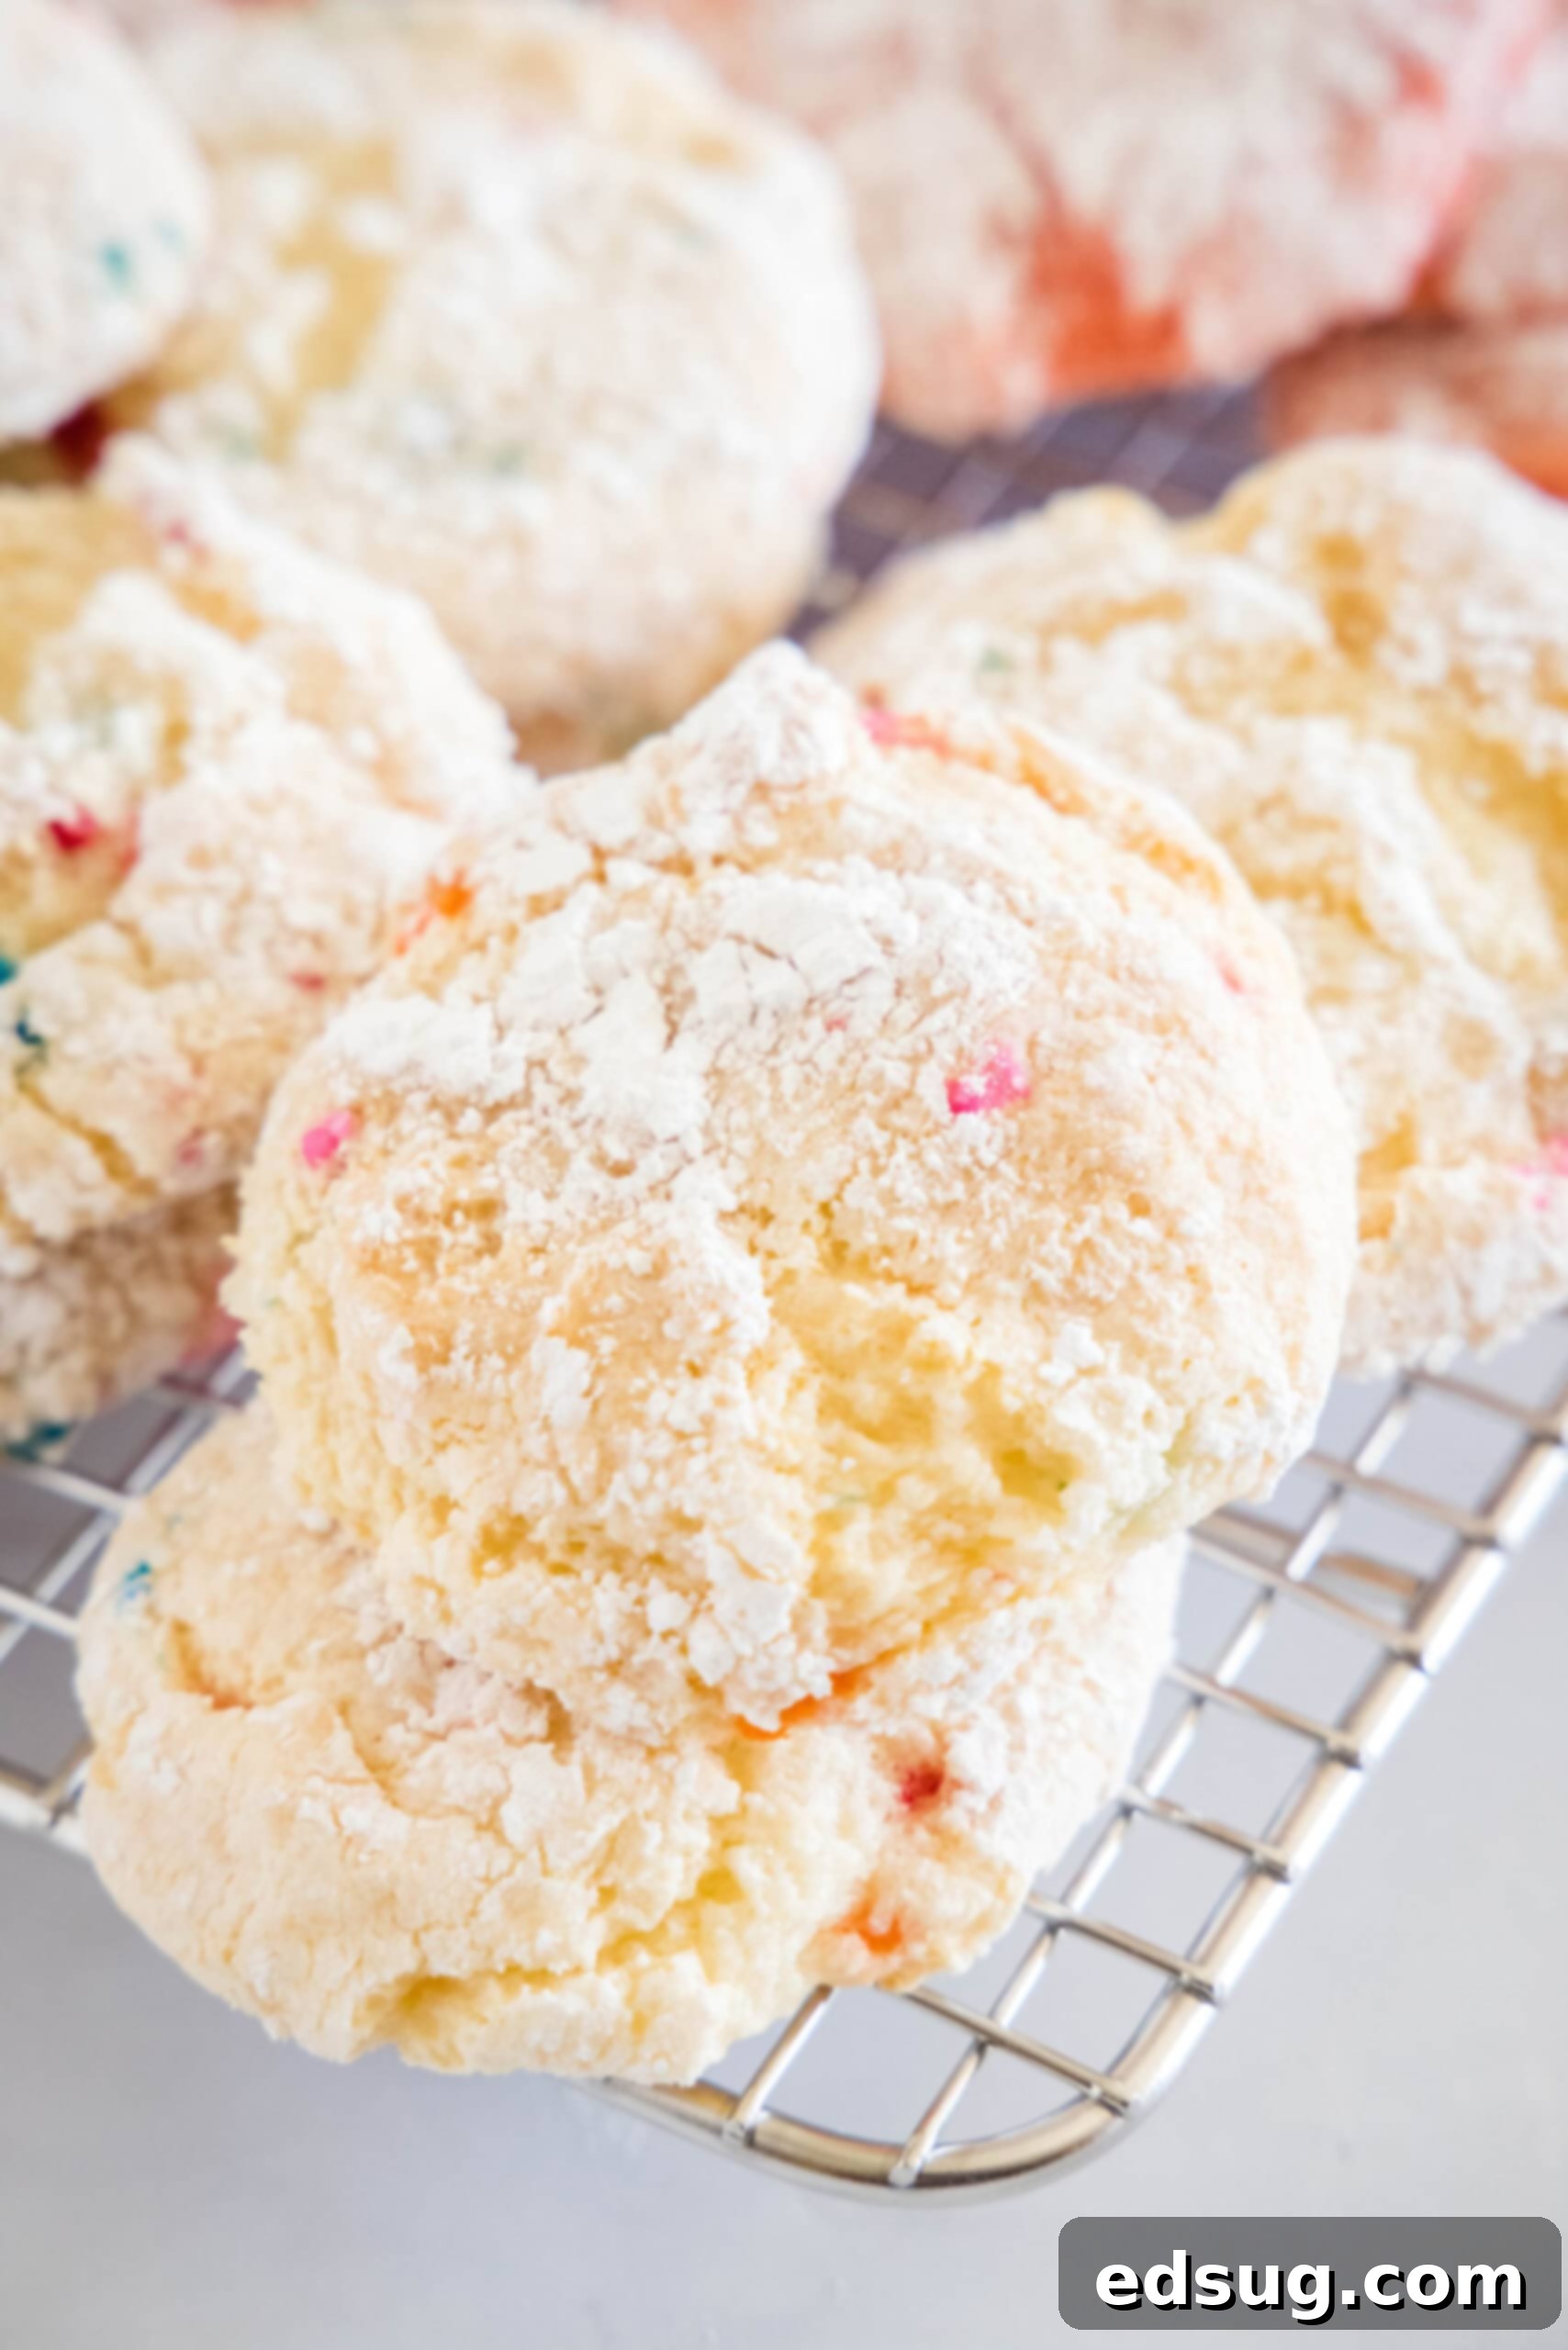
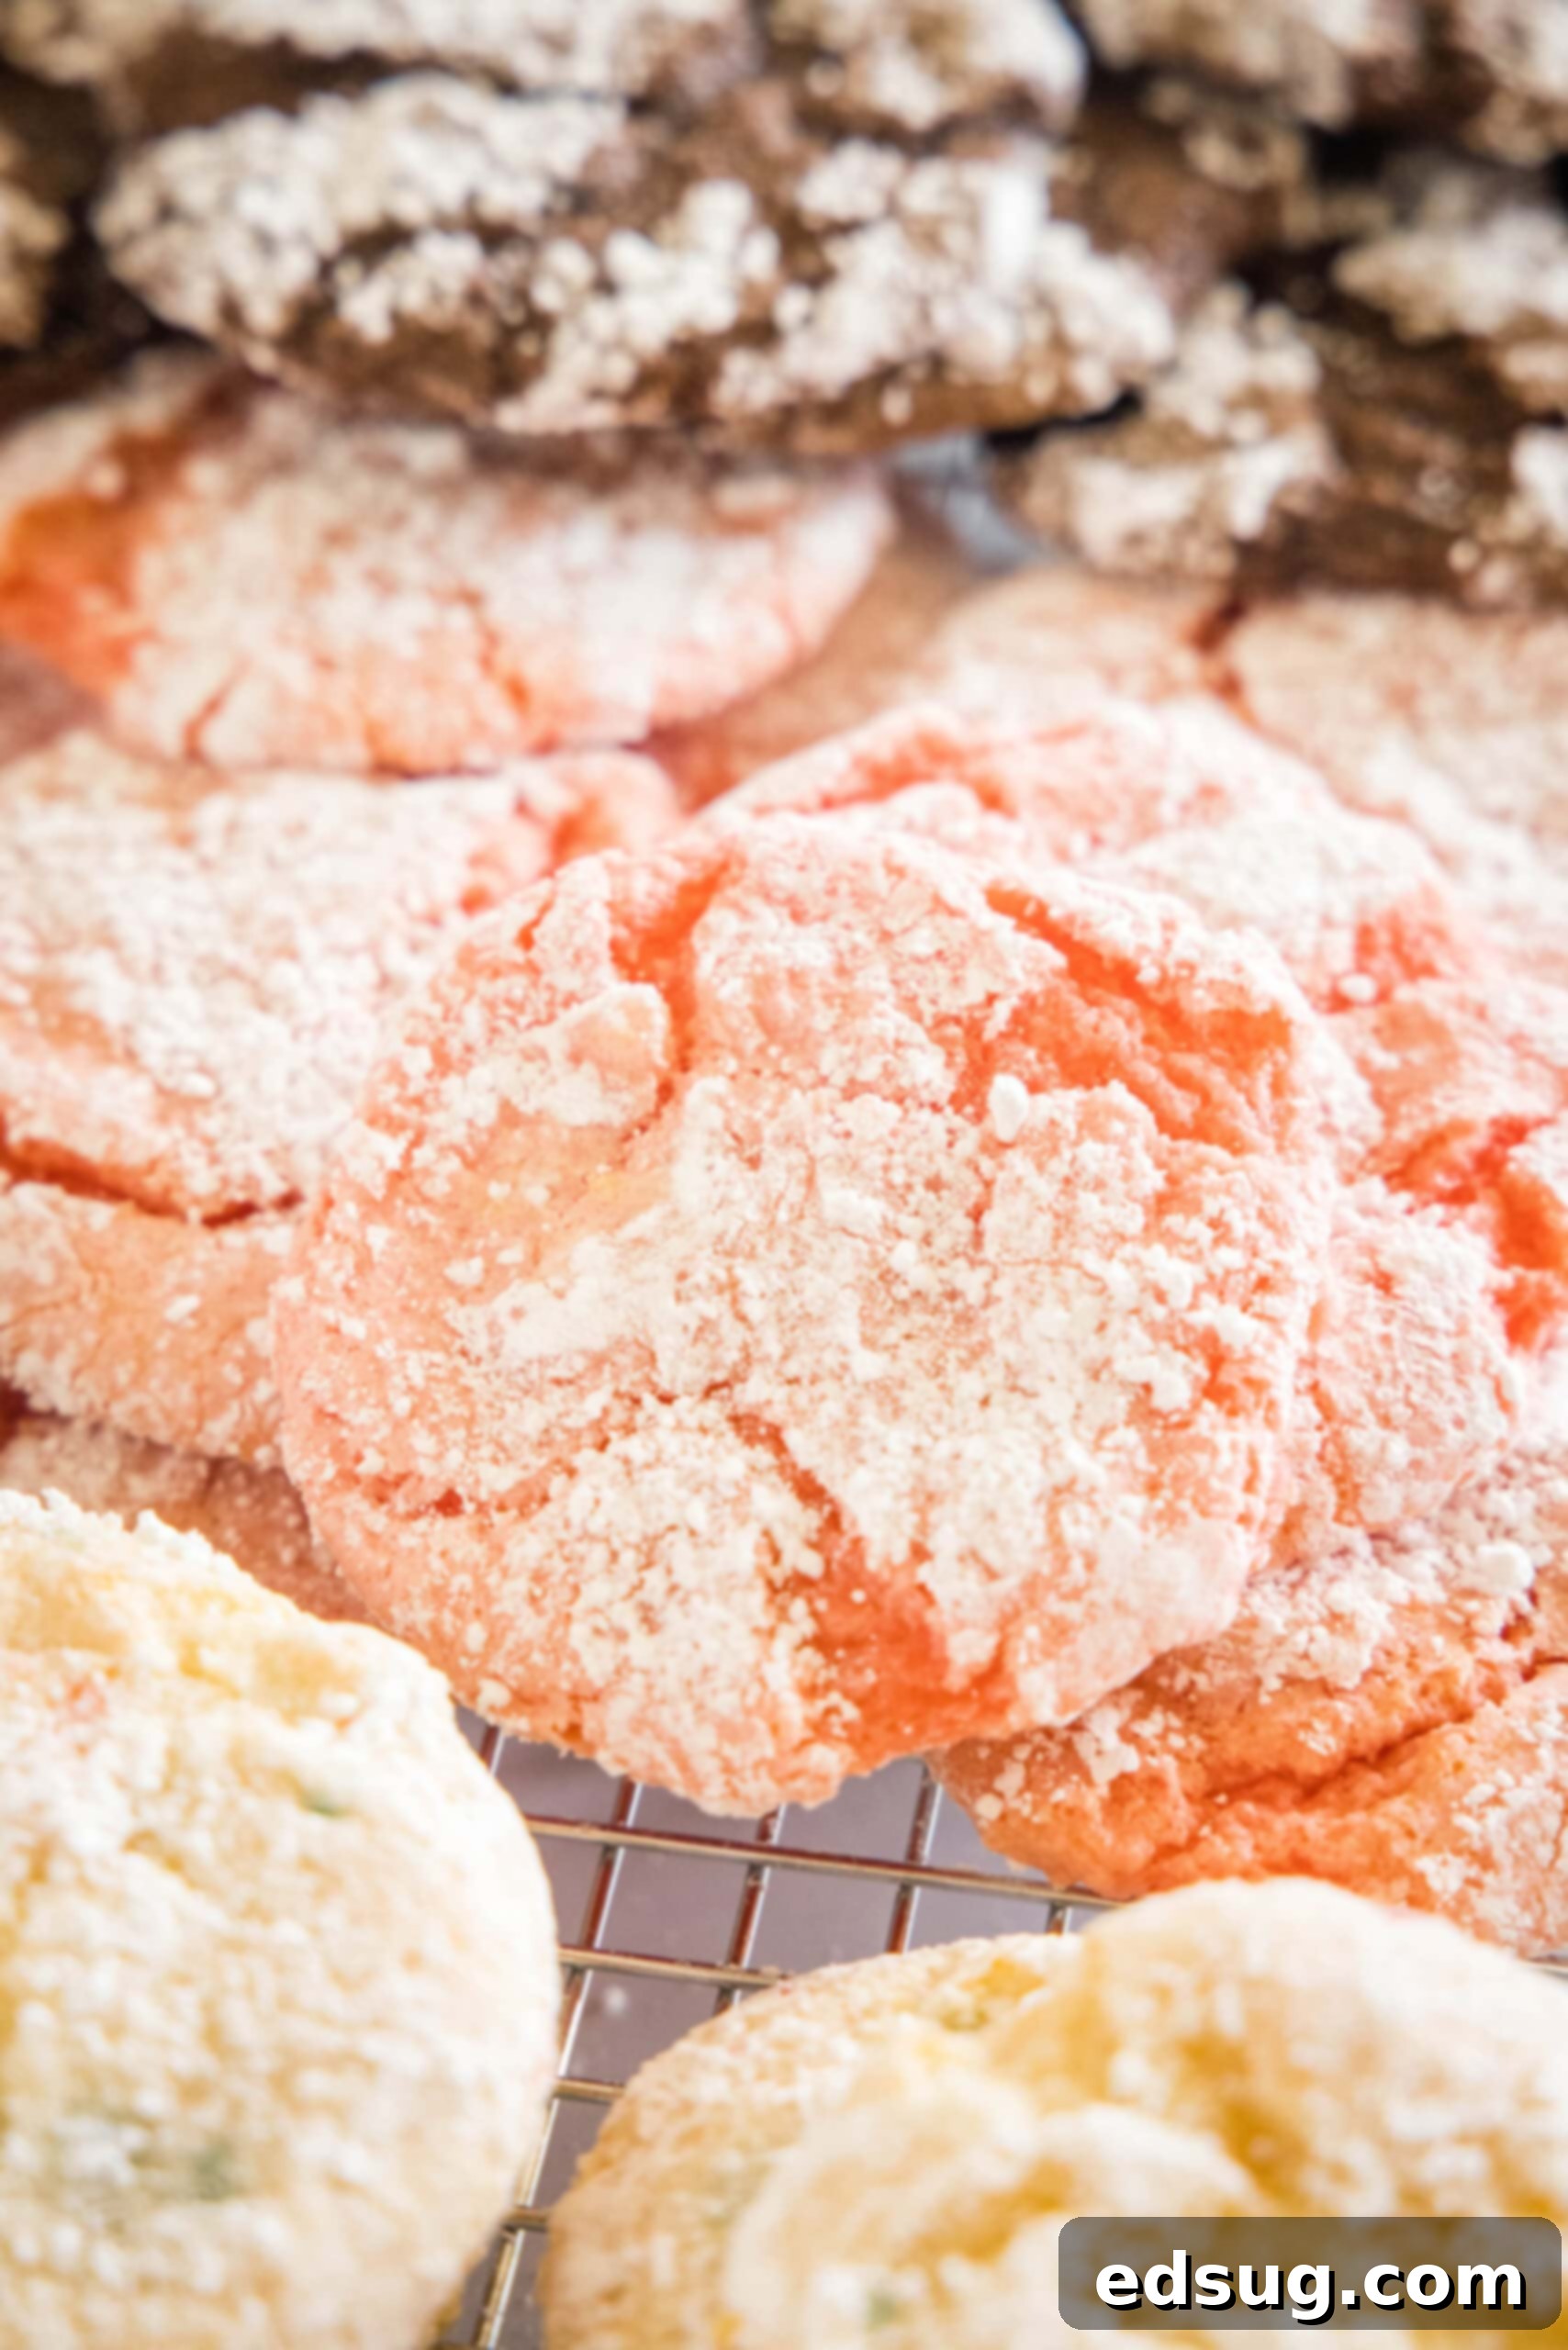
- Cake Mix: This is the star of our show, providing the base flavor and much of the dry ingredients. You can use any 15.25-ounce (or similar standard size) boxed cake mix you desire. The cookies featured in our images, for example, showcase delicious strawberry, festive funfetti, and rich chocolate cake mix variations. Experiment with yellow cake mix for a classic butter cookie flavor, red velvet for a striking holiday treat, or even spice cake mix for an autumnal twist. The brand doesn’t matter much, so feel free to use your favorite store brand or a premium option; they all work beautifully to create the foundation for these delightful cookies.
- Cool Whip: This is the secret ingredient that gives these cookies their unique soft texture and airy lightness. You’ll need one 8-ounce container, thoroughly thawed. Ensure it’s completely defrosted before mixing to achieve the correct dough consistency. Cool Whip’s stabilized nature is key to the cookie’s final texture. While you can use homemade stabilized whipped cream for a more gourmet touch, the convenience of store-bought Cool Whip is part of this recipe’s charm and ease. Make sure it’s fully thawed to room temperature so it incorporates smoothly into the batter.
- Large Egg: A single large egg acts as a crucial binding agent, helping to hold the dough together and adding richness and moisture. The egg contributes to the structure and tenderness of the cookies. For best results and smoother incorporation, allow your egg to come to room temperature before adding it to the mixture. This helps prevent the batter from seizing and ensures a more uniform dough.
- Powdered Sugar (Confectioner’s Sugar): This ingredient serves two main purposes. Firstly, rolling the cookie dough in powdered sugar before baking gives these Cool Whip cookies their beautiful, signature crinkled appearance, similar to traditional lemon crinkle cookies or chocolate crinkles. Secondly, it adds an extra layer of sweetness and helps prevent the sticky dough from clinging to your hands and the baking sheet. Don’t skip it if you want that classic look! If you don’t have powdered sugar, you could theoretically roll them in granulated sugar for a different, sparkly finish, but the crinkle effect won’t be as pronounced.
Can I Use Regular Whipped Cream Instead of Cool Whip?
This is a common and important question, and the answer is a definitive no. Cool Whip and traditional whipped cream are fundamentally different products, and they are not interchangeable in this recipe. Cool Whip is an oil-based, stabilized whipped topping, meaning it contains ingredients that help it maintain its structure and consistency, even when subjected to heat during baking. Regular whipped cream, on the other hand, is made by whipping air into heavy cream. While delicious on its own, when baked, the air in regular whipped cream dissipates rapidly, causing the cookie batter to become dry, dense, and crumbly. The resulting cookies will lack the signature soft, chewy, and light texture that makes Cool Whip cookies so beloved. To achieve the desired results, it’s absolutely crucial to use Cool Whip or a similar non-dairy whipped topping.
How to Effortlessly Bake Cool Whip Cookies with Cake Mix
Making these cookies is incredibly straightforward, involving just three simple steps and minimal fuss. Even novice bakers will find this recipe a breeze, achieving impressive results with ease. For detailed, printable instructions, make sure to check the recipe card at the bottom of this post.
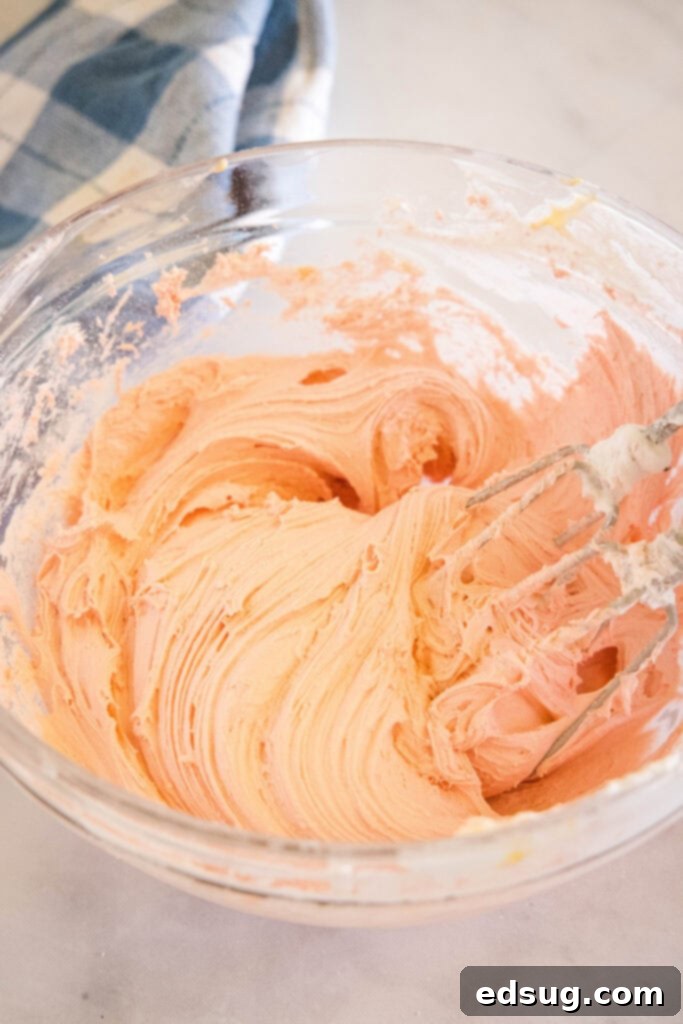
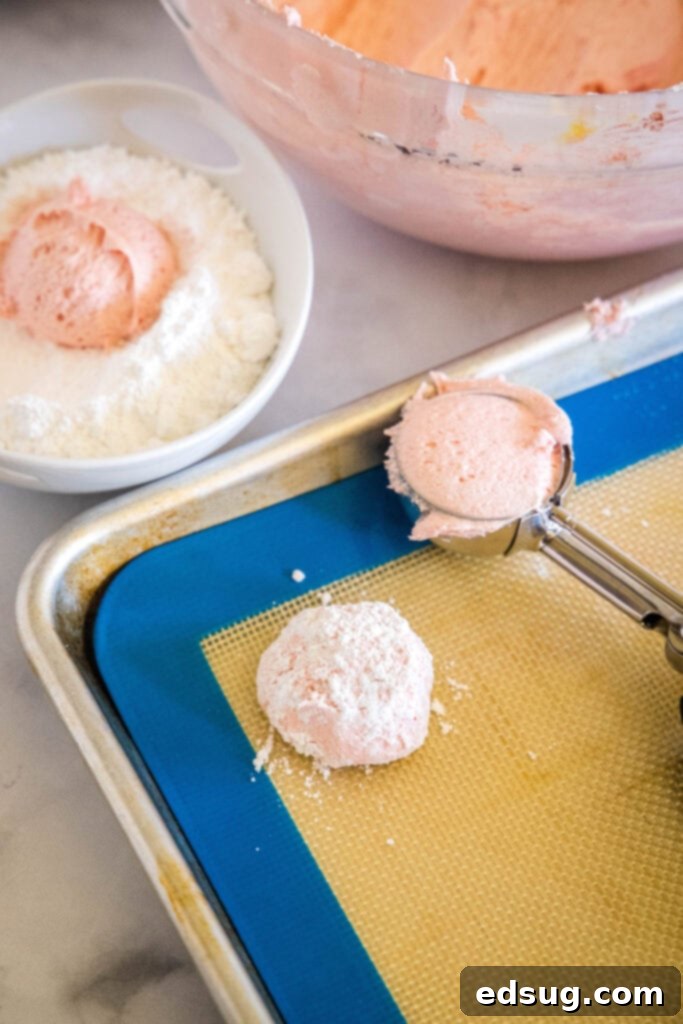
- Step 1: Prepare Your Oven and Combine the Ingredients. First, preheat your oven to 350ºF (175ºC). While your oven heats up, grab a large mixing bowl. Add your chosen 15.25 oz box of cake mix, the entire 8 oz container of thoroughly thawed Cool Whip, and the single large egg. Using either a stand mixer fitted with a paddle attachment or an electric hand mixer, beat these three ingredients together on medium speed until they are thoroughly blended and a soft, cohesive dough forms. The dough will be noticeably sticky, which is perfectly normal and expected for this recipe! Continue mixing until no dry streaks of cake mix remain.
- Step 2: Portion and Roll the Cookies. Once your dough is ready, it’s time to shape your cookies. Use a medium-sized cookie scoop (approximately 2 tablespoons in size) to portion out uniform balls of dough. Uniformity helps ensure even baking. Next, generously roll each scooped dough ball in powdered sugar until it’s completely coated. The powdered sugar not only creates that beautiful crinkle effect upon baking but also greatly assists in handling the naturally sticky dough. Place the coated dough balls onto a baking sheet lined with parchment paper or a silicone baking mat, leaving about 2 inches between each cookie to allow for proper spreading.
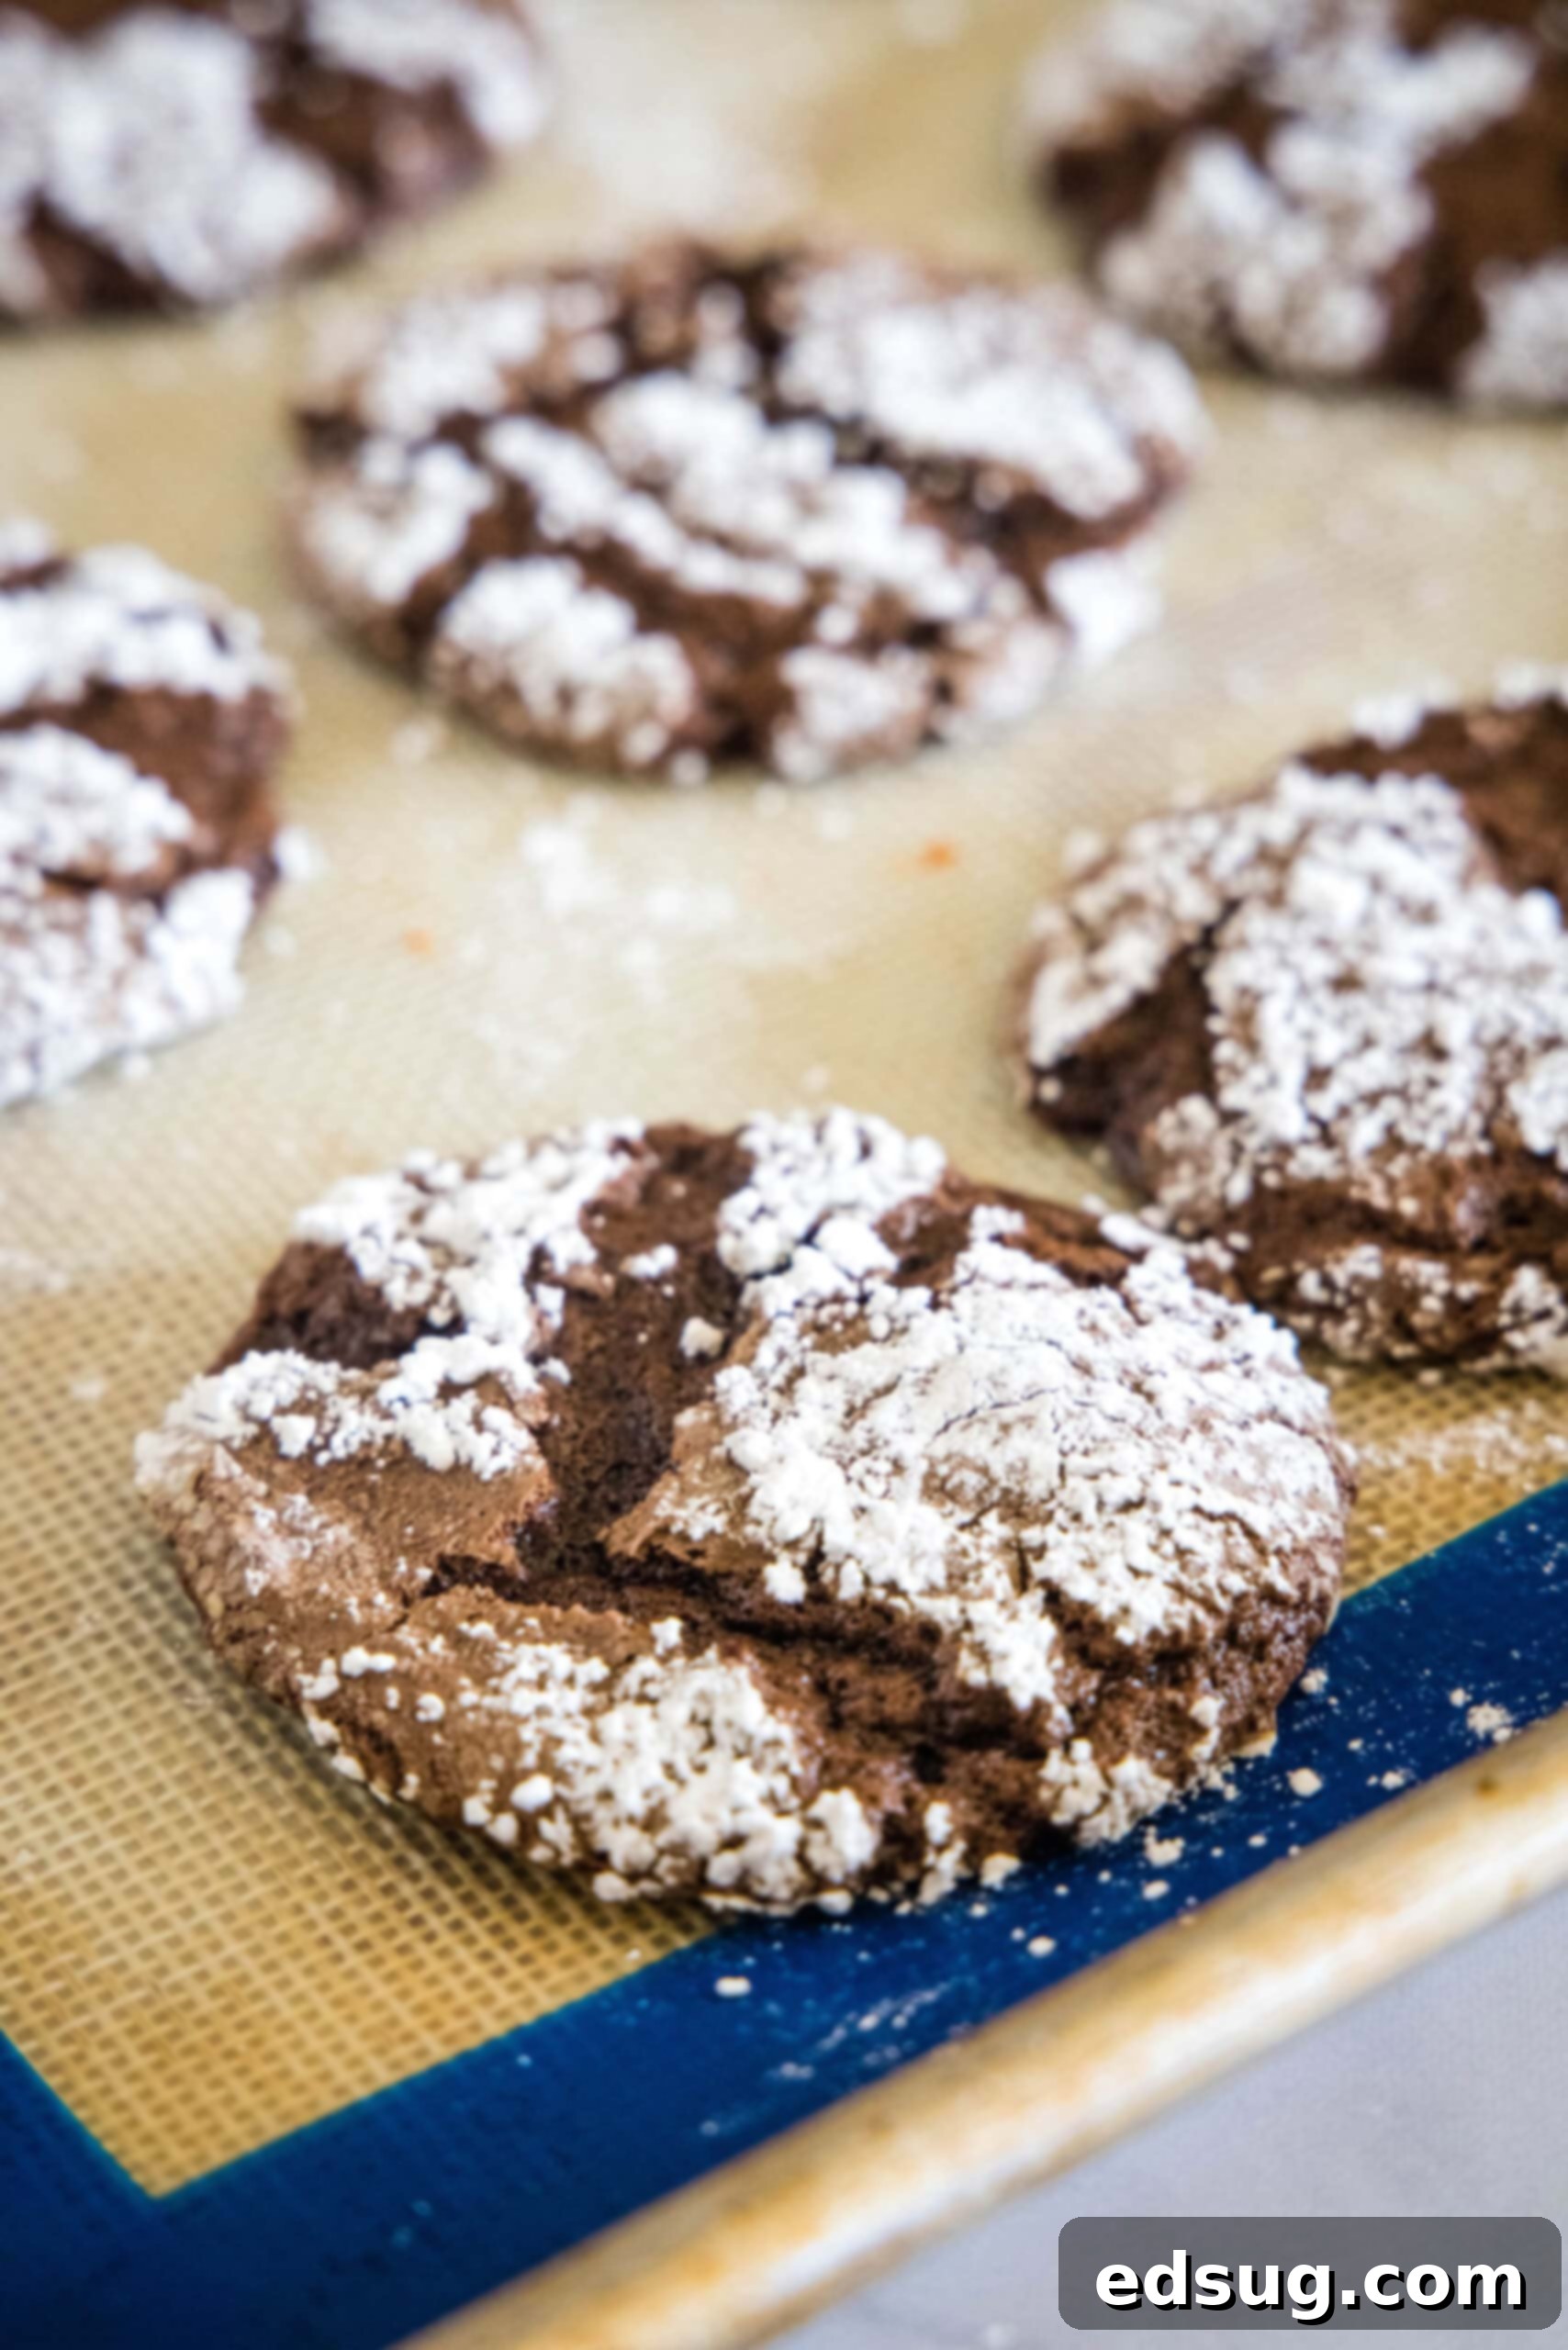
- Step 3: Bake to Golden Perfection. Carefully transfer your prepared baking sheet to the preheated oven. Bake the cookies for approximately 11-12 minutes. You’ll know they’re done when the edges appear set and slightly golden, and the distinctive cracks on top of the cookies look dry. The centers will still look very soft, possibly even underbaked, but they will firm up as they cool. Be careful not to overbake, as this can diminish their wonderfully soft, chewy texture. Once baked, remove the baking sheet from the oven and let the Cool Whip cookies cool on the sheet for about 5 minutes. This allows them to firm up slightly before you move them. After this initial cooling, gently transfer them to a wire rack to cool completely.
Expert Tips for Perfect Cool Whip Cookies Every Time
While these cookies are undeniably simple, a few expert tips can elevate your baking experience and ensure truly perfect results:
- Manage the Sticky Dough: Chill if Needed. The nature of this recipe, particularly the inclusion of Cool Whip, results in a very soft and often sticky dough. This is completely normal! If you find the dough too difficult to scoop and roll, don’t despair. Simply cover the mixing bowl tightly with plastic wrap and chill the dough in the refrigerator for 20-30 minutes. This will firm it up considerably, making it much easier to handle. You can also lightly grease your hands or cookie scoop with a bit of non-stick cooking spray before portioning to reduce stickiness and make the process smoother.
- Prevent Over-spreading for Beautiful Shapes. Cookies can sometimes spread more than desired, especially if your kitchen is particularly warm or if the dough itself is too warm. If you’re concerned about your cookies turning out flat, chilling the dough as described above is an excellent preventative measure. Additionally, ensure your baking sheets are cool before placing dough on them; using warm baking sheets can cause immediate spreading. Always use parchment paper or a silicone baking mat; these not only prevent sticking but also help the cookies maintain their shape and cook evenly.
- Powdered Sugar: More Than Just Decoration. While confectioner’s sugar certainly adds a beautiful, “snowy” and festive finish to the baked cookies and enhances the crinkle effect, it also serves a practical purpose by helping to manage the stickiness of the dough. For the best, most pronounced crinkle, roll the dough generously in powdered sugar, ensuring a thick, even coating all around each dough ball. If you prefer a less sweet cookie or don’t have powdered sugar on hand, you can skip this step, but your cookies won’t have the characteristic crinkled tops. Alternatively, you could roll them in granulated sugar for a different, sparkly texture.
- Knowing When Your Cookies Are Perfectly Baked. Overbaking is the enemy of a soft and chewy cookie! Cool Whip cookies are done baking when their edges are just set and appear slightly firm, and the distinctive cracks that form on the top appear dry. The centers will still look very soft, possibly even slightly puffy, but they will firm up as they cool. They won’t brown significantly like some other cookies, so don’t wait for a golden-brown color across the entire cookie. Trust the visual cues and the timing (11-12 minutes is usually perfect for a medium-sized cookie). When in doubt, it’s generally better to underbake slightly for a chewier, softer result than to overbake and risk dry cookies.
- Room Temperature Egg: While not strictly essential and many people skip this, using a room-temperature egg helps it integrate more smoothly and evenly into the batter, contributing to a more uniform dough and potentially a better, more consistent texture in the final cookies.

Exciting Cool Whip Cookie Variations to Try
One of the most exciting aspects of this 4-ingredient recipe is its incredible adaptability. With a simple change or addition, you can create a whole new cookie experience. These variations allow you to customize your Cool Whip cookies for any occasion, season, or personal preference:
- Experiment with Diverse Cake Mix Flavors: The base cake mix dictates the primary flavor profile of your cookies, offering endless possibilities.
- Classic Choices: Vanilla, yellow, or butter cake mix will yield a delightfully simple yet satisfying cookie that’s perfect for any occasion. These are great canvases for other additions.
- Fruity & Zesty: Strawberry, lemon, orange, or even cherry cake mixes create bright, refreshing cookies. Imagine lemon cookies with a light lemon glaze, or vibrant strawberry cookies studded with white chocolate chips!
- Rich & Indulgent: Chocolate fudge, dark chocolate, devil’s food, or even German chocolate cake mixes will produce deep, decadent cookies that chocolate lovers will adore. These are fantastic on their own or with complementary add-ins.
- Holiday & Seasonal Specials: Choose a red velvet cake mix for stunning Valentine’s Day or Christmas treats, a spice cake mix for warm autumnal flavors, or a funfetti mix for joyful birthday celebrations and parties.
- Unique Combinations: Don’t be afraid to think outside the box! Try a pistachio cake mix for a unique nutty flavor, a carrot cake mix for a spice-infused cookie, or even a butter pecan mix for a rich, buttery treat.
- Incorporate Delightful Add-ins: Once you’ve chosen your cake mix, consider folding in some extra ingredients to boost flavor and texture. A general guideline is to add about 1/2 to 1 cup of your chosen add-ins to the dough, depending on how loaded you like your cookies.
- Chocolate Galore: White chocolate chips, milk chocolate chips, dark chocolate chunks, or mini chocolate chips can be added to virtually any cake mix flavor, creating a delightful textural contrast and extra sweetness.
- Nutty Crunch: Chopped pecans, walnuts, or almonds add a lovely crunch and earthy flavor, especially good with chocolate, yellow, vanilla, or spice cake mixes. Toasting the nuts lightly beforehand can enhance their flavor.
- Sweet & Chewy Bits: Toffee bits, butterscotch chips, or peanut butter chips offer bursts of sweetness and distinct flavors. Peanut butter chips pair wonderfully with chocolate cake mix for a classic combination!
- Fruity Accents: Dried cranberries, chopped dried apricots, or crushed freeze-dried strawberries can enhance fruit-flavored cake mixes and add a pleasant chewiness.
- Festive Touches: Stir in crushed peppermint candies for a minty twist during the holidays, or add a generous sprinkle of colorful sprinkles (beyond just what’s in funfetti mix) folded into the dough for extra cheer.
- Drizzles and Glazes: For an extra touch of gourmet flair, instead of, or in addition to, powdered sugar, consider a simple glaze. A basic powdered sugar glaze (powdered sugar mixed with a little milk, water, or lemon juice) can elevate the cookies, especially lemon or vanilla varieties. A drizzle of melted chocolate, caramel, or even a cream cheese frosting can transform these simple cookies into decadent desserts.
Can I Make the Cookie Dough Ahead of Time?
Absolutely! This recipe is incredibly freezer-friendly, allowing you to prepare the cookie dough in advance and bake fresh cookies whenever a craving strikes. This is especially convenient for entertaining, holiday baking, potlucks, or simply having a stash of ready-to-bake treats for unexpected guests or late-night cravings. To get a head start:
After you’ve mixed your dough and portioned it into balls using your cookie scoop, but before rolling them in powdered sugar, you can flash-freeze them. Arrange the raw cookie dough balls in a single layer on a parchment-lined baking sheet. Ensure they are not touching. Place the entire baking sheet in the freezer for about 30-60 minutes, or until the dough balls are completely solid. This step prevents them from clumping together once stored. Once frozen, transfer the solid dough balls to a freezer-safe zip-top bag or an airtight container. Make sure to label the bag or container with the date and the flavor of the cake mix used (e.g., “Chocolate Cool Whip Cookie Dough – 10/25”). Store them in the freezer for up to 2-3 months without any loss of quality.
When you’re ready to bake, simply retrieve the desired number of dough balls from the freezer. You have a couple of options: you can either thaw them in the refrigerator overnight, or let them sit at room temperature for about 30-60 minutes until they are soft enough to roll. Then, proceed with rolling them generously in powdered sugar as directed in the recipe. Bake as usual, adding an extra minute or two to the baking time if baking from a still-chilled state. This flexibility makes fresh, warm cookies just minutes away!
How to Store Your Delicious Cool Whip Cookies
Proper storage ensures your Cool Whip cookies remain soft, chewy, and fresh for as long as possible. Here’s how to store both baked cookies and prepare them for longer-term enjoyment:
- Storing Baked Cookies: Once your cookies have completely cooled to room temperature, which is crucial for preventing condensation, transfer them to an airtight container. They will stay wonderfully fresh on the counter at room temperature for up to 3-4 days. There’s no need to refrigerate baked Cool Whip cookies; refrigeration can sometimes alter their delicate texture and make them less soft. To maintain optimal freshness and softness, you can even place a half-slice of plain white bread in the container with the cookies; the bread will gradually absorb moisture, helping to keep the cookies softer for longer.
- Freezing Baked Cookies: These cookies freeze beautifully, making them excellent candidates for batch baking and future treats. After the cookies have cooled completely, arrange them in a single layer on a baking sheet and flash-freeze for about an hour until solid. This prevents them from sticking together once stored. Then, transfer the solid cookies to freezer bags, removing as much air as possible to prevent freezer burn, or place them in a freezer-safe airtight container. If stacking, it’s best to layer them between sheets of parchment paper. Frozen Cool Whip cookies can be stored for up to 3 months without significant loss of flavor or texture. When you’re ready to enjoy them, simply remove them from the freezer and allow them to defrost at room temperature for about 30-60 minutes. They’ll be just as soft and delicious as when they were first baked, making them a perfect grab-and-go treat!
Explore More Irresistible Cookie Recipes
If you loved the ease and deliciousness of these Cool Whip cookies, you’re in for a treat! We have a wide array of other fantastic cookie recipes that are sure to satisfy your sweet tooth and expand your baking repertoire. From comforting classics to inventive new favorites, there’s a cookie for every occasion and craving:
- Mint Chocolate Pudding Cookies: Exceptionally soft and packed with refreshing mint and rich chocolate flavor, these cookies are a delightful twist on a classic.
- Sour Cream Cookies: A surprisingly tender and moist cookie with a subtle tangy hint, often topped with a classic vanilla glaze, offering a unique and comforting taste.
- Cream Cheese Chocolate Chip Cookies: The addition of cream cheese makes these chocolate chip cookies extra soft, incredibly chewy, and wonderfully rich, taking your favorite cookie to the next level.
- Bisquick Cookies: Another fantastic shortcut recipe for quick, easy, and delightful cookies using a pantry staple, perfect for when you need a sweet treat in a hurry.
- Chocolate Peanut Butter Cookies: The ultimate combination of rich chocolate and creamy peanut butter in a perfect cookie form, a dream come true for fans of this classic pairing.

Cool Whip Cookies
Erin Sellin
10 minutes
12 minutes
22 minutes
26
cookies
Rate Recipe
Print Recipe
Ingredients
-
1
15.25 oz cake mix (any flavor) -
1
8 oz container Cool Whip, thawed or homemade stabilized whipped cream -
1
whole large egg -
½
cup
powdered sugar
Instructions
-
Preheat oven to 350º F (175°C).
-
Using a stand mixer with a paddle attachment or an electric hand mixer, combine the cake mix, thawed Cool Whip, and egg. Beat until thoroughly blended and a soft, cohesive dough forms. The dough will be sticky.1 15.25 oz cake mix (any flavor),
1 8 oz container Cool Whip, thawed or homemade stabilized whipped cream,
1 whole large egg -
Scoop about 2 tablespoons (using a medium cookie scoop) of dough. Roll each ball generously in powdered sugar until fully coated. Place the coated dough balls onto a baking sheet lined with parchment paper, leaving about 2 inches between them.½ cup powdered sugar
-
Bake for 11-12 minutes, or until the edges are set and the cracks in the cookies appear dry. Do not overbake. Remove from the oven and let cool on the baking sheet for 5 minutes before transferring to a wire rack to cool completely.
Notes
- Store baked cookies in an airtight container at room temperature for up to 3-4 days.
- The cookies pictured demonstrate Strawberry, Funfetti, and Chocolate cake mix flavors.
- For easier handling of sticky dough, chill it in the refrigerator for 20-30 minutes before scooping and rolling.
- Ensure Cool Whip is fully thawed before mixing.
Nutrition
Serving:
1
g
|
Calories:
101
kcal
|
Carbohydrates:
18
g
|
Protein:
1
g
|
Fat:
3
g
|
Saturated Fat:
2
g
|
Cholesterol:
7
mg
|
Sodium:
126
mg
|
Sugar:
11
g
Nutrition information is automatically calculated, so should only be used as an approximation.
Additional Info
Erin Sellin
10 minutes
12 minutes
22 minutes
Cookie Recipes, Dessert
American
26
cookies
101
cool whip cookies, cool whip cookies with cake mix, easy cookies, 4 ingredient cookies, cake mix cookies, dessert
Like this recipe? Leave a comment below!
I created a fun group on Facebook, and I would love for you to join us! It’s a place where you can share YOUR favorite recipes, ask questions, and see what’s new at Dinners, Dishes and Desserts (so that you never miss a new recipe)!
Be sure to follow me on Instagram and tag #dinnersdishes so I can see all the wonderful DINNERS, DISHES, AND DESSERTS recipes YOU make!
Be sure to follow me on my social media, so you never miss a post!
Facebook |
Twitter |
Pinterest |
Instagram
.
