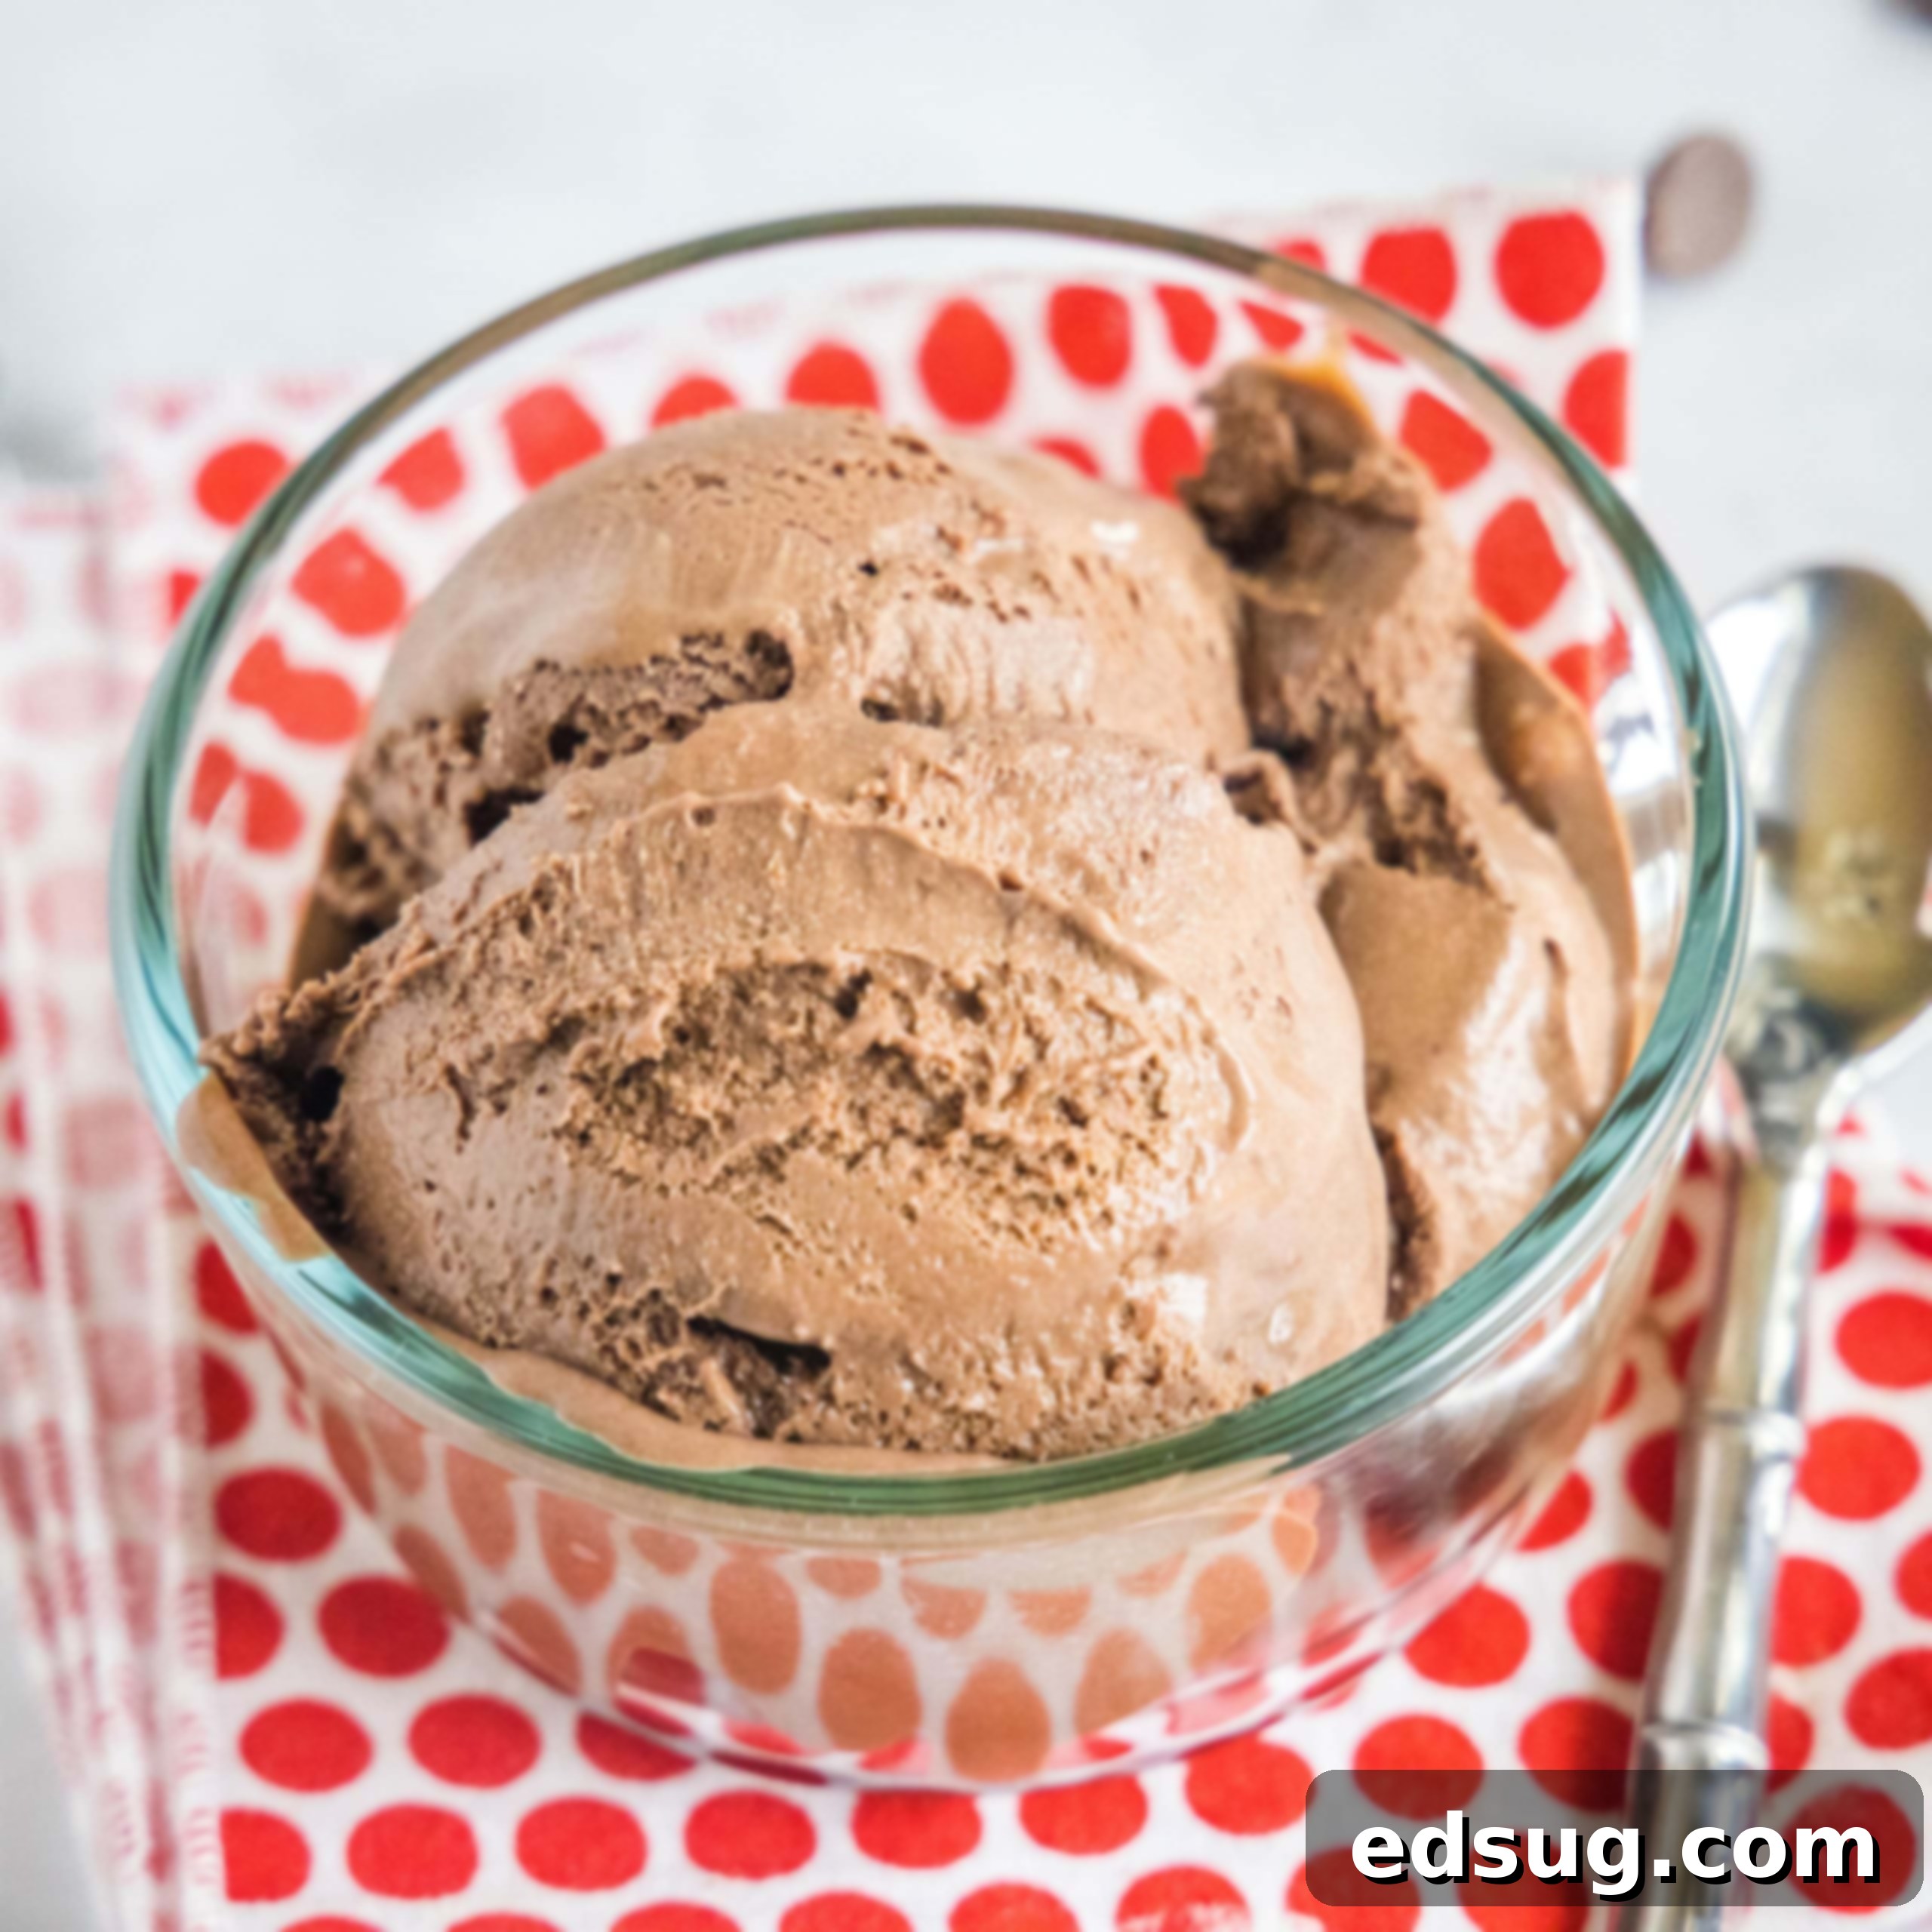
Homemade Chocolate Ice Cream Recipe: Rich, Creamy, and Indulgent
Get ready to delight your senses with the ultimate homemade chocolate ice cream. This recipe promises a truly decadent experience, delivering a rich, velvety, and intensely chocolatey scoop every single time. Forget store-bought versions; once you taste this perfectly balanced, smooth, and satisfying frozen treat, you’ll never look back. Crafted with simple, everyday ingredients and requiring just a few straightforward steps, this creamy chocolate ice cream is destined to become your go-to dessert for any occasion, from a casual weeknight indulgence to a show-stopping summer party.
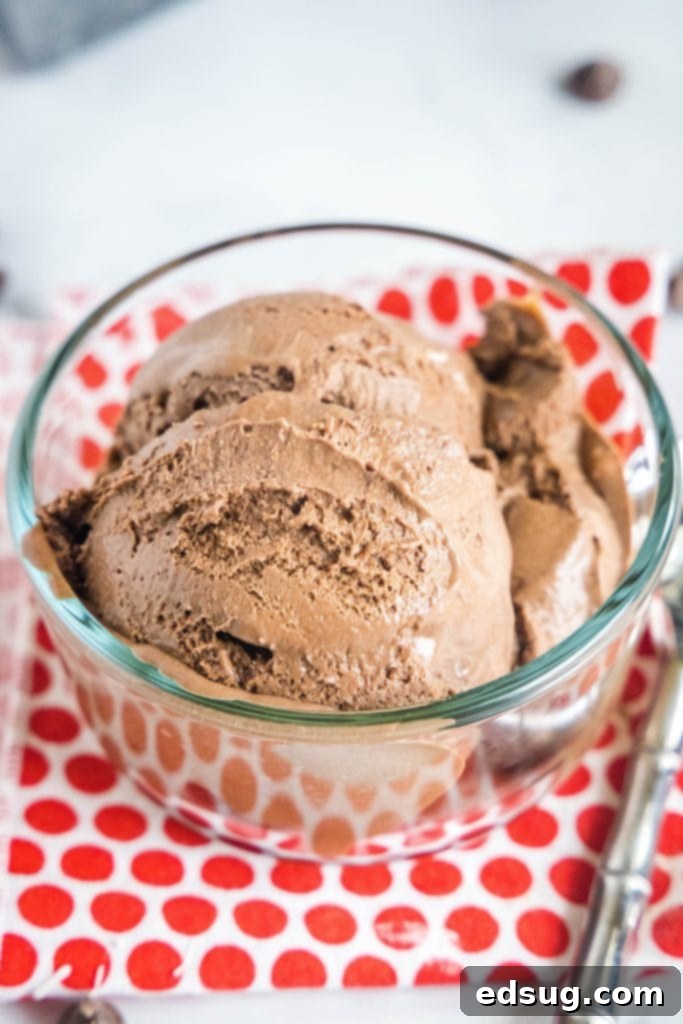
There’s nothing quite like homemade ice cream, and this chocolate rendition takes it to a whole new level. We’re talking about a generous infusion of *two* distinct kinds of chocolate – luxurious unsweetened cocoa powder for depth and vibrant chocolate chips for melty pockets of goodness. Paired with a handful of other basic pantry staples, this dessert transforms into an irresistible, frozen masterpiece. Whether you crave a sweet finale to your dinner or a refreshing escape on a scorching summer afternoon, this chocolate ice cream recipe offers pure bliss. It’s surprisingly easy to achieve a professional-quality texture and flavor right in your own kitchen. Prepare to savor every delightful spoonful of this rich, chocolatey goodness!
Why This Chocolate Ice Cream Recipe Is a Must-Try
You might be wondering what makes this chocolate ice cream stand out. Here are compelling reasons why this recipe will become a beloved staple in your dessert repertoire:
- Effortlessly Easy: Don’t let the detailed instructions intimidate you; while the recipe might appear to have many steps and a longer overall timeline, each individual action is incredibly simple and straightforward. Much of the required time is hands-off, dedicated to chilling the custard base and freezing the churned ice cream. This means you can easily integrate the preparation into your schedule without feeling overwhelmed by constant active cooking.
- Accessible Ingredients: Crafting homemade ice cream often sounds more complex than it is, especially when you realize it relies on common, readily available ingredients. You won’t need to hunt down obscure specialty items. Staples like heavy cream, whole milk, eggs, granulated sugar, and cocoa powder are likely already in your kitchen or easily found at any grocery store. This makes whipping up a batch both convenient and cost-effective.
- Perfectly Make-Ahead: If you love desserts that can be prepared in advance, homemade ice cream is your ideal candidate. Not only is it *recommended* to make the custard base a day ahead to allow it to chill thoroughly and develop maximum flavor, but you can also churn and freeze the ice cream days or even weeks before serving. This makes it an incredibly convenient option for entertaining, holidays, or simply having a delicious treat ready whenever a craving strikes.
Essential Ingredients for Your Chocolate Ice Cream
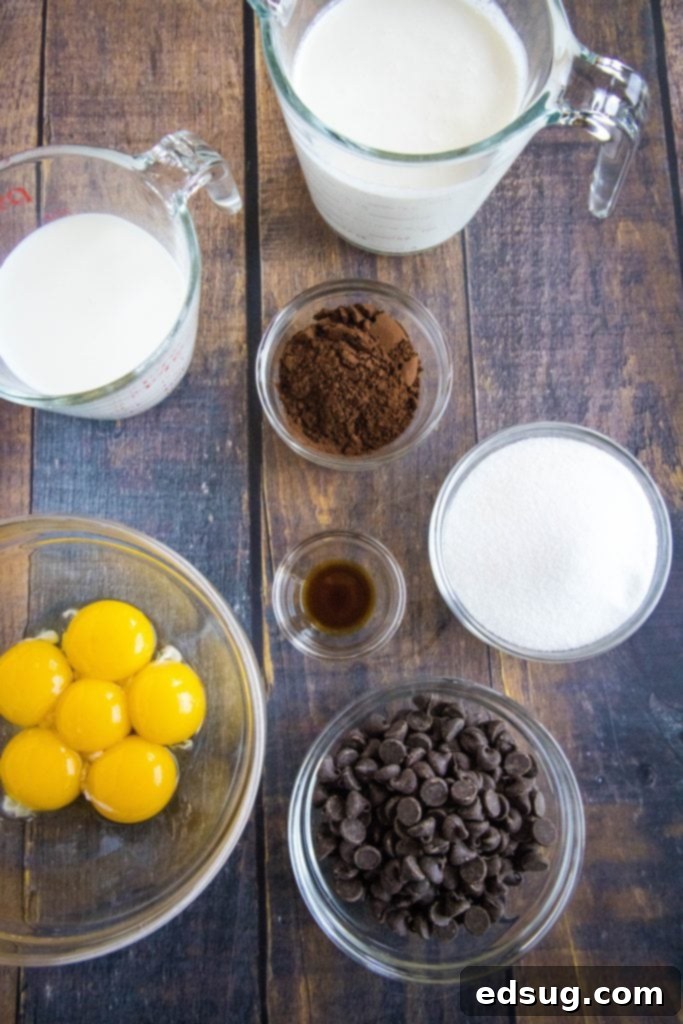
Gathering your ingredients is the first step towards a luscious, creamy chocolate ice cream. Here’s what you’ll need to create this decadent treat:
- Heavy Cream (divided)
- Whole Milk
- Egg Yolks (fresh, large)
- Granulated Sugar
- Unsweetened Cocoa Powder (your choice of regular or Dutch-processed)
- Semi-Sweet Chocolate Chips (or your preferred chocolate type)
- Pure Vanilla Extract
This exceptional chocolate ice cream is a variation of my beloved Homemade Vanilla Ice Cream recipe. It’s built on a classic custard base, also known as a French-style ice cream, which is the secret to its incredibly smooth, rich, and intensely creamy texture. The egg yolks emulsify the mixture, preventing ice crystal formation and creating that luxurious mouthfeel that truly elevates homemade ice cream above all others.
How To Make The Best Chocolate Ice Cream: Step-by-Step
Creating this irresistible chocolate ice cream is a rewarding process. Follow these detailed steps to achieve perfect results every time:
- Prepare the Chocolate Base: In a medium saucepan, combine the whole milk, granulated sugar, and 1 cup of the heavy cream. Place it over medium heat. Gradually whisk in the unsweetened cocoa powder until the mixture is completely smooth and free of lumps. Continue heating, stirring occasionally, until it reaches a gentle boil. Once boiling, reduce the heat immediately and allow it to simmer for about 30 seconds. This step helps to bloom the cocoa powder, intensifying its chocolate flavor, and ensures the mixture is hot enough to melt the chocolate chips effectively.
- Melt the Chocolate Chips: Remove the saucepan from the heat. Stir in the semi-sweet chocolate chips (or your chosen chocolate type). Continue stirring until the chocolate chips are entirely melted and fully incorporated, creating a gorgeously smooth, glossy, and homogeneous chocolate mixture.
- Temper the Egg Yolks: In a separate, heatproof bowl, vigorously whisk the egg yolks until they are well combined, pale yellow in color, and slightly thickened. This aeration helps to create a lighter custard texture.
- Combine Mixtures (Tempering): This is a crucial step to prevent the eggs from scrambling. Very slowly, in a thin, steady stream, pour about half of the warm chocolate milk mixture into the whisked egg yolks, while continuously and actively whisking the eggs. Once combined, pour the tempered egg mixture back into the saucepan with the remaining chocolate milk mixture. Whisk everything together thoroughly.
- Thicken the Custard: Return the saucepan to medium heat. Cook the mixture gently, stirring frequently with a spatula or wooden spoon, until it thickens. This will typically happen when it reaches a temperature of 170-175º F (77-79º C). You’ll know it’s ready when it coats the back of a spoon, and if you run your finger across the coated spoon, the line remains separated without the custard running back together. Do *not* allow the mixture to boil once the eggs are added, as this will curdle them.
- Strain for Smoothness: Immediately pour the cooked custard mixture through a fine-mesh sieve into a clean bowl. This step is essential to catch any small bits of egg that might have scrambled (despite your best tempering efforts) and ensures your final ice cream has an impeccably smooth, silky texture.
- Chill the Custard: Stir the remaining heavy cream and vanilla extract into the strained custard. The cold cream helps to cool the mixture down a bit. Cover the bowl tightly with plastic wrap, pressing the wrap directly onto the surface of the custard to prevent a skin from forming. Place the bowl in the refrigerator for at least 8 hours, or ideally overnight, until it is thoroughly chilled. This long chilling period is vital for the flavors to meld and for the custard to reach the optimal temperature for churning, which prevents icy crystals.
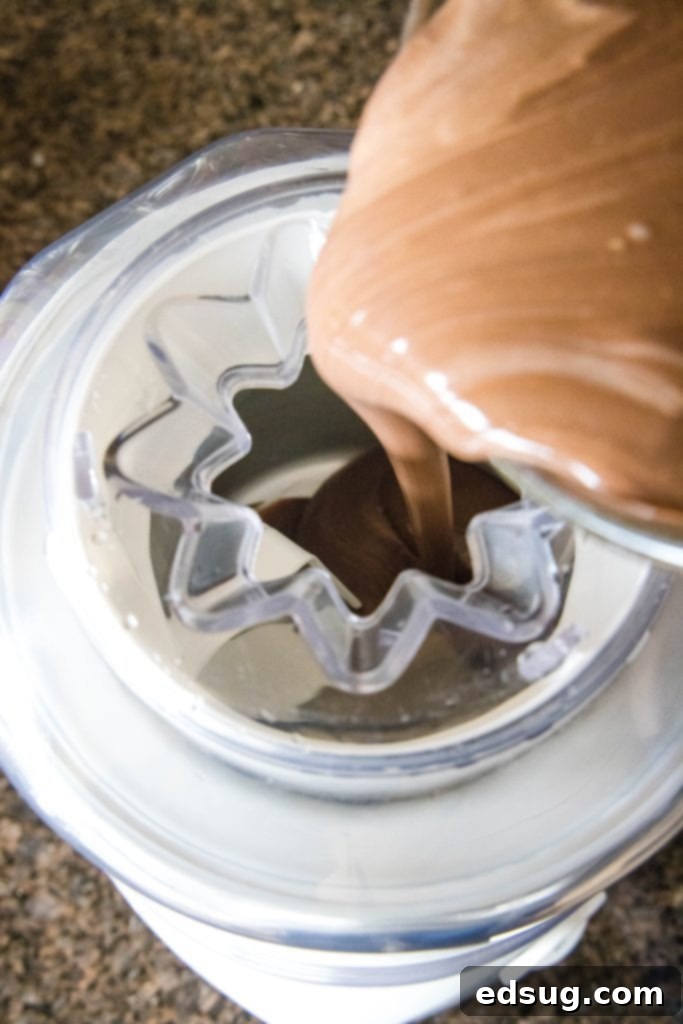
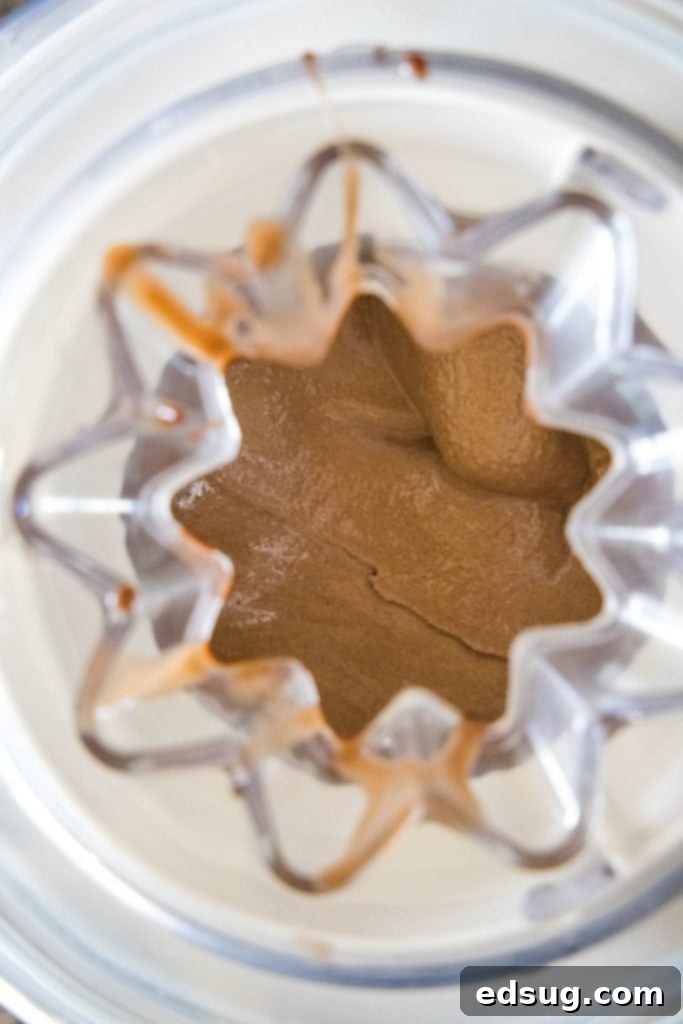
- Churn the Ice Cream: Once the custard is perfectly cold, transfer it to your ice cream maker. Churn the mixture for approximately 25 minutes, or according to your specific model’s instructions. The ice cream will be soft-serve consistency at this stage.
- Freeze for Firmness: Transfer the freshly churned, soft ice cream into a freezer-safe container. Cover it tightly and place it in the freezer for at least an hour (or longer) until it firms up to a scoopable consistency. This allows the ice cream to “cure” and reach its final, ideal texture.
Recipe Tips & Tricks for Flawless Chocolate Ice Cream
Achieving the perfect scoop of homemade chocolate ice cream is easy with these expert tips:
- Customize Your Chocolate Intensity: The beauty of homemade ice cream lies in its adaptability. You can use any type of unsweetened cocoa powder you prefer – natural cocoa will give a lighter, classic chocolate flavor, while Dutch-processed cocoa will create a darker, milder, and more intense chocolate profile. For an even sweeter ice cream, consider using milk chocolate chips instead of semi-sweet. If you’re a dark chocolate enthusiast, combine Dutch-processed cocoa powder with dark chocolate chips for an extra rich, deep chocolate experience. Experiment to find your perfect balance of richness and sweetness!
- Mastering the Egg Tempering: The tempering step (slowly adding hot liquid to egg yolks) is crucial to prevent the eggs from cooking instantly and scrambling. Always whisk the egg yolks vigorously and constantly while slowly streaming in the hot chocolate mixture. A few tiny bits might still appear when you strain the custard, which is normal and nothing to worry about. The goal is to gently warm the eggs and seamlessly incorporate them into the milk mixture, creating that characteristic velvety smooth texture of a proper custard.
- The Importance of a Thermometer: For consistent and accurate results, especially when cooking the custard base, a reliable food thermometer is your best friend. It takes the guesswork out of knowing when your mixture has reached the ideal temperature (170-175º F or 77-79º C). This prevents overcooking (which can lead to curdled eggs) or undercooking (which won’t thicken properly), ensuring your custard is perfectly emulsified and safe to consume.
- Embrace the Overnight Chill: While the recipe suggests at least 8 hours of chilling, letting the custard base rest in the fridge overnight or even for 24 hours is highly recommended. This extended chilling time allows the flavors to fully meld and deepen, resulting in a more complex and satisfying chocolate taste. More importantly, it ensures the custard is extremely cold, which is vital for achieving the creamiest texture and minimizing ice crystal formation during churning. You can easily prepare the custard one day and churn it the next.
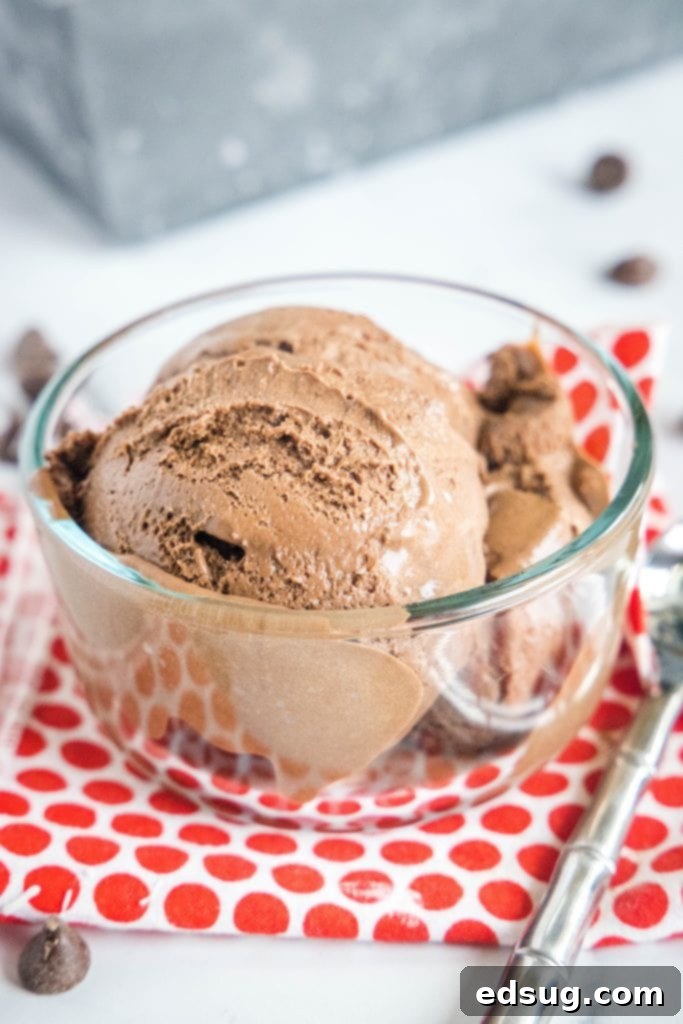
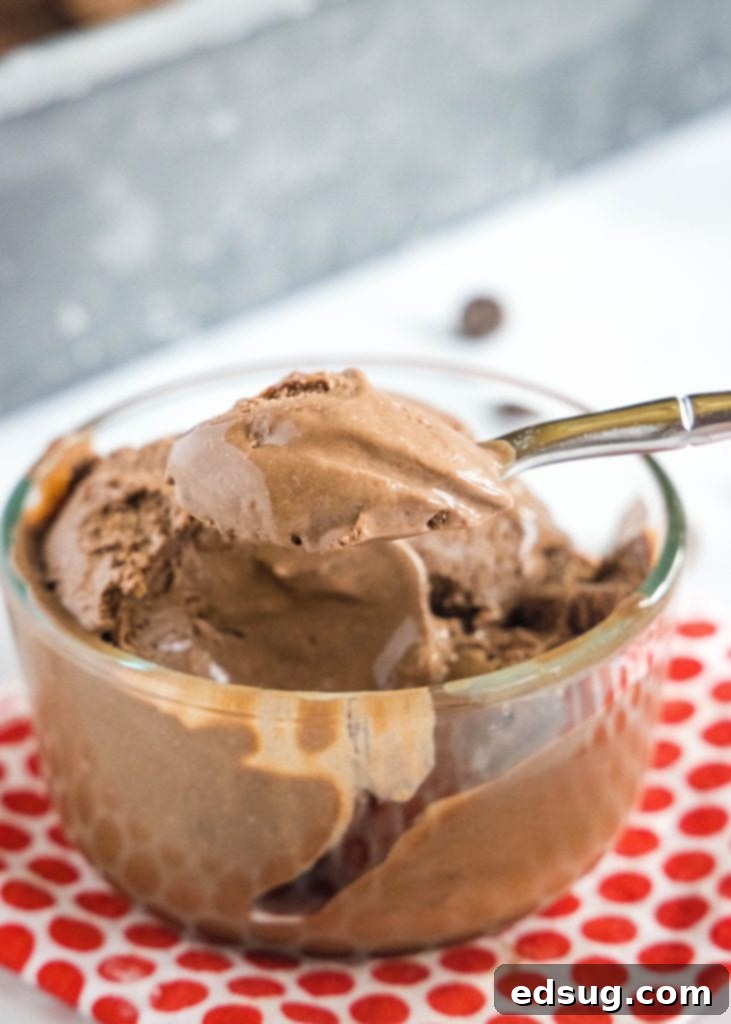
- Patience for Perfect Scoopability: Your ice cream will be mostly frozen and resemble soft-serve directly after churning in the ice cream maker. However, for that classic scoopable consistency—firm enough to hold its shape but still deliciously creamy—it needs further hardening. Transfer it to a freezer-safe container and allow it to freeze for at least an additional hour, or even up to 4-6 hours, before serving. This final freeze ensures a delightful texture that’s easy to portion and enjoy.
Delectable Ice Cream Toppings & Serving Ideas
While this homemade chocolate ice cream is absolutely divine on its own, it also serves as the perfect canvas for a variety of delightful toppings! Consider setting up an Ice Cream Sundae Bar for a fun and customizable dessert experience!
- Homemade Hot Fudge: You can never have too much chocolate! A warm, gooey hot fudge sauce creates an incredible contrast with the cold, creamy ice cream.
- Peanut Butter Magic Shell: For fans of the classic chocolate and peanut butter combination, this magic shell is a game-changer. It hardens into a crisp, chocolatey peanut butter coating as soon as it touches the cold ice cream.
- Crunchy Delights: Sprinkle with chopped nuts (pecans, walnuts, almonds), additional chocolate chips for extra texture, mini marshmallows, or crushed cookies like Oreos. Consider your favorite candy bars chopped into small pieces for a truly indulgent treat.
- Classic Sundae Finish: Top your scoops with a generous swirl of fresh whipped cream and a bright red cherry for that quintessential, irresistible sundae look and taste.
- Fresh Fruit: Fresh sliced strawberries, raspberries, or banana slices pair beautifully with rich chocolate, adding a touch of natural sweetness and acidity.
- Caramel Drizzle: A swirl of salted caramel sauce provides a sweet and salty counterpoint that enhances the deep chocolate flavor.
More Fun Summer Dessert Recipes to Try
If you’re looking for more delicious treats to cool down with or entertain guests, explore these other fantastic summer dessert recipes:
- Oreo Lasagna
- No Bake Lemon Cheesecake
- Snicker Salad
- Strawberry Cheesecake Lasagna
- Oven S’mores
- Strawberry Milkshakes
- Watermelon Rice Krispie Treats

Homemade Chocolate Ice Cream
Pin Recipe
Rate Recipe
Print Recipe
Ingredients
- 2 cups heavy cream, divided
- 1 cup whole milk
- 3/4 cup granulated sugar
- 1/4 cup unsweetened cocoa powder
- 6 oz semi-sweet chocolate chips
- 6 large egg yolks
- 1/2 teaspoon vanilla extract
Instructions
-
In a medium saucepan, combine whole milk, granulated sugar, and 1 cup of heavy cream over medium heat. Whisk in cocoa powder until completely smooth. Bring to a boil, then reduce heat and cook for about 30 seconds.
-
Remove the mixture from heat and stir in the chocolate chips until fully melted and the mixture is smooth.
-
In a separate bowl, vigorously whisk the egg yolks until they are pale yellow and well combined.
-
Slowly stream about half of the warm chocolate mixture into the whisked egg yolks, whisking constantly to temper the eggs. Pour this combined mixture back into the saucepan.
-
Heat the custard over medium heat, stirring frequently, until it reaches 170-175º F (77-79º C) and coats the back of a spoon. Do not boil.
-
Pour the mixture through a fine-mesh sieve into a clean bowl to ensure a smooth texture.
-
Stir in the remaining heavy cream and vanilla extract. Cover the custard directly with plastic wrap and refrigerate for at least 8 hours, or preferably overnight, until thoroughly chilled.
-
Once chilled, pour the mixture into your ice cream maker and churn for about 25 minutes, or according to your manufacturer’s instructions, until it reaches a soft-serve consistency.
-
Transfer the churned ice cream to a freezer-safe container, cover tightly, and freeze for at least 1 hour (or until firm) before serving.
Nutrition
Nutrition information is automatically calculated, so should only be used as an approximation.
Additional Info
Like this recipe? Leave a comment below!
I created a fun group on Facebook, and I would love for you to join us! It’s a place where you can share YOUR favorite recipes, ask questions, and stay updated on what’s new at Dinners, Dishes and Desserts (so you never miss a new recipe)!
Be sure to follow me on Instagram and tag #dinnersdishes so I can see all the wonderful DINNERS, DISHES, AND DESSERTS recipes YOU make!
Be sure to follow me on my social media, so you never miss a post!
Facebook | Twitter | Pinterest | Instagram
