Indulge in Homemade Perfection: The Ultimate Cream Puffs (Profiteroles) Recipe
There’s nothing quite like the delicate crispness of a perfectly baked cream puff, giving way to a cloud of sweet, airy whipped cream. Often considered a treat reserved for bakeries, homemade cream puffs (also known as profiteroles) are surprisingly accessible and incredibly rewarding to make. This recipe will guide you through creating light, flaky choux pastry shells, filled with luscious homemade whipped cream and dusted with a delicate veil of powdered sugar, rivaling any pastry shop creation you’ve ever tasted.
Mastering bakery-style delights in your own kitchen is a true pleasure. Beyond these delightful cream puffs, I find immense satisfaction in crafting other favorites like these homemade croissants and homemade donuts. Each bite is a testament to the love and effort put into homemade baking.
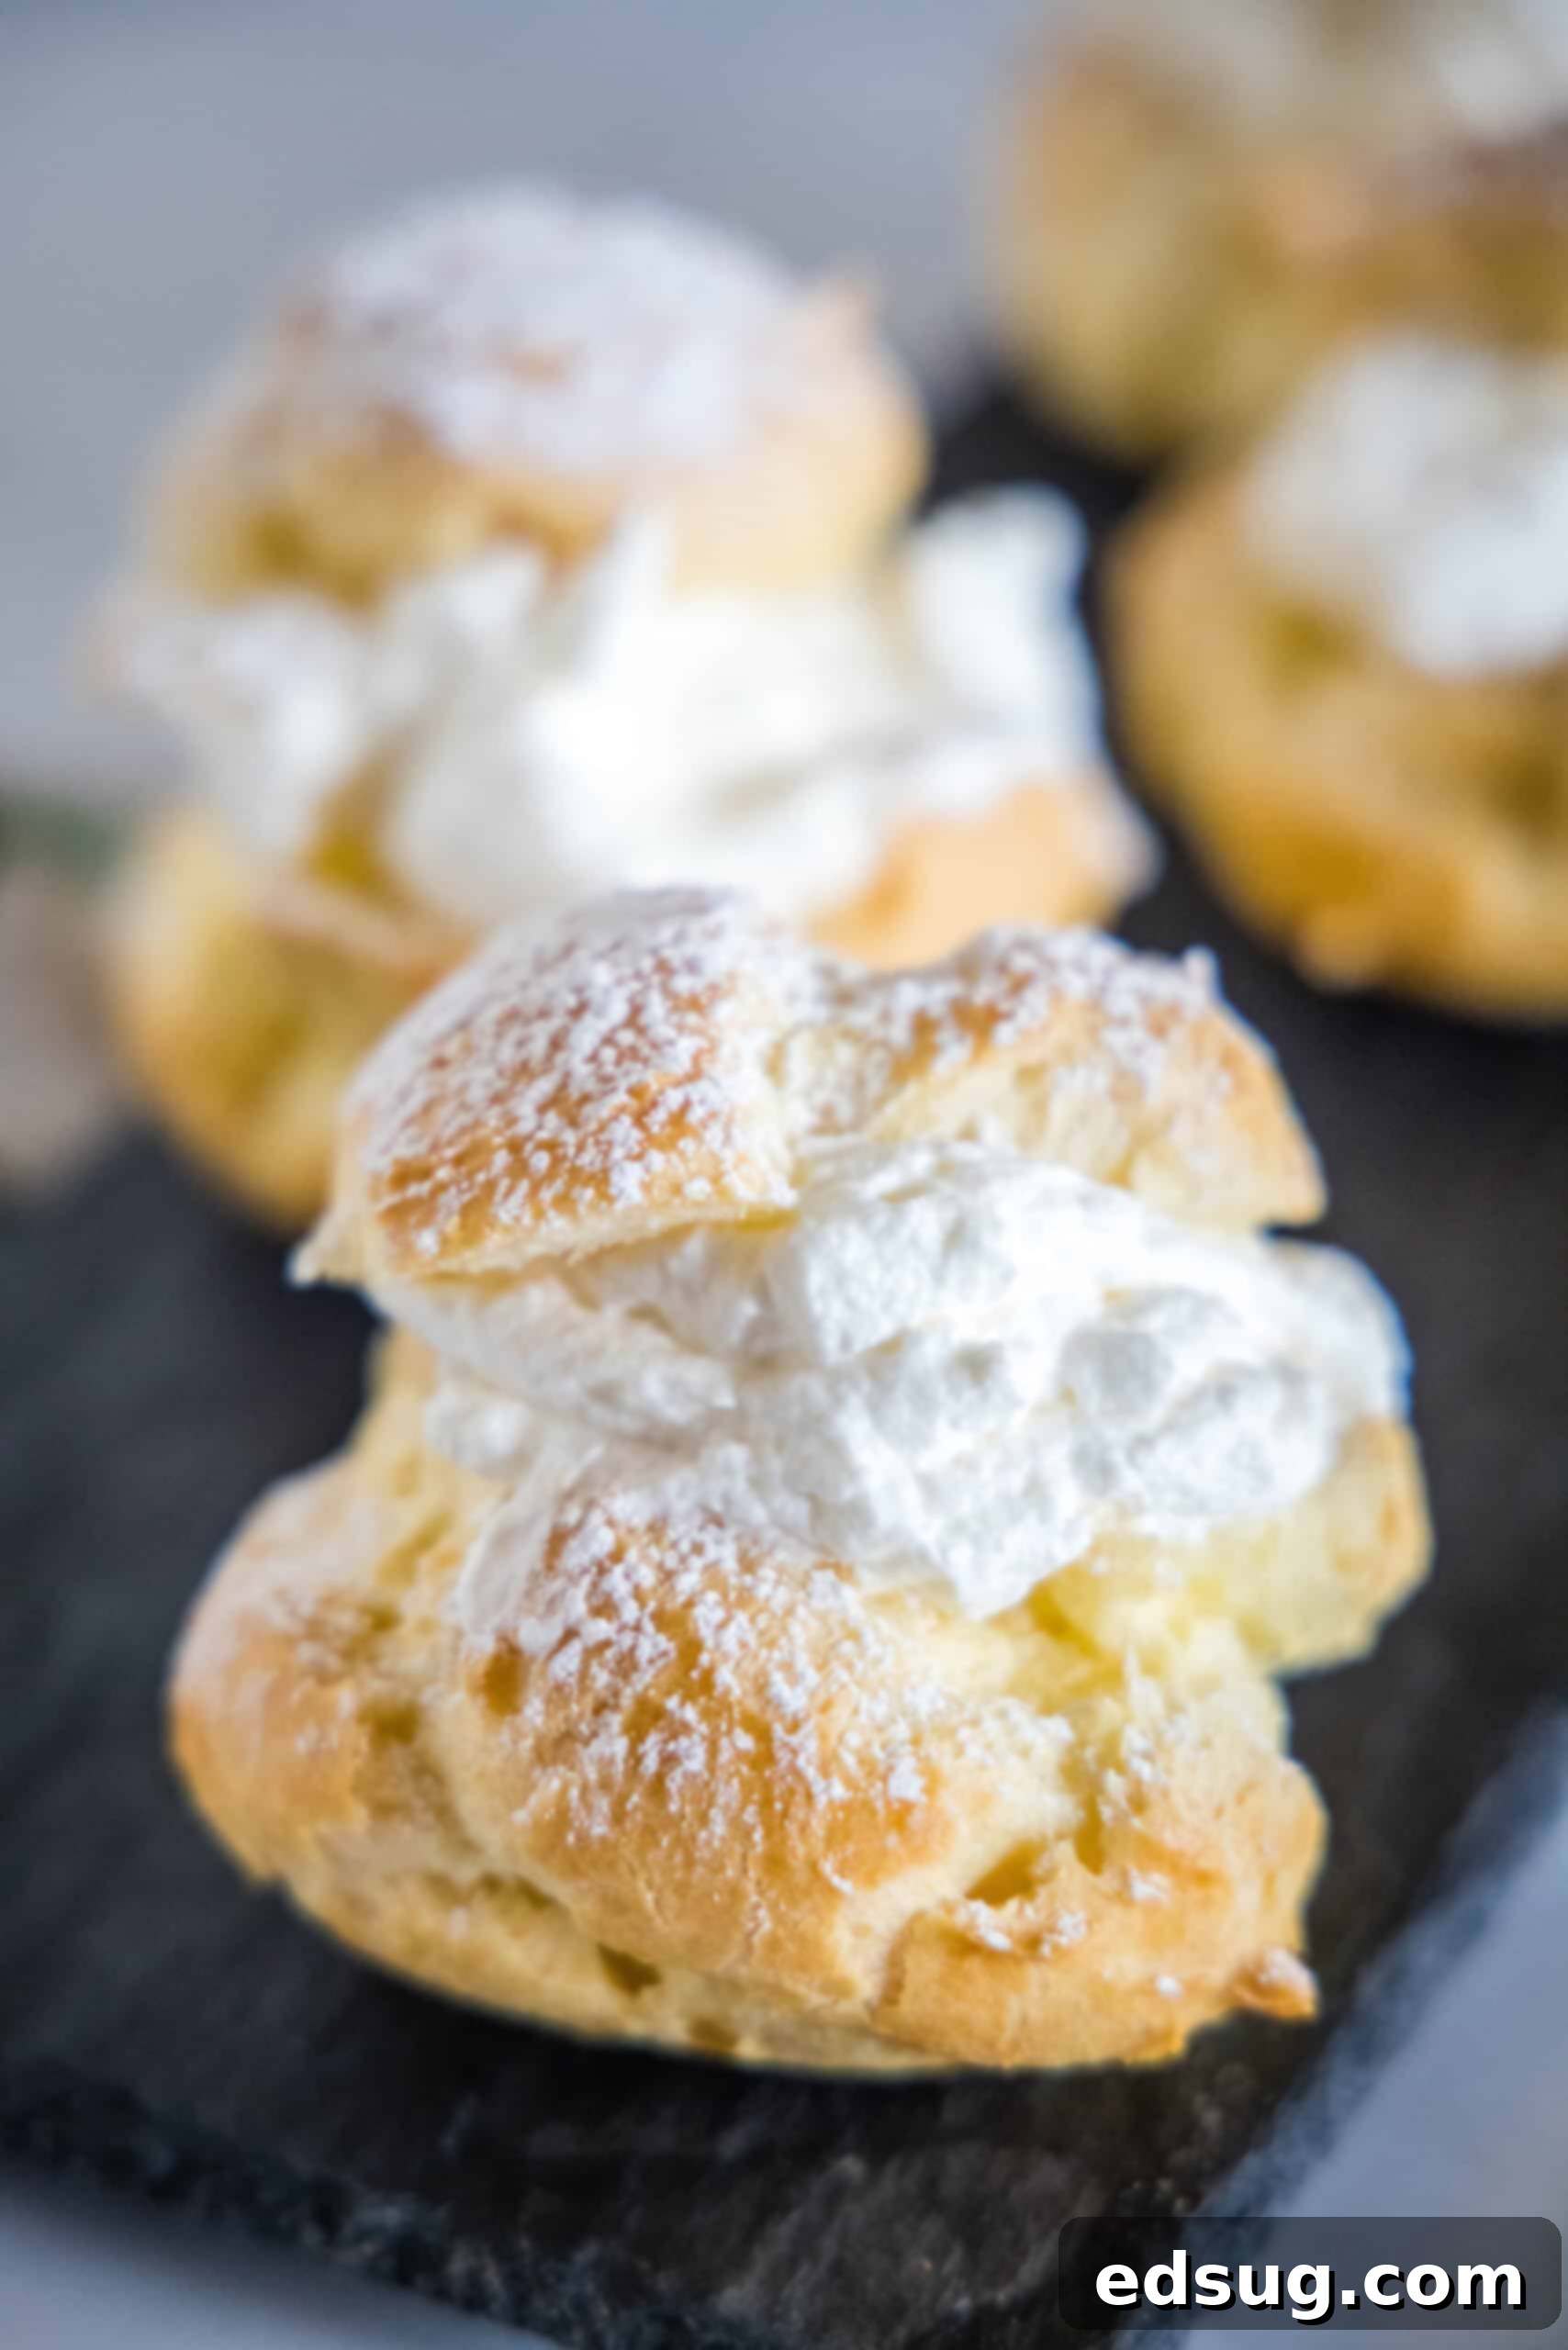
This particular cream puffs recipe holds a special place in my heart, perfected by my husband during his college years and cherished by us ever since. As someone who usually gravitates towards a comforting brownie, I admit it took me a few attempts to get the choux pastry just right. However, I’m incredibly glad I persevered! There’s simply nothing quite like the ethereal lightness and fresh taste of a homemade cream puff. These are truly light as air, fluffy, and made entirely from scratch, complete with a generous filling of sweet, velvety whipped cream.
Why You’ll Adore This Easy Cream Puffs Recipe
- Surprisingly Easy to Master. Don’t let the elegant appearance fool you; with a little practice and attention to detail, you’ll be amazed at how straightforward it is to create these stunning cream puffs at home. The foundational choux pastry method is incredibly simple, and the ingredient list is refreshingly short – just 3 main ingredients for the pastry dough!
- Unbeatable Light and Fluffy Texture. The magic begins with our choux pastry, which comes together effortlessly in a single pan on your stovetop. This unique dough bakes up into the lightest, softest, and most exquisitely hollow shells. Once filled with the sweet whipped cream, they transform into delicate, sugar-dusted clouds that literally melt in your mouth, leaving a delightful impression.
- Perfect for Any Special Occasion. While I’m always ready to whip up a batch of these cream puffs any day of the week, there’s an undeniable charm and elegance about them that makes them absolutely ideal for special moments. Think sophisticated dinner parties, romantic Valentine’s Day desserts, or a delightful treat for brunch. Imagine a scenario where my husband bakes these perfect pastries while I prepare a cozy Marry Me Chicken pasta dinner for two – a truly memorable culinary experience!
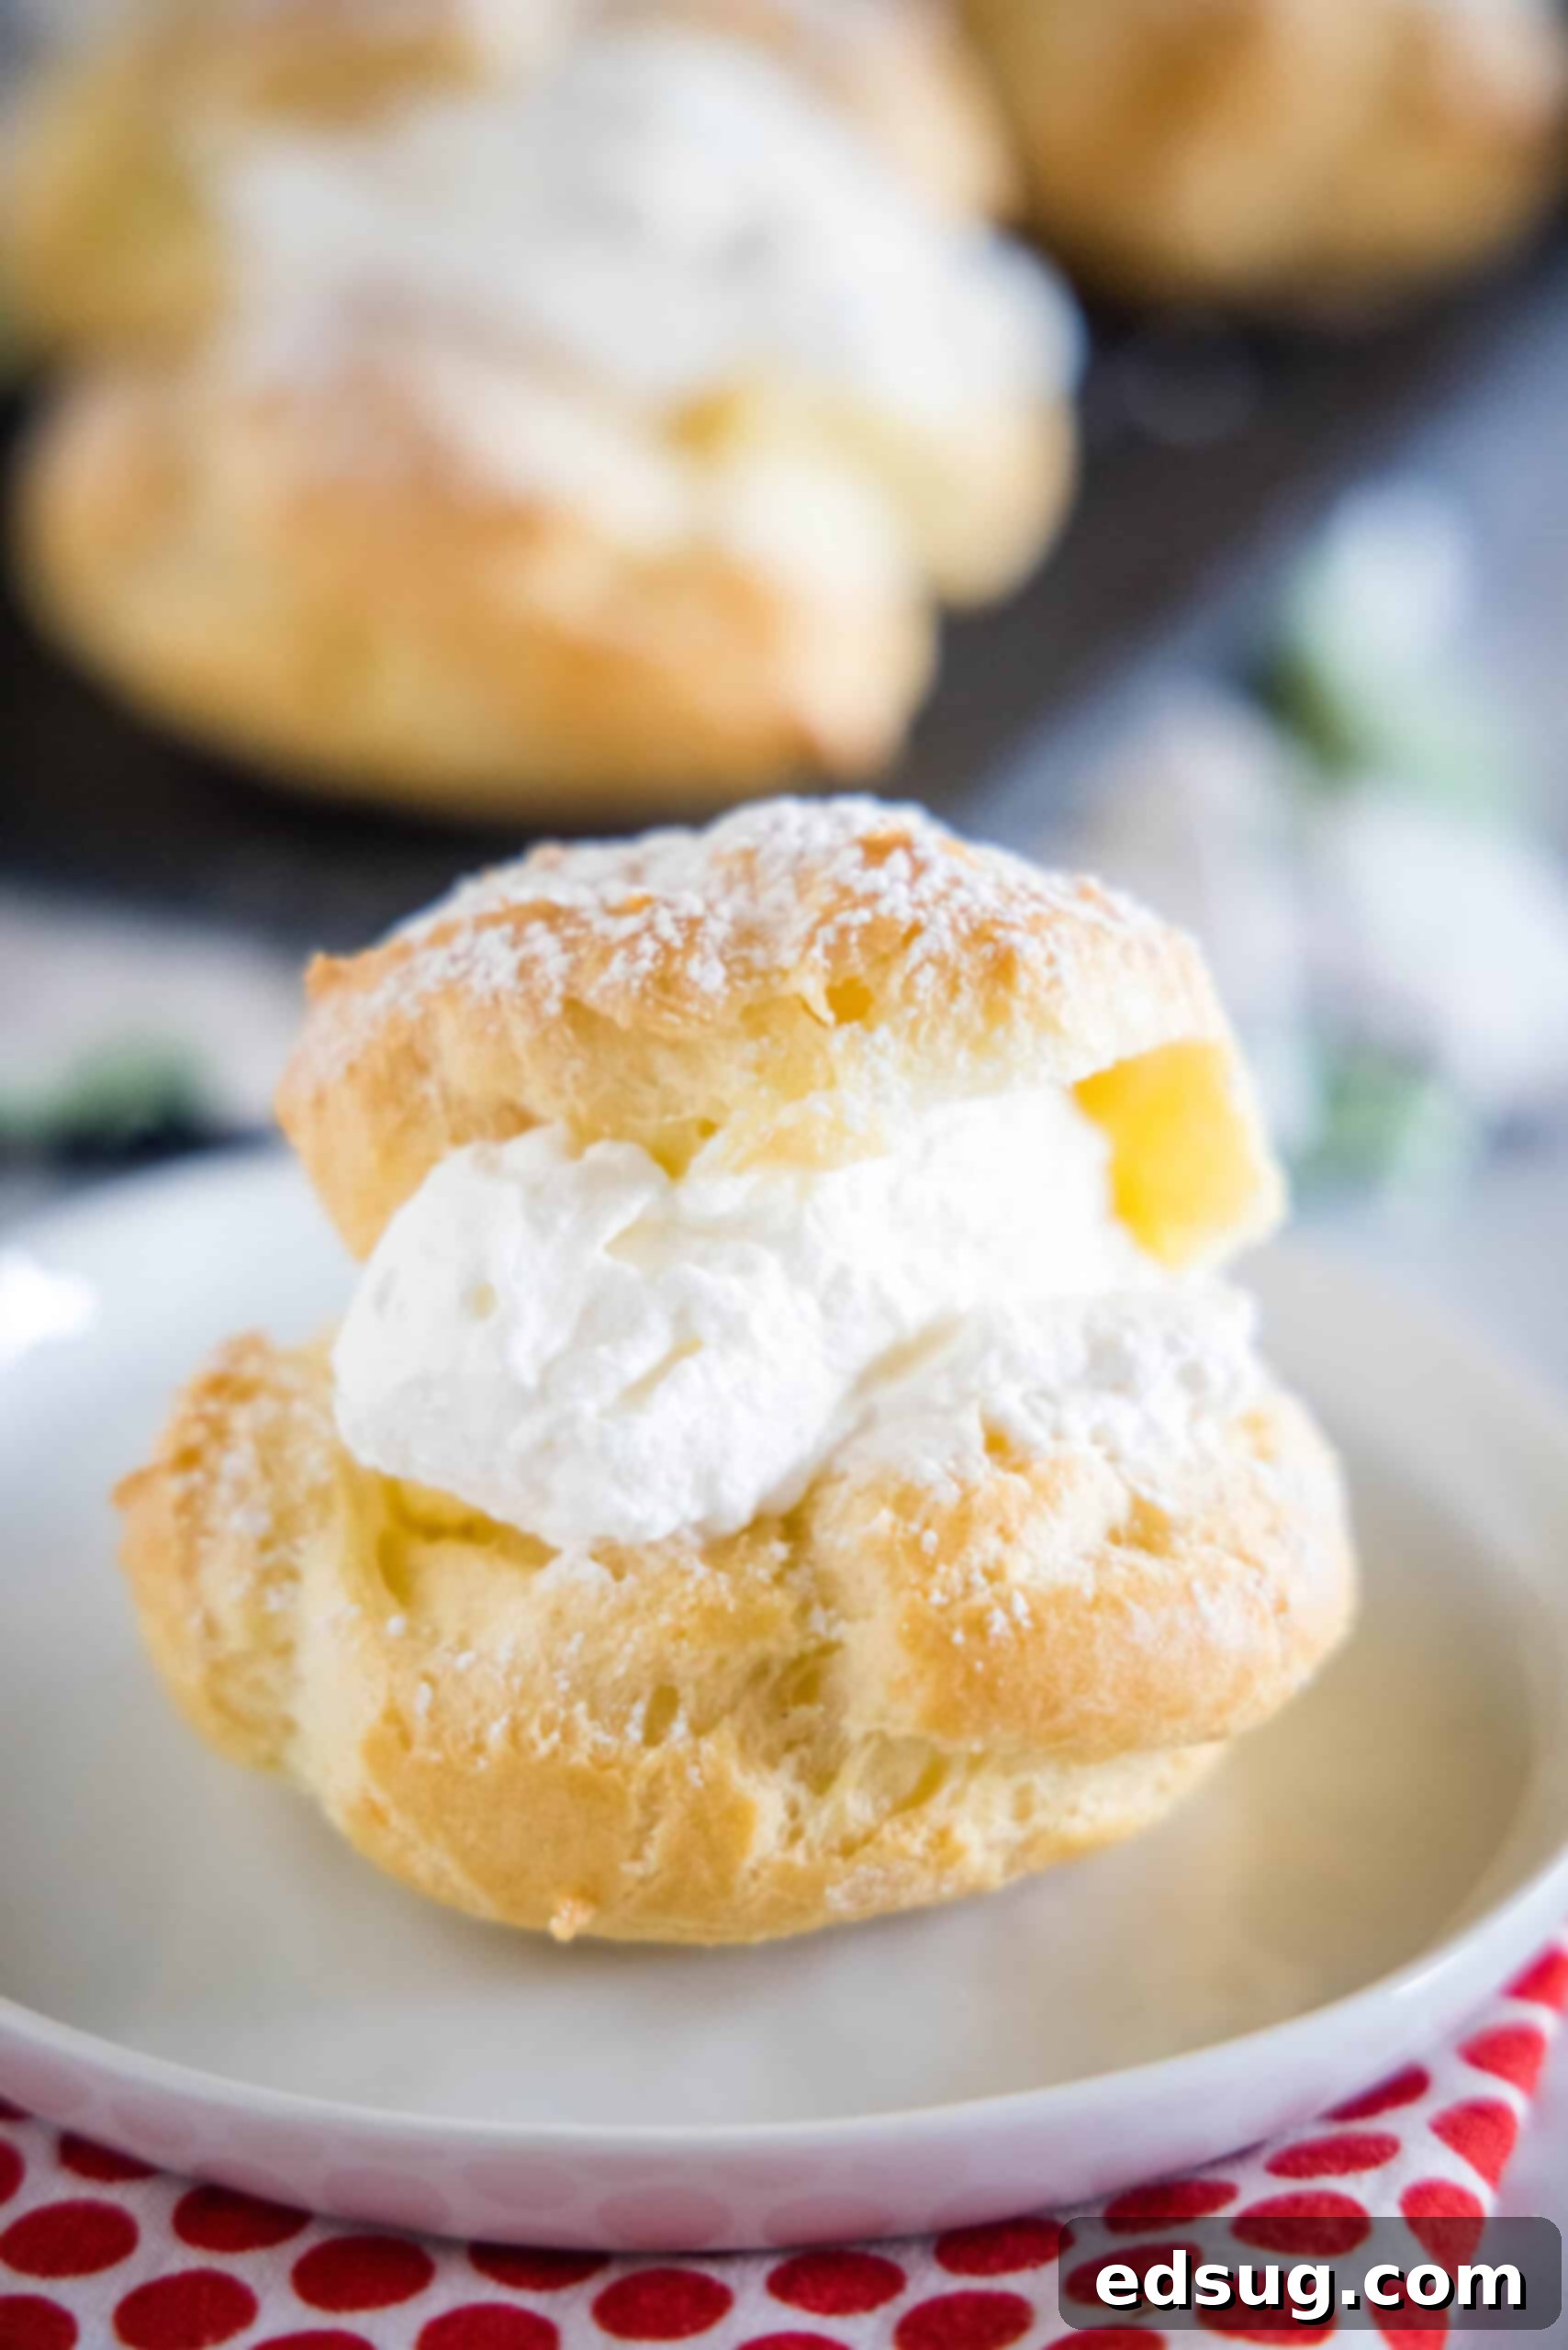
Essential Ingredients for Your Homemade Cream Puffs
Crafting these delectable cream puffs requires only a handful of common pantry ingredients (plus water) to create the magical choux pastry dough. The secret to their success lies not only in the method but also in the quality of your ingredients. Below are my recommendations and notes; the full printable ingredients list and detailed recipe can be found in the recipe card at the end of this post.
- Butter – I highly recommend using unsalted butter when preparing pastry dough. This gives you complete control over the overall saltiness of your finished product, allowing the subtle sweetness and delicate flavors to shine without being overwhelmed.
- Flour – For consistent and reliable results every time, all-purpose flour is your best friend. Its balanced protein content is perfect for developing the structure needed for light and airy choux pastry.
- Eggs – Eggs are crucial to the choux pastry, contributing to both its structure and its ability to puff up in the oven. They add richness and help create that characteristic hollow interior.
- Whipped Cream – The classic filling! You’ll combine cold heavy cream with powdered sugar and a touch of vanilla extract to create a rich and stable homemade whipped cream. For the best texture and stability, always opt for full-fat heavy whipping cream. While homemade is preferred, if you’re truly short on time, a good quality store-bought whipped cream can be used as a convenient alternative.
What Goes in the Middle of a Cream Puff? Discovering Delightful Fillings
Traditionally, French pâte à choux pastries like cream puffs (or profiteroles) are filled with luscious pastry cream, light whipped cream (as we’re doing in this recipe), or a delightful combination known as crème légère (pastry cream folded with whipped cream). However, the beauty of homemade baking is the freedom to customize! You can truly use any filling of your choice to create your perfect cream puff experience. These would be absolutely exquisite filled with a more stable option like stabilized whipped cream, or perhaps the creamy vanilla custard from my homemade eclairs recipe – another beloved bakery-style pastry often dipped in rich chocolate. Don’t limit yourself! Consider fillings like chocolate ganache, fruit curds (lemon, raspberry), coffee-flavored cream, or even a light cream cheese filling. Experiment and choose your favorite for a personalized treat!
How to Make Light and Airy Cream Puffs: Step-by-Step Guide
The journey to perfect cream puffs begins with mastering the simple yet magical choux pastry dough, made right on your stovetop. Follow these detailed steps carefully, and you’ll be on your way to bakery-worthy results. Remember to scroll down to the recipe card for full printable instructions and precise measurements.
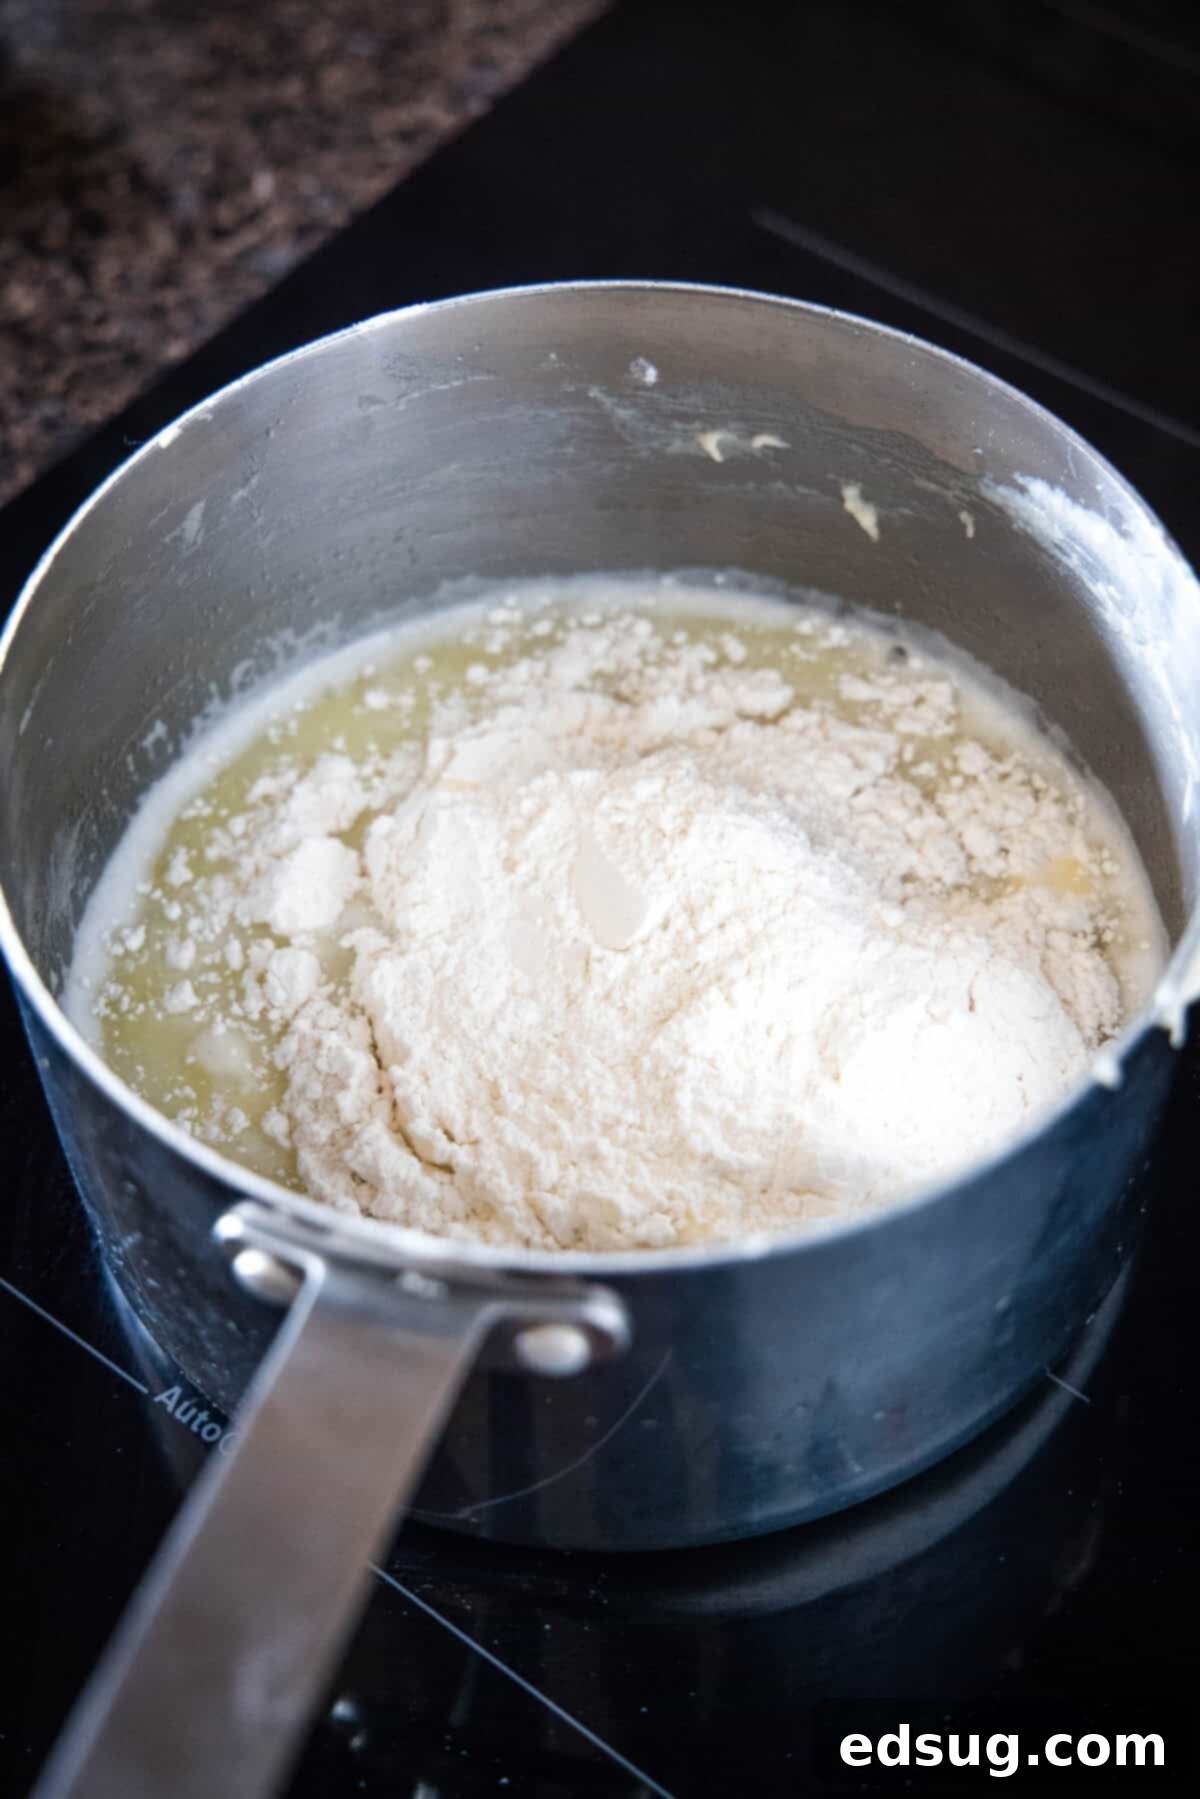
- Prepare for Baking and Heat the Butter Mixture. Begin by preheating your oven to a precise 400ºF (200ºC). This high initial heat is crucial for creating steam that helps the puffs rise. Simultaneously, combine the butter and water in a medium-sized saucepan. Bring this mixture to a strong, rolling boil over medium-high heat. The butter should be fully melted and integrated before the water boils.
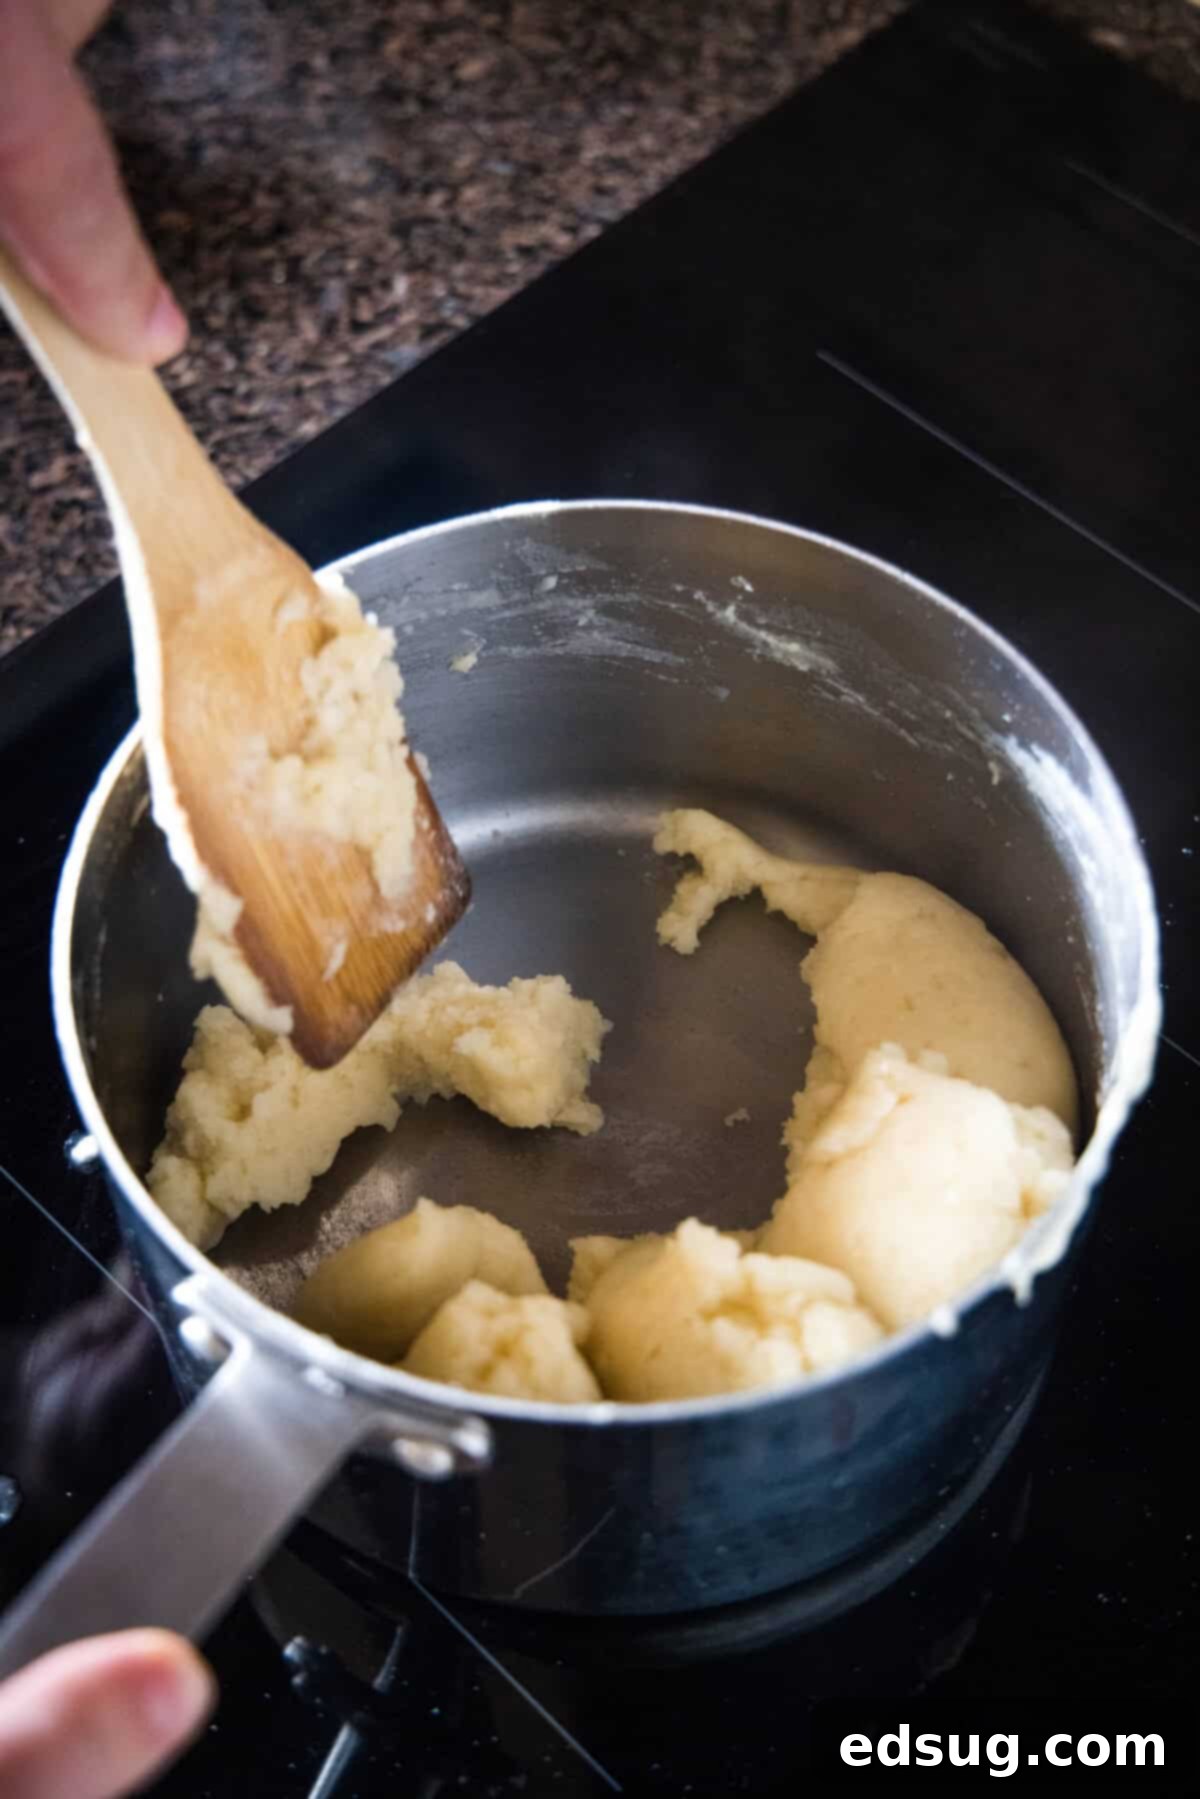
- Incorporate the Flour to Form the Dough. As soon as the mixture reaches a rolling boil, immediately reduce the heat to low. Add all the all-purpose flour at once. Stir vigorously and continuously with a wooden spoon for about 1 minute. The dough will quickly come together, forming a smooth ball that pulls away cleanly from the sides and bottom of the pan. This step is essential for cooking the flour and creating the base of the choux pastry.
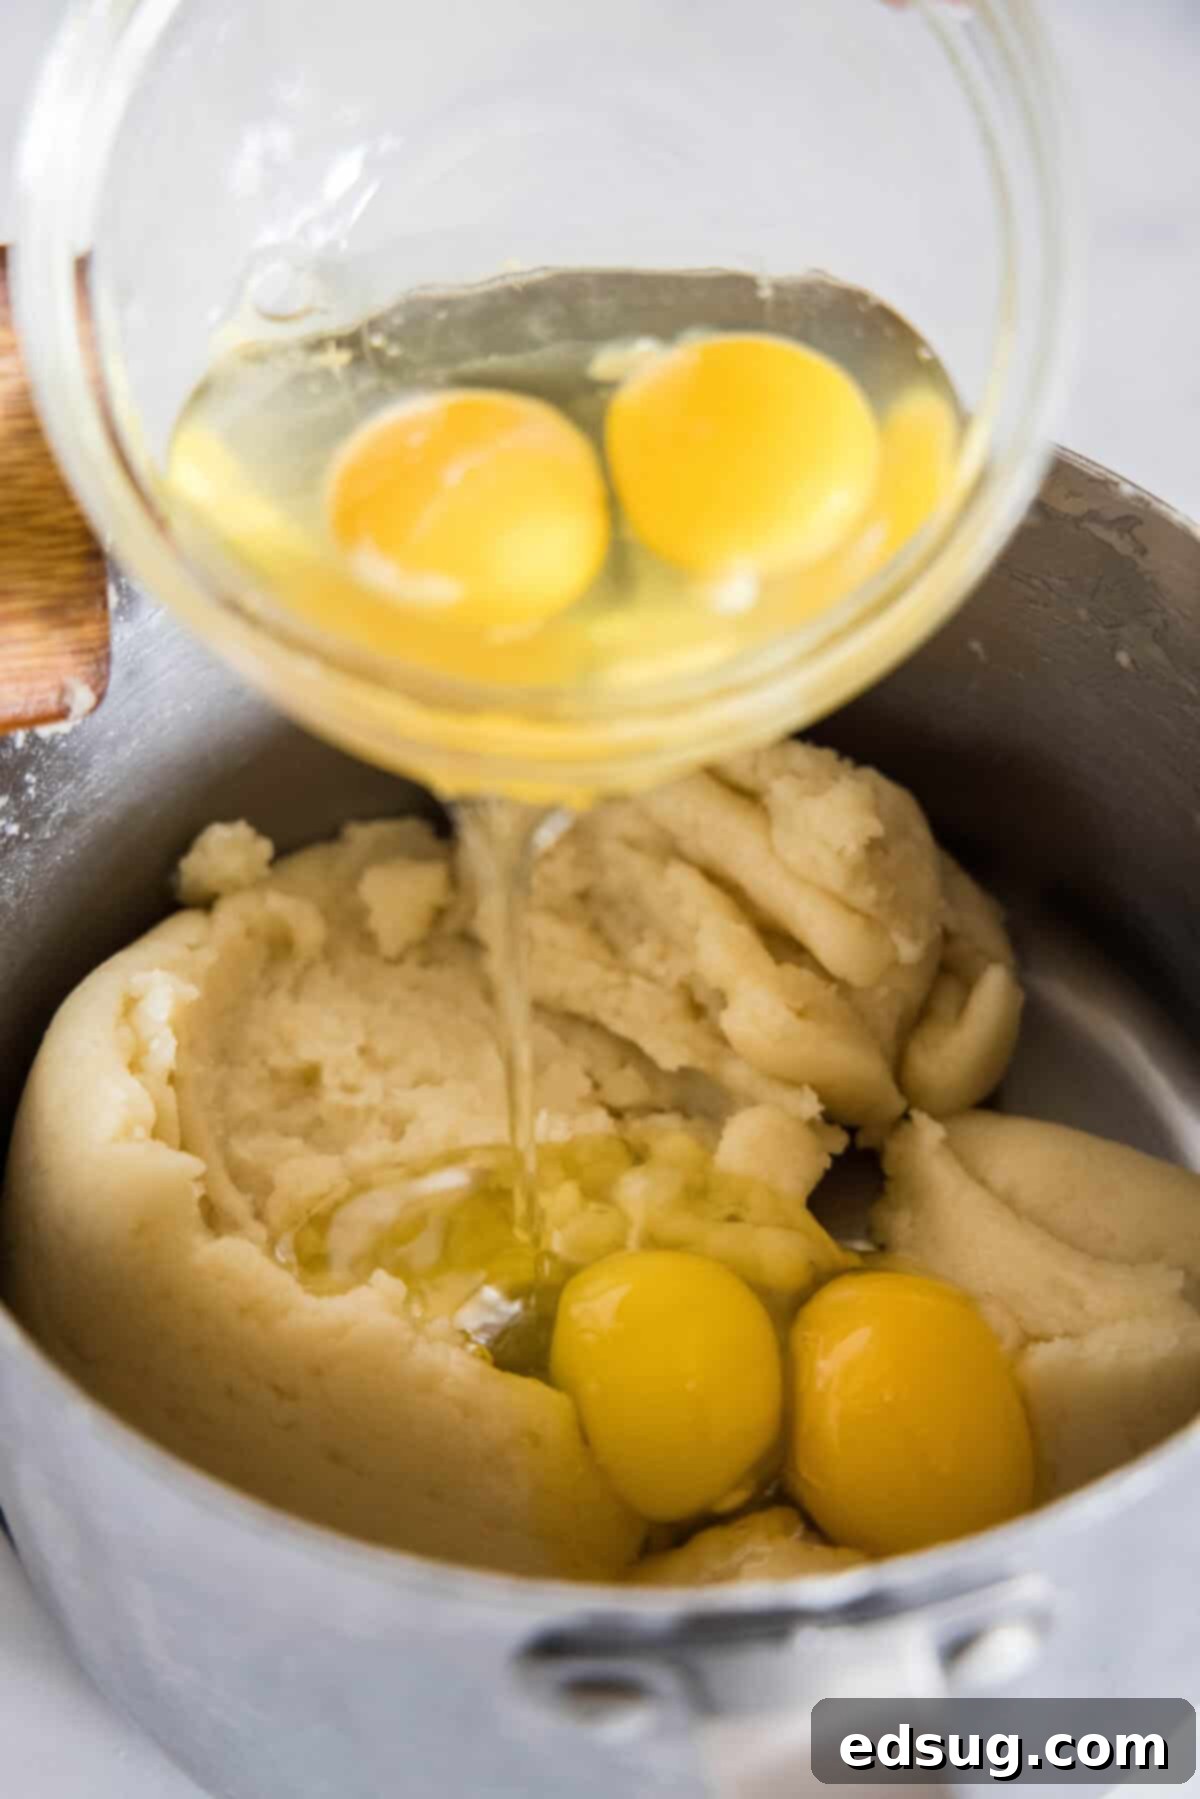
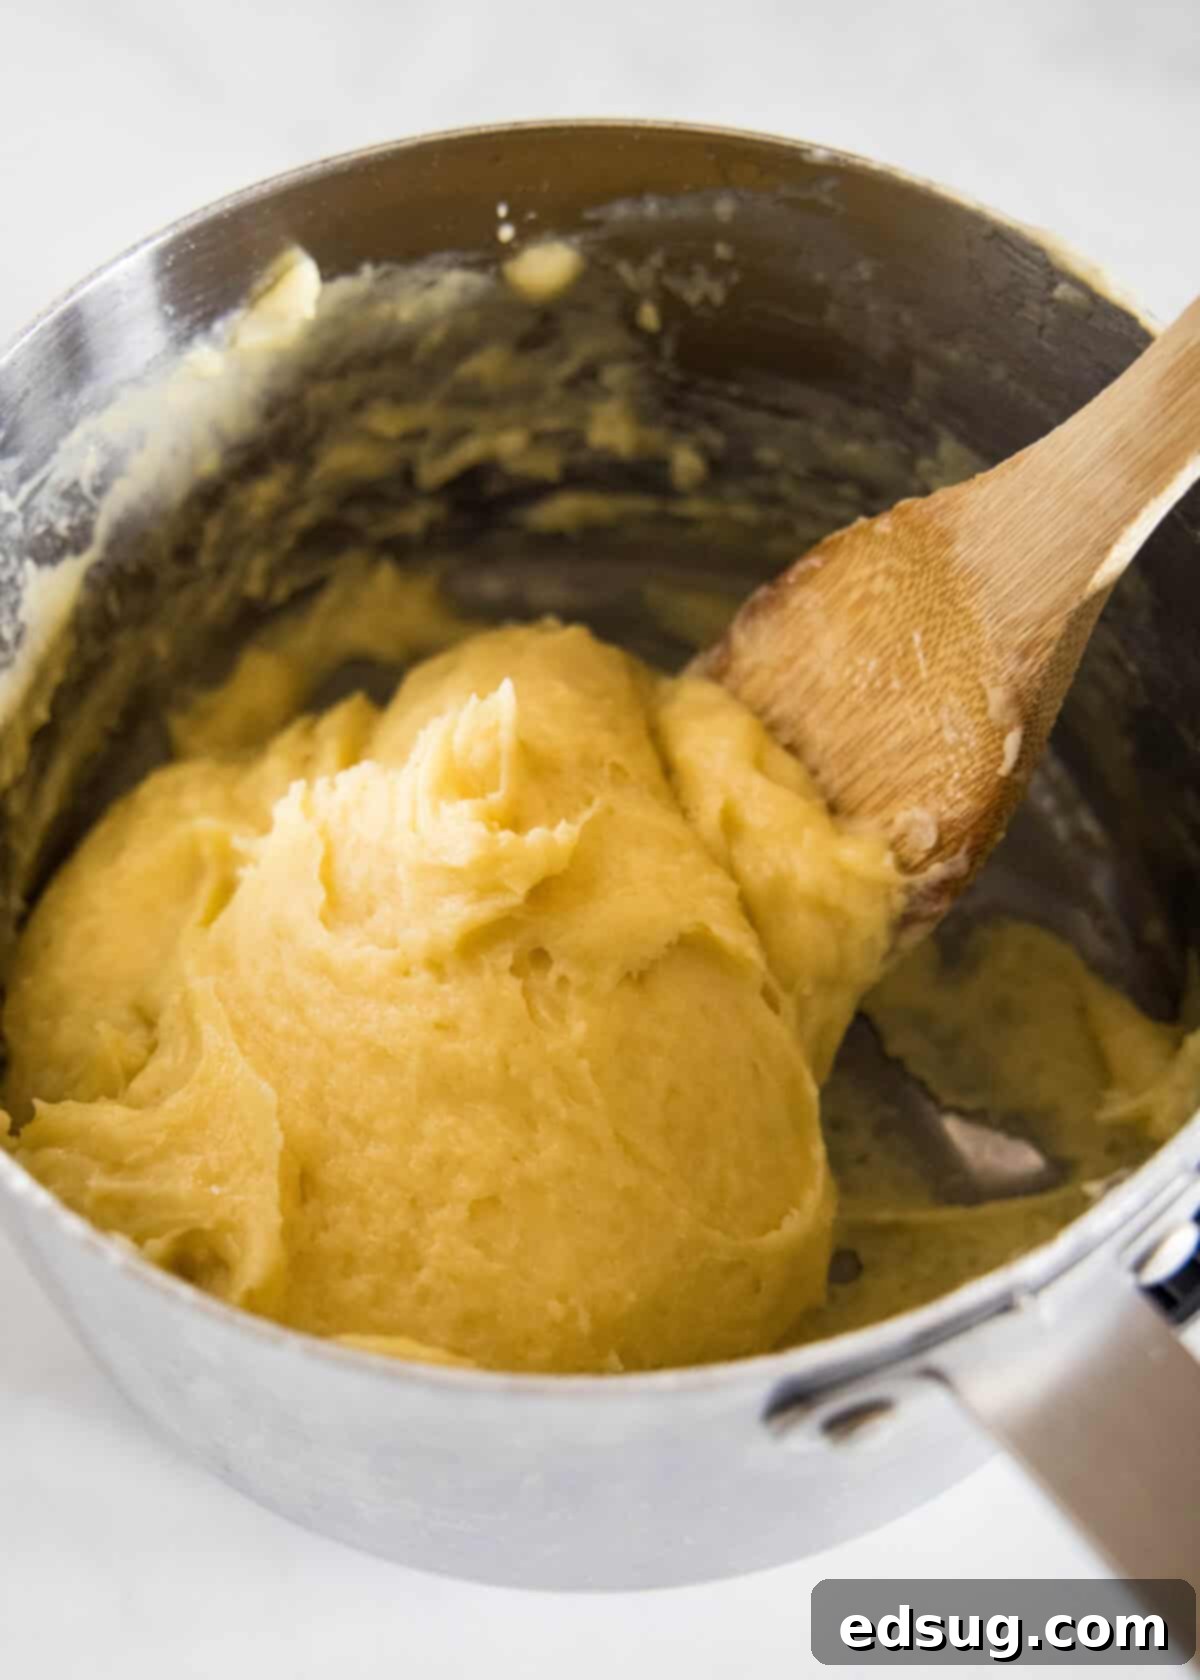
- Add Eggs to Create a Smooth Batter. Remove the saucepan from the heat. This is a critical step to prevent the eggs from cooking too quickly. Add the eggs one at a time, beating each one thoroughly into the dough by hand with your wooden spoon (or use a stand mixer with a paddle attachment for ease). Continue mixing vigorously until the dough transforms into a smooth, glossy, and thick batter. It should have a consistency similar to a thick cake batter or a very stiff mayonnaise, able to hold its shape.
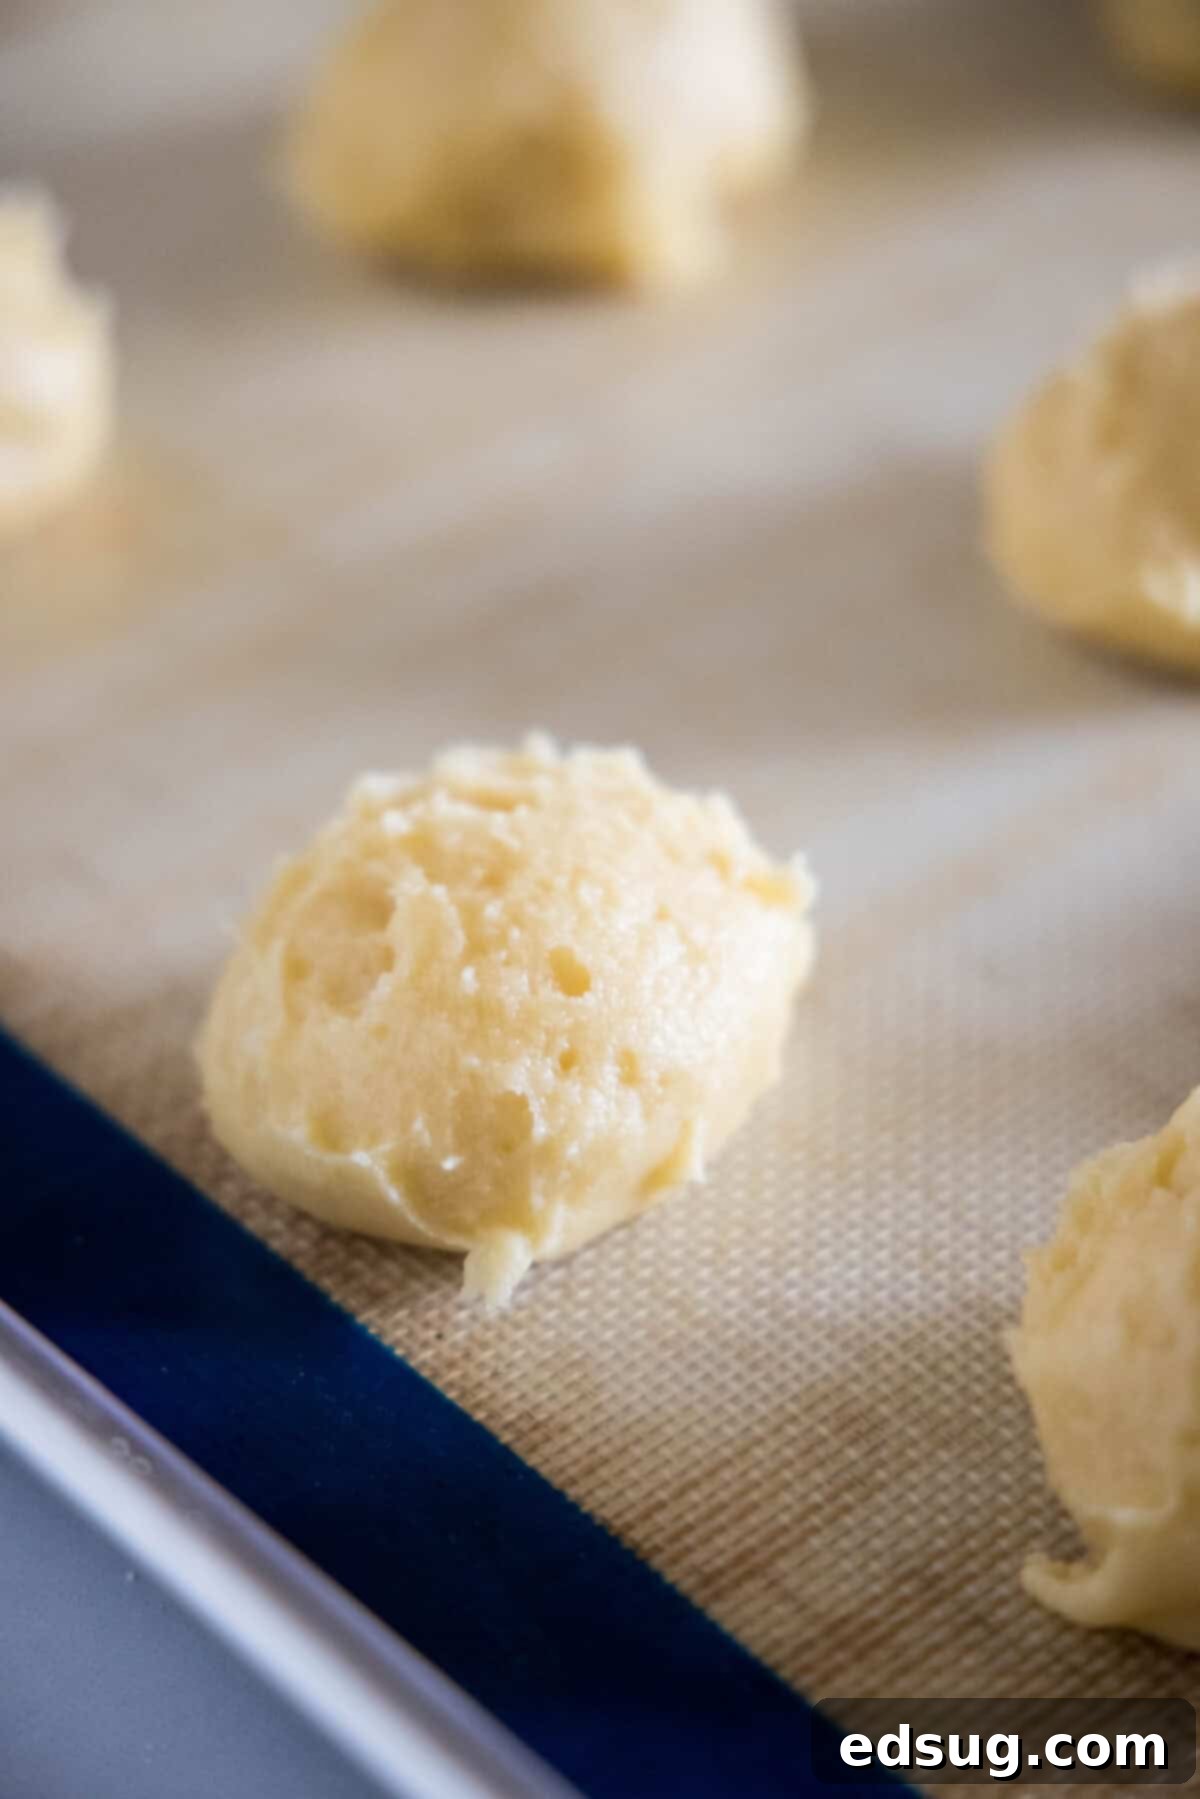
- Portion the Puffs for Baking. Now it’s time to shape your cream puffs! You have two main options:
- Piping: For the most uniform and professional-looking results, transfer the choux pastry into a piping bag fitted with a large round tip. Pipe mounds of dough onto a parchment paper-lined baking sheet.
- Scooping: Alternatively, you can use a large cookie scoop (as I do) to drop rounded portions of dough. For full-size cream puffs, aim for about ¼ cup of dough per puff. Ensure each mound is spaced at least 3 inches apart on the pan. This generous spacing is crucial as the puffs will expand significantly during baking, preventing them from fusing together.
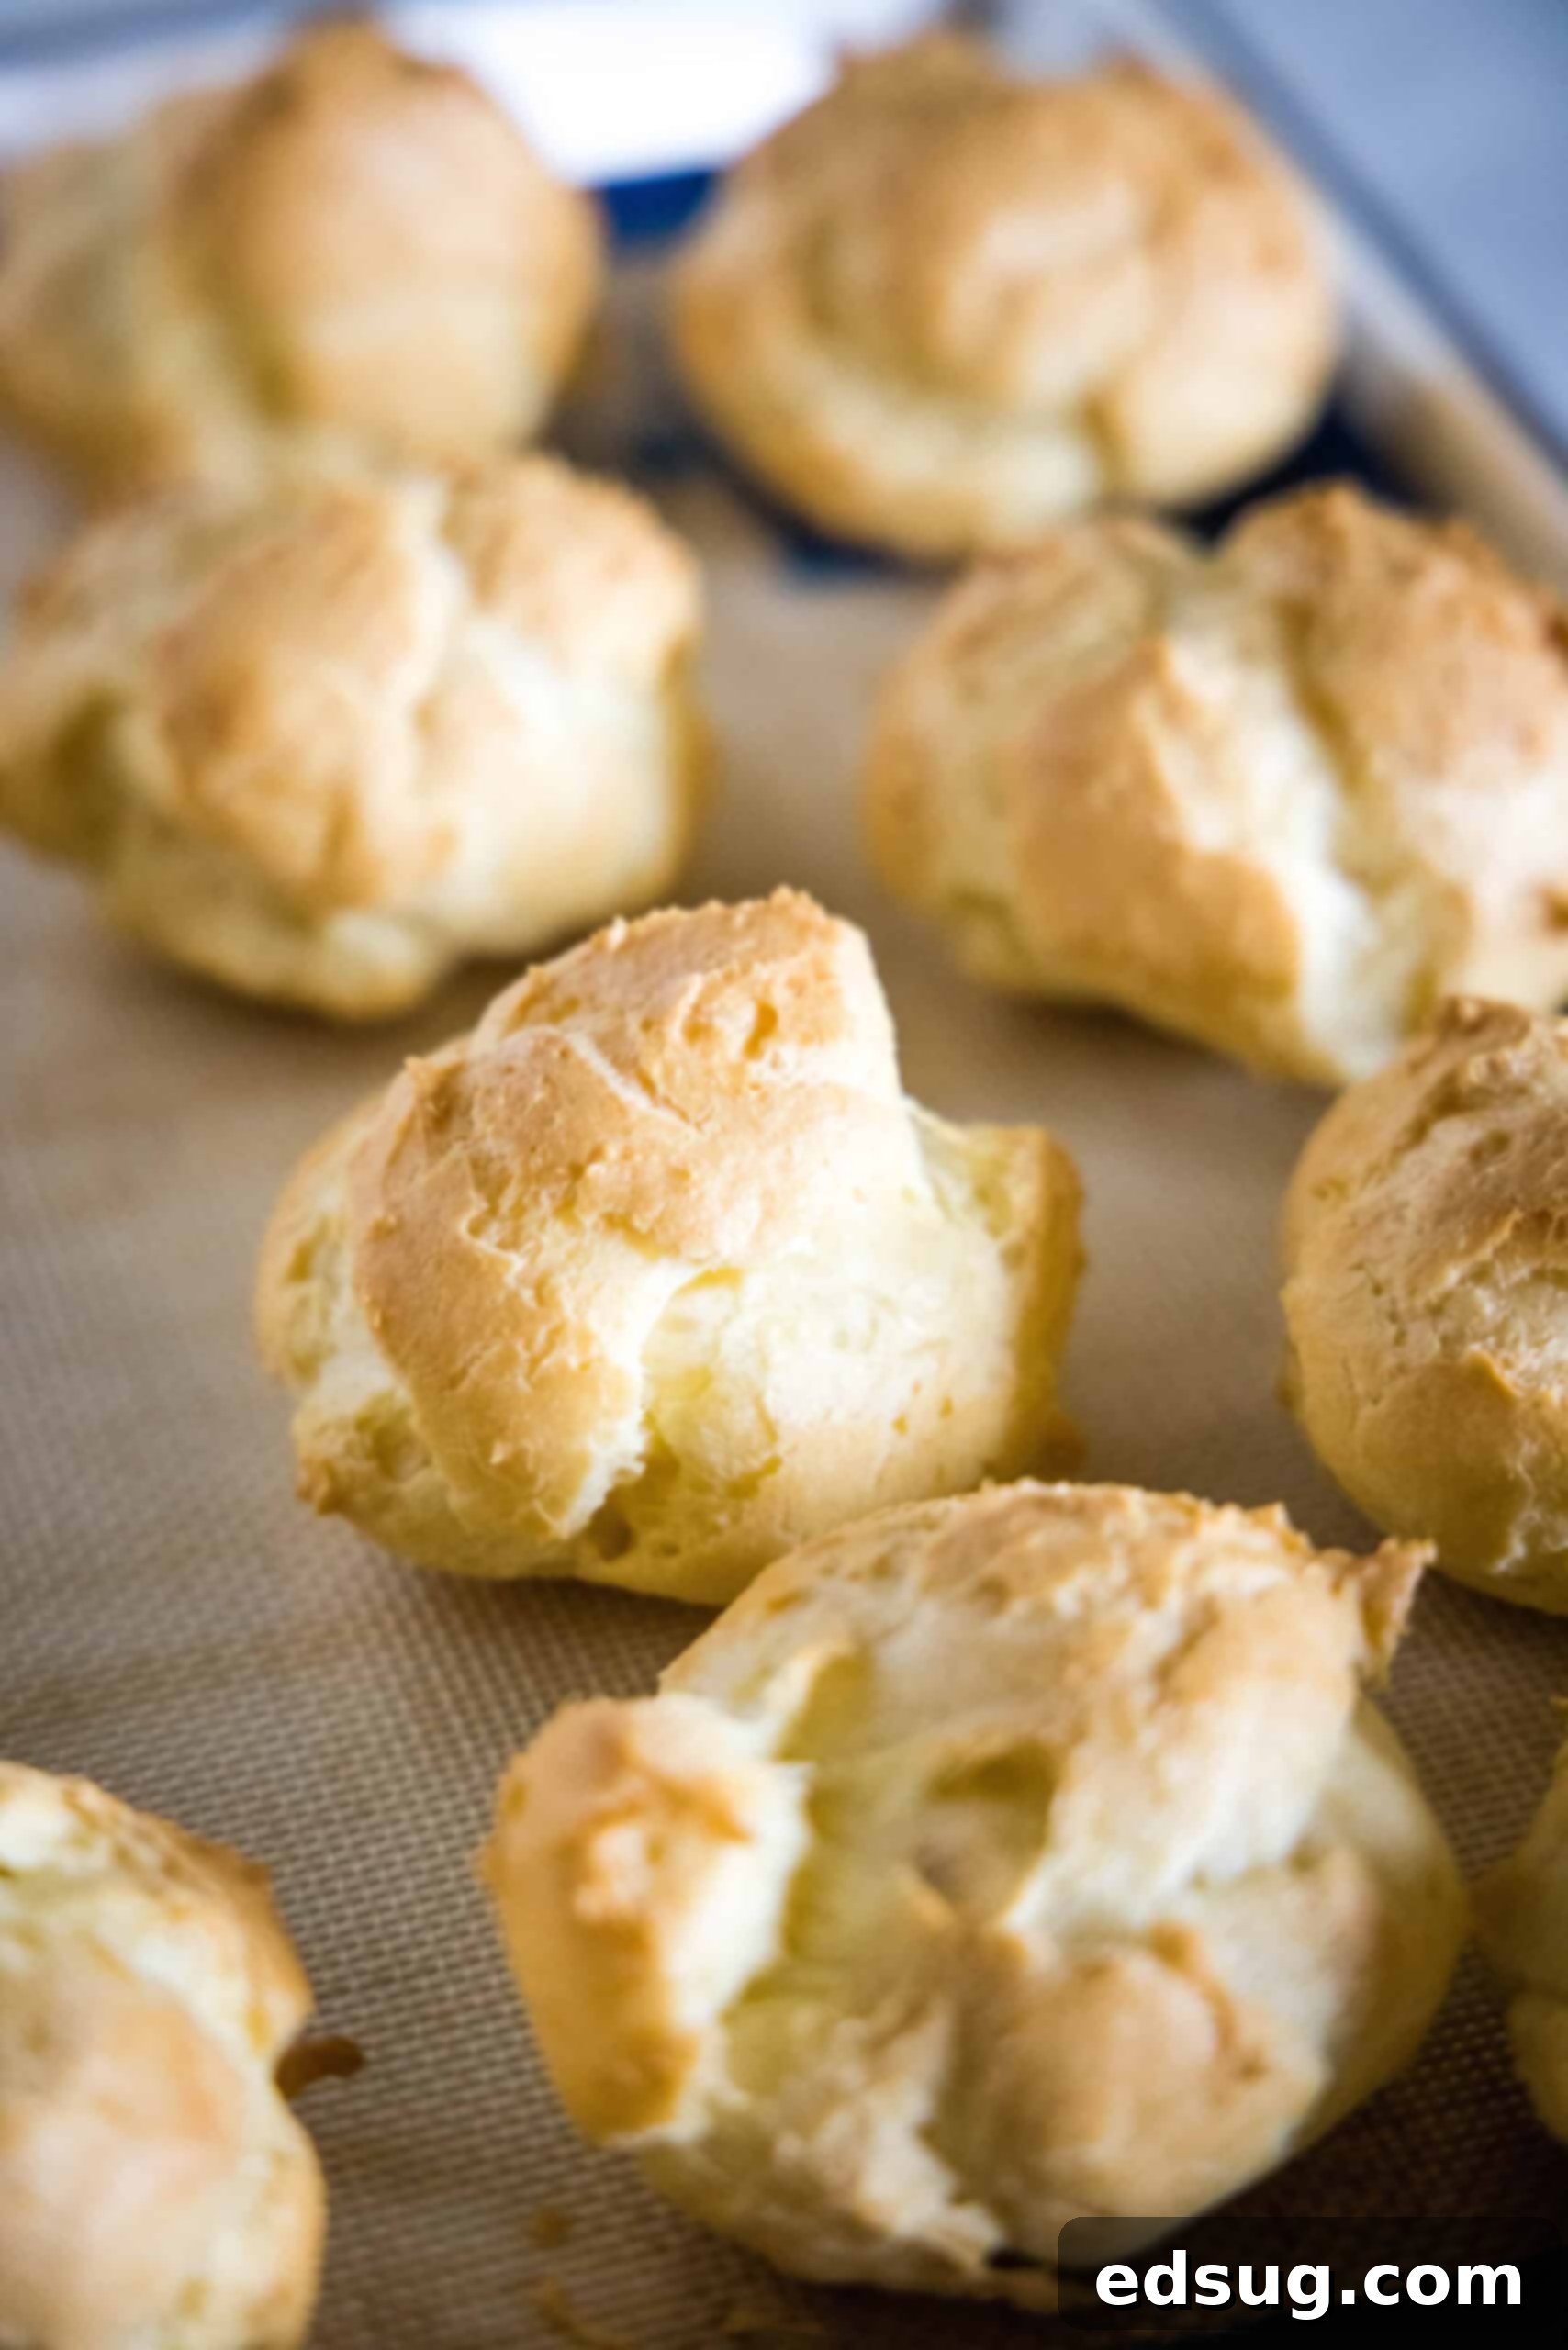
- Bake to Golden Perfection. Place the baking sheet into your preheated 400ºF (200ºC) oven. Bake the cream puffs for approximately 35-40 minutes. They are done when they are beautifully puffed up, deeply golden brown, and appear dry on the surface. Resist the urge to open the oven door during the first 20-25 minutes, as this can cause the puffs to collapse.
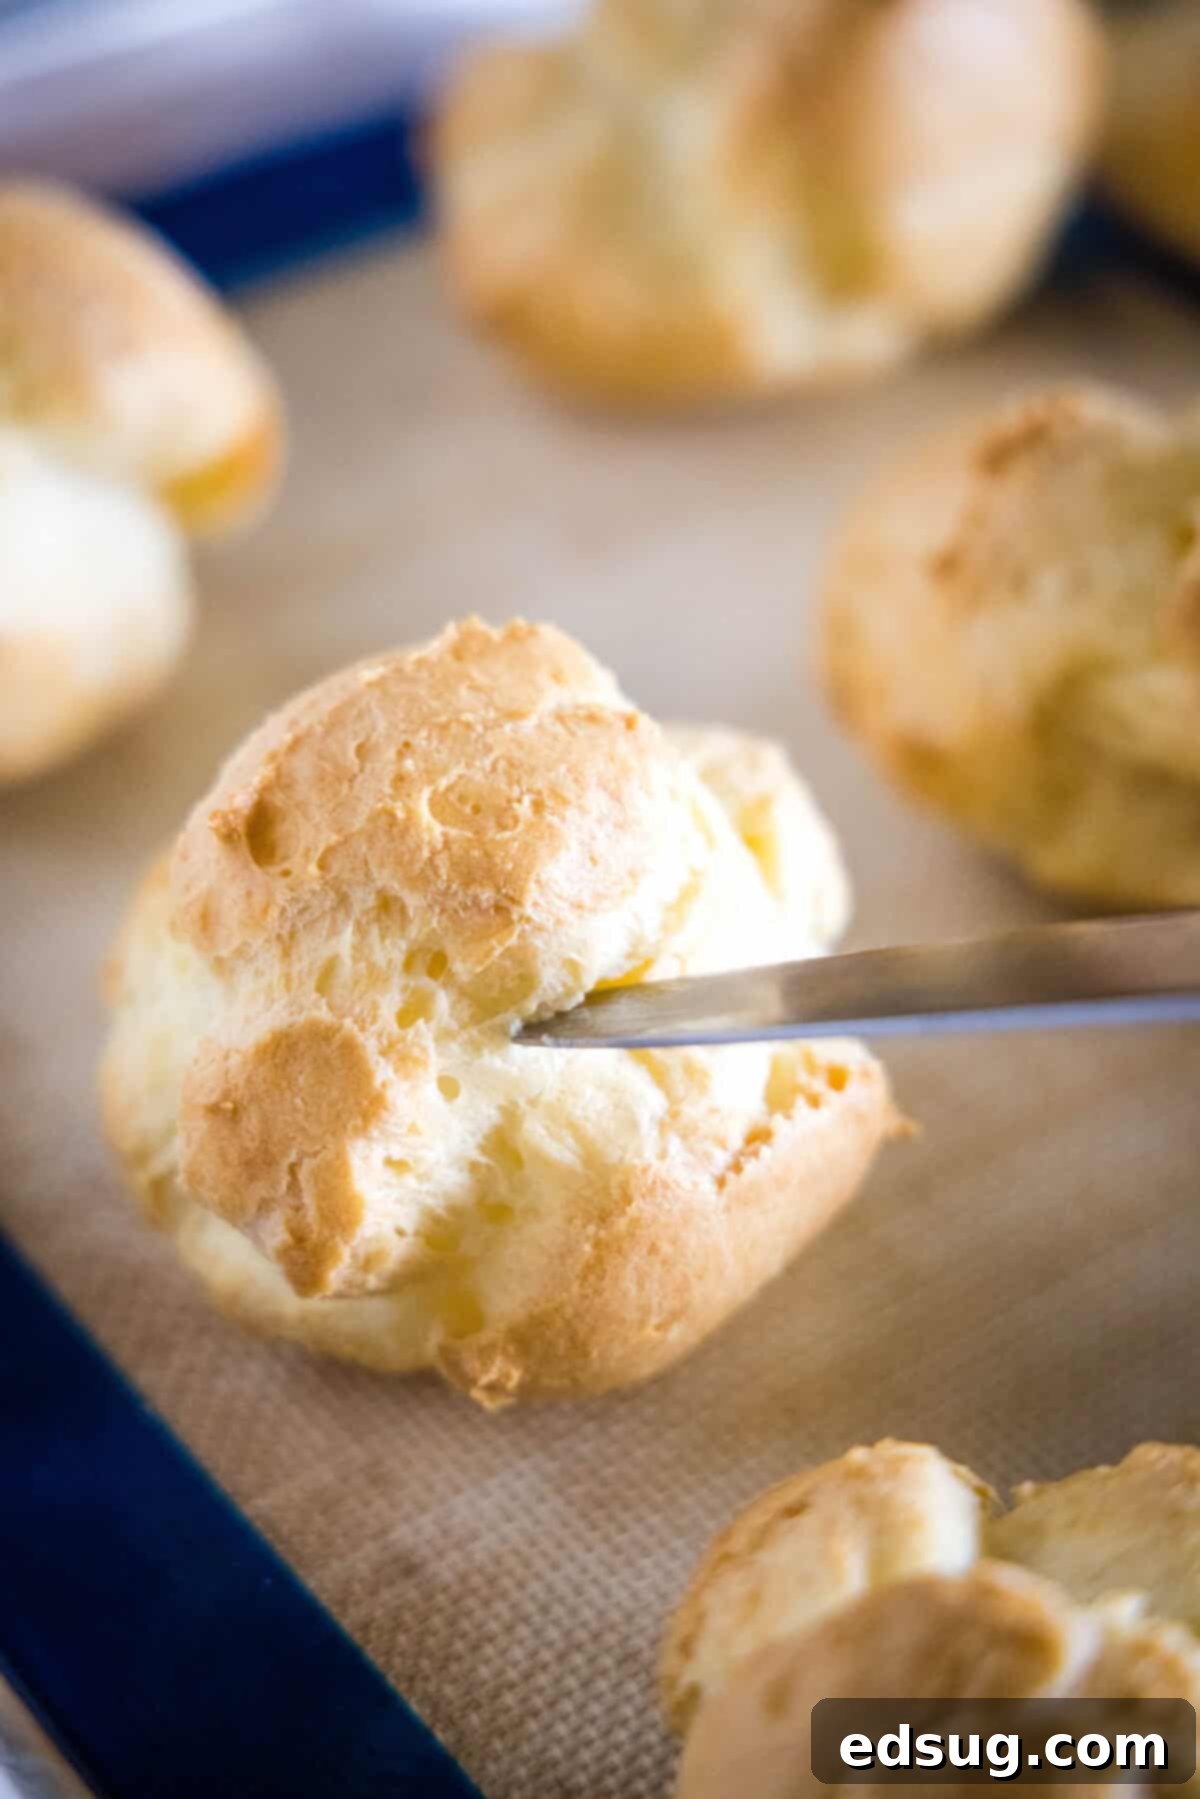
- Gradual Cooling for Crispness. Once baked, remove the cream puffs from the oven. Immediately and gently pierce the side of each puff with a small knife or skewer. This allows trapped steam to escape, which is vital for preventing the pastry from becoming soggy and ensuring a crisp exterior. Return the pierced cream puffs to the oven, turn the oven off, and leave the door cracked open for about 20 minutes. This gradual cooling and drying process helps to set their shape and maintain crispness. Finally, remove them completely from the oven and allow them to cool fully on a wire rack before filling.
How to Fill a Cream Puff: The Delicious Finale
Once your beautifully baked cream puff shells are completely cooled to room temperature – this is essential to prevent your filling from melting – it’s time for the delicious step of preparing and adding the whipped cream filling:
- Prepare the Perfect Whipped Cream. For the best, most stable whipped cream, I highly recommend a simple trick: place the bowl of your stand mixer (or a large mixing bowl) and the whisk attachment into the freezer for 10-15 minutes before you begin. This ensures everything is thoroughly chilled. Once ready, add the cold heavy cream to the chilled bowl and whisk on medium-high speed until soft peaks begin to form. Then, gradually add the powdered sugar and a splash of vanilla extract. Continue beating until you achieve stiff peaks – the cream should hold its shape firmly.
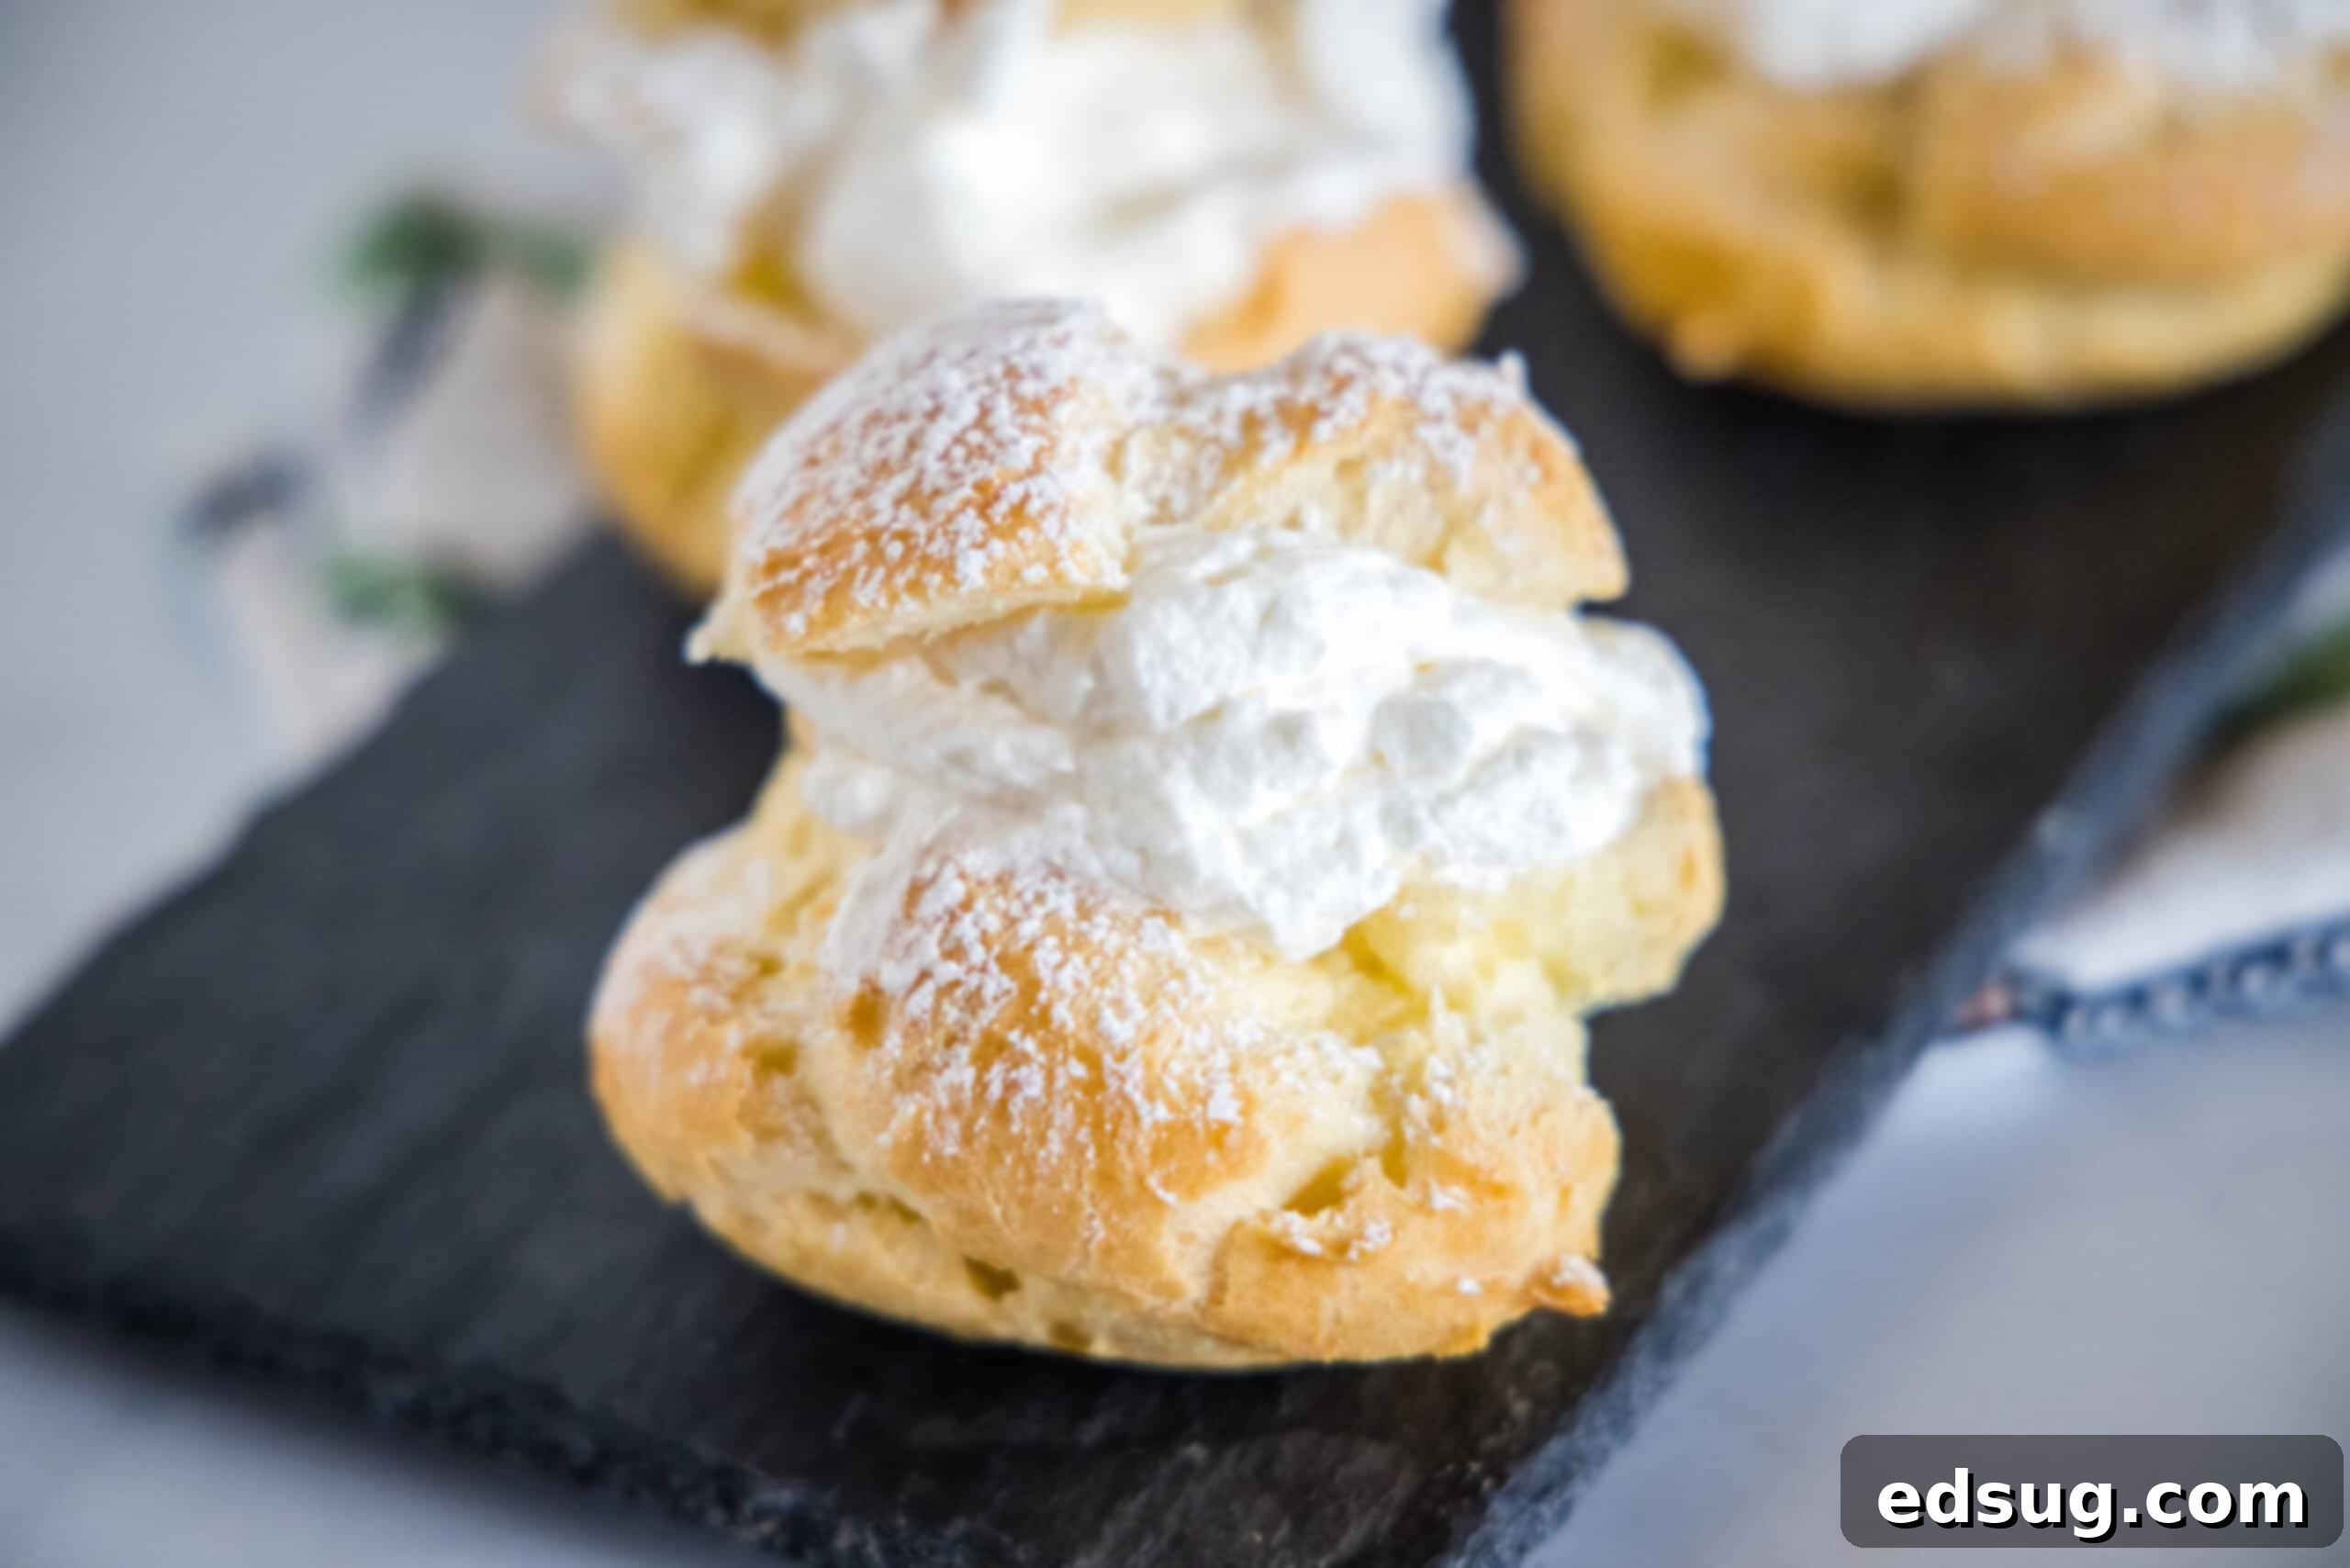
- Fill and Serve Your Cream Puffs. Using a serrated knife, carefully trim off the top third of each cooled cream puff. This creates a neat opening for your filling. Next, generously fill the puffs by either piping the whipped cream inside with a pastry bag (for a neater look) or spooning it in. Place the trimmed top back onto the filled puff like a hat. For that classic bakery finish, lightly dust the assembled cream puffs with additional powdered sugar just before serving. Enjoy your homemade masterpiece immediately!
Pro Tips for Flawless Cream Puffs
- Ensure Pastry Shells are Completely Cooled. This cannot be stressed enough! It is absolutely paramount to allow your baked cream puff shells to cool gradually in the oven (with the door cracked) and then completely to room temperature on a wire rack before you even think about adding the whipped cream or any other filling. If the shells are even slightly warm, the filling will melt, resulting in a soggy, disappointing mess. Patience is key here!
- Serve Promptly for Optimal Freshness. While cooling is crucial, these delicate pastries are truly at their absolute best when enjoyed fresh, ideally on the day they are made. The crispness of the choux pastry combined with the fresh, airy whipped cream is a fleeting perfection. So, once they’ve cooled and been filled, don’t wait too long to serve them to your eager guests!
- Adjust Baking Time for Smaller Puffs. If you decide to make miniature cream puffs (perfect for appetizers or a delicate tea party spread) by using smaller scoops or piping smaller dollops of dough, remember that you will need to significantly shorten the baking time. Keep a close eye on them, as smaller puffs will bake much faster and can burn easily.
- Never Underbake Your Choux Pastry. This is one of the most common pitfalls! Continuously monitor your puffs while they are in the oven, especially towards the end of the baking time. Cream puffs are properly baked when their surface appears dry, they are visibly puffed up, and have turned a beautiful, light golden-brown color. It’s absolutely critical to bake them long enough to develop a strong, stable shell. This robust structure is what prevents them from collapsing as they cool and ensures that satisfying crisp exterior. This is also why the post-baking drying time in the cracked oven is so important.
- Avoid Opening the Oven Door. During the initial baking phase (especially the first 20-25 minutes), resist the temptation to open the oven door. The internal steam is what makes the choux pastry puff up. Opening the door releases this steam, causing the delicate structure to deflate and the puffs to collapse.
- Use a Good Quality Baking Sheet and Parchment Paper. A light-colored baking sheet will help prevent the bottoms of your puffs from browning too quickly. Parchment paper is essential for preventing sticking and for easy cleanup.
Can I Make These Cream Puffs in Advance?
Yes, you can absolutely prepare these delicious cream puffs in advance, but there’s a crucial caveat: choux pastry will always taste and feel its very best on the day it’s baked. The crispy exterior is at its prime shortly after cooling. If you absolutely need to get a head start, the optimal approach is to prepare and bake the pastry shells (the hollow cream puff shells) the day before. Store these unfilled shells properly, and then fill them with cream just before you are ready to serve. This strategy prevents the delicate pastry from becoming soggy overnight once exposed to the moisture from the whipped cream.
How to Store Homemade Cream Puffs
Proper storage is key to maintaining the quality of your homemade cream puffs, whether filled or unfilled:
- Refrigerate (Filled Puffs). Once filled with whipped cream, cream puffs must be stored in an airtight container in the refrigerator. They can typically be kept for a day or two. However, please note that the pastry will gradually lose its crispness and tend to soften or dry out a bit. They are definitely best enjoyed fresh.
- Freeze (Unfilled Shells). For longer storage, you can freeze the *unfilled* choux pastry shells. Once the shells are completely cool, place them in a single layer on a baking sheet and freeze until solid. Then, transfer them to an airtight freezer-safe container or a heavy-duty freezer bag. They can be stored in the freezer for about a month. When you’re ready to use them, you can recrisp them in a preheated oven (around 300°F/150°C) for 5-10 minutes, let them cool, and then fill. Again, while this is a convenient option, the pastry is always best when served freshly baked.
More Irresistible Pastry Recipes to Try
If you loved making these cream puffs, you’re sure to enjoy exploring more of my favorite pastry recipes:
- Decadent Chocolate Croissants
- Mouth-Watering Nutella Donuts
- Classic Apple Turnovers
- Rich Chocolate Cream Puffs

Cream Puffs
Ingredients
Cream Puffs Shells
- 1 cup water
- 1/2 cup unsalted butter
- 1 cup all-purpose flour
- 4 large eggs
Whipped Cream Filling
- 2 cups heavy cream
- 1/3 cup powdered sugar
- 1/2 teaspoon vanilla extract
Instructions
- Preheat oven to 400ºF (200ºC). Line a large baking sheet with parchment paper.
- In a medium saucepan, combine water and unsalted butter. Bring to a rolling boil over medium-high heat.
- Immediately reduce heat to low and stir in the all-purpose flour. Stir vigorously with a wooden spoon for 1 minute, or until the dough forms a smooth ball and pulls away cleanly from the sides of the pan. Remove from heat.
- Using a wooden spoon or a stand mixer with a paddle attachment, beat in the eggs one at a time. Continue beating until the mixture forms a smooth, glossy, and thick batter (it will resemble a thick cake batter).
- Drop 1/4 cup portions of dough (or use a large cookie scoop) onto the prepared baking sheet, spacing them about 3 inches apart to allow for expansion.
- Bake for 35-40 minutes, or until the puffs are golden brown, fully puffed, and appear dry on the surface. Avoid opening the oven door during the first 20-25 minutes.
- Remove the baked cream puffs from the oven. Gently pierce the side of each puff with a small knife to release steam. Return them to the oven, turn the oven off, and leave the door slightly ajar for 20 minutes to allow them to cool gradually and crisp up. After 20 minutes, remove them completely and transfer to a wire rack to cool fully to room temperature.
- While the puffs are cooling, prepare the whipped cream filling. Place a mixing bowl and whisk attachment in the freezer for 10-15 minutes. Add cold heavy cream to the chilled bowl and whisk until soft peaks form. Add powdered sugar and vanilla extract, then continue beating until stiff peaks are achieved.
- Once the cream puff shells are completely cool, use a serrated knife to carefully cut off the top third of each puff. Fill each puff generously with a scoop or piping of whipped cream. Place the top back on.
- Lightly dust the filled cream puffs with powdered sugar just before serving. Enjoy immediately!
Notes
- Recipe adapted from the Betty Crocker Cookbook.
Nutrition Information
Nutrition information is automatically calculated, so should only be used as an approximation.
Additional Recipe Details
I’ve created a fun and engaging group on Facebook, and I would absolutely love for you to join us! It’s a vibrant community where you can share YOUR favorite recipes, ask questions, get inspiration, and stay updated on what’s new at Dinners, Dishes and Desserts (so you never miss a delicious new recipe)!
Be sure to follow me on Instagram and tag #dinnersdishes so I can see all the wonderful DINNERS, DISHES, AND DESSERTS recipes YOU make and share your culinary successes!
Don’t miss out on any new posts – be sure to follow me on my social media channels:
Facebook | Twitter | Pinterest | Instagram
.
