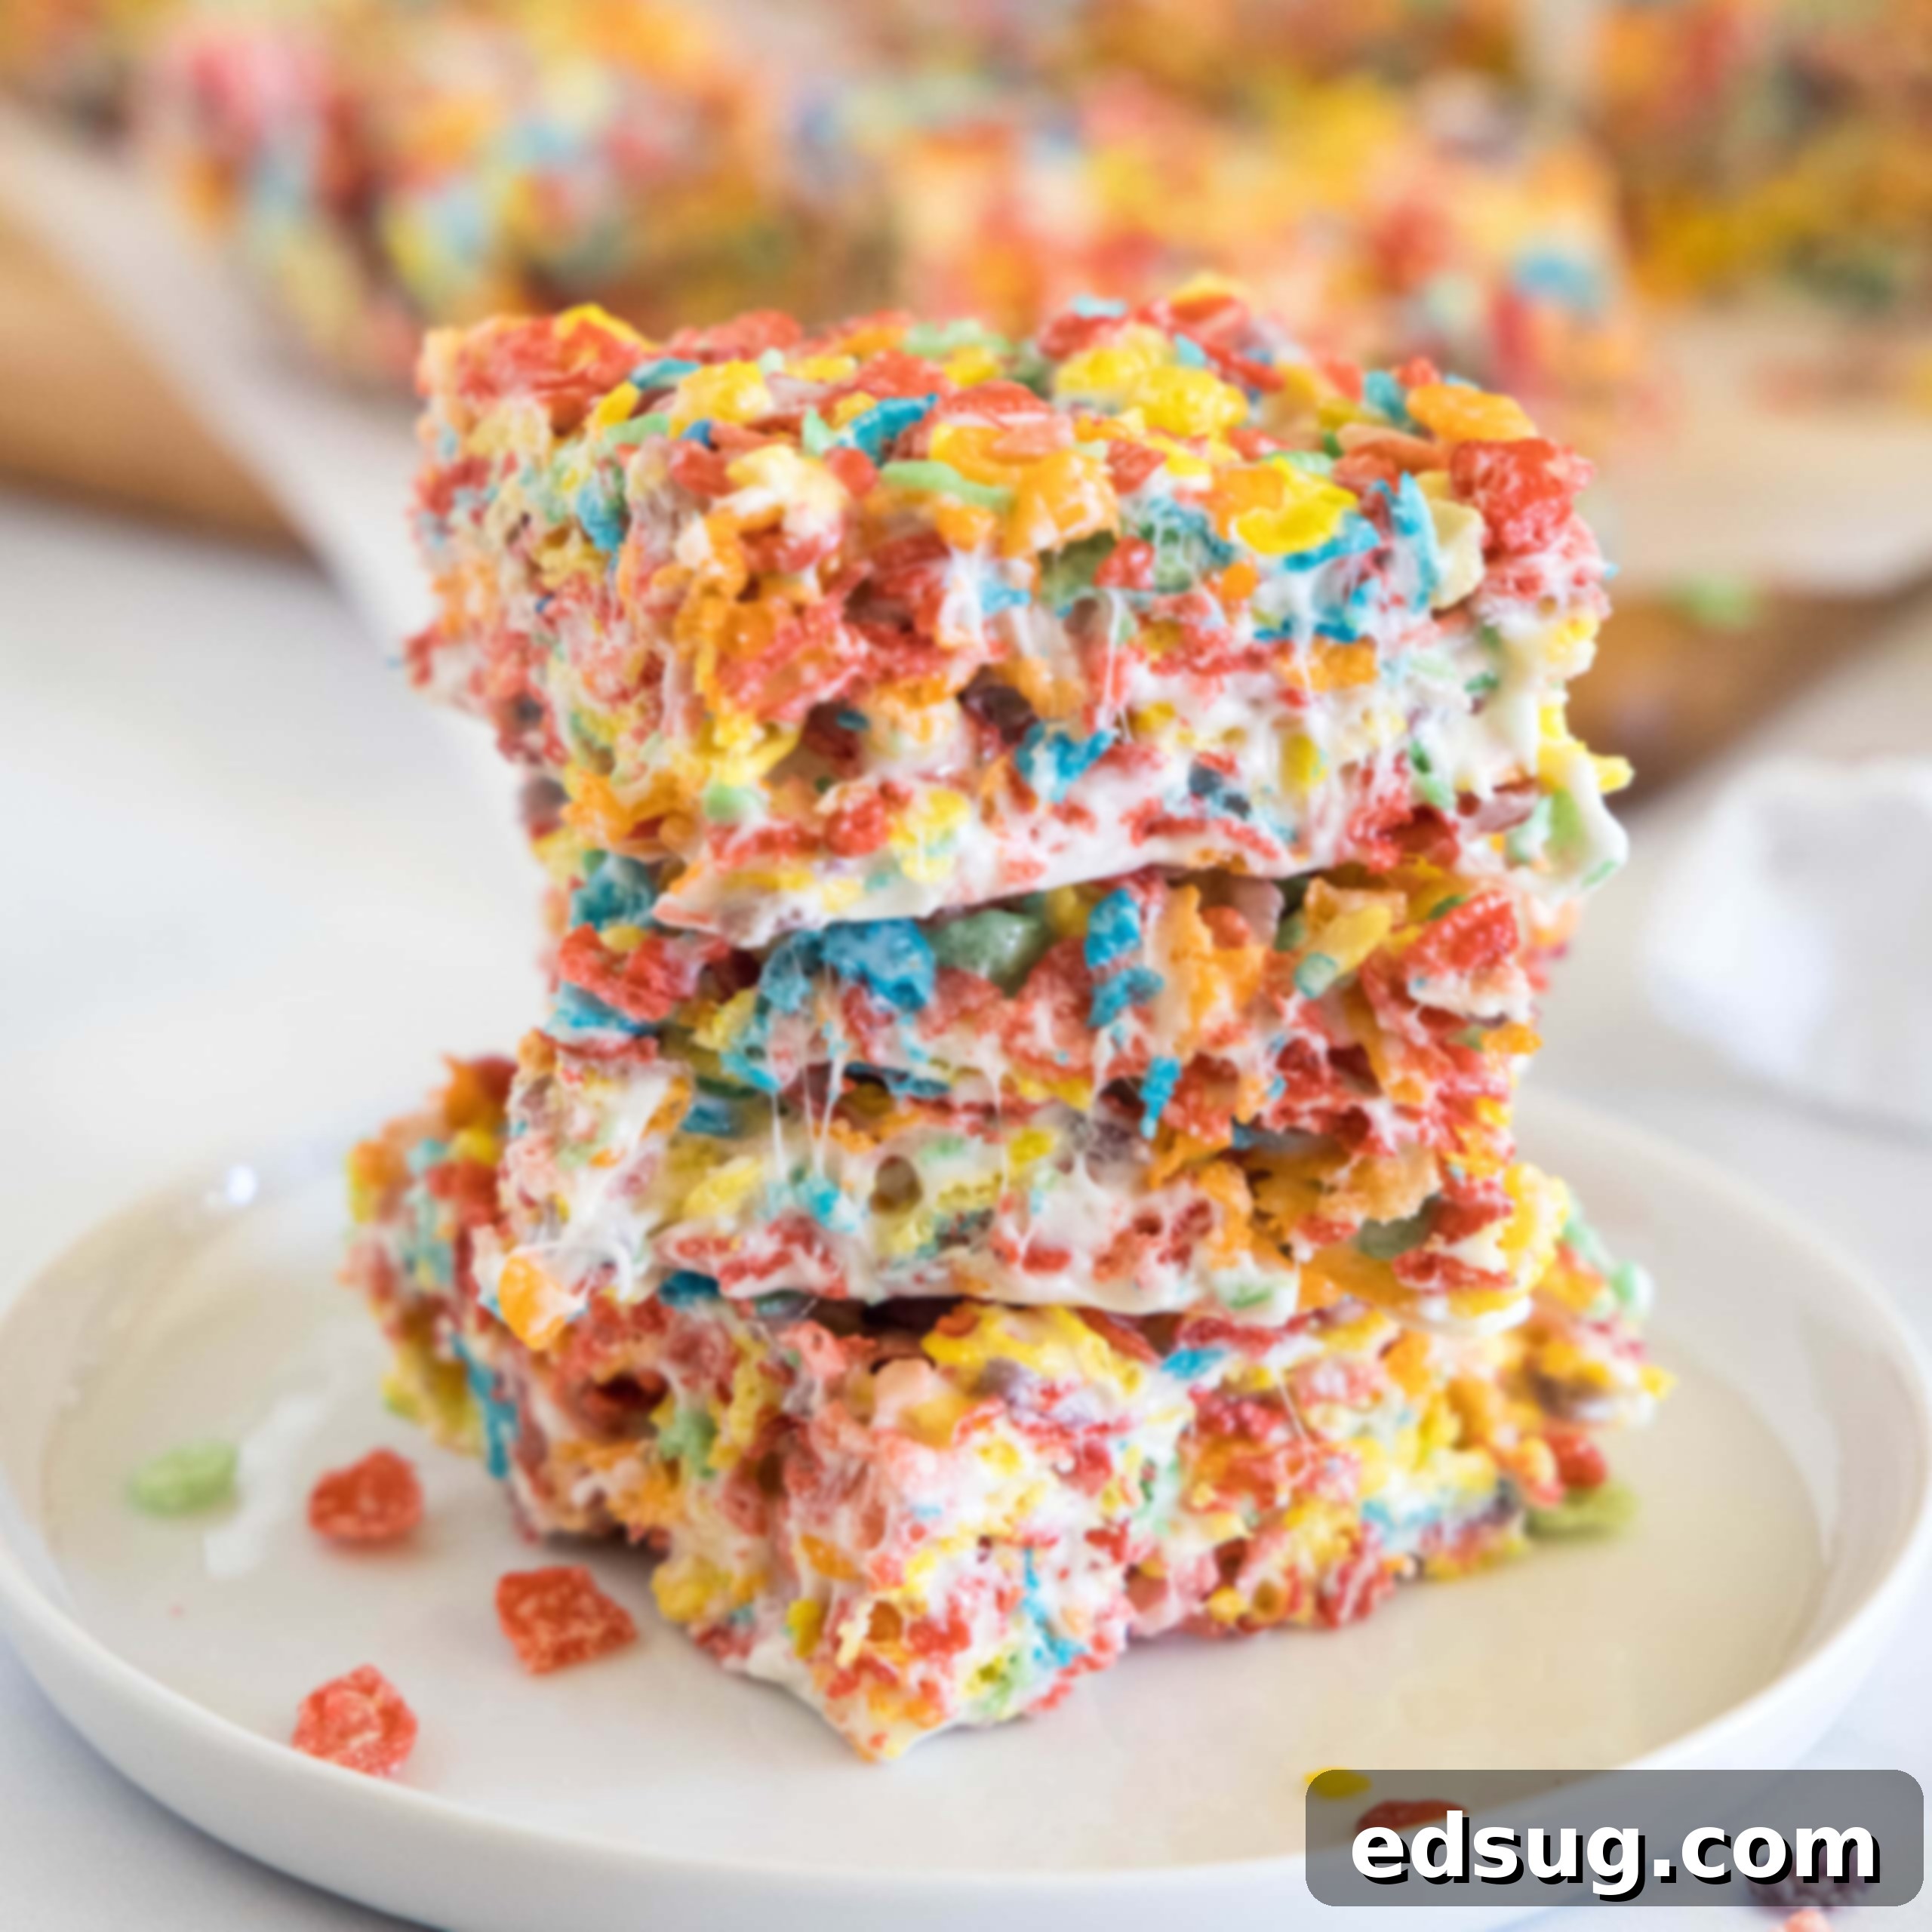
Easy 4-Ingredient Fruity Pebbles Bars: The Ultimate No-Bake Cereal Treat
Discover the delightful simplicity of creating homemade **Fruity Pebbles Bars** – a vibrant, sweet, and unbelievably delicious treat that requires just four ingredients. This recipe offers a fun, colorful twist on the classic marshmallow cereal bar, transforming your favorite childhood breakfast cereal into an irresistible dessert that both kids and adults will adore.
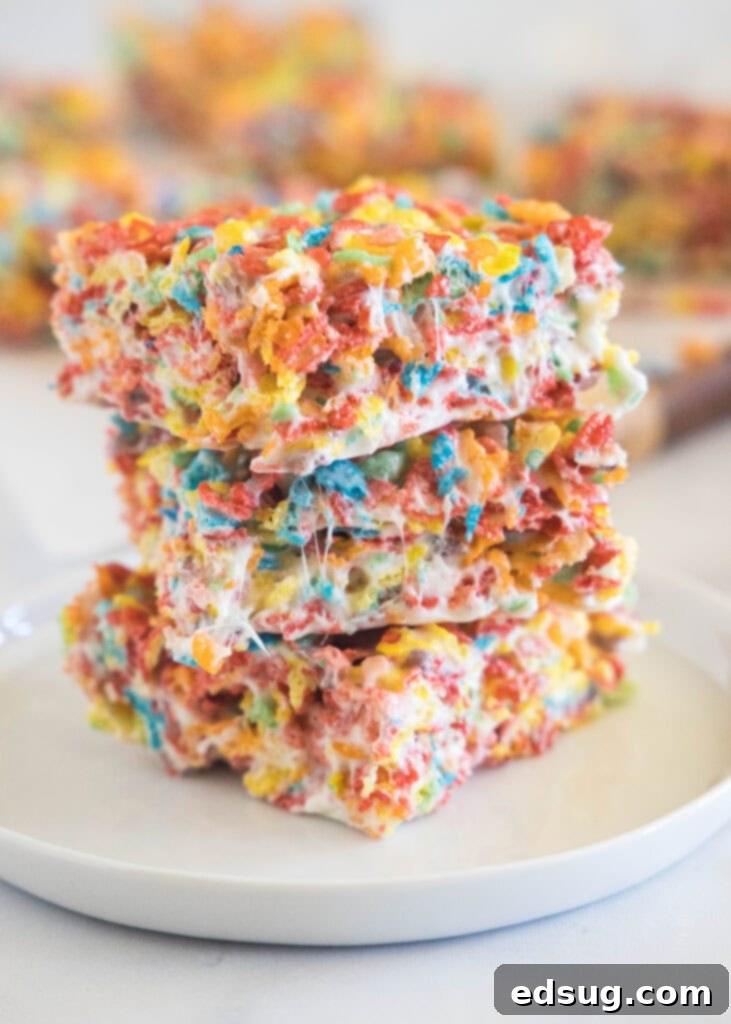
Do you remember that one special cereal from your childhood? For many, it was the bright, sugar-coated magic of Fruity Pebbles. While often a rare indulgence, its distinctive flavor and eye-catching colors left a lasting impression. Now, imagine that joyful cereal transformed into a gooey, chewy bar – that’s exactly what these Fruity Pebbles Treats deliver! Much like a Rice Krispie Treat, these bars harness the power of melted marshmallows and butter, but with the added zest and charm of Fruity Pebbles cereal. The result is a dessert that’s not only visually spectacular but also incredibly flavorful, guaranteed to vanish quickly at any gathering.
Why You’ll Adore These Fruity Pebbles Bars
These cereal bars aren’t just a treat; they’re an experience. Here’s why they’re sure to become a staple in your dessert repertoire:
- Unquestionably Fun: The vibrant, rainbow-like colors of Fruity Pebbles make these bars an instant hit. They bring a burst of cheer to any plate, making them perfect for birthday parties, school events, or simply brightening up an ordinary day. Both children and adults will be captivated by their playful appearance.
- Remarkably Easy: With only four readily available ingredients from any grocery store, this recipe simplifies dessert making. You won’t need any fancy equipment or advanced baking skills, making it a stress-free option for busy weeknights or impromptu cravings.
- Incredibly Fast: Forget long baking times! This no-bake recipe comes together in approximately 10 minutes of active preparation. The only waiting involved is for the bars to set, which makes them ideal when you need a quick, delicious dessert in a hurry.
- Truly Delicious: If you appreciate the soft, chewy, and gooey texture of classic Rice Krispie treats, prepare for a new level of indulgence. The unique fruity flavor of the cereal elevates these bars, creating an extra tasty, sweet, and slightly tangy experience that’s absolutely addictive.
Essential Ingredients for Your Fruity Pebbles Bars
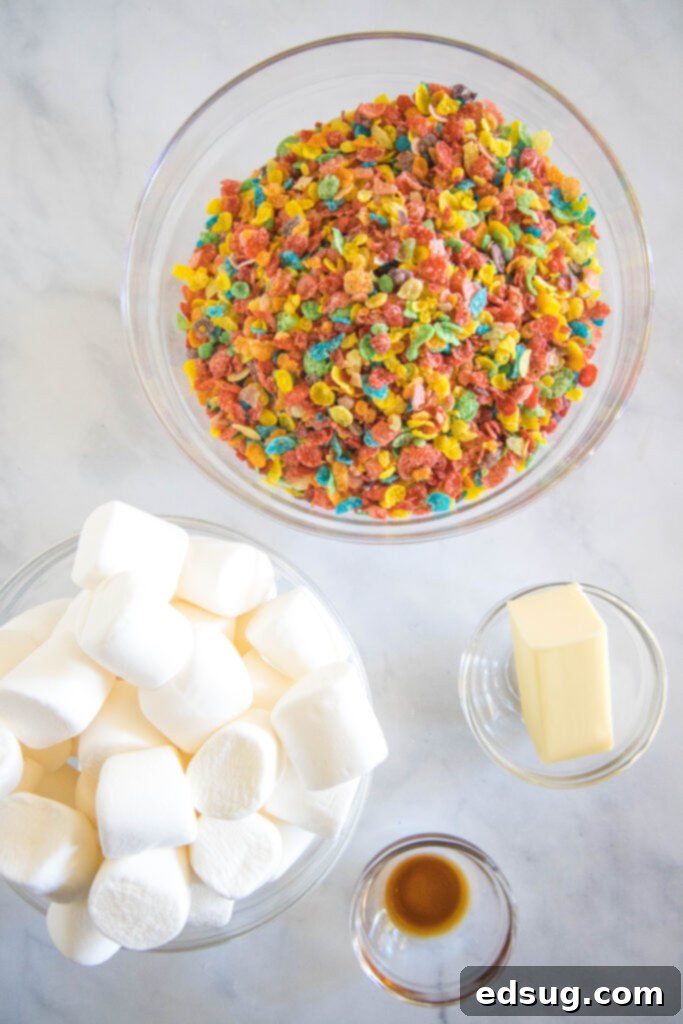
Simplicity is key with this recipe. You’ll only need a handful of basic ingredients to create these spectacular treats:
- Fruity Pebbles Cereal: The star of the show! Ensure it’s fresh for optimal crunch and flavor.
- Marshmallows: The binding agent that provides that irresistible gooey texture.
- Butter: Adds richness and helps the marshmallows melt smoothly.
- Vanilla Extract: A touch of vanilla enhances the overall sweetness and aroma, bringing out the best in the fruity flavors.
Crafting Your Delicious Fruity Pebbles Bars: A Step-by-Step Guide
Making these cereal bars is incredibly straightforward. Follow these simple steps for a perfect batch every time:
- Prepare Your Pan: Begin by lightly spraying a 13×9 inch baking dish with non-stick cooking spray. This crucial step ensures your bars won’t stick, making for easy removal and clean slices.
- Melt Marshmallows and Butter: In a large, microwave-safe mixing bowl, combine the marshmallows with cubed butter. Microwave on high for approximately 1 minute. Remove the bowl and stir the mixture vigorously until the butter is fully melted and the marshmallows are smooth and completely blended. If there are still lumps, return to the microwave for an additional 15-20 seconds, then stir again. For an alternative, you can melt these ingredients in a large pot over low heat on the stovetop, stirring constantly.
- Introduce Vanilla Extract: Once the marshmallow mixture is smooth, stir in the vanilla extract. Mix well until it is thoroughly incorporated, adding an extra layer of flavor to your treats.
- Combine with Cereal: Gently pour the Fruity Pebbles cereal into the marshmallow mixture. Using a spatula, fold and stir until every piece of cereal is evenly coated with the gooey marshmallow. Work quickly, as the mixture will start to cool and become less pliable.
- Press and Set: Transfer the coated cereal mixture into your prepared 13×9 inch pan. To press it down into an even layer without sticking, you have a couple of options: either spray your spatula with non-stick cooking spray, or slightly dampen your hands with water (shaking off any excess). Press firmly but gently, ensuring the bars are compact and level.
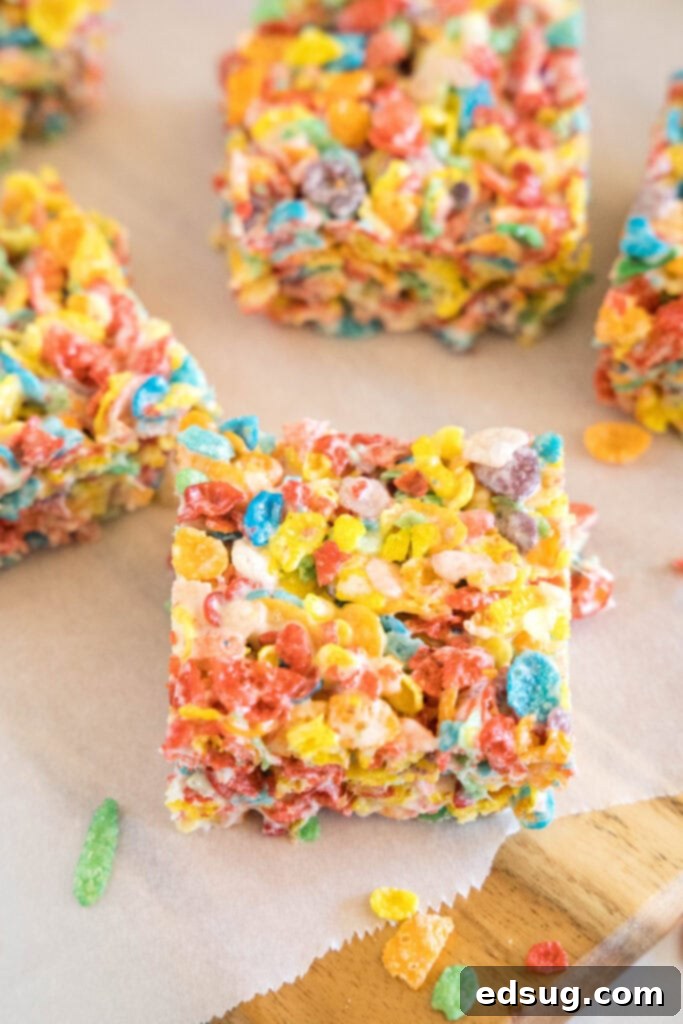
- Cool and Serve: Allow the Fruity Pebbles Bars to set up at room temperature for at least one hour. This waiting period is important to ensure they firm up properly, making them easy to slice and enjoy. Once firm, cut them into squares or rectangles and serve!
Pro Tips & Creative Variations for Perfect Fruity Pebbles Bars
Elevate your Fruity Pebbles Bars with these helpful tips and imaginative variations:
- Choosing Your Pan Size: While a 13×9 inch square pan yields a good balance of thickness, you can experiment with an 8 or 9-inch square pan for thicker bars, or even a larger baking sheet for thinner, crispier treats. Remember that thicker bars will require slightly longer to set.
- Marshmallow Matters: This recipe uses full-sized marshmallows, but mini marshmallows work just as well and melt faster. If using minis, you might reduce microwave time slightly or ensure your butter is cut into smaller cubes for even melting. For a truly authentic taste, opt for fresh marshmallows that are soft and pliable.
- The Fresh Cereal Advantage: It might seem obvious, but using fresh Fruity Pebbles cereal is paramount. Stale cereal will result in a less flavorful and crunchy bar, and no amount of sugar or marshmallow can truly mask a muted taste. A new box guarantees the best possible texture and vibrant fruity essence.
- Achieving an Even Layer: To prevent the sticky marshmallow mixture from adhering to your hands or spatula while pressing into the pan, spray your spatula generously with non-stick spray, or dampen your hands with a little water (shaking off any excess). Re-wet your hands or respray your spatula as needed. This technique ensures a smooth, even, and well-compacted bar.
- Don’t Rush the Cooling: Allowing your bars to cool and set for at least an hour at room temperature is crucial. This helps them firm up properly, making them easier to slice cleanly without crumbling or sticking.
- Flavor Boosters: Consider adding a pinch of salt to balance the sweetness, or a few drops of almond extract for a different aroma profile.
- Creative Toppings: Drizzle melted white chocolate or dark chocolate over the set bars for an extra layer of decadence. A sprinkle of additional Fruity Pebbles or rainbow sprinkles on top while the bars are still warm can add extra visual appeal and texture.
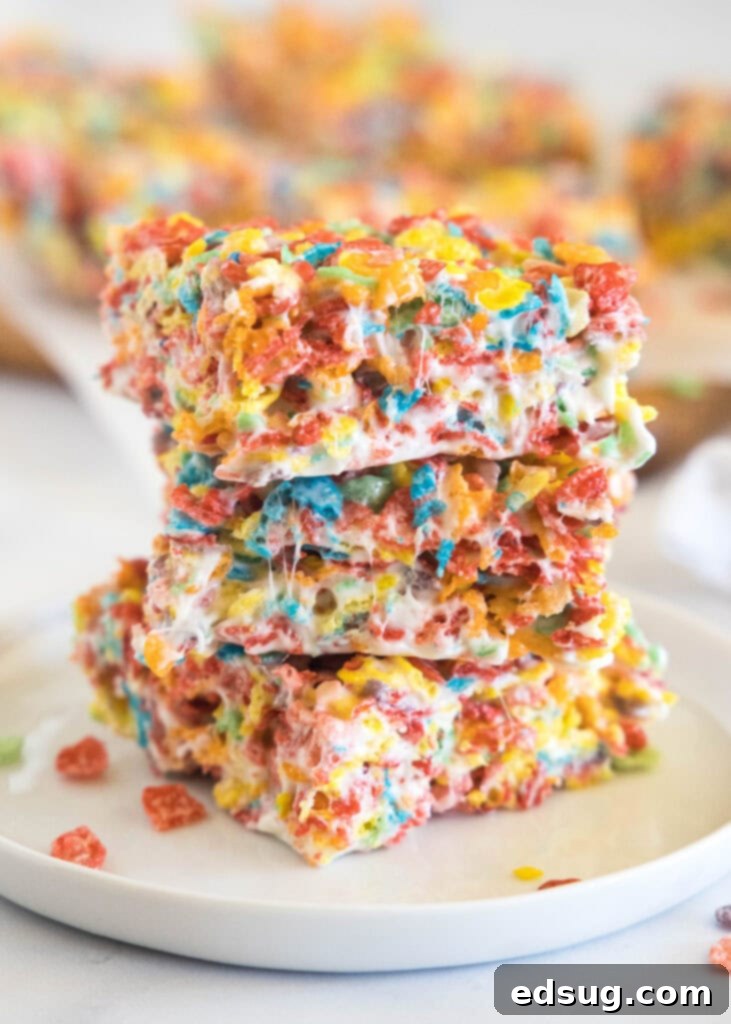
Storing Your Fruity Pebbles Bars for Maximum Freshness
Proper storage is essential to maintain the chewiness and flavor of your Fruity Pebbles Bars:
Once cooled and sliced, store the bars in an airtight container at room temperature. They will remain fresh and delicious for 3-4 days. While tempting, these bars are generally not recommended for freezing, as the texture of the marshmallows can become unpleasant upon thawing. However, you can certainly prepare them a day in advance and slice them just before serving to ensure ultimate freshness for your event.
If your bars are starting to lose their signature gooeyness, a quick fix is to pop one into the microwave for 5-10 seconds. This short burst of heat will gently soften the marshmallow, bringing back that delightful chewiness and extending their enjoyment just a tiny bit longer.
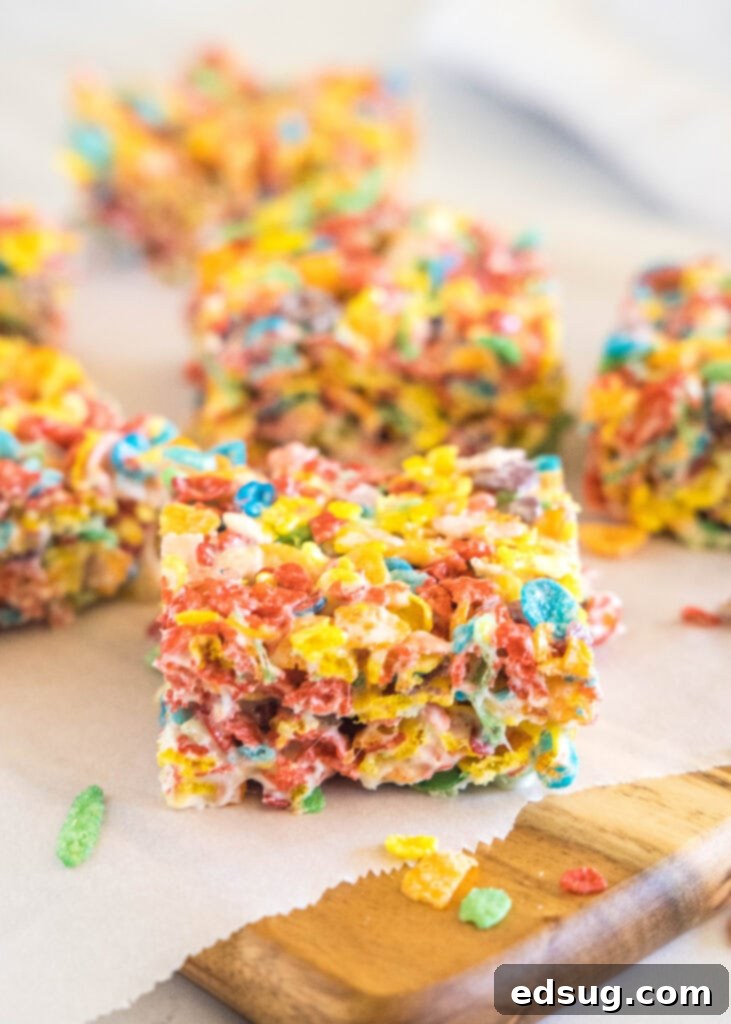
Frequently Asked Questions (FAQ) About Fruity Pebbles Bars
Here are some common questions you might have when making these delightful cereal treats:
- Can I use generic fruity cereal instead of Fruity Pebbles?
Absolutely! While Fruity Pebbles is the classic choice for its distinct flavor and vibrant colors, most fruity-flavored puffed rice cereals will work similarly. Just be aware that the taste and final color might vary slightly. - My bars are too sticky, what went wrong?
Stickiness can sometimes occur if there wasn’t quite enough cereal in proportion to the marshmallow mixture, or if the mixture wasn’t pressed firmly enough into the pan. Ensure you’re using the correct measurements and firmly compacting the bars. You can also lightly butter or spray your knife before slicing to help prevent sticking. - How can I make these bars less hard and more chewy?
Overcooking the marshmallows can make them hard. Melt them just until smooth, avoiding excessive heating. Also, ensure you use fresh marshmallows. If your bars turn out too hard, try reheating them briefly in the microwave as suggested in the storage section. - Are these Fruity Pebbles Bars gluten-free?
Fruity Pebbles cereal is generally gluten-free, but it’s always best to check the packaging of your specific brand of cereal and marshmallows to confirm they meet your dietary requirements, especially if gluten sensitivity is a concern. - Can I add chocolate chips or other mix-ins?
Certainly! Once the cereal is coated in marshmallow, you can fold in white chocolate chips, mini marshmallows, or even chopped nuts (if no allergies are present) before pressing the mixture into the pan. This adds another layer of flavor and texture.
More Easy No-Bake Dessert Recipes to Try
If you love the simplicity and deliciousness of these no-bake Fruity Pebbles Bars, you’ll definitely want to explore these other fantastic no-bake dessert options:
- Peanut Butter Footballs
- Watermelon Rice Krispie Treats
- Oreo Lasagna
- Brownie Batter Dip
- Puppy Chow Bars
- Biscoff Rice Krispie Treats
Fruity Pebbles Bars
Ingredients
- 6 Tablespoons butter, cut into cubes
- 12 oz marshmallows
- 1 teaspoon vanilla extract
- 6 cups Fruity Pebbles cereal
Instructions
- Spray a 13×9 inch baking dish with non-stick spray. Set aside.
- Add marshmallows and butter to a large mixing bowl and place in the microwave for 60 seconds. Remove and stir until completely melted. If necessary heat again for 20 seconds.6 Tablespoons butter, 12 oz marshmallows
- Add vanilla extract and mix until fully combined.1 teaspoon vanilla extract
- Pour in cereal, mix until the cereal is evenly coated.6 cups Fruity Pebbles cereal
- Press mixture into a sprayed 13×9 inch baking dish. Wet your hands (shake off any excess water) and press mixture evenly into the pan, or spray your spatula with non-stick spray.
- Let bars set up for at least an hour before slicing.
Nutrition
Nutrition information is automatically calculated, so should only be used as an approximation.
Additional Info
I created a fun group on Facebook,and I would love for you to join us! It’s a place where you can share YOUR favorite recipes, ask questions, and see what’s new at Dinners, Dishes and Desserts (so that you never miss a new recipe)!
Be sure to follow me on Instagram and tag #dinnersdishes so I can see all the wonderful DINNERS, DISHES, AND DESSERTS recipes YOU make!
Be sure to follow me on my social media, so you never miss a post!
Facebook | Twitter | Pinterest | Instagram
.
