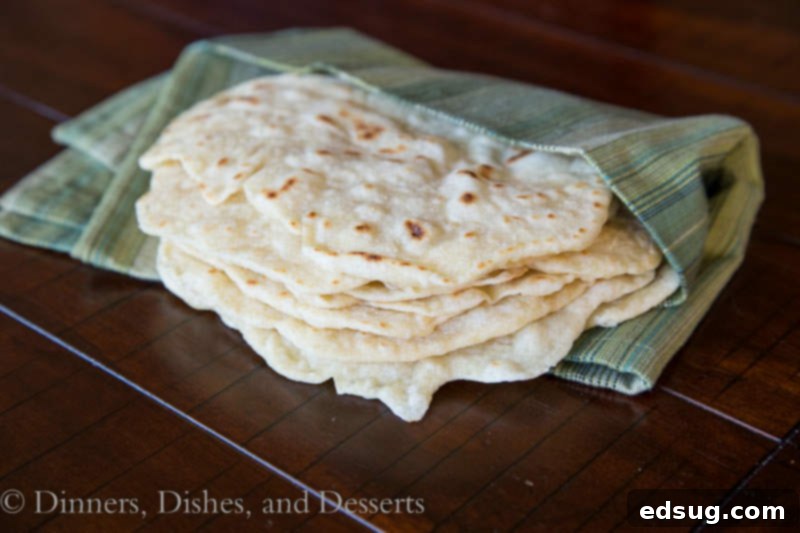
Mastering Homemade Flour Tortillas: Your Easy Guide to Soft, Fluffy Perfection
If you’re anything like me, your love for Mexican cuisine runs deep. Whether it’s the savory fillings of Chicken Tacos, the rich layers of Chicken Enchiladas, or simply the irresistible crunch of chips paired with vibrant salsa, Mexican food is a constant delight. And what’s at the heart of so many of these beloved dishes? The humble, yet essential, tortilla.
While both flour and homemade corn tortillas have their place, there’s something uniquely satisfying about a warm, fresh-from-the-griddle flour tortilla. Its soft, pliable texture and subtle flavor make it the perfect canvas for countless culinary creations. And guess what? Making them from scratch at home is far easier than you might imagine, requiring just a handful of basic ingredients and a little bit of love.
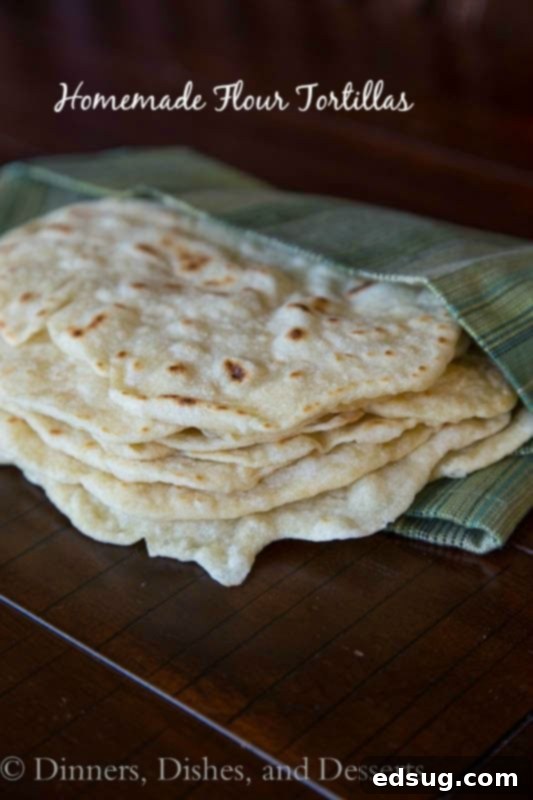
The Unbeatable Charm of Homemade Flour Tortillas
Forget those stiff, often flavorless store-bought options. Homemade flour tortillas offer a world of difference in taste and texture. They are incredibly soft, tender, and possess a subtle, comforting aroma that fills your kitchen as they cook. This simple recipe will guide you through creating fluffy, pliable tortillas that are perfect for holding all your favorite fillings without cracking or tearing.
The magic truly lies in the freshness. Imagine biting into a warm, soft tortilla, still slightly puffed from the heat, its delicate chewiness enhancing whatever you pair it with. This isn’t just about making a staple; it’s about elevating your entire meal experience from ordinary to extraordinary. Plus, you control every ingredient, ensuring a wholesome and delicious result every time.
Essential Ingredients for Perfect Flour Tortillas
One of the most appealing aspects of this recipe is its simplicity. You likely already have most, if not all, of these ingredients in your pantry. Let’s break down what each component brings to the table:
- All-Purpose Flour: This is the foundation of our tortillas. All-purpose flour contains just the right amount of gluten, which develops during kneading to give the tortillas their structure and chew. While you can experiment with other flours like bread flour for a chewier texture or whole wheat for a nuttier, denser result, all-purpose flour provides the classic soft and pliable tortilla.
- Salt: More than just a seasoning, salt enhances the overall flavor of your tortillas, ensuring they aren’t bland.
- Baking Powder: This is our secret weapon for fluffy tortillas! Baking powder reacts with the warm water and heat from the griddle to create small air pockets, resulting in that delightful soft, pillowy texture. Don’t skip it if you want truly fluffy tortillas.
- Canola Oil (or other fat): Fat is crucial for tenderness and flexibility. Canola oil, as specified in this recipe, works beautifully to keep the tortillas soft and prevent them from becoming stiff. Traditionally, lard is often used for an even richer flavor and exceptionally tender texture, but vegetable oils like canola or vegetable oil are excellent alternatives for a lighter, equally delicious outcome.
- Warm Water: The temperature of your water is more important than you might think. Warm water helps to activate the gluten in the flour and makes the dough much easier to work with, resulting in a smooth, pliable texture. Aim for water that is warm to the touch, but not scalding hot.
Step-by-Step Guide to Making Homemade Flour Tortillas
Ready to transform a few simple ingredients into culinary gold? Follow these detailed steps to create your very own batch of soft, tender flour tortillas:
- Combine Dry Ingredients: In a large mixing bowl, thoroughly whisk together the all-purpose flour, salt, and baking powder. This ensures all the dry ingredients are evenly distributed before you add any liquid.
- Add Fat and Water: Pour in the canola oil and slowly begin to mix in the warm water, using a sturdy wooden spoon or your hands. Continue stirring until the mixture comes together to form a sticky ball of dough. It will look a bit shaggy at first, but don’t worry.
- Knead the Dough: Turn the sticky ball of dough out onto a lightly floured surface. Knead the dough for approximately 2 minutes. The goal is to transform it from a sticky, uneven mass into a soft, smooth, and elastic ball. This kneading process develops the gluten, which is essential for the tortilla’s structure and pliability.
- Rest the Dough: This step is non-negotiable! Once your dough is smooth, wrap it tightly in plastic wrap or place it in a bowl covered with a damp cloth, and let it rest at room temperature for at least 20 minutes. Why rest? The gluten, which was tightened during kneading, needs time to relax. This relaxation makes the dough much easier to roll out thinly without it snapping back, ensuring soft and airy tortillas. (Unlike corn tortillas, which don’t have the same gluten structure, flour tortillas absolutely require this resting period.)
- Divide and Shape Portions: After resting, unwrap the dough and divide it into 16 equal portions. A kitchen scale can help ensure evenness, but eyeballing it is perfectly fine. Roll each portion into a small ball. Once again, cover these dough balls with plastic wrap or a damp towel for another 10 minutes. This second rest allows the smaller portions of gluten to relax further, making them even easier to roll.
- Roll Out the Tortillas: Lightly flour your work surface and rolling pin. Take one dough ball at a time (keeping the others covered to prevent drying) and flatten it slightly with your hand. Using a rolling pin, roll the dough out evenly into a thin circle, approximately 6 to 7 inches in diameter. Aim for a consistent thickness. If the dough springs back, let it rest for another minute or two before continuing. If you have a tortilla press, you can use it, but a rolling pin works just as well with a little practice!
- Cook the Tortillas: Heat a cast-iron skillet or a griddle over medium-high heat. You want it hot enough to cook quickly but not so hot that it burns the tortillas. Place one rolled tortilla onto the hot pan (no oil needed for the pan itself). Cook for about 1 minute on the first side, or until you see bubbles forming on the surface and light golden-brown spots appear on the underside. Flip the tortilla and cook for another 30 seconds to 1 minute on the second side, until it’s lightly browned and cooked through.
- Serve Warm: As each tortilla finishes cooking, immediately transfer it to a plate lined with a clean kitchen towel. Fold the towel over the tortillas to keep them warm and soft. This steaming process helps them retain their pliability. These tortillas are truly best served warm, right off the griddle!
Tips for Achieving the Best Homemade Tortillas
While the process is straightforward, a few key tips can elevate your homemade tortilla game:
- Don’t Over-Flour: Use just enough flour on your surface and rolling pin to prevent sticking. Too much extra flour can make your tortillas dry and stiff.
- Keep Dough Covered: Always keep any dough you’re not actively working with covered with plastic wrap or a damp cloth. This prevents the dough from drying out and forming a crust, which can make it hard to roll and result in tough tortillas.
- Consistent Heat is Key: Ensure your griddle or skillet maintains a consistent medium-high heat. If it’s too low, the tortillas will dry out before cooking through. If it’s too high, they’ll burn before developing that soft texture.
- Stack Immediately: As mentioned, stacking cooked tortillas in a towel right away is crucial. The residual heat creates steam, keeping them wonderfully soft and pliable.
- Practice Makes Perfect: Don’t get discouraged if your first few aren’t perfectly round. The taste will still be incredible! With a little practice, your rolling technique will improve.
Creative Ways to Enjoy Your Fresh Tortillas
Beyond being the perfect vessel for Chicken Tacos, these fresh, warm flour tortillas are incredibly versatile. Their simple flavor makes them suitable for a wide array of dishes:
- Classic Tacos: Fill them with your favorite proteins like seasoned ground beef, shredded chicken, or fish, along with fresh toppings.
- Burritos and Wraps: Larger tortillas are ideal for wrapping up hearty fillings like beans, rice, and meats for a satisfying meal.
- Quesadillas: Sandwich cheese and other fillings between two tortillas and cook until golden and melty.
- Enchiladas: Roll them around fillings and smother them in sauce and cheese, then bake until bubbly.
- Breakfast Delights: Use them for breakfast burritos packed with eggs, sausage, and cheese, or simply spread with butter and a sprinkle of cinnamon sugar for a sweet treat.
- Simple Snack: You can even tear them into pieces and dip them in salsa, guacamole, or simply enjoy them plain. There is just something about fresh warm tortillas that can’t be beat!
This flour tortilla recipe is so simple to make, requiring just 5 ingredients and a few minutes of active work. They will truly outperform any store-bought tortilla you can find, both in flavor and texture. Plus, you can easily make a huge batch of them and store for later, ensuring you always have delicious, homemade tortillas on hand.
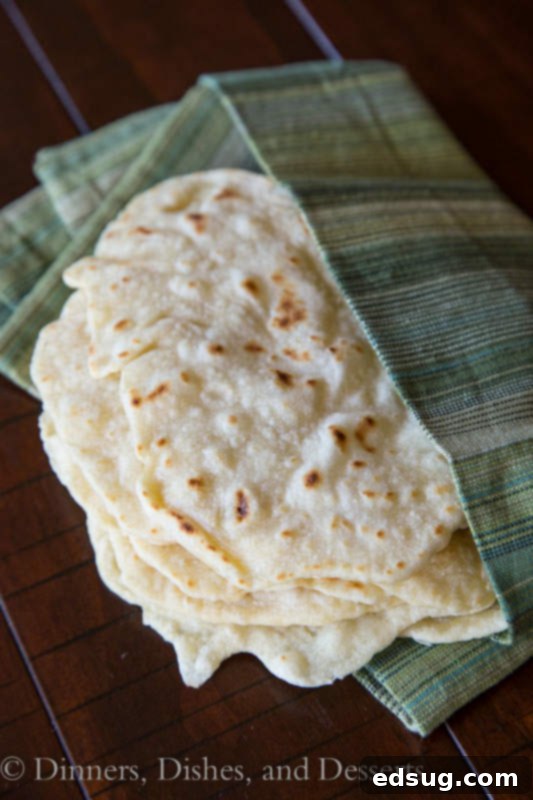
Storing and Freezing Homemade Flour Tortillas
Having a stash of homemade tortillas ready to go is a game-changer for quick meals. Luckily, they store and freeze beautifully with a few simple techniques:
How to Store Flour Tortillas in the Fridge
Once your tortillas have completely cooled down to room temperature, stack them and place them into a large, resealable plastic bag or an airtight container. Expel as much air as possible before sealing. Stored this way, they will stay fresh in the refrigerator for about a week. When you’re ready to use them, you can quickly warm them in the microwave, on a dry skillet, or in a warm oven for a few minutes until soft and pliable again.
Can You Freeze Flour Tortillas? Absolutely!
Freezing is an excellent option for longer storage. To prevent them from sticking together in a solid block, you’ll want to place a piece of parchment paper or plastic wrap between each tortilla before stacking them. Once stacked, wrap the entire stack tightly in aluminum foil, then place it into a freezer-safe bag or container. This double layer of protection helps prevent freezer burn. They can be stored in the freezer for up to 2-3 months.
To thaw, simply take out however many tortillas you need. You can let them thaw on the kitchen counter for about 20-30 minutes, or gently warm them from frozen on a low-heat skillet or in the microwave for a very short duration. Once thawed and reheated, they will be just as soft and tender as freshly made!
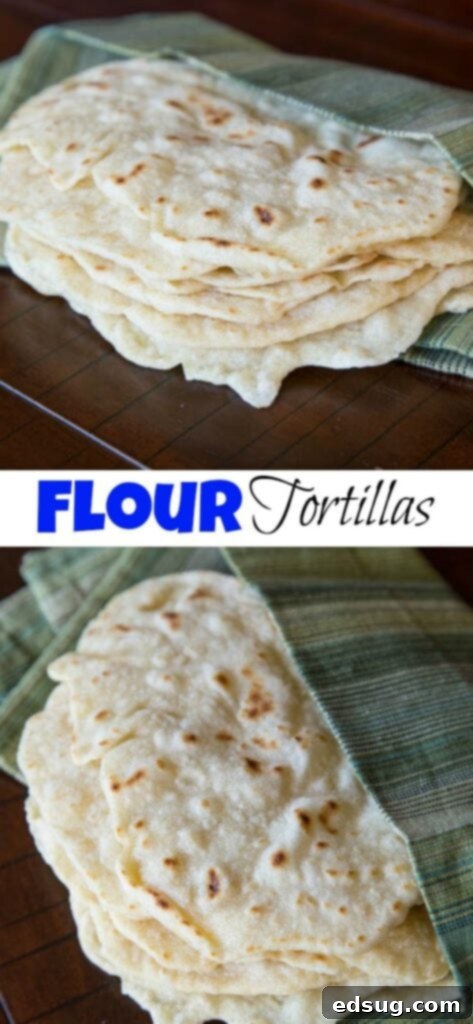
Frequently Asked Questions (FAQ) About Homemade Flour Tortillas
Why are my homemade flour tortillas tough or stiff?
Several factors can contribute to tough tortillas: overcooking them on the griddle (they should be pliable, not crispy), not letting the dough rest long enough (which tightens the gluten), or using too much flour during kneading and rolling. Ensure you cook them just until golden spots appear and they puff up, and always allow adequate resting time for the dough.
Can I use a stand mixer to make the dough?
Yes, absolutely! A stand mixer with a dough hook attachment can make the process even easier. Combine the dry ingredients, then slowly add the oil and warm water while the mixer is on low speed. Once a shaggy dough forms, increase the speed to medium-low and knead for about 2-3 minutes until the dough is smooth and elastic, then proceed with the resting steps.
What if my dough is too sticky or too dry?
Dough consistency can vary slightly depending on humidity and how accurately ingredients are measured. If your dough is too sticky after kneading, add a tiny bit more flour (1 tablespoon at a time) and continue kneading until it’s manageable but still soft. If it’s too dry and crumbly, add a very small amount of warm water (1 teaspoon at a time) until it comes together. Always aim for a soft, slightly tacky, but not overly sticky dough.
How do I make my tortillas perfectly round?
Achieving perfectly round tortillas takes practice! Start by shaping your dough ball into as round a shape as possible. When rolling, rotate the dough a quarter turn after each roll, focusing your pressure from the center outwards. You can also use a large, round cookie cutter or a bowl as a guide to trim them, though this creates scraps.
Can I make these tortillas with whole wheat flour?
Yes, you can substitute some or all of the all-purpose flour with whole wheat flour. Keep in mind that whole wheat flour absorbs more liquid, so you might need to add a little more warm water to achieve the right dough consistency. Whole wheat tortillas will also have a denser texture and nuttier flavor.
I created a fun group on Facebook, and I would love for you to join us! It’s a place where you can share YOUR favorite recipes, ask questions, and see what’s new at Dinners, Dishes and Desserts (so that you never miss a new recipe)! If you’d like to check it out, you can request to join HERE.
Be sure to follow me on Instagram and tag #dinnersdishes so I can see all the wonderful DINNERS, DISHES, AND DESSERTS recipes YOU make!
Connect with Dinners, Dishes, and Desserts!
Be sure to follow me on my social media, so you never miss a post!
Facebook | Twitter | Pinterest | Instagram
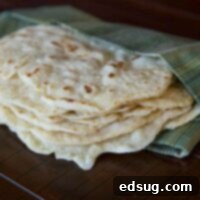
Homemade Flour Tortillas
Rate Recipe
Print Recipe
Ingredients
- ▢ 3 cups all-purpose flour
- ▢ 1 teaspoon salt
- ▢ 1 teaspoon baking powder
- ▢ 1/3 cup canola oil
- ▢ 1 cup warm water
Instructions
-
In a large bowl combine flour, salt, baking powder, and oil. Slowly add the water, mixing with a wooden spoon. Stir until it forms a sticky ball.
-
Turn the ball onto a floured surface, and knead for 2 minutes until a soft smooth dough has formed.
-
Wrap dough in plastic wrap, and let sit at room temperature for 20 minutes.
-
Divide dough into 16 equal portions. Roll each portion into a ball. Cover with plastic wrap for 10 minutes.
-
Flatten dough, and using a rolling pin or tortilla press to roll flat. They will be about 6 or 7 inches in diameter.
-
Heat a skillet or a griddle to medium high heat. Cook tortillas for about 1 minute on the first side, until it starts to bubble. Flip, and cook for about 1 more minute until golden brown.
-
Remove and serve. If not using right away, allow to cool completely before storing.
Notes
Nutrition
Nutrition information is automatically calculated, so should only be used as an approximation.
Additional Info
Like this recipe? Leave a comment below!
