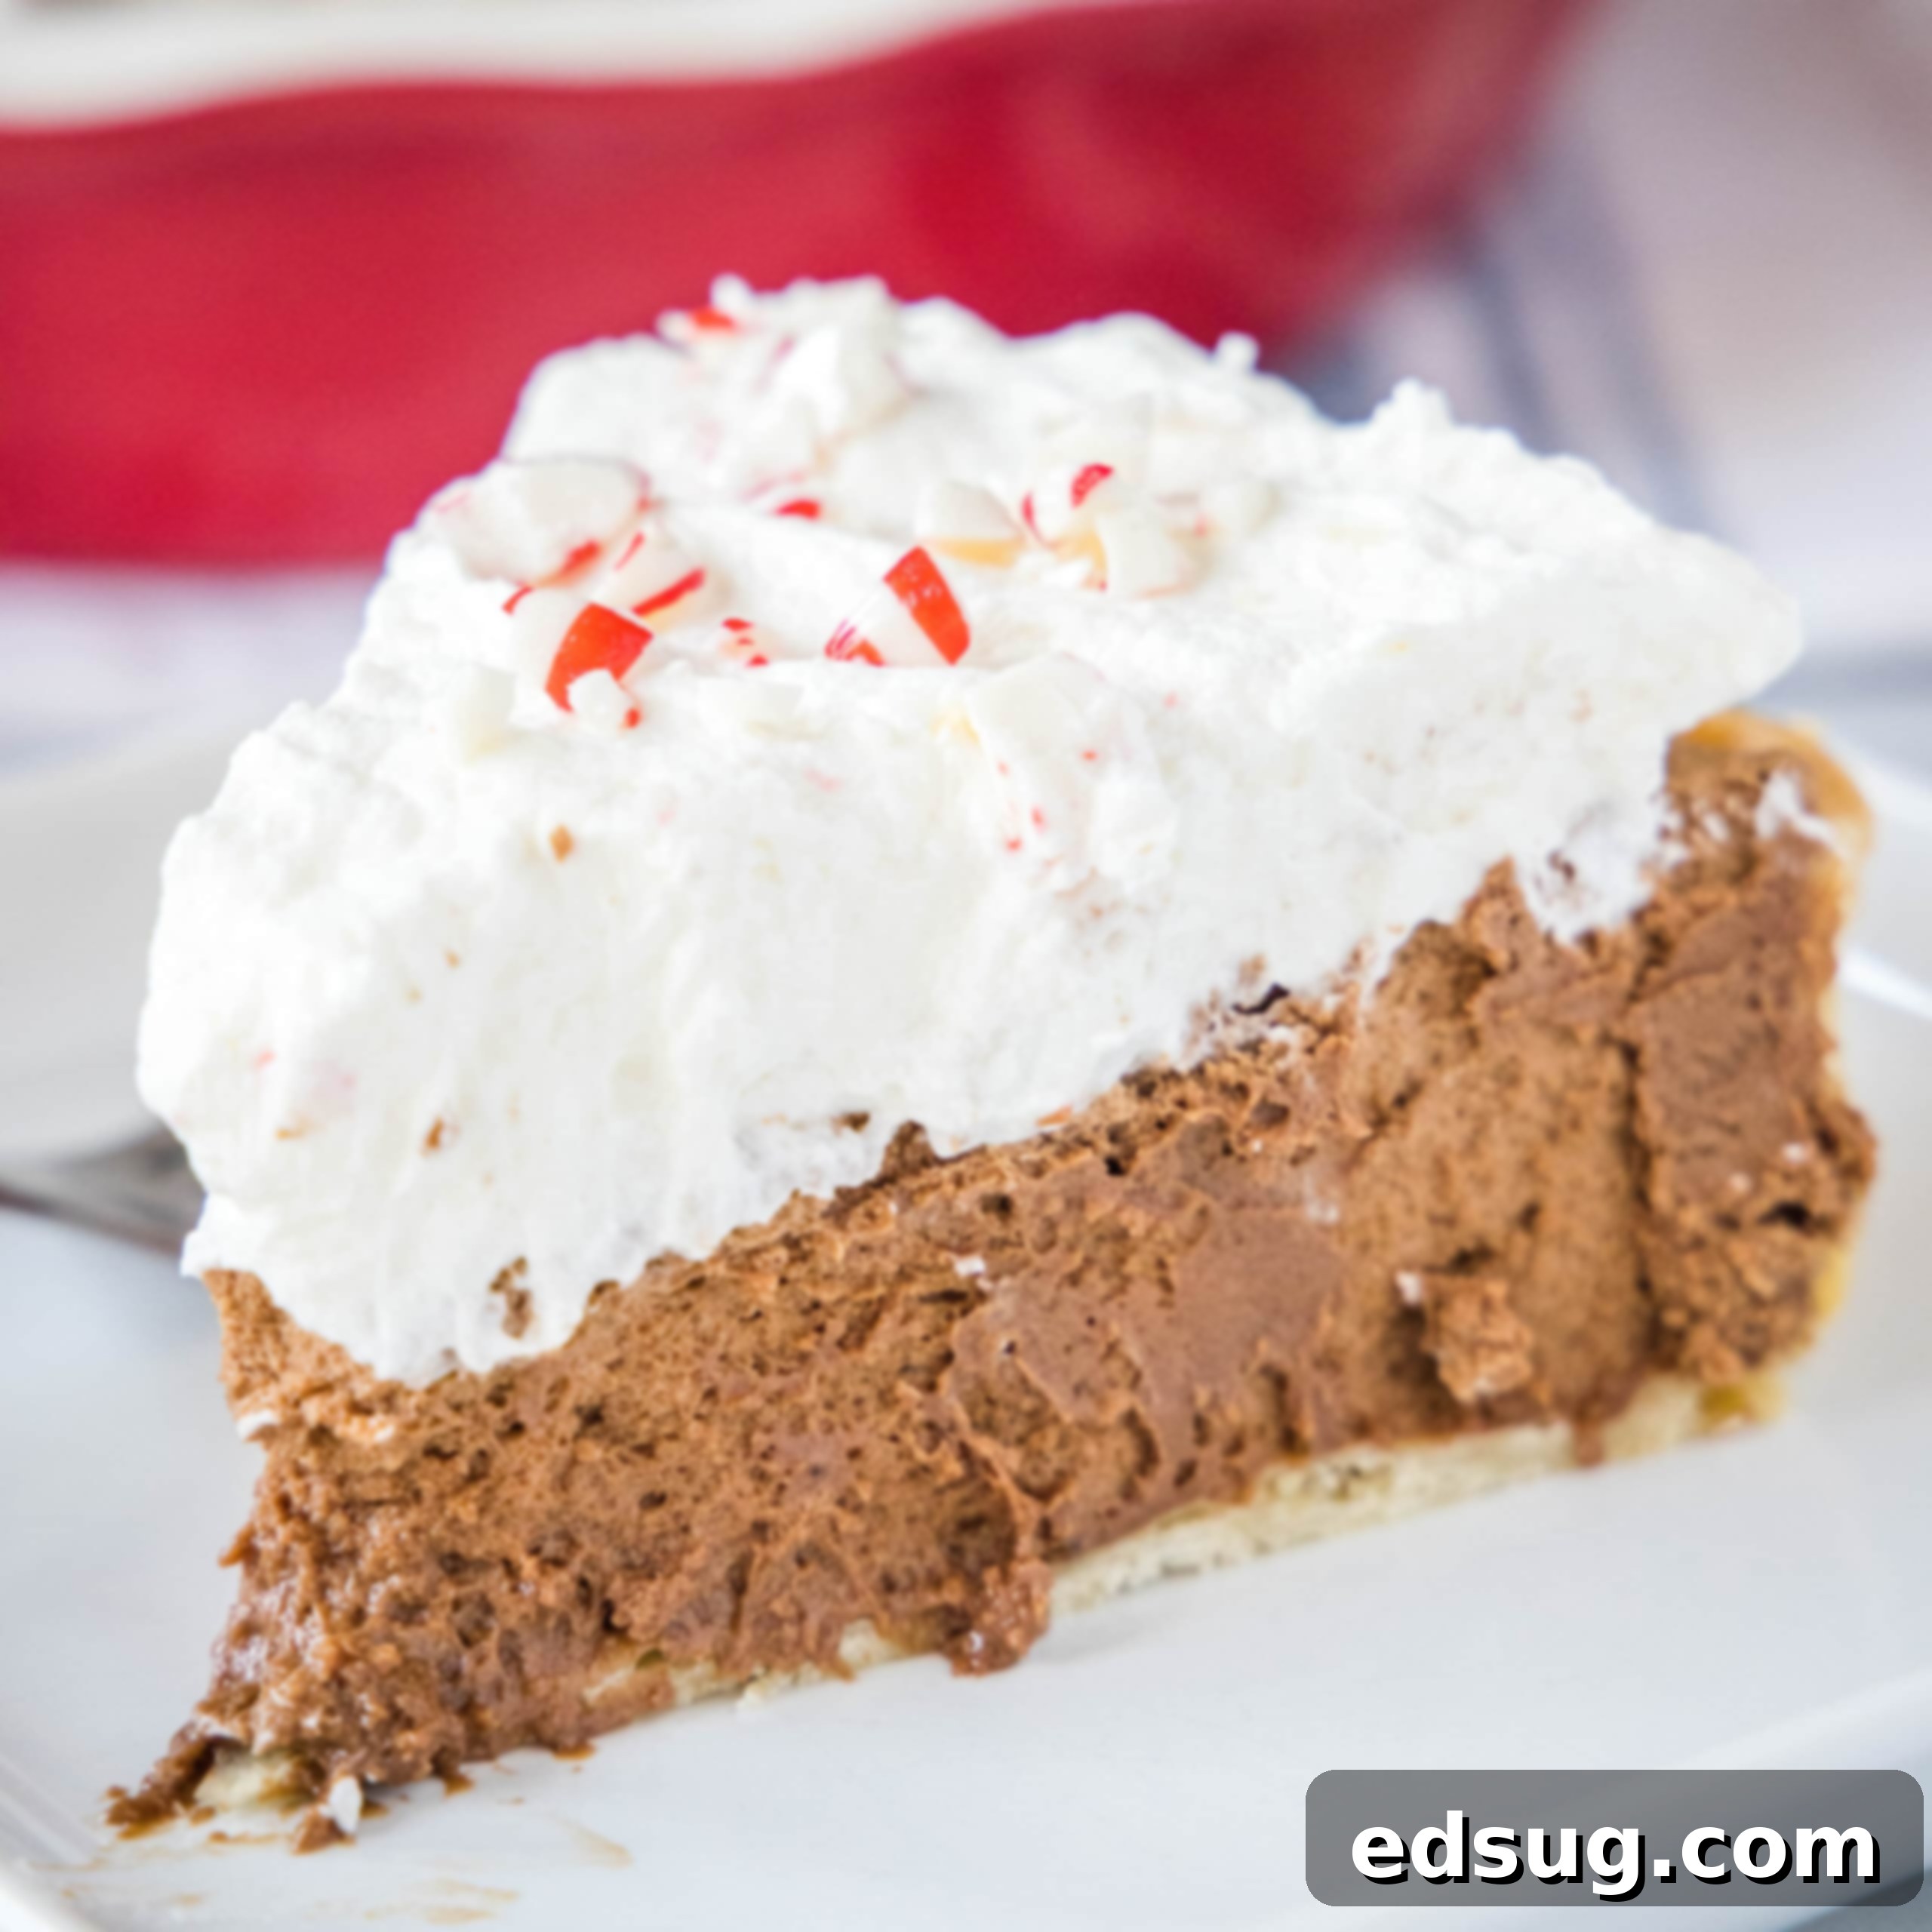
Decadent Peppermint French Silk Pie: Your Ultimate Guide to a Festive Holiday Dessert
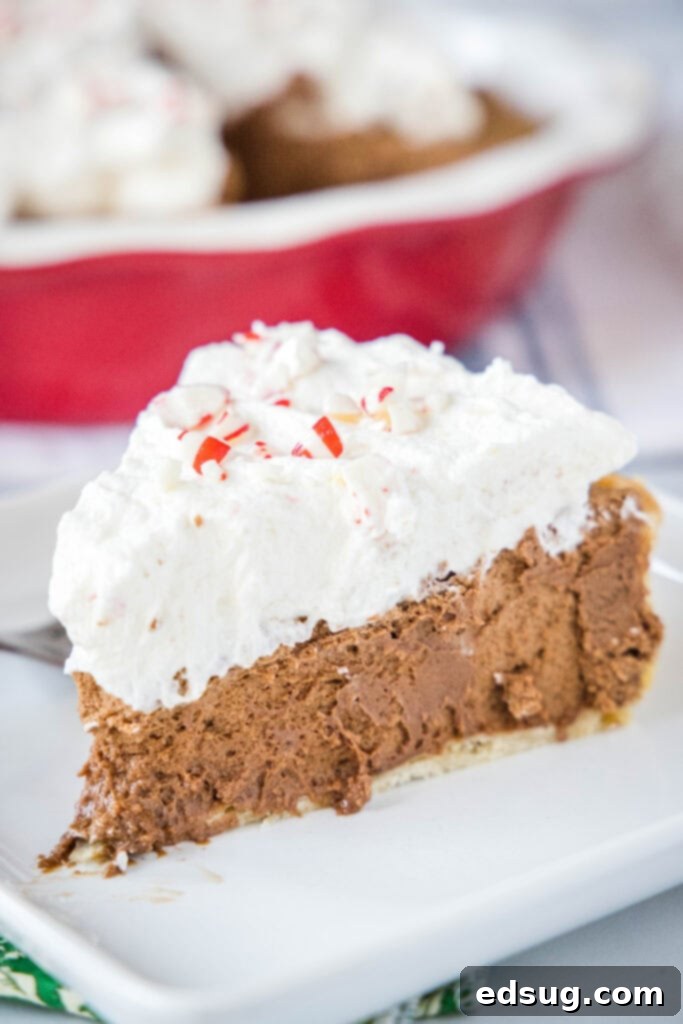
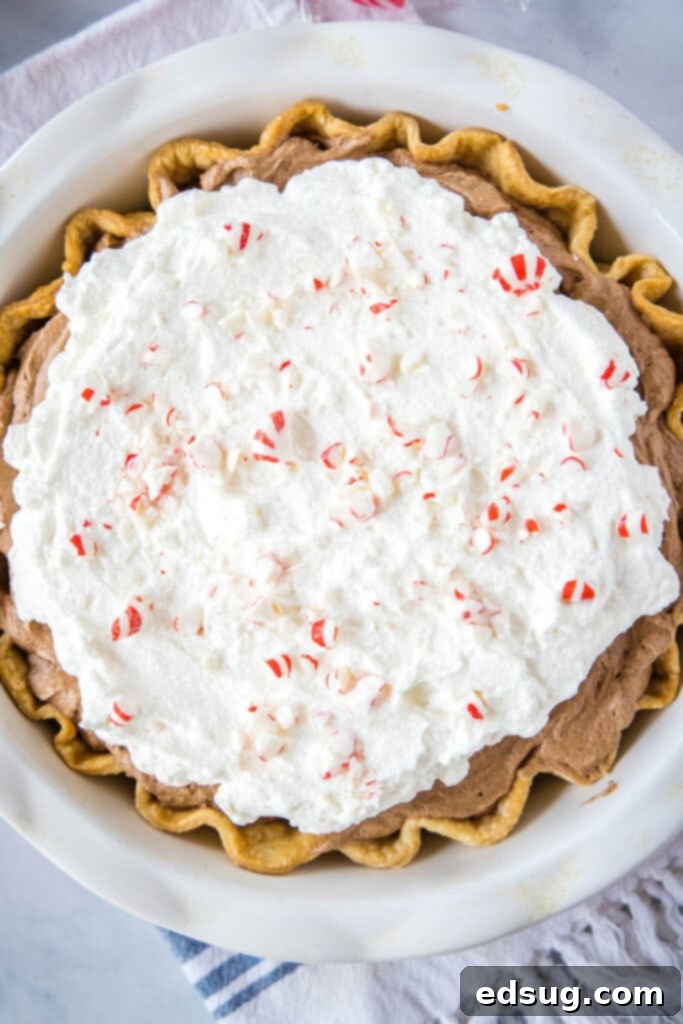
Prepare to elevate your holiday dessert table with a show-stopping creation: the **Peppermint French Silk Pie**. This isn’t just any pie; it’s a rich, incredibly decadent, and supremely chocolatey French Silk Pie infused with the invigorating essence of peppermint. Each silky smooth bite is a delightful fusion of deep chocolate and cool mint, making it the perfect festive treat. Crowned with a cloud of homemade whipped cream and sprinkled generously with crushed peppermint candy, this pie is not only a feast for the taste buds but also a beautiful centerpiece for any celebration.
For many, French Silk Pie holds a special place in their hearts. I grew up savoring slices of this classic from Baker’s Square in the Midwest, and it quickly became one of my all-time favorite pies. While those fond memories remain, discovering how to bake it at home transformed my appreciation entirely. A homemade French Silk Pie surpasses any store-bought version with its unparalleled richness, creaminess, and intensely satisfying chocolate flavor.
This particular recipe takes that beloved classic and gives it a delightful seasonal twist. By incorporating just a hint of peppermint extract, we transform the traditional chocolate indulgence into a vibrant, festive dessert that still retains all the luxurious qualities you know and adore. It’s the ideal way to bring a touch of holiday cheer to a timeless favorite, marrying the comforting familiarity of French Silk with the refreshing zest of peppermint.
The Irresistible Allure of Classic French Silk Pie
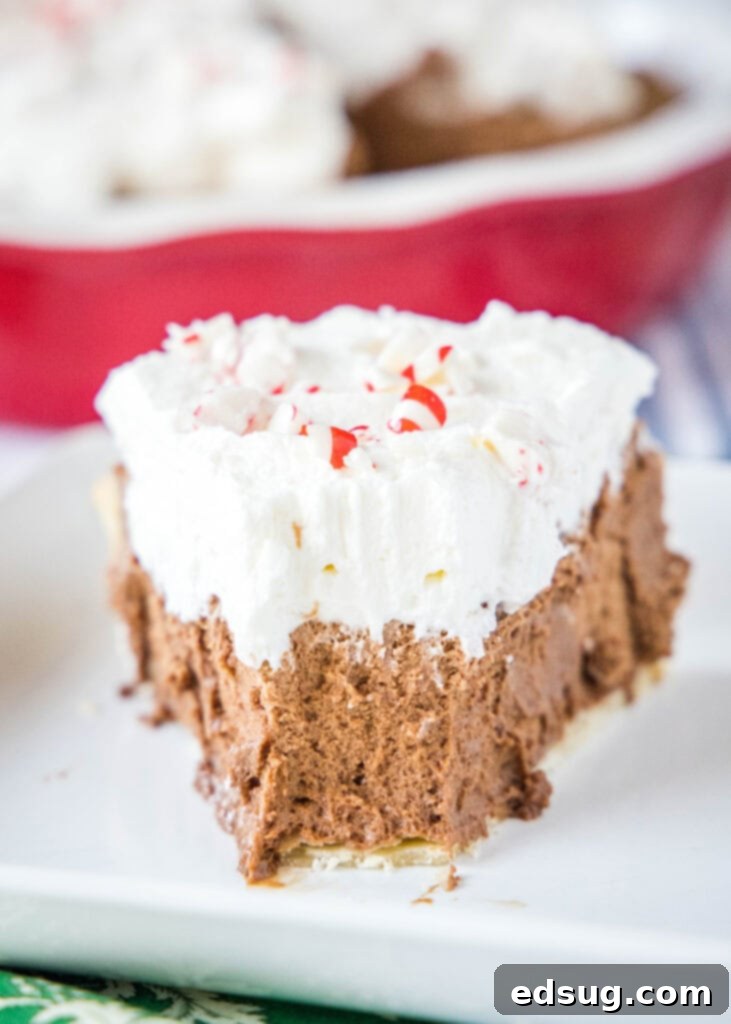
What exactly makes French Silk Pie such an enduring classic and a favorite among dessert aficionados? Its name, “silk,” perfectly describes the signature texture: incredibly smooth, light, and almost melts in your mouth. Unlike denser, baked chocolate pies, French Silk Pie boasts a fluffy, mousse-like filling that’s intensely chocolaty yet surprisingly airy. This unique consistency is achieved through a meticulous creaming process of butter and sugar, followed by the careful incorporation of chocolate and eggs, which whip air into the mixture and contribute to its iconic “silkiness.”
Beyond its texture, the flavor profile is simply divine. It’s a celebration of rich, deep chocolate, often balanced with a subtle sweetness that prevents it from being overly cloying. The simple combination of high-quality ingredients creates a complex flavor that is both comforting and sophisticated. Encased in a flaky, tender pie crust and topped with airy whipped cream, it’s a symphony of textures and tastes that leaves a lasting impression and makes it a standout dessert for any occasion.
Why Peppermint? The Perfect Festive Enhancement
While the classic French Silk Pie is perfect on its own, the strategic addition of peppermint extract transforms it into an extraordinary holiday dessert. Peppermint and chocolate are a match made in culinary heaven, a classic flavor pairing that instantly evokes feelings of warmth, cheer, and festive spirit. The cool, refreshing zing of peppermint beautifully complements the deep, slightly bitter notes of unsweetened chocolate, creating a dynamic and exciting taste experience that awakens the palate.
This peppermint twist makes the pie feel uniquely special and seasonal, ideal for Thanksgiving, Christmas, or any winter gathering. It’s a nostalgic flavor that many associate with holiday candies and treats. The crushed peppermint candies on top not only add a delightful textural crunch but also provide a vibrant visual cue to the festive flavor within, making the pie as beautiful as it is delicious. It’s a modern take on a beloved tradition, offering a refreshing perspective while honoring the original’s timeless charm.
Understanding and Safely Using Raw Eggs in French Silk Pie
The incredibly silky and smooth texture that defines French Silk Pie largely comes from its unique preparation method, which includes raw eggs in the filling. While the idea of consuming raw eggs might initially raise concerns for some, it’s perfectly safe and commonplace in many culinary traditions when you use pasteurized eggs. Pasteurization is a crucial heat treatment process that effectively eliminates harmful bacteria like Salmonella without fully cooking or solidifying the egg, thus preserving its liquid consistency and culinary properties essential for that signature French Silk texture.
You might encounter recipes that claim to be “no raw egg” French Silk Pies. However, often what they mean is that they guide you through a gentle pasteurization process as part of the recipe steps. Even when heated to a specific temperature to kill bacteria, the eggs are still technically “uncooked” in the traditional sense of scrambling or solidifying. The key is ensuring the eggs reach and hold the correct temperature for the necessary duration to guarantee safety while maintaining their liquid form. This meticulous approach allows us to enjoy the authentic, luscious texture of a classic French Silk Pie without any worries about food safety. Whether you buy them pre-pasteurized or do it yourself, using treated eggs is the way to go.
How to Pasteurize Eggs at Home for Your Pie
If you can’t readily find pasteurized eggs at your local grocery store, or simply prefer the satisfaction of preparing them yourself, there are two reliable and safe methods you can use right in your kitchen. It’s crucial to follow these steps carefully to ensure food safety without accidentally cooking the eggs, which would compromise the pie’s desired silky texture.
Stovetop Pasteurization Method
This method is accessible to everyone and requires careful temperature control, but it’s straightforward:
- Prepare the water bath: Fill a medium pot with enough water to fully submerge the eggs.
- Heat slowly and precisely: Place the pot on the stovetop and slowly bring the water temperature up to 140ºF (60ºC). Use a reliable instant-read thermometer to monitor the temperature closely and accurately. Consistency is vital.
- Submerge eggs gently: Carefully place the eggs into the water. Ensure they are fully covered by the water throughout the process.
- Maintain temperature and time: Let the eggs sit in the 140ºF (60ºC) water for exactly 3.5 minutes. It is critical to maintain a consistent temperature; fluctuate too much, and the pasteurization won’t be effective, or the eggs might cook.
- Cool quickly: Immediately remove the eggs from the hot water using a slotted spoon and run them under cold tap water or, even better, transfer them to an ice bath. This rapid cooling halts the cooking process, preventing them from continuing to cook inside their shells, which would lead to scrambled or solidified yolks/whites, rendering them unusable for a silky pie filling.
Be extra cautious not to let the water get too hot (above 140ºF for extended periods), as eggs will begin to cook and scramble in their shells above this temperature. This is the fine line between pasteurization and cooking.
Sous Vide Pasteurization Method
If you own a sous vide device, this method offers superior precise temperature control and can be less hands-on, making it a favorite for many:
- Set up sous vide: Fill your sous vide water bath to the appropriate level and set the device’s temperature to 135ºF (57.2ºC). Allow the water to come to temperature and stabilize.
- Add eggs: Once the water bath reaches and holds the target temperature, gently place the eggs directly into the water. No need for vacuum sealing.
- Cook time for safety: Let the eggs circulate in the sous vide bath for a full 75 minutes. The lower temperature requires a longer duration to achieve thorough pasteurization, safely eliminating bacteria while keeping the eggs liquid.
- Cool after processing: After the 75 minutes, remove the eggs from the water bath and cool them quickly under cold running water or in an ice bath. They are now pasteurized and ready for use in your French Silk Pie.
You might notice that the time and temperature settings differ significantly between these two methods. This variation is due to the scientific principle of thermal death time, which describes how long an item needs to be held at a specific temperature to effectively reduce bacterial load to a safe level. Essentially, a lower temperature requires a longer holding time to achieve the same level of pathogen reduction as a higher temperature for a shorter time. For a deeper dive into the fascinating science behind these precise parameters, Cooks Illustrated provides an excellent, in-depth explanation.
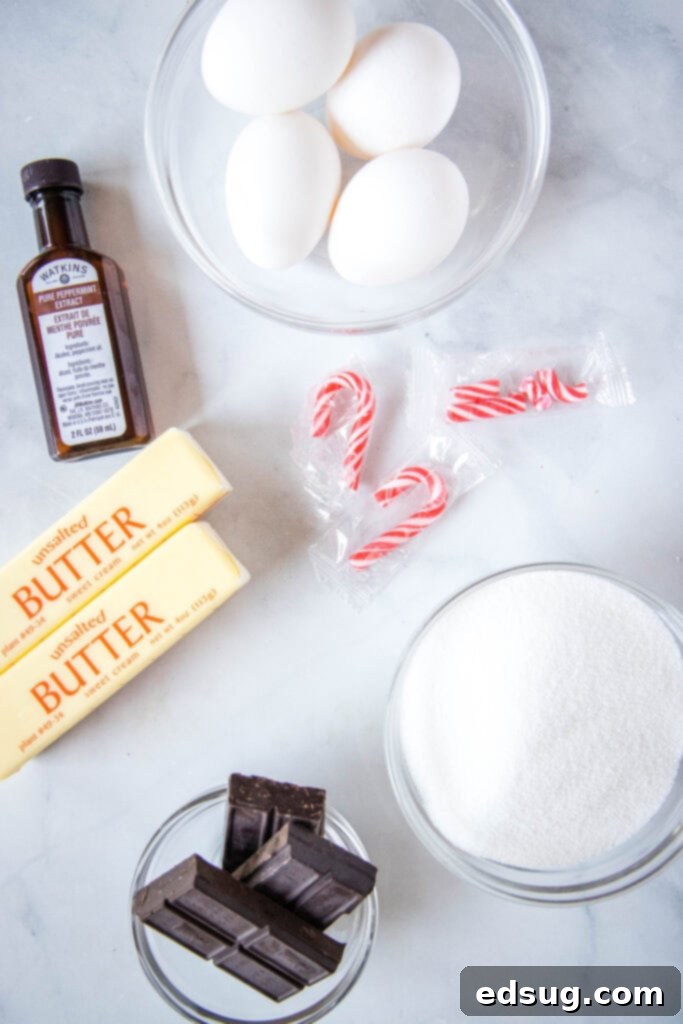
Essential Ingredients for Your Perfect Peppermint French Silk Pie
Crafting a truly exceptional French Silk Pie begins with selecting high-quality ingredients. Each component plays a vital role in achieving that signature silky texture and profound flavor. Here’s a breakdown of what you’ll need and why each element is important:
- Unsalted Butter: Always opt for unsalted butter in baking. This gives you precise control over the salt content in your dessert, ensuring a perfectly balanced flavor. Softened butter is absolutely critical for proper creaming and preventing grittiness.
- Granulated Sugar: Provides the essential sweetness and, when vigorously creamed with butter, helps to incorporate air and creates a light and fluffy base for the filling.
- Pasteurized Eggs: Crucial for the pie’s structure, richness, and, most importantly, its signature silky-smooth, almost mousse-like texture. Using pasteurized eggs ensures safety while maintaining the uncooked quality necessary for French Silk.
- Unsweetened Chocolate: The star of the show. Using good quality unsweetened chocolate is paramount for a deep, rich chocolate flavor without excessive sweetness. This allows the refreshing peppermint to truly shine through.
- Peppermint Extract: The magical ingredient that transforms this classic into a festive delight. Use a high-quality extract for the purest and most authentic mint flavor. A little goes a long way!
- Powdered Sugar (Confectioners’ Sugar): Used primarily in the whipped cream. Its fine texture dissolves easily, creating a smooth, sweet, and stable topping.
- Heavy Cream (Heavy Whipping Cream): The foundation for your luscious homemade whipped cream. Ensure it’s very cold for the best whipping results, providing richness and an airy texture.
- Vanilla Extract: A classic flavor enhancer that adds depth, warmth, and a subtle aromatic complexity to both the pie filling (optional, but recommended) and the whipped cream, complementing the chocolate and peppermint.
- Peppermint Candy: For garnish! Crushed candy canes or other festive peppermint candies add a delightful crunch, a burst of mint, and a beautiful, festive visual appeal to the finished pie.
- Baked 9-inch Pie Crust: A fully baked and cooled 9-inch pie crust is needed as the vessel for your silky filling. You can use your favorite homemade flaky pie crust recipe or a good quality store-bought crust for convenience.
Step-by-Step Guide: Crafting Your Decadent Peppermint French Silk Pie
Follow these detailed instructions carefully to create a flawless Peppermint French Silk Pie that will impress everyone with its silky texture and vibrant flavor:
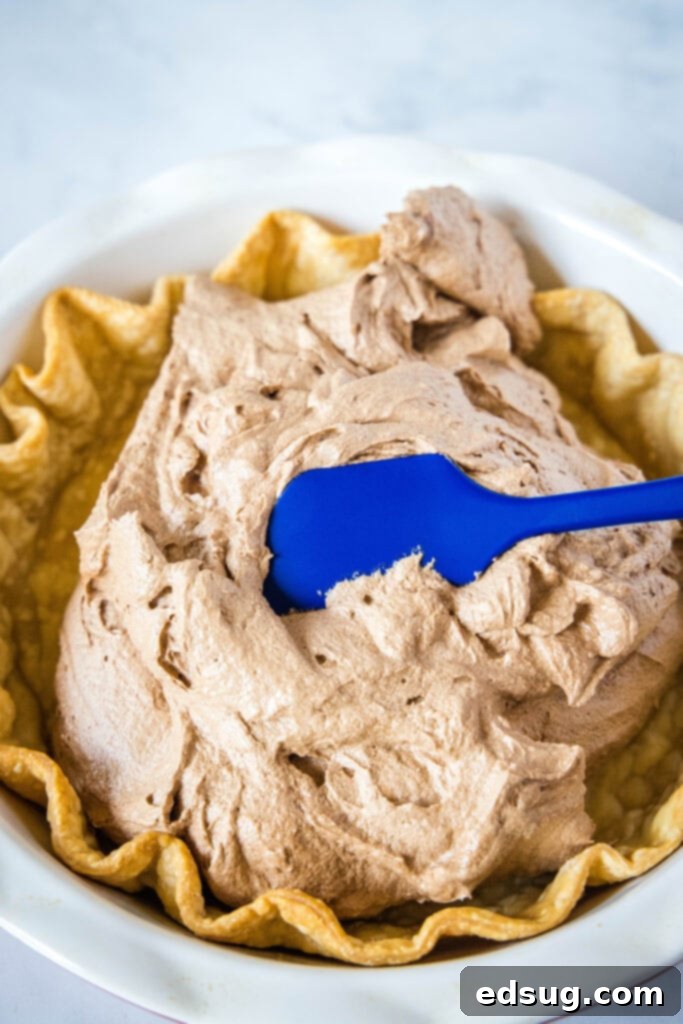
- Cream the Butter: In the bowl of an electric stand mixer fitted with the paddle attachment, begin by creaming your softened unsalted butter on medium speed. Beat it for approximately 1 to 2 minutes until it’s transformed into a wonderfully light, airy, smooth, and creamy consistency. This initial step is absolutely vital for achieving the pie’s characteristic silky texture, as it incorporates air and prepares the butter for the sugar.
- Incorporate the Sugar Thoroughly: With your mixer still running on medium speed, gradually pour in the granulated sugar. Continue to beat the mixture vigorously for a full 2 minutes, or until it becomes noticeably light, fluffy, and almost pale in color. Do not rush this step; patience here ensures the sugar fully dissolves and integrates seamlessly with the butter, preventing any unwanted grittiness in the final product.
- Blend in Chocolate and Peppermint: Reduce the mixer speed to low. Pour in the melted and cooled unsweetened chocolate, along with the peppermint extract. Mix until just combined, being sure to stop the mixer and scrape down the sides and bottom of the bowl with a rubber spatula to ensure everything is thoroughly incorporated and no streaks remain. Overmixing the chocolate is not necessary at this stage.
- Beat in the Eggs for Silkiness (The Most Crucial Step): This is arguably the most important step for achieving the pie’s iconic airy yet supremely silky consistency. Add the pasteurized eggs one at a time. After each individual egg addition, increase the mixer speed to medium-high and beat for a full 2 minutes. This extended beating time is not merely a suggestion but a requirement. It fully incorporates each egg into the mixture, creating a stable emulsion, and, more importantly, whips a significant amount of air into the batter. This whipped air is precisely what makes French Silk Pie light, fluffy, and not dense. Repeat this rigorous beating process for all four eggs, ensuring an 8-minute total beating time for the eggs.
- Chill the Filling: Once the chocolate filling is smooth, airy, and thoroughly combined, gently pour it into your prepared and cooled 9-inch baked pie crust. Use an offset spatula or the back of a spoon to spread the filling evenly across the bottom of the crust. Place the pie carefully in the refrigerator to chill while you prepare the topping.
- Prepare Peppermint Whipped Cream: In a separate, very clean bowl (preferably one that has been chilled, along with your whisk attachment), pour the cold heavy cream. Using an electric mixer (either a stand mixer with the whisk attachment or a hand-held mixer), beat the cream on medium-high speed until soft peaks begin to form. Then, add the powdered sugar, vanilla extract, and the remaining peppermint extract. Continue beating until stiff peaks form, indicating a stable and airy whipped cream that will hold its shape beautifully.
- Assemble and Garnish: Carefully spread the freshly made peppermint whipped cream evenly over the chilled chocolate layer in the pie crust. You can use an offset spatula or the back of a spoon to create attractive swirls and peaks for a professional look. Finally, generously sprinkle the top with crushed peppermint candies.
- Set and Serve: For the absolute best texture and to allow all the wonderful flavors to meld beautifully, let the assembled pie set in the refrigerator for at least 4 hours. Ideally, an overnight chill is even better. This extended chilling time allows the filling to firm up to its perfect, delicate, and silky consistency. Once thoroughly chilled and set, slice and serve your magnificent Peppermint French Silk Pie to delighted guests.
Storage and Make-Ahead Tips for Your Peppermint French Silk Pie
Proper storage is essential to enjoying your Peppermint French Silk Pie at its absolute best, preserving its delicate texture and vibrant flavors. This pie should always be stored in the refrigerator due to its dairy and egg-based filling. To keep it fresh and prevent it from absorbing odors, place it in an airtight container or cover it tightly with plastic wrap. When stored correctly, your delicious pie will maintain its exquisite flavor and texture for 4-5 days.
This pie is an excellent candidate for making ahead, which is a fantastic advantage when preparing for holiday events or gatherings. You can easily prepare the pie a day or even two days in advance. In fact, the flavors often deepen and meld beautifully with a bit of extra time in the fridge, enhancing the overall taste experience. However, a crucial tip for make-ahead success involves the garnish:
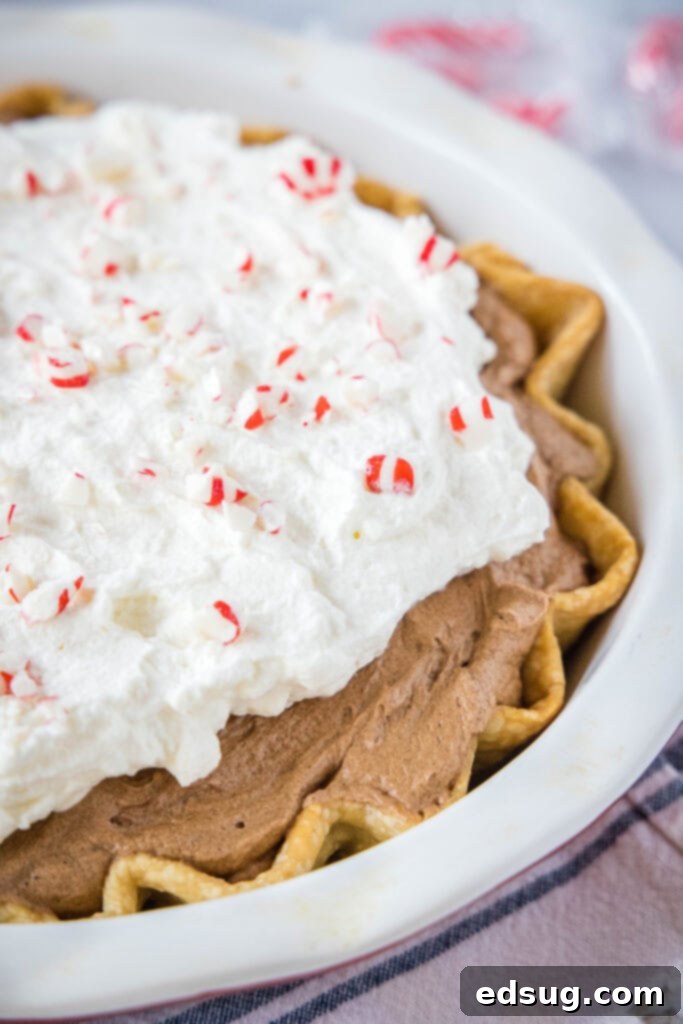
- Peppermint Candy Garnish Timing: If you are planning to use crushed candy canes or other peppermint candies for the topping, it is strongly recommended to sprinkle them on top just before serving. Peppermint candies tend to “melt” or bleed their vibrant colors (especially reds and greens) into the whipped cream and even subtly into the chocolate filling if left on the pie for an extended period. This can result in a less appealing appearance, potentially turning the crisp white whipped cream pinkish or red and making the candies sticky. Adding them at the last minute ensures a vibrant, fresh look and a delightful crisp texture that truly enhances each bite.
While the original recipe doesn’t explicitly mention freezing, French Silk Pie generally freezes quite well if you omit the whipped cream and candy topping beforehand. To freeze, wrap the unfrosted pie (just the crust and chocolate filling) tightly first in plastic wrap, then in a layer of heavy-duty aluminum foil. Label it with the date and freeze for up to 1 month. When ready to enjoy, thaw the pie in the refrigerator overnight. Once thawed, you can then prepare fresh whipped cream, top the pie, and garnish with crushed peppermint candies just before serving for a perfect presentation.
Expert Tips for a Flawless Peppermint French Silk Pie
Achieving the perfect Peppermint French Silk Pie is not overly complicated, but it does benefit from paying close attention to a few key details. These expert tips will help ensure your pie is wonderfully silky, rich, perfectly flavored, and utterly delicious every single time:
- Invest in Good Quality Chocolate: The chocolate is, without a doubt, the star ingredient in this pie. Its flavor truly shines through in every single bite, so skimping on quality here would be a disservice to your dessert. Opt for high-quality unsweetened chocolate that you genuinely enjoy the taste of. Whether it’s a gourmet baking bar or a reputable brand of unsweetened baking chocolate, a better chocolate will yield a richer, more profound, and more nuanced chocolate flavor in your pie filling. This is not the place to compromise.
- Ensure Butter is Properly Softened: Starting with butter that is perfectly soft, yet still cool to the touch and not melted, is absolutely critical for the success of this pie. If your butter is too cold, it won’t cream properly with the sugar, leading to a lumpy or gritty texture in your finished pie. The vigorous creaming process is what incorporates essential air into the mixture and ensures that the sugar granules fully dissolve into the butter, creating that desirable silky smoothness. If you try to cut corners by using cold butter or beating for less time, you risk a pie with a less-than-ideal, gritty texture. Plan ahead and let your butter sit at room temperature for at least an hour.
- Do Not Skimp on Beating the Eggs: This instruction cannot be stressed enough. While it might seem excessive to beat each egg for 2 full minutes—culminating in a total of 8 minutes for four eggs—this step is non-negotiable for achieving the iconic French Silk texture. This prolonged beating time does two vital things: it thoroughly emulsifies the eggs into the butter-sugar-chocolate mixture, and, more crucially, it incorporates a significant amount of air into the filling. This whipped air is precisely what transforms the mixture into a light, airy, yet incredibly smooth and “silky” consistency, preventing it from being dense or heavy. Cutting this time short will result in a heavy, less delicate pie rather than the ethereal, melt-in-your-mouth experience you’re aiming for. Be patient and let your mixer do its important work!
- Chill Thoroughly: Allow ample time for the pie to chill and set in the refrigerator. A minimum of 4 hours is recommended for the filling to properly firm up, but an overnight chill (8-12 hours) truly allows the filling to achieve its ideal, perfectly set consistency and for all the flavors to fully develop and meld. A rushed chill often leads to a runny or less stable pie that is difficult to slice.
- Cold Ingredients for Whipped Cream: For the best, stiffest, and most stable whipped cream topping, always ensure your heavy cream, mixing bowl, and whisk attachment are all thoroughly chilled before you begin whipping. Placing the bowl and whisk in the freezer for 10-15 minutes beforehand can make a significant difference. Cold conditions help the cream whip up faster and hold its peaks longer, resulting in a light and airy topping.
More Delicious Pie Recipes to Explore
If you’ve fallen in love with the art of pie making, or are simply looking for your next dessert adventure, here are some other fantastic pie recipes to try. Each offers a unique flavor profile and a delightful baking experience that’s sure to please any palate:
- Lemonade Pie: A bright, tangy, and incredibly refreshing no-bake pie, perfect for warmer weather or when you crave a burst of citrus.
- Death By Chocolate Pie: For the ultimate chocolate lover, this pie is an intensely rich indulgence, packed with profound chocolate flavor in multiple decadent layers.
- Candy Cane Pie: Another festive minty dessert, perhaps a lighter, creamier take than French Silk, offering a delightful cool sensation.
- Jello Pie: A fun, fruity, and incredibly easy no-bake option that’s always a crowd-pleaser, especially with kids.
- Peanut Butter Cream Pie: The classic pairing of rich chocolate and creamy peanut butter comes to life in this irresistible, smooth pie.
- Kool-Aid Pie: A nostalgic and vibrantly flavored no-bake pie that’s wonderfully simple to make and deliciously tart-sweet.
- Vanilla Caramel Pie: A sweet and gooey pie featuring the rich, comforting, and deeply satisfying flavors of vanilla and luscious caramel.
- Gooey Brownie Pie: A delightful fusion of a rich, fudgy brownie baked into a tender pie crust, offering the best of both dessert worlds.

Peppermint French Silk Pie
Erin Sellin
30 minutes
4 hours
4 hours
30 minutes
12
Rate Recipe
Print Recipe
Ingredients
Peppermint French Silk Pie
-
1 9-
inch
pie crust baked -
3
oz
unsweetened chocolate,
melted and cooled -
1
cup
unsalted butter
,
softened -
1
cup
granulated sugar
-
1
teaspoon
peppermint extract -
4
whole large pasteurized eggs
Peppermint Whipped Cream
-
1
cup
heavy cream
-
1/3
cup
powdered sugar
-
1/2
teaspoon
vanilla extract
-
1/2
teaspoon
peppermint extract
Garnish
-
Crushed peppermint candies
Instructions
-
Using an electric stand mixer start by creaming butter until it is smooth and creamy.
-
Gradually pour in sugar and beat until fluffy. This could take a full 2 minutes, be patient!
-
Mix in melted chocolate and peppermint until well combined, scraping down the sides as necessary.
-
Add in eggs, 1 at a time, beating on medium-high for 2 minutes after each addition. You want to fully incorporate eggs and incorporate enough air for pie to be light and fluffy.
-
Pour chocolate mixture into prepared pie crust and place in fridge.
-
Make peppermint whipped cream by whisking heavy cream until you have soft peaks. Add in powdered sugar, vanilla, and peppermint extract and beat until stiff peaks.
-
Spread whipped cream over chocolate layer and sprinkle with crushed peppermint candy.
-
Let pie set in the fridge for 4 hours before slicing to serve.
Nutrition
Calories:
418
kcal
|
Carbohydrates:
30
g
|
Protein:
5
g
|
Fat:
31
g
|
Saturated Fat:
18
g
|
Polyunsaturated Fat:
11
g
|
Cholesterol:
125
mg
|
Sodium:
93
mg
|
Fiber:
2
g
|
Sugar:
21
g
Nutrition information is automatically calculated, so should only be used as an approximation.
Additional Info
Erin Sellin
30 minutes
4 hours
4 hours
30 minutes
Dessert Recipes
American
12
418
Like this recipe? Leave a comment below!
I created a fun group on Facebook, and I would love for you to join us! It’s a vibrant community where you can share YOUR favorite recipes, ask questions, and stay updated on what’s new at Dinners, Dishes and Desserts (so that you never miss a new recipe)!
Be sure to follow me on Instagram and tag #dinnersdishes so I can see all the wonderful DINNERS, DISHES, AND DESSERTS recipes YOU make and share with your loved ones!
Be sure to follow me on my social media channels, so you never miss a post and always stay in the loop for new delicious recipes and cooking inspiration!
Facebook |
Twitter |
Pinterest |
Instagram
