Easy Amish Bread Recipe: Soft, Sweet & Perfect for Homemade Loaves
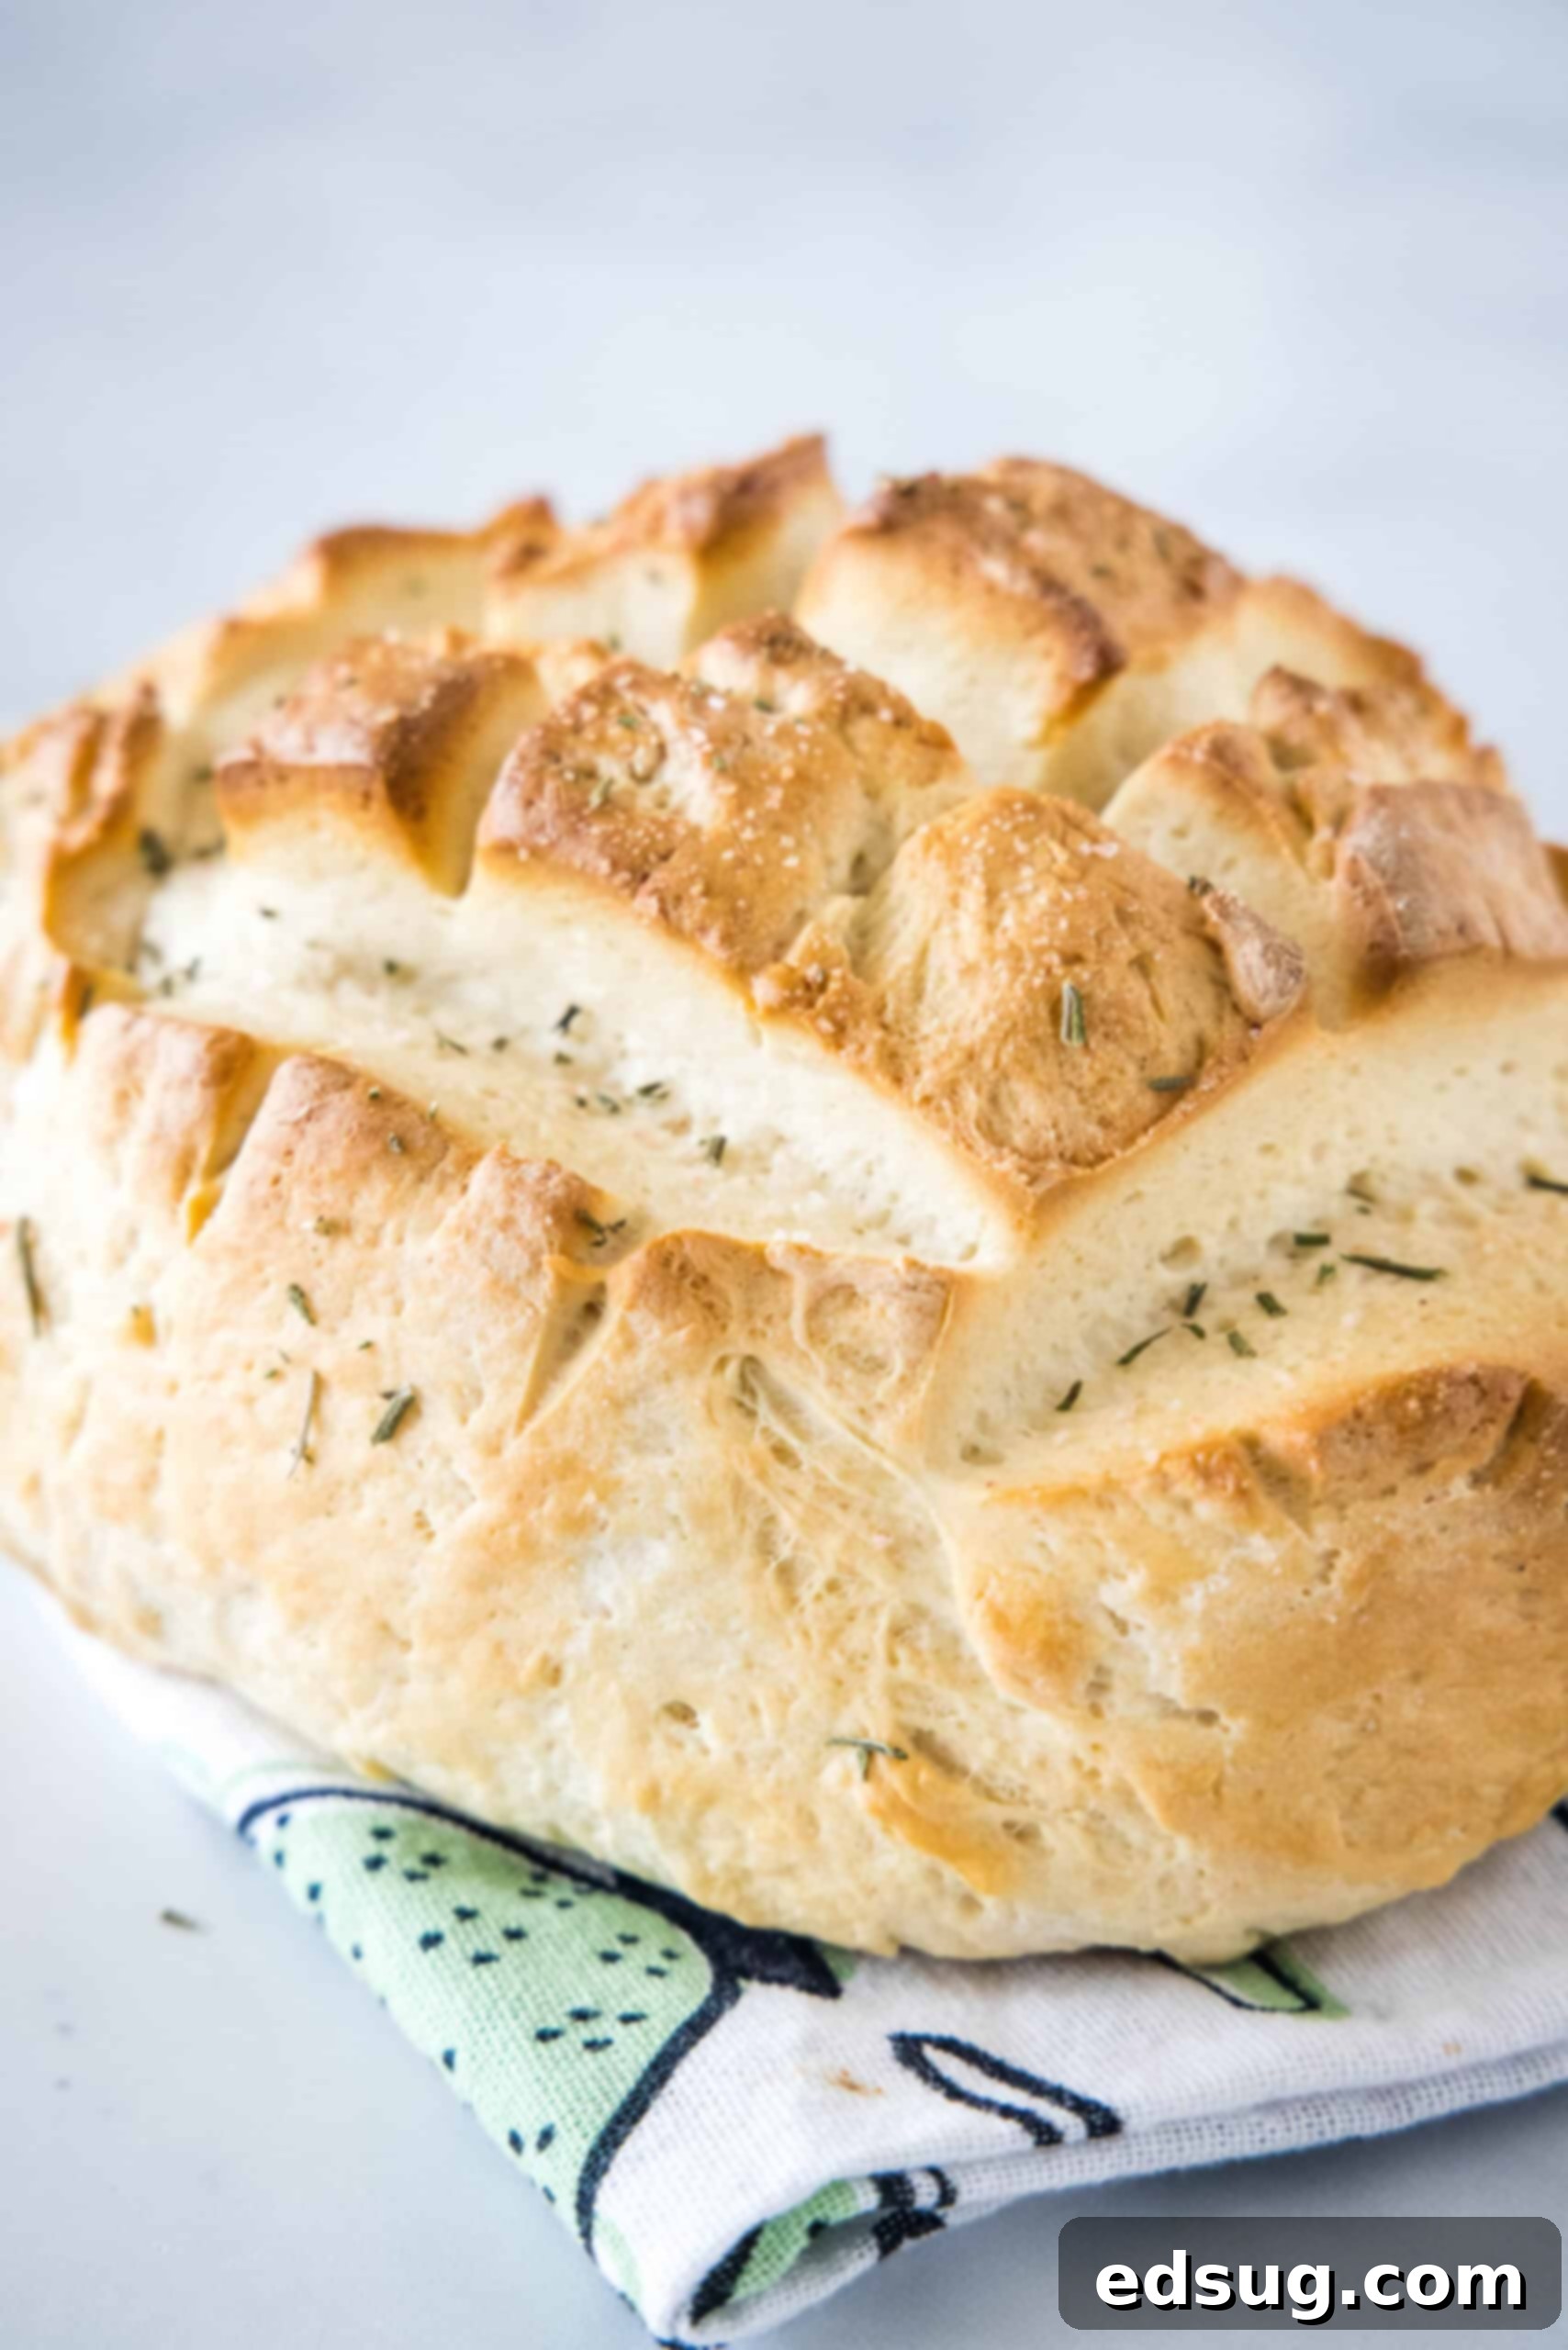
There’s nothing quite like the comforting aroma of freshly baked bread filling your home. This easy Amish bread recipe delivers two wonderfully soft and subtly sweet homemade loaves that are simply irresistible. Whether you enjoy it toasted with butter, as the base for your favorite sandwich, or simply torn off a warm chunk for dipping into a hearty soup, this bread is a true crowd-pleaser. What makes this recipe particularly appealing is its use of rapid-rise yeast, significantly shortening the overall rising time, so you can enjoy delicious homemade bread sooner than you think!
If you’re seeking a bread recipe that doesn’t require yeast, you might enjoy exploring this cheesy quick bread for a different kind of baking adventure.
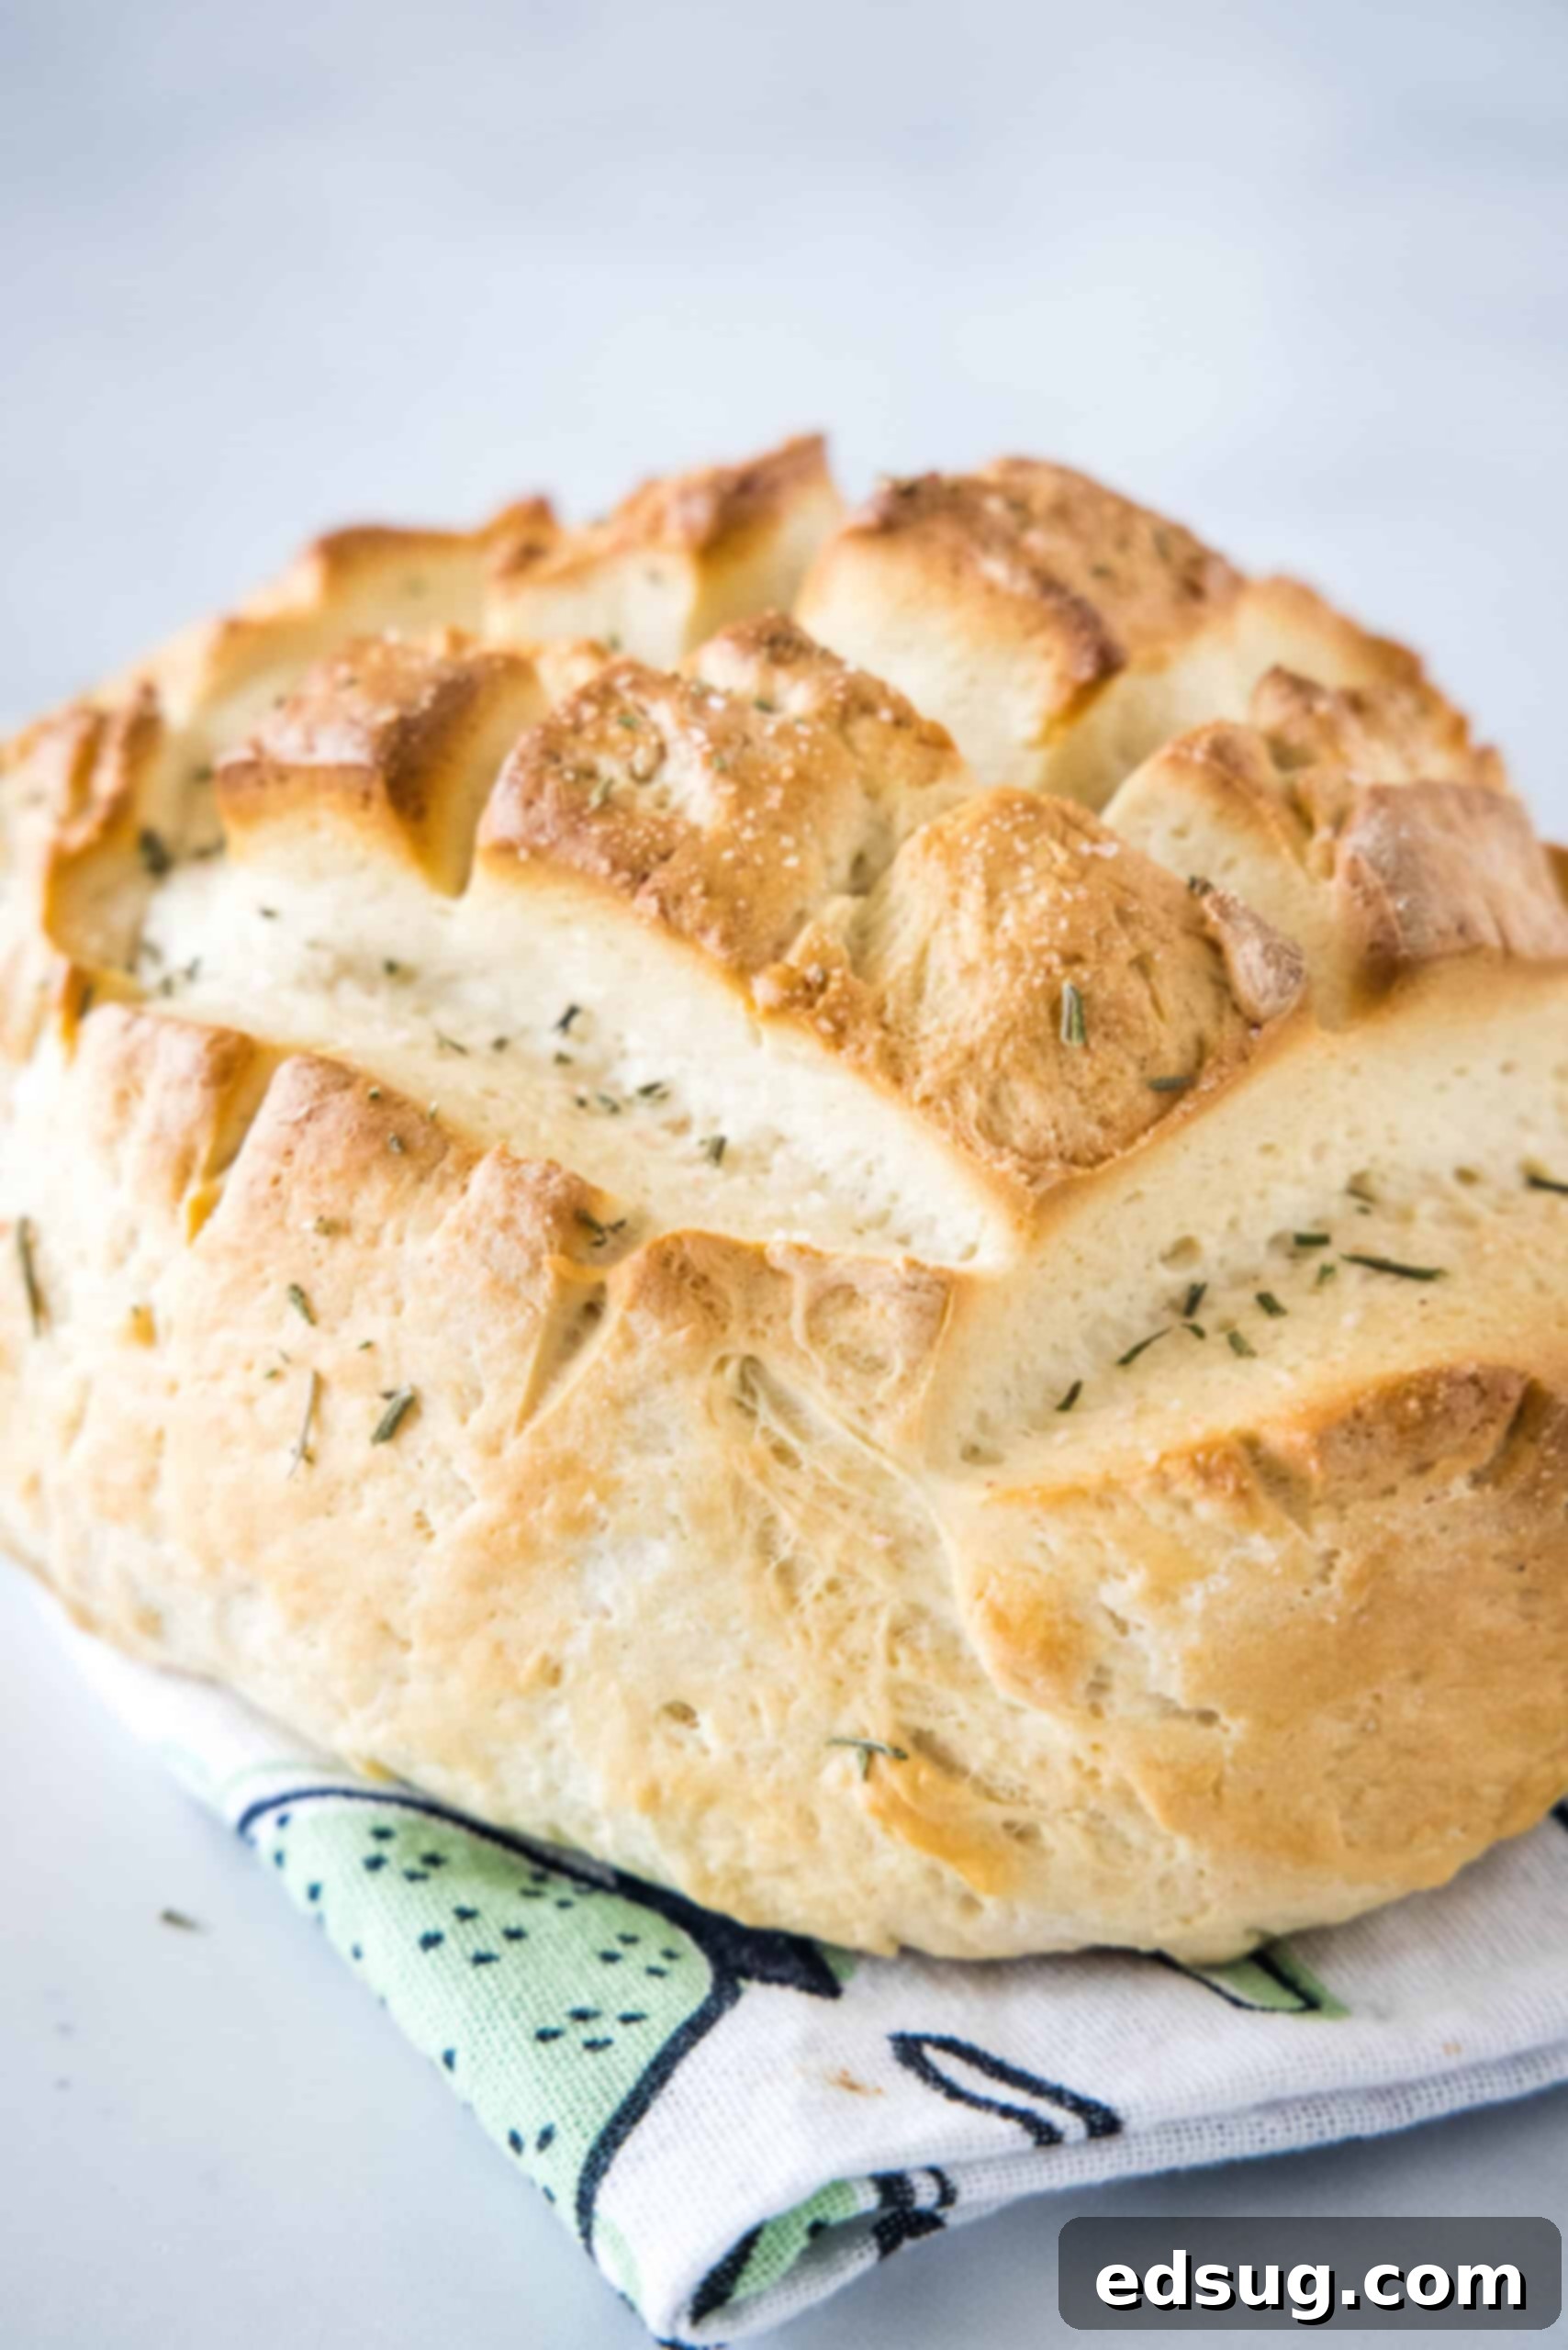
Table of Contents
- Why You’ll Love This Easy Amish Bread Recipe
- Ingredients You’ll Need for the Best Amish Bread
- Step-by-Step: How to Make Amish Bread
- Expert Baking Tips for Amish Bread
- Serving Suggestions for Homemade Amish Bread
- How to Store Freshly Baked Amish Bread
- More Easy Bread Recipes to Try
- Amish Country Bread Recipe
Whenever I prepare a comforting meal like a hearty Italian sausage soup or a rich beef chili, I instinctively reach for a recipe that yields a delicious, fluffy bread loaf to accompany it. This Amish bread has become a steadfast favorite in my kitchen. It boasts an incredibly soft interior with just the right amount of sweetness, beautifully contrasted by a satisfyingly hearty, crusty exterior – precisely what I look for in a “dunking” bread!
You might have come across similar recipes labeled “Amish friendship bread” or “Amish country bread,” often made using a sourdough starter. The tradition behind these variations involves using a portion of the starter for baking, reserving another portion, and sharing the rest with friends, a charming culinary take on a chain letter! While those are wonderful, this particular recipe focuses on a quicker, more accessible method, perfect for home bakers who want fantastic results without the long commitment of a starter.
Why You’ll Love This Easy Amish Bread Recipe
This Amish bread recipe isn’t just easy; it’s designed to fit seamlessly into your busy lifestyle while delivering consistently delicious results. Here are a few compelling reasons why you’ll fall in love with making this homemade bread:
- Incredibly Quick Preparation: Unlike traditional sourdough-based Amish friendship bread that relies on a lengthy starter process, this recipe utilizes rapid-rise yeast (also known as instant yeast). This powerhouse ingredient significantly cuts down the proofing time, allowing you to enjoy warm, fresh bread in approximately 1 hour of rising time. It’s perfect for when you crave homemade bread but are short on time.
- Remarkably Freezer-Friendly: Baking two generous loaves means you’ll have plenty to enjoy! If your family is anything like mine, it might take a little while to get through both loaves. The good news is, this Amish bread freezes beautifully. Having a loaf or two stocked in your freezer is a game-changer for quick weeknight dinners or unexpected guests. It thaws out quickly and retains its wonderful texture and flavor.
- Exceptional Versatility: This soft and slightly sweet Amish bread is a true chameleon in the kitchen. Its delightful texture makes it ideal for a multitude of uses:
- Breakfast & Brunch: Slice it thick for perfect toast, ideal for spreading with butter, jam, or your favorite preserves.
- Lunch & Dinner: It makes fantastic sandwiches, holding up well to various fillings. Cut larger, rustic hunks for dipping into savory beef stews, hearty chilis, or comforting soups like broccoli cheese soup.
- Savory Enhancements: Transform leftover slices into delectable garlic bread – a perfect accompaniment to pasta dishes.
Ingredients You’ll Need for the Best Amish Bread
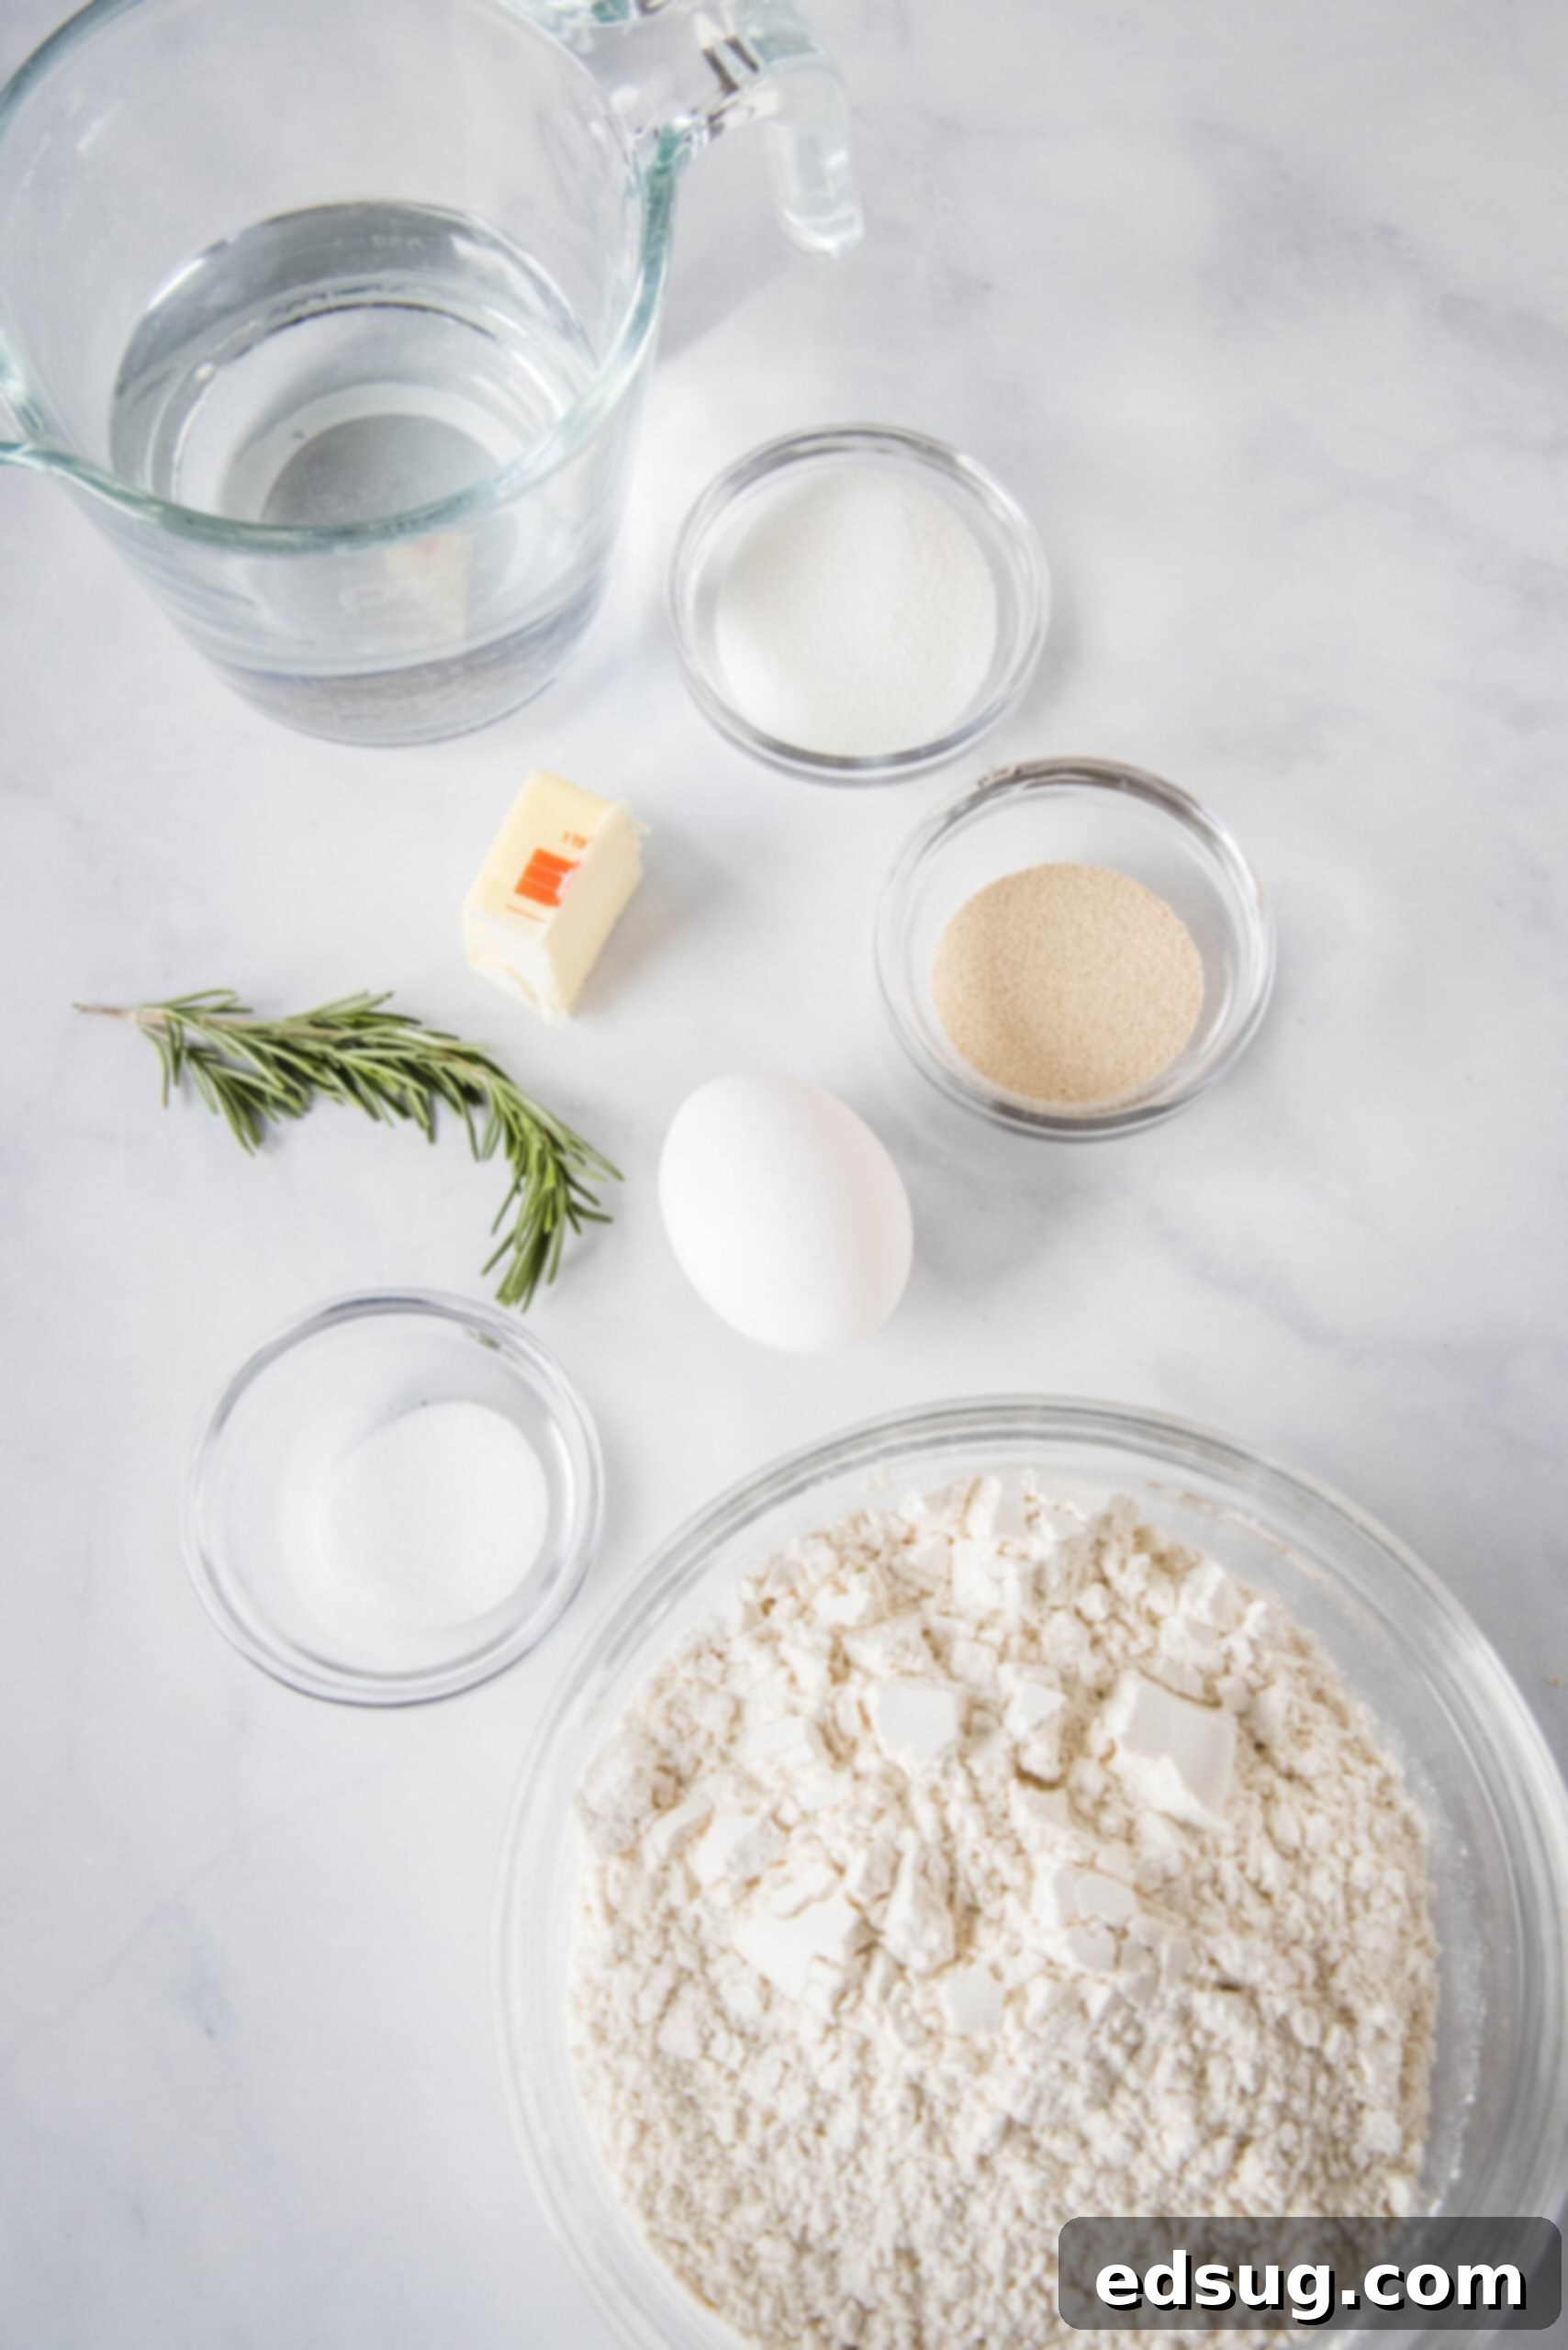
One of the beauties of this easy bread recipe is that it calls for minimal, readily available pantry staples. These simple ingredients come together to create something truly magical. Below, I’ve included detailed notes on each ingredient to help you achieve perfect results. For the complete list of ingredients, precise amounts, and step-by-step instructions, please scroll down to the printable recipe card.
- Sugar: Granulated sugar is typically used, contributing to the signature subtle sweetness of Amish bread and aiding in yeast activation. Light brown sugar can also be used for a slightly deeper, more molasses-like flavor.
- Butter: Melted butter adds richness, tenderness, and a lovely flavor to the bread. Both salted or unsalted butter work well here; if using unsalted, you might consider slightly increasing the salt in the recipe to taste.
- Rapid-Rise Yeast: This is the secret to our quick rising time! Also known as instant yeast, rapid-rise yeast is formulated to be fast-acting and doesn’t require prior proofing in warm water. It can be mixed directly into your dry ingredients. Always double-check the expiration date on your yeast package to ensure it’s fresh and active – old yeast is a common culprit for failed bread!
- Bread Flour: For that wonderfully chewy texture characteristic of great homemade bread, bread flour is preferred. It contains a higher protein content compared to all-purpose flour, which develops more gluten and results in a stronger, chewier crumb. While you can substitute all-purpose flour on a 1:1 basis if needed, be aware that the final texture of your bread might be slightly less chewy.
- Egg White: Used for an egg wash, which gives the baked loaves a beautiful golden-brown, shiny crust. For easier separation, crack your egg while it’s cold, straight from the fridge; the yolk is firmer and less likely to break.
- Rosemary: A sprinkle of fresh or dried rosemary adds a fragrant, savory note that complements the slight sweetness of the bread beautifully. It’s an optional but highly recommended topping.
- Salt: A touch of coarse kosher salt sprinkled on top alongside the rosemary enhances the flavor and adds a delightful textural contrast. You can also simply use salt or skip external seasoning altogether if you prefer a plain loaf for general use.
- Warm Water: Crucial for activating the yeast. The ideal temperature range is between 110ºF and 115ºF (43ºC-46ºC). Water that is too cold won’t activate the yeast, and water that is too hot will kill it, preventing the dough from rising. A kitchen thermometer is your best friend here!
Step-by-Step: How to Make Amish Bread
Making homemade Amish bread is a rewarding process, and with this rapid-rise yeast recipe, it’s surprisingly straightforward. The key to success lies in proper yeast activation and careful kneading. Remember to ensure your water temperature is precisely between 110ºF and 115ºF; this range is critical for activating the yeast without harming it, which is fundamental for a good rise.
Let’s walk through the steps below. For printable, detailed instructions with exact measurements, please refer to the full recipe card at the end of this post:
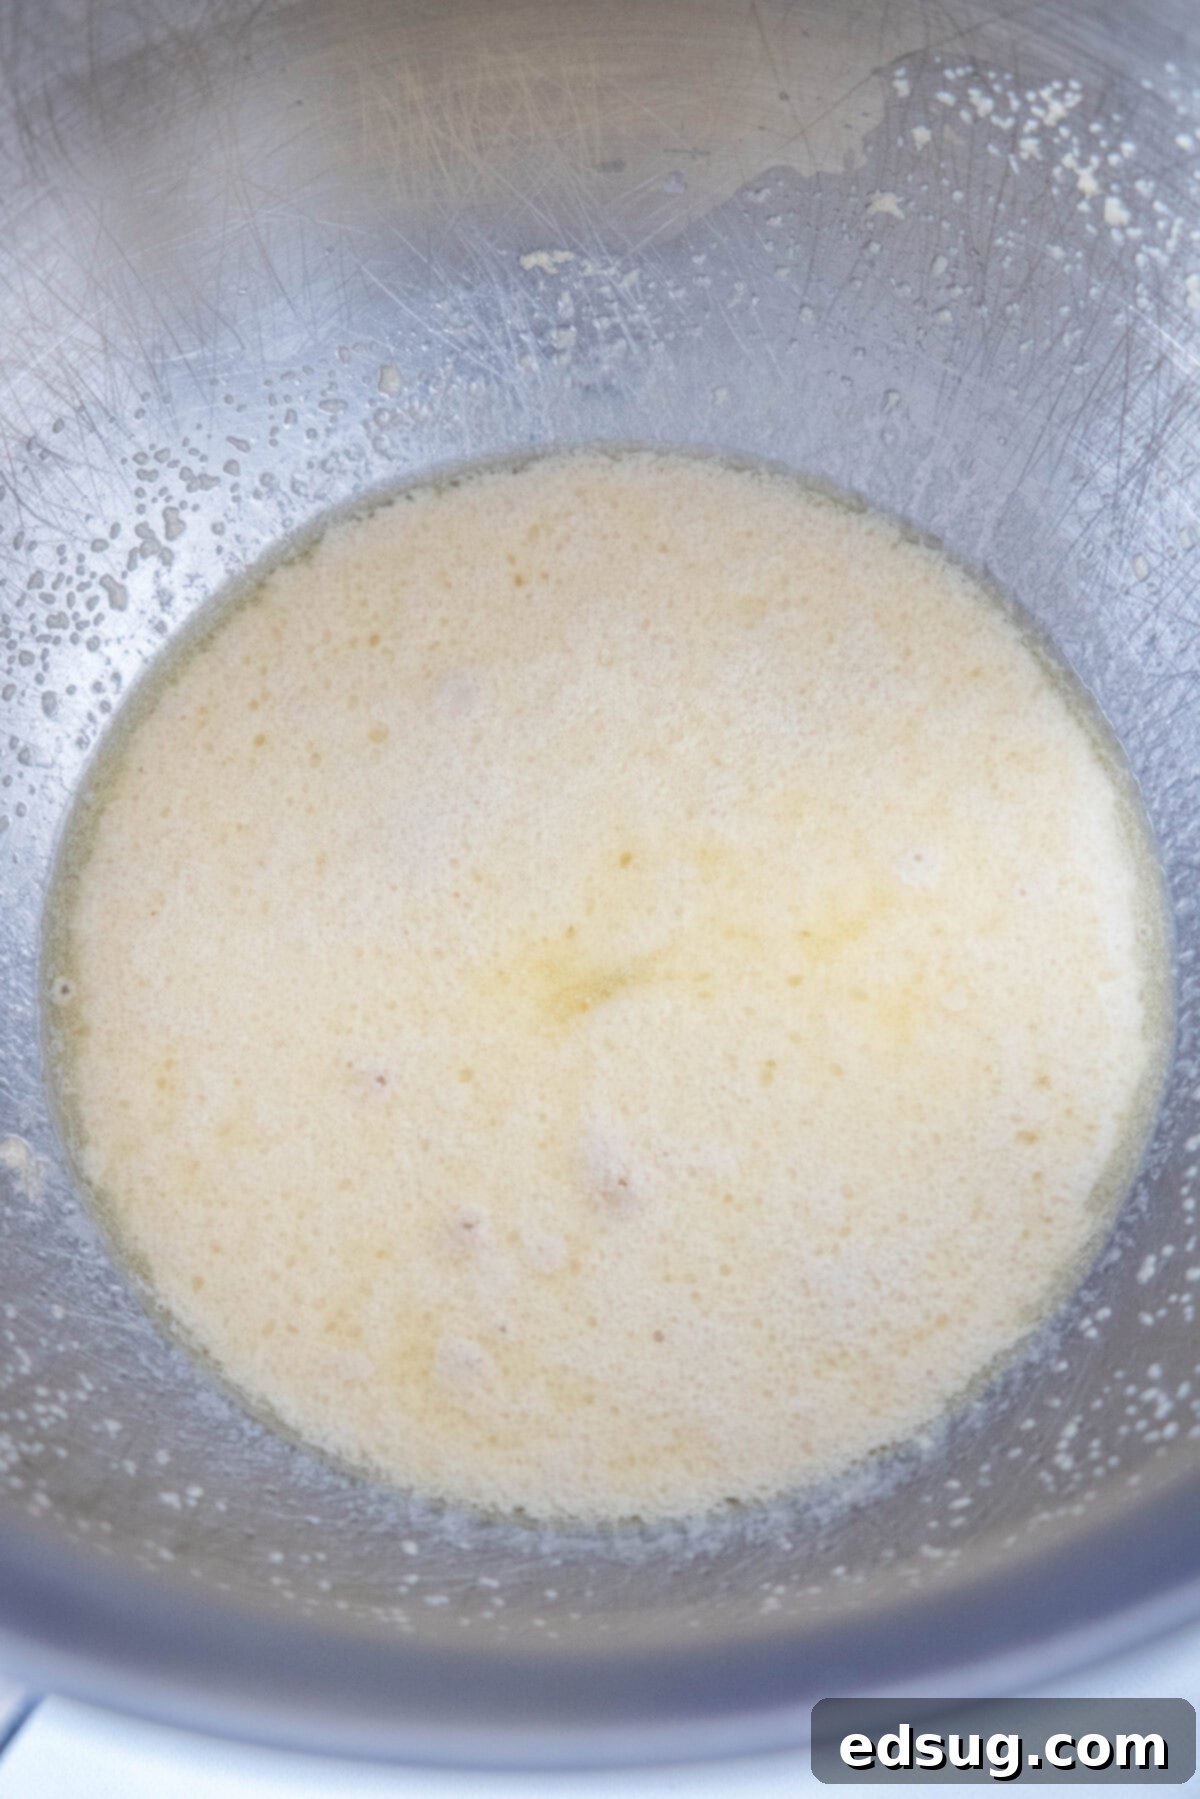
- Step 1: Activate the Yeast. In the large bowl of your stand mixer (or a spacious mixing bowl if kneading by hand), combine the granulated sugar, melted butter, salt, and the warm water at the specified temperature. Sprinkle the rapid-rise yeast over the surface. Allow this mixture to rest undisturbed for about 5 minutes. You’ll know the yeast is active and working correctly when the surface becomes noticeably foamy and bubbly. This indicates a happy, thriving yeast!
- Step 2: Incorporate the Flour and Begin Kneading. Gradually add the bread flour to your yeast mixture, one cup at a time. Mix on low speed with a dough hook (or stir with a sturdy spoon if hand-mixing) until all the flour is incorporated and the dough begins to pull away from the sides of the bowl, forming a cohesive ball. The dough should be soft but not overly sticky.
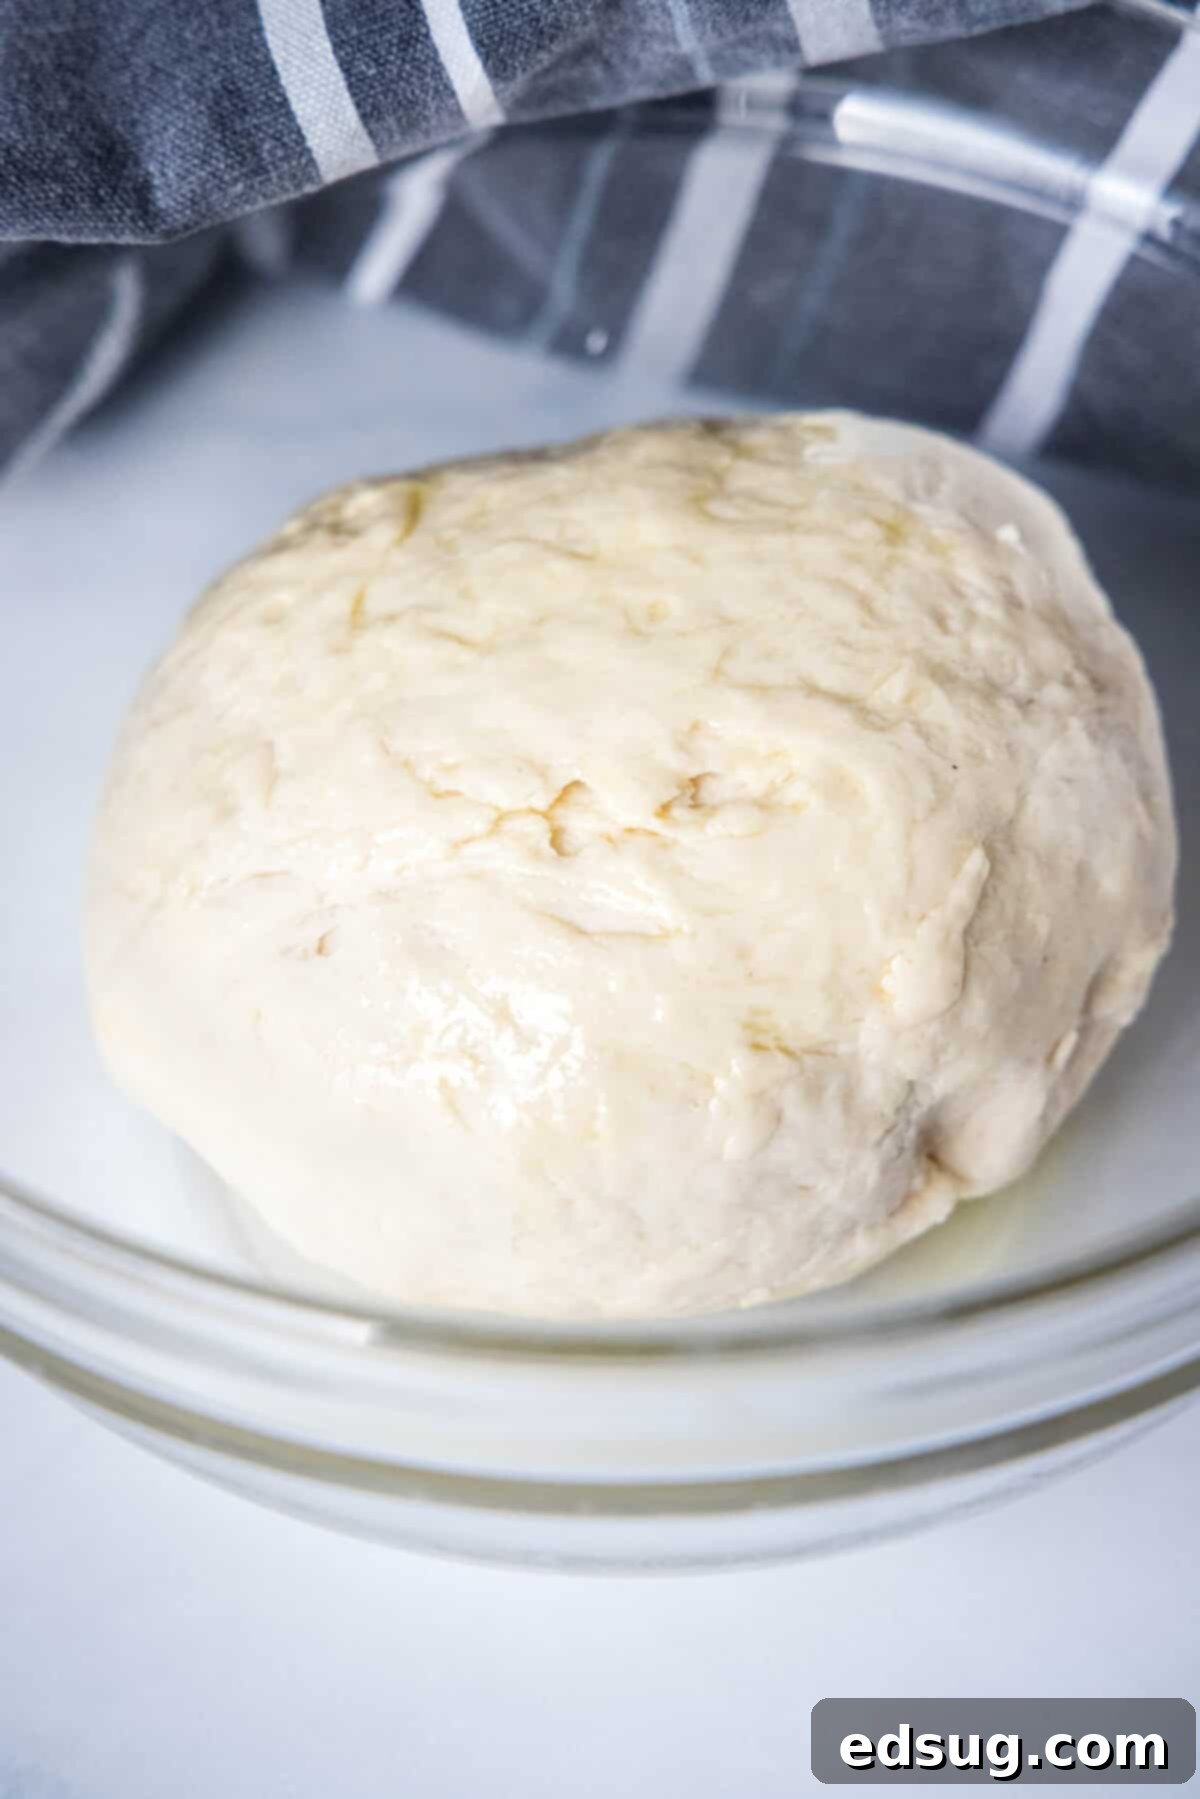
- Step 3: Knead the Dough for Elasticity. Turn the shaggy dough out onto a lightly floured countertop. Using your hands, knead the dough vigorously for approximately 8-10 minutes. This process develops the gluten, which is essential for the bread’s structure and chewy texture. You’ll notice the dough becoming smoother, more elastic, and less sticky as you knead. Once sufficiently kneaded, shape the dough into a smooth ball. Place it into a clean bowl that has been lightly greased with oil or cooking spray, then cover the bowl tightly with a clean dishcloth or plastic wrap to prevent it from drying out.
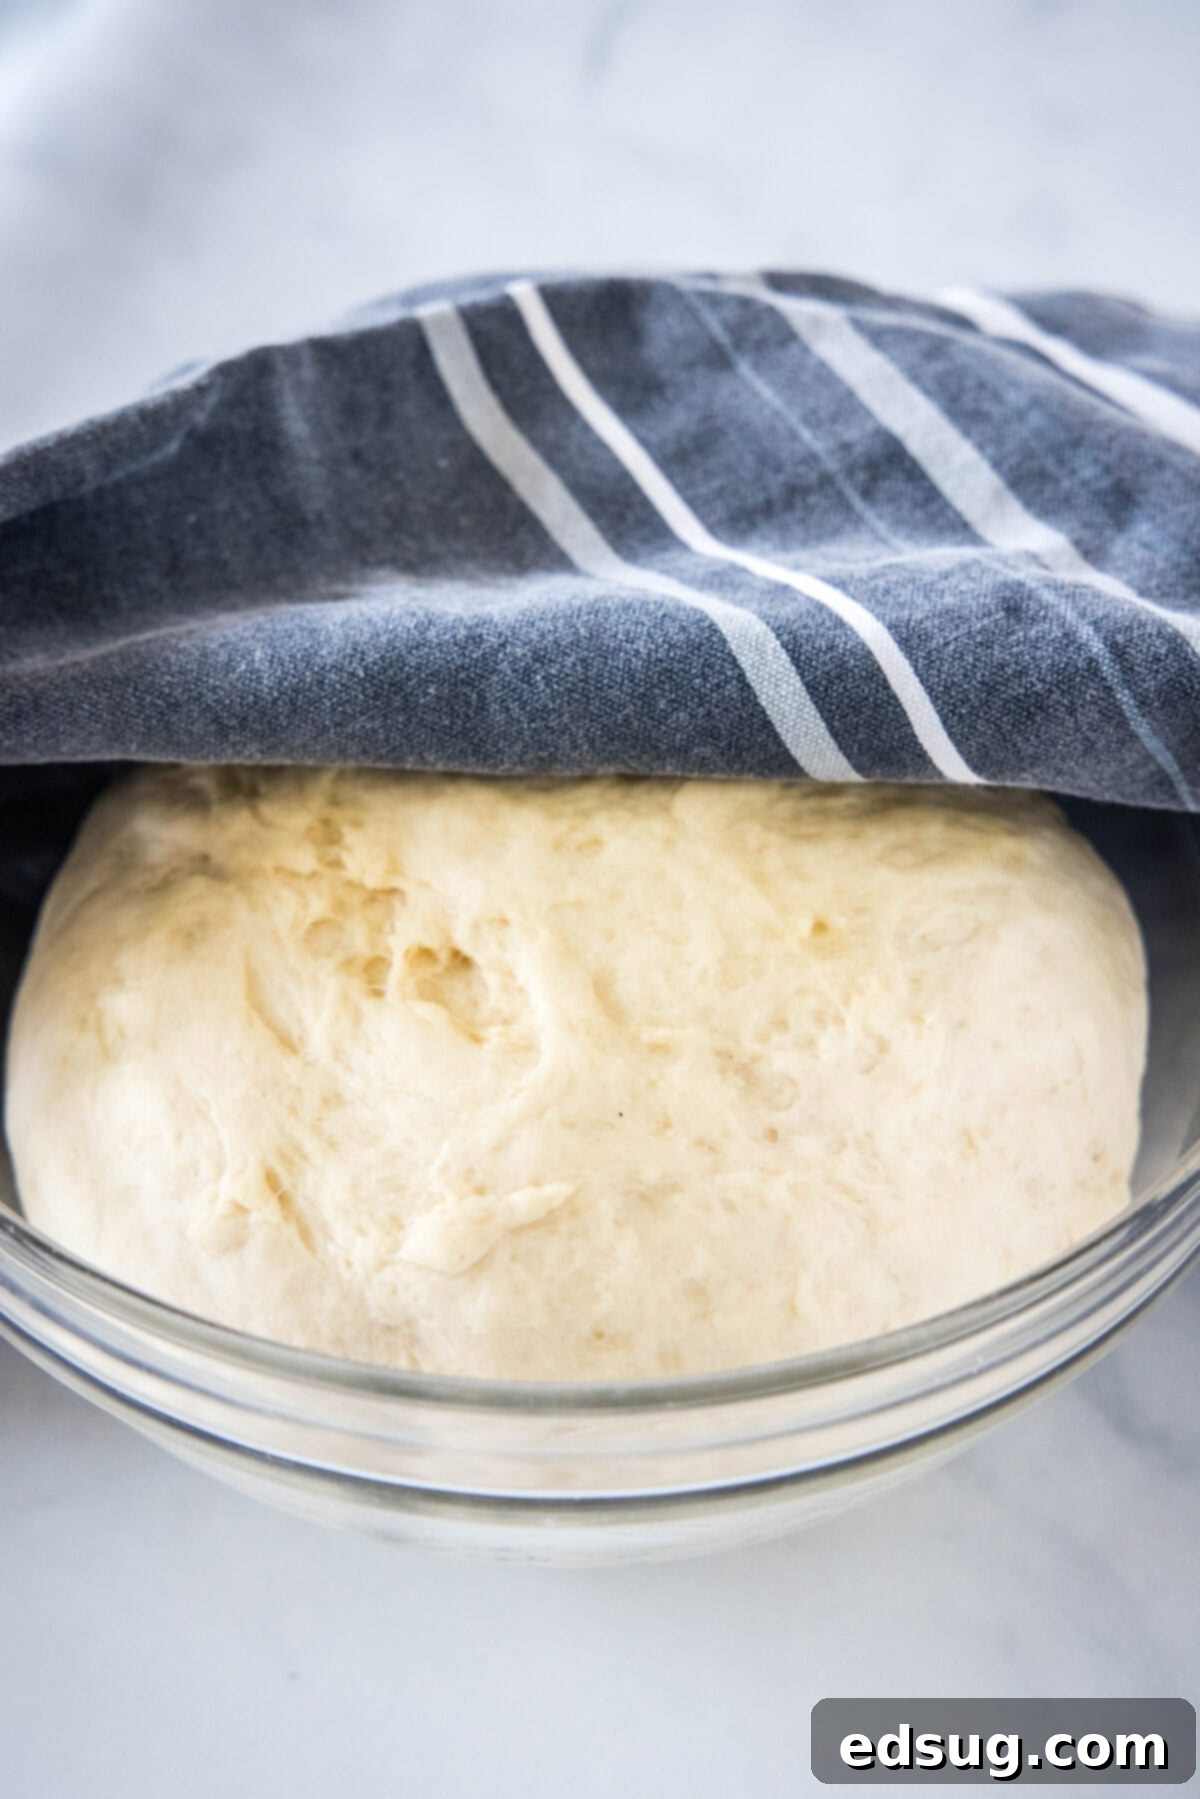
- Step 4: First Rise (Proofing). Place the covered bowl in a warm, draft-free location. This could be a sunny spot on your kitchen counter, near a warm oven, or even in a turned-off oven with the light on (which provides gentle heat). Allow the dough to rise for about 30 minutes, or until it has visibly doubled in size. This first rise develops flavor and a light texture.
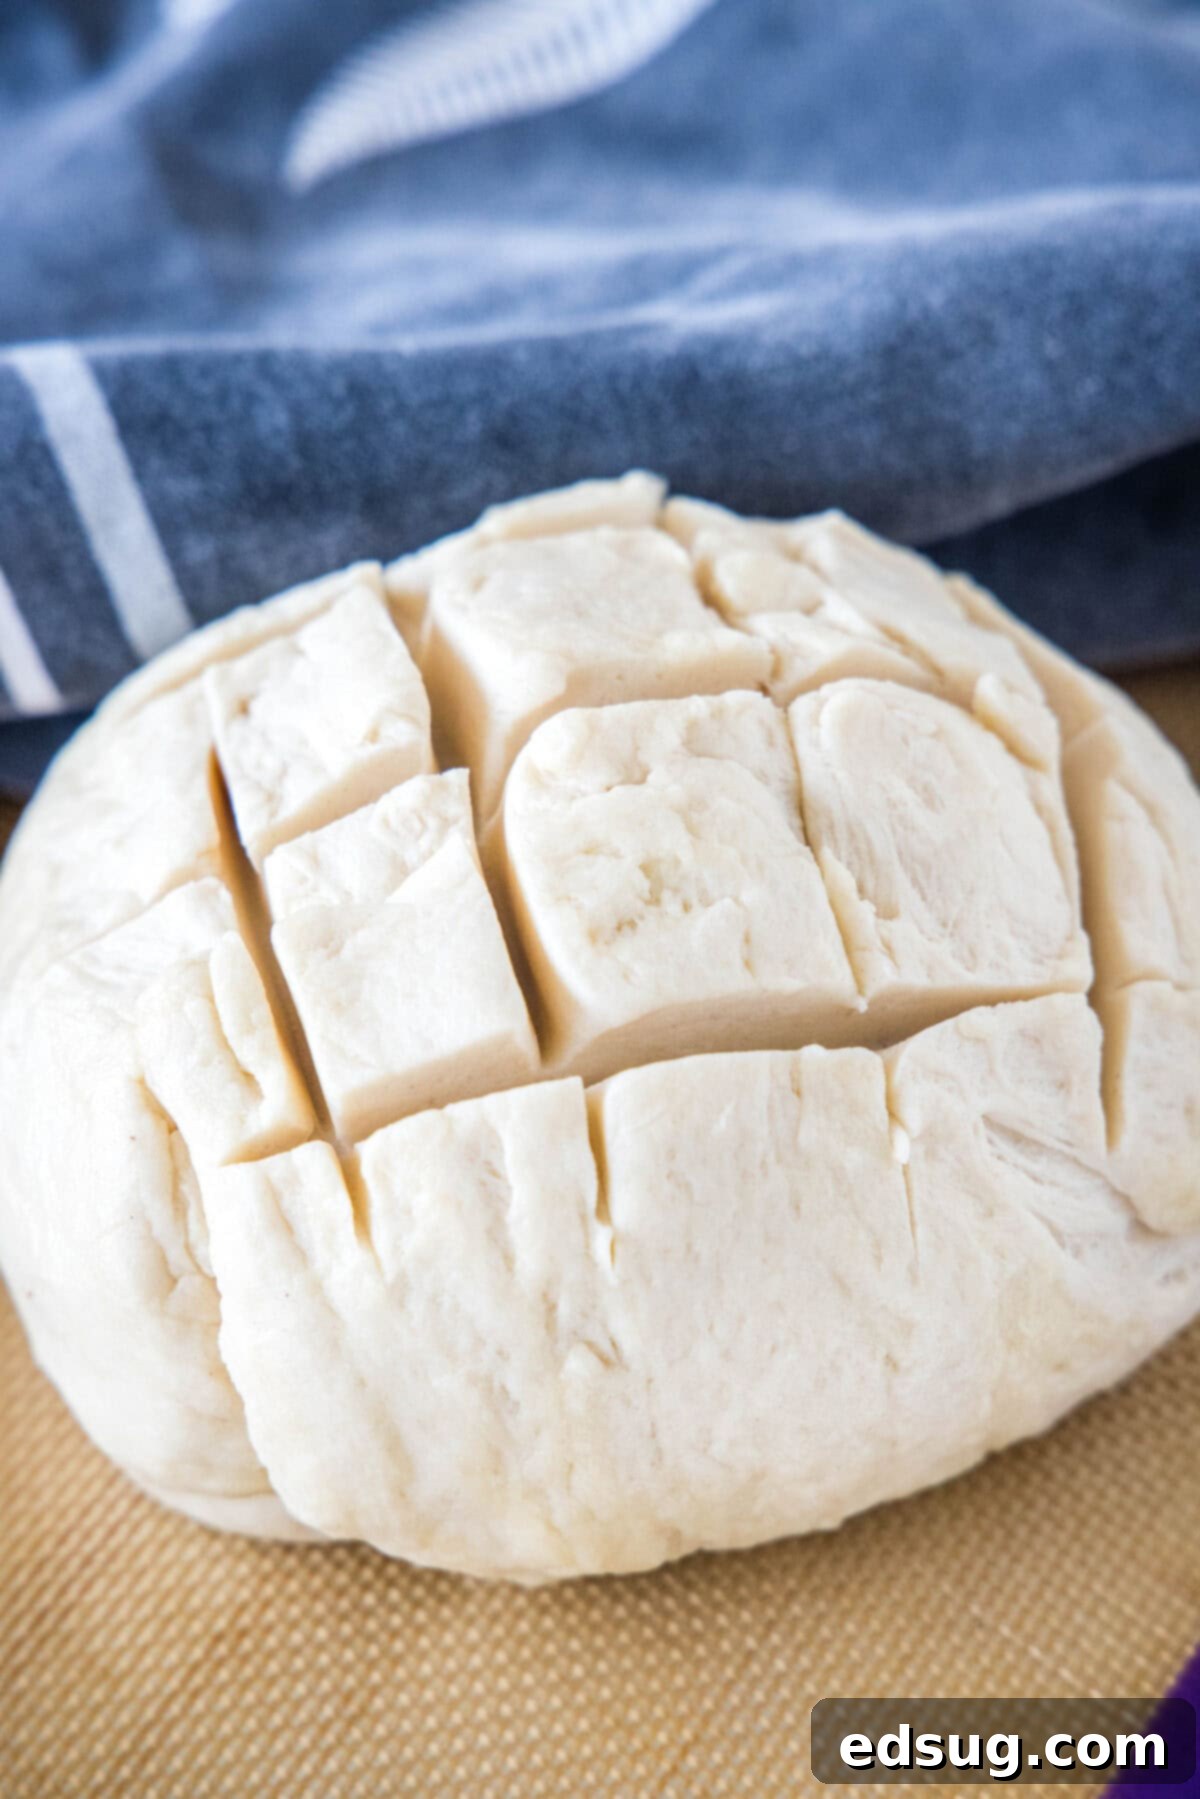
- Step 5: Punch Down and Shape the Loaves. Once the dough has risen, gently “punch it down” to release the air. This step helps redistribute the yeast and creates a finer crumb. Divide the dough into two equal portions. Roll each portion into a smooth, round ball or an oval shape if you prefer a more traditional loaf. Place these dough balls side-by-side on a baking sheet lined with parchment paper. Using a sharp knife or a clean razor blade, carefully cut shallow slits (about ¼-inch deep) across the top of each loaf. These cuts allow the bread to expand gracefully during baking. Cover the loaves again with a clean dishcloth and let them rise for a second time for another 30 minutes. This second rise, often called the “final proof,” prepares the loaves for baking, ensuring a light and airy texture.
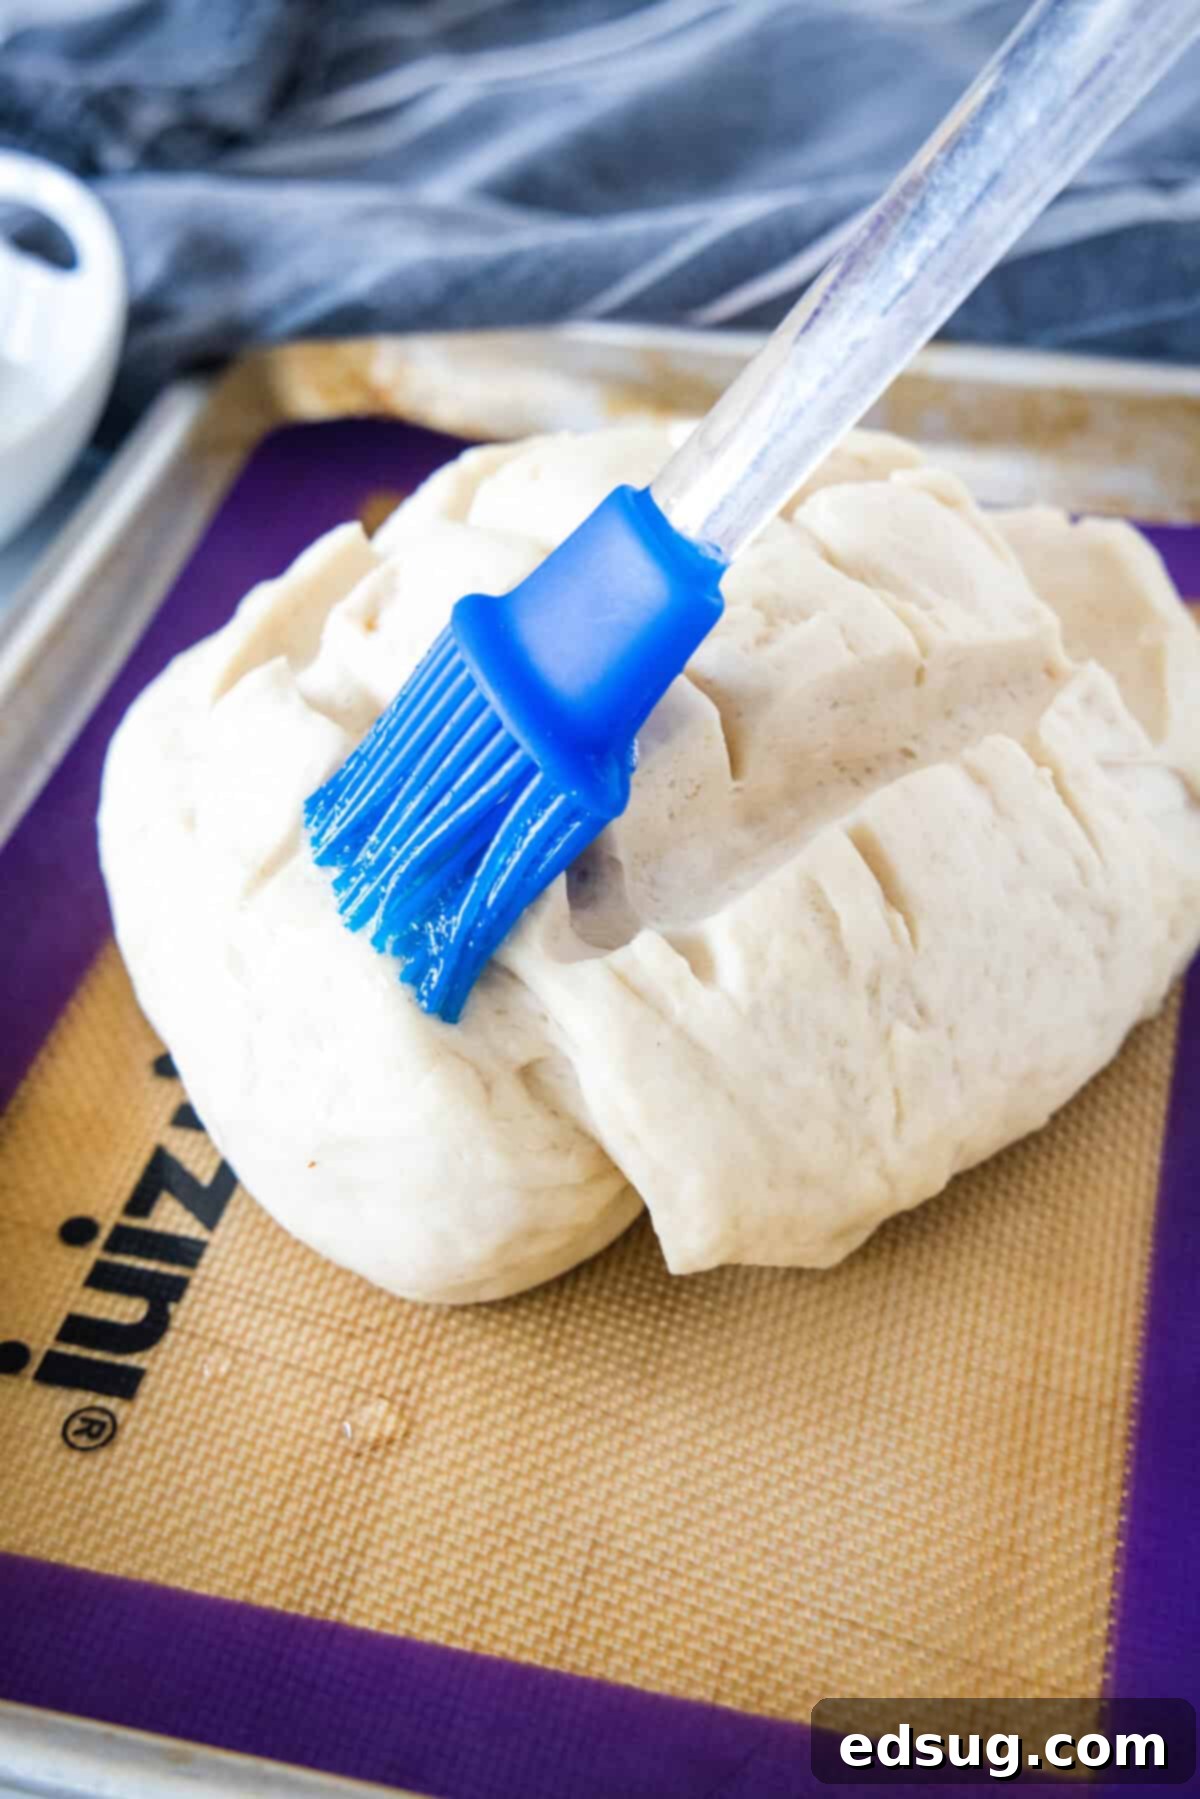
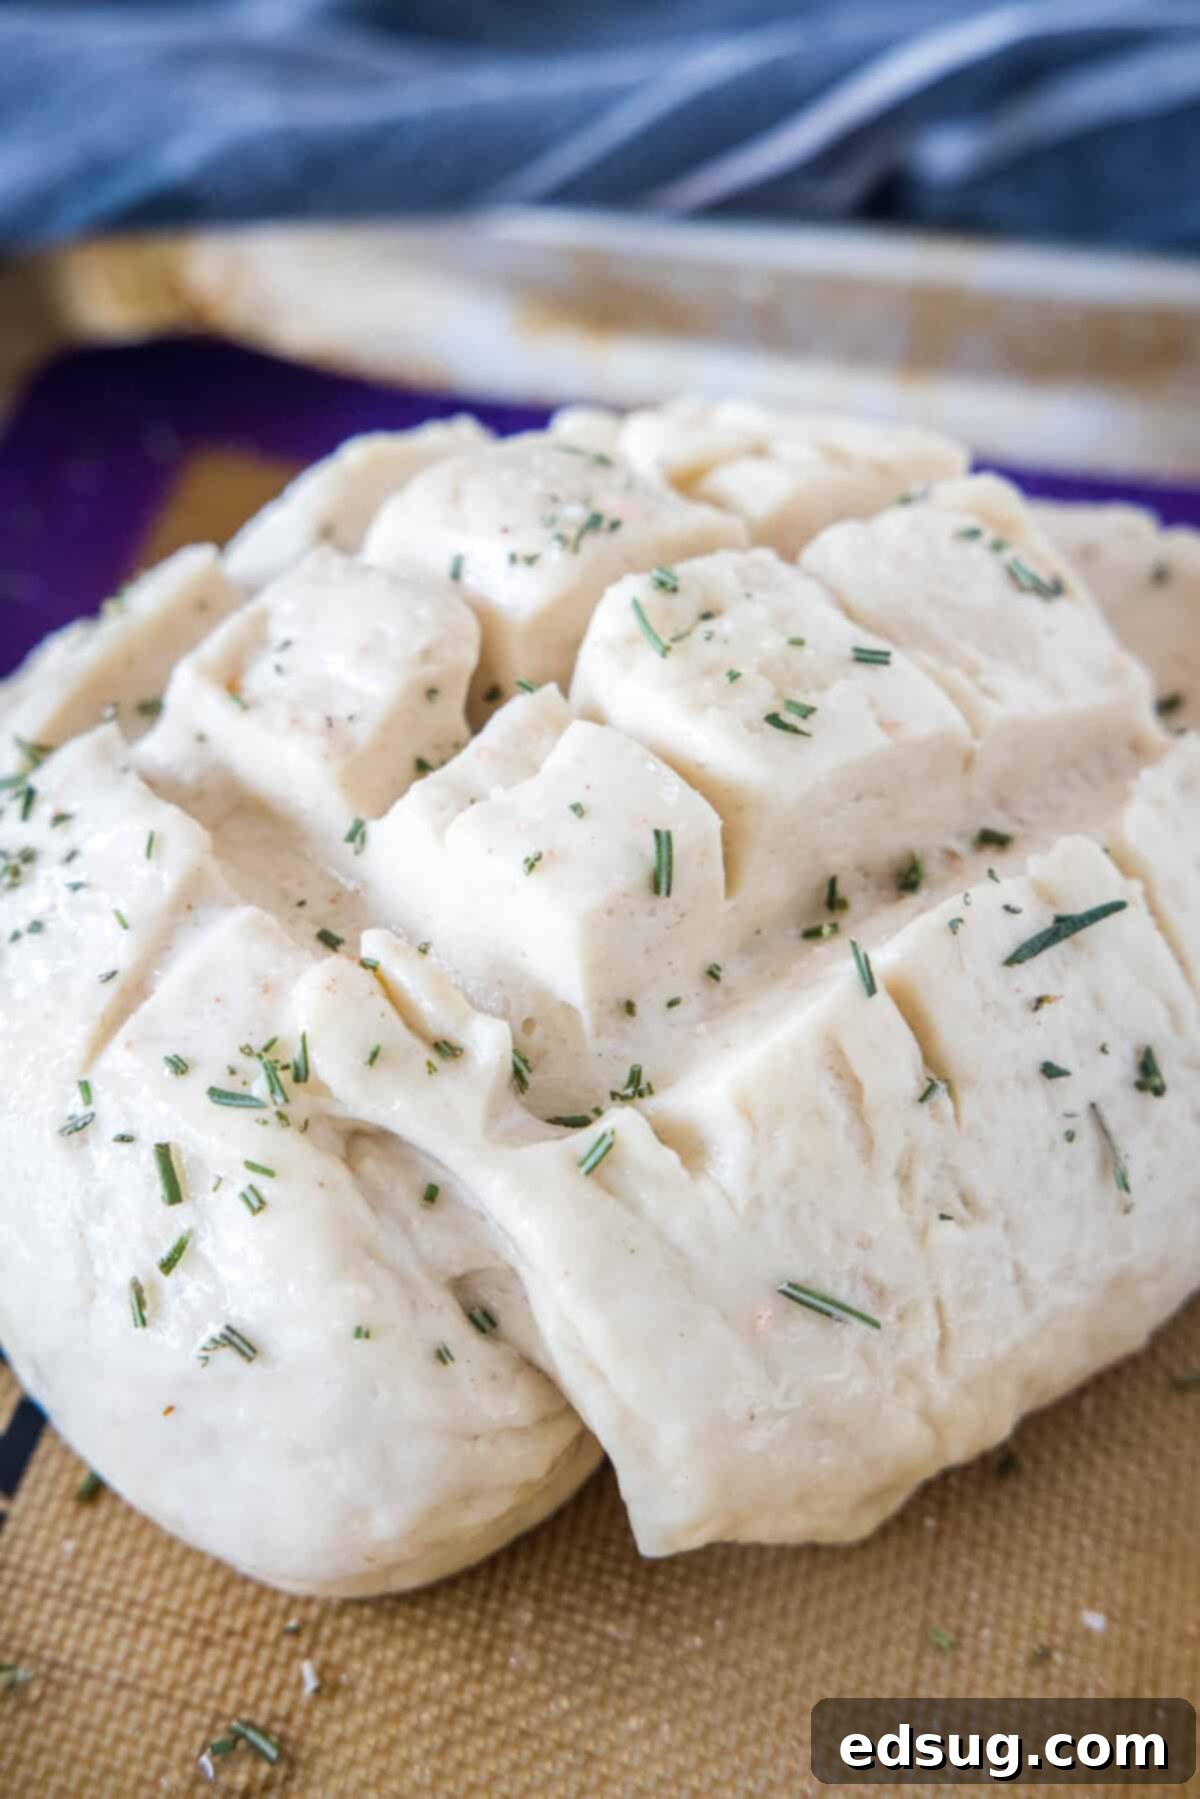
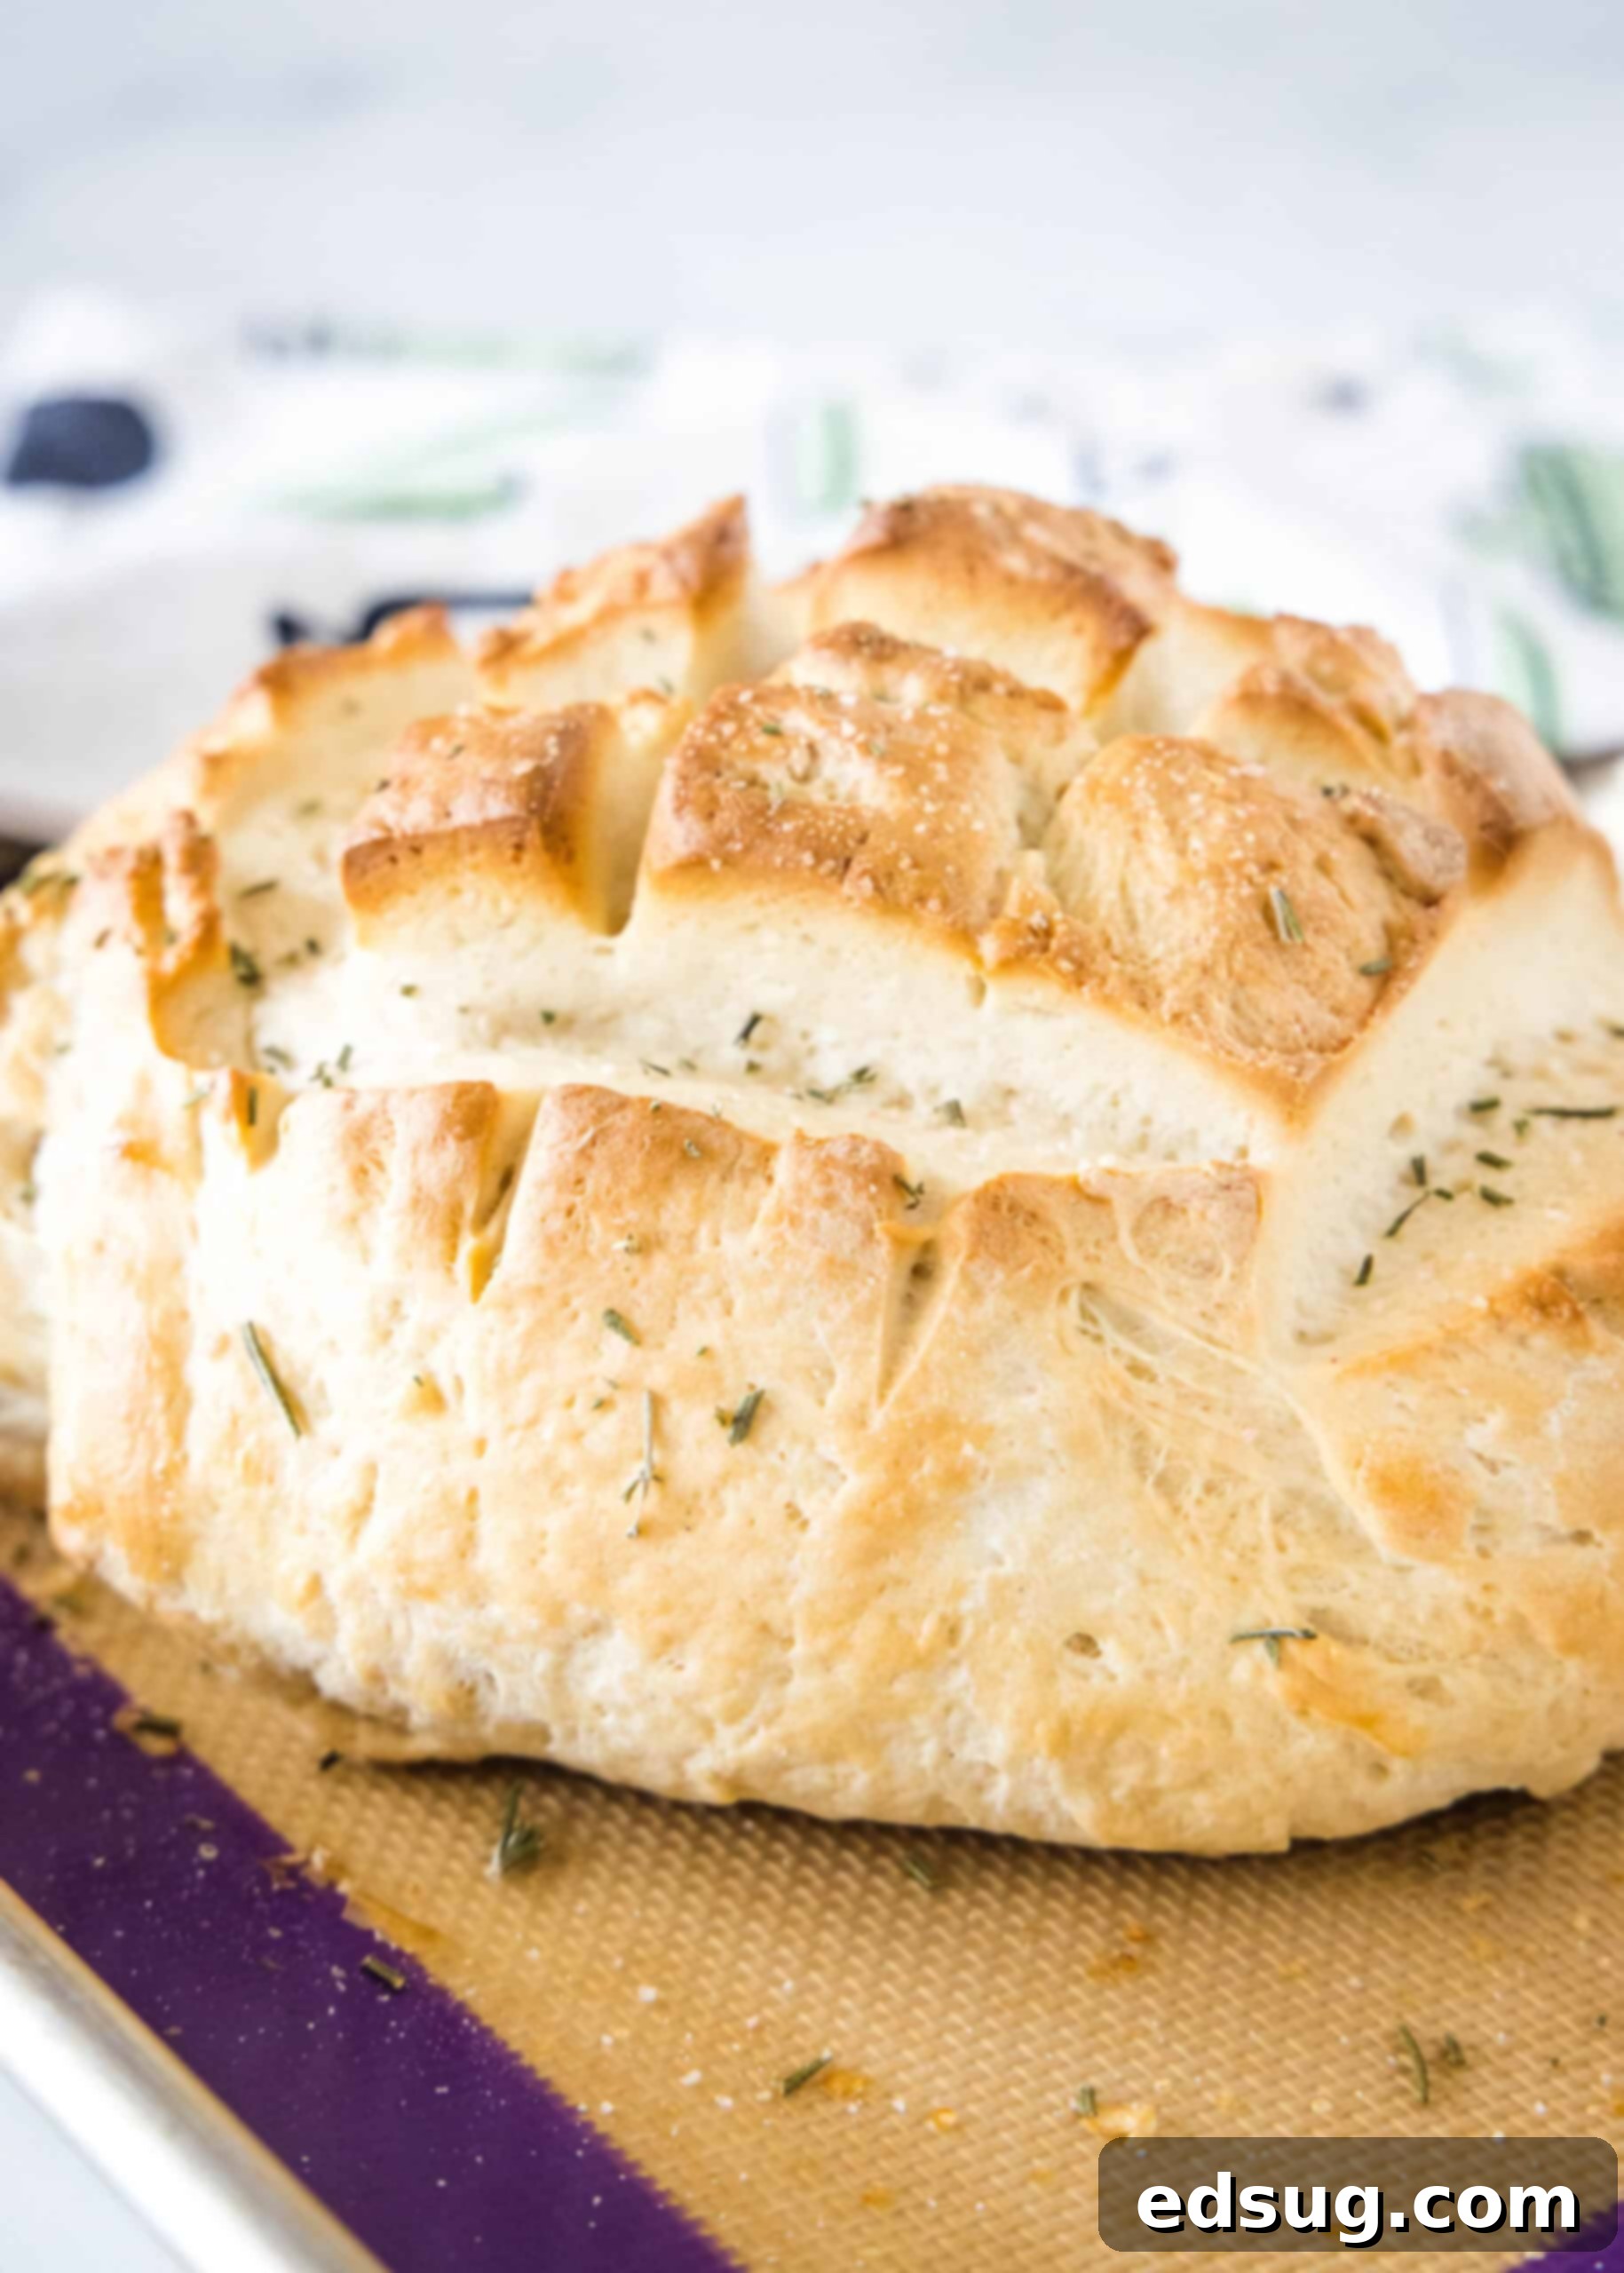
- Step 6: Bake to Golden Perfection. While the loaves are on their second rise, preheat your oven to 400ºF (200ºC). In a small bowl, whisk together the separated egg white with 1 tablespoon of water to create an egg wash. Gently brush this mixture evenly over the top and sides of each dough ball. This creates that beautiful, glossy, golden crust. Sprinkle the tops with a little coarse salt and fresh or dried rosemary, if desired, for added flavor and visual appeal. Place the baking sheet into the preheated oven and bake for 20-25 minutes, or until the loaves are a gorgeous golden brown. For extra assurance of doneness, a fully baked loaf will sound hollow when you tap the bottom.
Expert Baking Tips for Amish Bread
Achieving bakery-quality homemade bread is easier than you think, especially with a few insider tips. Here’s how to ensure your Amish bread turns out perfectly every time:
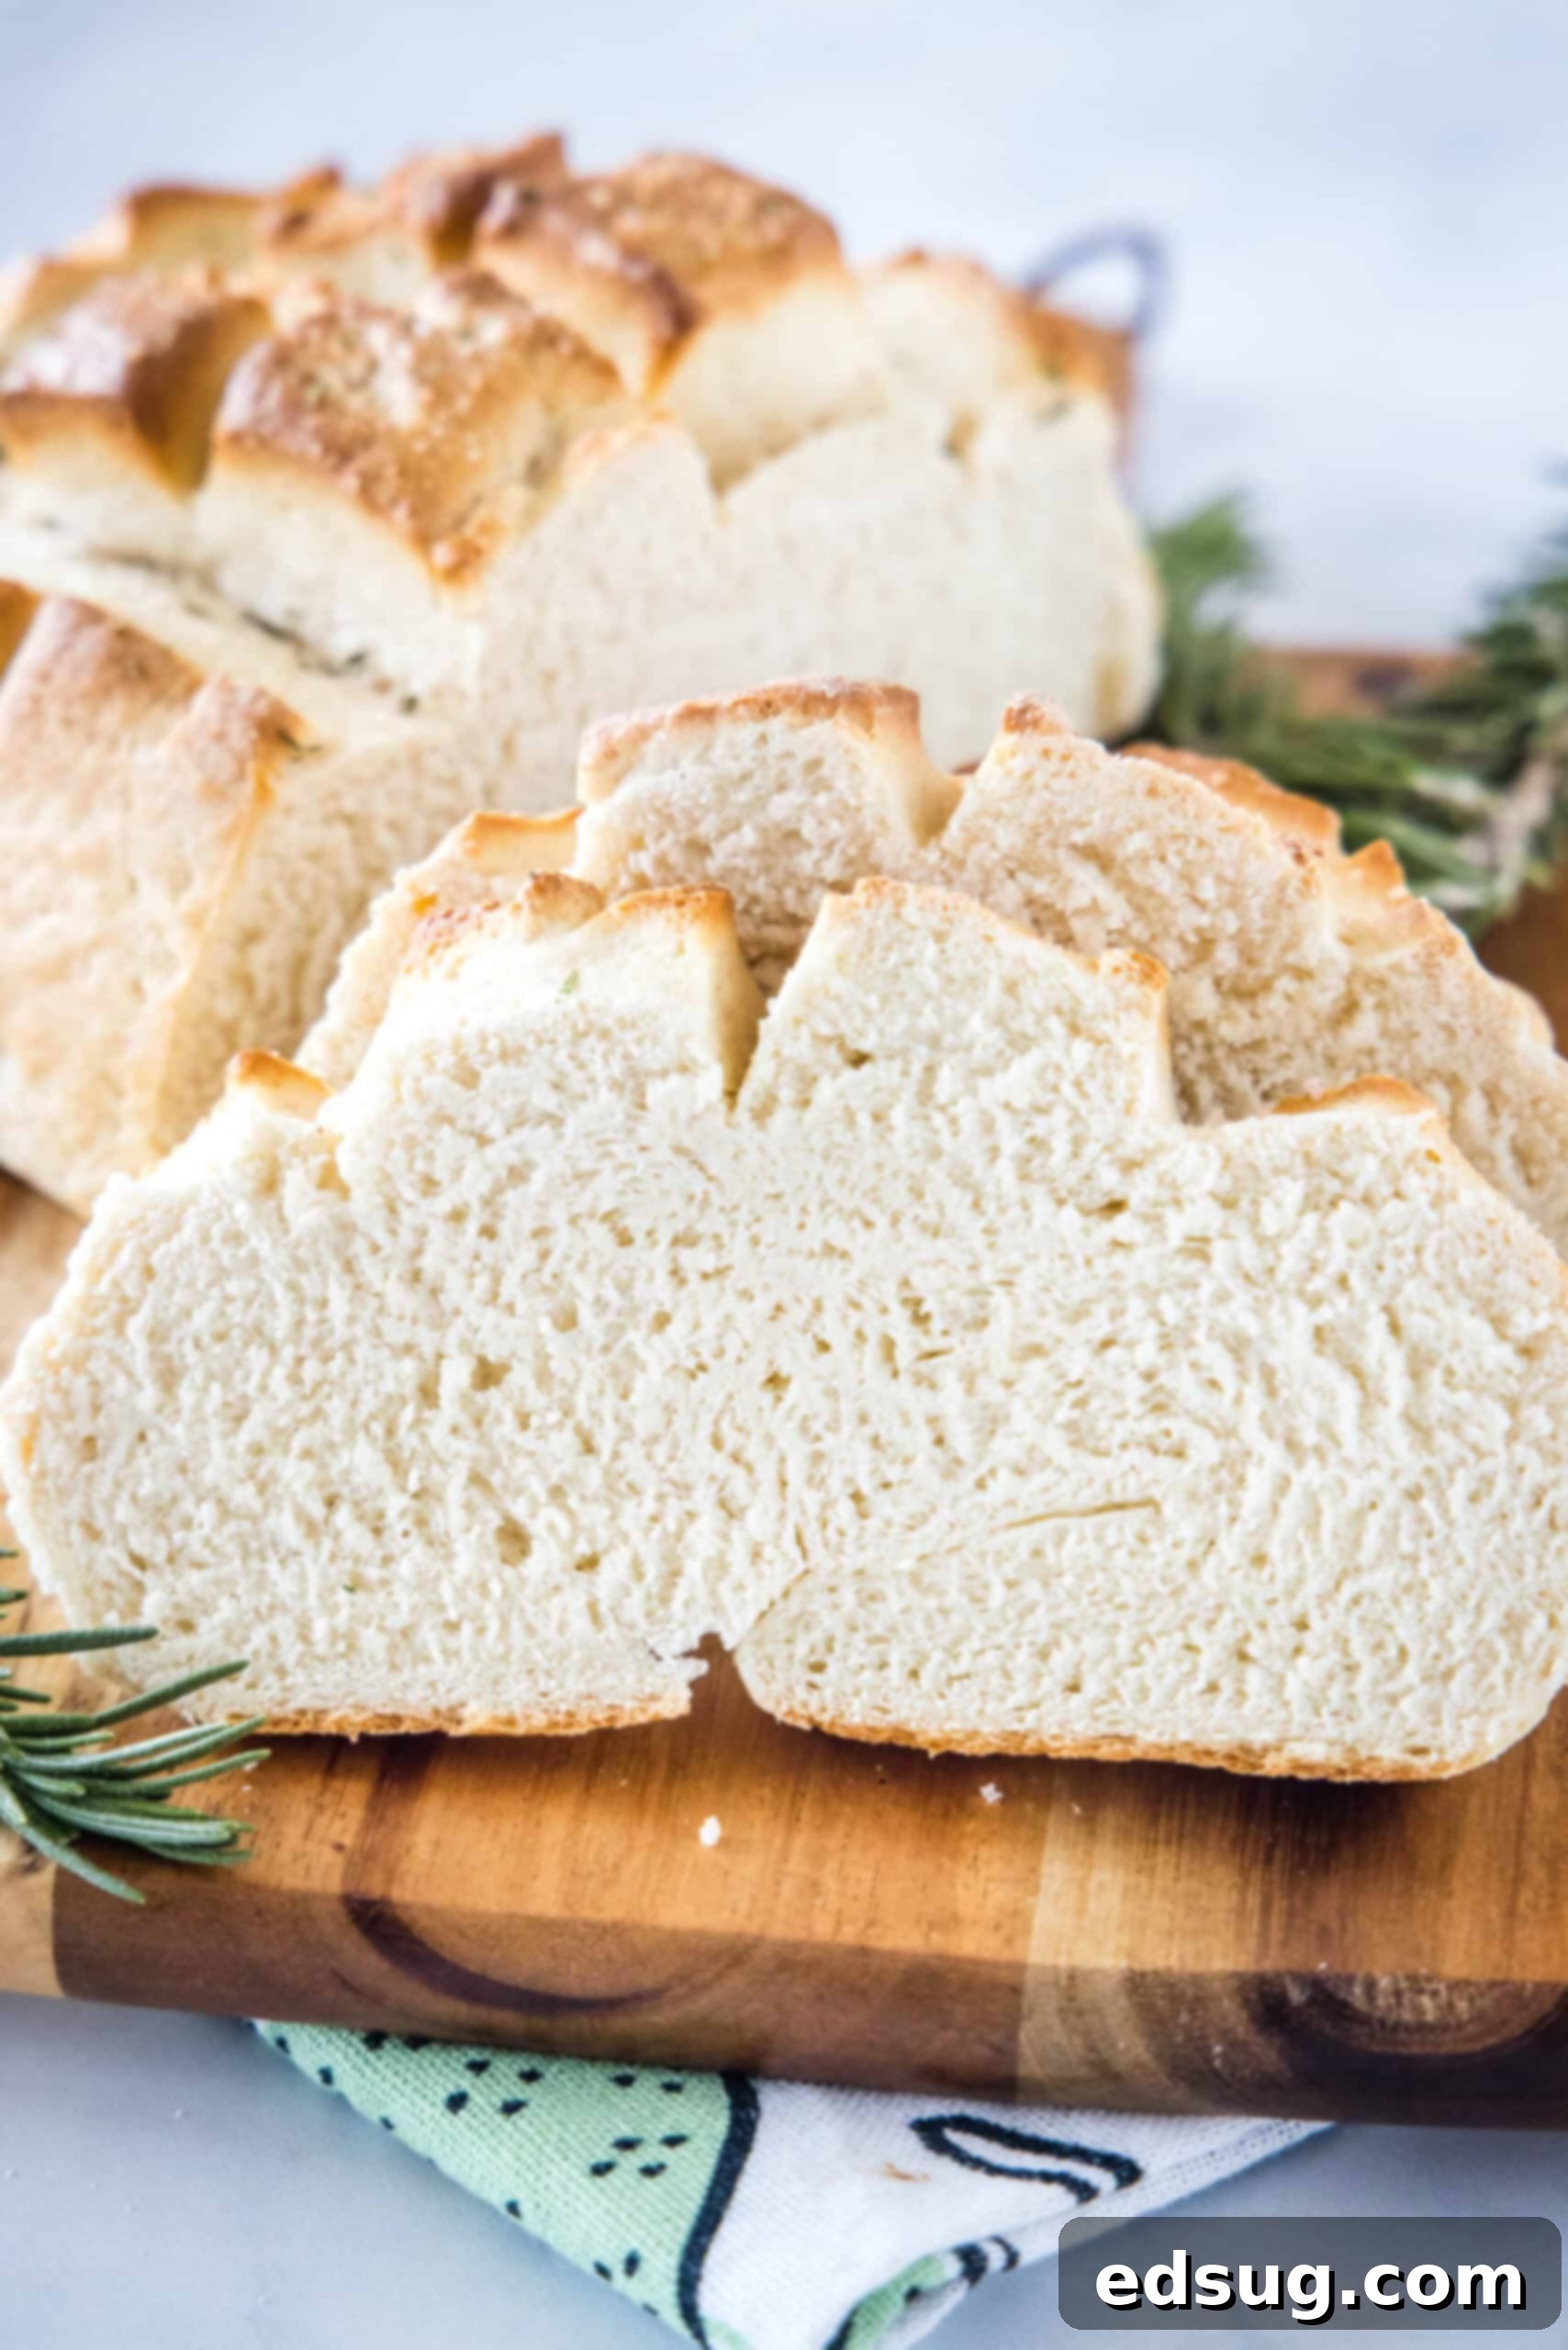
- How to Tell When Your Bread Is Fully Baked: Beyond the beautiful golden-brown color, there’s a simple trick to check for doneness. Carefully remove a loaf from the oven (use oven mitts!) and tap the bottom with your knuckles. A fully baked loaf will produce a hollow sound. If it sounds dull or dense, return it to the oven for a few more minutes. An internal temperature of 190-200°F (88-93°C) is also a reliable indicator.
- Finding the Perfect Warm Spot for Rising: Yeast thrives in warmth, which is crucial for a good rise. A warm, draft-free environment is ideal. Here are a few ideas:
- A sunny spot on your kitchen counter.
- On top of your oven while it’s preheating (the residual warmth is perfect).
- Inside a turned-off oven with just the oven light on (the light bulb provides enough gentle warmth).
- If your microwave has a “proof” setting, that’s another excellent option. Avoid very hot spots, as extreme heat can kill the yeast.
- Ensure Yeast Activation for a Successful Rise: The initial step where you combine yeast with warm water, sugar, and butter is critical. After resting for 5-10 minutes, the mixture *must* look foamy and bubbly. This foaminess is a clear sign that your yeast is active and alive. If you don’t see any foam, it’s an indication that the yeast hasn’t activated properly. This could be due to:
- Expired Yeast: Always check the expiration date on the package.
- Incorrect Water Temperature: Water that’s too cold won’t activate it, and water that’s too hot will kill it. Use a thermometer to ensure it’s within 110ºF to 115ºF. In either of these cases, unfortunately, you’ll need to discard the mixture and start over with fresh yeast and properly tempered water to ensure a good rise.
- Don’t Over-Flour Your Dough: While you need flour for kneading, resist the urge to add too much. A dough that’s too stiff will result in dry, dense bread. The dough should be slightly tacky but manageable. Add flour sparingly, just enough to prevent sticking.
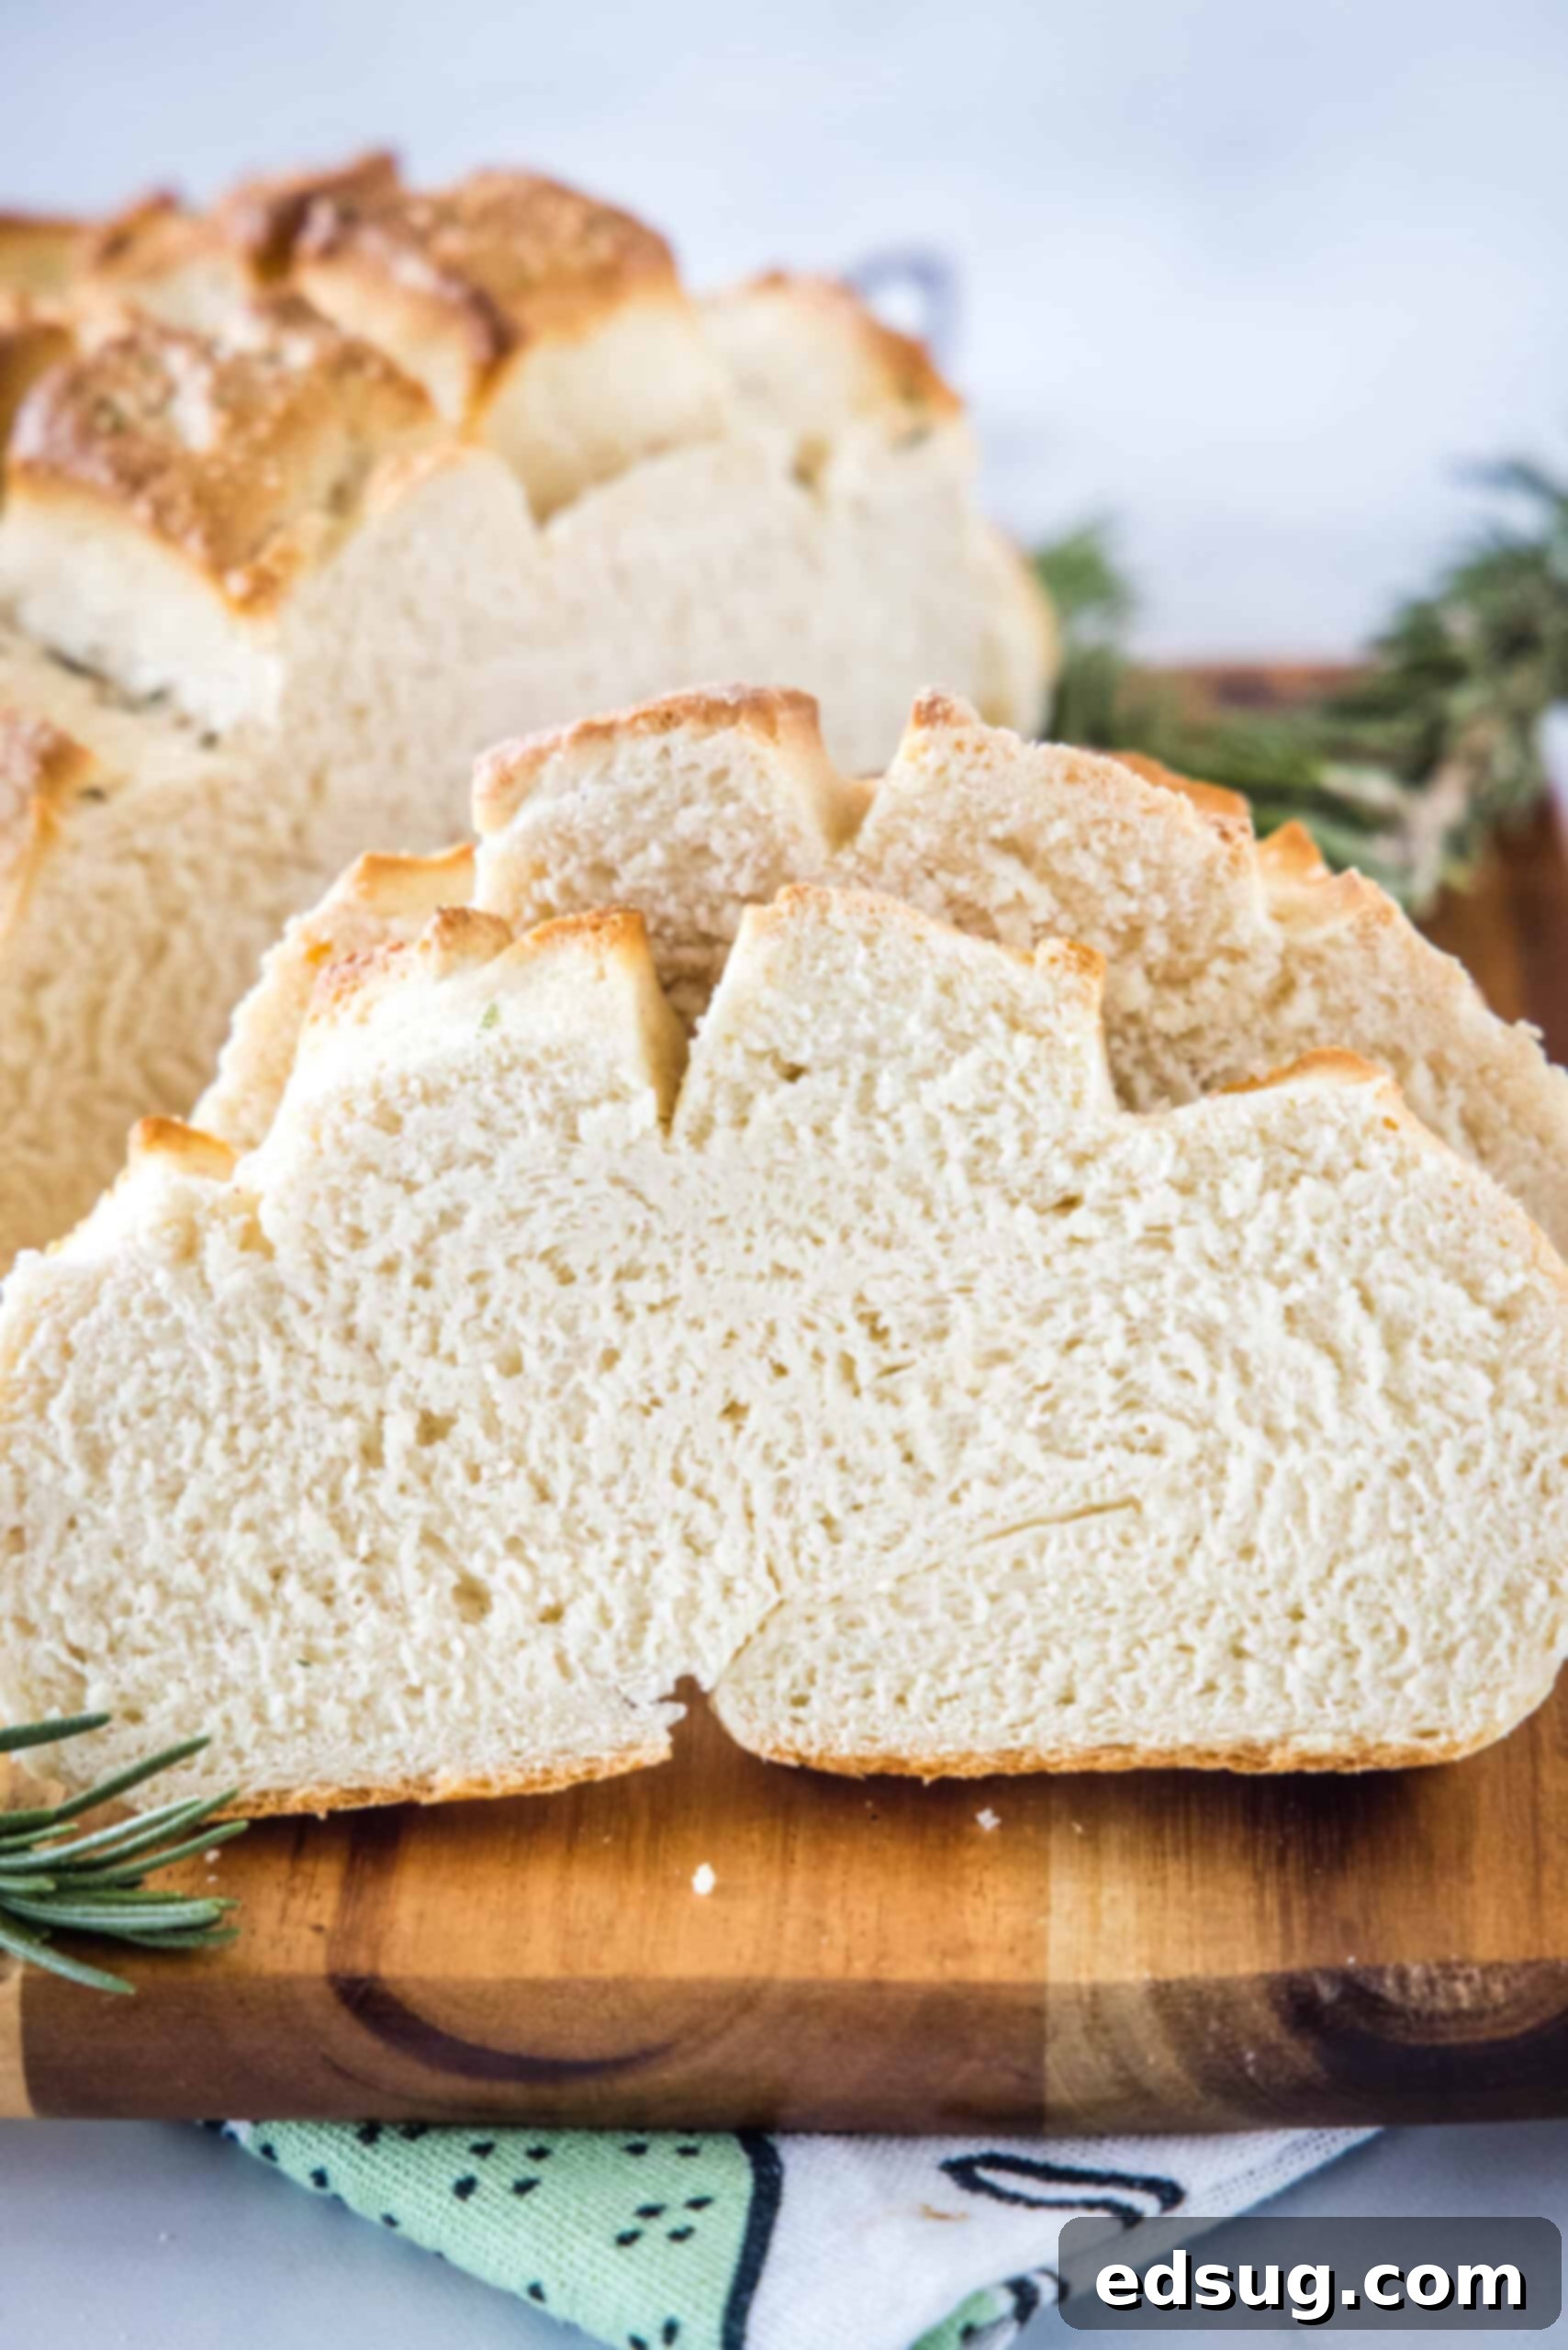
- Cool Completely Before Slicing: As tempting as it is to slice into warm bread, allowing the loaves to cool completely on a wire rack is important. This allows the internal structure of the bread to set and prevents a gummy texture. Cooling also helps the crust crisp up properly.
Serving Suggestions for Homemade Amish Bread
A thick, crusty, and tender homemade bread is truly a versatile addition to almost any meal, transforming an ordinary dish into something special. This Amish bread, with its subtle sweetness and satisfying texture, is no exception. Here are countless ways to enjoy your freshly baked loaves:
- Pair with Hearty Soups and Stews: This bread is an absolute dream for “dunking.” Serve it alongside a rich and creamy broccoli cheese soup, a comforting chicken stew, or a robust bowl of chili. The crusty exterior holds up beautifully, while the soft interior soaks up all the delicious flavors.
- Perfect for Pasta Dinners: Instead of traditional garlic bread, offer slices of this Amish bread to mop up the last bits of sauce from your favorite pasta dishes, like a savory beef ragu or a simple marinara.
- Accompaniment to Roasts and Braises: It’s excellent for soaking up rich gravies and pan juices from a succulent slow cooker pork roast or tender, braised Cabernet-braised short ribs.
- Breakfast & Brunch Staple: Enjoy it simply toasted with a generous slather of butter and your favorite fruit jam or marmalade. For a more decadent treat, turn thicker slices into incredible French toast.
- Elevate Your Sandwiches: The soft yet sturdy crumb makes it an ideal choice for everyday sandwiches or even something special like a gourmet grilled cheese. Try a bacon avocado grilled cheese on this bread!
- Homemade Croutons or Breadcrumbs: If you have any leftover bread that’s starting to dry out, don’t let it go to waste! Cube it, toss with olive oil and herbs, and bake until crisp for homemade croutons for salads or soups. Alternatively, process it into fresh breadcrumbs for coating chicken or topping casseroles.
Truly, there’s an unmatched satisfaction that comes from serving homemade bread, no matter the meal or occasion. It adds a touch of warmth and love to every plate!
How to Store Freshly Baked Amish Bread
Proper storage is key to extending the freshness and enjoyment of your homemade Amish bread. Whether you plan to savor it over a few days or keep it for future use, here’s how to store your delicious loaves:
- At Room Temperature (Short-Term): Once your bread loaves have cooled completely to room temperature (this is crucial to prevent condensation and sogginess), store them in an airtight container, a bread box, or a sealed plastic bag. This method will keep the bread fresh and soft for about 4-5 days. If the bread starts to go a bit stale towards the end of this period, don’t despair! Stale bread is perfect for making other delicious dishes like French toast, strata, or a comforting bread pudding.
- Freezing (Long-Term): This Amish bread is an excellent candidate for freezing, allowing you to enjoy fresh-tasting bread anytime.
- Whole Loaf: Once completely cool, wrap each loaf tightly in plastic wrap, ensuring no air pockets. Then, wrap it again securely in aluminum foil. This double-layer protection helps prevent freezer burn. Label with the date and freeze for up to 1 month.
- Pre-Sliced Loaf: For ultimate convenience, you can slice the cooled bread before freezing. Place parchment paper between slices to prevent them from sticking together. Then, wrap the entire sliced loaf as you would a whole loaf. This way, you can easily grab individual slices as needed, without having to thaw the entire loaf. To thaw, simply unwrap the frozen bread (whole or slices) and let it come to room temperature on the counter. This usually takes only minutes for slices and a few hours for a whole loaf. You can also warm slices directly in a toaster or oven.
More Easy Bread Recipes to Try
If you’ve enjoyed the process of making this delightful Amish bread and are eager to explore more homemade bread options, here are some other fantastic and easy bread recipes from my kitchen:
- Honey Oat Bread
- French Bread Dinner Rolls
- Easy Biscuits
- Potato Bread with Chives
- Cheddar Beer Bread
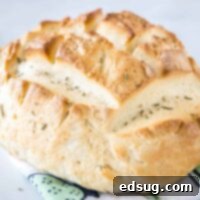
Amish Country Bread
Ingredients
- 4 Tablespoons granulated sugar
- 2 Tablespoons butter, melted
- 3 teaspoons salt
- 1 ½ cup hot water, (about 115 degrees F)
- 2 Tablespoons rapid rise yeast
- 5 cups bread flour
- 1 egg white
- 1 Tablespoons water
- 1 teaspoon kosher salt
- 1 teaspoon rosemary
Instructions
- Using a stand mixer, combine the sugar, melted butter, salt, warm water (110-115°F), and rapid-rise yeast. Let the mixture sit for 5 minutes until it becomes visibly foamy, indicating yeast activation.
- Gradually add the bread flour, one cup at a time, mixing until the dough comes together in a ball that pulls away from the sides of the bowl.
- Transfer the dough onto a lightly floured countertop and knead by hand for 8-10 minutes until it is smooth and elastic.
- Place the kneaded dough into a greased bowl, cover it with a clean dishcloth, and let it rise in a warm, draft-free place until it has doubled in size (approximately 30 minutes).
- Gently punch down the risen dough to release air. Divide it into two equal portions and shape each into a round or oval loaf. Place both loaves side-by-side on a baking sheet. Using a sharp knife, cut several shallow cross slits on the top of each loaf. Cover again and let rise for another 30 minutes.
- While the loaves are on their second rise, preheat your oven to 400°F (200°C).
- In a small bowl, whisk the egg white with 1 tablespoon of water to create an egg wash. Brush this mixture evenly over the top of each dough ball. Sprinkle with kosher salt and rosemary, if desired. Bake for 20-25 minutes, or until the bread is golden brown and sounds hollow when tapped on the bottom.
Notes
- This recipe is adapted from One More Moore.
- For a more traditional loaf shape, you can bake the dough in two loaf pans instead of forming round balls.
- The rosemary and salt topping adds a wonderful savory element; feel free to omit them if you prefer a plain, sweet sandwich bread.
- To make a single loaf, simply cut all the ingredient amounts in half.
Nutrition
Nutrition information is automatically calculated, so should only be used as an approximation.
Additional Info
I’ve created a fantastic community group on Facebook, and I’d be absolutely thrilled for you to join us! It’s the perfect place to share your favorite recipes, ask any burning cooking questions, and stay updated on what’s new at Dinners, Dishes and Desserts, ensuring you never miss out on a delicious new recipe!
Make sure to follow me on Instagram and tag #dinnersdishes so I can see all the wonderful DINNERS, DISHES, AND DESSERTS recipes YOU create!
Don’t forget to follow me on my social media channels so you never miss a post or a new recipe!
Facebook | Twitter | Pinterest | Instagram
.
