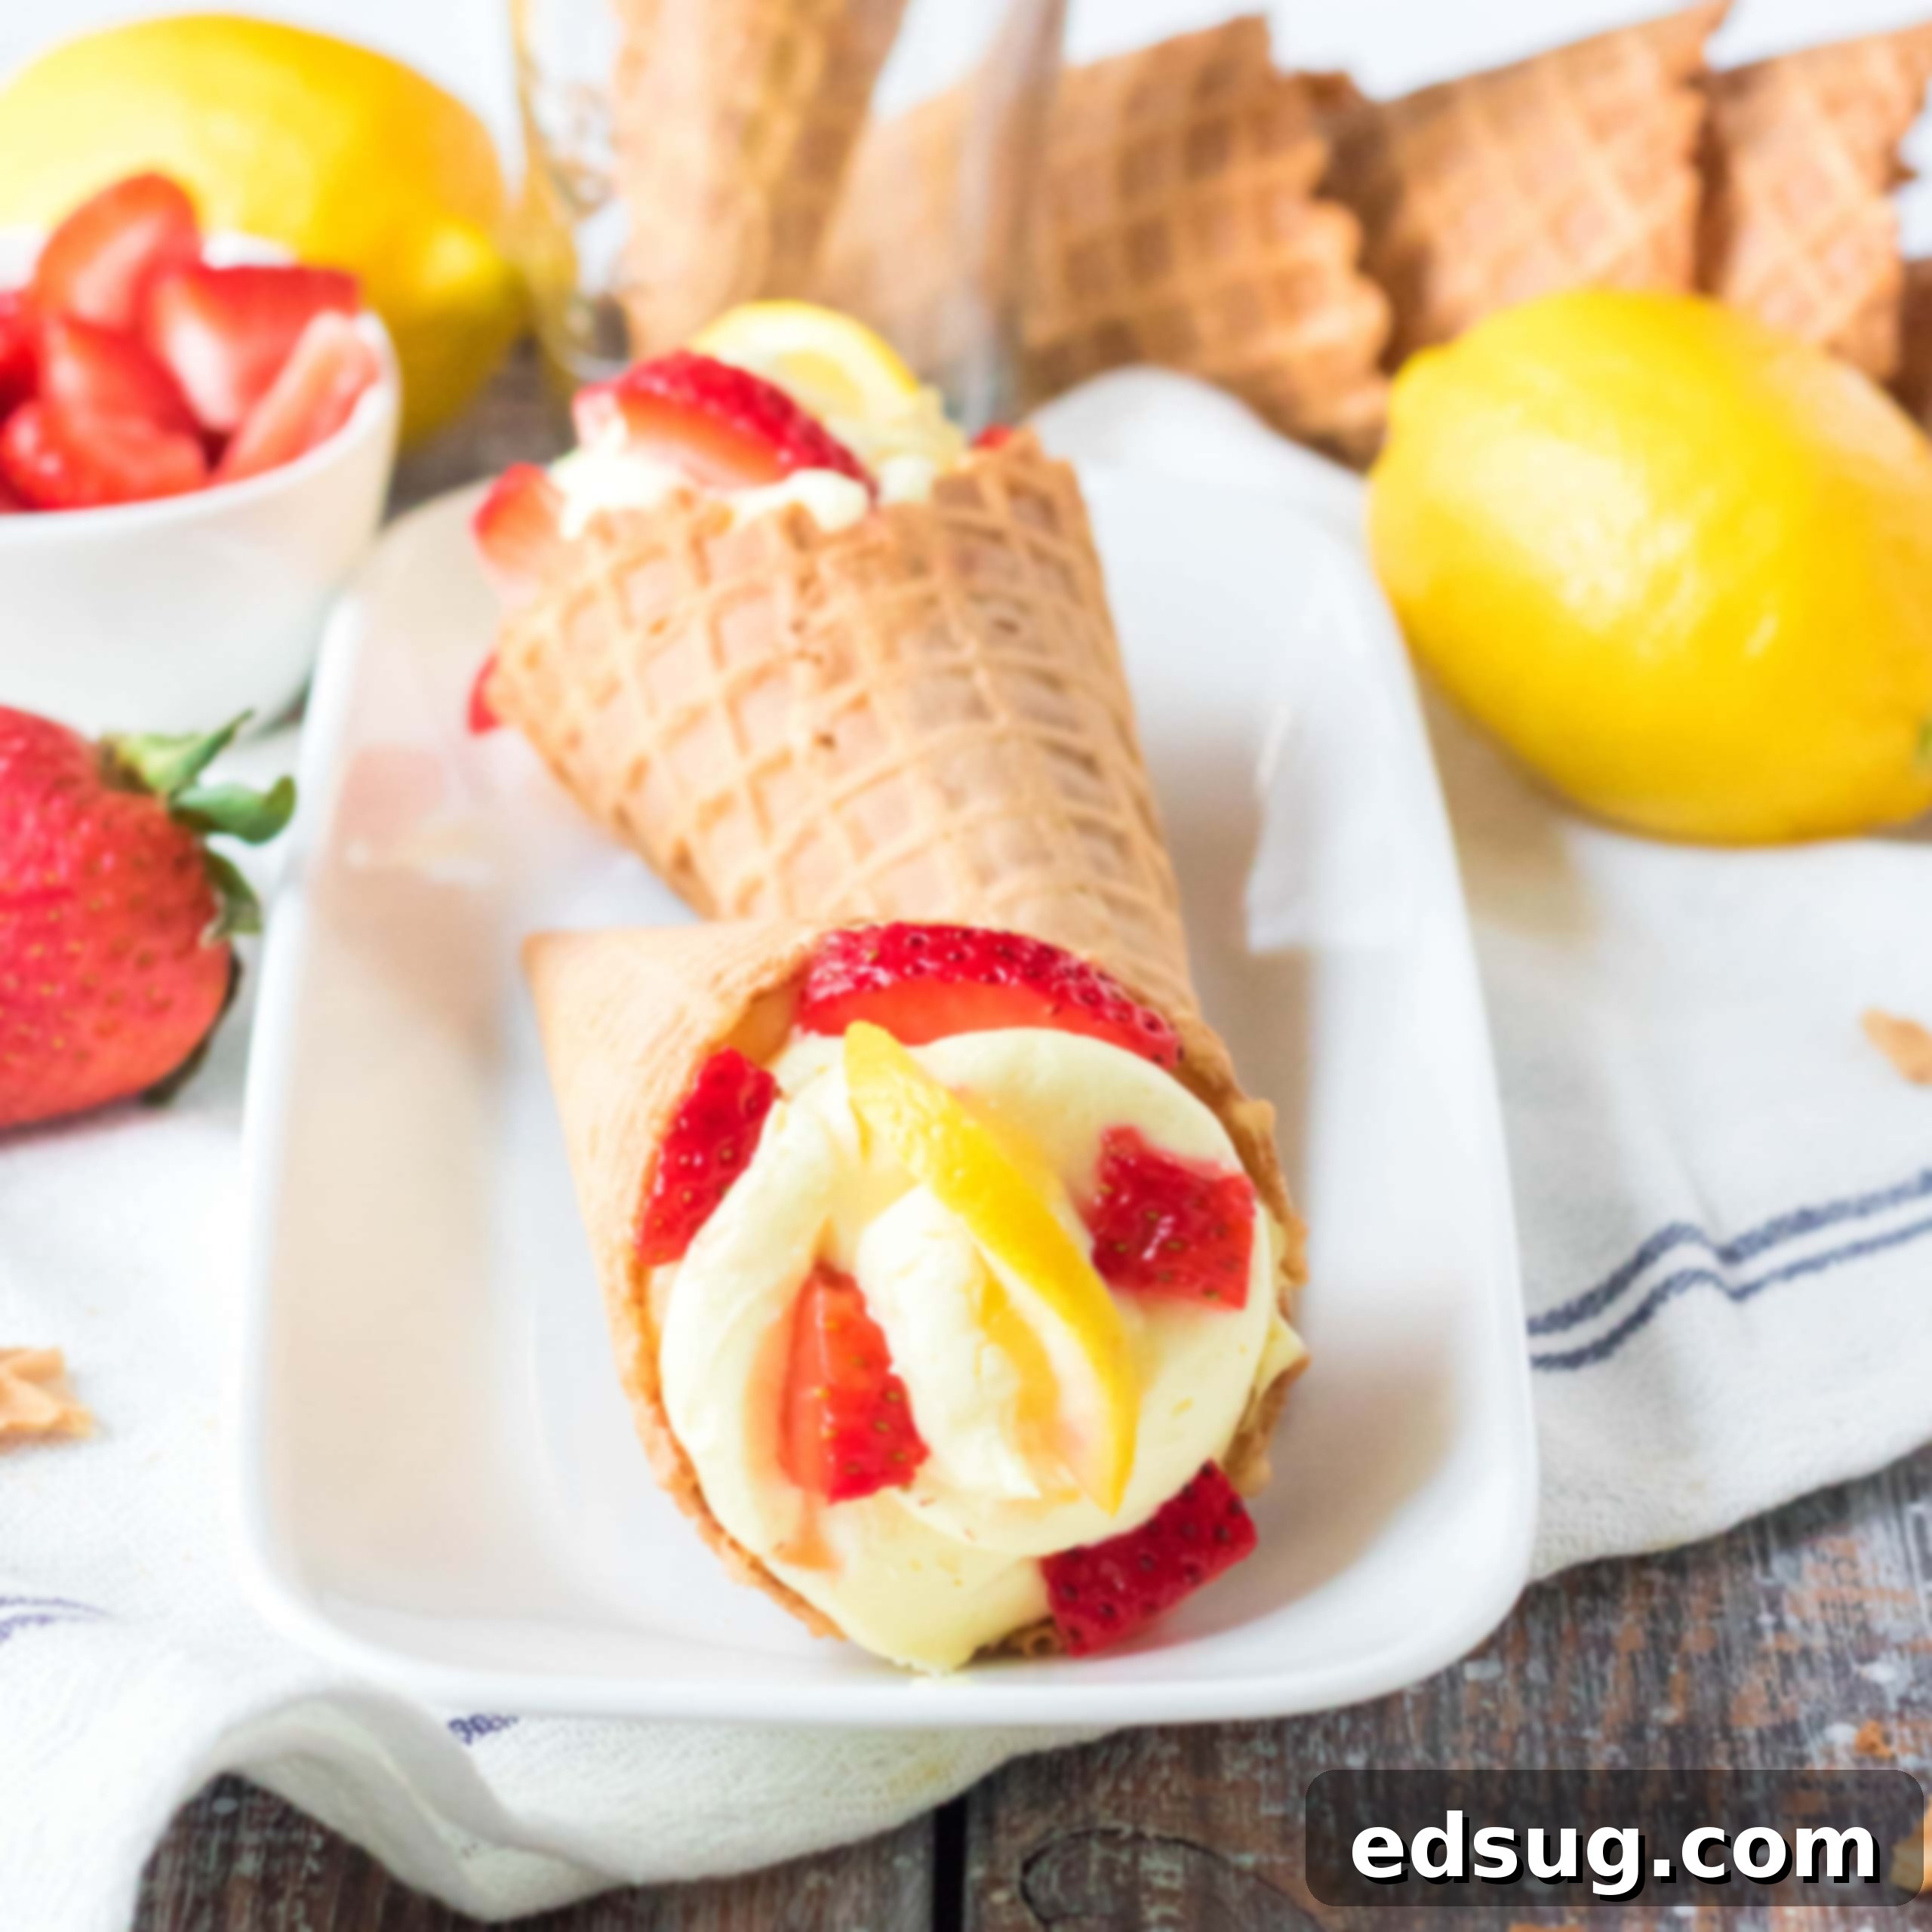
No-Bake Lemon Cheesecake Cones: The Ultimate Easy Summer Dessert Recipe with Fresh Strawberries
Beat the heat with these delightful No-Bake Lemon Cheesecake Cones! Quick to assemble, refreshingly tart, and perfectly creamy, each waffle cone is generously piped with a zesty lemon cheesecake filling and crowned with vibrant fresh strawberries. This hassle-free dessert is an absolute must-try for any summer gathering or a simple sweet craving.
As the temperatures rise and the sun shines brighter, the last thing anyone wants to do is turn on a hot oven. That’s where no-bake desserts become an absolute lifesaver! These Lemon Cheesecake Cones are the epitome of summer indulgence: light, airy, incredibly refreshing, and remarkably simple to prepare. Imagine the irresistible tang of lemon perfectly balanced with rich, creamy cheesecake, all nestled within a crisp waffle cone, ready in mere minutes and guaranteed to disappear even faster.
This recipe revolutionizes dessert making by offering a delicious, decadent treat without any baking involved. The star of the show is a luscious no-bake lemon cheesecake filling that comes together with minimal effort. It’s then elegantly piped into classic waffle cones, providing a satisfying crunch that contrasts beautifully with the smooth filling. To elevate this treat further, we top each cone with an abundance of juicy, fresh strawberries, adding a burst of natural sweetness and a pop of color. For those who love berries in every bite, you can even gently fold chopped strawberries directly into the cheesecake mixture before filling the cones. It’s a versatile dessert designed for maximum enjoyment with minimal fuss.

Why You’ll Love These Lemon Cheesecake Cones
There are countless reasons to fall in love with these delightful dessert cones. First and foremost, they are a **no-bake dream**. Say goodbye to heating up your kitchen and hello to cool, effortless dessert creation. This makes them ideal for hot summer days, picnics, barbecues, or any occasion where you want a fantastic treat without the fuss of baking.
Secondly, the **speed and simplicity** of this recipe are unmatched. With just a few basic ingredients and a handful of steps, you can have a gourmet-looking dessert ready for chilling in under 15 minutes. It’s perfect for busy schedules or when unexpected guests arrive.
Then there’s the **flavor profile**. The bright, zesty lemon combined with the rich, tangy cream cheese creates a perfectly balanced and incredibly refreshing taste. Paired with sweet, fresh strawberries, it’s a symphony of flavors that delights the palate. The contrast in textures between the crisp waffle cone and the silky smooth cheesecake filling adds another layer of enjoyment, making each bite an exciting experience.
Finally, these cones are **highly customizable** and offer a fun, handheld alternative to traditional cheesecake slices. They’re perfect for kids and adults alike, easy to serve, and always a crowd-pleaser. Plus, the vibrant colors of the strawberries against the creamy lemon filling make for a visually stunning dessert that’s sure to impress.
Key Ingredients for Your Lemon Cheesecake Cones
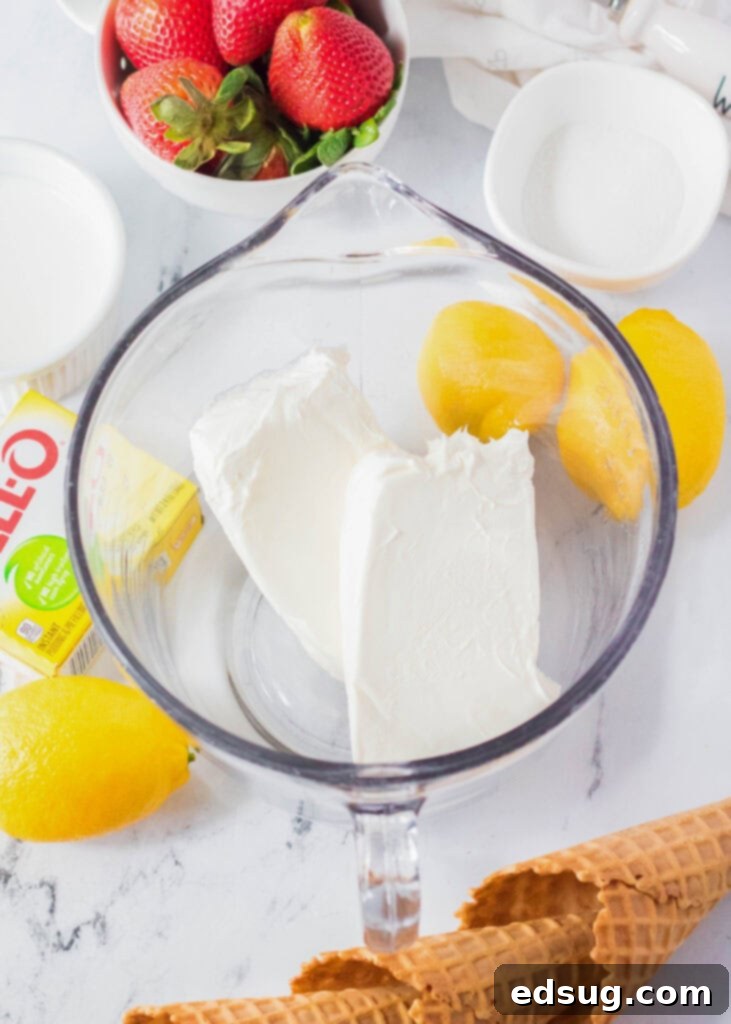
Crafting these delectable lemon cheesecake cones requires a straightforward list of ingredients, most of which you likely already have in your pantry or can easily find at any grocery store. The beauty lies in their simplicity and how they come together to create such a memorable dessert. Here’s a closer look at what you’ll need:
- Cream Cheese: The foundation of any good cheesecake. Use full-fat block cream cheese, softened to room temperature, for the creamiest, smoothest texture. Avoid whipped or spreadable cream cheese as they have too much moisture.
- Granulated Sugar: Sweetens the cheesecake filling and helps to macerate the strawberries if needed, bringing out their natural juices and sweetness.
- Instant Lemon Pudding Mix: This is the secret ingredient for that vibrant lemon flavor and helps to set the no-bake cheesecake without gelatin. Make sure it’s the instant variety, not cook-and-serve.
- Cold Milk: Essential for preparing the instant pudding, ensuring it sets properly and contributes to the creamy consistency of the filling.
- Waffle Cones: The perfect edible vessel for our cheesecake. Their crispy texture and subtle sweetness complement the creamy filling beautifully. Choose regular waffle cones for best results.
- Fresh Strawberries: The ideal topping! Their natural sweetness and slight tartness are a perfect match for the lemon cheesecake. Ensure they are ripe and fresh for optimal flavor.
- Lemon Slices (optional garnish): A beautiful and aromatic garnish that reinforces the lemon theme and adds a touch of elegance to your finished cones.
Want even more intense lemon flavor? While the instant pudding provides a lovely lemon essence, you can easily amplify it. Consider mixing in a teaspoon or two of fresh lemon juice or finely grated lemon zest (from the outer yellow rind) directly into the cream cheese mixture. If you have lemon extract on hand, a small dash can also enhance the citrusy punch. Remember, the natural lemon flavor from the pudding mix is mild, so feel free to taste and adjust with additional flavoring until it reaches your desired intensity. This allows you to customize the tartness to your personal preference, from subtle to boldly zesty.
Step-by-Step Guide to Crafting Perfect Lemon Cheesecake Cones
Making these lemon cheesecake cones is incredibly straightforward, even for novice bakers. Follow these simple steps to create a delightful summer dessert that everyone will adore:
- Prepare the Cream Cheese Base: In a spacious mixing bowl, combine the softened cream cheese with 4 tablespoons of the granulated sugar. Using an electric mixer, beat these ingredients together on medium speed until the mixture is wonderfully smooth, light, and fluffy. Ensure there are no lumps to achieve a perfectly creamy filling.
- Whisk the Pudding Mixture: In a separate, medium-sized bowl, whisk together the instant lemon pudding mix and the cold milk. Continue whisking for about 1-2 minutes until the mixture starts to thicken slightly. Let this mixture stand undisturbed for 5 minutes; this allows the pudding to fully set and achieve its proper gelatinous consistency, which is crucial for the cheesecake filling’s structure.
- Combine the Mixtures: After the 5 minutes, gently scrape the thickened pudding mixture into the bowl with the beaten cream cheese. Using your electric mixer again, whip the two mixtures together until they are fully combined and uniformly smooth. This creates the luscious no-bake lemon cheesecake filling.
- Prepare the Strawberries: If your strawberries aren’t super sweet or juicy, you can enhance their flavor and texture by macerating them. Combine the chopped strawberries with the remaining 1 tablespoon of sugar in a small bowl. Toss gently and let them sit for about 10-15 minutes. This process draws out their natural juices, making them sweeter and more succulent. If your strawberries are already perfectly ripe and sweet, you can skip this step and use them as is.
- Fill the Cones: Transfer the creamy cheesecake mixture into a piping bag fitted with a star tip (or any decorative tip you prefer). If you don’t have a piping bag, a large plastic storage bag with a corner snipped off will work just as well. Carefully pipe the lemon cheesecake filling into each waffle cone, filling them almost to the top. For a neat finish, swirl the top of the filling.
- Garnish and Serve: Artfully arrange slices or chopped pieces of your prepared strawberries on top of the cheesecake filling in each cone. For an extra touch of sophistication and a hint of fresh aroma, you can garnish each cone with a thin slice of lemon, if desired.
- Chill Before Serving: To allow the cheesecake filling to firm up completely and for the flavors to meld beautifully, place the filled cones in the refrigerator. Let them chill for at least one hour before serving. This step is essential for the best texture and prevents the cones from getting soggy too quickly.
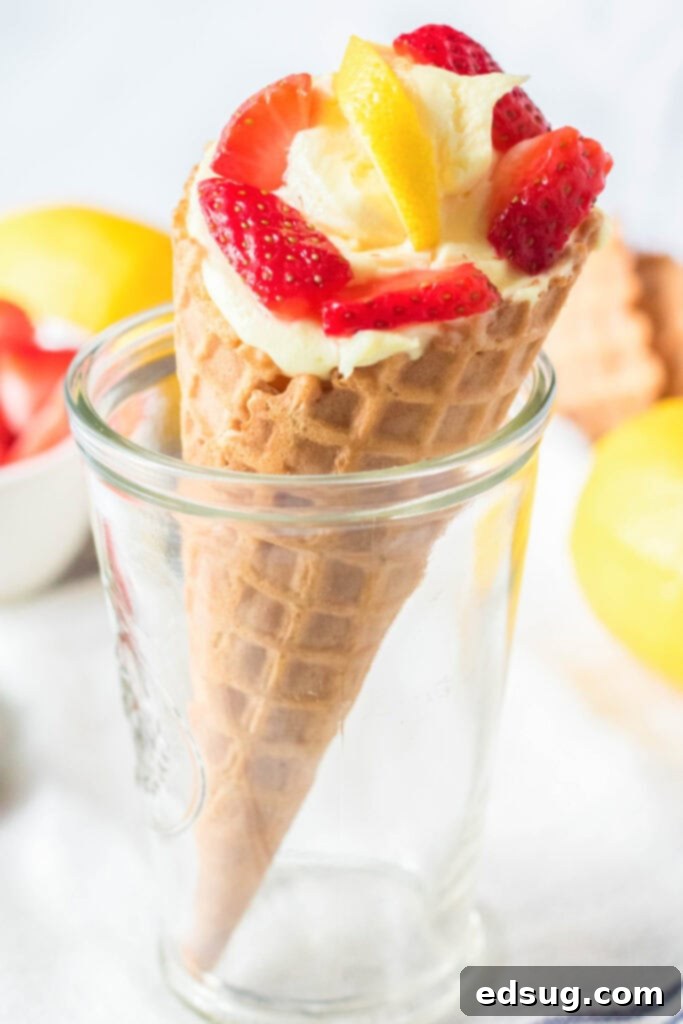
Can I Make These Lemon Cheesecake Cones Ahead of Time?
One of the most common questions for any no-bake dessert is about make-ahead options, and these Lemon Cheesecake Cones are no exception. While the filling itself is very forgiving and can be prepared in advance, the assembly requires a bit of timing to ensure the best possible experience. The main concern with making these too far ahead is that the waffle cones can lose their desirable crispness and become soggy from the moisture in the cheesecake filling.
For optimal enjoyment, with perfectly crisp cones and a chilled, set filling, I recommend filling the cones no more than **an hour before serving**. This short chilling period is enough to firm up the cheesecake and allow the flavors to fully develop, without compromising the texture of the waffle cone.
However, you absolutely can **prepare the cheesecake filling in advance!** This is a fantastic time-saver. Simply make the lemon cheesecake mixture following the recipe instructions, then transfer it to an airtight container. Store it in the refrigerator for up to **2 days** before you plan to fill the cones. When you’re ready to assemble, give the filling a quick stir if it seems too stiff (you might need to re-pipe or spoon it into a piping bag) and then proceed with filling the cones and adding your fresh strawberry topping. This strategy allows for maximum freshness and convenience, ensuring your cones are delightfully crisp when served.
Exploring Fruit and Flavor Variations
While fresh strawberries pair exquisitely with the zesty lemon cheesecake, the beauty of this recipe lies in its adaptability. You can absolutely customize these cones with a myriad of different fruits and pudding flavors to suit your taste or what’s in season.
Fruit Substitutions and Additions
Absolutely! The possibilities for fruit toppings are almost endless. Instead of, or in addition to, strawberries, consider these fantastic options:
- Blueberries: Sweet and slightly tart, blueberries offer a lovely contrast and vibrant color.
- Raspberries: Their tartness is a wonderful complement to the sweet lemon cheesecake.
- Blackberries: Juicy and rich, blackberries add a deeper flavor profile.
- Mixed Berries: A combination of strawberries, blueberries, and raspberries creates a beautiful medley of colors and flavors.
- Peaches or Nectarines: Diced fresh peaches or nectarines add a summery sweetness and soft texture.
- Kiwi: For a tropical twist, sliced kiwi adds a unique tang and bright green color.
The key is to use **fresh, ripe, and sweet fruit**. The better the quality of your fruit, the more delicious your cones will be. Don’t hesitate to experiment with whatever berries or soft fruits you have on hand that you enjoy!
Pudding Flavor Twists
Beyond fruit, you can also completely change the character of this dessert by simply swapping out the instant pudding flavor. If lemon isn’t your primary craving, consider these fun alternatives:
- Vanilla Pudding: Creates a classic, creamy cheesecake flavor that pairs well with virtually any fruit.
- Chocolate Pudding: Use this for a rich, indulgent chocolate cheesecake filling. This would be phenomenal in chocolate waffle cones, perhaps topped with cherries or a drizzle of fudge!
- Lime Pudding: For another citrusy kick, lime pudding offers a tangy, vibrant flavor, perfect with raspberries or blueberries.
- Butterscotch Pudding: A unique, sweet, and comforting flavor that would be delicious with a caramel drizzle and a sprinkle of sea salt.
- Banana Cream Pudding: A fruity and creamy option, especially good with sliced bananas and a touch of whipped cream.
Imagine using a No Bake Oreo Cheesecake recipe as the filling and serving it in chocolate waffle cones for a truly decadent twist! These cones are a canvas for your creativity, allowing for endless flavor combinations and exciting dessert experiences.
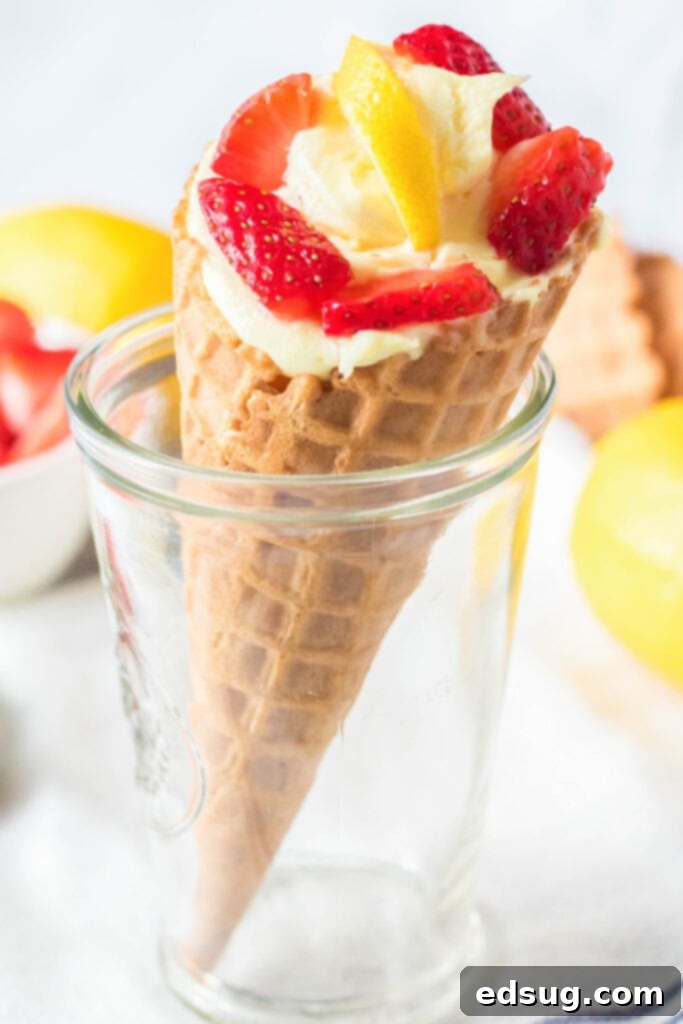
Tips for Success and Perfect Presentation
To ensure your Lemon Cheesecake Cones turn out perfectly every time, here are a few additional tips:
- Room Temperature Cream Cheese: This is critical! Softened cream cheese blends smoothly with the sugar, preventing lumps and creating a light, airy texture for your filling. If it’s too cold, your mixture will be clumpy.
- Don’t Overmix the Pudding: Whisk the pudding and milk just until it starts to thicken, then let it sit. Over-whisking can sometimes prevent it from setting properly.
- Piping Bag Technique: If you’re new to piping, practice on a plate first. Start from the bottom of the cone and swirl upwards, filling evenly. This ensures the cone is completely filled and looks professional.
- Keep Cones Crisp: As mentioned, don’t fill the cones too far in advance. If you’re worried about them softening even within an hour, you can melt a small amount of white chocolate and coat the inside of the cones, especially the bottom. This creates a barrier against moisture, though it adds an extra step and calorie.
- Uniform Strawberry Pieces: For the best visual appeal and even distribution of flavor, chop your strawberries into similar-sized pieces for topping or mixing into the filling.
- Chilling is Key: Don’t skip the chilling step! It allows the cheesecake filling to set properly, resulting in a firm, scoopable (or in this case, cone-able) texture.
- Serve Immediately After Chilling: Once chilled, these cones are at their peak. Serve them promptly for the best texture and temperature.
More Tasty Summer Dessert Recipes
If you’re loving these easy, no-bake, and refreshing summer desserts, you’re in luck! There’s a whole world of delicious treats waiting to be explored that keep the oven off and the flavors bright. Here are some more fantastic recipes that are perfect for those warm-weather cravings:
- Kool-Aid Pie: A vibrantly colored and flavored no-bake pie that’s incredibly simple and always a hit, especially with kids.
- No-Bake Cornflake Cookies: A nostalgic and chewy cookie that requires no oven, perfect for quick dessert fixes.
- No-Bake Turtle Cheesecake: Indulge in rich chocolate, caramel, and pecans in a creamy cheesecake form, all without turning on the oven.
- Chocolate Chip Cookie Ice Cream Sandwiches: A classic summer treat made even better with homemade cookies and your favorite ice cream.
- Strawberry Crumb Bars: While these might require a brief bake, their fresh strawberry filling makes them a perfect picnic or potluck dessert.
- Lemon Brownies: A zesty twist on a classic, these bright and chewy brownies offer another way to enjoy lemon goodness (oven required for these!).
- No-Churn Nutella Ice Cream: Make your own creamy, dreamy ice cream at home with no special equipment, infused with the irresistible flavor of Nutella.
- No-Bake Peanut Butter Bars: A rich, sweet, and incredibly easy dessert for peanut butter lovers that comes together quickly and effortlessly.
Whether you’re looking for another no-bake wonder or a fruity treat to cool down, these recipes offer diverse options to keep your summer sweet and delicious!


Lemon Cheesecake Cones
Ingredients
- 2 8 oz blocks cream cheese, softened
- 5 Tablespoons granulated sugar, divided
- 1 3.4 oz box instant lemon pudding mix
- 1 cup cold milk
- 1 cup chopped fresh strawberries
- lemon slices, optional garnish
- 4 waffle cones
Instructions
- In a large mixing bowl combine the softened cream cheese with 4 tablespoons of sugar. Beat well with an electric mixer until smooth and fluffy, ensuring no lumps remain.
- In a separate bowl, whisk together the instant lemon pudding mix and cold milk for 1-2 minutes until it begins to thicken. Let it stand for 5 minutes to fully set.
- After 5 minutes, add the thickened pudding mixture to the cream cheese mixture. Whip with the electric mixer until thoroughly combined and smooth.
- If your strawberries are not super sweet, combine the chopped strawberries with the remaining 1 tablespoon of sugar and let them macerate for 10-15 minutes until juicy. If your strawberries are fresh and sweet, you can skip this step.
- Fill a piping bag (or a large plastic storage bag with a corner snipped off) with the lemon cheesecake mixture. Pipe the filling neatly into each waffle cone, filling almost to the top.
- Top each cone generously with the prepared fresh strawberries. Garnish with a thin slice of lemon, if desired, for extra visual appeal and aroma.
- Place the filled cones in the fridge and let them chill for at least one hour before serving to allow the cheesecake to set and the cones to remain crisp. Enjoy!
Notes
Nutrition
Nutrition information is automatically calculated, so should only be used as an approximation.
Additional Info
I created a fun group on Facebook, and I would love for you to join us! It’s a place where you can share YOUR favorite recipes, ask questions, and see what’s new at Dinners, Dishes and Desserts (so that you never miss a new recipe)!
Be sure to follow me on Instagram and tag #dinnersdishes so I can see all the wonderful DINNERS, DISHES, AND DESSERTS recipes YOU make!
Be sure to follow me on my social media, so you never miss a post!
Facebook | Twitter | Pinterest | Instagram
.
