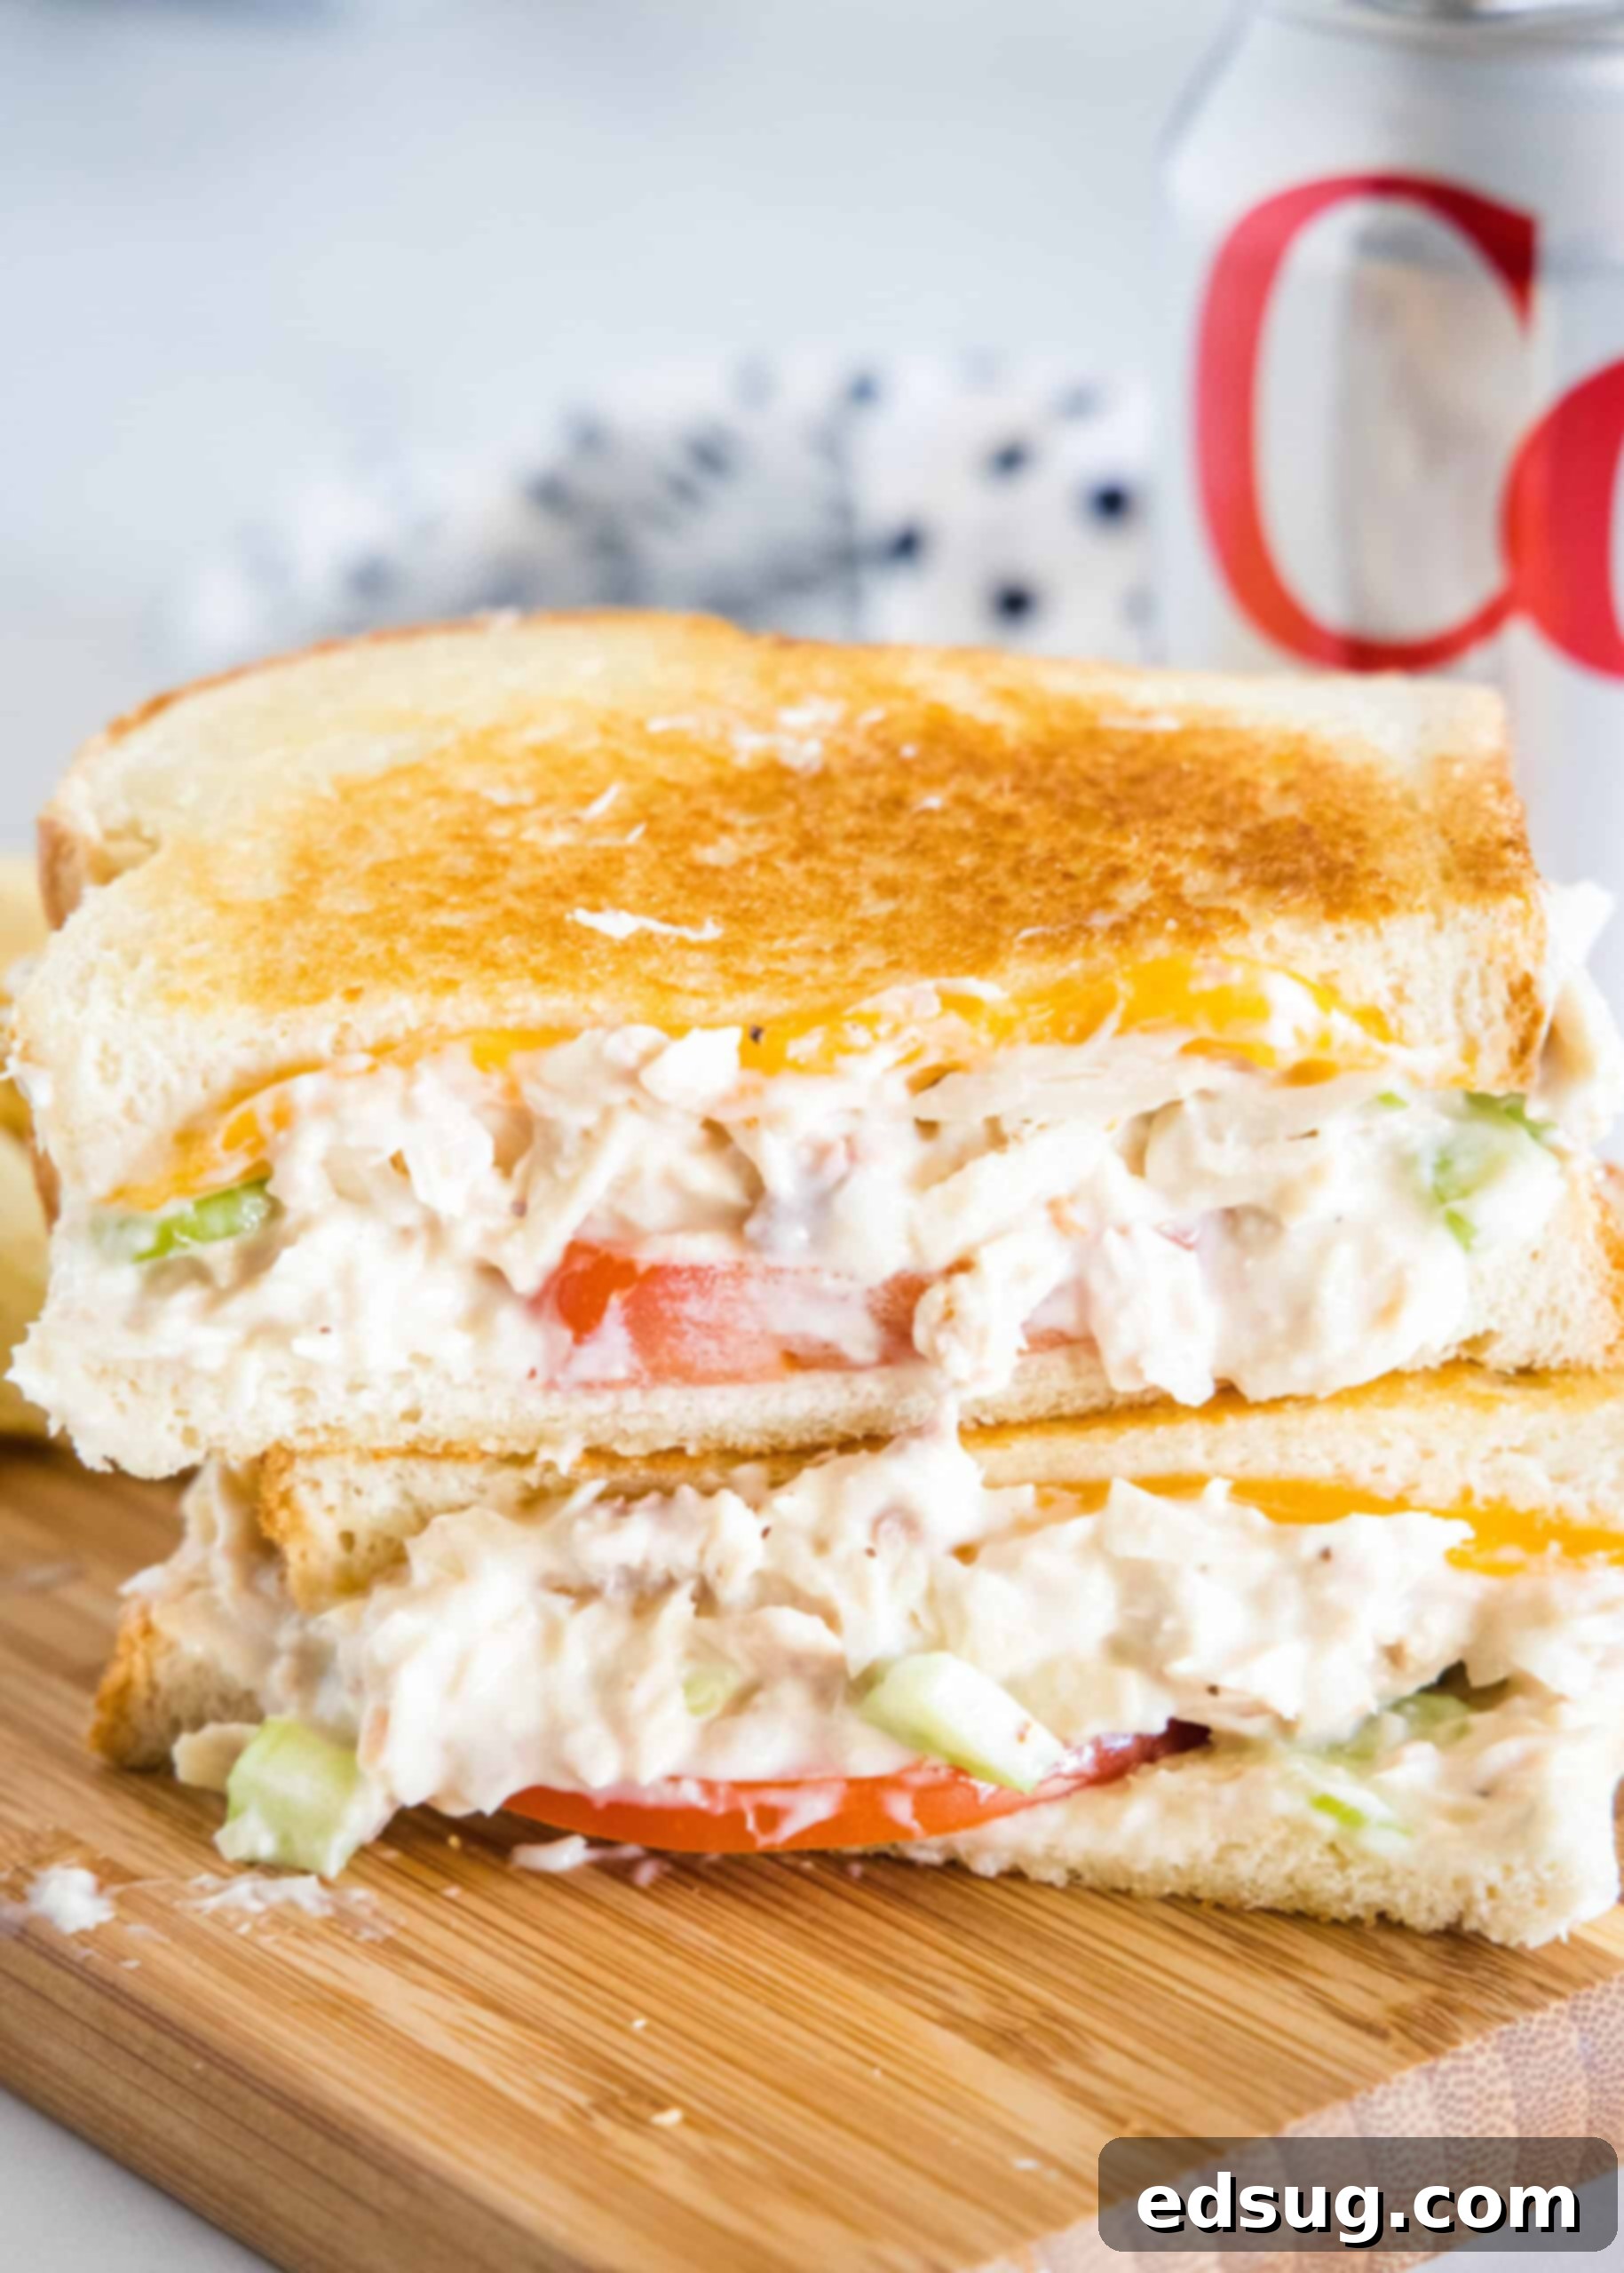
The Ultimate Crispy & Melty Tuna Melt: A Quick, Easy, and Irresistible Comfort Food Recipe
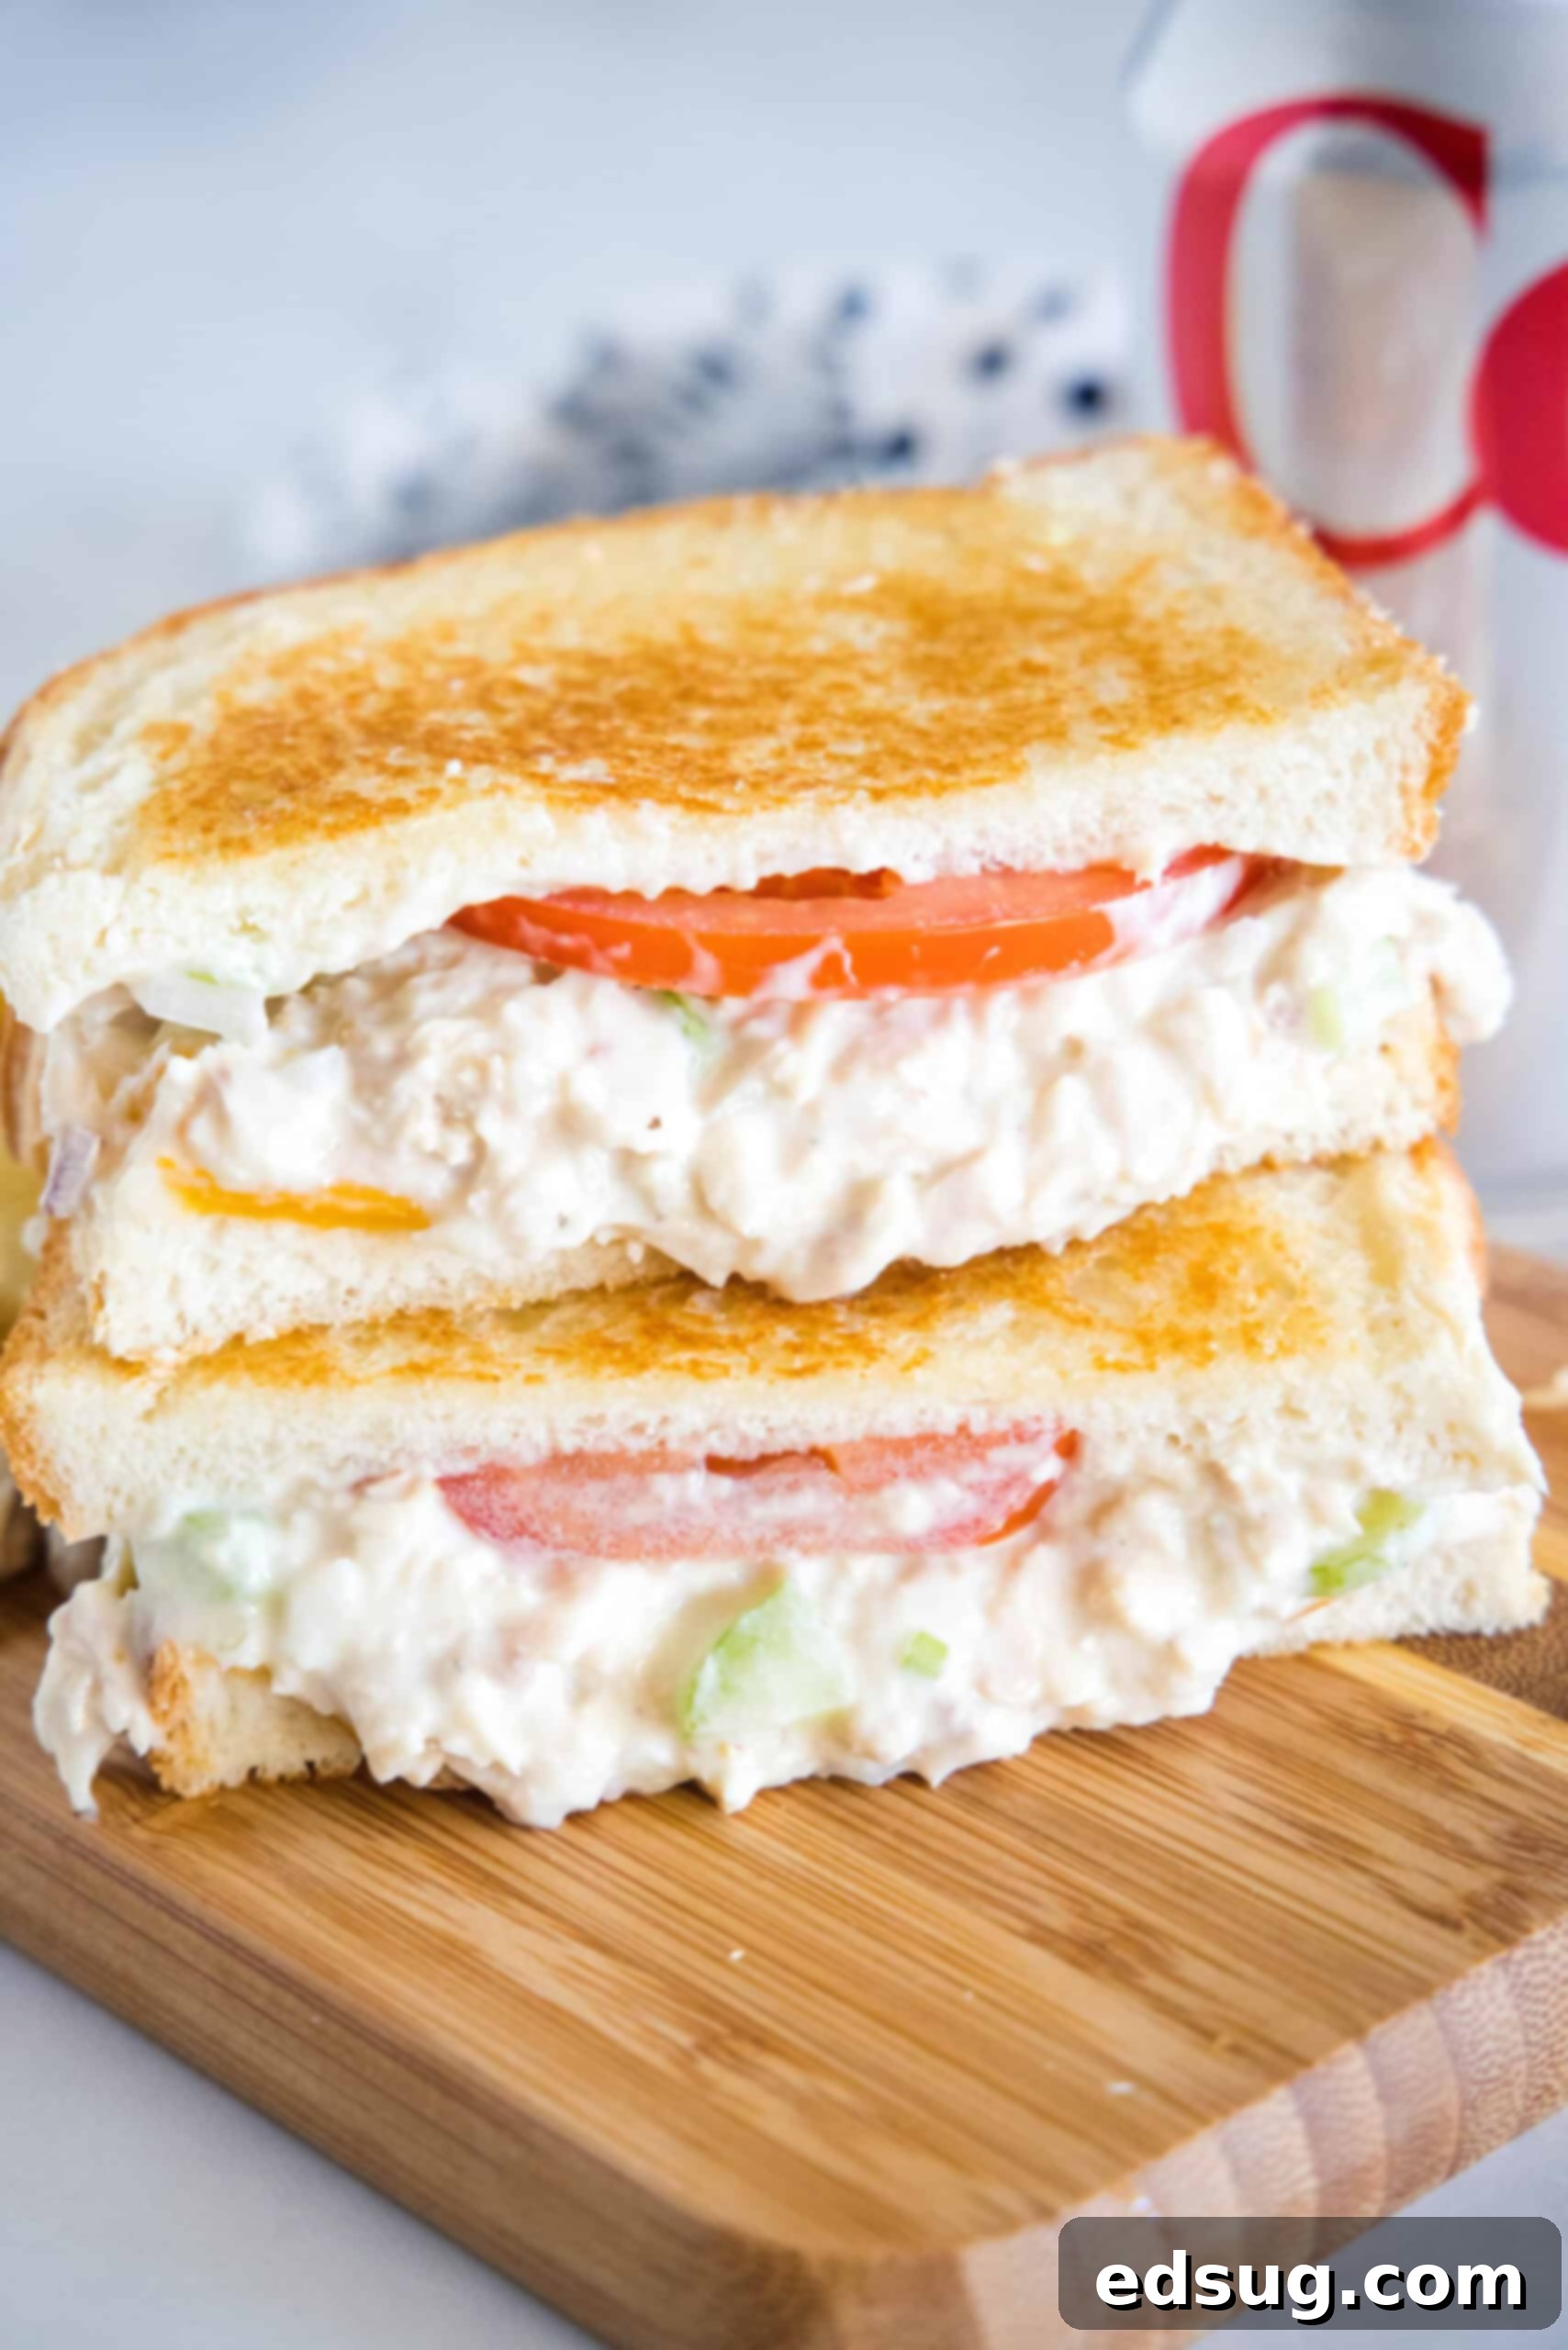
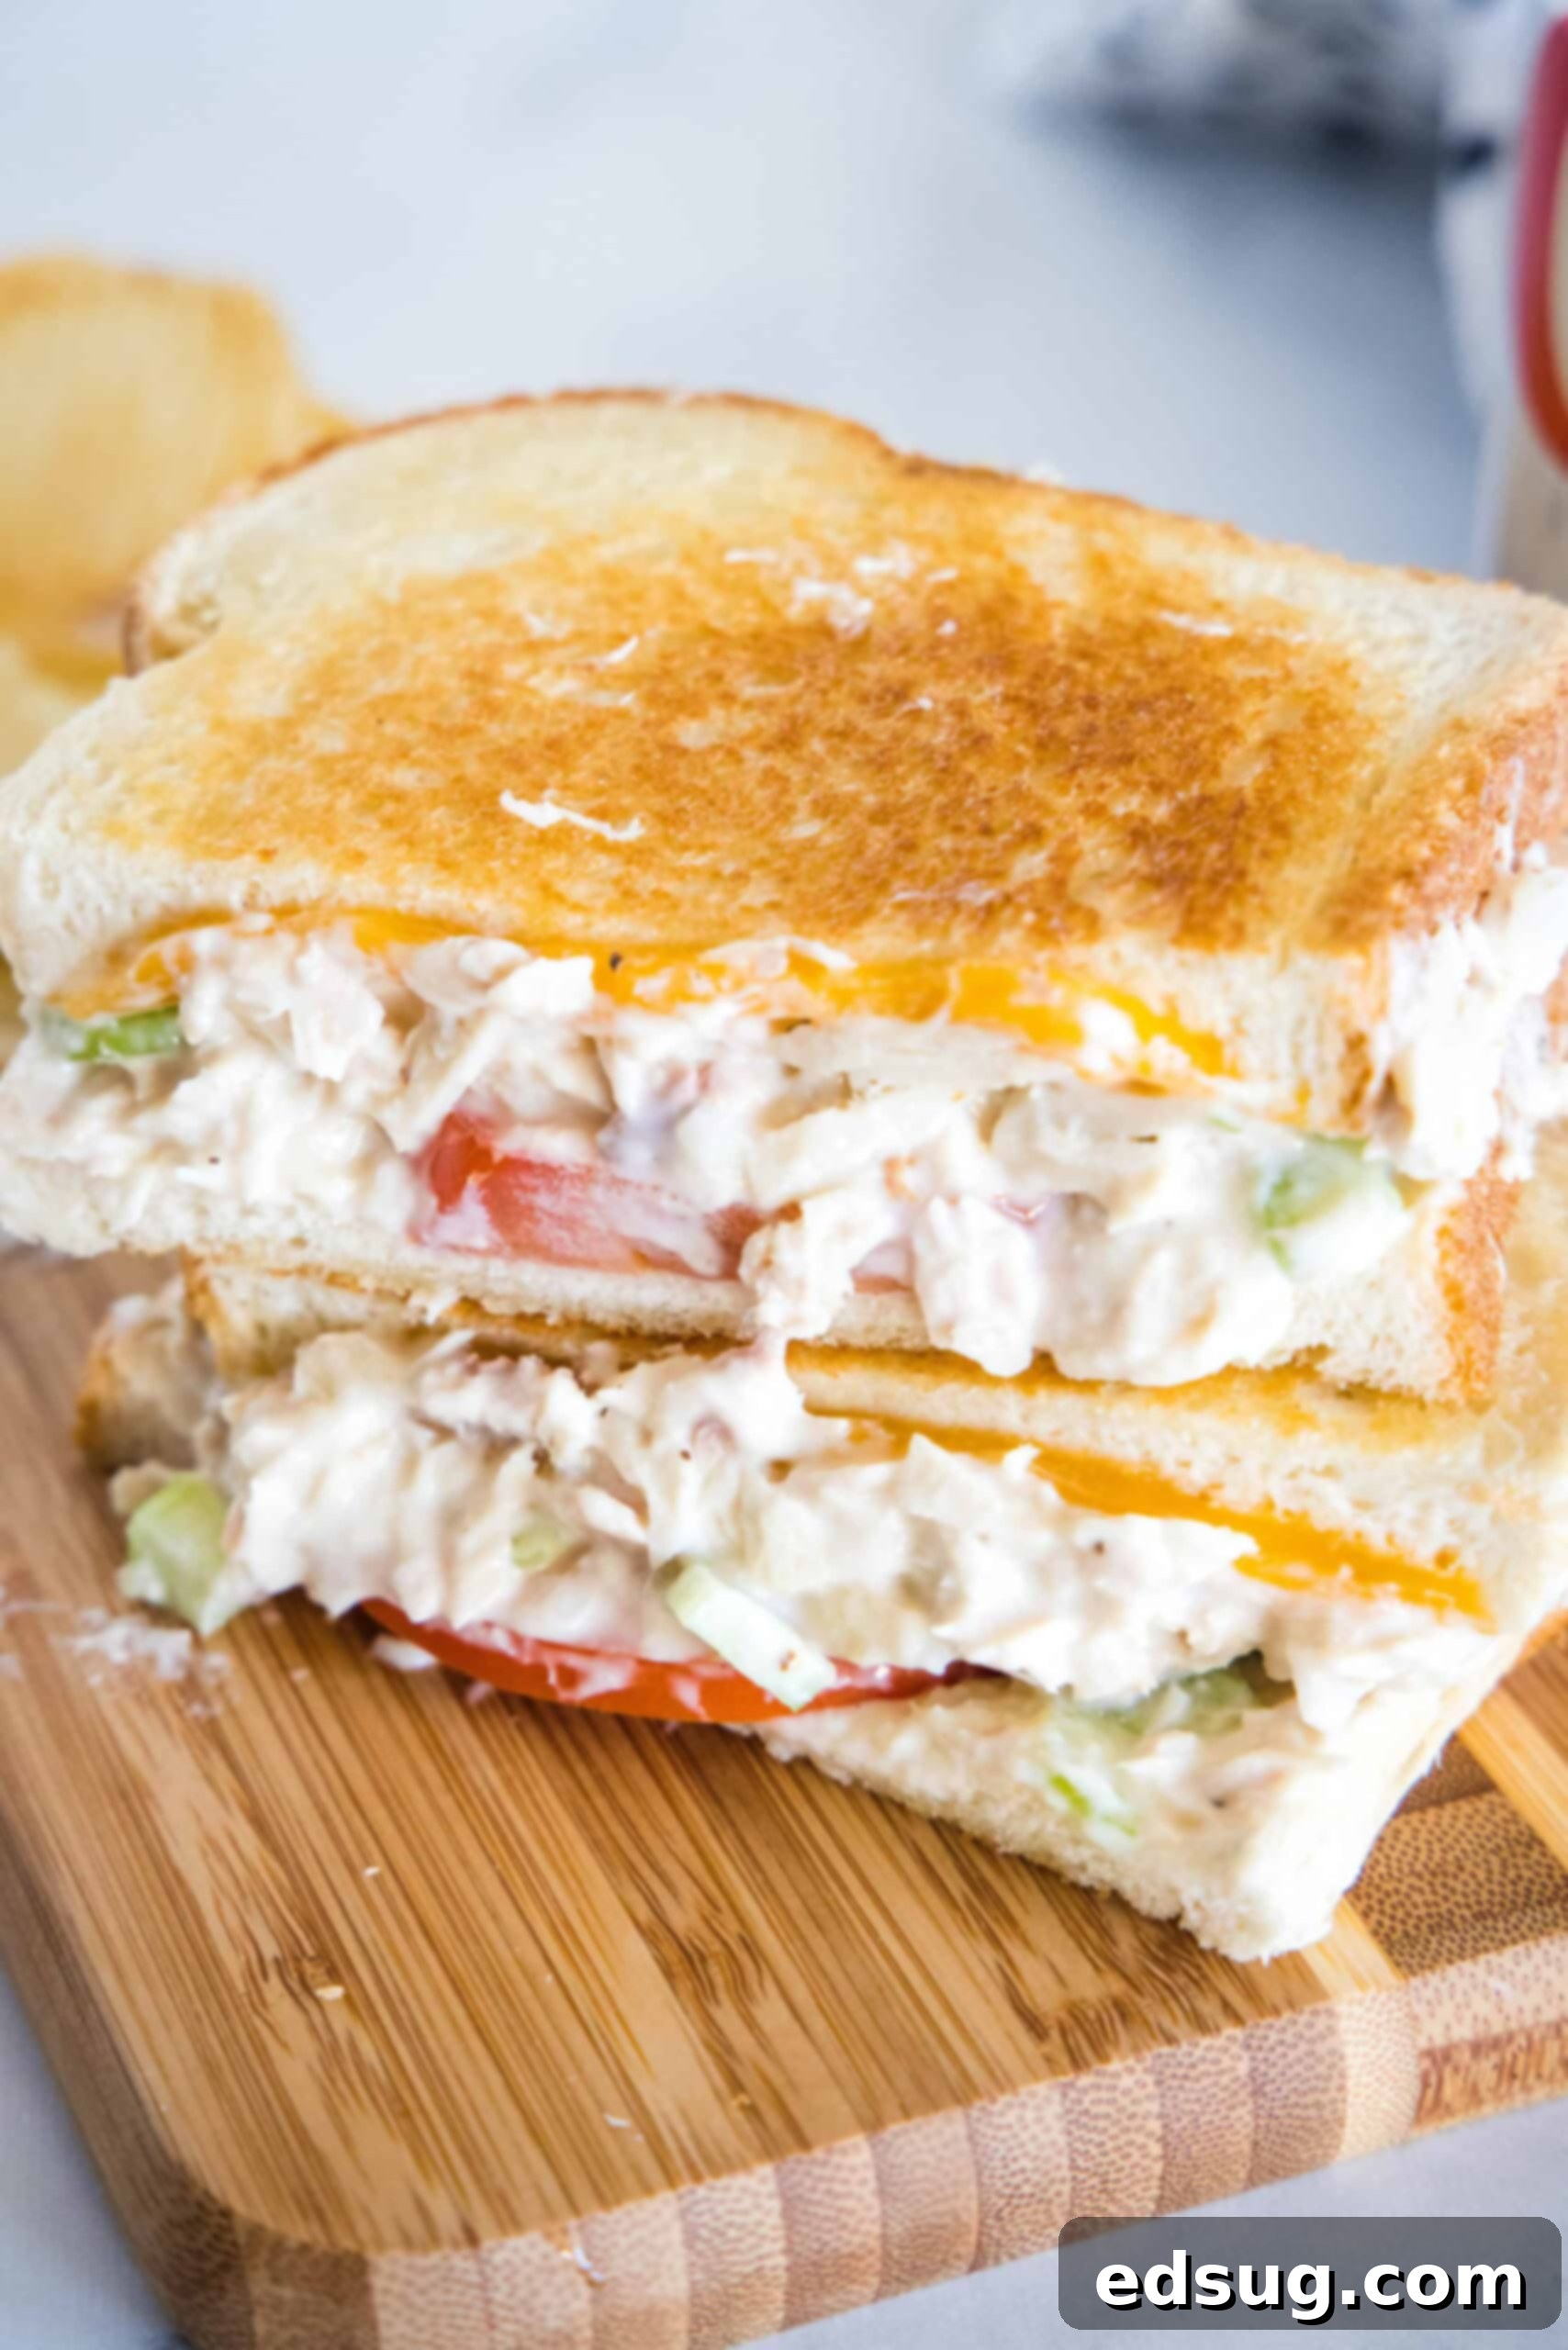
Welcome to your new favorite classic tuna melt recipe! Imagine perfectly golden, crispy bread slices encasing a rich, savory tuna salad, complemented by juicy, ripe tomatoes and an abundance of gloriously melty cheese. This isn’t just a sandwich; it’s a culinary experience – a quick, easy, and deeply satisfying meal that transcends breakfast, lunch, or dinner. It’s truly a timeless comfort food that promises pure deliciousness in every bite.
Craving more deliciously cheesy or quick lunch ideas? You’ll love a hearty croque monsieur or a savory chicken parmesan sandwich. For lighter, yet equally satisfying options, try this creamy avocado chicken salad, or dive into the fun flavors of this copycat Meximelt!
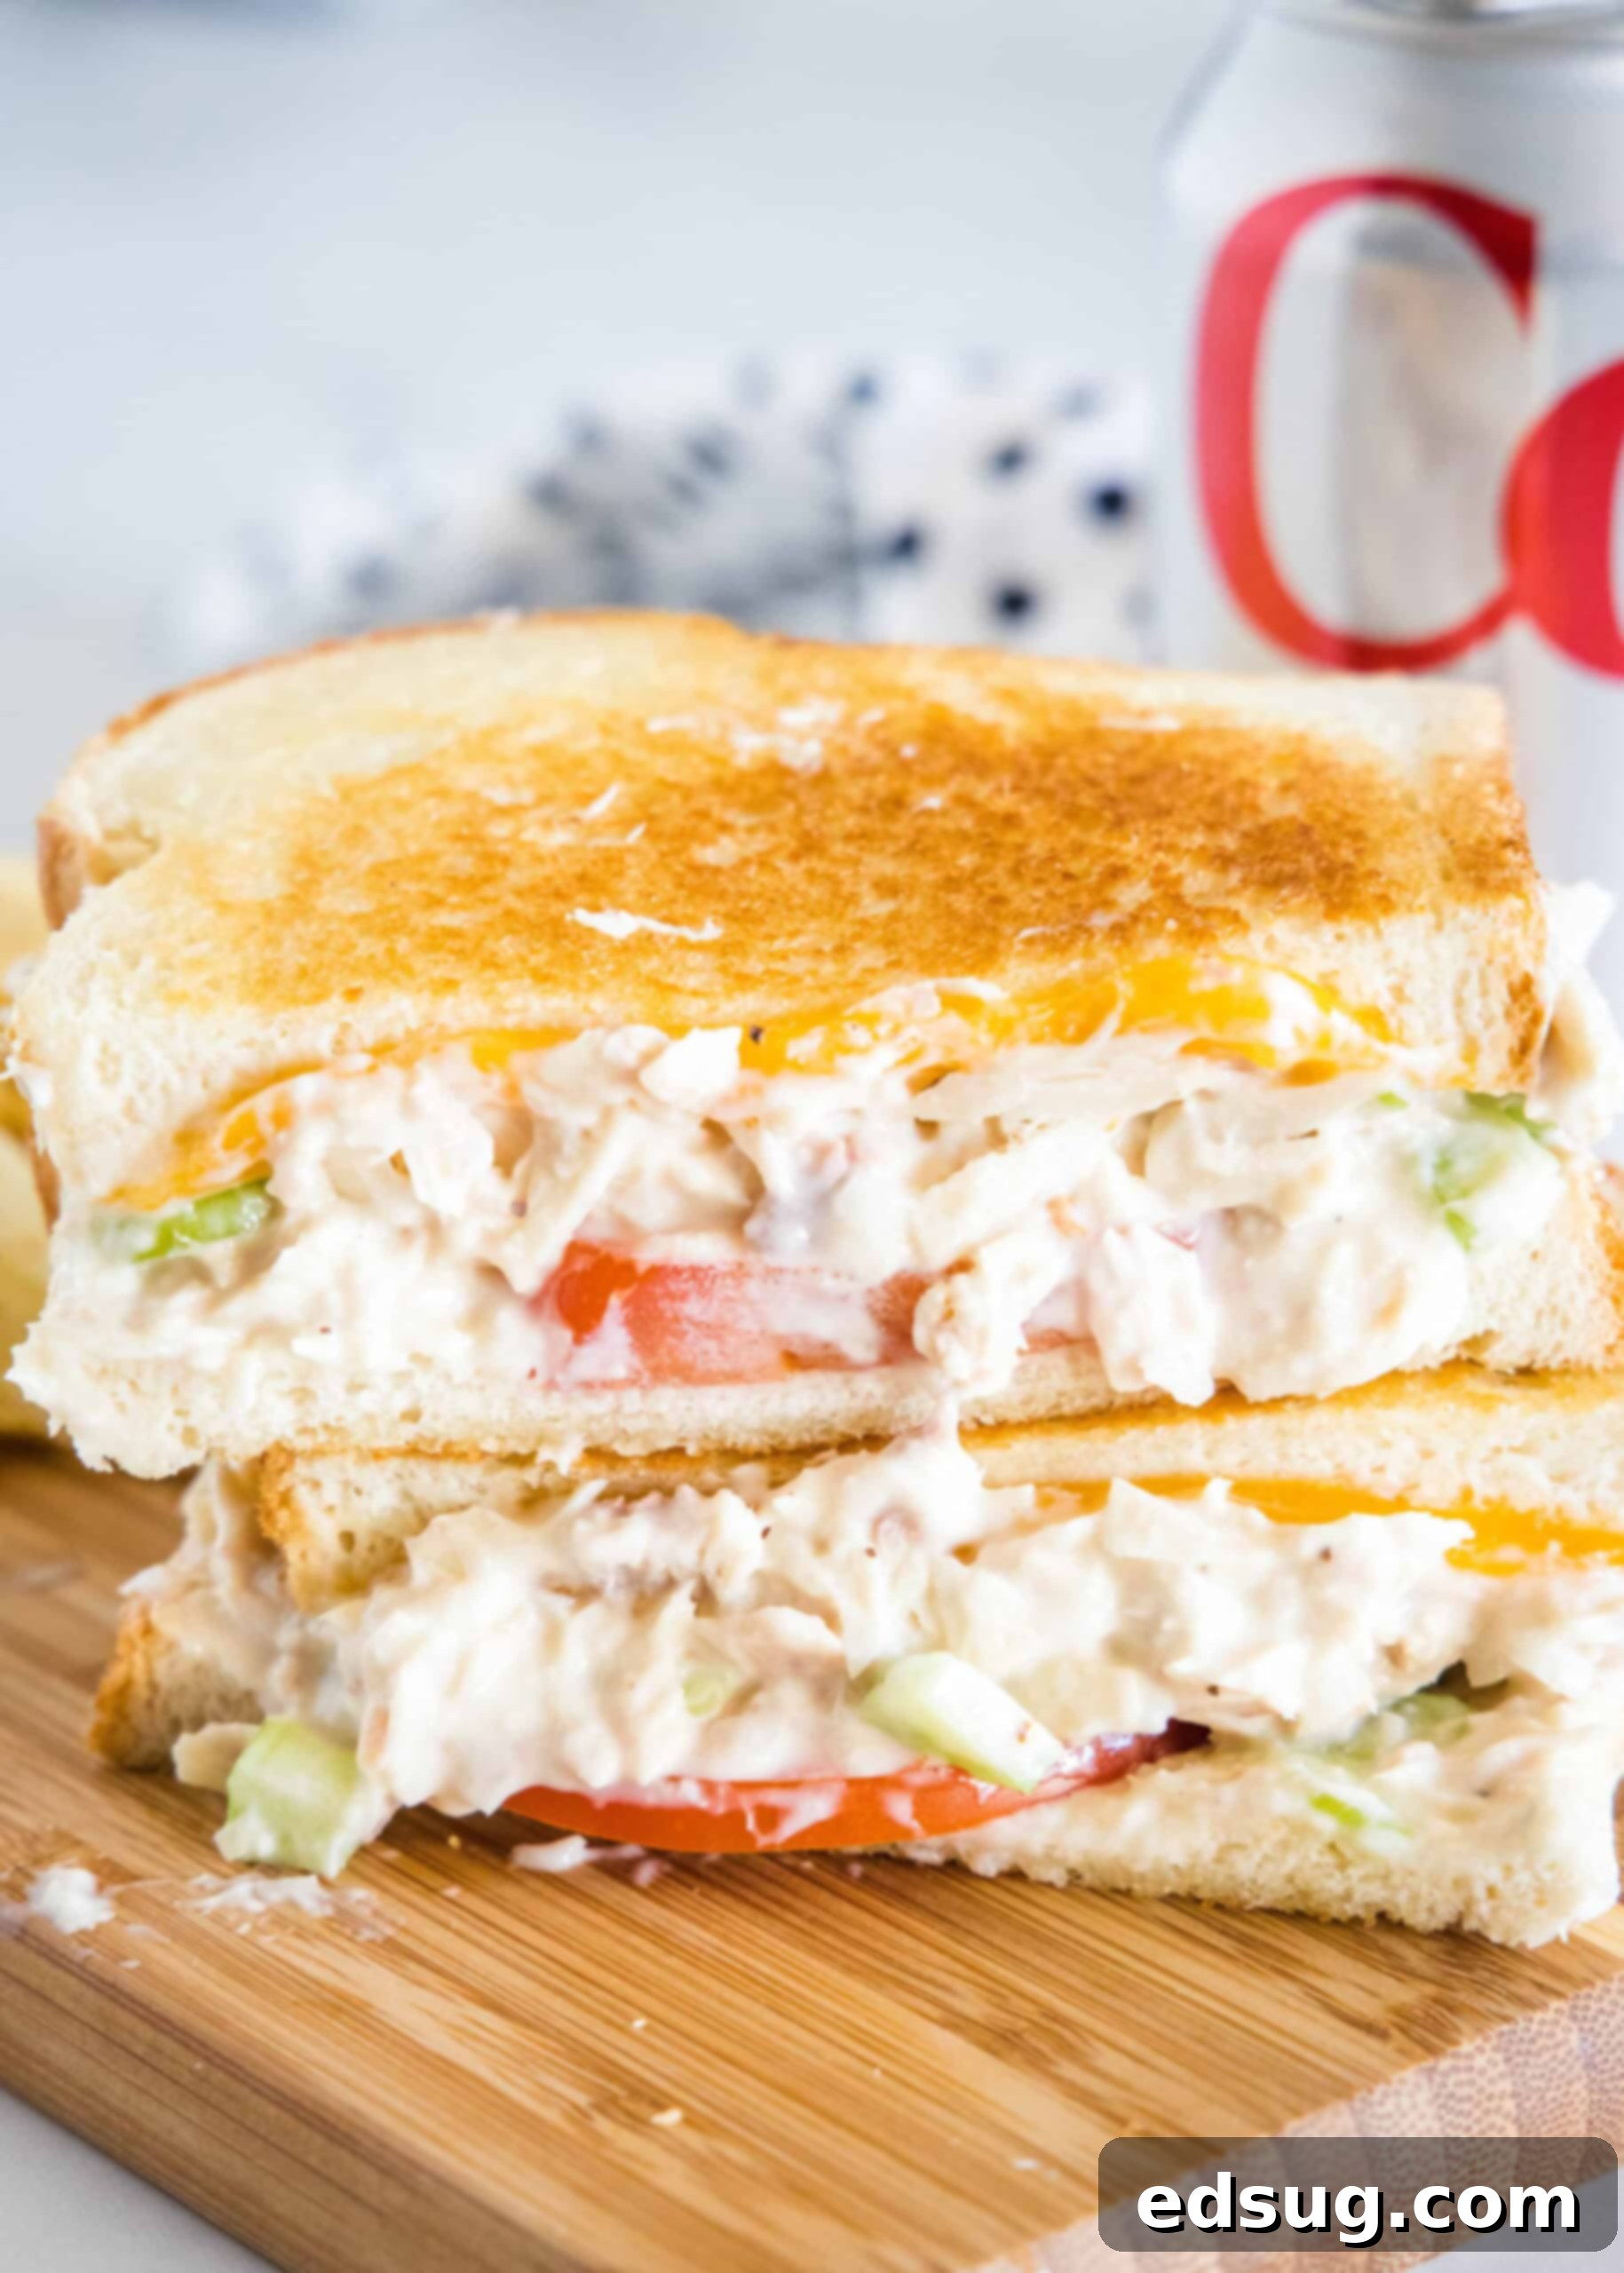
Table of Contents
- What Makes This the Best Tuna Melt Recipe
- Ingredients You’ll Need for the Perfect Tuna Melt
- Customizing Your Tuna Melt: FAQs and Variations
- How to Make a Classic Tuna Melt
- Tips for Tuna Melt Success
- Serving Suggestions for Your Tuna Melt
- Storing Leftovers & Making Ahead
- More Irresistible Sandwich Recipes
- Classic Tuna Melt Recipe Card
There’s something uniquely comforting about a tuna melt. It’s a nostalgic dish that evokes childhood memories and satisfies adult cravings. And this particular recipe? It’s truly my all-time favorite. This homemade tuna melt is designed to deliver on every front: a delightful crunch from fresh vegetables, the bright juiciness of ripe tomato slices, and an abundance of warm, gooey, melty cheese. The harmony of textures and flavors is absolutely top-tier. Whether you’re whipping it up for a speedy breakfast, a satisfying lunch, or a cozy dinner, this recipe never disappoints.
What Makes This the Best Tuna Melt Recipe
Forget bland and boring tuna melts. This recipe is meticulously crafted to ensure every bite is a revelation. Here’s why it stands out from the rest:
- Ready in Just 20 Minutes. In today’s fast-paced world, quick meals are a lifesaver. This recipe is designed for ultimate efficiency, taking a mere 20 minutes from the moment you open the tuna can to the first delicious bite. This includes preparing the flavorful tuna salad and perfectly toasting your sandwich. It’s ideal for busy weeknights, swift lunches, or when you need a comforting meal in a flash.
- A Symphony of Delicious Textures and Flavors. The magic of a truly great tuna melt lies in the exciting contrast of its components. This recipe expertly balances the salty, umami notes of the tuna with the fresh, crisp bite of vegetables, the rich creaminess of the dressing, the golden crunch of the toasted bread, and the irresistible gooeyness of melted cheese. Every element plays a crucial role, creating a multi-layered sensory experience that keeps you coming back for more.
- Utilizes Simple, Accessible Ingredients. You don’t need exotic or hard-to-find items for this recipe. We keep the ingredient list concise and focused, allowing each component to genuinely shine. Everything you need for this extraordinary tuna melt can be easily found in your local grocery store, likely already residing in your fridge or pantry. This simplicity ensures a hassle-free cooking experience without compromising on flavor.
Ingredients You’ll Need for the Perfect Tuna Melt
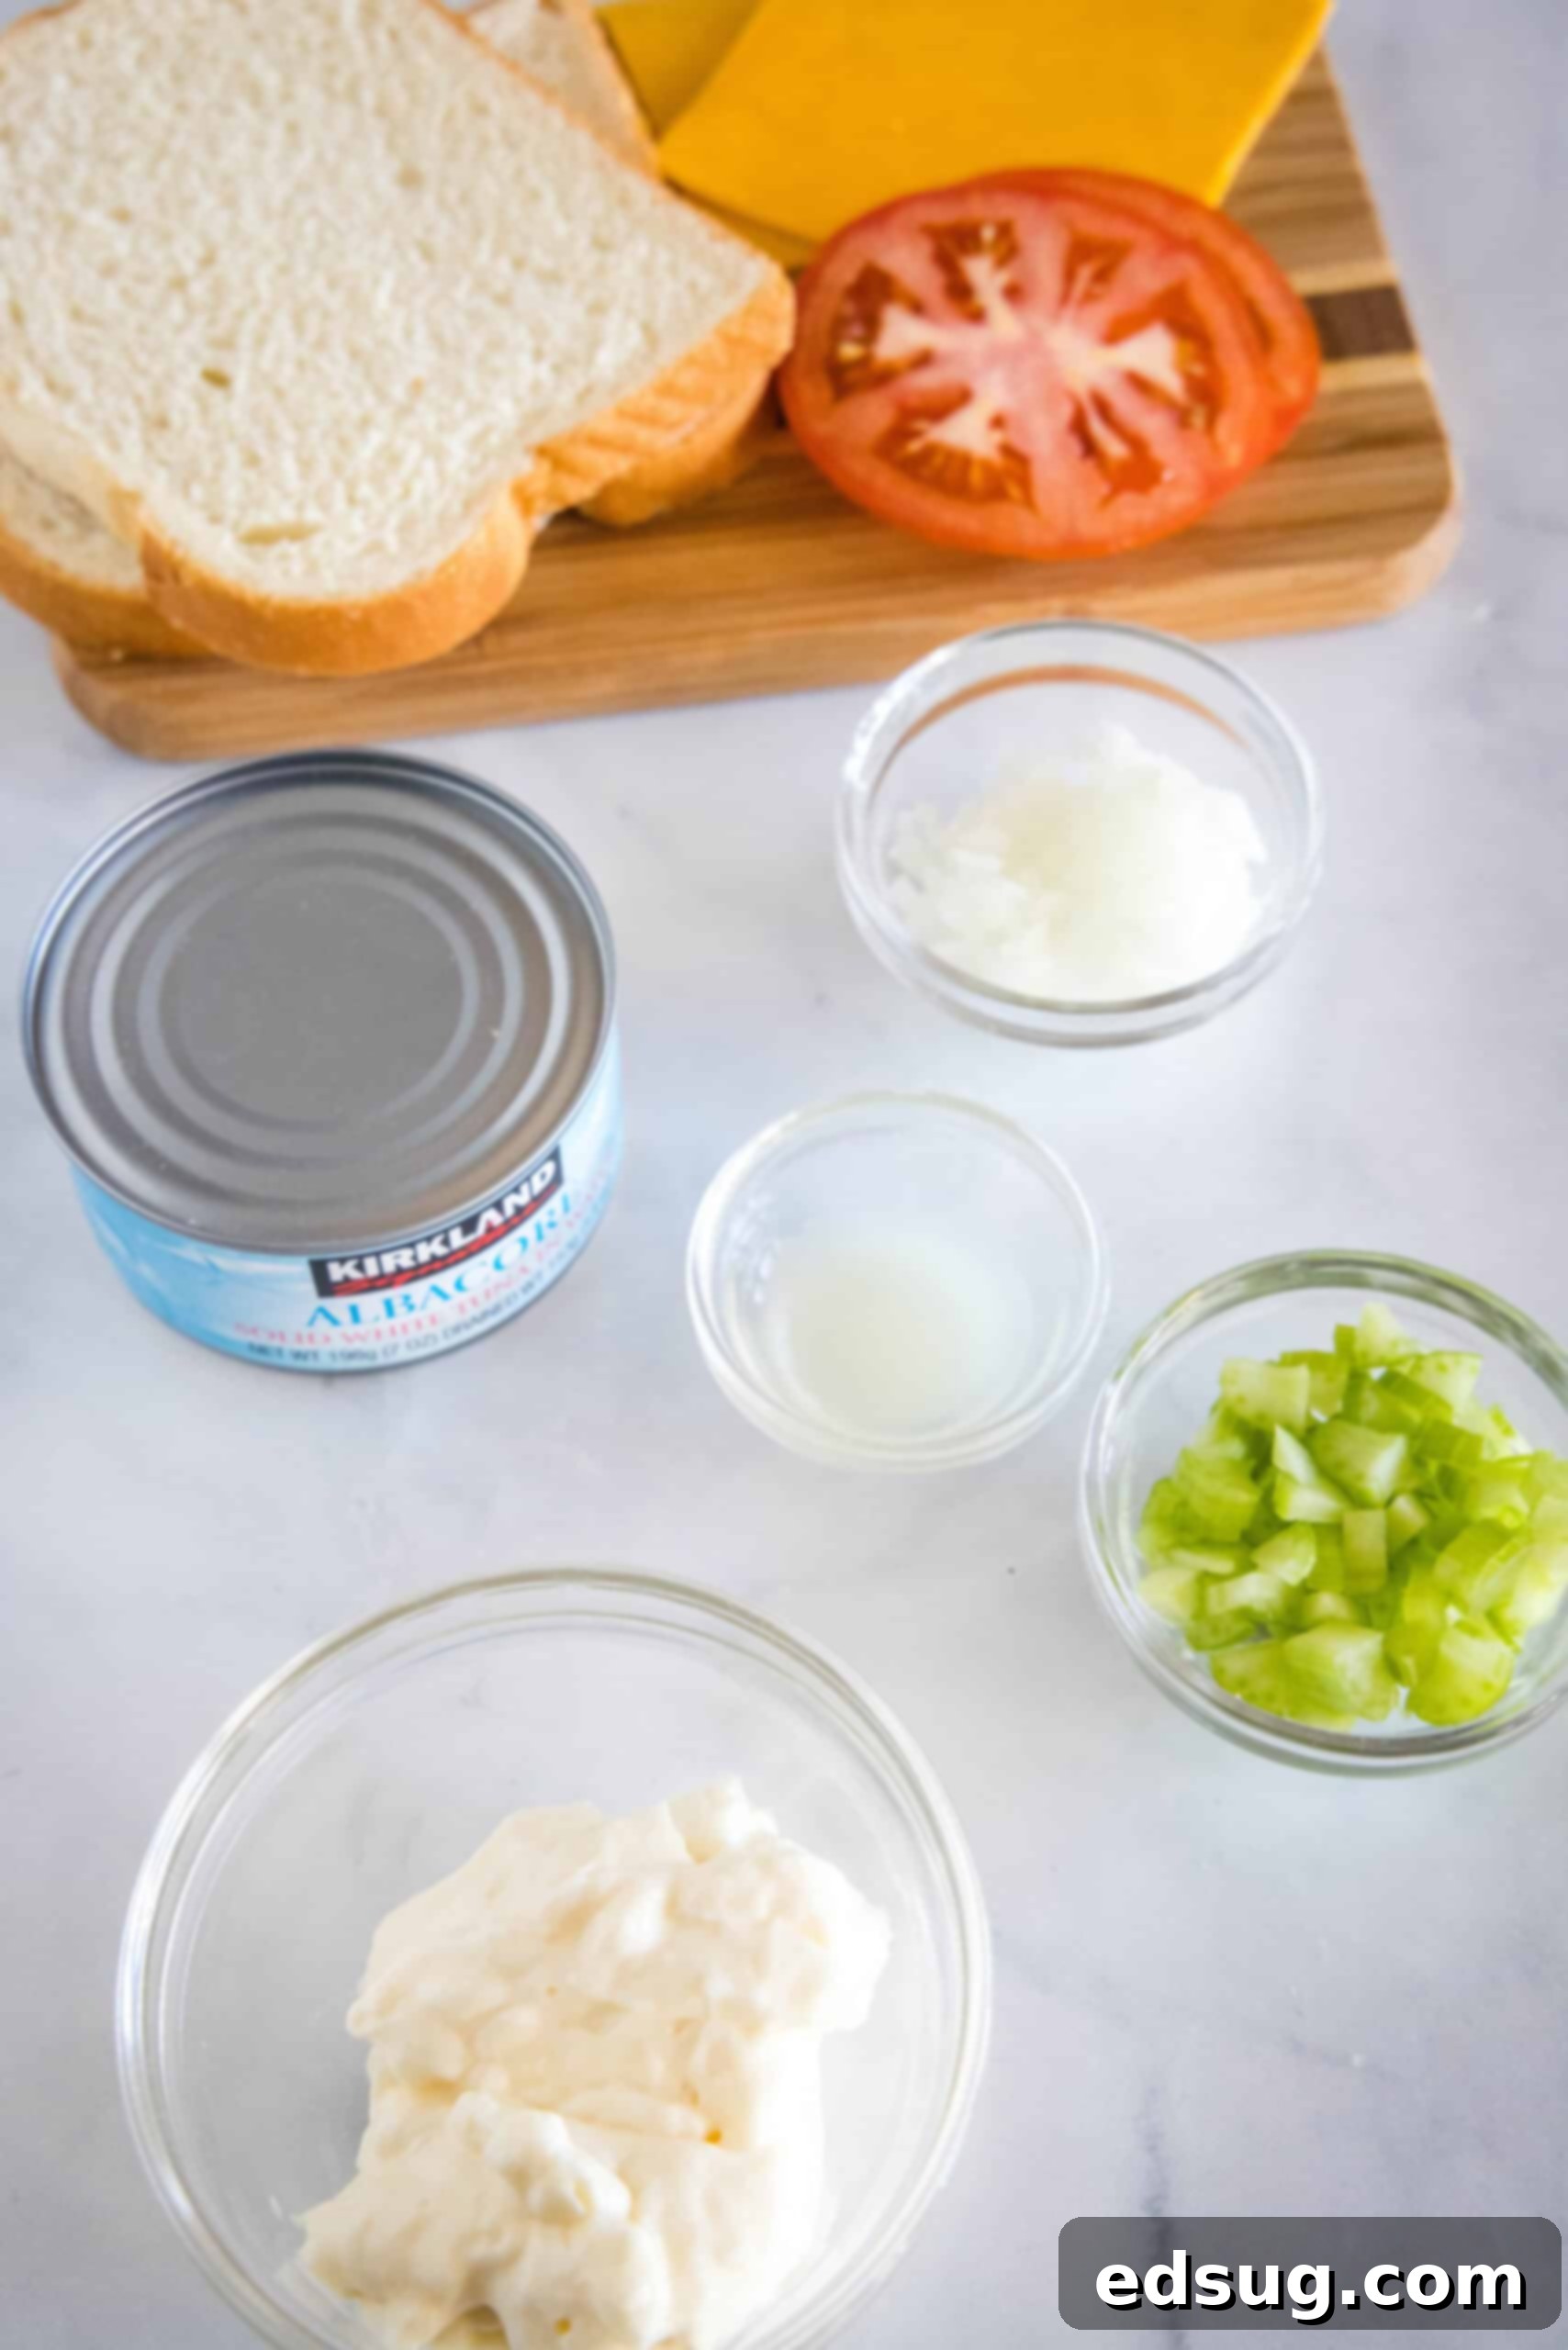
The secret to an unforgettable tuna melt starts with an exceptional tuna salad. Let’s banish bland tuna forever! My recipe focuses on building a vibrant, flavorful base, loading it with crisp celery, pungent onions, and a bright, zesty splash of fresh lemon juice.
Below, you’ll find detailed notes on each ingredient to help you select the best. For a printable list of ingredients with exact measurements and full recipe details, please scroll down to the comprehensive recipe card located after this post.
- Canned Tuna – The foundation of our melt! You’ll typically find two main varieties: yellowfin and Albacore tuna. Both are excellent, but you can choose tuna canned in water or oil. I personally lean towards tuna in water as I find it less greasy, allowing the other flavors to pop. Regardless of your choice, ensure you drain the tuna thoroughly. Excess moisture can lead to a watery tuna salad and a soggy sandwich, which is something we definitely want to avoid!
- Mayonnaise – This is what binds our tuna salad together, adding rich creaminess. Opt for your favorite high-quality brand, like Hellmann’s, for that classic, satisfying flavor. For an extra touch of gourmet goodness, consider taking the rewarding step to make homemade mayonnaise – it makes a noticeable difference!
- Celery and Onion – These two ingredients are non-negotiable for their incredible textural contrast and refreshing bite. Finely chopped celery provides that essential crispness, while sweet or red onion adds a subtle pungency and additional crunch. For a milder flavor, you could experiment with spring onions or finely diced chives.
- Lemon Juice – Freshly squeezed lemon juice is paramount here. Its bright acidity cuts through the richness of the mayo and tuna, elevating the entire flavor profile. While fresh is always best, a good quality bottled lemon juice will also work in a pinch for this recipe’s small quantity.
- Bread Slices – The vessel for our delicious filling! Any sturdy bread will do, whether you prefer classic white, wholesome whole wheat, or flavorful rye. The key is a bread that can crisp up beautifully. You can also get creative and use other options like ciabatta, crusty French bread, or even robust sandwich rolls for a different experience.
- Tomato – Thinly sliced, fresh tomato adds a burst of juiciness and a touch of sweetness that perfectly complements the tuna. There’s nothing quite like making tuna melts when fresh, ripe garden tomatoes are in season – their flavor is simply unmatched!
- Cheese – The star of the “melt” component! Sliced cheddar cheese is a fantastic choice, known for its excellent melting properties and familiar flavor. However, feel free to experiment with other well-melting cheeses (see our FAQ below for more options). The goal is a gooey, stretchy, irresistible layer.
- Butter – Essential for achieving that coveted golden-brown, crispy exterior on your bread. You can use either salted or unsalted butter, depending on your preference and overall sodium intake.
Essential Pantry Staples for Your Tuna Melt
Beyond the core ingredients, don’t forget the power of simple seasonings:
- Salt & Black Pepper: Crucial for seasoning your tuna salad to perfection. Always taste and adjust!
- Optional Add-ins: A pinch of garlic powder or a dash of paprika can add subtle depth and warmth to your tuna mixture.
For a truly exceptional tuna melt, aim for a mild-to-medium strength cheese that melts beautifully. Classic choices like sharp or mild cheddar, creamy Monterey Jack, nutty Swiss, smooth Gouda, or even fresh mozzarella are all excellent options. These cheeses offer a good balance of flavor that enhances, rather than overpowers, the tuna. While highly processed options like American cheese will technically melt, they often lack the complex flavor profile and desirable texture of natural cheeses. Ultimately, any meltable cheese that complements the tuna without dominating it will work wonderfully.
Just like a classic tuna salad or chicken salad, this tuna melt recipe is incredibly versatile and open to your creative additions! Here are some ideas to amp up the flavor and texture:
- For extra crunch: Consider finely diced cucumbers, shredded cabbage, or even thin slices of green apple for a touch of sweetness and crispness.
- For enhanced savoriness: Capers or finely chopped pickles (dill or sweet) introduce a delightful briny tang. Chopped black olives can also add a nice Mediterranean twist.
- For fresh herb notes: Freshly chopped herbs like dill, parsley, chives, tarragon, or even a hint of fennel fronds will brighten the flavor profile significantly.
- For a spicy kick: Stir in a dash of Old Bay seasoning, a spoonful of chili crunch oil, a pinch of cayenne pepper, or crushed red chili flakes for a fiery layer.
- For umami depth: A tiny amount of Worcestershire sauce or a touch of Dijon mustard can add a subtle, savory complexity.
How to Make a Classic Tuna Melt
Crafting this homemade tuna melt is surprisingly simple and incredibly rewarding. Follow these straightforward steps to achieve tuna melt perfection, and remember to scroll down to the recipe card after this section for complete, printable recipe directions and measurements.
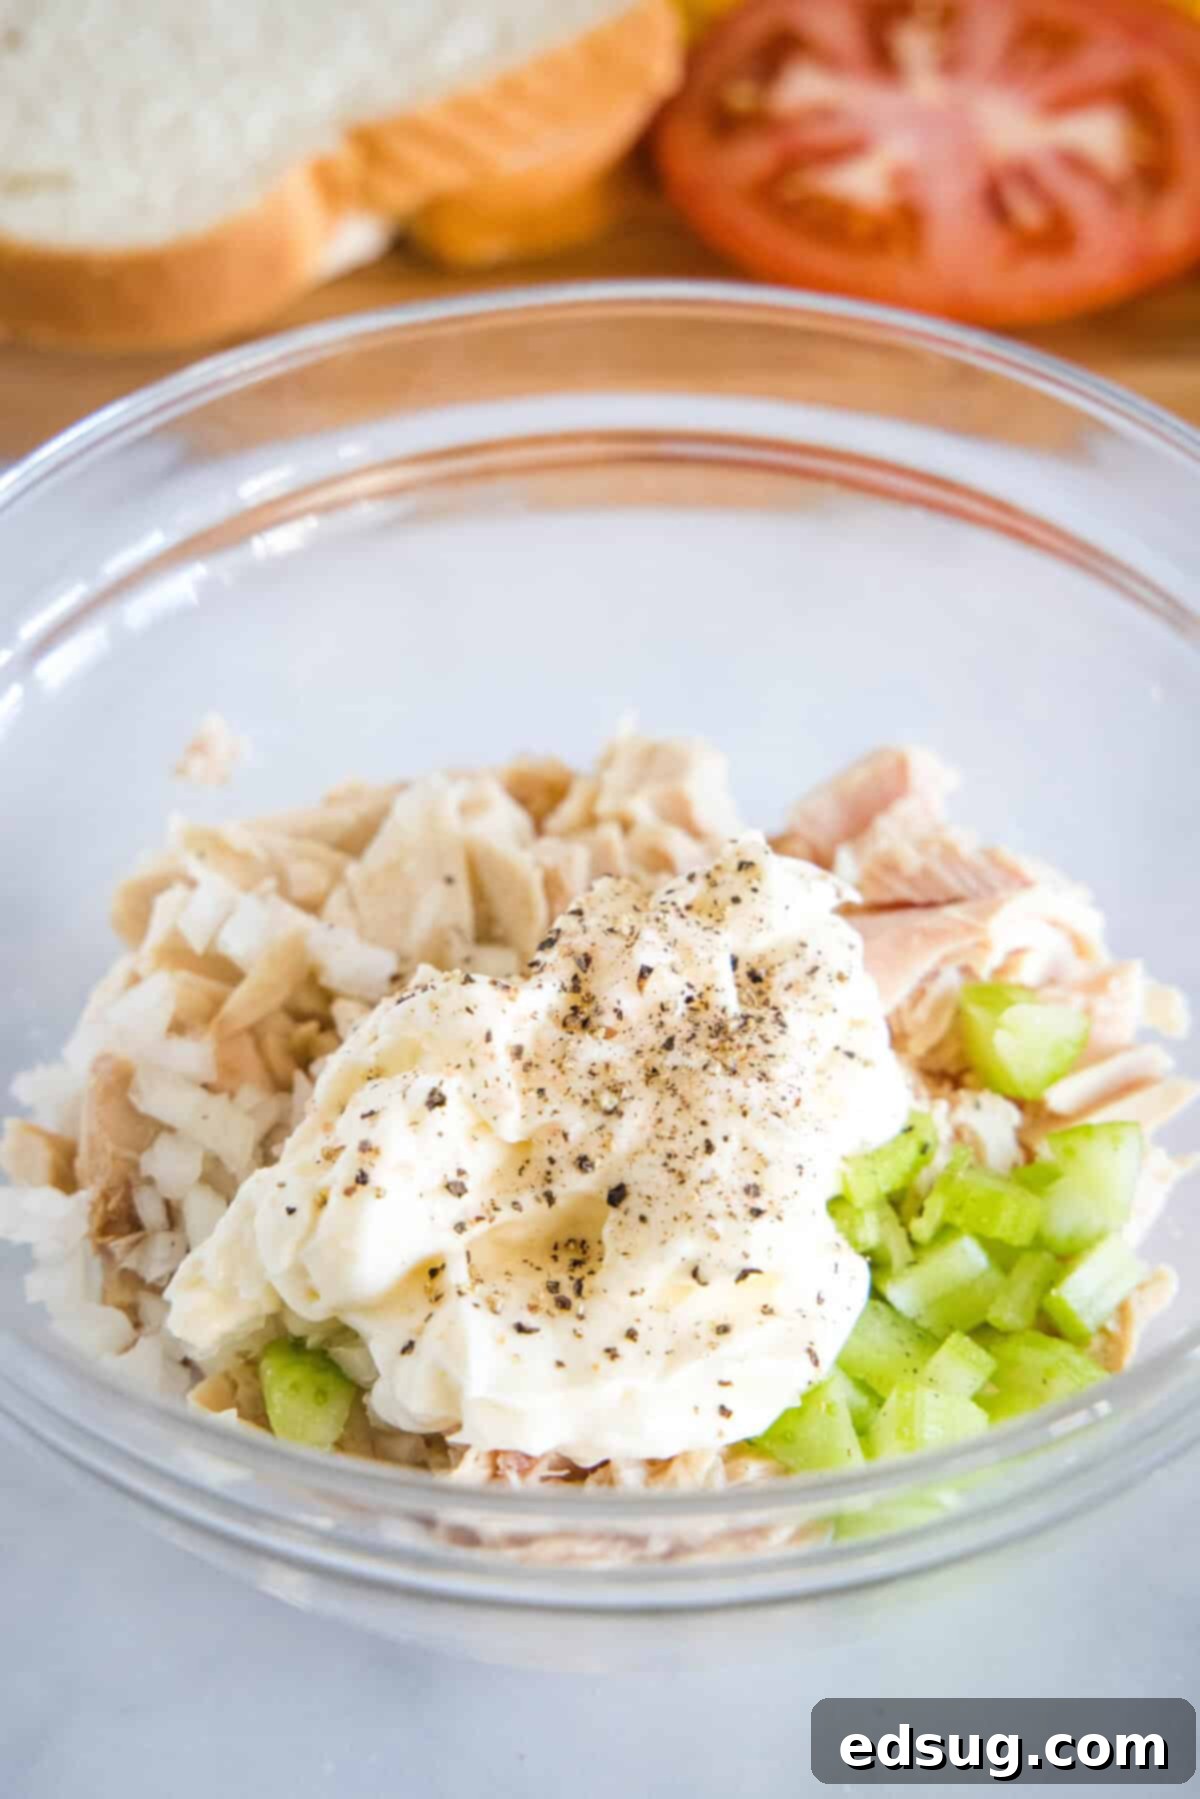
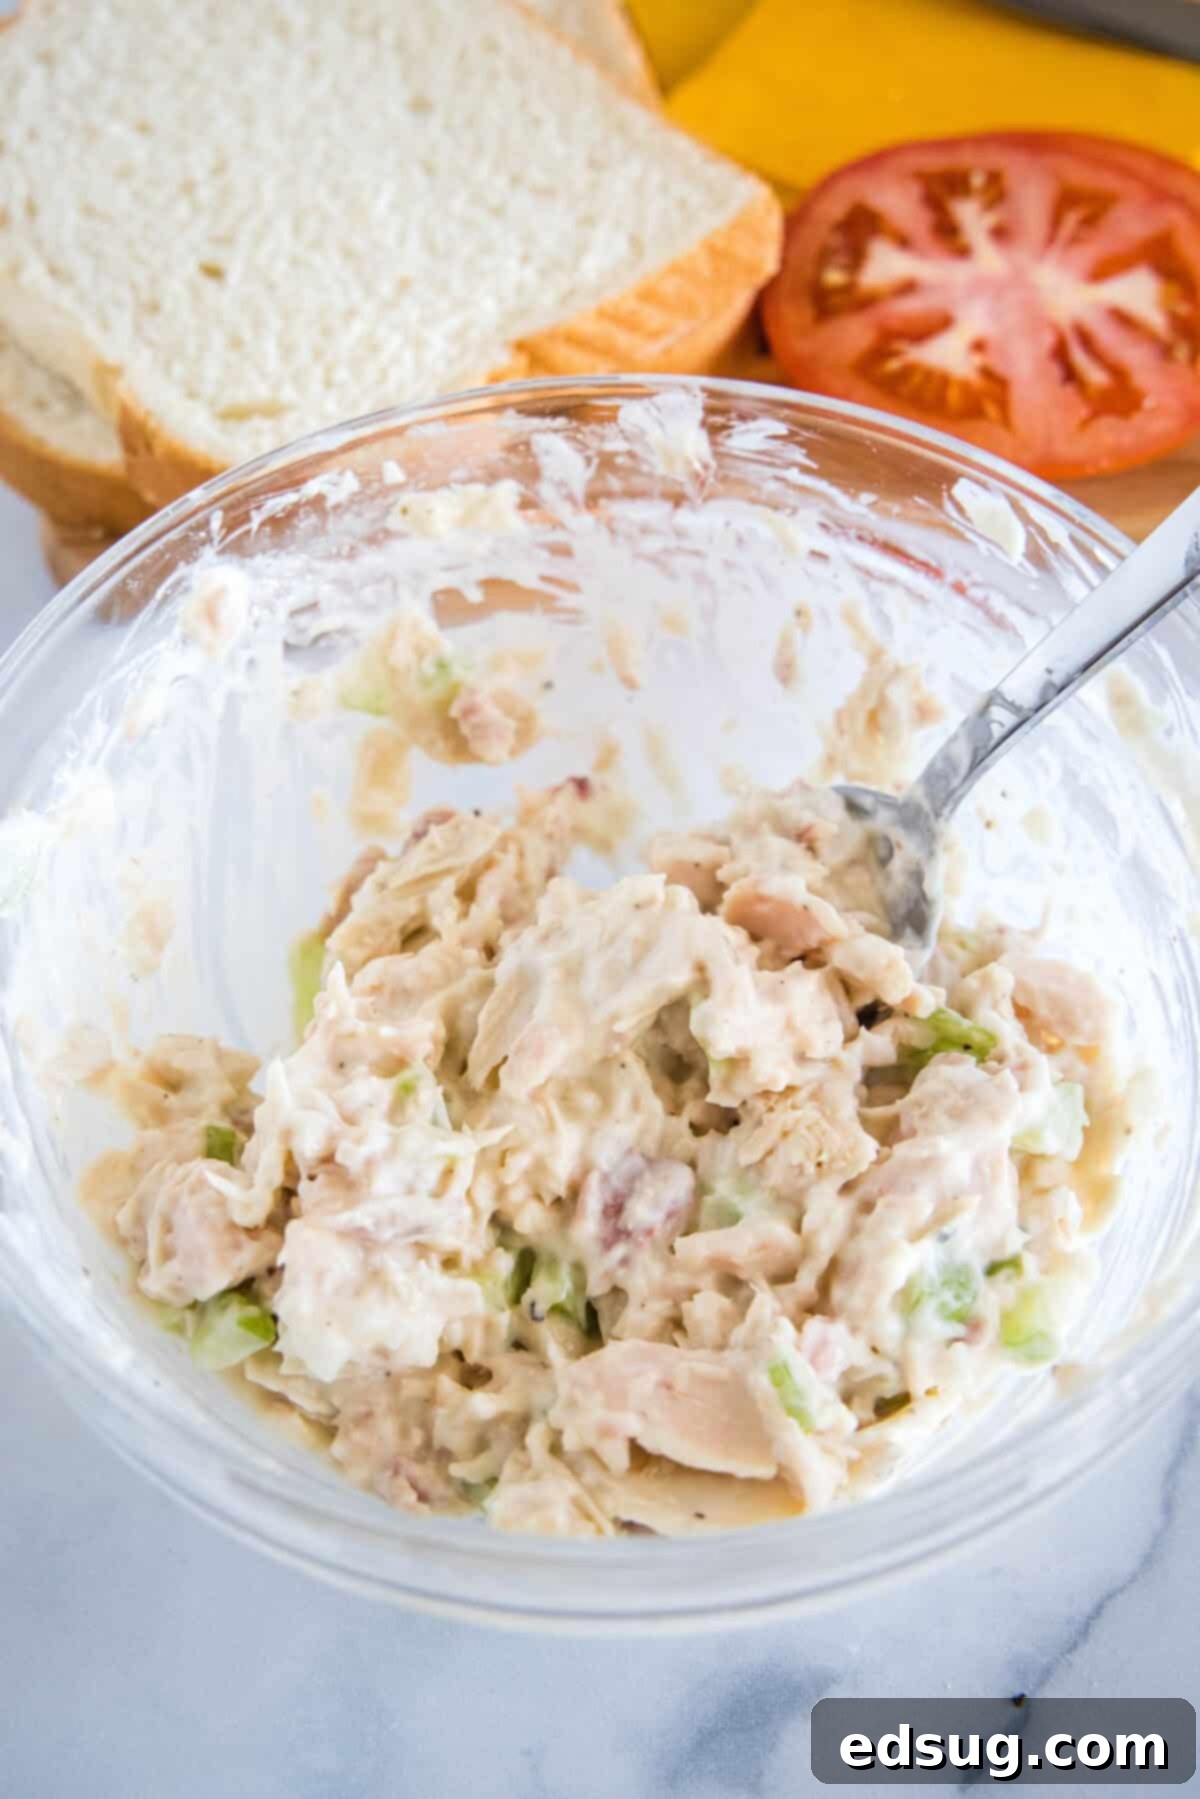
- Prepare the Tuna Salad: Begin by combining your well-drained canned tuna with the creamy mayonnaise, finely diced celery, and finely chopped onion in a medium bowl. Squeeze in the fresh lemon juice, then season generously with salt and freshly ground black pepper to taste. Mix everything together thoroughly until all ingredients are perfectly combined and the tuna is coated evenly. This ensures every bite of your melt is bursting with flavor and texture.
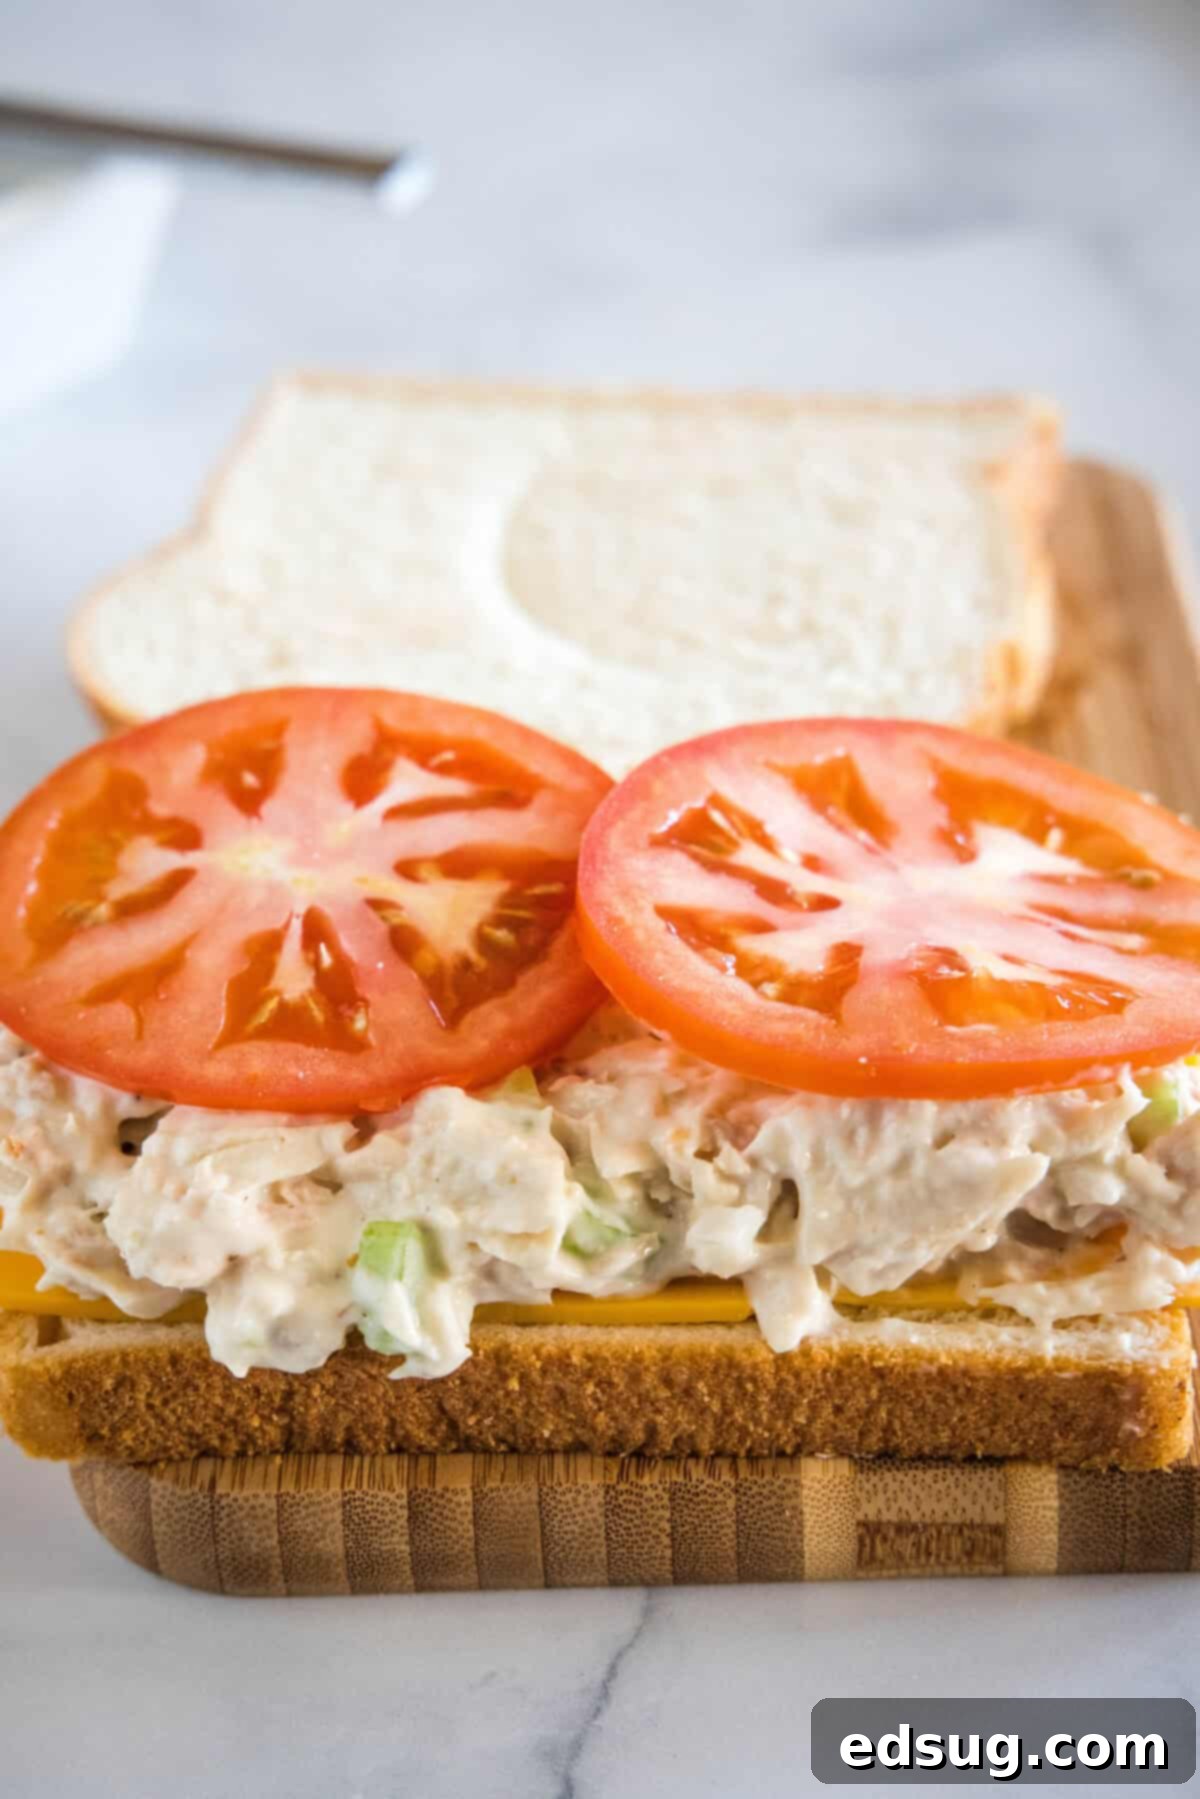
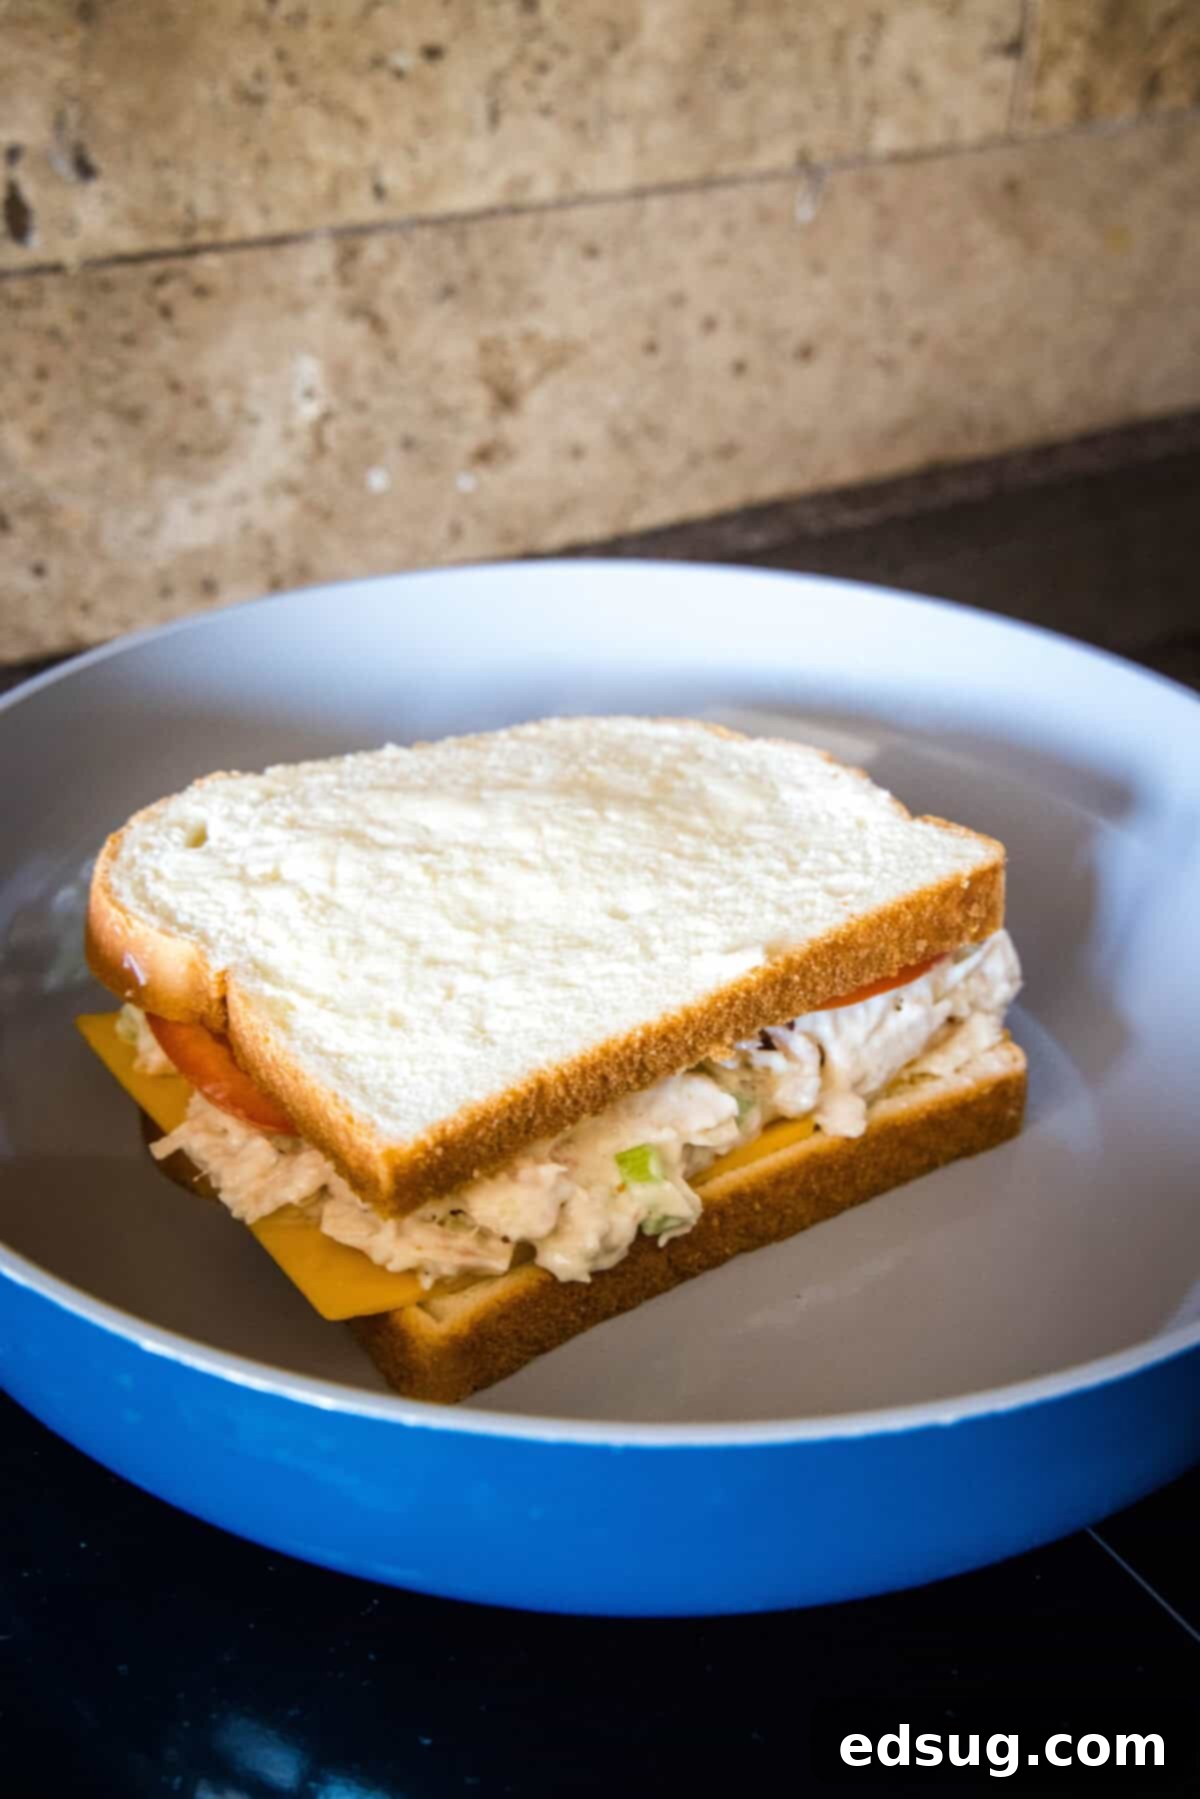
- Assemble Your Sandwich: Now it’s time to build! Lightly butter one side of each bread slice. Take two slices of bread and spread half of your delicious tuna mixture evenly onto the unbuttered side. Next, layer fresh, thinly sliced tomato over the tuna, followed by a slice of your chosen melty cheese. Carefully place the second slice of bread on top, with the buttered side facing outwards. Repeat this process for the second sandwich.
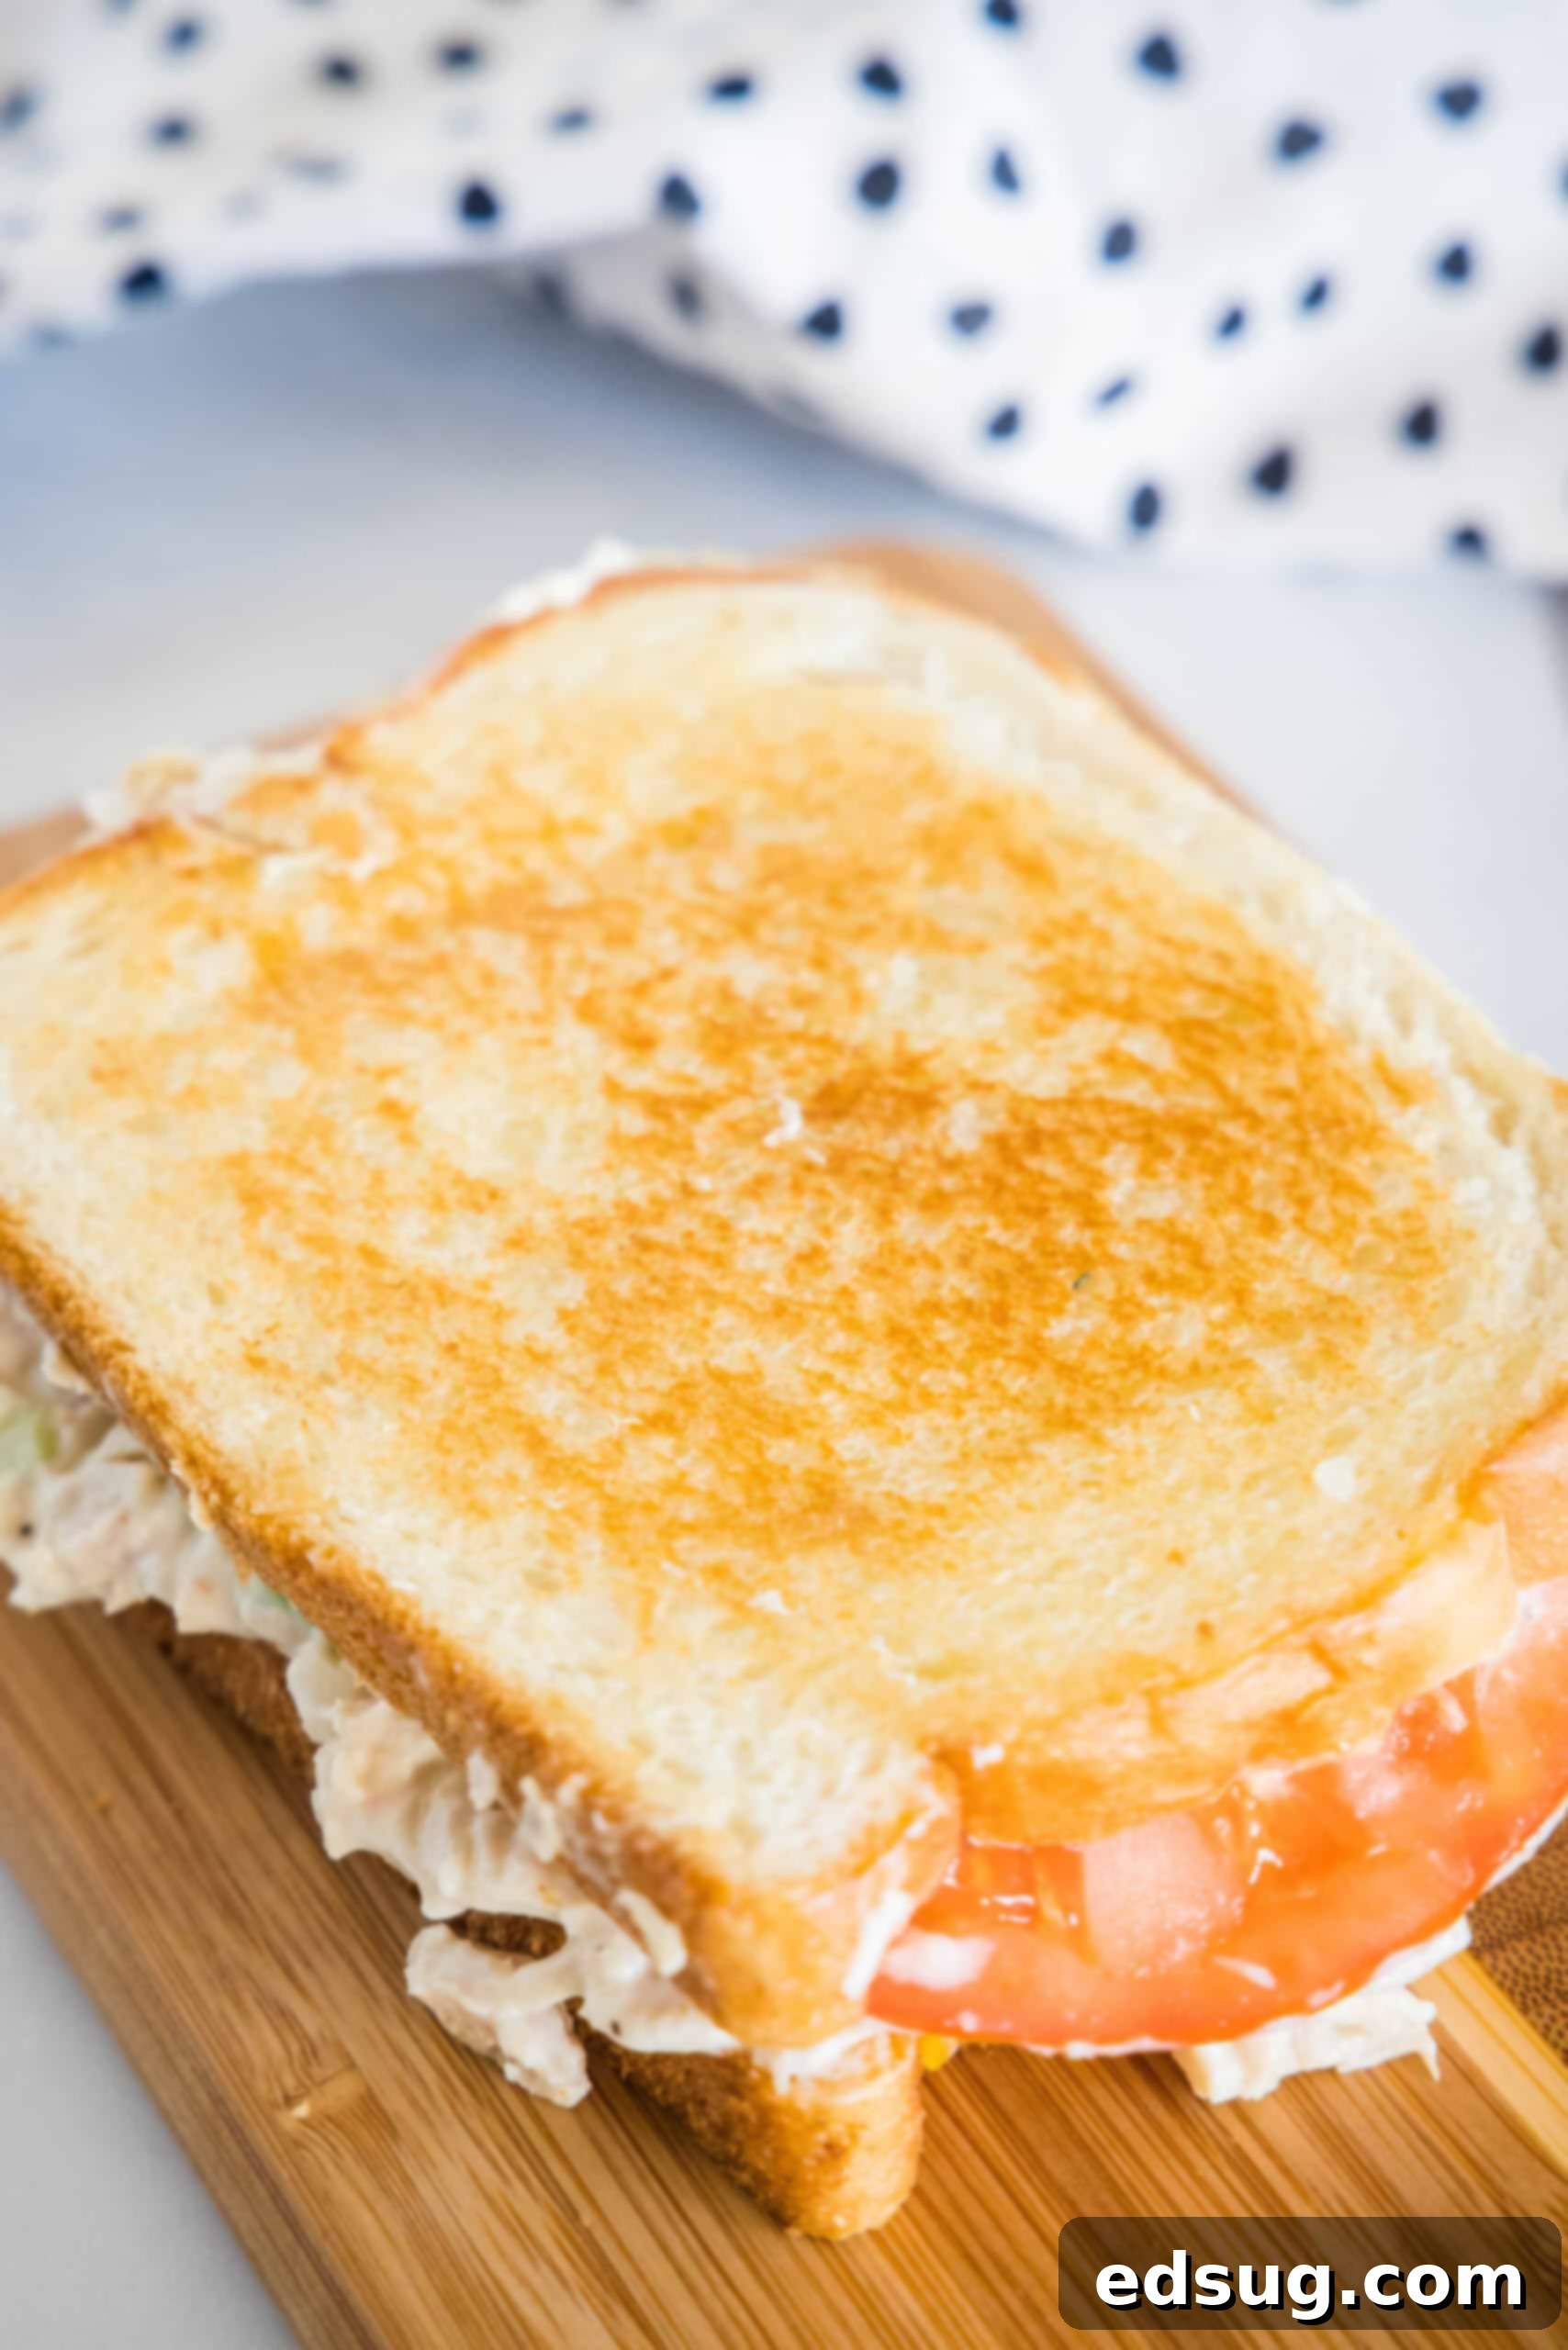
- Grill to Perfection: Heat a griddle or a large skillet over medium-high heat. Once hot, gently place your assembled sandwiches, buttered side down, onto the skillet. Cook for about 3-4 minutes per side. You’ll know it’s ready to flip when the bread is beautifully golden brown and crispy, and the cheese inside has started to melt into a wonderfully gooey consistency. Continue cooking for another 3-4 minutes on the second side. Once done, remove from the skillet, slice in half (I love a diagonal cut!), and serve immediately to enjoy that perfect warm, crispy, and cheesy experience!
Air Fryer Method for a Crispy Tuna Melt
If you own an air fryer, you’re in luck! It’s a fantastic tool for achieving an incredibly crispy tuna melt with minimal oil. To make an air fryer tuna melt, simply assemble your sandwich exactly as described above. Then, follow the precise cooking directions for my air fryer grilled cheese. Generally, you’ll find it takes about the same amount of time as stovetop cooking – typically around 4 minutes per side at 360ºF (180ºC). Keep an eye on it to ensure perfect golden-brown crispness and beautifully melted cheese without burning.
Tips for Tuna Melt Success
Achieving tuna melt perfection is easy with a few insider tips:
- Swap Butter for Mayonnaise on the Bread: For an extra layer of savory flavor and an unbelievably crispy exterior, try spreading a thin layer of mayonnaise instead of butter on the outside of your bread slices before grilling. The oils in the mayo help create an even browner, crispier crust and add a subtle tang.
- Chop Ingredients Finely: To ensure a harmonious texture throughout your tuna salad, make sure to finely dice the onions and celery. Large chunks can disrupt the mouthfeel. Finely chopped veggies still provide plenty of crunch and flavor but integrate better into the creamy tuna mixture, making each bite cohesive and delicious.
- For a Less Creamy Tuna Salad: If you prefer a lighter, less mayonnaise-heavy tuna mixture, you have a few options. You can replace some or all of the mayo with a good quality olive oil, adjusting to your taste. Alternatively, if you used oil-packed tuna, you can reserve some of that oil to stir in instead of mayo. For a healthier, tangy alternative, plain Greek yogurt can also be substituted for part of the mayonnaise.
- Vegetarian Adaptation: This melt can be easily made vegetarian! Simply replace the canned tuna with well-drained and mashed chickpeas. For an even more flavorful plant-based option, try adapting this recipe using my chickpea chicken salad as the base.
- Don’t Overcrowd the Pan: When grilling your tuna melts, ensure you don’t overcrowd the skillet or griddle. Give each sandwich enough space to cook evenly and get beautifully crispy. Overcrowding can lower the pan temperature and lead to steaming rather than searing, resulting in a less desirable soft crust.
- Preheat Your Equipment: Whether you’re using a skillet, griddle, or air fryer, always allow it to fully preheat before adding your sandwiches. A properly preheated surface is key to achieving that immediate sizzle, golden-brown crust, and quick, even melting of the cheese.
Serving Suggestions for Your Tuna Melt
This classic tuna melt is a versatile and satisfying meal, perfect for a quick lunch, a laid-back dinner, or even a hearty breakfast. While it’s utterly delicious on its own, pairing it with the right side dishes can elevate your meal to a new level. Here are some fantastic serving ideas:
- Soup and Sandwich Duo: A warm bowl of soup is the quintessential partner for a grilled sandwich. Try a creamy and comforting tomato soup, or for something a little different, a fragrant carrot and ginger soup. The contrast of warm soup with the crispy sandwich is pure bliss.
- Fresh Salads: To add freshness and cut through the richness, serve your tuna melt alongside a crisp, vibrant salad. A simple tossed salad with a light vinaigrette is always a winner. For a more substantial side, a BLT salad brings extra crunch and flavor.
- Classic Crispy Sides: For those who love a bit of indulgence, classic crispy sides are a must! Serve with a generous handful of your favorite potato chips or perfectly golden, crispy air fryer French fries. These salty, crunchy additions are always a hit, especially with kids.
- Tangy Accompaniments: A side of dill pickles or a scoop of creamy coleslaw offers a tangy counterpoint that brightens the entire meal.
- Sweet Finish: If you’re looking for a delightful dessert to follow, a rich and chewy congo bar makes a fantastic sweet treat.
Storing Leftovers & Making Ahead
While this tuna melt is undoubtedly best enjoyed immediately after grilling, still warm and crispy, you can certainly prepare components in advance or store leftovers responsibly.
- Storing Tuna Salad: If you have any leftover tuna salad or wish to make it ahead, store it in an airtight container in the refrigerator. It will keep fresh for 3-4 days. This makes future tuna melts incredibly quick to assemble! You can also use this delicious tuna salad in a traditional tuna salad sandwich, spread on crackers, or even in a light and refreshing lettuce wrap.
- Reheating a Cooked Tuna Melt: A fully assembled and grilled tuna melt doesn’t reheat as well as it cooks fresh. The bread can lose its crispness and become soggy. However, if you must reheat, your best bet is to do so in a toaster oven or air fryer at a moderate temperature (around 300°F / 150°C) for a few minutes until warmed through and slightly re-crisped. Avoid the microwave, as it will make the bread rubbery.
More Irresistible Sandwich Recipes
If you love this tuna melt, you’re sure to enjoy these other fantastic sandwich creations from my kitchen:
- Gourmet Turkey Club Sandwich
- Spicy Crispy Fish Sandwich
- Pepperoni Pizza Grilled Cheese
- Classic Loose Meat Maid Rite Sandwich
- Zesty Buffalo Shrimp Po’ Boys
- Tender Slow Cooker French Dip Sandwiches
Classic Tuna Melt
Ingredients
- 7 oz can tuna, well drained (Albacore or Yellowfin, in water or oil)
- 1/3 cup mayonnaise
- 2 Tablespoons finely chopped celery
- 2 Tablespoons finely chopped sweet or red onion
- 1 Tablespoon fresh lemon juice
- Salt & Freshly Ground Black Pepper, to taste
- 4 slices sturdy sandwich bread
- 1 ripe tomato, thinly sliced
- 2 slices cheddar cheese, or other good melting cheese like Monterey Jack or Swiss
- 2 Tablespoons butter, softened (or mayonnaise for crispier results)
Instructions
- In a medium bowl, combine the well-drained tuna, mayonnaise, finely chopped celery, finely chopped onion, and fresh lemon juice. Season with salt and pepper to taste, then mix thoroughly until all ingredients are well combined and the tuna is evenly coated.7 oz can tuna, 1/3 cup mayonnaise, 2 Tablespoons finely chopped celery, 2 Tablespoons finely chopped sweet or red onion, 1 Tablespoon fresh lemon juice, Salt & Freshly Ground Black Pepper
- Lightly butter one side of each of the four bread slices (or spread with mayonnaise for extra crispness). Divide the prepared tuna mixture in half and spread it evenly onto the unbuttered side of two of the bread slices. Top each with thinly sliced tomato and a slice of cheddar cheese. Place the remaining two bread slices on top, buttered side facing outwards, completing your two sandwiches.4 slices sturdy sandwich bread, 1 ripe tomato, 2 Tablespoons butter, 2 slices cheddar cheese
- Preheat a griddle or large skillet over medium-high heat. Once hot, carefully place the assembled sandwiches, buttered side down, onto the skillet. Cook for 3-4 minutes until the bread is beautifully golden brown and crispy. Flip the sandwiches and cook for an additional 3-4 minutes on the second side, until it’s also golden brown and the cheese inside is thoroughly melted and gooey.
- Remove the tuna melts from the skillet, slice them in half (diagonally or straight across), and serve immediately while hot and fresh. Enjoy!
Nutrition
Nutrition information is automatically calculated and should be used as an approximation only.
Additional Recipe Info
I’ve created a fun and supportive community group on Facebook, and I’d be absolutely thrilled for you to join us! It’s the perfect place to share YOUR favorite recipes, ask cooking questions, and stay up-to-date with all the latest and greatest from Dinners, Dishes and Desserts (so you never miss a new recipe!).
Be sure to follow me on Instagram and tag #dinnersdishes so I can see all the wonderful DINNERS, DISHES, AND DESSERTS recipes YOU create!
Don’t miss a single delicious update! Be sure to follow me on my social media channels:
Facebook | Twitter | Pinterest | Instagram
.
