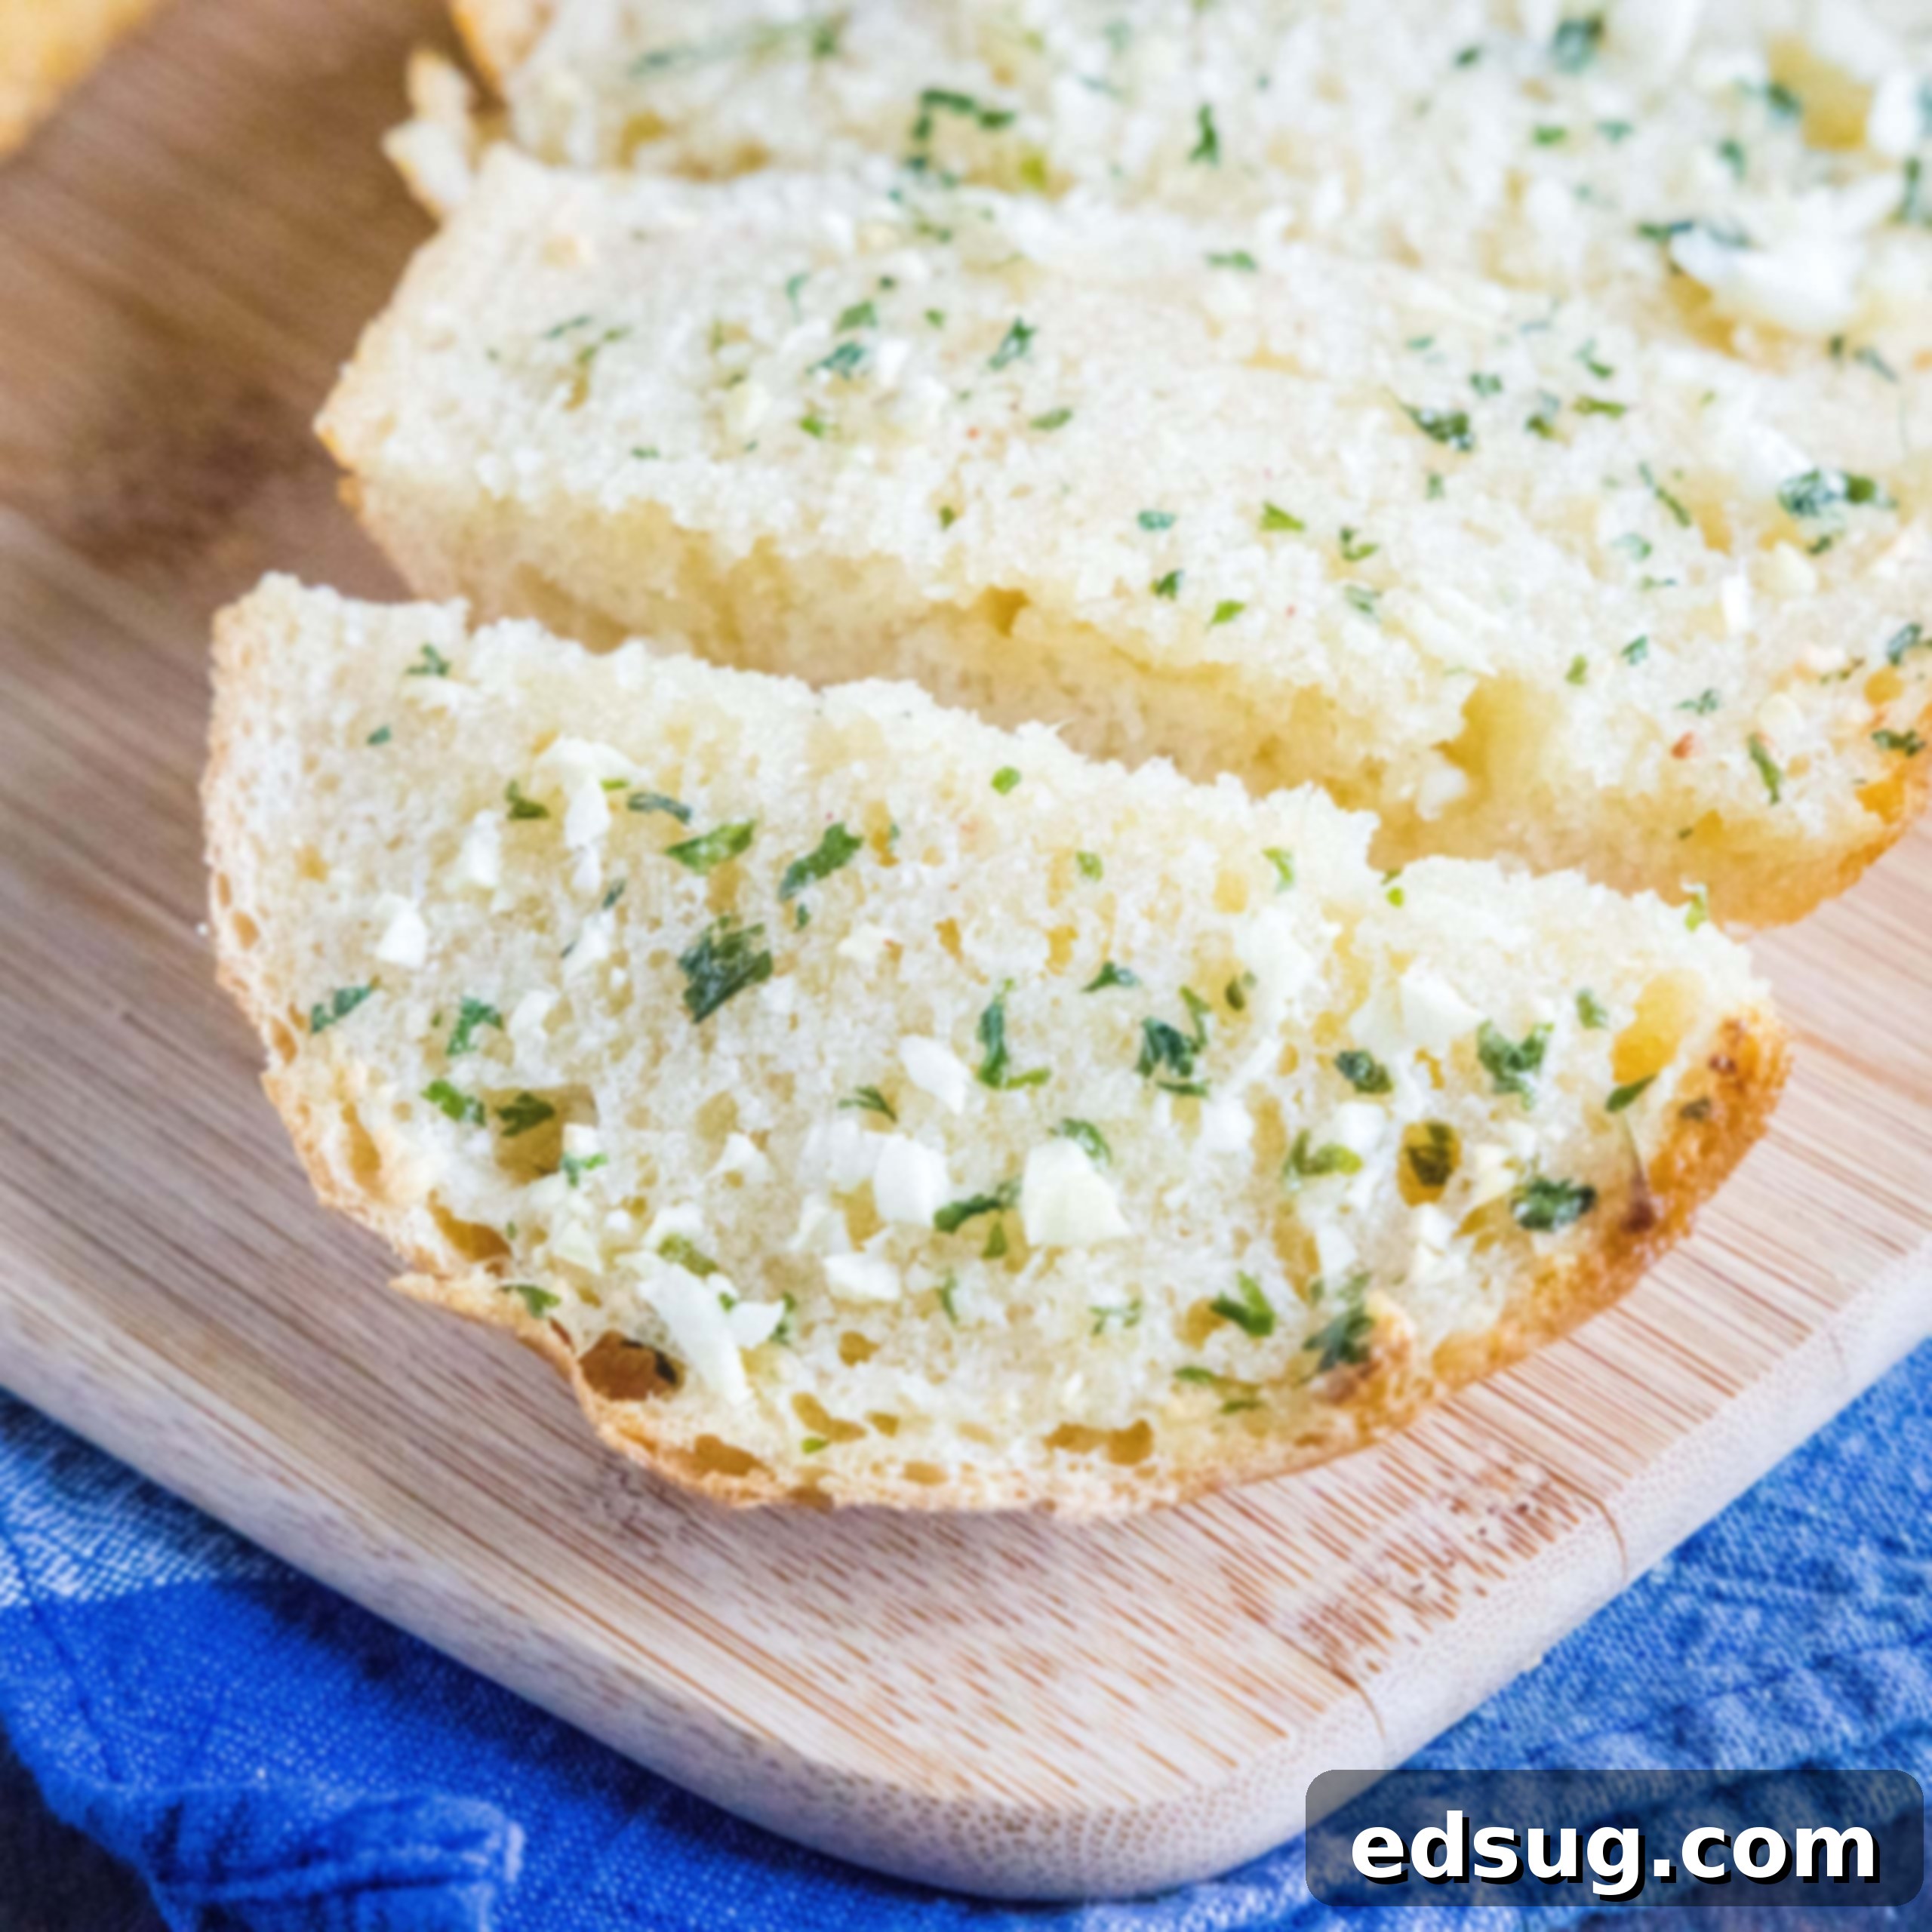
Homemade Garlic Bread: The Ultimate Easy Recipe for Buttery, Crispy Perfection
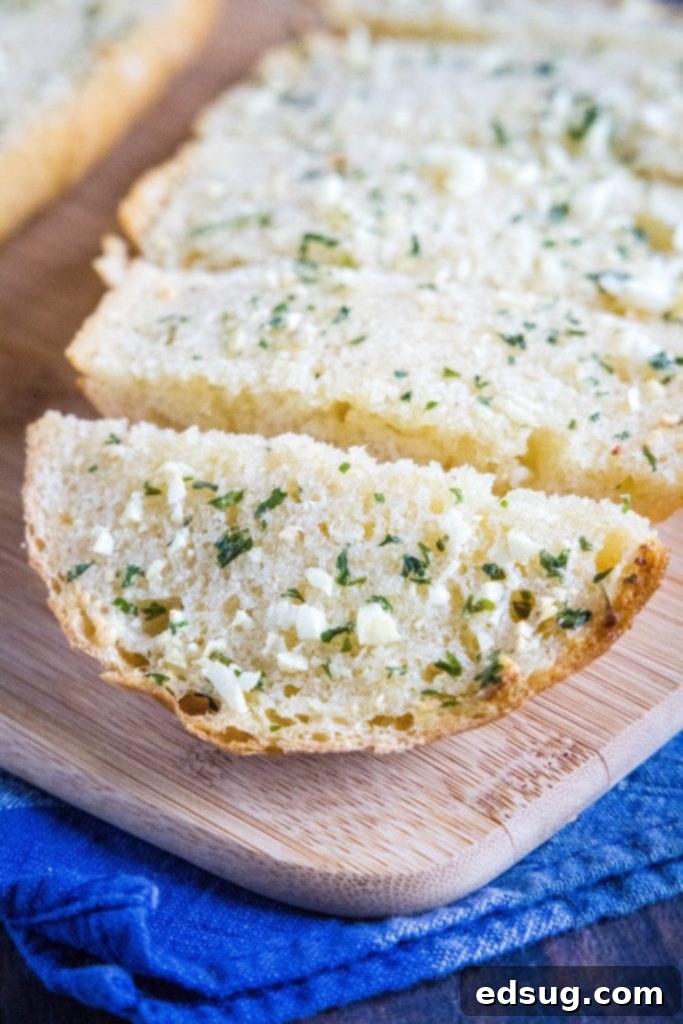
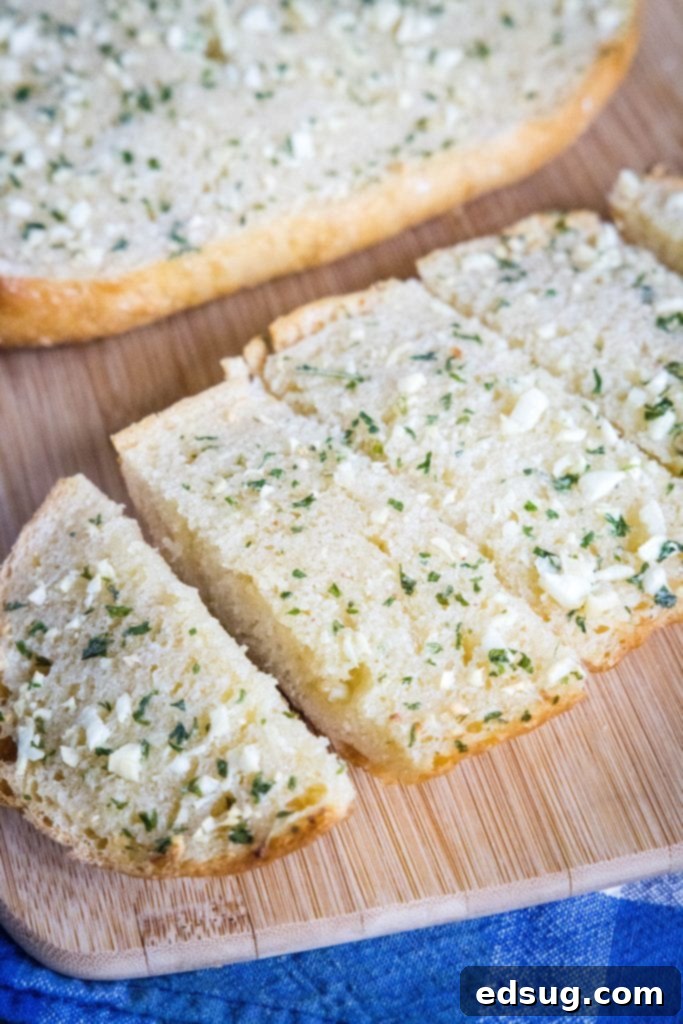
There’s something truly magical about a slice of warm, crusty Garlic Bread, fresh from the oven. Its irresistible aroma fills the kitchen, promising a delightful culinary experience. This classic side dish, featuring perfectly toasted bread slathered with a rich, buttery, and intensely garlicky spread, is a universal crowd-pleaser. Whether you’re serving it alongside a hearty pasta dinner, a crisp salad, or a comforting soup, homemade garlic bread elevates any meal from ordinary to extraordinary. And the best part? It’s incredibly simple to make yourself, often tasting far superior to anything you can buy at the store, and it’s surprisingly budget-friendly.
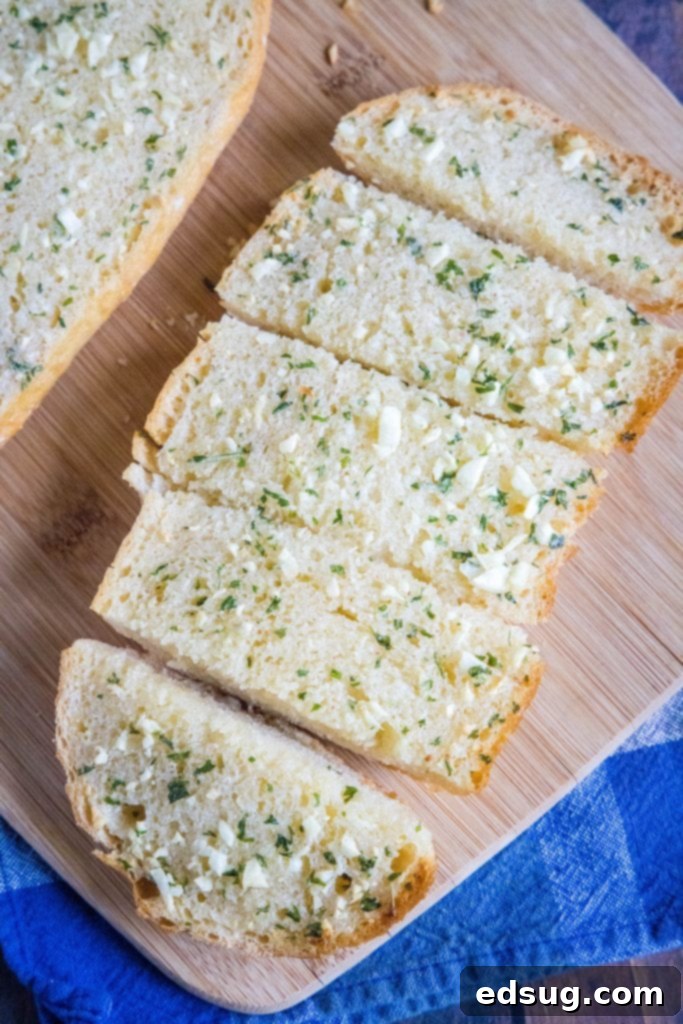
The Irresistible Allure of Homemade Garlic Bread
Garlic bread holds a special place in the hearts of food lovers everywhere. It’s more than just a side; it’s a comforting staple that complements a vast array of dishes. Imagine sinking your teeth into a piece of crusty bread, each bite bursting with the savory flavor of garlic, perfectly balanced with rich butter and a hint of fresh herbs. It’s the ultimate companion for your favorite Italian meals, such as Sun-Dried Tomato Pasta, adding a flavorful crunch that soaks up every drop of delicious sauce. Beyond pasta, it pairs wonderfully with savory main courses like Air Fryer Steak Bites, a creamy Spinach & Artichoke Chicken, or even a simple grilled cheese sandwich. Its versatility knows no bounds, making it a go-to choice for busy weeknights or special gatherings.
One of the most appealing aspects of this recipe is its make-ahead potential. You can prepare a batch (or several!) and freeze it, ready to bake whenever a craving strikes. This means you can ditch the often-disappointing store-bought versions that lack the fresh, vibrant flavors of homemade. Crafting your own garlic bread is not only more satisfying but also often more affordable, giving you complete control over the quality of ingredients and allowing you to customize it to your exact preferences. Once you try this homemade recipe, you’ll wonder why you ever bothered with anything else.
Why This Easy Garlic Bread Recipe Will Become Your Favorite
This recipe isn’t just another way to make garlic bread; it’s designed for maximum flavor with minimal effort. Here’s why you’ll absolutely adore it:
- Effortlessly Easy: With just a handful of common ingredients and simple, straightforward steps, this recipe comes together in a flash. From start to finish, you can have warm, golden-brown garlic bread on your table in under 20 minutes. It’s perfect for those busy evenings when you need a delicious side without a lot of fuss.
- Fantastic for Meal Prep & Freezing: Never be without delicious garlic bread again! This recipe is incredibly freezer-friendly. Buy an extra loaf of bread, whip up a bigger batch of the garlic butter spread, and have several loaves ready to go in your freezer. It’s perfect for impromptu pasta nights or unexpected guests, offering homemade goodness at a moment’s notice.
- Infinitely Customizable: While the classic combination of butter, garlic, and parsley is divine, this recipe serves as a perfect canvas for your culinary creativity. Feel free to experiment with different herbs like fresh basil or oregano, or sprinkle in some Italian seasoning for an extra layer of flavor. You can also adjust the amount of butter to suit your dietary needs or add a generous dusting of grated Parmesan cheese for a truly decadent treat. Make it your own to perfectly fit your taste and lifestyle!
Essential Ingredients for Perfect Garlic Bread
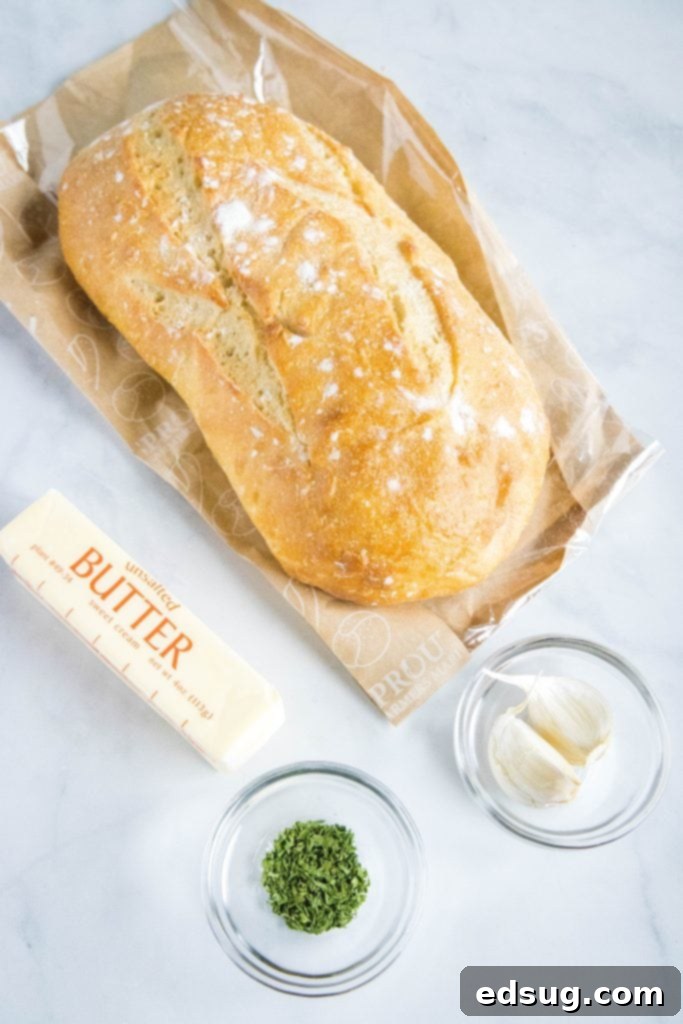
Creating sensational garlic bread requires only a few high-quality ingredients. Here’s what you’ll need to gather:
- Loaf of Bread: The foundation of great garlic bread is, of course, the bread itself. Aim for a sturdy, crusty loaf of about 1 pound, typically French or Italian style. A baguette works wonderfully for a crispier, smaller serving, while a wider Italian loaf provides more soft interior. Look for bread that isn’t too soft or airy, as it needs to hold up to the butter and retain some bite after baking. Day-old bread can even be preferred as it absorbs the butter mixture better without becoming soggy.
- Butter: Softened or room temperature butter is crucial for an even spread. Using unsalted butter gives you more control over the overall saltiness, but salted butter works perfectly fine if that’s what you have on hand. Allow your butter to sit out on the counter for at least 30 minutes to an hour before you plan to mix it, ensuring it’s pliable enough to blend easily with the other ingredients.
- Fresh Garlic: This is the star of the show! For the best flavor, fresh garlic cloves are highly recommended. Minced garlic, whether crushed, finely chopped, or grated, will release the most aromatic oils into your butter. Avoid garlic powder if possible; while convenient, it simply doesn’t compare to the pungent, fresh taste of real garlic. We’re looking for that unmistakable, robust garlic kick!
- Fresh Parsley or Basil: Fresh herbs add a vibrant color and a burst of fresh flavor that complements the richness of the butter and garlic. Fresh parsley (flat-leaf or curly) is a classic choice, offering a mild, peppery note. Fresh basil provides a sweeter, more aromatic Italian flair. Feel free to use one or both, chopped finely, to integrate into your garlic butter mixture.
Optional Enhancements:
- Parmesan Cheese: A sprinkle of grated Parmesan cheese mixed into the butter or directly onto the bread before baking adds a savory, cheesy depth that is absolutely divine.
- Olive Oil: Some prefer to mix a tablespoon or two of good quality extra virgin olive oil with the butter for a richer, more nuanced flavor and a slightly crisper crust.
- Red Pepper Flakes: For those who enjoy a little heat, a pinch of red pepper flakes can be a delightful addition, adding a subtle warmth to each bite.
Step-by-Step Guide to Crafting Homemade Garlic Bread
Making your own garlic bread is surprisingly simple, yielding results far superior to any store-bought alternative. Follow these easy steps for perfectly buttery, garlicky perfection:
- Prepare the Garlic Butter Mixture: In a small bowl, combine your softened butter, finely minced fresh garlic, and chopped parsley (or basil). Use a fork or a small spatula to mix everything together thoroughly until all ingredients are evenly blended and the mixture is smooth and uniform. This ensures every bite of bread gets a burst of flavor.
- Slice the Bread: Take your loaf of French or Italian bread and carefully slice it in half lengthwise. You want two long halves, exposing the soft inner crumb. If your loaf is very long, you might want to cut it into shorter, more manageable sections first before slicing lengthwise. For easier serving later, you can also make shallow crosswise cuts into the bread, stopping just before you cut through the bottom crust – this creates individual slices that are still held together.
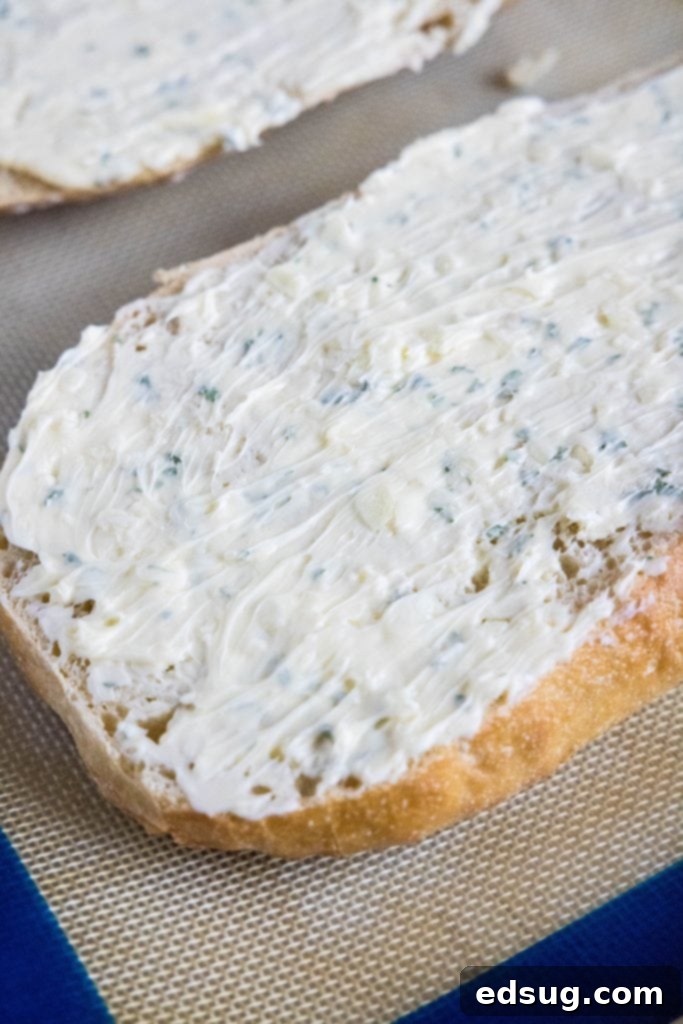
- Spread the Flavor: Generously spread the prepared garlic butter mixture evenly onto the cut surfaces of both halves of the bread. Make sure to reach all the way to the edges, ensuring no part misses out on the delicious buttery goodness. Don’t be shy with the spread!
- Bake to Golden Perfection: Place the buttered bread halves on a baking sheet, cut-side up. Bake in a preheated oven (usually around 400ºF or 200ºC) for about 12-15 minutes. Keep a close eye on it during the last few minutes. You’re looking for the butter to be completely melted and sizzling, and the edges of the bread to start turning a beautiful golden brown and becoming delightfully crispy. If you prefer it extra crispy, you can extend the baking time by a few minutes, but watch carefully to prevent burning.
- Serve Immediately: Once baked to your liking, remove the garlic bread from the oven. If you made shallow cuts earlier, simply pull the slices apart. If not, slice it into individual portions using a serrated knife. Serve immediately while it’s still warm and the butter is glistening. Enjoy the aromatic, buttery, garlicky delight!
Expert Tips & Creative Suggestions for Your Garlic Bread
Elevate your homemade garlic bread even further with these handy tips and delicious variations:
- Salt Adjustment: If you’re using unsalted butter, remember that you might need to add a pinch of salt to your garlic butter mixture, or sprinkle a little directly onto the bread. Taste your butter mixture before spreading and adjust to your preference.
- Achieving Crispy Edges: For that coveted extra crispy texture on the edges and a slightly chewy interior, increase your baking time to closer to 20 minutes, or even a couple of minutes more. Just be sure to keep a watchful eye on it to prevent burning. Alternatively, you can finish it under the broiler for 1-2 minutes for a super golden and crunchy top, but again, watch it very closely as it can burn quickly!
- Cheesy Garlic Bread: Transform your garlic bread by adding cheese! A little bit of finely grated Parmesan cheese mixed into the butter spread is fantastic. For a truly decadent experience, go all out and make a full Cheesy Garlic Bread by adding shredded mozzarella, provolone, or a blend of Italian cheeses on top of the buttered bread during the last 5-7 minutes of baking until bubbly and melted.
- Herb Variations: Don’t limit yourself to parsley! Experiment with other fresh herbs like chives for a milder oniony flavor, oregano for a classic Italian taste, or a mix of several for a complex herbal profile. Dried herbs can also be used in a pinch, but use about half the amount of fresh herbs.
- Garlic Intensity: Love a strong garlic flavor? Add an extra clove or two! For a milder taste, reduce the amount. You can also roast your garlic beforehand for a sweeter, mellower garlic flavor.
- Add a Touch of Heat: A pinch of red pepper flakes mixed into the butter spread adds a subtle warmth and zing, perfect for those who enjoy a little spice.
- Grilled Garlic Bread: For a delicious smoky flavor, you can grill your garlic bread! After spreading the butter, place the bread cut-side down on a medium-hot grill for 2-4 minutes, until toasted and grill marks appear.
- Serving Suggestions: While perfect with pasta, don’t forget garlic bread as a side for grilled chicken, roasted vegetables, hearty stews, or even alongside a fresh garden salad. It’s also incredible dipped in warm marinara sauce or olive oil with balsamic vinegar.
Mastering the Art of Freezing Homemade Garlic Bread
One of the greatest advantages of making your own garlic bread is the ability to freeze it, ensuring you always have a delicious side dish ready to go. Forget those often-disappointing store-bought frozen loaves; your homemade version will be infinitely better. Here’s how to prepare and freeze your garlic bread for future enjoyment:
- Prepare and Butter the Bread: Follow the steps above to prepare your garlic butter mixture and spread it generously onto the halved loaf of bread. You can make shallow cuts for easier slicing later, but don’t bake it yet.
- Wrap Tightly: Once buttered, gently close the two halves of the bread back together. Wrap the entire loaf tightly in a layer of plastic wrap, then follow with a layer of aluminum foil. This double layer protects against freezer burn and helps maintain freshness and flavor. Label with the date.
- Freeze: Place the well-wrapped loaf in the freezer. It can be stored for up to 3 months, offering a fantastic way to prepare ahead for future meals or unexpected guests.
- Bake from Frozen: When you’re ready to enjoy your homemade garlic bread, there’s no need to thaw it beforehand! Simply remove the foil and plastic wrap (or just the plastic wrap if you want to bake in foil), place the still-frozen loaf directly onto a baking sheet, and pop it into a preheated oven at 350ºF (175ºC).
- Reheating Time: Bake for approximately 20-30 minutes, or until the butter is fully melted, the bread is heated through, and the edges are golden brown and crispy. The longer baking time allows the bread to thaw and toast properly from its frozen state.
With this simple freezing method, you can have perfect homemade garlic bread straight from the freezer to your table in no time, ensuring a delicious and convenient side dish is always within reach.
Discover More Easy Side Dish Recipes
If you love easy and delicious sides, you’re in the right place! Explore these other fantastic recipes that are sure to complement any meal:
- Little Caesars Crazy Bread
- Homemade Tortilla Chips
- Crockpot Queso
- Cheesecake Factory Brown Bread
- Butter Swim Biscuits
- Homemade Croutons
Homemade Garlic Bread
Pin Recipe
Rate Recipe
Print Recipe
Ingredients
- 1 loaf Italian or French bread (approx. 1 lb)
- 1/2 cup butter, softened to room temperature
- 2 Tablespoons fresh parsley, finely chopped (or fresh basil)
- 3 cloves garlic, minced (more or less to taste)
Instructions
-
Preheat your oven to 400º F (200ºC). Position a rack in the middle of the oven.
-
Carefully slice the Italian or French bread in half lengthwise, creating two long halves.
-
In a small bowl, combine the softened butter, chopped fresh parsley, and minced garlic. Mix thoroughly with a fork or spatula until all ingredients are well blended and evenly distributed.
-
Generously spread the garlic butter mixture evenly over the cut surfaces of both bread halves, ensuring you cover all edges.
-
Place the buttered bread halves onto a baking sheet, cut-side up. Bake for about 15 minutes, or until the butter is completely melted and bubbling, and the edges of the bread are beautifully golden brown and crispy. If you desire extra crispiness, you can bake for a few minutes longer, watching closely to prevent burning.
-
Remove from the oven, slice into individual portions if not pre-cut, and serve immediately while hot and fragrant.
Nutrition
Nutrition information is automatically calculated, so should only be used as an approximation.
Additional Info
Love this recipe? Share your thoughts and leave a comment below!
I’ve created a fun and engaging community group on Facebook, and I’d be absolutely thrilled for you to join us! It’s a vibrant space where you can
share YOUR favorite recipes, ask questions, get cooking inspiration, and stay updated on all the new delicious content from Dinners, Dishes and Desserts (so you’ll never miss a new recipe)!
Make sure to follow me on Instagram and
tag #dinnersdishes so I can see all the wonderful DINNERS, DISHES, AND DESSERTS
recipes YOU create!
Don’t forget to follow me on my social media channels, so you
never miss a single post, recipe, or update!
Facebook | Twitter | Pinterest | Instagram
.
