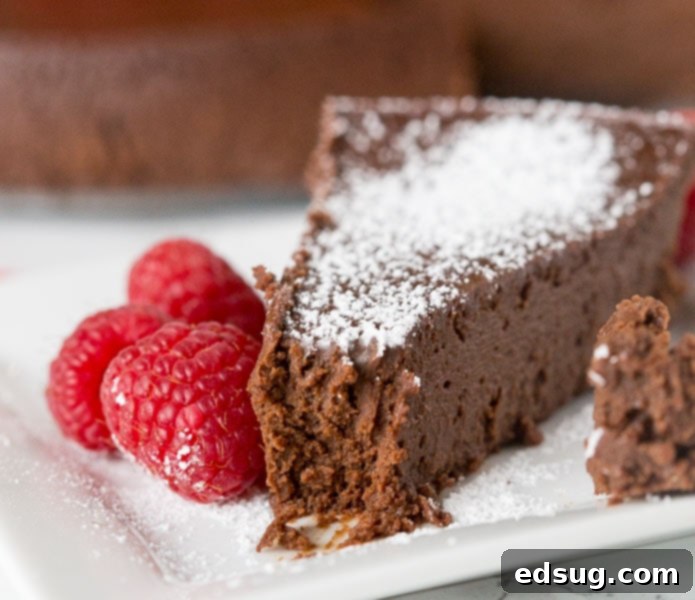
Irresistible 3-Ingredient Flourless Chocolate Cake: Your Easy Gluten-Free Dessert Dream
Indulge in a truly rich, dense, and intensely chocolatey experience with this decadent flourless chocolate cake. It’s a chocolate lover’s dream come true, naturally gluten-free, and incredibly simple to make with just three core ingredients!
As a lifelong chocoholic, my journey with chocolate desserts has been a delicious one. From the first bite of homemade brownies to the warm, gooey delight of perfect chocolate chip cookies fresh from the oven, chocolate has always held a special place in my heart. There’s an undeniable magic in that melty, sweet flavor that just can’t be replicated, making any day feel a little more special.
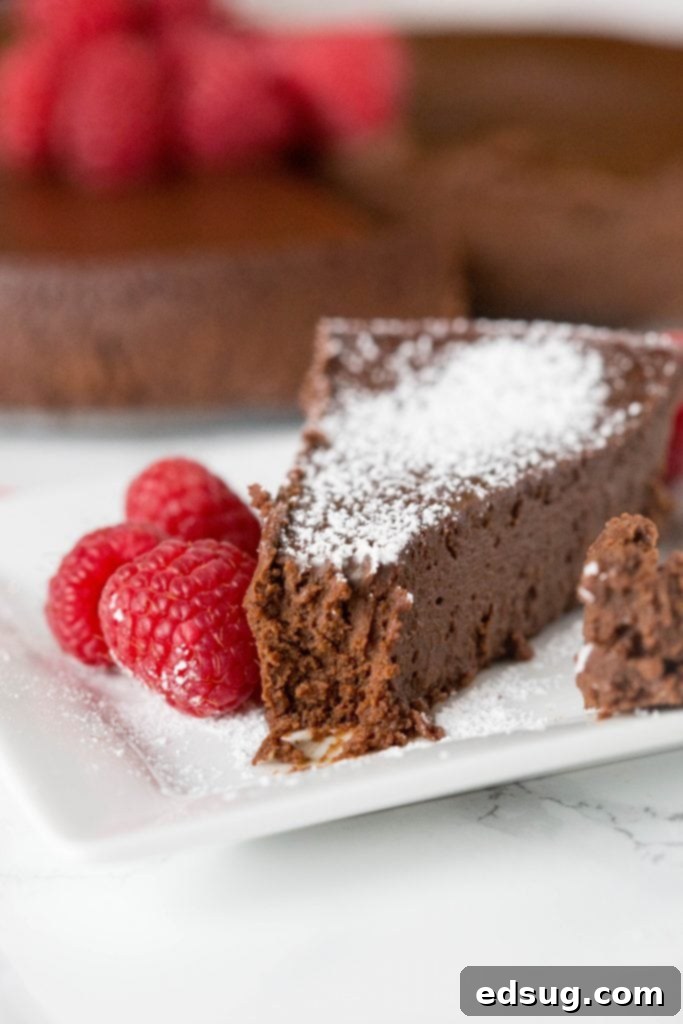
My first encounter with a flourless chocolate cake happened about 16 years ago on a cruise, and it was a revelation. Initially, I hesitated to order it, unsure what a cake without flour would even be like. After all, isn’t flour what makes cakes light and fluffy? I was completely wrong. That first slice was an absolute game-changer. It was intensely rich, surprisingly dense, and unbelievably smooth, melting in my mouth with every bite. I became instantly obsessed, determined to savor every possible slice during the remainder of the trip.
The experience sparked a mission: to recreate that exquisite dessert at home. What I discovered was even more surprising – this incredibly sophisticated-tasting cake requires only a handful of common ingredients and a straightforward preparation process. It defies expectations by delivering unparalleled decadence with remarkable simplicity, making it a staple in my dessert repertoire ever since. Its deep, intense chocolate flavor and luxurious texture make it a standout dessert for any occasion, from casual gatherings to elegant celebrations.
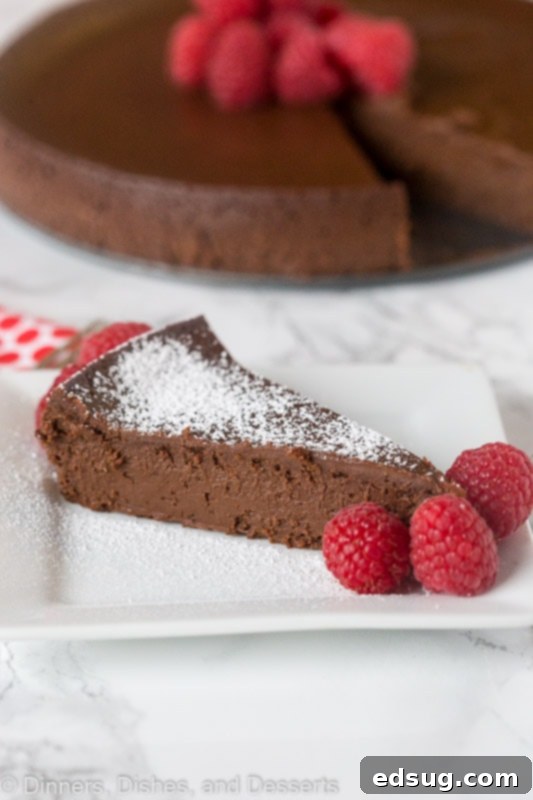
What is Flourless Chocolate Cake Made Of? The Magic of Three Ingredients
The beauty of this chocolate flourless cake recipe lies in its minimalist approach. You truly only need three core ingredients to achieve a dessert that tastes like it came from a gourmet patisserie. These humble components, when combined correctly, create a symphony of rich chocolate flavor and a luxuriously dense texture, proving that sometimes, less is truly more when it comes to exquisite baking.
- High-Quality Eggs: These are crucial for structure and lift, especially since there’s no flour. We’ll be whipping them extensively to incorporate air, which is essential for the cake’s unique, slightly aerated yet dense texture. Cold eggs tend to separate easier, making the whipping process more effective for creating volume.
- Premium Butter: Butter contributes significantly to the cake’s richness, moisture, and overall melt-in-your-mouth quality. Using unsalted butter allows you to control the salt content, ensuring the chocolate flavor truly shines.
- Excellent Chocolate: As chocolate is the undeniable star here, its quality is paramount. Using a good brand of semi-sweet or bittersweet chocolate (around 60-70% cocoa solids) will elevate the flavor from merely good to truly extraordinary. Opt for baking bars or discs over chocolate chips, as they typically contain fewer stabilizers and melt more smoothly.
Because there are so few ingredients, each one plays an incredibly vital role in the final outcome. This is not the time to compromise on quality. Opt for the best semi-sweet chocolate you can find – a chocolate bar chopped coarse is often better than chocolate chips for melting smoothly and delivering a deeper, more pronounced chocolate flavor. High-quality butter and fresh, cold eggs will also make a noticeable difference in the final taste and texture of your flourless chocolate cake, contributing to its luxurious mouthfeel and intense flavor profile.
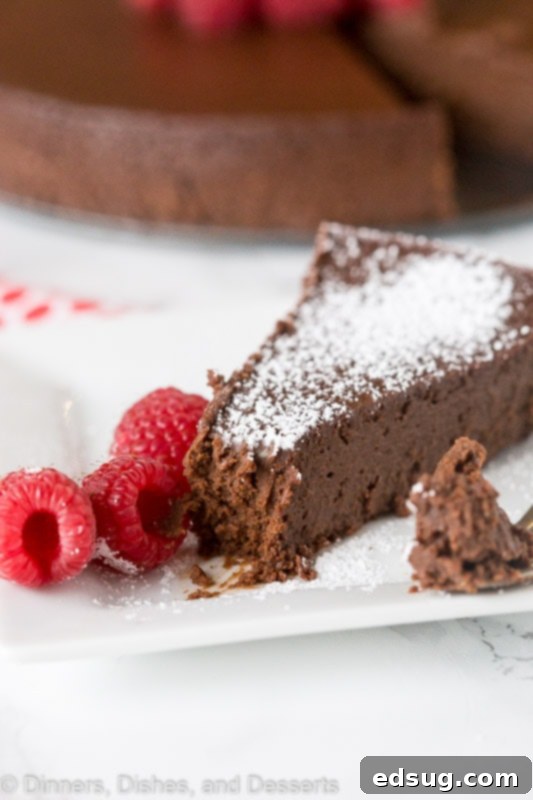
How Do You Make This Decadent Flourless Chocolate Cake? A Simple Baking Guide
Making this impressive dessert is surprisingly straightforward, proving that you don’t need a complex ingredient list or intricate techniques to achieve gourmet results. The key to its dense, yet wonderfully rich and almost fudgy texture, lies in how the eggs are prepared. By whisking them into a voluminous foam, we incorporate the necessary air and structure that flour typically provides, resulting in that wonderfully unique and indulgent consistency.
- Prepare Your Pan & Oven: First, preheat your oven to 325°F (160°C) and position an oven rack in the lower-middle section. Thoroughly grease an 8-inch springform pan. This pan style is crucial for easy cake release. To prevent any water from seeping in during the water bath, wrap the outside of the springform pan with two layers of heavy-duty aluminum foil, ensuring the foil comes up high enough to completely cover the sides. Place this prepared springform pan into a larger roasting pan. Begin to bring a separate pot of water to a rolling boil.
- Whip the Eggs to Perfection: In the bowl of an electric mixer (stand mixer or with a hand mixer), beat the cold eggs on high speed. It is essential to continue beating for approximately 5 minutes, or until the eggs have significantly doubled in volume, are pale yellow, and form soft, billowy peaks. This extensive aeration is the backbone of the cake’s structure and lightness without the use of flour. Do not rush this step, as sufficient air incorporation is critical.
- Melt Chocolate & Butter: While the eggs are whipping, gently melt the coarsely chopped semi-sweet chocolate and the cut pieces of butter together. You can do this using a double boiler method (placing a heatproof bowl over a simmering pot of water, ensuring the bowl doesn’t touch the water) or carefully in a microwave, stirring frequently in 30-second intervals until the mixture is completely smooth and combined. Be careful not to overheat the chocolate, as it can seize. Once smooth, let it cool slightly for a minute or two to prevent deflating the eggs when combined.
- Gently Fold in the Eggs: Once the chocolate-butter mixture is smooth and slightly cooled, using a flexible spatula, carefully fold in about one-third of the whipped egg foam. The goal here is to lighten the chocolate mixture without deflating the precious air from the eggs too much. Continue folding until only a few streaks of egg remain. Next, gently fold in half of the remaining egg foam, again mixing until just combined. Finally, delicately fold in the last portion of the egg foam until the batter is uniformly blended and no white streaks of egg are visible. Overmixing at this stage will reduce the air in the eggs and result in a denser, less delicate cake.
- Bake in a Water Bath (Bain-Marie): Pour the luxurious chocolate batter into your prepared springform pan. Carefully place the roasting pan, containing the springform pan, onto the oven rack. Now, pour enough boiling water into the roasting pan to come about halfway up the sides of the springform pan. This water bath (also known as a bain-marie) is crucial; it ensures even cooking and a moist, tender crumb by providing a gentle, humid environment, preventing the cake from drying out or cracking on top. Bake for 22 to 25 minutes, or until the cake has risen slightly, and the edges are just beginning to set. The surface will form a thin, glazed crust. An instant-read thermometer inserted into the center of the cake should register 140ºF (60°C).
- Cool & Chill for Optimal Texture: Once baked, carefully remove the springform pan from the hot water bath and place it on a wire rack to cool completely at room temperature. After it’s cooled, cover the cake tightly with plastic wrap or foil and refrigerate it overnight. This chilling step is absolutely essential as it allows the cake to fully firm up, developing its signature dense, fudgy, and incredibly rich texture.
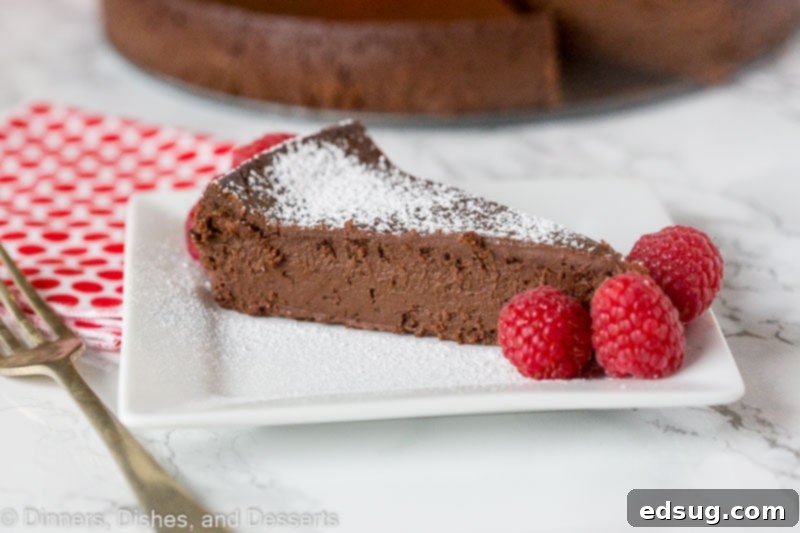
- Serve with Style: To serve, carefully run a thin knife around the edge of the springform pan before releasing the sides. Slice the chilled cake with a warm, dry knife for clean, precise cuts. Dust generously with powdered sugar for a classic, elegant look, or top with a dollop of freshly whipped cream. For an elegant presentation and a burst of refreshing flavor, add a few fresh berries like raspberries or strawberries on the side. This cake is truly best served chilled, allowing its deep chocolate notes and unique texture to be fully appreciated.
The entire process, from careful ingredient selection to the final chilling, is designed to maximize the intense chocolate flavor and create that wonderfully dense yet delicate texture that makes flourless chocolate cake so beloved. The waiting period for chilling overnight might be the hardest part, but it is absolutely worth every moment for the perfect, gourmet-quality result!
Is Flourless Chocolate Cake Gluten-Free? Absolutely!
Yes, indeed! This is one of the most appealing and celebrated aspects of this rich dessert. Since our recipe calls for just three main ingredients – eggs, butter, and high-quality chocolate – all of which are naturally gluten-free, the resulting cake is also completely gluten-free. This makes it an ideal and safe choice for anyone with gluten sensitivities, celiac disease, or simply for those looking to enjoy a delicious dessert without the gluten. You can serve this decadent treat with confidence and peace of mind, knowing it’s safe for a wide range of dietary needs and preferences.
Beyond being naturally gluten-free, this cake is also a genuine showstopper. Its deep, alluring chocolate color, smooth texture, and elegant presentation make it perfect for dinner parties, holiday celebrations, or any special occasion where you want to impress. The simple preparation truly belies its luxurious taste, guaranteeing rave reviews from all your guests, regardless of their dietary considerations. It’s a testament to how incredible a dessert can be with minimal, high-quality ingredients.
Serving Suggestions & Variations for Your Flourless Chocolate Cake
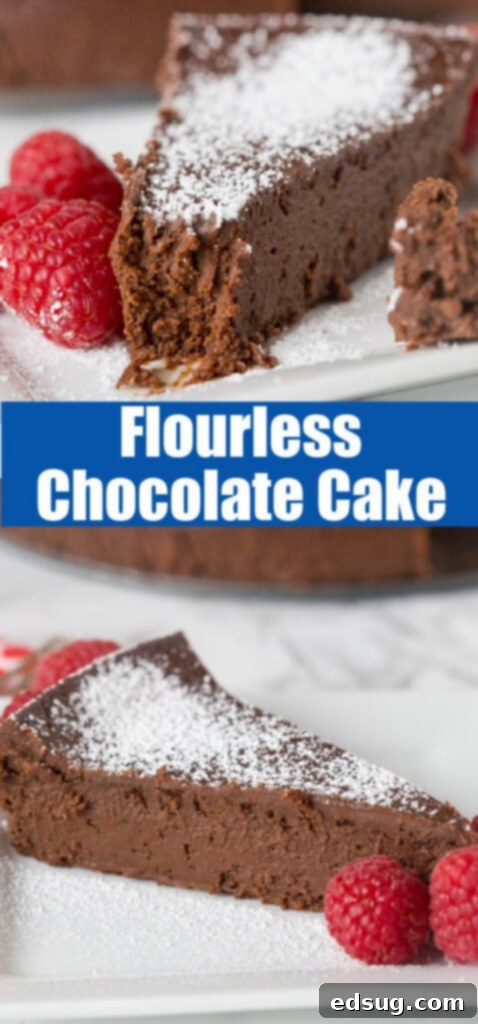
While this flourless chocolate cake is magnificent on its own, a few simple garnishes and additions can elevate it into an even more spectacular dessert experience. A light dusting of powdered sugar creates an elegant, classic contrast to the dark chocolate. For added creaminess and a delightful textural balance, a generous dollop of freshly homemade whipped cream is always a fantastic choice. The subtle sweetness and airy texture of the cream perfectly complement the cake’s intense richness.
To introduce a touch of refreshing tartness, vibrant color, and an extra layer of flavor, consider adding a handful of fresh berries. Raspberries, strawberries, blueberries, or even a mixed medley of seasonal berries provide a delightful burst that cuts through the richness of the chocolate beautifully. A drizzle of raspberry coulis or a simple chocolate ganache can also enhance the experience, adding visual appeal and a layer of complementary flavor. For an extra decadent touch, serve it slightly warm (after chilling, let a slice come to room temperature or briefly warm it) with a scoop of premium vanilla bean ice cream or a splash of your favorite coffee liqueur.
Want to experiment with flavors and make it your own? You can infuse the chocolate-butter mixture with a hint of espresso powder to deepen and intensify the chocolate notes, a dash of orange zest for a bright citrusy lift, or a tablespoon of your favorite liqueur like Grand Marnier, Kahlúa, or even a good quality rum for a sophisticated twist. These small additions can transform the cake into an even more personalized masterpiece, perfect for any palate.
Storage Tips for Your Flourless Chocolate Cake
One of the many wonderful things about flourless chocolate cake is how incredibly well it stores. In fact, many connoisseurs believe it tastes even better the day after it’s made, once the flavors have had more time to meld and deepen, and the texture has fully set in the refrigerator. After the cake has completely cooled to room temperature, cover it tightly with plastic wrap or transfer it to an airtight container. Store it in the refrigerator for up to 5-7 days. This makes it a truly fantastic make-ahead dessert, perfect for busy hosts, holiday preparations, or anyone who loves to have a delicious treat ready in advance.
For longer storage, you can also freeze individual slices or the entire cake (well-wrapped in plastic wrap and then foil) for up to 2-3 months. When you’re ready to enjoy, simply thaw the cake in the refrigerator overnight. This convenient option ensures you always have a delicious, elegant, and naturally gluten-free dessert on hand whenever a chocolate craving strikes or an unexpected guest arrives!
More Decadent Chocolate Dessert Recipes
- Silky Smooth Chocolate Mousse
- Irresistible Peanut Butter Stuffed Brownies
- Chocolate Strawberry Shortcake with Fresh Berries
- Classic French Silk Pie
- Warm Chocolate Molten Lava Cake for Two
- Decadent Bailey’s Chocolate Cheesecake
- Rich French Hot Chocolate
Flourless Chocolate Cake
Ingredients
- 8 eggs, cold
- 1 pound semi-sweet chocolate, chopped coarse (use high quality chocolate)
- 16 Tablespoons butter, cut into 16 pieces
Instructions
- Preheat oven to 325 degrees F (160°C). Have a rack set in the lower-middle position. Grease an 8-inch springform pan thoroughly. Wrap the outside with 2 layers of heavy-duty aluminum foil. Set the prepared springform pan in a large roasting pan. Bring a pot of water to a boil.
- In an electric mixer, beat the cold eggs on high speed until they double in volume (this usually takes about 5 minutes), becoming pale and forming soft peaks. Meanwhile, melt the chocolate and butter together. Use a double boiler for gentle melting or microwave in 30-second intervals, stirring until smooth. Once melted and smooth, let it cool slightly for a minute. Then, using a spatula, fold in 1/3 of the whipped egg foam. When only a few streaks of egg remain, gently fold in 1/2 of the remaining foam. Finally, fold in the last of the foam until it is completely blended into the chocolate mixture, taking care not to overmix and deflate the eggs.
- Pour the batter into the prepared springform pan. Place the roasting pan on the oven rack, and carefully pour enough boiling water into the roasting pan to come about halfway up the sides of the springform pan. Bake for 22 to 25 minutes, or until the cake has risen slightly and the edges are just beginning to set. A thin, glazed crust will form on the surface. An instant-read thermometer inserted into the center should read 140ºF (60°C). Remove the pan from the water bath and set it on a wire rack to cool completely at room temperature. Once cooled, cover and refrigerate overnight for best results.
- To serve, slice the chilled cake with a warm knife and dust with powdered sugar, or top with a generous dollop of whipped cream and fresh berries.
Notes
Nutrition
Nutrition information is automatically calculated, so should only be used as an approximation.
Additional Info
Join our growing community on Facebook! It’s a vibrant space where you can share YOUR favorite recipes, ask questions, and stay updated with all the new delicious creations from Dinners, Dishes and Desserts, ensuring you never miss a new recipe!
Be sure to follow me on Instagram and tag #dinnersdishes so I can see all the wonderful DINNERS, DISHES, AND DESSERTS recipes YOU create and share!
Stay connected and follow me on my social media channels, so you never miss a post, a tip, or a new recipe!
Facebook | Twitter | Pinterest | Instagram
Happy Baking!
