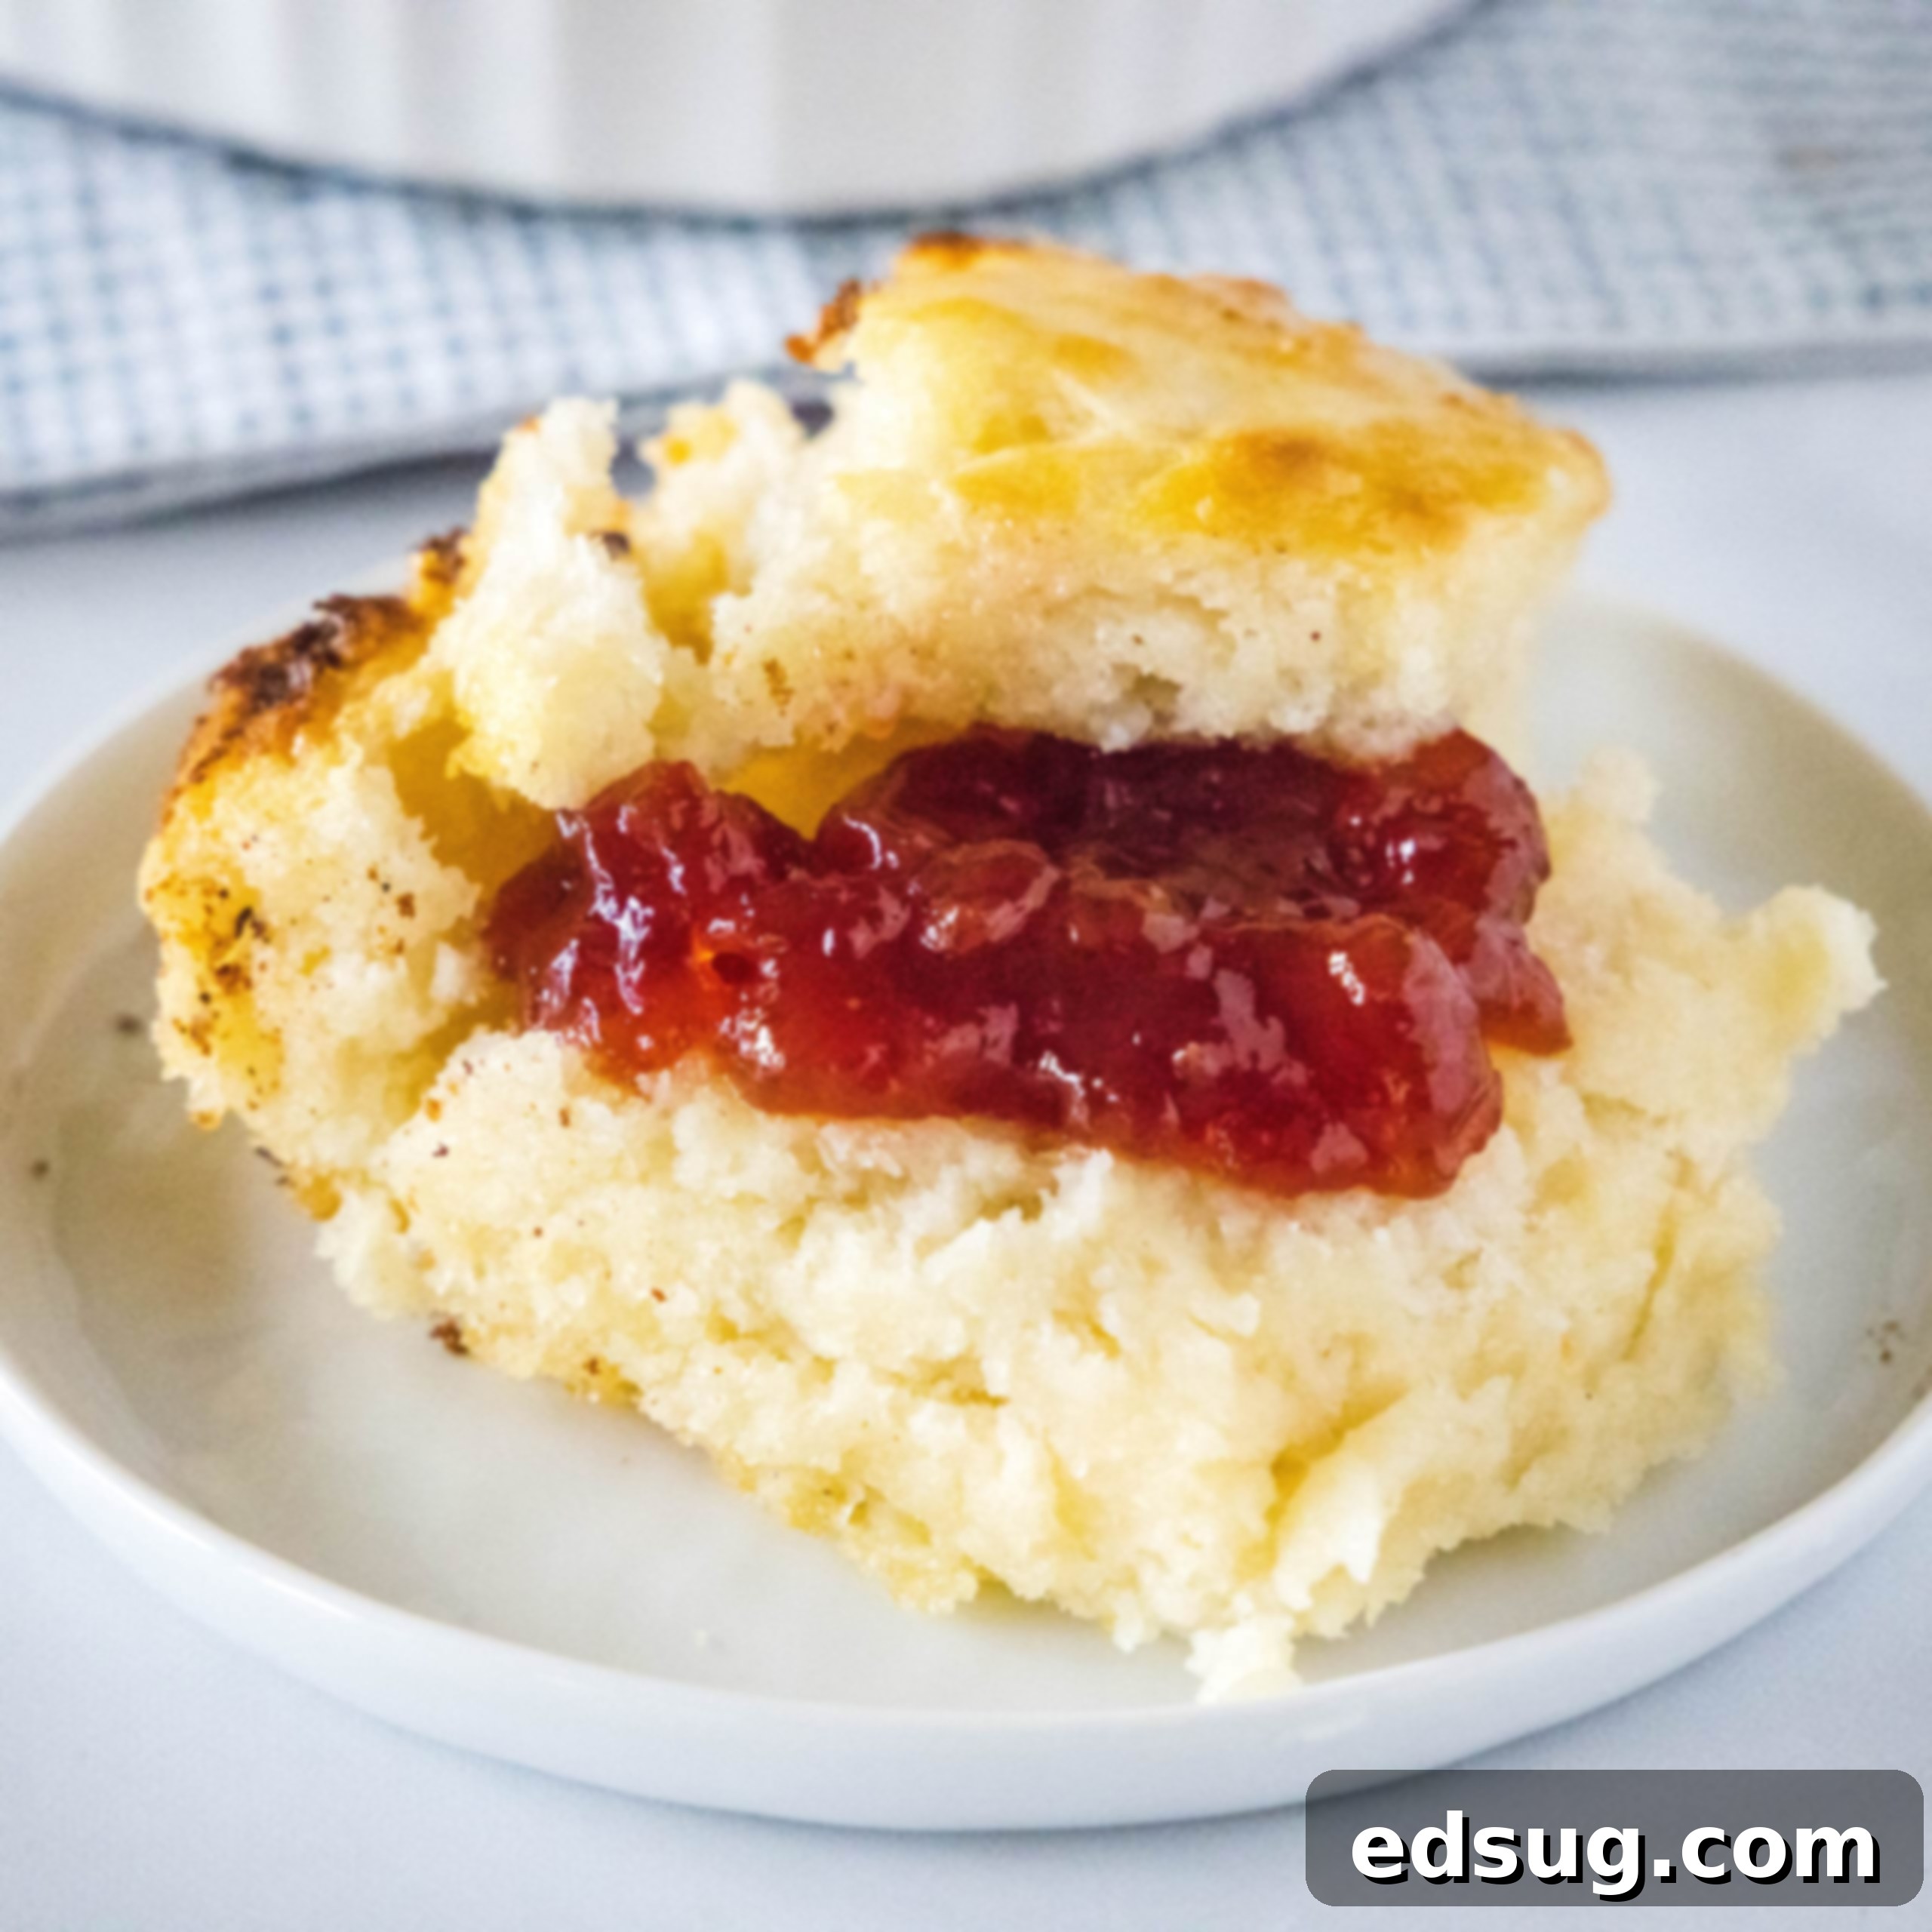
Mastering Butter Swim Biscuits: A Foolproof Recipe for Fluffy, Buttery Goodness
There’s something uniquely comforting and irresistibly delicious about a perfectly baked biscuit. For many, the idea of homemade biscuits conjures images of intricate dough handling, messy countertops, and the challenge of achieving that ideal fluffy texture. While classic Easy Biscuit Recipe and traditional Buttermilk Biscuits have their place, often involving rolling and cutting, we’re here to introduce you to a game-changer: Butter Swim Biscuits. This method simplifies the entire process, making biscuit baking accessible to everyone, regardless of their kitchen experience.
Forget the kneading, the special cutters, and the worry of overworking the dough. Butter Swim Biscuits are truly a foolproof recipe designed for guaranteed success. They emerge from the oven with a stunning golden crust, a soft, tender interior, and an unmistakable rich, buttery flavor that will make them an instant favorite. This isn’t just an easy biscuit recipe; it’s a revelation that transforms humble ingredients into pure culinary joy, ensuring a delightful treat with minimal effort.
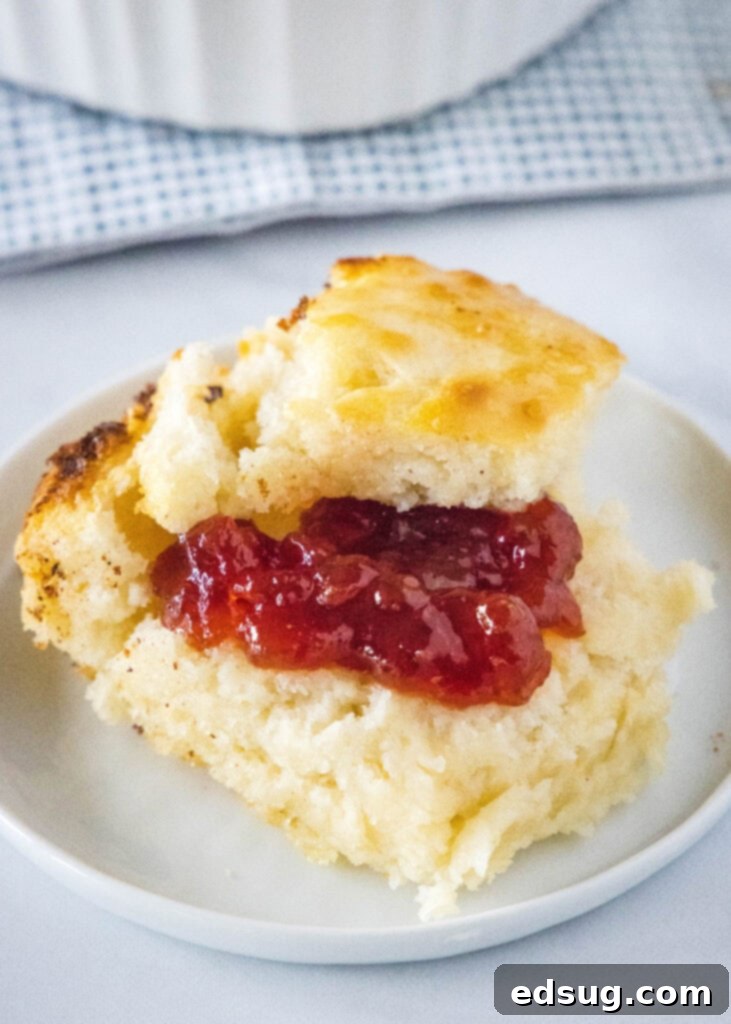
What Exactly Are Butter Swim Biscuits?
As the name beautifully suggests, Butter Swim Biscuits are quite literally baked while “swimming” in a generous pool of melted butter. Unlike conventional biscuit recipes where cold butter is carefully cut into the flour, here, a stick of butter is melted directly in your baking dish. The biscuit dough, a simple mixture of flour, baking powder, sugar, salt, and buttermilk, is then poured directly over this melted butter before baking.
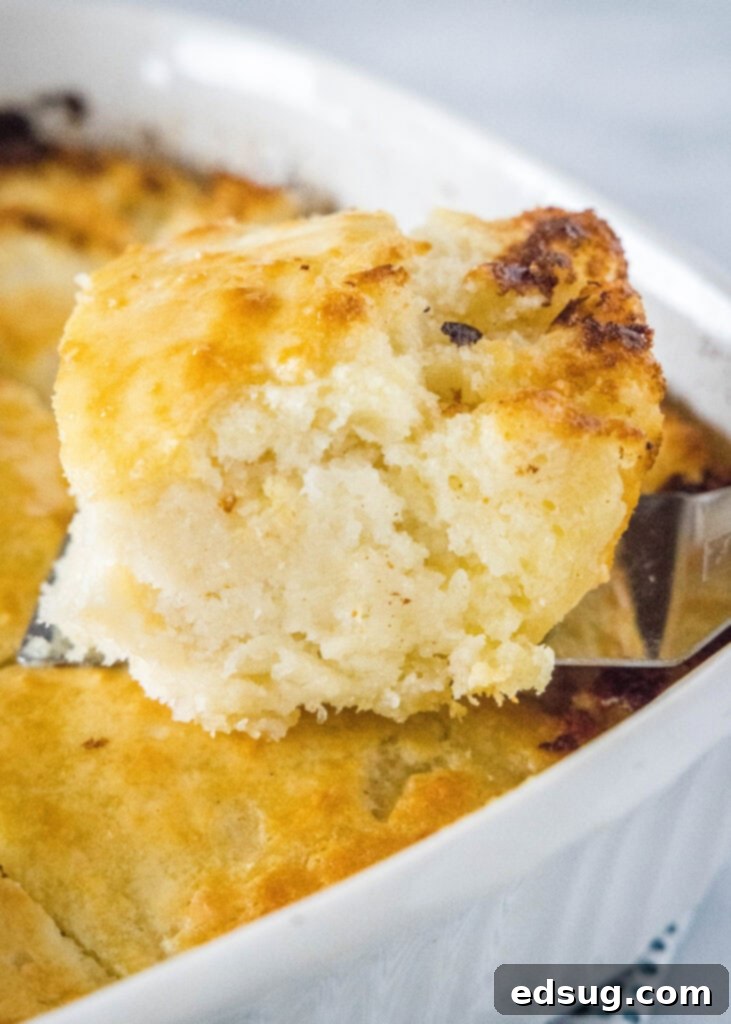
This ingenious technique ensures every single biscuit absorbs the rich, melted butter as it bakes, creating an incredibly tender crumb and a phenomenal crispy, golden exterior. The edges become wonderfully caramelized and extra buttery, providing a delightful contrast to the soft center. This method not only simplifies the process but also delivers an unparalleled flavor and texture that’s difficult to achieve with traditional methods. I first stumbled upon this brilliant recipe from Simply Texas when I started blogging years ago, and it quickly became a staple in my kitchen due to its ease and incredible results. It’s a secret weapon for anyone who loves biscuits but wants to avoid the fuss.
Essential Ingredients for Your Butter Swim Biscuits
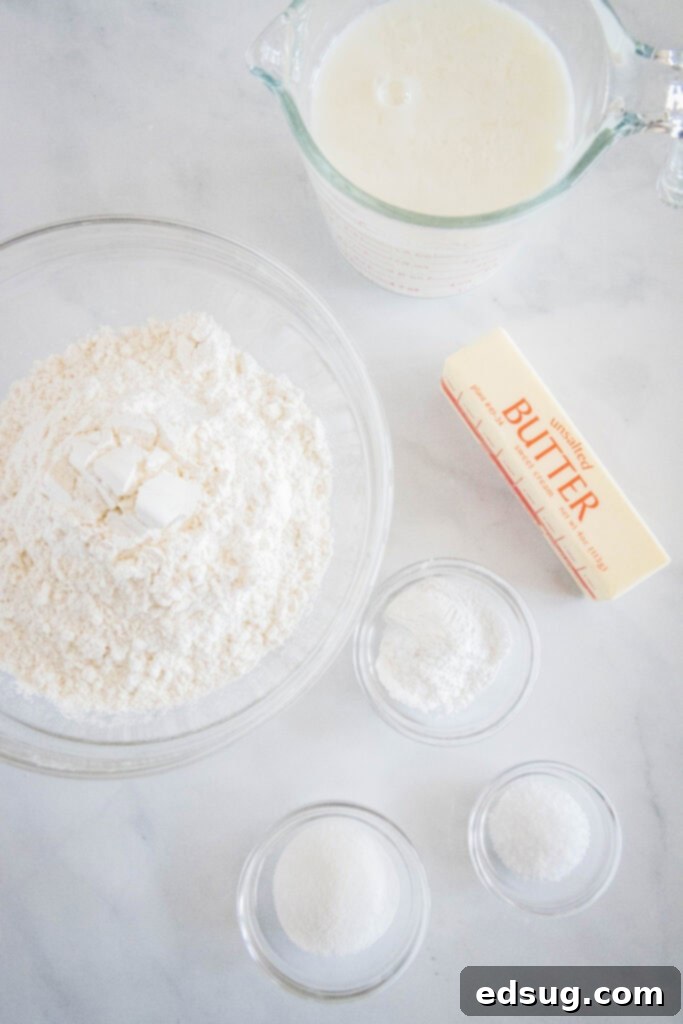
One of the beauties of this recipe lies in its simplicity, requiring only a handful of common pantry staples. You won’t need any exotic items or special trips to the store. Here’s what you’ll need to create these delectable, buttery biscuits:
- Unsalted Butter: The star of the show! Using unsalted butter allows you to control the overall saltiness of your biscuits, ensuring they are perfectly seasoned. It forms the luxurious “swim” for baking, infusing every bite with rich flavor.
- All-Purpose Flour: The foundation of our biscuits, providing structure and texture. Ensure it’s fresh for the best results and a tender crumb.
- Baking Powder: This powerful leavening agent is crucial for achieving that signature lift and fluffy texture characteristic of great biscuits. We specifically recommend using aluminum-free baking powder for optimal taste, as some people can detect a metallic aftertaste from traditional varieties.
- Granulated Sugar: Just a touch of sugar beautifully balances the savory flavors, enhances the sweetness of the buttermilk, and contributes to the appealing golden-brown crust.
- Kosher Salt: An absolute essential for any baking recipe. Salt brightens and enhances all the other flavors, making the butter and buttermilk truly shine.
- Buttermilk: The secret ingredient to truly tender, moist biscuits. Its inherent acidity reacts with the baking powder, promoting a high rise and creating a delicate, flaky crumb that’s simply irresistible.
Don’t Have Buttermilk? No Problem!
If you find yourself without buttermilk in the fridge, don’t fret! You can easily make a homemade substitute that works perfectly for this recipe. Simply mix 2 cups of regular milk (whole, low-fat dairy milk, or even a plain unsweetened non-dairy milk like almond or soy) with 3 Tablespoons of white vinegar or fresh lemon juice. Give it a gentle stir and let it stand for about 5 minutes at room temperature. The milk will curdle slightly, thickening and becoming acidic, forming a perfect buttermilk substitute ready for your biscuit dough. This small, convenient hack ensures you can make these incredible biscuits anytime a craving strikes, without a special trip to the grocery store.
How To Make Butter Swim Biscuits: A Simple Guide
Making these biscuits is surprisingly straightforward, and the process is designed for minimal effort with maximum reward. The beauty of this recipe lies in its simplicity and the guaranteed delicious outcome. Follow these easy steps for perfect results every time, and you’ll be enjoying warm, buttery biscuits in no time:
For the FULL PRINTABLE recipe card with exact measurements and nutritional information, please scroll to the bottom of this post.
- Prepare Your Pan and Melt the Butter: Begin by preheating your oven to a robust 425ºF (220ºC). While the oven heats up, cut your half cup of unsalted butter into several cubes and place them evenly across the bottom of an 8-inch baking dish. Once the oven is nearly at temperature, carefully place the baking dish with the butter into the oven. This allows the butter to melt completely and the pan to heat up simultaneously, creating that perfect buttery base. Keep a close eye on it to prevent the butter from burning – it should be fully melted and slightly bubbly, not browned or smoking.
- Combine Dry Ingredients: In a separate large mixing bowl, whisk together the all-purpose flour, baking powder (ideally aluminum-free), granulated sugar, and kosher salt. It’s important to ensure these dry ingredients are thoroughly combined and lump-free. The even distribution of the baking powder is particularly crucial for achieving uniform rising and an airy texture in your biscuits.
- Add Buttermilk and Mix the Dough: Pour the buttermilk into your dry ingredient mixture. Using a sturdy wooden spoon or a spatula, gently mix the ingredients until they are just combined. The crucial tip here, as with many biscuit recipes, is to avoid overworking the dough. Overmixing can develop the gluten too much, leading to tough, dense biscuits instead of the desired tender, fluffy ones. As soon as the last streaks of flour disappear and the ingredients come together to form a soft, somewhat shaggy dough, stop mixing immediately.
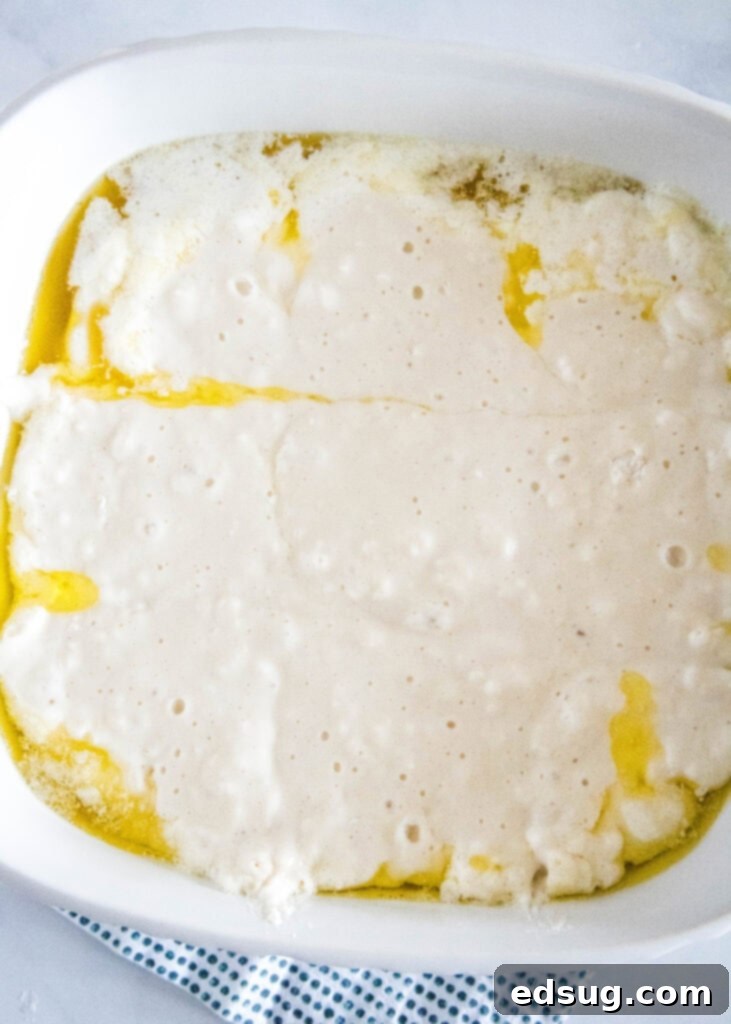
- Pour Dough into Butter: Carefully remove the hot baking dish with the shimmering melted butter from the oven. Gently pour the prepared biscuit dough directly over the melted butter in the pan, using your spoon or spatula to spread it gently and evenly to cover the bottom of the dish. Do not press it down firmly; a light touch is best.
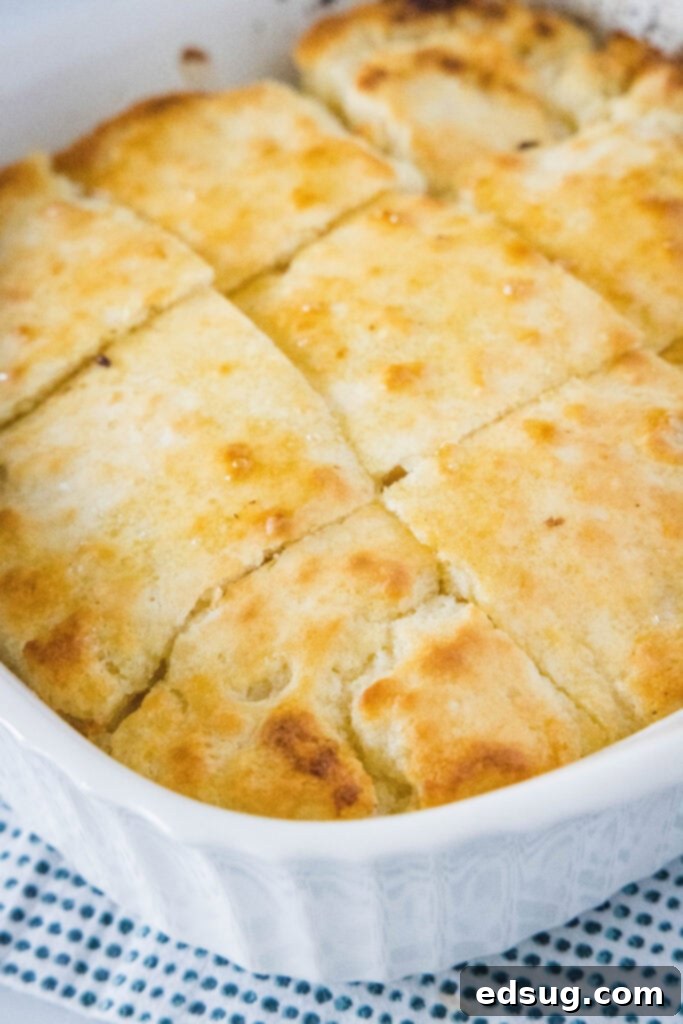
- Score the Dough: Before baking, use a sharp knife or a bench scraper to score the dough into 9 equal-sized biscuits. Make sure your cuts are deep enough to create clear lines, but do not cut all the way through to the bottom of the pan. This scoring is an essential step: it allows the melted butter to seep into the internal cracks of each biscuit during baking, rather than just staying around the edges, thus maximizing butter absorption and flavor throughout the entire biscuit.
- Bake to Golden Perfection: Place the baking dish into your preheated oven and bake for 25-28 minutes. The exact baking time may vary slightly depending on your oven, so watch for visual cues. The biscuits are ready when they turn a beautiful, rich golden brown on top and are cooked through in the center. You’ll also notice a delightful crispy crust forming on the edges and bottom, thanks to that butter bath.
- Rest Before Serving: Once baked, carefully remove the pan from the oven. Resist the urge to cut into them immediately! Allow the biscuits to rest in the pan for 5-10 minutes. This resting period is vital as it gives the hot, melted butter time to fully absorb back into the biscuits, resulting in an even more tender, moist, and flavorful treat. After resting, use your scored lines to easily separate and serve these incredible Butter Swim Biscuits.
Storing and Reheating Your Butter Swim Biscuits
While these biscuits are undeniably best served warm and fresh from the oven, you can certainly store leftovers for enjoyment later. Proper storage ensures they retain as much of their deliciousness and tender texture as possible, allowing you to savor them for days to come.
Room Temperature Storage
If you have any biscuits remaining after serving, simply cover the baking dish tightly with plastic wrap or aluminum foil. They will stay fresh and delicious for 2-3 days when stored at room temperature. For optimal freshness and to prevent them from drying out, you can also transfer individual biscuits to an airtight container.
Refrigerator Storage
For a slightly longer shelf life, you can store your butter swim biscuits in the refrigerator for 3-4 days. Similar to room temperature storage, ensure they are placed in an airtight container to prevent them from drying out or absorbing other food odors from your fridge. The butter content helps them stay moist, but proper sealing is key.
Freezing Biscuits for Later
Did you know you can easily freeze baked biscuits? This is a fantastic way to prepare a batch ahead of time, ensuring you always have a quick, comforting treat ready for busy mornings or unexpected cravings. Once your biscuits have completely cooled to room temperature, wrap each one individually in plastic wrap. This prevents freezer burn and makes it easy to grab just one or two at a time. Then, place the individually wrapped biscuits in a freezer-safe bag or an airtight container. They can be stored in the freezer for up to 2-3 months without a significant loss in quality.
To enjoy a frozen biscuit, simply remove it from the freezer and let it thaw overnight in the refrigerator or for a few hours on the kitchen counter. Once thawed, they are ready to be reheated to their warm, fluffy glory.
Reheating for Best Results
Biscuits are always best when warm, as the warmth enhances their buttery flavor and tender texture. Here are a few effective ways to reheat your Butter Swim Biscuits:
- Microwave: For a quick reheat, place a single biscuit on a microwave-safe plate and microwave for 15-30 seconds, or until warmed through. Be careful not to overcook in the microwave, as this can sometimes make biscuits tough or chewy.
- Oven: For multiple biscuits or if you prefer a crispier exterior, placing them back in the oven is ideal. Preheat your oven to a moderate temperature, around 300°F (150°C). Place the biscuits on a baking sheet and reheat for 5-10 minutes, or until they are thoroughly heated through and the crust has revived its crispness.
- Air Fryer: An air fryer can also be a great option for reheating, offering a wonderfully crispy exterior in a short amount of time. Place biscuits in a single layer in the air fryer basket and heat at 300°F (150°C) for 3-5 minutes, checking periodically to prevent over-browning.
Recipe Tips & Delicious Variations
Elevate your Butter Swim Biscuits even further with these handy tips and creative variations. This simple recipe is incredibly versatile, making it easy to adapt to your taste preferences or the meal you’re serving.
- Serve Warm for Optimal Enjoyment: As mentioned, these biscuits truly shine when served warm. While they need a short rest after baking to absorb the butter, try not to make them too far in advance of when you plan to eat them. The buttery aroma and tender texture are at their absolute peak when fresh from the oven.
- Serving Suggestions Galore: These versatile biscuits can accompany almost any meal!
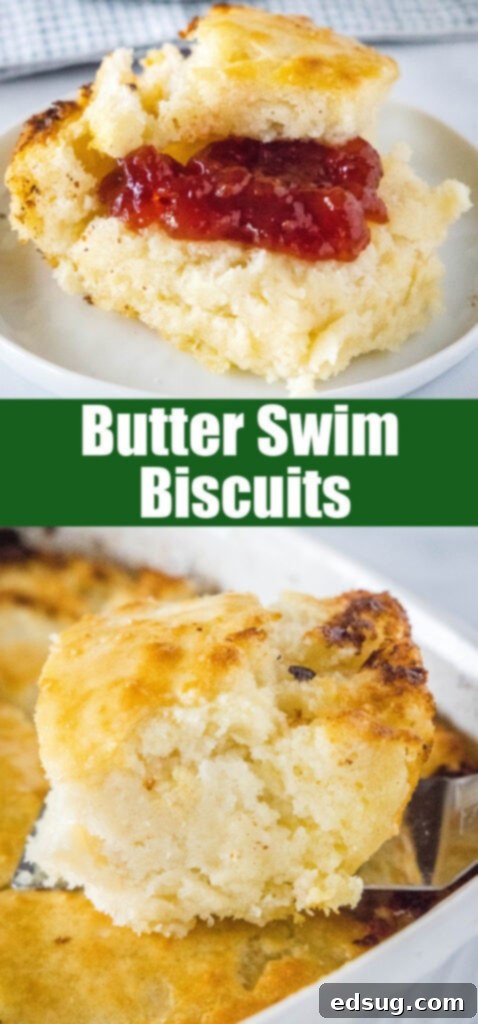
- Sweet Pairings: For a delightful breakfast or dessert, generously top your warm biscuits with your favorite Mixed Berry Jam, a dollop of honey, a drizzle of maple syrup, or even a simple lemon glaze. They’re also fantastic split and served with fresh fruit and whipped cream.
- Savory Pairings: These biscuits are robust enough to stand up to hearty, savory dishes. They are the perfect base for a classic biscuits and gravy. They also make an excellent, filling foundation for a hearty Sausage & Egg Breakfast Sandwich. Serve them alongside fried chicken, a comforting bowl of chili, your favorite stew, or even a pot roast for an ultimate comfort food experience.
The possibilities are truly endless, making them a fantastic addition to any meal of the day.
- Flavor Twists: This basic buttery biscuit provides a fantastic canvas for customization. Get creative and infuse your biscuits with additional flavors!
- Cheesy Biscuits: For a savory treat, gently fold in about 1/2 cup of shredded cheese, such as sharp cheddar, creamy Monterey Jack, or spicy pepper jack, into the dough mixture before pouring it into the pan.
- Spicy Kick: If you love a bit of heat, add finely chopped jalapeños (deseeded for less heat) along with the cheese for a flavorful kick.
- Herbaceous Notes: For an aromatic twist, mix in your favorite fresh or dried herbs like finely chopped rosemary, thyme, chives, or a teaspoon of garlic powder. These herbaceous biscuits are fantastic with savory meals.
- Sweet Variations: Consider adding a teaspoon of cinnamon and a sprinkle of brown sugar to the dry ingredients, or a touch of orange or lemon zest for a brighter, citrusy flavor profile. These are lovely for brunch or a sweet snack.
- The Aluminum-Free Baking Powder Advantage: If you can find it, try to use aluminum-free baking powder. Many common baking powders sold in the US contain trace amounts of aluminum, which can sometimes impart a slightly metallic or bitter aftertaste to baked goods. While often undetectable in recipes with stronger flavors, in a simple, delicate biscuit like this, some people might notice it. Using aluminum-free baking powder ensures the purest, cleanest flavor profile for your buttery treats, letting the natural goodness of the ingredients shine.
- Don’t Overmix the Dough: This is a golden rule for all biscuit making, and especially important here. Mix just until the ingredients are combined and no dry streaks of flour remain. A slightly lumpy or shaggy dough is perfectly fine and often indicates a tender, light biscuit to come. Overmixing develops gluten, which can lead to a tough, rubbery texture that nobody wants in a biscuit.
- Evenly Score the Biscuits: The scoring step isn’t just for convenient portioning; it actively helps the melted butter penetrate each biscuit more effectively during baking. This results in a consistently moist and flavorful interior throughout the entire batch. Ensure your knife cuts are deep enough to create clear channels for the butter to seep into.
More Easy Bread Recipes to Explore
If you loved the simplicity and deliciousness of these Butter Swim Biscuits, you’ll be thrilled to discover more easy bread recipes that are perfect for any occasion. Expanding your baking repertoire doesn’t have to be complicated, and these options offer fantastic flavor with minimal fuss. From savory sides to delightful starters, explore these additions to your home cooking:
- Cheesy Garlic Bread: The ultimate crowd-pleaser, perfect with pasta dishes, soups, or grilled meats.
- Best Cornbread: A wonderfully moist and flavorful classic side that’s ideal for chili, stews, or barbecue.
- Cheese & Sausage Biscuits: A heartier biscuit option, packed with savory flavors, ideal for breakfast or brunch.
- No Knead Pizza Dough: Homemade pizza made incredibly simple, allowing for fresh pizza whenever the craving strikes.
- Cheddar Bay Biscuits: Those famous garlicky, cheesy delights you know and love from your favorite seafood restaurant, easily made at home.
- Italian Cheese Pull Apart Bread: A fun and delicious appetizer or side, perfect for sharing and soaking up sauces.
- Cheddar Beer Bread: A quick, savory bread with a delightful hint of beer and a cheesy richness that pairs well with almost anything.

Butter Swim Biscuits
Erin Sellin
10 minutes
25 minutes
35 minutes
9
Pin Recipe
Rate Recipe
Print Recipe
Ingredients
- 1/2 cup unsalted butter
- 2 1/2 cups all-purpose flour
- 4 teaspoons aluminum free baking powder
- 4 teaspoons sugar
- 2 teaspoons kosher salt
- 2 cups buttermilk, see notes
Instructions
-
Preheat your oven to 425ºF (220ºC). Cut the butter into cubes and place them evenly at the bottom of your 8-inch baking dish. As the oven approaches temperature, carefully add the pan to the oven to melt the butter and heat up the dish. Monitor closely to ensure the butter doesn’t burn.
-
In a large bowl, whisk together the all-purpose flour, baking powder (preferably aluminum-free), sugar, and kosher salt until thoroughly combined.
-
Pour in the buttermilk. Using a wooden spoon or spatula, mix the ingredients until they are just combined. Be careful not to overwork the dough; a slightly shaggy consistency is ideal for tender biscuits.
-
Once the butter is melted and the pan is hot, carefully remove it from the oven. Pour the prepared biscuit dough directly into the baking dish, spreading it gently over the melted butter.
-
Using a knife or bench scraper, score the dough into 9 even-sized biscuits. These lines help the melted butter seep into each individual biscuit during baking.
-
Bake for 25-28 minutes, or until the biscuits are golden brown on top and cooked through in the center.
-
Remove the baking dish from the oven. Allow the biscuits to rest for 5-10 minutes in the pan before cutting and serving. This resting period allows the biscuits to absorb the butter for ultimate tenderness.
Notes
Nutrition
Calories: 247kcal |
Carbohydrates: 32g |
Protein: 6g |
Fat: 11g |
Saturated Fat: 7g |
Polyunsaturated Fat: 4g |
Cholesterol: 29mg |
Sodium: 602mg |
Fiber: 1g |
Sugar: 5g
Nutrition information is automatically calculated, so should only be used as an approximation.
Additional Info
Erin Sellin
10 minutes
25 minutes
35 minutes
Side Dish Recipes
American
9
247
Like this recipe? Leave a comment below!
I created a fun group on Facebook, and I would love for you to join us! It’s a place where you can share YOUR favorite recipes, ask questions, and see what’s new at Dinners, Dishes and Desserts (so that you never miss a new recipe)!
Be sure to follow me on Instagram and tag #dinnersdishes so I can see all the wonderful DINNERS, DISHES, AND DESSERTS recipes YOU make!
Be sure to follow me on my social media, so you never miss a post!
Facebook |
Twitter |
Pinterest |
Instagram
