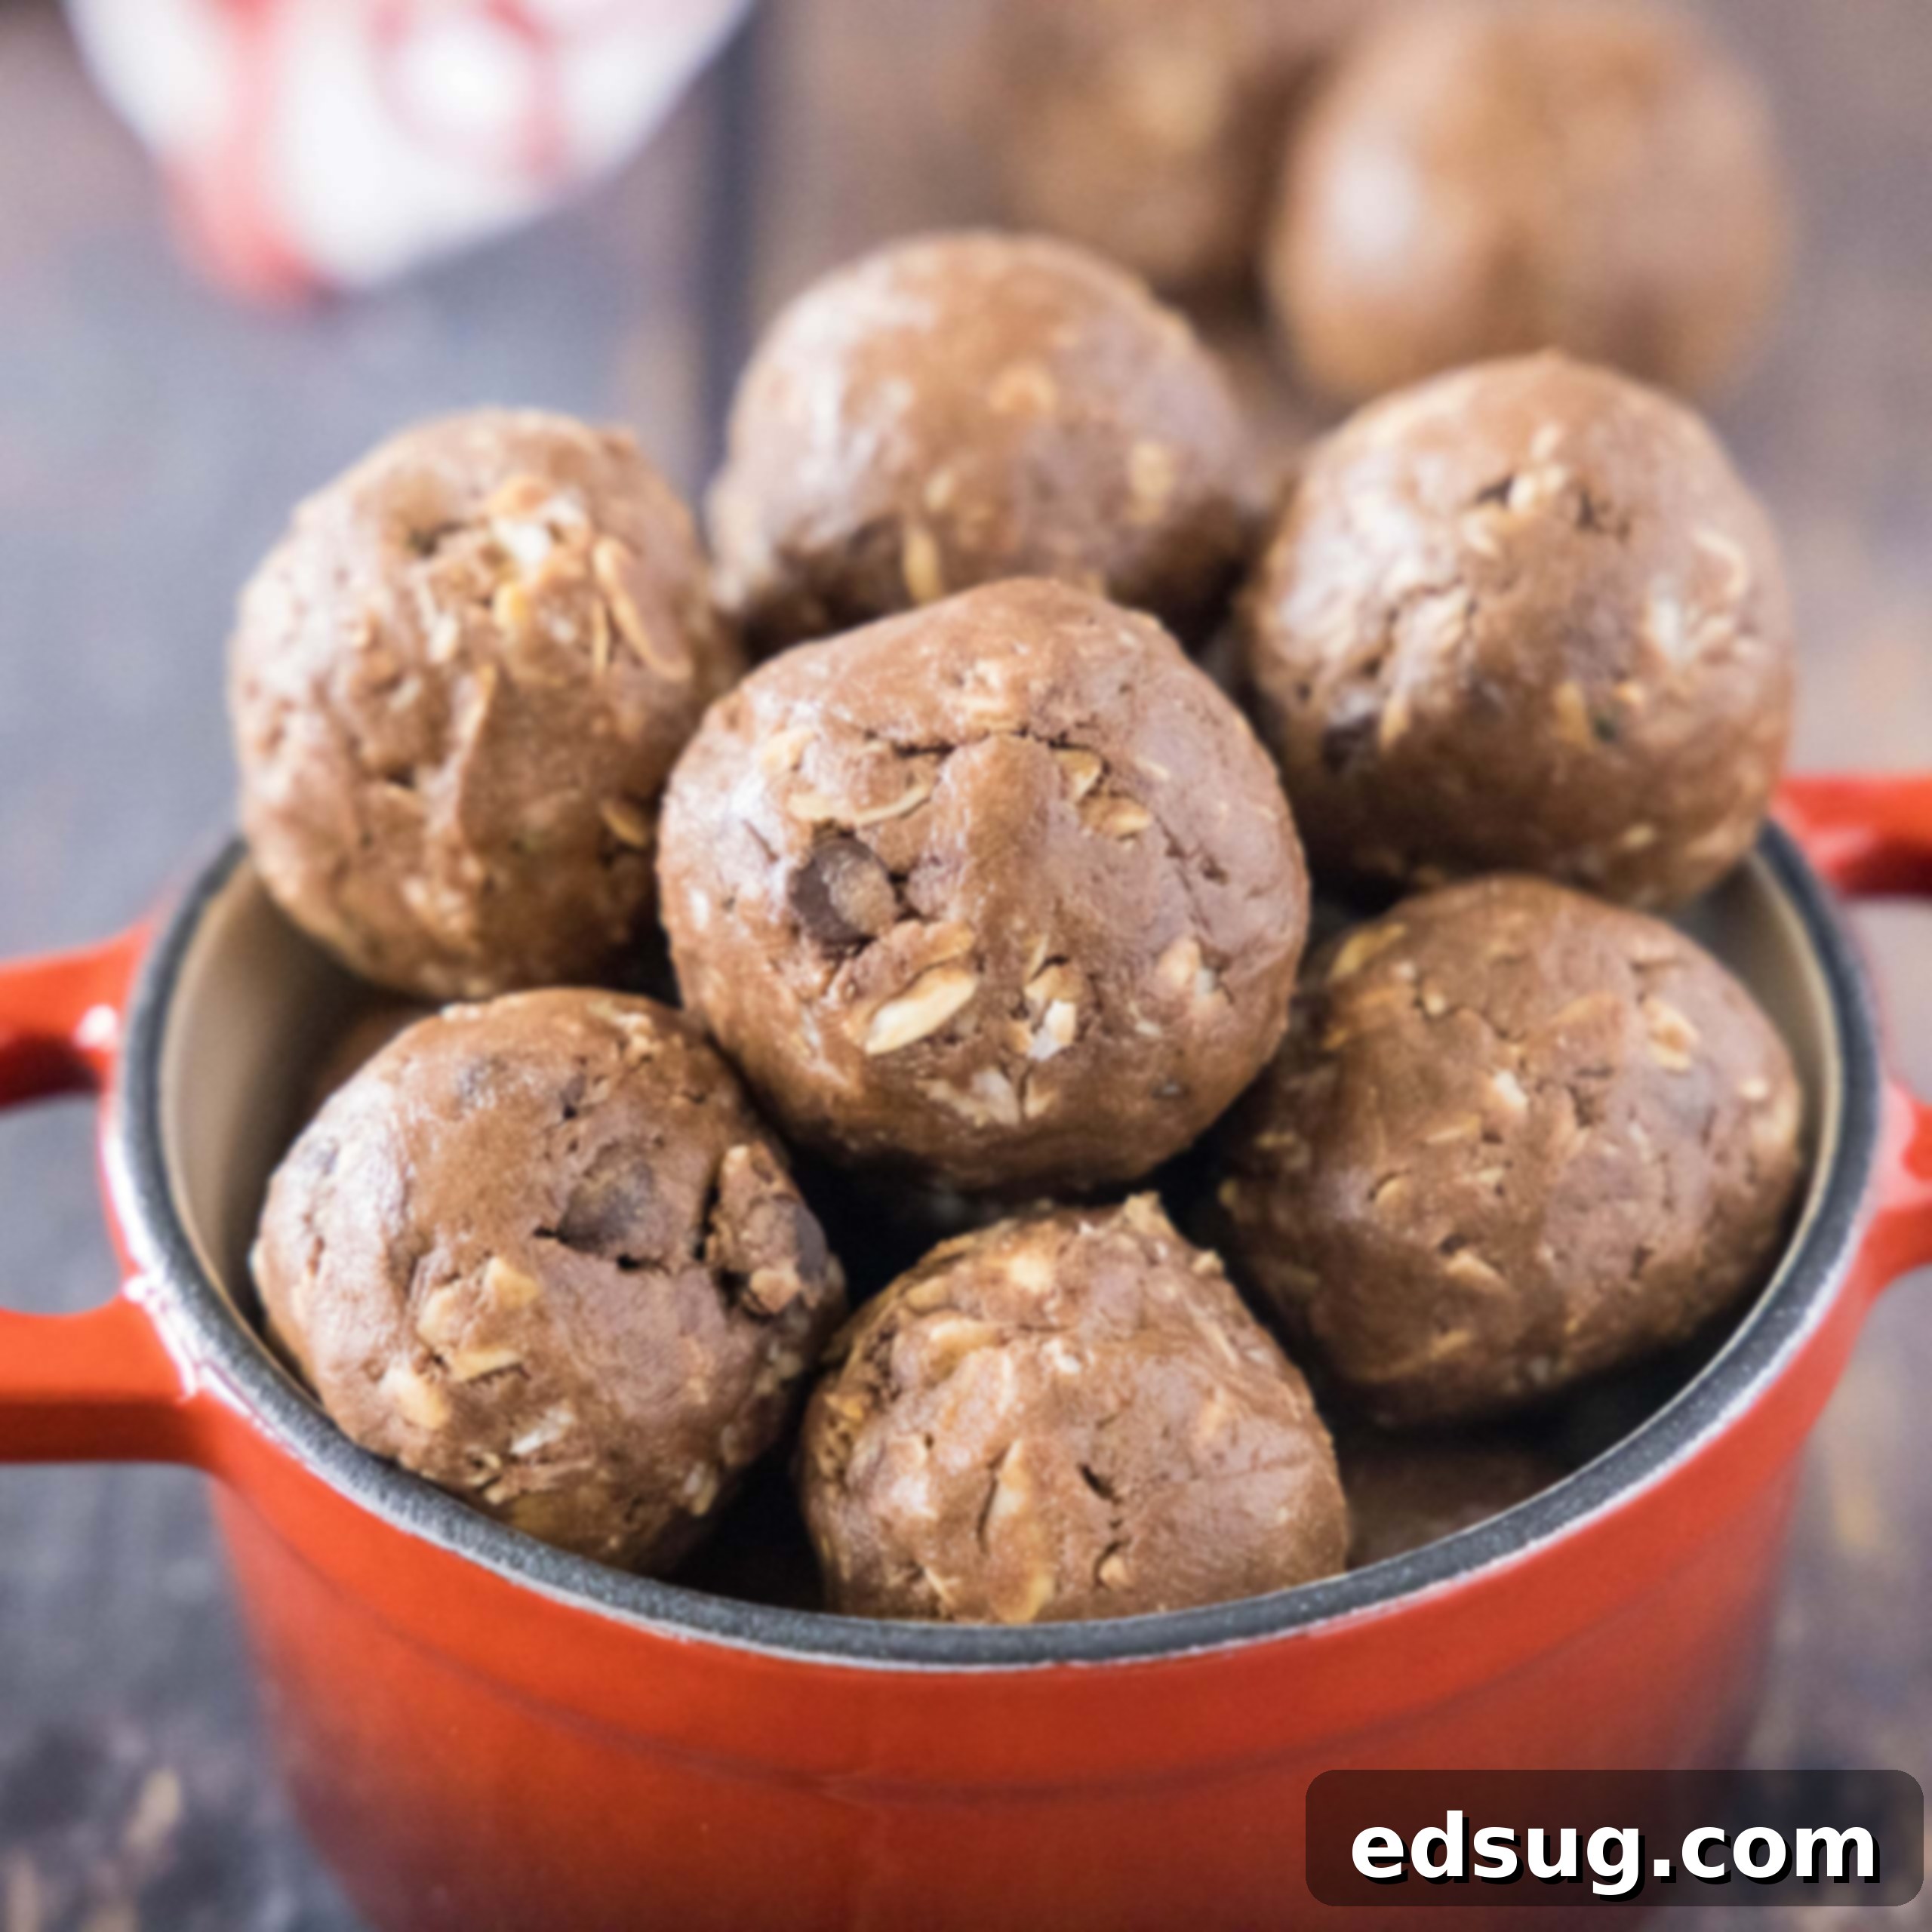
Irresistible No-Bake Chocolate Protein Balls: Your Easy, Healthy Energy Bites Recipe
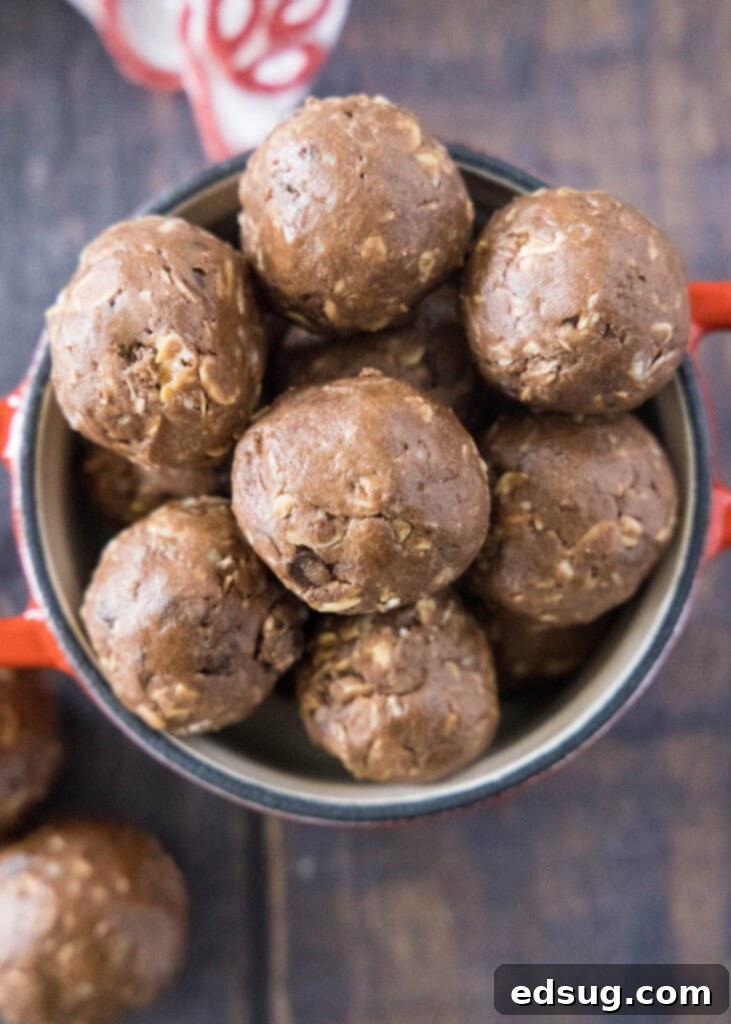
Discover the ultimate guilt-free snack that’s as delicious as it is nutritious: these incredible No-Bake Chocolate Protein Balls. Perfect for anyone seeking a quick energy boost, a healthy post-workout treat, or a delightful midday pick-me-up, these bite-sized wonders are packed with wholesome ingredients and rich, satisfying chocolate flavor. Forget complicated baking; these protein balls come together in minutes, offering a convenient and customizable solution for your healthy snacking needs.
In a world where busy schedules often lead to unhealthy food choices, these Chocolate Protein Balls stand out as a beacon of mindful eating. They are crafted from a handful of simple ingredients like creamy peanut butter, fiber-rich oats, and powerful protein powder, all naturally sweetened and infused with deep cocoa notes. Whether you’re an athlete, a busy parent, or simply looking for a better-for-you treat, this recipe offers versatility and incredible flavor without compromising your health goals. Get ready to ditch the store-bought bars and embrace homemade goodness!
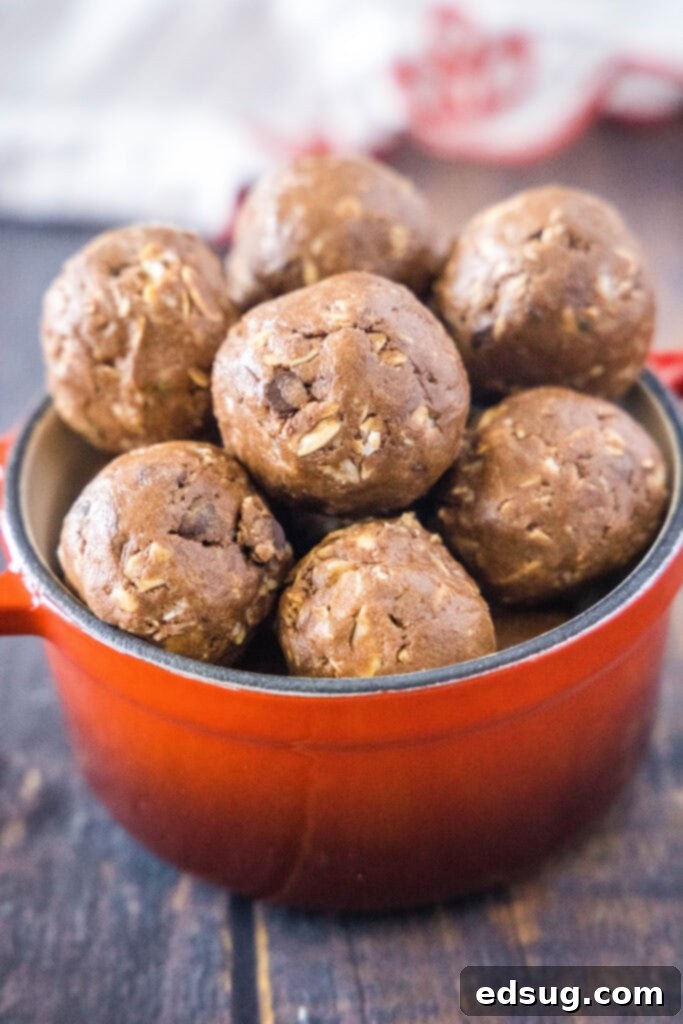
The beauty of these protein balls lies in their simplicity and adaptability. With no cooking or baking required, they are a fantastic option for even the most novice cooks. The basic recipe provides a robust foundation, but it’s incredibly easy to swap ingredients, add extra nutrients, or tailor the flavors to your personal preferences. This means you can create a batch of protein balls that perfectly aligns with your dietary needs and taste buds. Best of all, they can be prepped and ready to chill in less than 10 minutes, making them an ideal choice for meal prepping healthy snacks for the week ahead.
If you’re already a fan of my popular Peanut Butter Protein Balls, you’ll find these chocolate-infused counterparts to be a delightful variation. They share the same easy no-bake method and satisfying texture, but with an added layer of rich, decadent chocolate that makes them truly irresistible. Prepare to fall in love with your new favorite grab-and-go snack!
Wholesome Ingredients for Your Chocolate Protein Balls
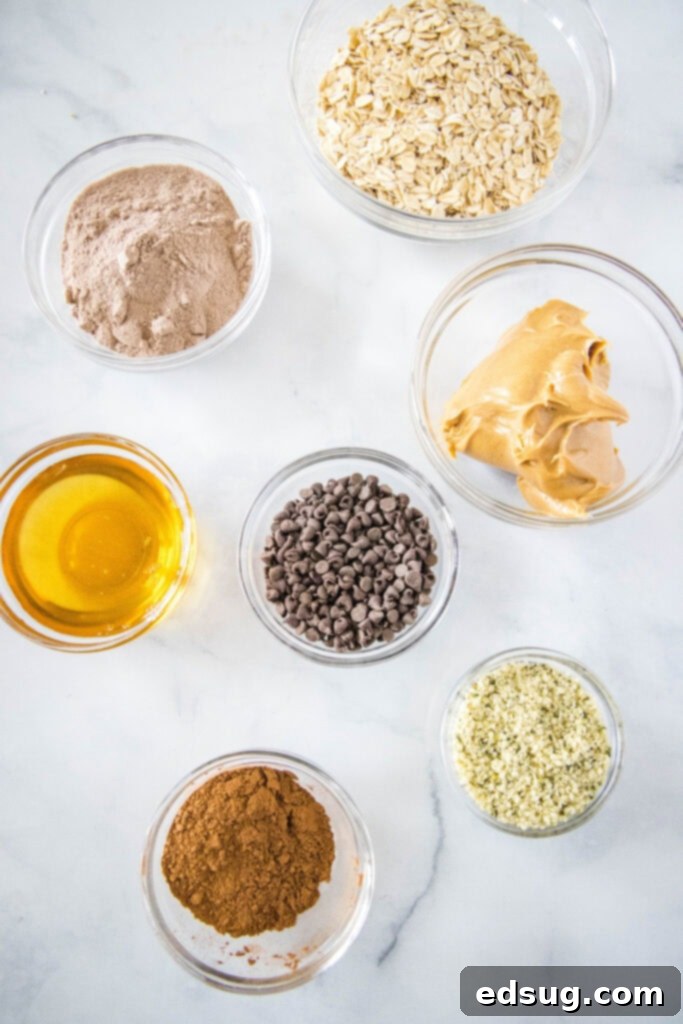
Below is a comprehensive list of the ingredients you’ll need to create these fantastic no-bake chocolate protein balls. For precise measurements, please refer to the FULL PRINTABLE recipe card at the bottom of this post.
- Creamy Peanut Butter: This forms the sticky, delicious base that holds everything together. While creamy is my preferred choice for a smooth texture, crunchy peanut butter can be used if you desire a little extra bite. You can opt for a commercial brand (like Jif or Skippy) for a more consistent texture, or a natural peanut butter. If using natural peanut butter, stir it well to combine any separated oil before measuring. I generally advise against the 100% nuts type that is very thin, as it can make it harder to achieve the perfect rollable consistency for the balls.
- Honey: Our natural sweetener and additional binder. Honey provides a lovely sweetness and helps the ingredients come together. If you prefer, other liquid sweeteners like maple syrup, agave nectar, or even date syrup can be used as a substitute, offering slightly different flavor profiles and sweetness levels.
- Old Fashioned Oats: These provide essential fiber, complex carbohydrates for sustained energy, and a satisfying chewiness to the protein balls. While old-fashioned (rolled) oats are recommended for their texture, quick-cooking oats can also be used. Be aware that quick oats will result in a slightly softer, less textured ball. Ensure your oats are gluten-free if you have dietary restrictions.
- Chocolate Protein Powder: This is where the “protein” in protein balls truly shines! The type of protein powder you choose is entirely up to your dietary preferences and taste. Whey protein is a popular choice for its smooth texture and easy integration. Plant-based protein powders (like pea, rice, or a blended vegan protein) also work wonderfully. Since there’s no baking involved, different protein powders are generally interchangeable without affecting the final texture too much, though some might absorb moisture differently. Feel free to experiment with your favorite chocolate-flavored brand.
- Unsweetened Cocoa Powder: To amplify that rich, deep chocolate flavor without adding extra sugar. Unsweetened cocoa powder is packed with antioxidants and provides the intense chocolatey goodness that makes these balls so indulgent.
- Ground Flax Meal or Hemp Hearts: These are nutritional powerhouses! Both flax meal and hemp hearts are excellent sources of omega-3 fatty acids, fiber, and plant-based protein. They also help absorb moisture and contribute to the binding of the protein balls. You can use either one or even a combination, depending on what you have on hand and your desired nutrient boost.
- Mini Chocolate Chips: A delightful addition for texture and bursts of extra chocolate. Mini chips disperse better throughout the small balls. You can use dark, semi-sweet, or milk chocolate chips. For a healthier option, consider sugar-free chocolate chips or chopped cacao nibs for a more intense, less sweet flavor.
How To Make Chocolate Protein Balls: A Simple Guide
Creating these scrumptious chocolate protein balls is incredibly straightforward. With just a few simple steps, you’ll have a batch of healthy, energizing snacks ready to enjoy.
- Prepare Your Dough: In a large mixing bowl, combine all the dry ingredients first: the old fashioned oats, chocolate protein powder, unsweetened cocoa powder, and ground flax meal or hemp hearts. Give them a quick stir to ensure even distribution. Then, add the wet ingredients: creamy peanut butter and honey. Using a sturdy spoon or your hands (which can be quite effective for mixing!), mix everything together thoroughly until all ingredients are well blended. The mixture should be moist enough to stick together when pressed, forming a cohesive “dough.” If it seems too dry, you can add a tiny bit more honey or peanut butter; if it’s too wet, a tablespoon of extra oats or protein powder can help.
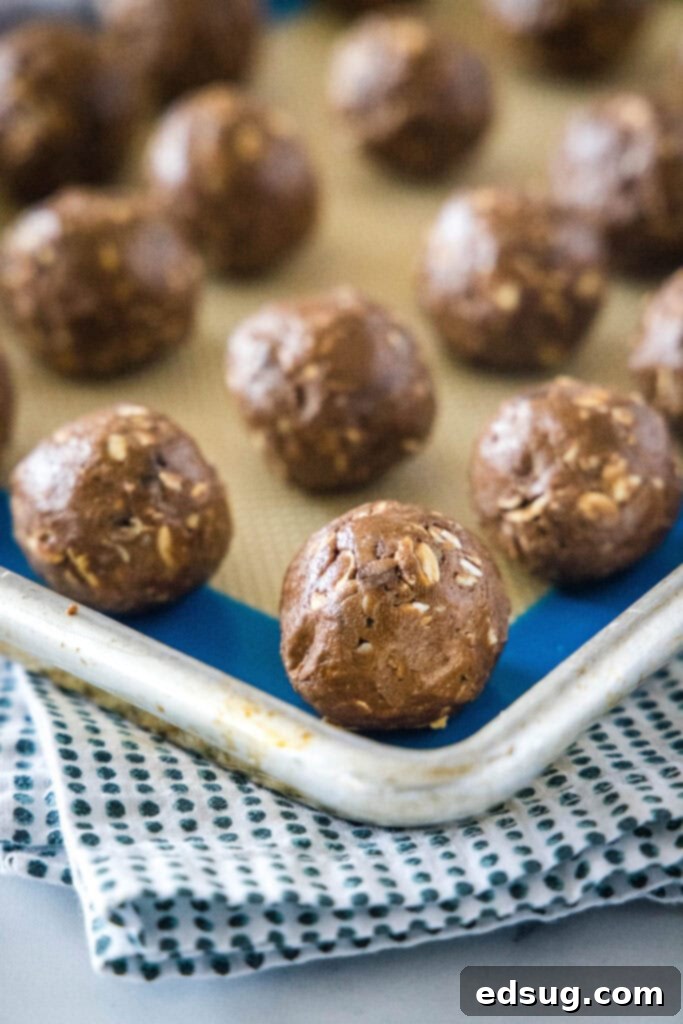
- Form Your Balls: Once your dough is perfectly mixed, it’s time to shape it into individual protein balls. For consistent sizing, which ensures even chilling and portion control, I highly recommend using a small cookie scoop (about 1.5 to 2 tablespoons in size). Scoop out approximately 30 equal portions of the mixture. Gently roll each portion between your palms to form smooth, compact balls. As you finish each one, place it on a baking sheet lined with parchment paper. This will prevent sticking and make for easy transfer.
- Chill, Store, and Serve: After forming all your protein balls, place the baking sheet into the refrigerator for at least one hour. This chilling time is crucial as it allows the ingredients to firm up, making the balls less sticky and more enjoyable to eat. Once they are set and firm, transfer them from the baking sheet into an airtight container. These protein balls can be stored in the refrigerator for up to 10 days, providing a convenient snack throughout the week. For longer storage, they freeze exceptionally well, lasting for about 3 months. Simply take out what you need and let them thaw on the counter for about 30-60 minutes before devouring!
Essential Recipe Tips & Tricks for Perfect Protein Balls
Achieving the perfect texture and maximizing the shelf life of your chocolate protein balls is easy with these helpful tips:
- Optimal Storage Solutions: Proper storage is key to keeping your protein balls fresh and delicious. Once firm, transfer them to an airtight container. They will happily last in the refrigerator for up to 10 days, making them an excellent meal prep item. For even longer enjoyment, these energy bites are freezer-friendly! Store them in an airtight, freezer-safe container or bag for up to 3 months. When you’re ready for a snack, simply grab a few from the freezer and let them thaw on the counter for about an hour, or enjoy them slightly chilled for a different texture.
- Choosing Your Protein Powder Wisely: The type of chocolate protein powder you use can subtly impact the final product. While most protein powders (whey, casein, soy, pea, rice, etc.) are interchangeable in this no-bake recipe, they do vary in how much moisture they absorb. If your mixture seems too dry, your protein powder might be highly absorbent, so try adding a tiny bit more honey or liquid (like a splash of milk or water) until the desired consistency is reached. Conversely, if the mixture is too wet, add a little extra protein powder or oats. Always choose a flavor you enjoy, as it will be prominent in your protein balls.
- Navigating Peanut Butter Textures: The consistency of your peanut butter plays a crucial role in how easily the balls form. I generally prefer commercial creamy peanut butter (like Skippy or Jif) or natural peanut butter that’s well-stirred, as they provide a good balance of creaminess and stickiness. Be cautious with 100% natural, very runny nut butters, as they can sometimes make the mixture too oily or challenging to bind into firm balls. If you do use a very thin natural peanut butter, you might need to slightly increase the amount of oats or protein powder to achieve the right consistency.
- Adjusting for Consistency: Don’t be afraid to adjust the mixture! If it feels too sticky to roll, add a tablespoon of extra protein powder, oats, or cocoa powder. If it’s too crumbly and won’t hold together, add a teaspoon of honey or a small dollop of peanut butter. The perfect consistency is firm enough to roll without sticking excessively to your hands.
- Enhancing Flavor with Extracts: A dash of vanilla extract (1/2 to 1 teaspoon) can elevate the chocolate flavor and add a touch of warmth to your protein balls. Almond extract is another excellent option for a slightly different, sophisticated taste profile.
Creative Protein Bite Variations to Customize Your Snack
One of the best things about this chocolate protein ball recipe is its incredible versatility. Don’t be afraid to experiment and make them truly your own! Here are some ideas to get your creativity flowing:
- Boost Your Seeds: This recipe already incorporates ground flax meal or hemp hearts for added nutrition. To further enhance the omega-3s, fiber, and protein, you can add 1 to 2 tablespoons of chia seeds in addition to the flax meal, or use them as a direct substitute. Chia seeds will also contribute a slight crunch and help bind the mixture.
- Collagen for Extra Benefits: To further increase the protein content and introduce different nutrients, consider mixing in 1 to 2 scoops of unflavored collagen peptides. Collagen is known for its benefits for skin, hair, and joint health, and it blends seamlessly into the mixture without affecting the flavor or texture.
- Mix-In Magic: The mini chocolate chips are fantastic, but don’t stop there! Want to skip the chocolate chips altogether? No problem! Instead, mix in finely chopped nuts like almonds, walnuts, or pecans for extra crunch and healthy fats. Alternatively, incorporate finely diced dried fruit such as cranberries, raisins, apricots, or dates for natural sweetness and chewiness. You could also swap out the mini chocolate chips for white chocolate chips, butterscotch chips, or even chopped toffee bits for a different flavor profile.
- Allergy-Friendly Options: If you have a peanut allergy, these protein balls are easily adaptable. Simply substitute peanut butter with any other nut butter (like almond butter, cashew butter, or pistachio butter) or a seed butter such as sunflower seed butter (SunButter) or soy butter (Wowbutter) to make them allergy-friendly. If you’re looking for more of a dessert-like treat and don’t need to worry about the protein content as much, you could even use Nutella for a hazelnut chocolate twist or Cookie Butter/Biscoff Spread for a spiced cookie flavor.
- Spice It Up: Add a pinch of cinnamon, a dash of nutmeg, or a tiny amount of cayenne pepper for a subtle kick. Espresso powder can also enhance the chocolate flavor without making it taste like coffee.
- Citrus Zest: For a bright, fresh flavor, add a teaspoon of orange zest or a hint of lemon zest to your chocolate mixture.
- Decorative Coatings: After rolling the balls, you can lightly roll them in unsweetened shredded coconut, extra cocoa powder, finely chopped nuts, or even a dusting of powdered sugar (if you’re feeling indulgent) for an extra touch of visual appeal and flavor.
More Tasty Snack Recipes to Satisfy Your Cravings
If you love these chocolate protein balls, you’re sure to enjoy these other wholesome and delicious snack recipes:
- Almond Butter Protein Balls: Another fantastic no-bake option for protein-packed energy.
- Homemade Peanut Butter: Learn to make your own fresh, creamy peanut butter to use in this recipe or enjoy on its own.
- Chocolate Hummus: An unexpectedly delightful and healthy dip for fruits and crackers.
- Frozen Yogurt Cups: Refreshing and customizable treats perfect for warmer weather.
- Parmesan Roasted Chickpeas: A savory, crunchy snack alternative that’s full of flavor.

Chocolate Protein Balls
Pin Recipe
Rate Recipe
Print Recipe
Ingredients
- 1 cup old fashioned oats
- 3/4 cup creamy peanut butter
- 1/3 cup honey
- 2 scoops chocolate protein powder
- 3 Tablespoons unsweetened cocoa powder
- 1/4 cup hemp hearts or flax meal
- 1/3 cup mini chocolate chips
Instructions
-
In a large bowl, combine all the ingredients (old fashioned oats, creamy peanut butter, honey, chocolate protein powder, unsweetened cocoa powder, hemp hearts or flax meal, and mini chocolate chips). Mix thoroughly until everything is well blended and starts to stick together, forming a cohesive dough.1 cup old fashioned oats, 3/4 cup creamy peanut butter, 1/3 cup honey, 2 scoops chocolate protein powder, 3 Tablespoons unsweetened cocoa powder, 1/4 cup hemp hearts or flax meal, 1/3 cup mini chocolate chips
-
Scoop out about 30 equal portions of the mixture (a small cookie scoop works great for consistency) and roll them into smooth, compact balls.
-
Place the formed balls on a baking sheet lined with parchment paper and put them in the fridge for at least one hour, or until they are firm and set.
-
Once firm, transfer the chocolate protein balls to an airtight container and store them in the fridge for up to 10 days, or in the freezer for up to 3 months.
Nutrition
Nutrition information is automatically calculated, so should only be used as an approximation.
Additional Info
Like this recipe? Leave a comment below!
I’ve created a fun and engaging community group on Facebook, and I would absolutely love for you to join us! It’s the perfect place where you can
share YOUR favorite recipes, ask questions, get inspiration, and stay updated on what’s new at Dinners, Dishes and Desserts – so you never miss out on a delicious new recipe!
Make sure to follow me on Instagram and
don’t forget to tag #dinnersdishes in your posts! I love seeing all the wonderful DINNERS, DISHES, AND DESSERTS
recipes YOU create and share!
Stay connected with me across all my social media channels, so you
never miss a post, new recipe, or exciting update!
Facebook | Twitter | Pinterest | Instagram
