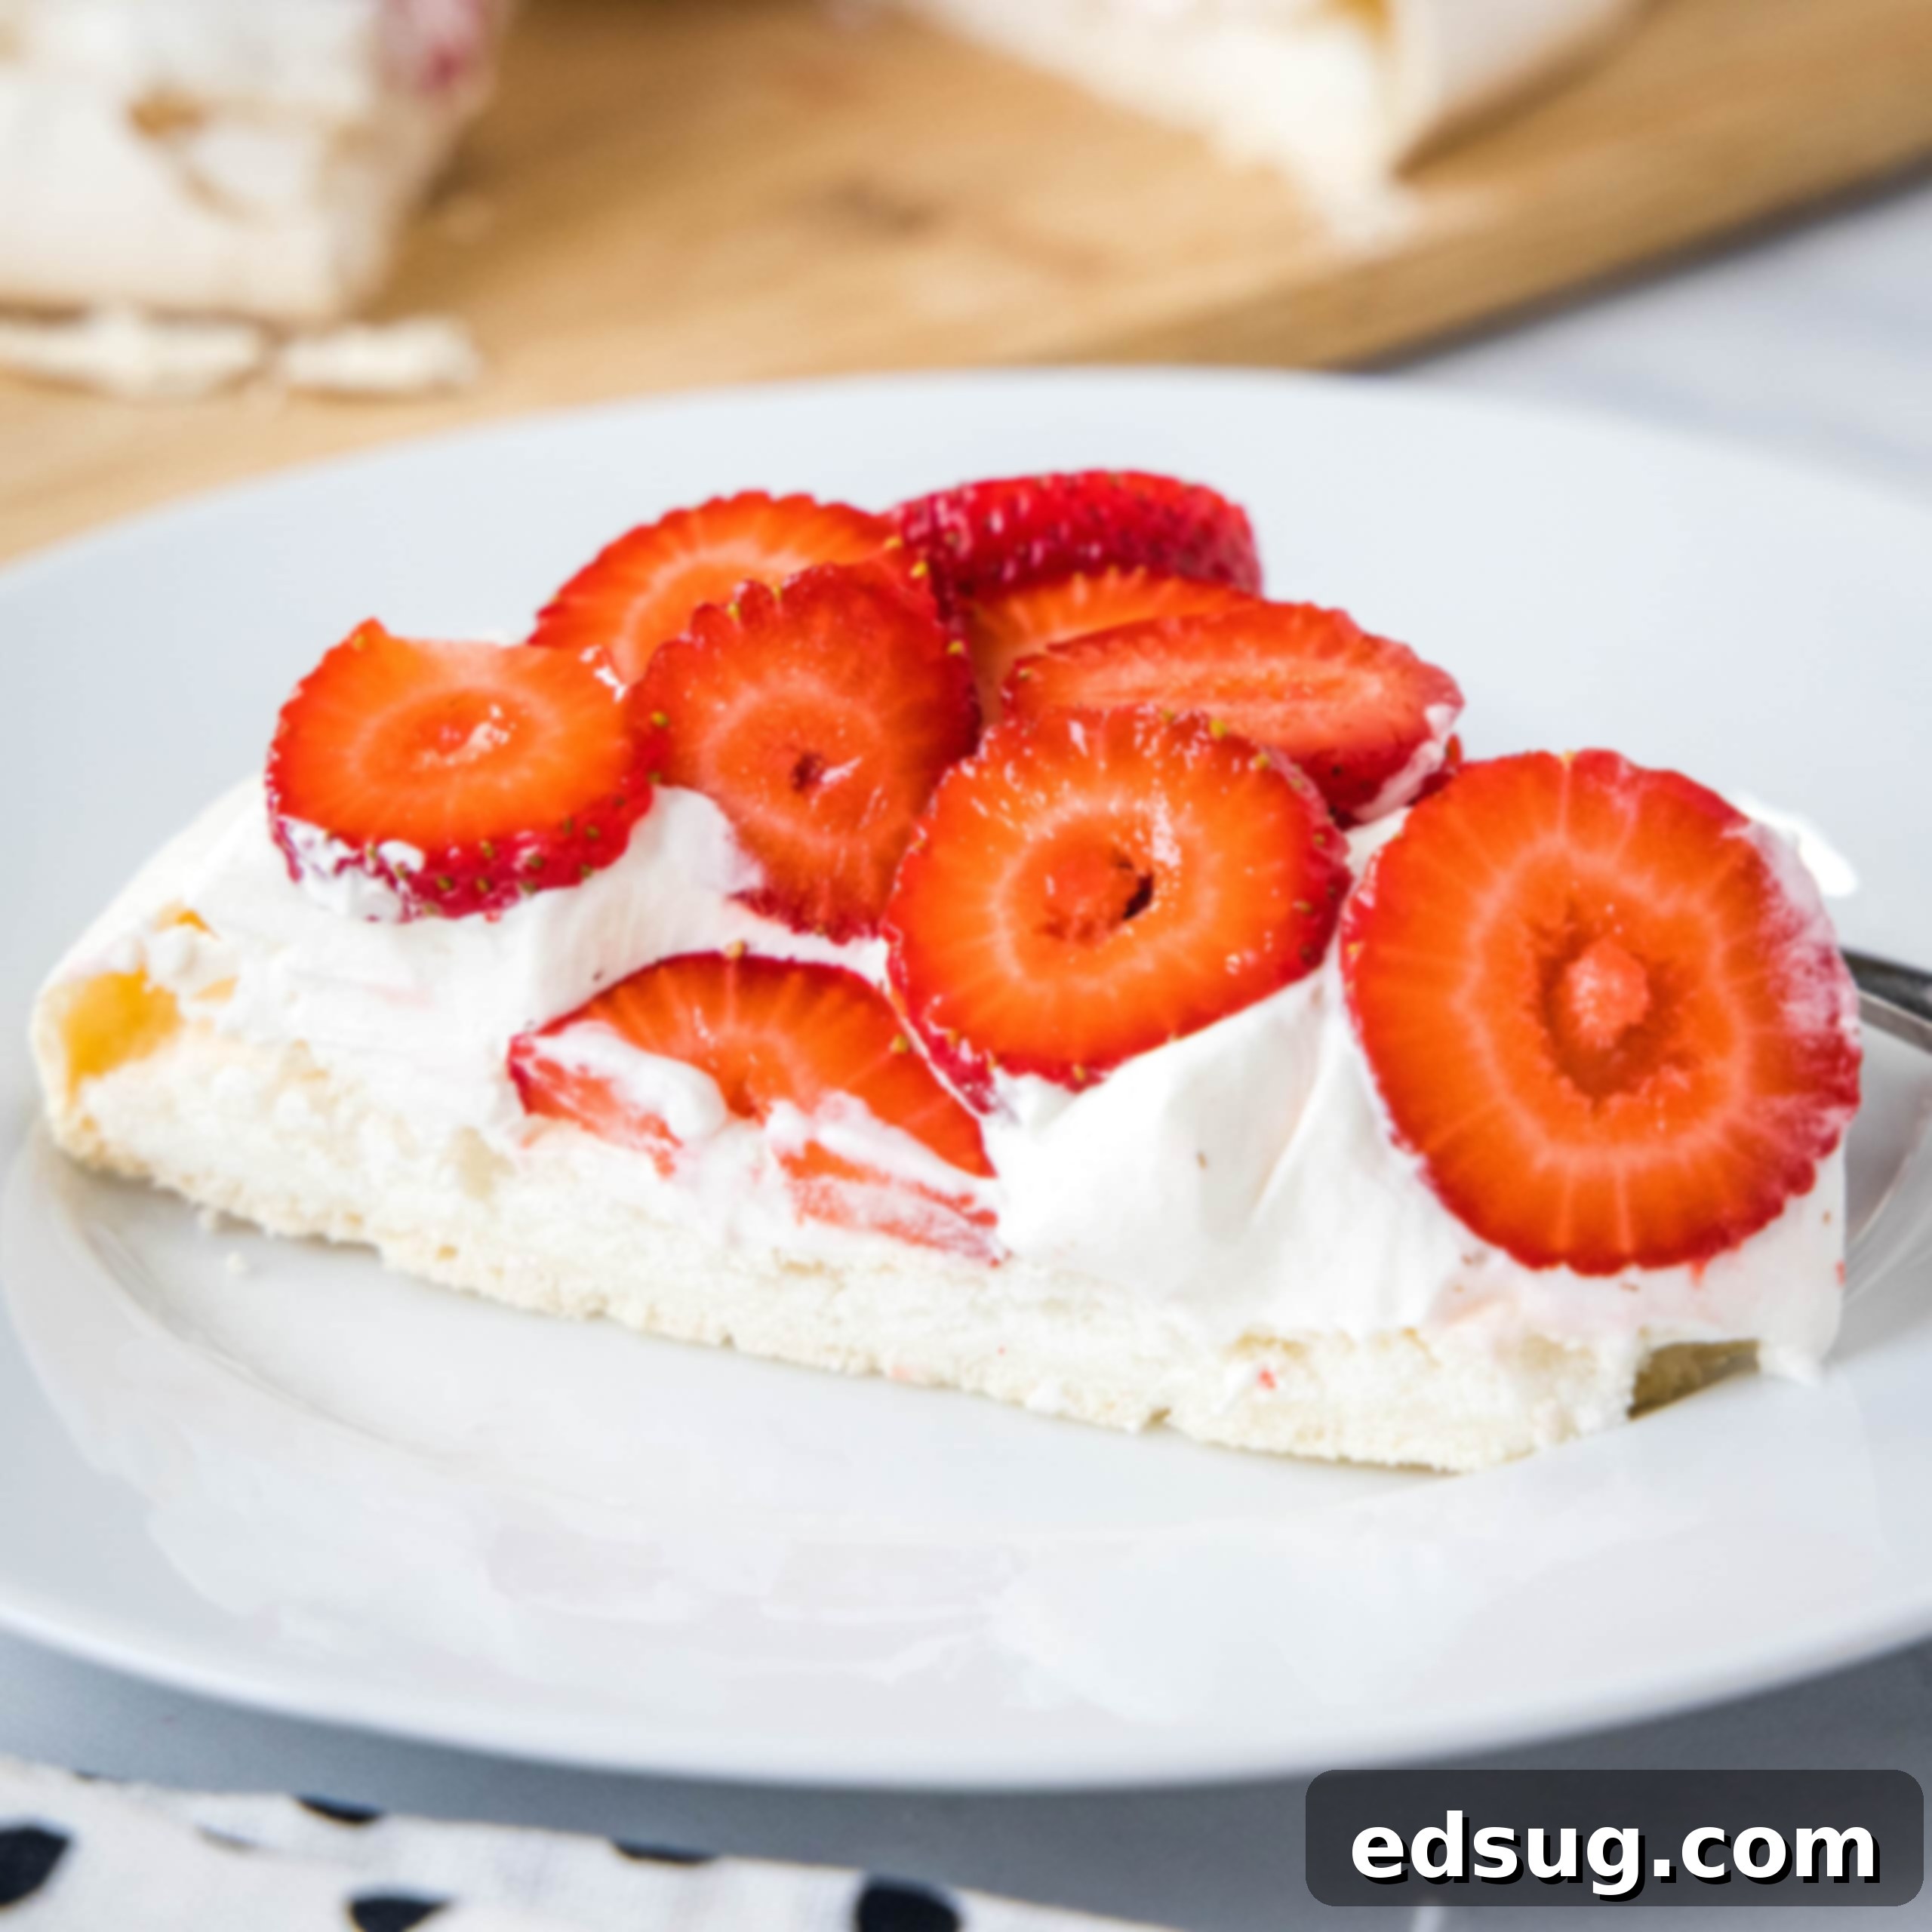
The Ultimate Easy Pavlova Recipe: Crispy Meringue with Cream and Fresh Berries
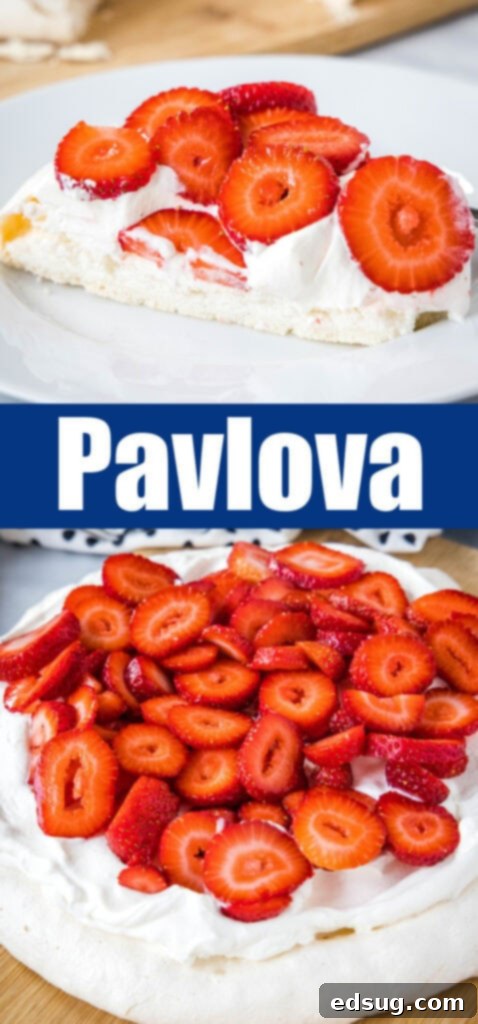
Imagine a dessert that’s both feather-light and dramatically impressive, a symphony of textures and flavors. That’s Pavlova – a culinary masterpiece featuring a crispy, ethereal meringue shell, a soft, marshmallowy interior, all crowned with billows of fresh whipped cream and a vibrant medley of seasonal berries. It’s a showstopper that tastes as incredible as it looks, yet is surprisingly simple to create in your own kitchen.
My personal journey into the delightful world of Pavlova began over a decade ago during a memorable trip to New Zealand, right around the time I first started this blog. I was instantly captivated by its exquisite beauty and unique texture – a dessert unlike any I had encountered in the United States. It was one of the very first recipes I excitedly shared after returning from that inspiring adventure. To my pleasant surprise, it quickly became one of our most beloved go-to desserts in this house, proving that its elegance belies its ease of preparation. This isn’t just a dessert; it’s an experience.
After more than 10 years of perfecting this recipe and sharing countless slices with family and friends, I figured it was high time for a little refresh. This update includes brand-new, vibrant images and even clearer, more detailed directions, designed to ensure your success. Whether you’re a seasoned baker or simply looking for an impressive yet straightforward dessert, I truly hope you take the plunge and make this one. The reward of a perfectly made Pavlova is absolutely worth it!
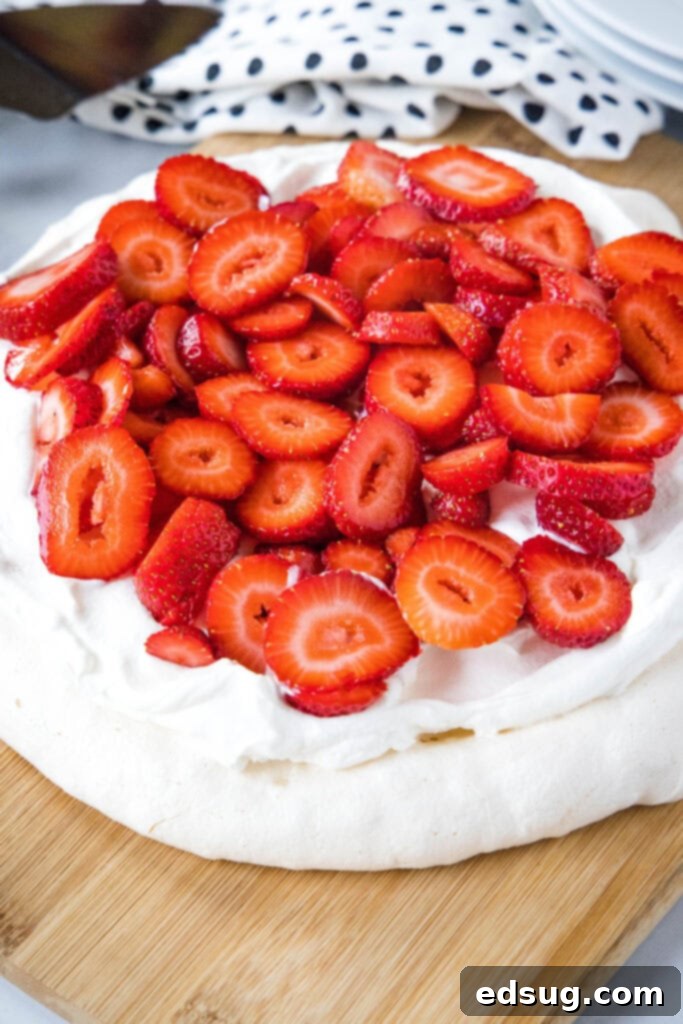
What Is Pavlova? A Delectable Meringue Masterpiece
Let’s start with the basics, as Pavlova isn’t a super common dessert in many parts of the world, especially outside of its originating regions. At its heart, Pavlova is a majestic meringue, but it’s distinct from a typical French meringue. Its signature lies in the remarkable contrast it offers: a delicate, crackling crust that gives way to a soft, chewy, almost marshmallow-like center. This isn’t just a sweet treat; it’s a profound textural experience, light as air yet satisfyingly rich.
The origins of Pavlova are steeped in a friendly rivalry between New Zealand and Australia, both claiming to have invented this iconic dessert in honor of the renowned Russian ballerina Anna Pavlova during her tours in the 1920s. Regardless of its exact birthplace, one thing is certain: Pavlova has become a cherished staple in both cultures, particularly during festive seasons, holidays, and summer gatherings. It embodies a light, celebratory spirit perfect for any occasion.
While traditionally adorned with fresh whipped cream and an abundance of seasonal fruits like vibrant strawberries, tangy kiwis, and exotic passionfruit, the beauty of Pavlova lies in its immense versatility. You might find delicious variations incorporating a tangy lemon or passionfruit curd for an extra layer of flavor, or even a decadent chocolate version. The first Pavlova I ever had in New Zealand, for example, featured luscious passion fruit, and I also sampled a delightful rolled chocolate version there. These experiences truly opened my eyes to how creative you can get with this elegant dessert!
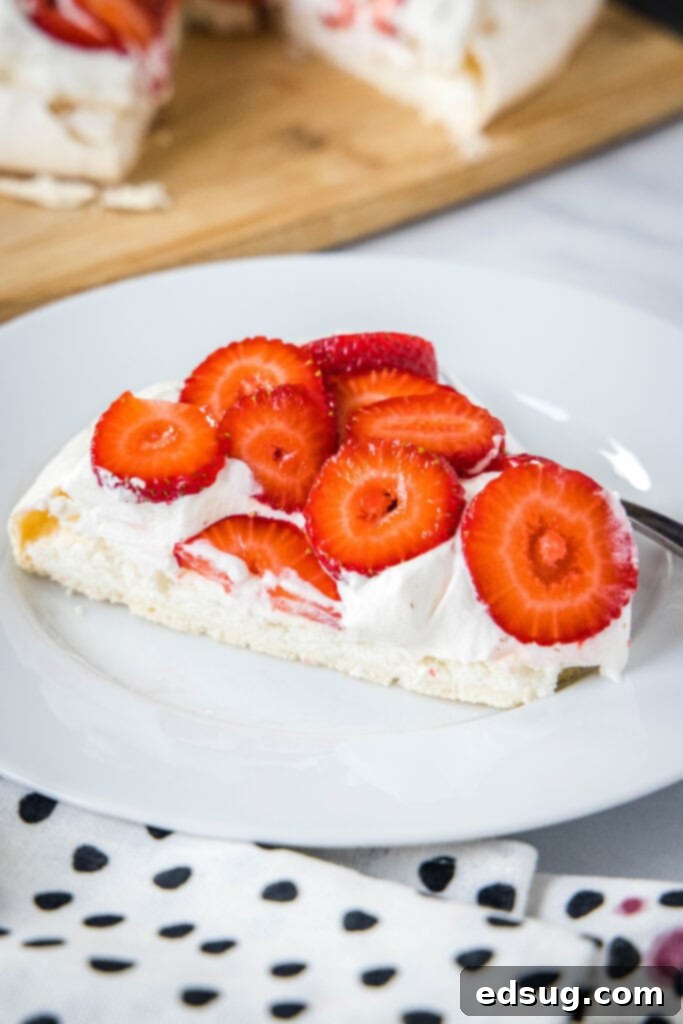
What Key Ingredients Make Up a Perfect Pavlova?
The magic of Pavlova truly lies in transforming a handful of humble ingredients into something extraordinary. Each component plays a vital role in achieving that perfect crispy shell and chewy-soft center. It’s a testament to how simple elements, when blended and cooked just right, can create something truly magical!
- Egg Whites: The very foundation of any meringue. When vigorously whipped, they trap air, creating the voluminous, airy structure. Using room temperature egg whites is crucial here, as they whip up to their maximum potential, yielding higher volume and stability compared to cold whites.
- Salt: A tiny pinch of kosher salt helps to stabilize the egg whites and enhances the overall flavor, subtly balancing the sweetness of the sugar.
- Sugar: Not just for sweetness, granulated sugar is essential for creating a stable, glossy meringue. It dissolves into the egg whites, forming a syrup that prevents weeping and contributes significantly to the desirable crisp exterior.
- Vanilla Extract: Adds a beautiful, warm, and aromatic depth of flavor, complementing the sweet meringue and fresh fruit toppings.
- White Vinegar: This might seem like an unusual addition, but vinegar (or lemon juice) is the secret to Pavlova’s distinct texture. The acidity helps to stabilize the egg whites further and, crucially, contributes to that unique chewy, marshmallowy interior, preventing the meringue from becoming too dry and brittle.
- Cornstarch: Another key ingredient for that signature soft, slightly gooey center. Cornstarch works as a stabilizer and helps to create the desired tender texture in the middle, contrasting beautifully with the crisp outer shell.
The synergy of these simple ingredients, combined with precise timing and technique, is what makes a perfect Pavlova truly unforgettable. The key to success is using room temperature eggs, which allows them to beat to full, stiff peaks and easily incorporate the sugar. As well as meticulously following the timing listed in the recipe card. This recipe is pretty fool-proof when you adhere closely to the instructions, ensuring a consistently beautiful and delicious result every time!
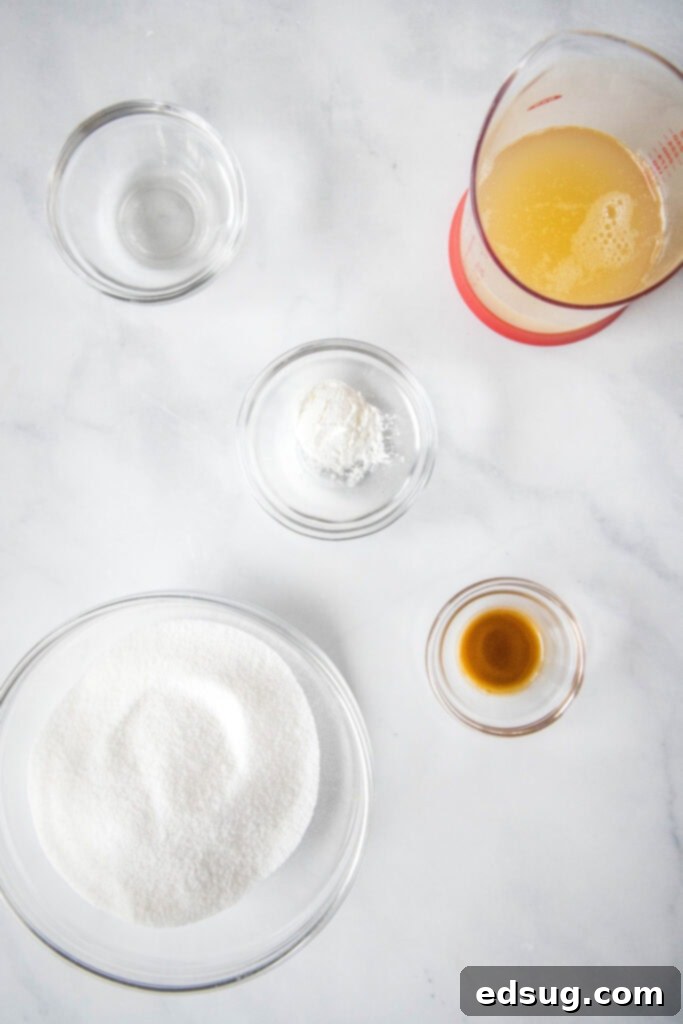
Step-by-Step Guide: How To Make a Perfect Pavlova
Creating a stunning Pavlova is simpler than you might imagine, provided you follow these steps carefully. The process is meditative and rewarding, leading to an impressive dessert that will delight everyone.
- Prepare Your Oven and Baking Sheet: Begin by preheating your oven to a gentle 250ºF (120ºC). This low temperature is crucial for slowly drying out the meringue, rather than baking it too quickly, which can cause cracking. Line a large baking sheet with parchment paper or a silicone liner. If you like, you can draw a 9-inch circle on the parchment paper as a guide for shaping your meringue.
- Whip Egg Whites to Stiff Peaks: In the very clean bowl of an electric stand mixer, add the room temperature egg whites and a pinch of kosher salt. Using the whisk attachment on high speed, beat for 4-5 minutes until you achieve true stiff peaks. The meringue should hold its shape firmly when you lift the whisk, and look airy and voluminous.
- Gradually Add Sugar: Reduce the mixer to medium speed. Slowly, very gradually, add the granulated sugar, about a tablespoon at a time, over the course of 2 minutes. This slow addition allows the sugar to dissolve properly into the egg whites, creating a stable and glossy meringue and preventing a grainy texture.
- Scrape and Continue Whipping: After you have added all the sugar, stop the mixer and use a rubber spatula to scrape down the sides of the bowl, ensuring all sugar is incorporated. Turn the mixer back onto high and beat for another 6-7 minutes. At this stage, the meringue will become incredibly smooth, thick, and brilliantly glossy. When rubbed between your fingers, it should feel completely smooth, with no grittiness from undissolved sugar.
- Incorporate Flavor and Stabilizers: Turn the mixer onto low speed. Add in the vanilla extract, white vinegar, and cornstarch. Mix just until these ingredients are fully incorporated. Be careful not to overmix at this stage, as it could deflate the carefully whipped meringue.
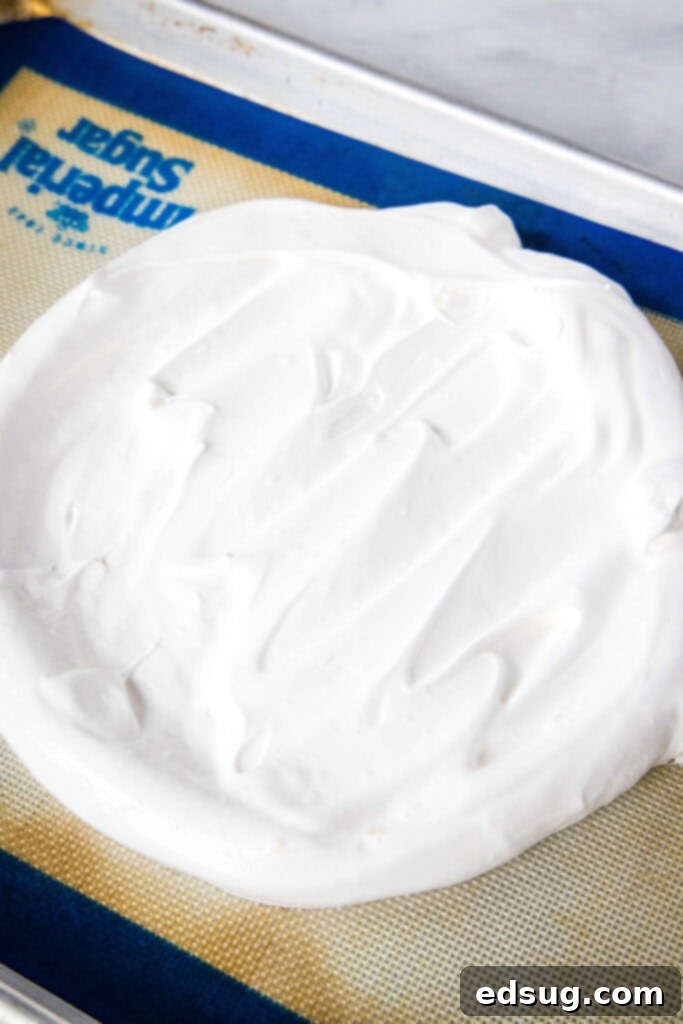
- Shape the Meringue: Gently pour or spoon the meringue mixture onto your lined baking sheet. Using the back of a spoon or an offset spatula, carefully spread it into a roughly 9-inch circle. Create a slight well or indentation in the center of the meringue; this will beautifully cradle your whipped cream and berries later.
- Bake and Cool (Crucial Step!): Place the baking sheet with the meringue into the preheated oven and bake for 45 minutes. Once the baking time is complete, here’s the most critical step: **Do NOT open the oven door!** Turn off the oven heat completely, and leave the Pavlova inside the cooling oven for another 3 hours. This slow, gradual cooling process is essential for developing that wonderfully crisp exterior and the delicate, marshmallowy chewiness within.
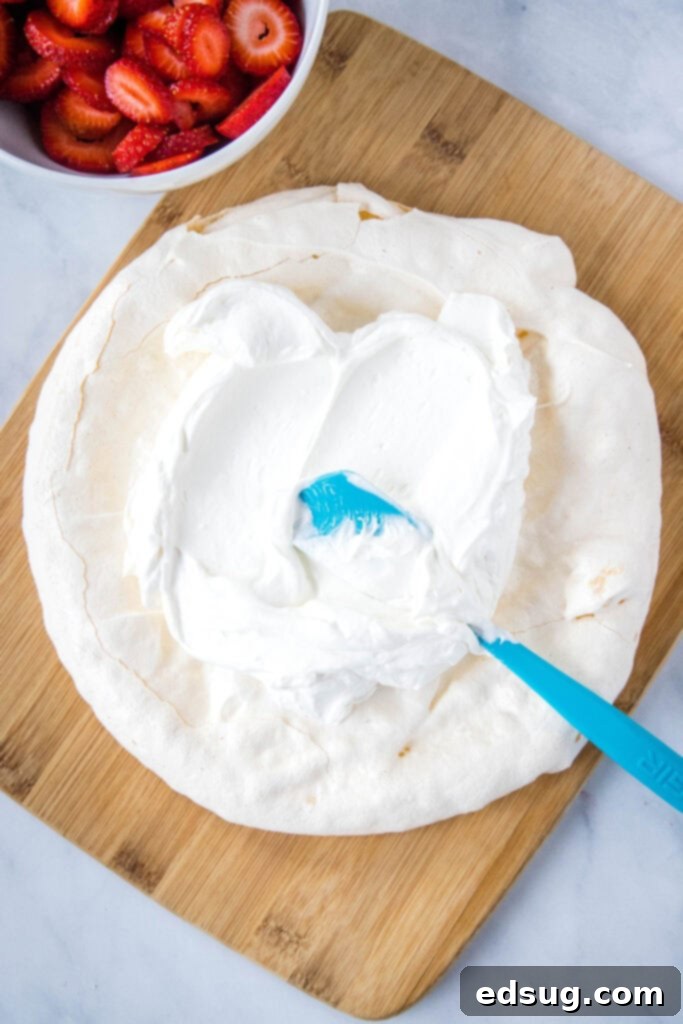
- Final Cool Down and Topping: After 3 hours in the turned-off oven, you can finally open the oven door and remove the Pavlova. Allow it to cool completely on the counter (this usually takes about 30 more minutes) before carefully transferring it to a serving platter. It must be fully cooled before topping with fresh whipped cream and fruit, as warmth can cause the cream to melt and the meringue to soften prematurely.
Expert Pavlova Recipe Tips for Success
While Pavlova is surprisingly easy, a few key tips can elevate your homemade dessert from good to absolutely perfect every single time. Pay attention to these details for the best possible results:
- Use a Timer! Precision is Key: The times specified in this recipe are not arbitrary; they are meticulously calculated to ensure the perfect balance of crispness and chewiness in your Pavlova. Always use a kitchen timer and adhere strictly to the recommended durations for mixing, baking, and especially cooling. For instance, when it says mix for 6-7 minutes, set a timer for 6 minutes, then visually inspect the meringue for the desired glossy, stiff peaks. Adjust by a few more seconds if necessary, but avoid guessing or cutting the time short.
- Room Temperature Eggs Are a Must: This cannot be stressed enough! Egg whites at room temperature have less surface tension, allowing them to incorporate air much more efficiently. This results in a significantly higher volume and a much more stable meringue, which is fundamental for a well-risen and beautifully textured Pavlova. If your eggs are cold, simply place them in a bowl of warm water for 10-15 minutes before separating them.
- Ensure Impeccable Cleanliness: Any trace of grease or oil can be the enemy of meringue. Before you even start, ensure your mixing bowl and whisk attachment are impeccably clean and completely free of any fat residue. Wiping the bowl and whisk with a paper towel dampened with a little white vinegar or lemon juice can act as an extra safeguard, ensuring your egg whites whip up perfectly.
- Get Creative with Toppings: While fresh berries and whipped cream are the classic, beloved choice, don’t shy away from experimenting! Consider adding a vibrant lemon curd, passion fruit curd, or even a raspberry coulis for a tangy contrast. Drizzle your finished Pavlova with melted dark chocolate, sprinkle with toasted coconut flakes, or add a variety of different seasonal fruits like sliced peaches, kiwi, mango, or even roasted rhubarb. You can also make charming Mini Pavlovas for individual servings, which are perfect for parties.
- Do Not Open the Oven Door – Seriously: This is the ‘golden rule’ of Pavlova making. Opening the oven door, especially during the crucial 3-hour cooling phase, can cause a sudden and drastic temperature drop. This thermal shock can lead to your beautiful meringue collapsing, cracking excessively, or developing an undesirable soggy texture. The prolonged cooling in the turned-off oven allows the meringue to slowly dry out and firm up, achieving that coveted delicate crust and soft, marshmallowy interior. Patience truly is a virtue here!
- Use a Kitchen Scale for Accuracy: For truly consistent and perfect results every single time, measuring your egg whites and sugar by weight (in ounces or grams) is far more accurate than by volume or simply counting eggs. The size of eggs can vary considerably, and precise ratios are vital for meringue stability and texture. A good kitchen scale is an invaluable tool for any serious baker who wants predictable outcomes.
- Avoid Any Egg Yolk Contamination: When separating your egg whites from the yolks, be extremely careful not to let even a tiny speck of egg yolk get into the whites. Yolk contains fat, and as mentioned, fat is the absolute enemy of meringue. If even a tiny bit of yolk gets in, it’s best to discard that white and start fresh with another egg to guarantee stiff peaks.
Can I Make Pavlova Ahead of Time?
Absolutely! The meringue base of a Pavlova is surprisingly robust and can be prepared in advance, making it an ideal dessert for entertaining and reducing last-minute stress. However, there’s a crucial caveat: you do NOT want to top it with whipped cream or fruit until you are truly ready to serve. The moisture from the cream and fruit will quickly begin to soften the crisp meringue shell, affecting its delicate texture.
Once your baked meringue has completely cooled to room temperature after its long oven rest, you can prepare it for storage. Carefully transfer the cooled meringue to an airtight container or wrap it gently but thoroughly in several layers of plastic wrap. Store it at room temperature (not in the refrigerator, as the humidity can cause it to soften) for up to 2 days. When stored correctly, it should still be delightfully crispy and delicious. Just before serving, simply transfer it to your chosen platter and proceed with adding the fresh whipped cream and vibrant fruit toppings.
How to Store Leftover Pavlova
A fully assembled Pavlova, generously topped with fruit and cream, is undeniably at its peak when served immediately or within a few hours of assembly. The delicate crispness of the meringue is best enjoyed fresh. However, if you find yourself with leftovers, don’t despair!
To store, cover the Pavlova loosely with plastic wrap or aluminum foil and place it in the refrigerator. It will remain perfectly edible and enjoyable the next day, though you should anticipate some changes. The meringue won’t be quite as crisp, as the moisture from the fridge, cream, and fruit will gradually soften it. Additionally, the fruit juices may “bleed” slightly into the whipped cream, creating a beautiful but less pristine presentation. Despite these minor textural and visual changes, the flavors will still be wonderfully delicious, so definitely don’t throw it away!
More Tasty Dessert Recipes to Explore
If you love indulging in sweet treats, here are some other fantastic dessert recipes that are sure to tantalize your taste buds:
- Lemon Cheesecake Cones
- Lemonade Pie
- Strawberry Crumble
- No Bake Blueberry Cheesecake
- Cherry Cobbler
- Lemon Tiramisu
- Sugar Cookies
- Cookie Dough Cheesecake

Pavlova
Rate Recipe
Print Recipe
Ingredients
- 4 ounces egg whites, room temperature (about 4 large eggs)
- Pinch kosher salt
- 6 ounces granulated sugar
- 1/2 teaspoon vanilla extract
- 1/2 teaspoon white vinegar
- 1 teaspoon cornstarch
Topping
- 1 cup heavy cream, cold
- 1/4 cup powdered sugar
- 1/2 teaspoon vanilla extract
- Sliced Strawberries, and other fresh berries (kiwi, raspberries, blueberries)
Instructions
-
Start by preheating your oven to a low 250º F (120ºC). Line a large sheet pan with parchment paper, or a silicone liner. If desired, draw a 9-inch circle on the parchment paper as a guide for shaping your meringue.
-
In the meticulously clean bowl of an electric stand mixer, add your room temperature egg whites and a pinch of kosher salt. Using the whisk attachment on high speed, whisk until stiff peaks form, which usually takes 4 to 5 minutes. The meringue should be glossy and hold its shape.
-
Reduce the mixer speed to medium. Slowly, and gradually, add the granulated sugar, about a tablespoon at a time, over the course of 2 minutes. This ensures the sugar dissolves completely into the egg whites.
-
Stop the mixer and scrape down the sides of the bowl with a rubber spatula, making sure all sugar is incorporated. Increase the speed back to high and whisk until the mixture is very smooth, thick, and brilliantly glossy with stiff peaks, about 6 to 7 minutes. The meringue should feel completely smooth when rubbed between your fingers.
-
Decrease speed to low, and add the vanilla extract, white vinegar, and cornstarch. Mix just until these ingredients are fully combined, being careful not to overmix.
-
Gently spoon the meringue onto the lined pan, spreading it to make about a 9-inch circle. Use the back of the spoon to form a slight well in the center; this will be perfect for holding your toppings.
-
Place the meringue into the oven and bake for 45 minutes. Once the baking time is complete, **DO NOT open the oven door!** Turn off the heat, and leave the Pavlova in the closed oven for an additional 3 hours to slowly dry out and cool. This step is crucial for the perfect texture.
-
After 3 hours, open the oven door slightly and allow the Pavlova to cool completely to room temperature before removing it from the oven, approximately 30 more minutes.
-
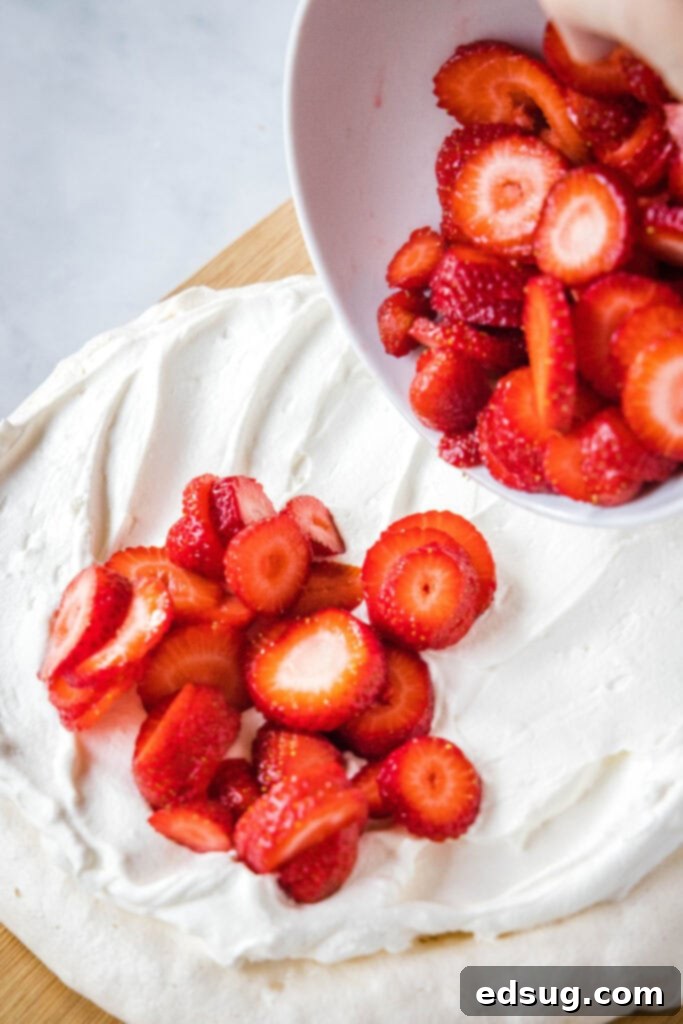
Just before serving, transfer the cooled meringue to your serving platter. Prepare the whipped cream as instructed below and generously top the Pavlova with the cream and an abundance of fresh berries and other fruits.
To Make Whipped Cream
-
In a clean bowl of a stand mixer (or using a hand mixer), beat the cold heavy cream on high speed until you have stiff peaks. This should take a few minutes. Add in the powdered sugar and vanilla extract and continue to beat until they are fully incorporated and the mixture is stiff, smooth, and easily spreadable. Be careful not to overbeat, or it will turn into butter.
Notes
Nutrition
Nutrition information is automatically calculated, so should only be used as an approximation.
Additional Info
Like this recipe? Leave a comment below!
I created a fun group on Facebook, and I would love for you to join us! It’s a place where you can share YOUR favorite recipes, ask questions, and see what’s new at Dinners, Dishes and Desserts (so that you never miss a new recipe)!
Be sure to follow me on Instagram and tag #dinnersdishes so I can see all the wonderful DINNERS, DISHES, AND DESSERTS recipes YOU make!
Don’t want to miss out on any delicious recipes? Be sure to follow me on my social media channels!
Facebook | Twitter | Pinterest | Instagram
