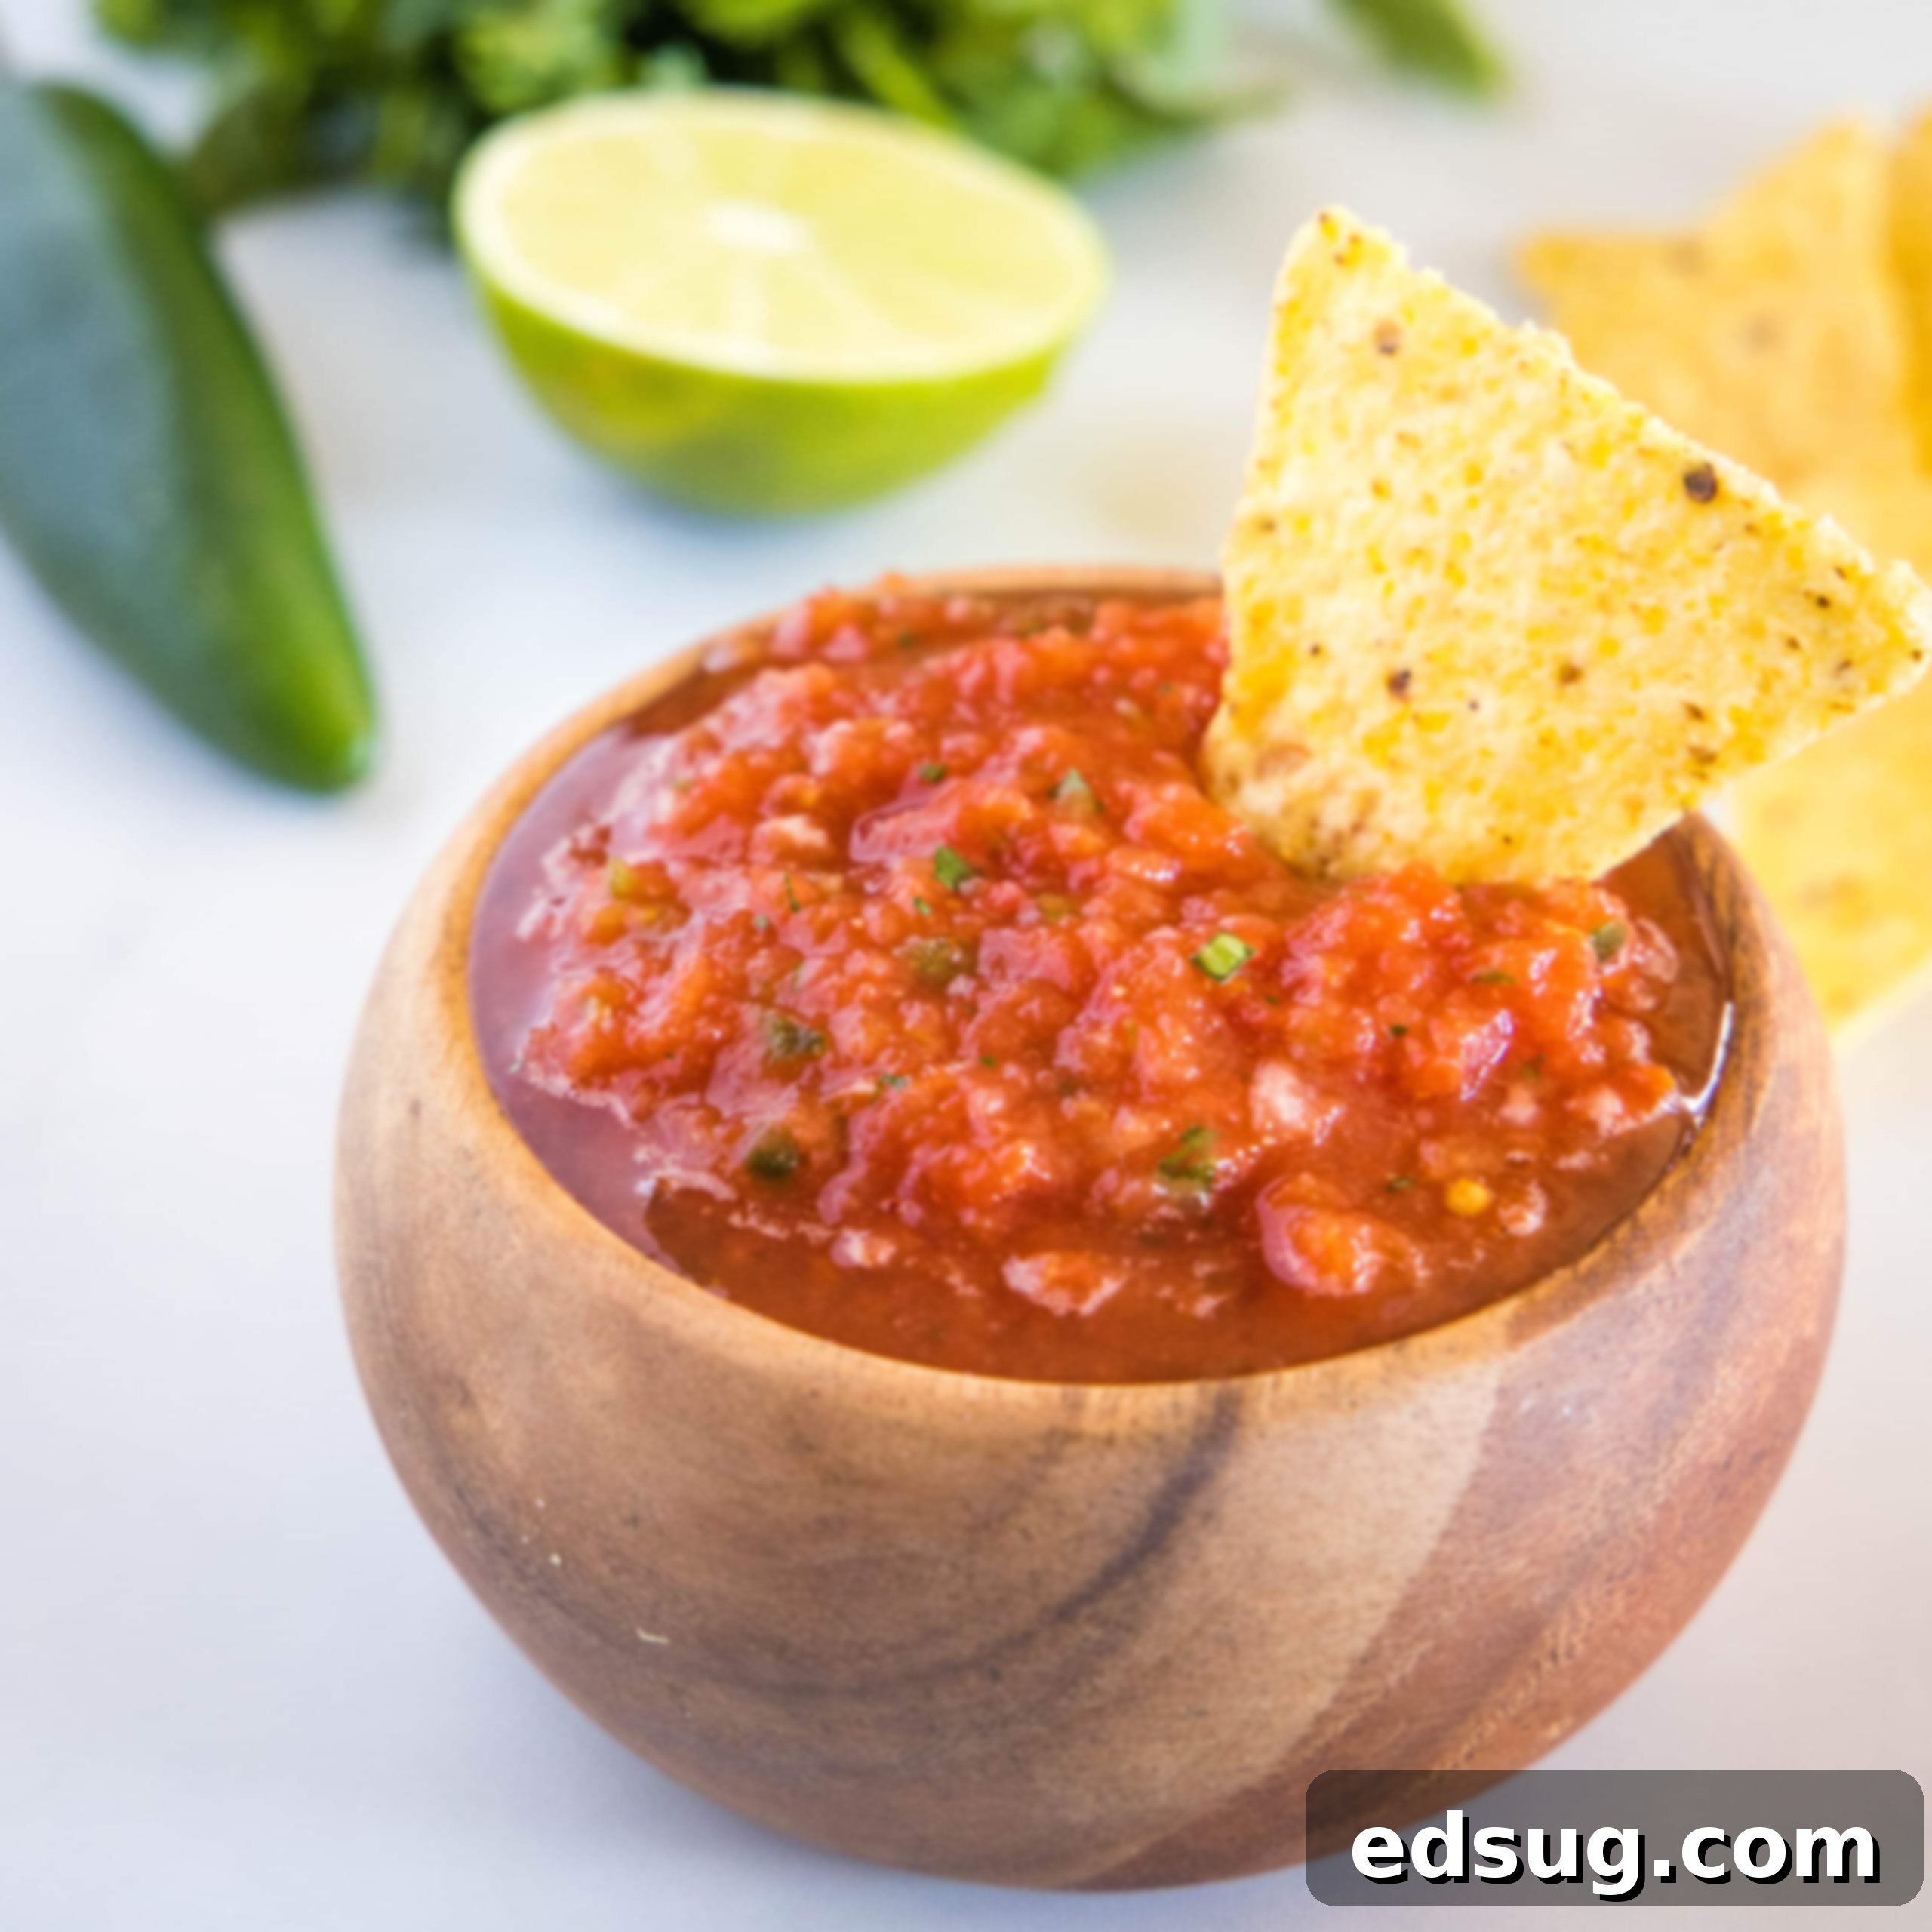
The Ultimate 5-Minute Restaurant-Style Salsa Recipe: Authentic & Easy Homemade Flavor
There’s a special joy that comes with a basket of warm tortilla chips and a generous bowl of fresh, vibrant salsa. For many, it’s the highlight of any Mexican restaurant meal, an irresistible appetizer that often threatens to fill you up before the main course even arrives. That rich, zesty flavor, the perfect balance of savory and tangy, and that just-right kick of spice — it’s truly an experience. But recreating that authentic “restaurant-style” salsa at home can seem like a daunting task, often leading us to settle for less-than-stellar store-bought alternatives.
Fortunately, achieving that coveted homemade flavor, just like your favorite Mexican eatery, is surprisingly simple and incredibly fast. Forget waiting for peak summer tomato season or spending hours chopping and blending. This recipe for Restaurant-Style Salsa proves that an unbelievably fresh, flavorful, and customizable salsa can be whipped up in just 5 minutes with only a handful of readily available ingredients. It’s so easy, you’ll wonder why you ever bought it from a jar!
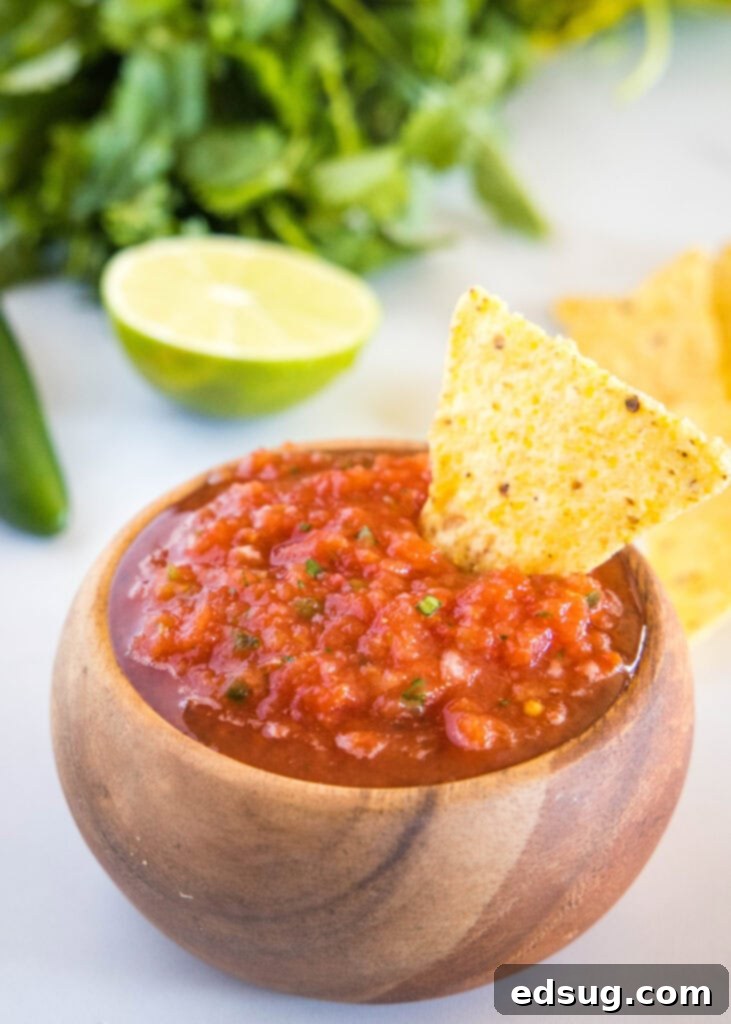
The secret to this incredibly quick and delicious salsa lies in the power of your food processor. All you need to do is gather your ingredients, toss them into the processor, and let it do all the hard work. In mere moments, you can transform simple canned goods and fresh aromatics into a salsa that tastes like it came straight from a bustling taqueria. Whether you prefer a silky smooth puree or a more rustic, chunky texture, your food processor gives you complete control over the consistency with just a few pulses.
One of the greatest advantages of this recipe is its year-round appeal. You don’t have to lament the end of summer or hunt for perfectly ripe tomatoes when they’re out of season. This recipe smartly utilizes high-quality canned tomatoes, which are picked and canned at their absolute peak ripeness. This ensures you get that intensely fresh, sweet, and robust tomato flavor no matter the time of year, making this homemade restaurant-style salsa a pantry staple for any occasion.
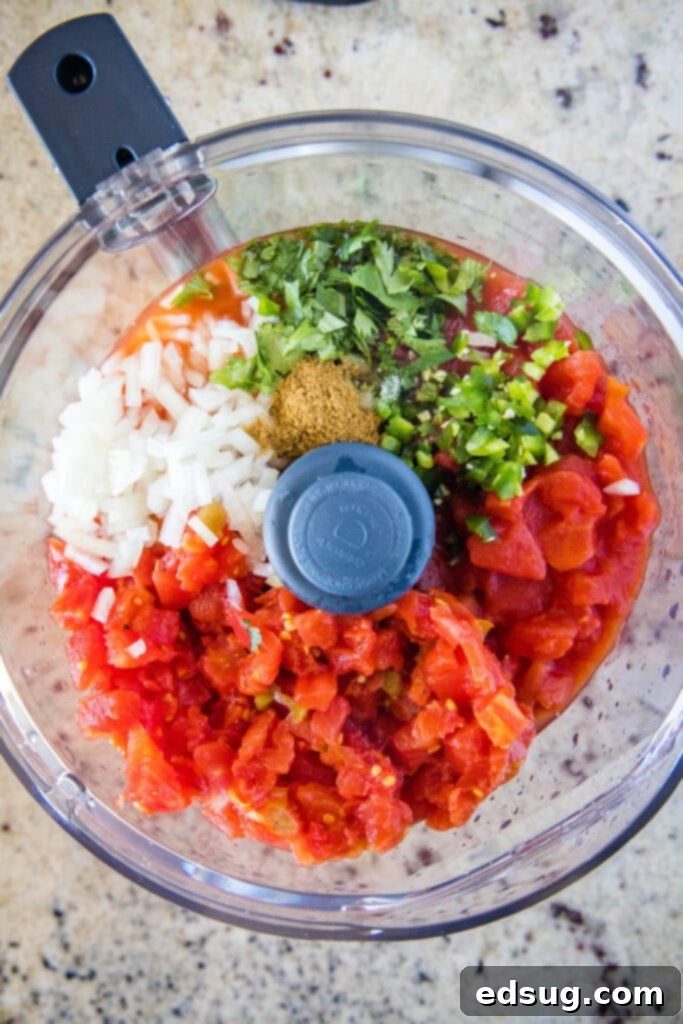
Essential Ingredients for Perfect Restaurant Salsa
Crafting the perfect restaurant-style salsa relies on a harmonious blend of simple yet potent ingredients. Each component plays a vital role in building the layered flavors that make this dip so addictive. Here’s a closer look at what you’ll need and why:
- Canned Tomatoes: The foundation of our salsa! For this recipe, you can use either whole peeled tomatoes or diced tomatoes. The choice largely depends on your desired final texture. Whole tomatoes will give you more control over the chunkiness as they break down in the food processor, while diced tomatoes will naturally result in a slightly chunkier salsa. Crucially, opt for unseasoned varieties to control the flavor profile yourself. Fire-roasted canned tomatoes can also add a wonderful smoky depth if you’re looking to elevate the flavor even further.
- Diced Tomatoes with Green Chilies (like Rotel): This ingredient is a game-changer! The blend of diced tomatoes and zesty green chilies, often found in brands like Rotel, infuses the salsa with a distinctive tangy flavor and a subtle warmth that is characteristic of authentic Mexican cuisine. It adds an extra layer of complexity without requiring you to chop additional peppers.
- Onion: Fresh onion provides a sharp, pungent bite that is essential for balancing the sweetness of the tomatoes. White or yellow onions work best here. If you prefer a smoother salsa, ensure your onion is finely chopped before adding it to the food processor to help it blend seamlessly. For a slightly chunkier texture with more pronounced onion pieces, a coarser chop is perfectly fine.
- Jalapeño: This pepper is where you control the heat! For a mild salsa, remove the seeds and the white membrane (pith) inside the jalapeño, as these contain most of the capsaicin. For a medium heat level, you can leave some seeds in. If you’re a heat-seeker, include all the seeds and pith, or even add more jalapeño. Similar to the onion, finely mincing the jalapeño before processing will result in a smoother salsa without noticeable chunks of pepper. You can also consider serrano peppers for an even spicier kick!
- Fresh Cilantro: The vibrant, herbaceous flavor of fresh cilantro is non-negotiable for authentic salsa. It brightens the entire dish and adds that unmistakable homemade taste. Roughly chopping it beforehand helps it integrate more evenly into the salsa. Adjust the amount to your preference – some love a lot, others prefer a lighter touch.
- Lime Juice: A splash of fresh lime juice is crucial for balancing the flavors. It adds a refreshing tartness that cuts through the richness of the tomatoes and enhances all the other ingredients. Always opt for fresh lime juice over bottled if possible, as the flavor is far superior. A little goes a long way in waking up the salsa!
- Garlic: Fresh garlic provides an aromatic depth that is fundamental to Mexican flavors. I highly recommend mincing or even grating your garlic before adding it to the food processor. This ensures it breaks down completely and distributes its potent flavor evenly throughout the salsa, preventing any large, overpowering raw garlic pieces.
- Spices (Salt and Cumin): These two simple spices are all you need to bring everything together. Salt is essential for seasoning and enhancing all the natural flavors, while ground cumin adds a warm, earthy, and distinctly Mexican aroma. Start with the recommended amounts, then taste and adjust as needed to perfectly suit your palate.
Crafting Your Homemade Salsa: Step-by-Step Instructions
Making this incredible restaurant-style salsa is astonishingly simple and takes mere minutes. Here’s how you can achieve that perfect balance of flavor and texture:
- Prepare Your Tomatoes: Before adding them to the food processor, I highly recommend draining the canned diced tomatoes and the diced tomatoes with green chilies. While not strictly necessary, this step is key to preventing a watery salsa and ensuring a thicker, more desirable consistency that clings beautifully to your chips. Simply open the cans and pour the contents into a fine-mesh sieve, allowing the excess liquid to drain away for a few minutes.
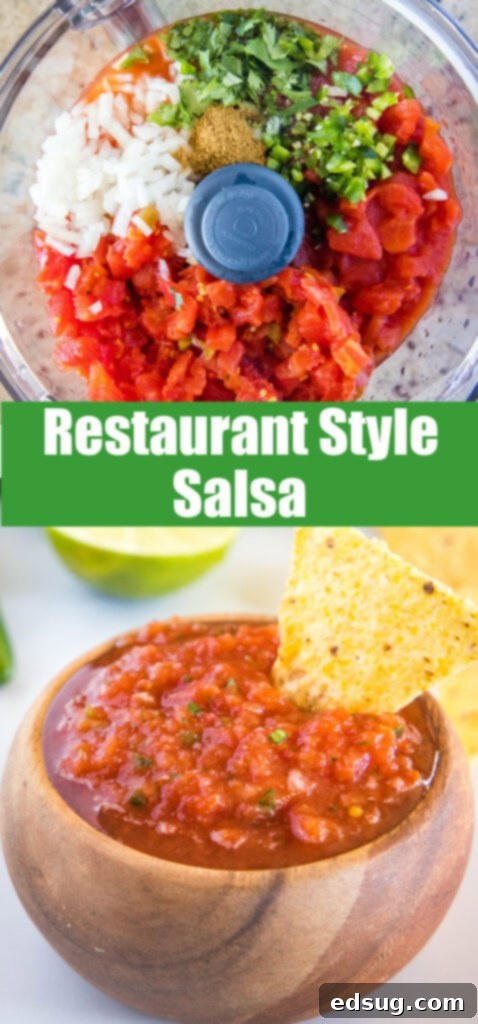
- Combine Ingredients: Add all of your prepared ingredients—the drained canned tomatoes, diced tomatoes with green chilies, chopped onion, minced jalapeño, fresh cilantro, minced garlic, lime juice, salt, and cumin—into the bowl of your food processor. Ensure everything is well-distributed.
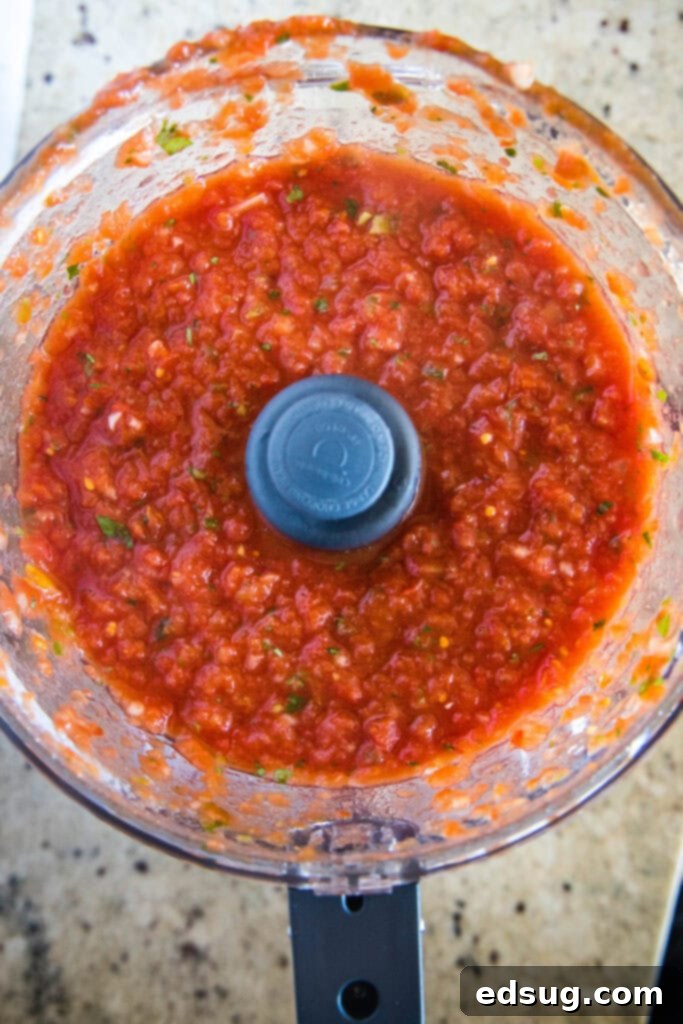
- Pulse to Perfection: Secure the lid on your food processor and begin to pulse the mixture. Start with short bursts and observe the consistency. The more you pulse, the smoother your salsa will become. If you prefer a chunkier, more rustic salsa, pulse less. For a smoother, restaurant-style puree, continue pulsing until you reach your desired texture. Avoid over-processing, which can turn the salsa into a watery paste; pulsing gives you the best control. Remember, the finer you chop your initial ingredients (onion, garlic, jalapeño), the less processing time will be required to achieve a smooth consistency.
- Taste and Adjust: Once you’ve achieved your desired texture, it’s crucial to taste the salsa. This is your chance to make it perfect for your palate. Add more salt if it tastes bland, a bit more lime juice for extra zing, or another pinch of cumin for more depth. If you prefer more heat, you can chop and add a bit more jalapeño.
- Chill and Serve: For the best flavor, transfer your fresh salsa to an airtight container and refrigerate it for at least 30 minutes, or ideally a few hours. This allows the flavors to meld and deepen, resulting in an even more delicious dip. Store any leftovers in the fridge for up to a week.
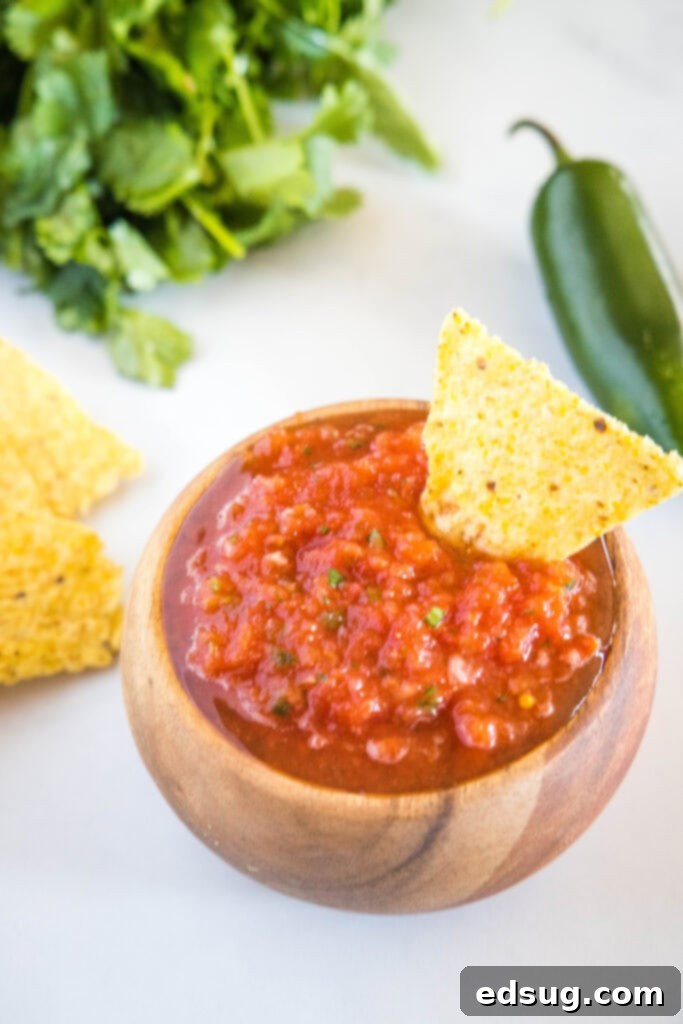
Tips for the Best Homemade Restaurant Salsa
This recipe yields a generous batch, typically around 6 cups, which is perfect for feeding a crowd or ensuring you have plenty of leftovers for snacking throughout the week. It keeps beautifully in an airtight container in the refrigerator for up to seven days. If you find yourself needing a smaller quantity, you can easily halve the recipe without compromising on flavor.
One of the most appealing aspects of making salsa from scratch is the complete control you have over the heat level. The recipe as written provides a pleasant medium heat, perfect for most palates. My family, for example, loves a bit more spice, so I often increase the amount of jalapeño. If you prefer a milder salsa, simply remove all the seeds and the white pith from the jalapeño before adding it to the food processor. Conversely, if you crave an intense fiery kick, leave the seeds in and consider adding an extra half or even a whole jalapeño. For an even more fiery experience, you could introduce a small amount of serrano pepper. This versatility allows you to customize the salsa exactly to your taste preferences every single time.
Beyond customizing the spice, you can also experiment with other flavors. A pinch of sugar can help balance the acidity of the tomatoes if you find it too tart. A dash of smoked paprika or chipotle powder can introduce a lovely smoky note. Feel free to play around with the ratios of cilantro and lime juice until you hit your personal sweet spot. The beauty of homemade is that it’s yours to perfect!
Serving Suggestions for Your Restaurant-Style Salsa
While this salsa is undeniably perfect with a pile of crispy tortilla chips, its versatility extends far beyond just dipping! Have leftover salsa? No problem – it’s an excellent addition to so many dishes:
- Tacos and Burritos: Spoon it generously over your favorite beef, chicken, or bean tacos and burritos for an instant flavor boost.
- Eggs: A dollop on scrambled eggs, omelets, or huevos rancheros elevates breakfast to a whole new level.
- Grilled Meats: Use it as a vibrant topping for grilled chicken, fish, steak, or pork chops.
- Quesadillas and Nachos: A essential accompaniment, adding freshness and zest.
- Salad Dressing: Thin it out slightly with a little olive oil and lime juice for a zesty salad dressing.
- Marinade: Blend it further and use it as a quick marinade for chicken or fish before grilling.
More Delicious Mexican-Inspired Recipes to Explore
If you love the bold, fresh flavors of Mexican cuisine, then you’ll want to explore these other fantastic recipes that pair wonderfully with your homemade salsa:
- Mexican Pizza
- Creamy Salsa Chicken
- Mexican Rice
- Instant Pot Salsa Chicken
- Chicken Fajita Salad
- Dorito Taco Salad

Restaurant Style Salsa
Rate Recipe
Print Recipe
Ingredients
- 1 28 oz can diced tomatoes, drained (or whole tomatoes)
- 2 10 oz cans diced tomatoes with green chilies, drained
- 1/3 cup onions, chopped
- 1/4 cup fresh cilantro, roughly chopped
- 1 large clove garlic, minced
- 1/2 jalapeño, minced
- 1 tsp salt
- 1/2 tsp cumin
- 1/2 lime, juiced
Instructions
-
Combine all of the ingredients into a food processor.
-
Pulse until desired consistency.
-
Taste, and adjust the seasonings to your taste.
-
Store in the fridge in an air tight container for up to 1 week.
Notes
Recipe Adapted from Pioneer Woman
Nutrition
Calories: 12kcal |
Carbohydrates: 3g |
Protein: 1g |
Sodium: 350mg |
Sugar: 1g
Nutrition information is automatically calculated, so should only be used as an approximation.
Additional Info
Like this recipe? Leave a comment below!
I created a fun group on Facebook, and I would love for you to join us! It’s a place where you can share YOUR favorite recipes, ask questions, and see what’s new at Dinners, Dishes and Desserts (so that you never miss a new recipe)!
Be sure to follow me on Instagram and tag #dinnersdishes so I can see all the wonderful DINNERS, DISHES, AND DESSERTS recipes YOU make!
Be sure to follow me on my social media, so you never miss a post!
Facebook | Twitter | Pinterest | Instagram
