The Ultimate Homemade S’mores Cookies: Gooey Perfection Without the Campfire!
There’s something inherently magical about gathering around a crackling campfire, roasting marshmallows to a golden perfection, and assembling that classic trio of graham cracker, chocolate, and gooey marshmallow. S’mores are more than just a dessert; they’re a timeless summer tradition, a symbol of warmth, friendship, and cherished memories. For many of us, the delightful flavor of s’mores evokes feelings of nostalgia, reminiscent of childhood summers spent at a grandparent’s cabin or fun evenings under a starry sky. But what if you could capture that same irresistible taste and texture, that ultimate comfort food experience, without the need for a fire pit or a camping trip? What if you could enjoy that s’mores magic any time of year, right from your own kitchen?
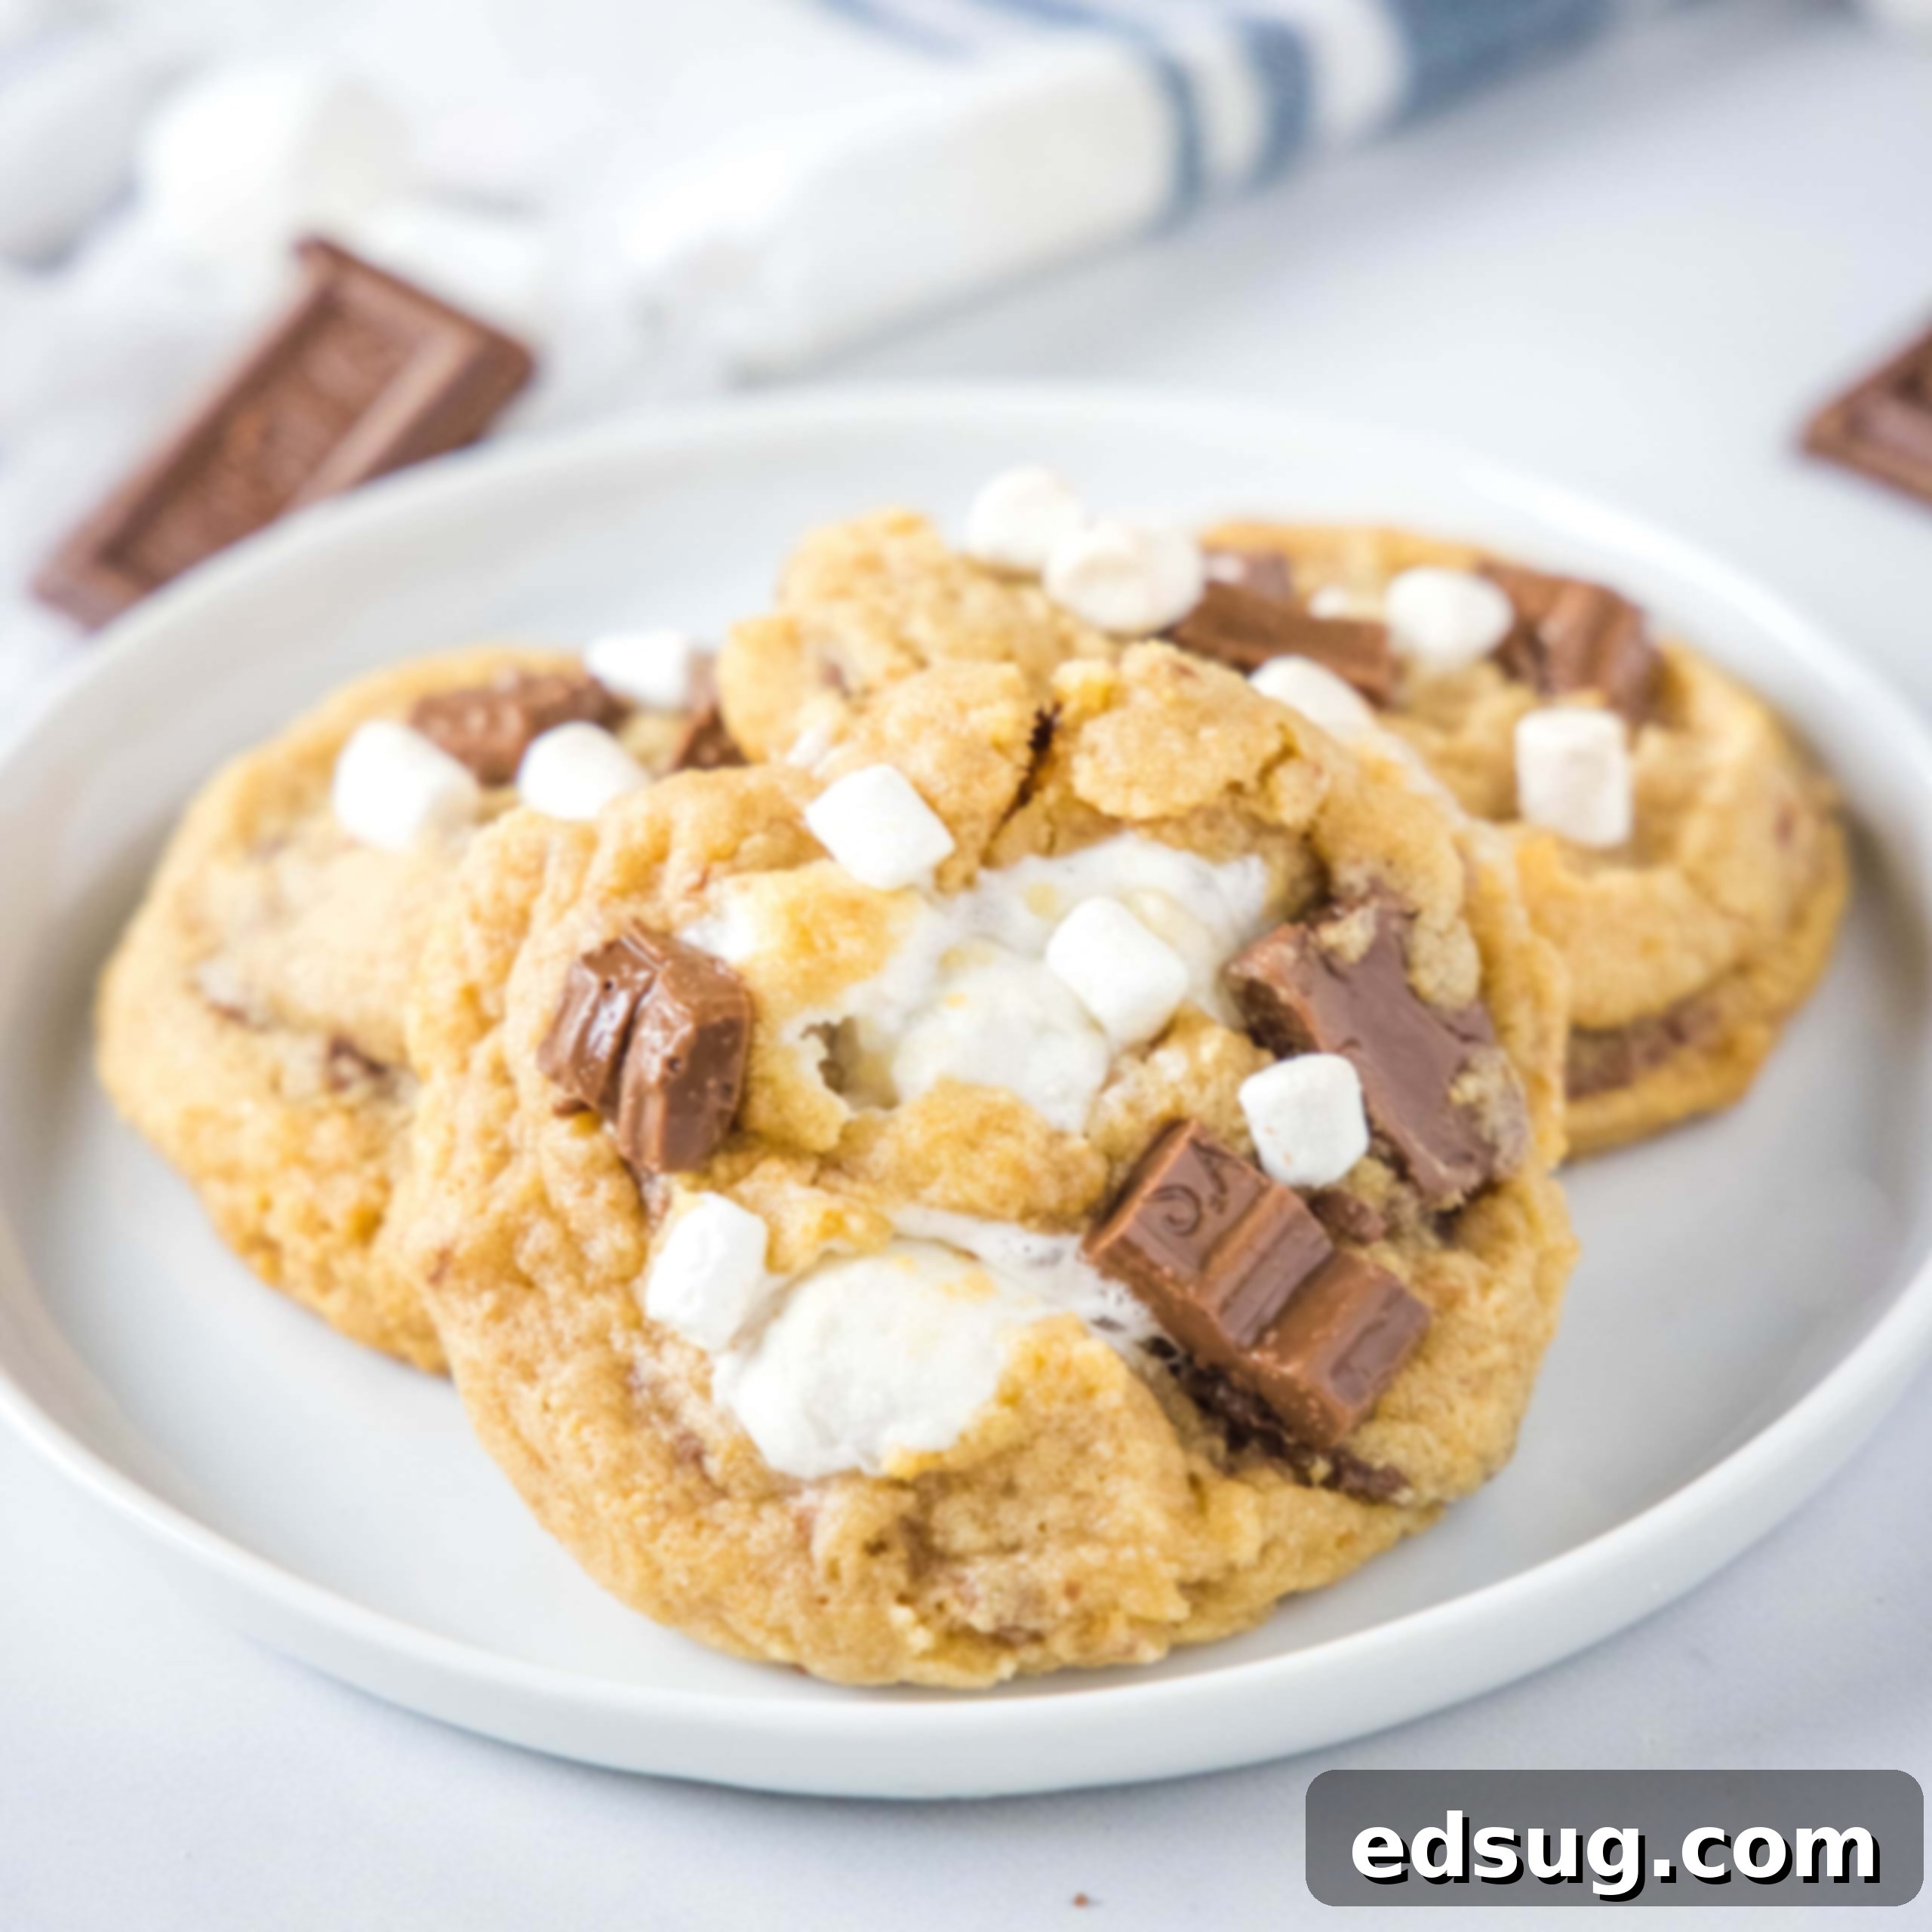
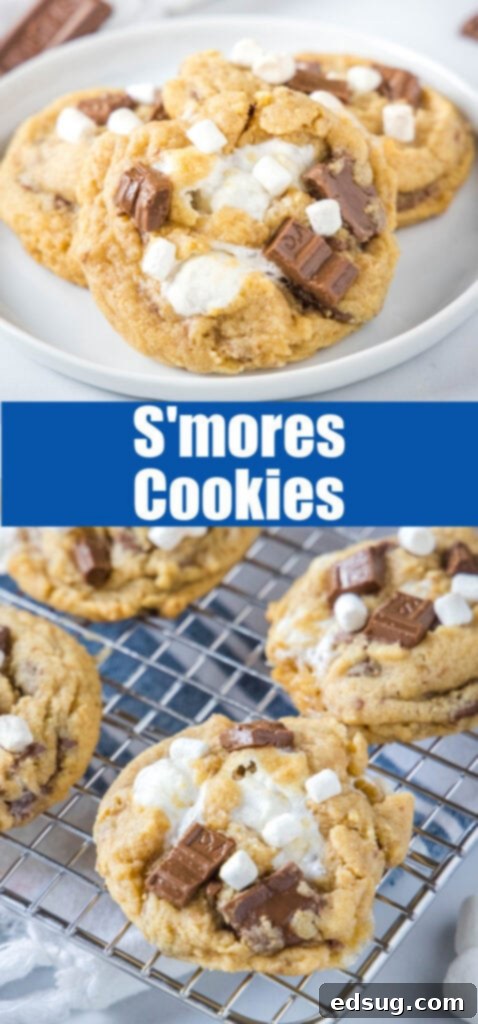
Enter the S’mores Cookies – a brilliant culinary innovation that brings all the beloved elements of traditional s’mores into a convenient, incredibly delicious cookie form. These aren’t just any cookies; they’re thick, chewy, and gloriously gooey, packed to the brim with generous chunks of rich chocolate, fluffy mini marshmallows, and the distinct, buttery crunch of graham cracker crumbs infused directly into the dough. Imagine a classic chocolate chip cookie, elevated to an entirely new level of decadence and flavor, with every bite delivering that iconic s’mores experience. They are absolutely over-the-top amazing, transforming a seasonal treat into a year-round delight that’s perfect for any occasion.
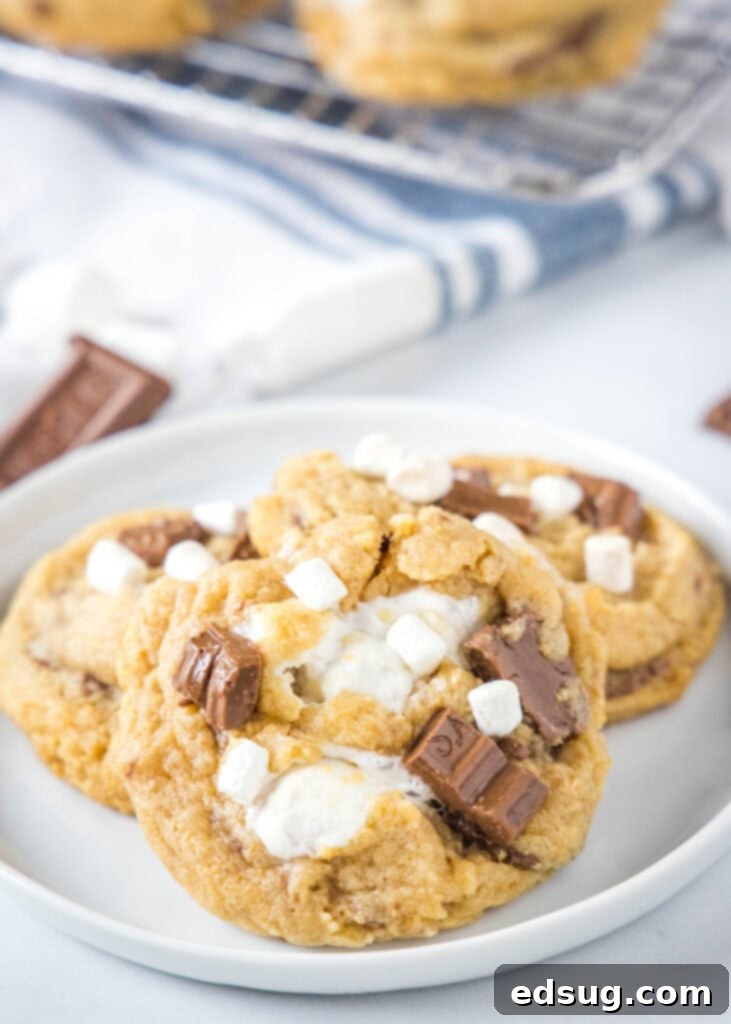
Essential Ingredients for Your Perfect S’mores Cookies
To embark on this delightful baking journey, ensure you have all the key ingredients ready. You’ll find the FULL PRINTABLE recipe card with precise measurements at the bottom of this post.
Creating these sensational S’mores cookies requires a careful selection of ingredients, each playing a crucial role in achieving that signature flavor and texture. Here’s a detailed look at what you’ll need and why:
- Butter (Room Temperature): This is the foundation of any good cookie. Using unsalted butter at room temperature ensures it creams perfectly with the sugars, creating an airy base that contributes to the cookies’ light yet chewy interior.
- Brown Sugar (Light): Provides essential moisture and chewiness, giving the cookies a wonderfully soft texture that’s characteristic of classic s’mores. It also adds a deeper, more complex molasses flavor.
- White Sugar (Granulated): Works in conjunction with brown sugar to achieve the right balance of sweetness and contributes to the golden crispness of the cookie edges.
- Eggs (Large): Act as a binder, holding all the ingredients together, and add richness and structure to the dough. Ensure they are also at room temperature for optimal emulsification with the butter and sugar.
- Vanilla Extract (Pure): A splash of pure vanilla extract enhances all the other flavors, adding a warm, aromatic note that complements the chocolate and graham cracker beautifully.
- Graham Cracker Crumbs: The secret ingredient that truly transforms these into s’mores cookies! Finely crushed graham cracker crumbs are incorporated directly into the dough, infusing every bite with that distinctive honey-sweet, slightly spiced graham flavor. You can buy pre-crushed crumbs or easily make your own by pulsing whole graham crackers in a food processor.
- All-Purpose Flour: The primary dry ingredient, providing structure to the cookies. Measure it correctly by spooning it into a measuring cup and leveling it off, avoiding packing it down.
- Salt: A pinch of salt is crucial for balancing the sweetness and enhancing the flavors of the chocolate and graham crackers. Don’t skip it!
- Baking Soda: This leavening agent helps the cookies spread slightly and contributes to their soft, chewy texture.
- Mini Marshmallows: These are folded into the dough and melt wonderfully during baking, creating pockets of gooey goodness. Mini marshmallows are preferred as larger ones can make the cookies spread too much or become overly messy.
- Chocolate Chips (Semi-Sweet): A generous amount of semi-sweet chocolate chips ensures plenty of melty chocolate in every bite. Their slight bitterness perfectly contrasts the sweetness of the marshmallows and sugars.
- Hershey Bars (Chopped): For that authentic s’mores experience, chopped Hershey’s milk chocolate bars are placed on top of the dough balls before baking. They melt into rich, pools of chocolate, just like a freshly toasted s’more.
- Marshmallow Bits (Freeze-Dried): These are tiny, freeze-dried marshmallows, often found in hot chocolate mixes. They offer a delightful textural contrast and an intense burst of marshmallow flavor. You can typically find them at major retailers like Walmart, Target, various grocery stores, or conveniently online via Amazon. If unavailable, you can simply omit them or use extra mini marshmallows, though they do add a special touch.
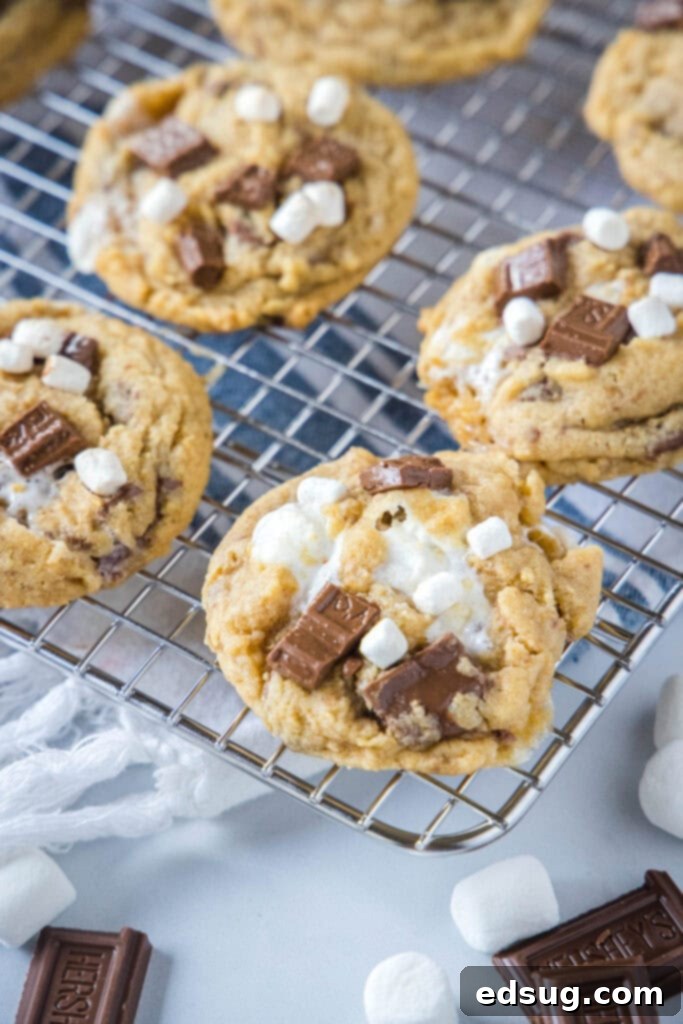
Step-by-Step Guide to Baking Irresistible S’mores Cookies
Baking these S’mores cookies is a straightforward process, quite similar to making classic chocolate chip cookies, but with a few special touches that elevate them. Follow these steps for perfect, gooey results every time:
- Prepare the Wet Ingredients: Begin by creaming the softened butter with both the light brown sugar and granulated white sugar in a large mixing bowl. Beat these ingredients together with an electric mixer on medium-high speed until the mixture is light, fluffy, and noticeably pale in color. This step is crucial for incorporating air, which contributes to the cookies’ texture. Next, beat in the eggs one at a time, ensuring each is fully incorporated before adding the next. Stir in the vanilla extract until well combined. Scrape down the sides of the bowl as needed to ensure everything is evenly mixed.
- Combine with Dry Ingredients: In a separate bowl, whisk together the all-purpose flour, graham cracker crumbs, salt, and baking soda. Gradually add these dry ingredients to the wet mixture, mixing on low speed until just combined. Be careful not to overmix; overmixing can develop the gluten in the flour, leading to tougher cookies. Stop mixing as soon as no dry streaks of flour are visible.
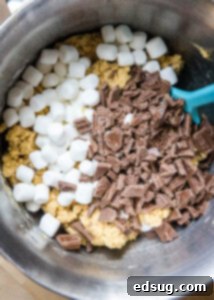
- Fold in the Mix-ins: Now for the most exciting part – adding all the s’mores goodness! Using a sturdy spatula or wooden spoon, gently fold in a bag of semi-sweet chocolate chips and the mini marshmallows. Continue folding until these delicious additions are evenly distributed throughout the cookie dough. This ensures every cookie gets its fair share of chocolate and marshmallow.
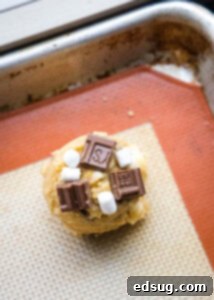
- Scoop and Top: Use a cookie scoop (about 1.5 to 2 tablespoons) to portion out uniform balls of dough onto a baking sheet lined with parchment paper or a silicone baking mat. For an extra touch of s’mores authenticity and visual appeal, press a few pieces of chopped Hershey’s candy bar and a sprinkle of marshmallow bits onto the top of each cookie dough ball. This ensures beautifully melted chocolate and toasted marshmallow on the surface of your baked cookies.
- Chill the Dough: This step is highly recommended for thicker, chewier cookies that won’t spread too much. Place the baking tray with the scooped cookie dough into the refrigerator for at least 20-30 minutes. Chilling the dough solidifies the butter, allowing the cookies to hold their shape better during baking and resulting in a richer flavor and a more desirable texture. If time allows, you can chill the dough for longer, up to 24 hours. Preheat your oven to 350°F (175°C) while the dough is chilling.
- Bake to Golden Perfection: Transfer the chilled baking sheet to the preheated oven. Bake for 10-11 minutes, or until the edges of the cookies are beautifully golden brown and the centers appear set and slightly dry. The marshmallows on top should be lightly toasted and gooey. Keep a close eye on them, as ovens can vary.
- Cool and Enjoy: Once baked, remove the cookies from the oven. Allow them to cool on the baking tray for at least 5 minutes. This crucial resting period allows the cookies to set up properly, especially with the melted chocolate and marshmallows, preventing them from falling apart when moved. After 5 minutes, carefully transfer the cookies to a wire rack to cool completely. While they are delightful cooled, these S’mores cookies are truly irresistible when served warm and gooey, fresh from the oven!
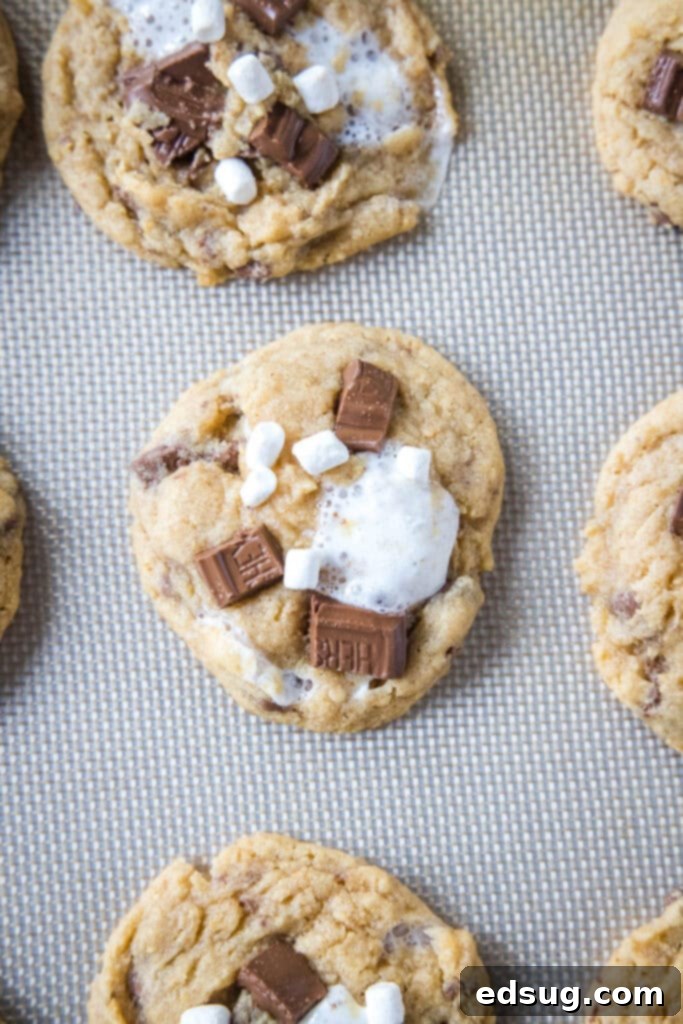
Expert Tips for Perfect S’mores Cookies Every Time
Achieving bakery-quality S’mores cookies is within reach with a few helpful tips and tricks. These pointers will ensure your cookies are not only delicious but also beautifully presented and easy to manage.
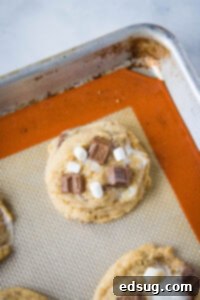
- Utilize a Silicone Baking Mat: Due to the delightful melt of the mini marshmallows and chocolate, your baking sheet can become quite sticky. To make cleanup a breeze and prevent sticking, I highly recommend using a silicone baking mat. Alternatively, parchment paper also works wonders. These non-stick surfaces are a game-changer for gooey cookie recipes.
- Strategic Marshmallow Placement: Marshmallows can be tricky. When scooping your dough balls onto the tray, pay close attention to the placement of any visible mini marshmallows within the dough. Try to ensure that any marshmallows near the surface are facing upwards rather than touching the baking sheet directly. If they are on the sides or bottom, they might melt and stick more, potentially causing you to lose some of that delicious marshmallowy goodness or making removal difficult. The marshmallow bits and Hershey pieces you add on top will also melt beautifully without much fuss.
- The Importance of Chilling the Dough: While optional, chilling the dough is a step I rarely skip for a reason. Placing the baking tray with scooped dough in the fridge for 20-30 minutes (or even longer) before baking helps solidify the butter. This prevents the cookies from spreading too much in the oven, resulting in thicker, chewier, and more visually appealing cookies. Since you handle the dough quite a bit when topping each cookie, it tends to warm up, making chilling even more beneficial to achieve that desired thick, rich cookie texture.
- Marshmallow Bit Alternatives: If you’re having trouble locating marshmallow bits (the freeze-dried kind, similar to those found in hot chocolate packets), don’t fret! You can simply omit them from the recipe. The cookies will still be absolutely delicious with the mini marshmallows folded into the dough and the Hershey bar pieces on top. Alternatively, you could lightly toast a few extra mini marshmallows separately and add them to the top of the baked cookies right after they come out of the oven for a similar aesthetic and flavor boost.
- Don’t Overbake: S’mores cookies are best when they are slightly underbaked in the center, allowing them to remain soft and gooey. The edges should be golden, but the center might still look a little soft. They will continue to set as they cool on the baking sheet. Overbaking will lead to dry, less satisfying cookies.
- Room Temperature Ingredients: Ensure your butter and eggs are at room temperature. This allows them to cream together properly, creating a smooth, emulsified dough that will produce superior cookies.
- Precision in Measuring: Especially for flour and graham cracker crumbs, measuring accurately is key. Too much flour can result in dry, crumbly cookies, while too little can lead to excessive spreading. Use a kitchen scale for best accuracy if possible, or the spoon-and-level method for flour.
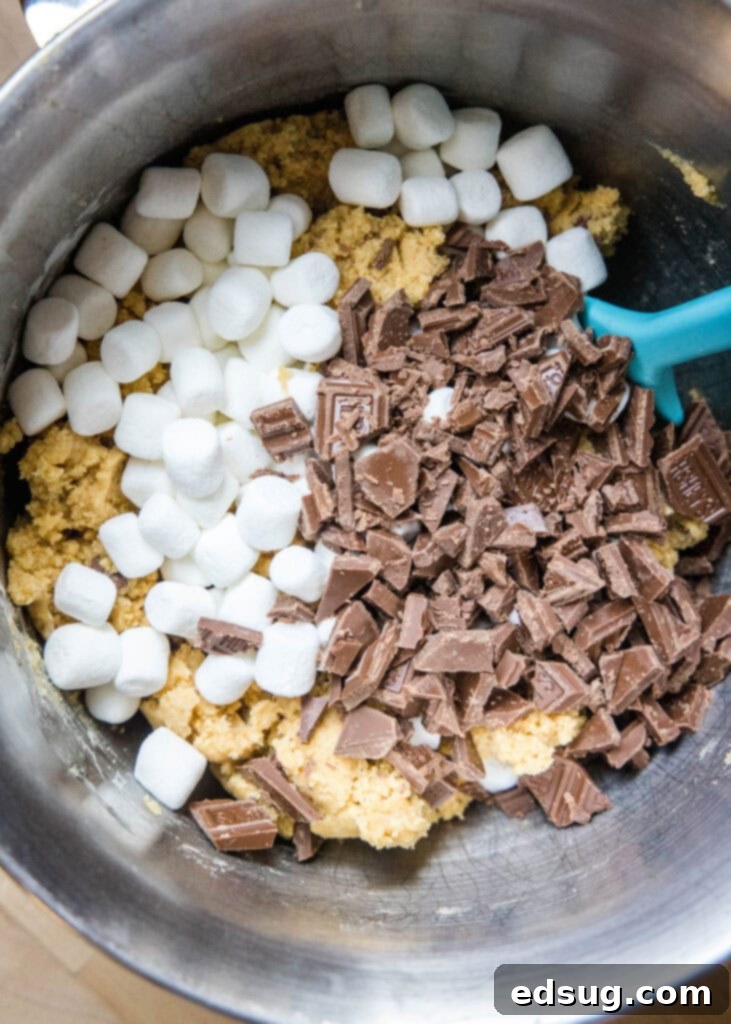
Storing Your Delicious S’mores Cookies for Lasting Freshness
Once you’ve baked a batch of these incredible S’mores cookies, you’ll want to ensure they stay fresh and delicious for as long as possible. Proper storage is key to maintaining their wonderful texture and flavor.
Room Temperature Storage: For immediate enjoyment, these cookies are best stored in an airtight container at room temperature. A cookie jar or a sealed plastic container works perfectly. When stored correctly, they will maintain their freshness, chewiness, and delightful gooeyness for 4-5 days. To keep them extra soft, you can even place a slice of bread or a half of an apple wedge in the container with them; the cookies will absorb moisture from it, though remember to replace it every day or two to prevent mold.
Freezing Baked Cookies: S’mores cookies freeze exceptionally well, making them perfect for meal prepping desserts or having a treat on hand whenever a craving strikes. Once the cookies have cooled completely, transfer them to an airtight freezer-safe container or a heavy-duty freezer bag. Layer them with parchment paper between layers to prevent sticking. They can be stored in the freezer for up to 3 months without losing much of their quality. To enjoy, simply thaw them at room temperature for an hour or two, or pop them in the microwave for 10-15 seconds for that warm, gooey, fresh-baked experience.
Freezing Cookie Dough Balls: An even better option for long-term storage and fresh-baked convenience is freezing individual balls of dough. This allows you to bake just a couple of cookies at a time whenever you desire. Simply scoop the dough onto a parchment-lined baking sheet, top with Hershey pieces and marshmallow bits as usual, and flash-freeze them for about 1-2 hours until solid. Once frozen, transfer the solid dough balls to a freezer-safe bag or container. They can be stored for up to 3 months. When you’re ready to bake, place the frozen dough balls on a baking sheet and bake as directed, adding an extra 2-4 minutes to the baking time, without needing to thaw them first.
And if you find yourself longing for traditional s’mores during the colder months, don’t forget to check out my fantastic recipe for Oven S’mores – another hassle-free way to enjoy this classic treat!
Why You’ll Fall in Love with This S’mores Cookie Recipe
These S’mores Cookies aren’t just another cookie recipe; they’re an experience. Here’s why they’re destined to become a staple in your baking repertoire:
- Nostalgia in Every Bite: They perfectly capture the essence of a campfire s’more, evoking happy memories with every chewy, chocolatey, and marshmallow-filled mouthful.
- Year-Round Enjoyment: No need to wait for summer or a bonfire! These cookies bring the beloved s’mores flavor to your table regardless of the season, perfect for any weather or occasion.
- Incredibly Gooey & Chewy: With a combination of brown sugar, butter, and perfectly melted marshmallows, these cookies boast an unbeatable soft, chewy texture with wonderfully gooey pockets.
- Packed with Flavor: From the subtle sweetness of graham cracker crumbs in the dough to generous semi-sweet chocolate chips and melty Hershey’s bar pieces, every ingredient sings in harmony.
- Easy to Make: Despite their impressive appearance and flavor, the process is straightforward and fun, making them accessible for bakers of all skill levels.
- Perfect for Sharing: Whether for a party, a potluck, or a cozy family night, these cookies are always a crowd-pleaser and disappear quickly!
The Anatomy of a Perfect S’mores Cookie
What makes these cookies so exceptional? It’s the meticulous integration of the classic s’mores components into a single, cohesive dessert. Each element plays a vital role:
- The Graham Cracker Base: Unlike simply sandwiching ingredients, the graham cracker crumbs are blended directly into the cookie dough. This ensures that signature sweet, slightly spiced graham flavor is woven throughout the entire cookie, creating a cohesive and flavorful foundation that supports the other ingredients.
- The Chocolate Meltdown: A dual approach to chocolate ensures maximum deliciousness. Semi-sweet chocolate chips are folded into the dough, providing consistent bursts of rich chocolate. On top, chopped Hershey’s milk chocolate pieces melt into glorious, shiny puddles, mimicking the warm, melted chocolate from a fresh s’more.
- Marshmallow Magic: Mini marshmallows are strategically folded into the dough, creating pockets of soft, gooey sweetness when baked. The addition of freeze-dried marshmallow bits on top provides a unique textural pop and an intensified marshmallow flavor, lightly toasting for that authentic campfire taste.
- The Chewy Cookie Foundation: Beyond just holding the s’mores elements, the cookie itself is a masterpiece. Crafted with a perfect balance of sugars and fats, it provides a thick, chewy, and slightly crisp edge that perfectly complements the soft, molten center.
Customizing Your S’mores Cookies: Variations and Add-ins
While the classic S’mores Cookie recipe is perfect as is, there’s always room for a little creative customization. Feel free to experiment with different additions and variations to make these cookies uniquely yours!
- Chocolate Choices: Don’t limit yourself to semi-sweet chips and Hershey bars. Try dark chocolate chips or chunks for a more intense chocolate flavor, or white chocolate for a sweeter, creamier profile. You could also use chopped caramel-filled chocolate bars for an extra gooey surprise.
- Marshmallow Flavors: While mini marshmallows are standard, gourmet marshmallows can add a fun twist. Look for flavored mini marshmallows like vanilla bean, strawberry, or even chocolate-filled for an extra layer of taste.
- Nutty Additions: For those who love a bit of crunch, consider folding in a handful of chopped pecans, walnuts, or almonds. They add a lovely texture and depth of flavor.
- Toffee Bits: A sprinkle of toffee bits (found in the baking aisle) can add a delightful buttery, caramel crunch that pairs wonderfully with chocolate and graham crackers.
- Espresso Powder: A teaspoon of instant espresso powder mixed into the dry ingredients won’t make your cookies taste like coffee, but it will significantly enhance the chocolate flavor, making it deeper and richer.
- Spices: A touch of cinnamon or a pinch of nutmeg alongside the graham cracker crumbs can elevate the warm, comforting notes of the cookie.
Frequently Asked Questions About S’mores Cookies
Here are some common questions bakers have about making S’mores Cookies, along with helpful answers:
- Can I use regular-sized marshmallows instead of mini marshmallows? While you technically can, mini marshmallows are highly recommended. Regular-sized marshmallows tend to melt and spread significantly more, making your cookies very messy and potentially sticking to the baking sheet excessively. If you only have large marshmallows, you can try cutting them into smaller pieces, but be aware they might still be harder to manage.
- Why are my cookies spreading too much? Several factors can cause cookies to spread. Ensure your butter is at room temperature but not melted. Chilling the dough (as recommended in the recipe tips) is crucial. Also, accurately measure your flour; too little flour or too much leavening agent (baking soda) can contribute to spreading.
- How do I get perfectly round cookies? For uniform, perfectly round cookies, a spring-release cookie scoop is your best friend. After baking, while the cookies are still warm and pliable on the baking sheet, you can take a slightly larger round cookie cutter or the rim of a glass and gently scoot it around each cookie in a circular motion. This “coaxing” technique helps reshape them into perfect circles.
- Can I make the cookie dough ahead of time? Absolutely! This dough is excellent for making ahead. Prepare the dough, scoop it into balls, and chill it in the refrigerator for up to 2-3 days. The longer chilling time can even enhance the flavor and result in an even chewier cookie. For longer storage, freeze the dough balls as described in the storage section.
- What if I don’t have graham cracker crumbs? No problem! You can easily make your own. Just place about 10-12 full graham cracker sheets into a food processor and pulse until fine crumbs form. If you don’t have a food processor, you can place them in a zip-top bag and crush them with a rolling pin.
- How do I prevent the marshmallows from burning? The marshmallow bits and Hershey pieces on top should toast nicely without burning within the 10-11 minute baking window. If your oven tends to run hot, or if you notice the marshmallows browning too quickly, you can try reducing the oven temperature slightly or placing the baking sheet on a lower rack. Keep a close eye on them during the last few minutes of baking.
Looking For More Delicious Cookie Recipes?
If you’ve enjoyed these incredible S’mores Cookies and are eager to expand your baking repertoire, you’re in luck! Cookies are a versatile and delightful treat, perfect for any occasion, and there are endless variations to explore. Here are some other fantastic cookie recipes from our collection that we think you’ll absolutely love. Each one offers a unique flavor and texture, promising to satisfy any sweet craving you might have:
- Brownie Cookies: Indulge in the best of both worlds with these rich, fudgy cookies that taste just like a chewy brownie in cookie form. They’re intensely chocolatey and incredibly satisfying.
- Frosted Sugar Cookies: A classic for a reason! These soft, buttery sugar cookies topped with a smooth, sweet frosting are perfect for celebrations, holidays, or simply a treat. They’re also wonderfully customizable with different colors and sprinkles.
- Soft Monster Cookies: Loaded with oats, peanut butter, chocolate chips, and M&M’s, these monster cookies are a textural and flavor explosion. They’re hearty, satisfying, and always a hit with kids and adults alike.
- Butterscotch Pudding Cookies: Experience ultimate softness and chewiness with these unique cookies, made extra tender with the addition of pudding mix and packed with sweet butterscotch chips. A truly comforting and delightful twist on a classic.
- Perfect Chocolate Chip Cookies: Every baker needs a go-to chocolate chip cookie recipe, and this one delivers! Learn the secrets to achieving that ideal balance of crisp edges, chewy centers, and melty chocolate in every bite.
- Lime Cooler Cookies: For a refreshing change, these zesty and bright lime cooler cookies are simply divine. They offer a delightful citrusy tang, perfect for spring and summer gatherings.
- Peanut Butter Chocolate Chip Cookies: The beloved combination of peanut butter and chocolate comes alive in these incredibly flavorful and chewy cookies. A classic pairing that never disappoints!
- Bisquick Cookies: Looking for a quick and easy cookie solution? These Bisquick cookies are a fantastic shortcut that doesn’t compromise on taste or texture, perfect for whipping up a batch in no time.

S’mores Cookies
Ingredients
- 1 cup butter, room temperature (preferably unsalted)
- 1 cup light brown sugar, packed
- 1/2 cup granulated sugar
- 2 large eggs, room temperature
- 1 teaspoon pure vanilla extract
- 1 1/2 cups graham cracker crumbs, finely crushed
- 2 1/4 cup all-purpose flour
- 1 teaspoon salt
- 1 teaspoon baking soda
- 1 12 oz bag semi-sweet chocolate chips
- 1 cup mini marshmallows
- 4 Hershey bars, standard size, chopped into small pieces
- 1/2 cup marshmallow bits, (freeze-dried, optional)
Instructions
- In a large bowl, cream together the softened butter with both the light brown sugar and granulated white sugar until the mixture is light, fluffy, and pale in color. Beat in the eggs one at a time until well incorporated, then mix in the vanilla extract.
- In a separate bowl, whisk together the all-purpose flour, graham cracker crumbs, salt, and baking soda. Gradually add these dry ingredients to the wet mixture, mixing on low speed until just combined. Using a spatula, gently fold in the bag of chocolate chips and the mini marshmallows until they are evenly distributed throughout the dough.

- Scoop uniform balls of dough (about 1.5 to 2 tablespoons each) onto a baking sheet lined with parchment paper or a silicone baking mat. Gently press pieces of chopped Hershey candy bar and a few marshmallow bits onto the top of each dough ball.

- Chill the dough by placing the baking tray in the refrigerator for 20-30 minutes. This step helps prevent spreading and results in thicker, chewier cookies.
- Preheat oven to 350º F (175°C).
- Bake for 10-11 minutes, or until the edges are golden brown and the top of the cookies appears set and slightly dry. The marshmallows on top should be lightly toasted and gooey.

- Remove from the oven and let them cool on the baking tray for at least 5 minutes before carefully transferring them to a wire rack to cool completely. Serve warm for the ultimate gooey experience!
Nutrition
Nutrition information is automatically calculated, so should only be used as an approximation.
Additional Info
Join Our Baking Community! I’ve created a vibrant and fun group on Facebook, and I would absolutely love for you to join us! It’s a fantastic space where you can share YOUR favorite recipes, ask questions, exchange baking tips, and stay updated on what’s new at Dinners, Dishes and Desserts – ensuring you never miss a delicious new recipe!
Be sure to follow me on Instagram and tag #dinnersdishes so I can see all the wonderful DINNERS, DISHES, AND DESSERTS recipes YOU create and share!
Don’t miss out on any of our delicious updates! Be sure to follow me on my social media channels to stay connected and never miss a post!
Facebook | Twitter | Pinterest | Instagram
.
