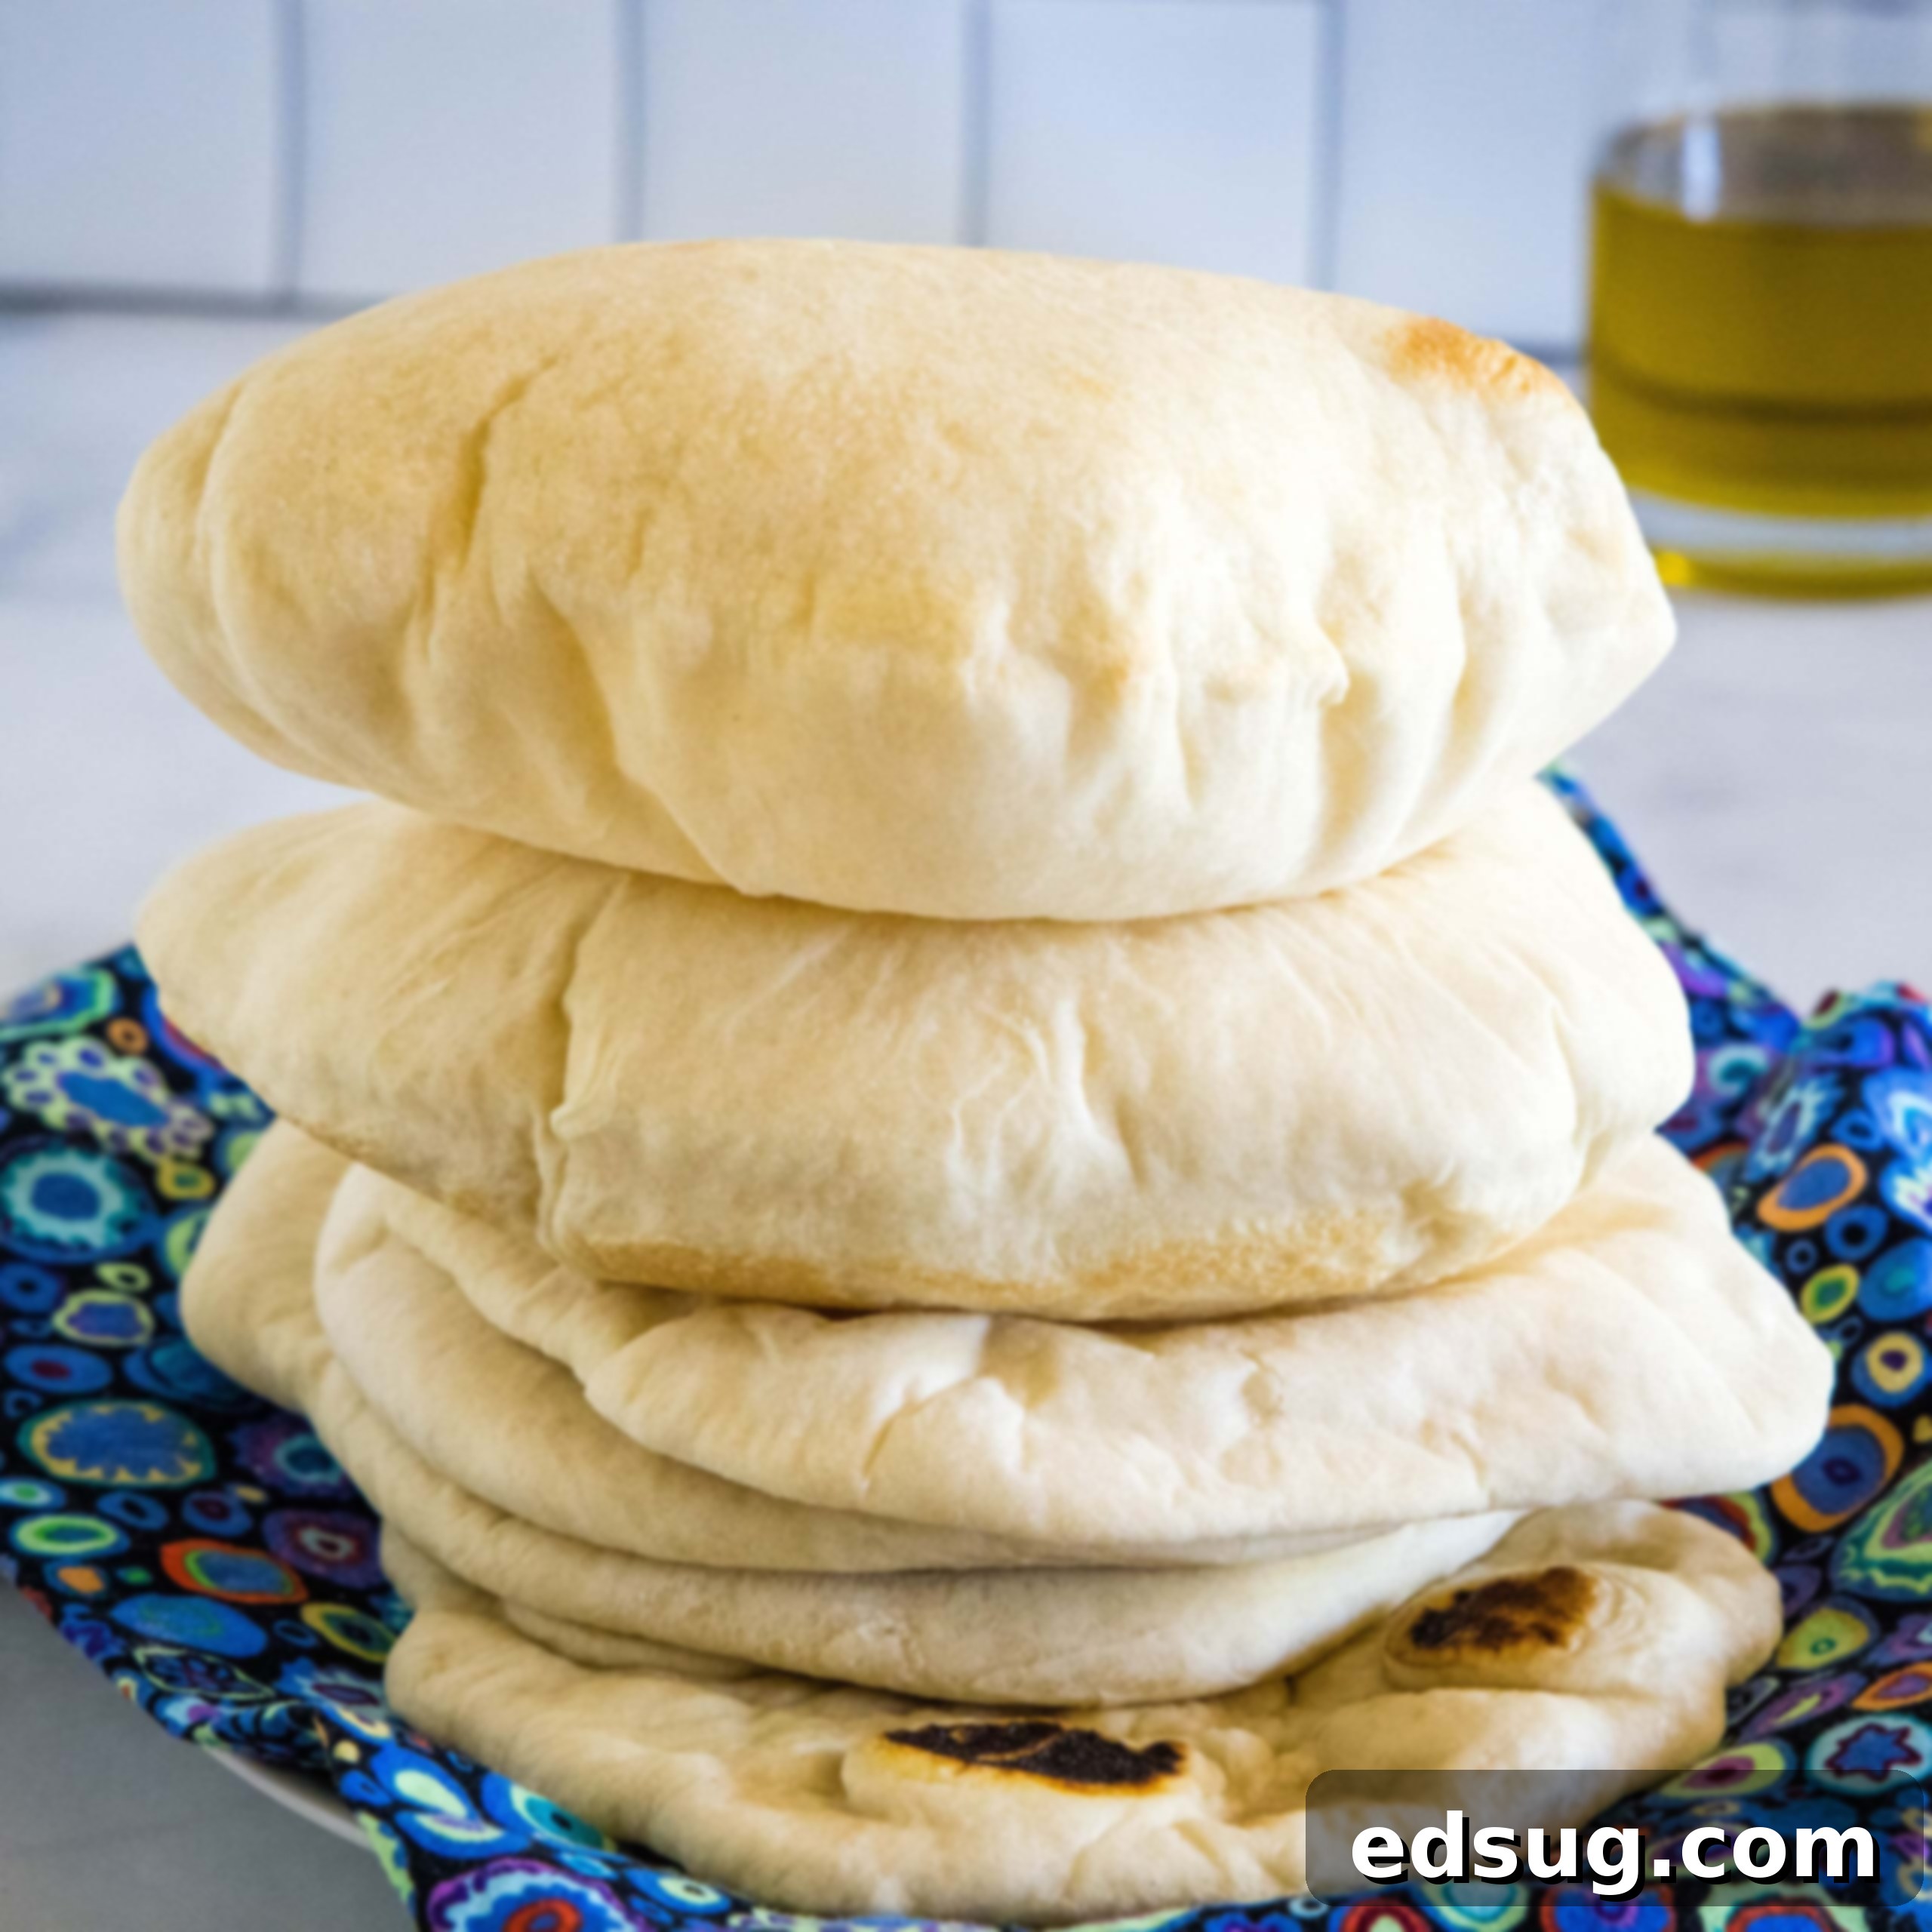
Mastering the Art of Homemade Pita Bread: Your Easy Guide to Fluffy, Puffy Pockets
There’s nothing quite like the taste and texture of freshly baked bread, and this homemade pita bread recipe is no exception. It yields incredibly soft, delightfully puffy pitas that are perfect for everything from wrapping savory fillings to scooping up your favorite dips. Forget about those dry, often crumbly store-bought versions; making your own pita bread from scratch is far easier than you might imagine, and the results are truly superior. With just 6 basic ingredients and a little patience, you’ll be enjoying warm, aromatic pita pockets right from your kitchen.
Much like my popular homemade naan bread and flour tortillas, this easy pita recipe requires minimal kneading and no complicated shaping techniques. It’s a fantastic baking project for beginners and seasoned home cooks alike, promising a rewarding experience with every fluffy, golden pocket you pull from the oven or skillet.
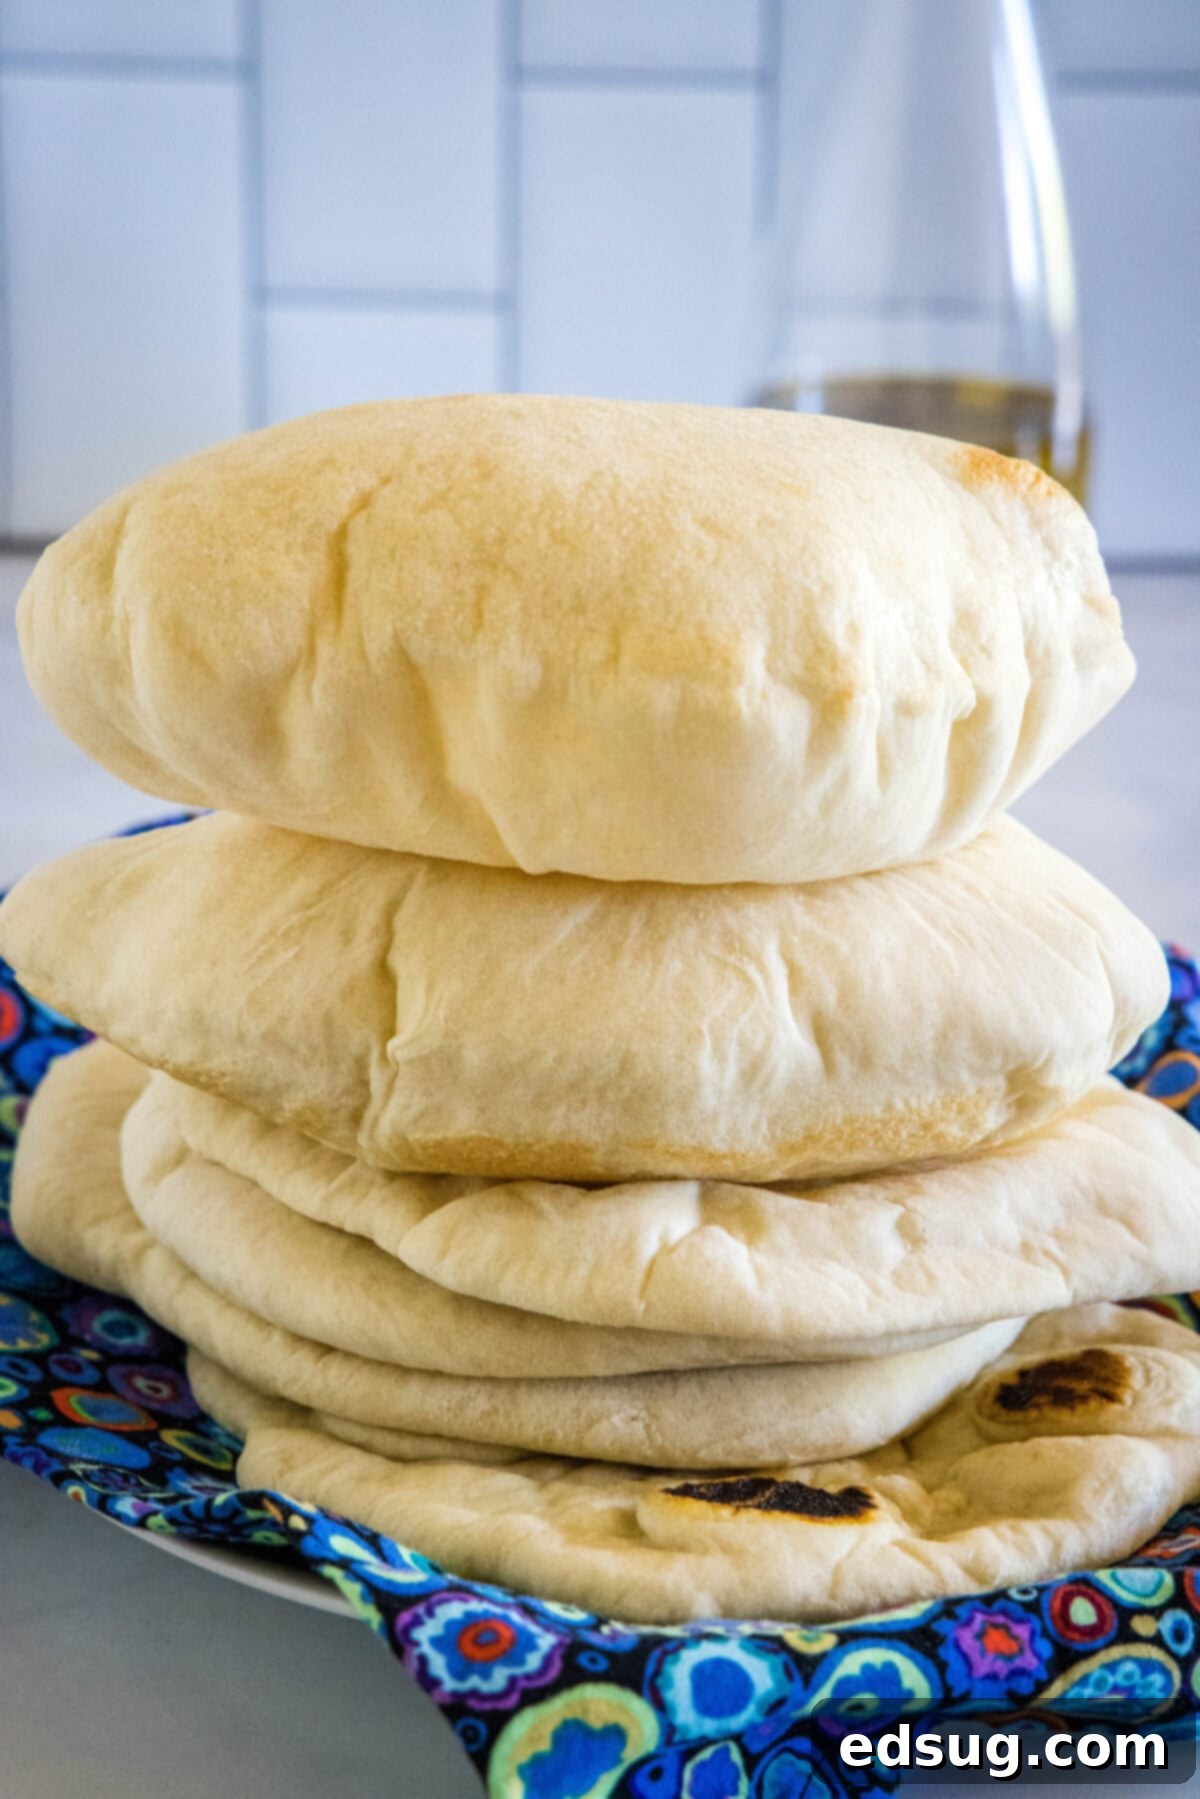
My husband and I cherish our “date nights” at our local Greek restaurant, largely because of their exceptional, in-house made pita bread. The freshness and unique texture are simply incomparable to anything you can find on supermarket shelves. Inspired by their perfect, puffy bread pockets, I embarked on a mission to replicate that magic at home. I was genuinely surprised by how straightforward these soft and fluffy homemade pitas are to prepare. Even if you’re new to working with yeast, by simply following these clear, step-by-step instructions, you’ll achieve deliciously perfect results every single time. It’s truly a game-changer for your Mediterranean-inspired meals!
Why You’ll Adore This Easy Homemade Pita Bread Recipe
- Unbeatable Freshness and Flavor: There’s truly nothing that compares to the warmth and incredible aroma of fresh, homemade pita bread. When you make it from scratch, the dough is inherently softer, fluffier, and boasts a much richer flavor profile than anything you can buy pre-packaged. Once you experience this homemade goodness, you’ll find it hard to go back to store-bought options.
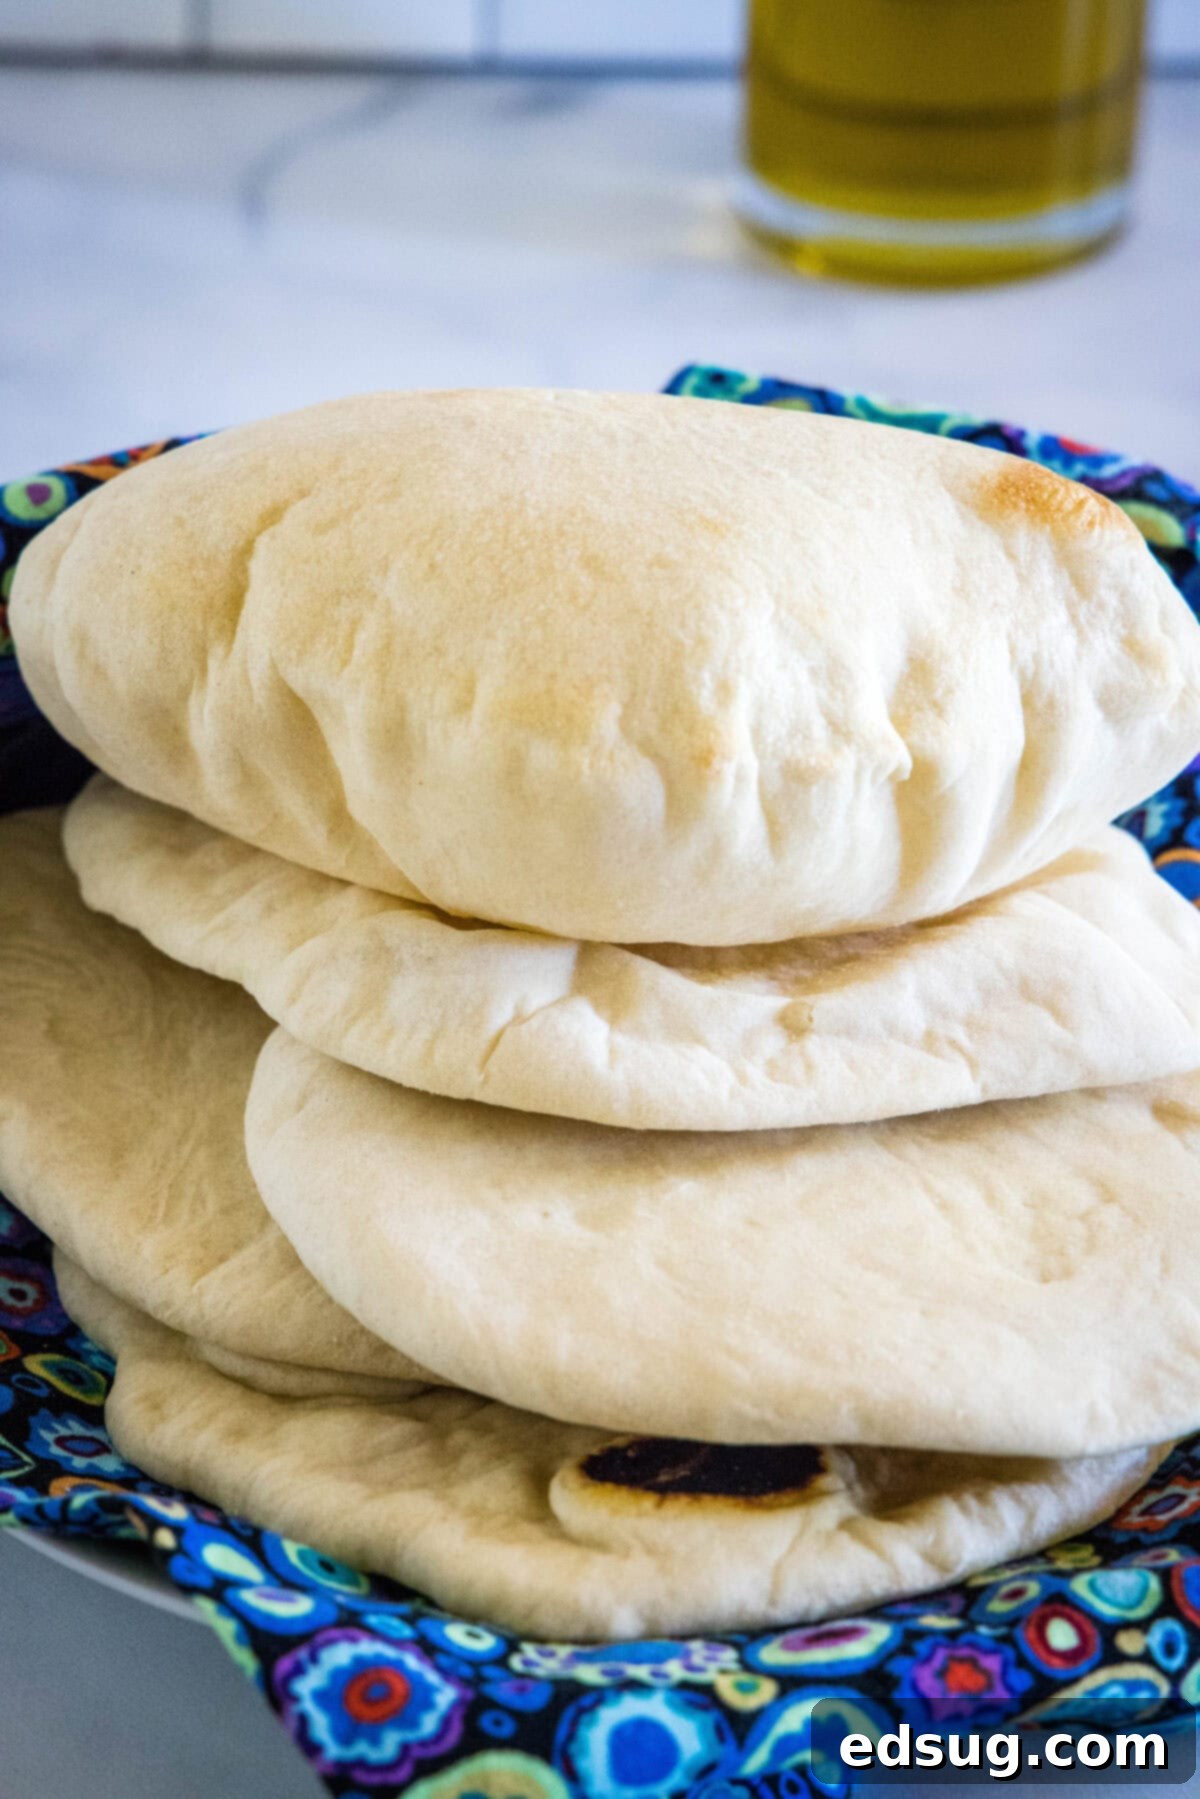
- Achieve Perfect Puffy, Open Pockets: The hallmark of an authentic pita is its characteristic air pocket, which forms during baking. I’ll share a simple yet incredibly effective cooking method that consistently creates those impressive, beautifully open pockets in these homemade pitas, making them ideal for stuffing.
- Surprisingly Simple to Master: While traditional leavened breads often seem intimidating, pita dough is remarkably forgiving. Yes, like any yeast bread, it requires a bit of time for rising, but much of that is hands-off. You only need 6 pantry staples, and the process is broken down into easy, manageable steps. It’s a rewarding baking project that doesn’t demand constant attention.
- Incredibly Versatile for Any Meal: These homemade pitas are wonderfully adaptable. They are absolutely fantastic as traditional souvlaki pitas, perfect for creating mouth-watering gyros, or as a base for custom pita pockets filled with your favorite ingredients. They also make excellent chicken wraps for a quick and healthy meal. Beyond wraps and pockets, I love cutting the baked pitas into triangles, brushing them with a little olive oil and seasoning, and baking them again to create crispy, homemade pita chips for dipping. The possibilities are endless!
Essential Ingredients for Your Homemade Pita Bread
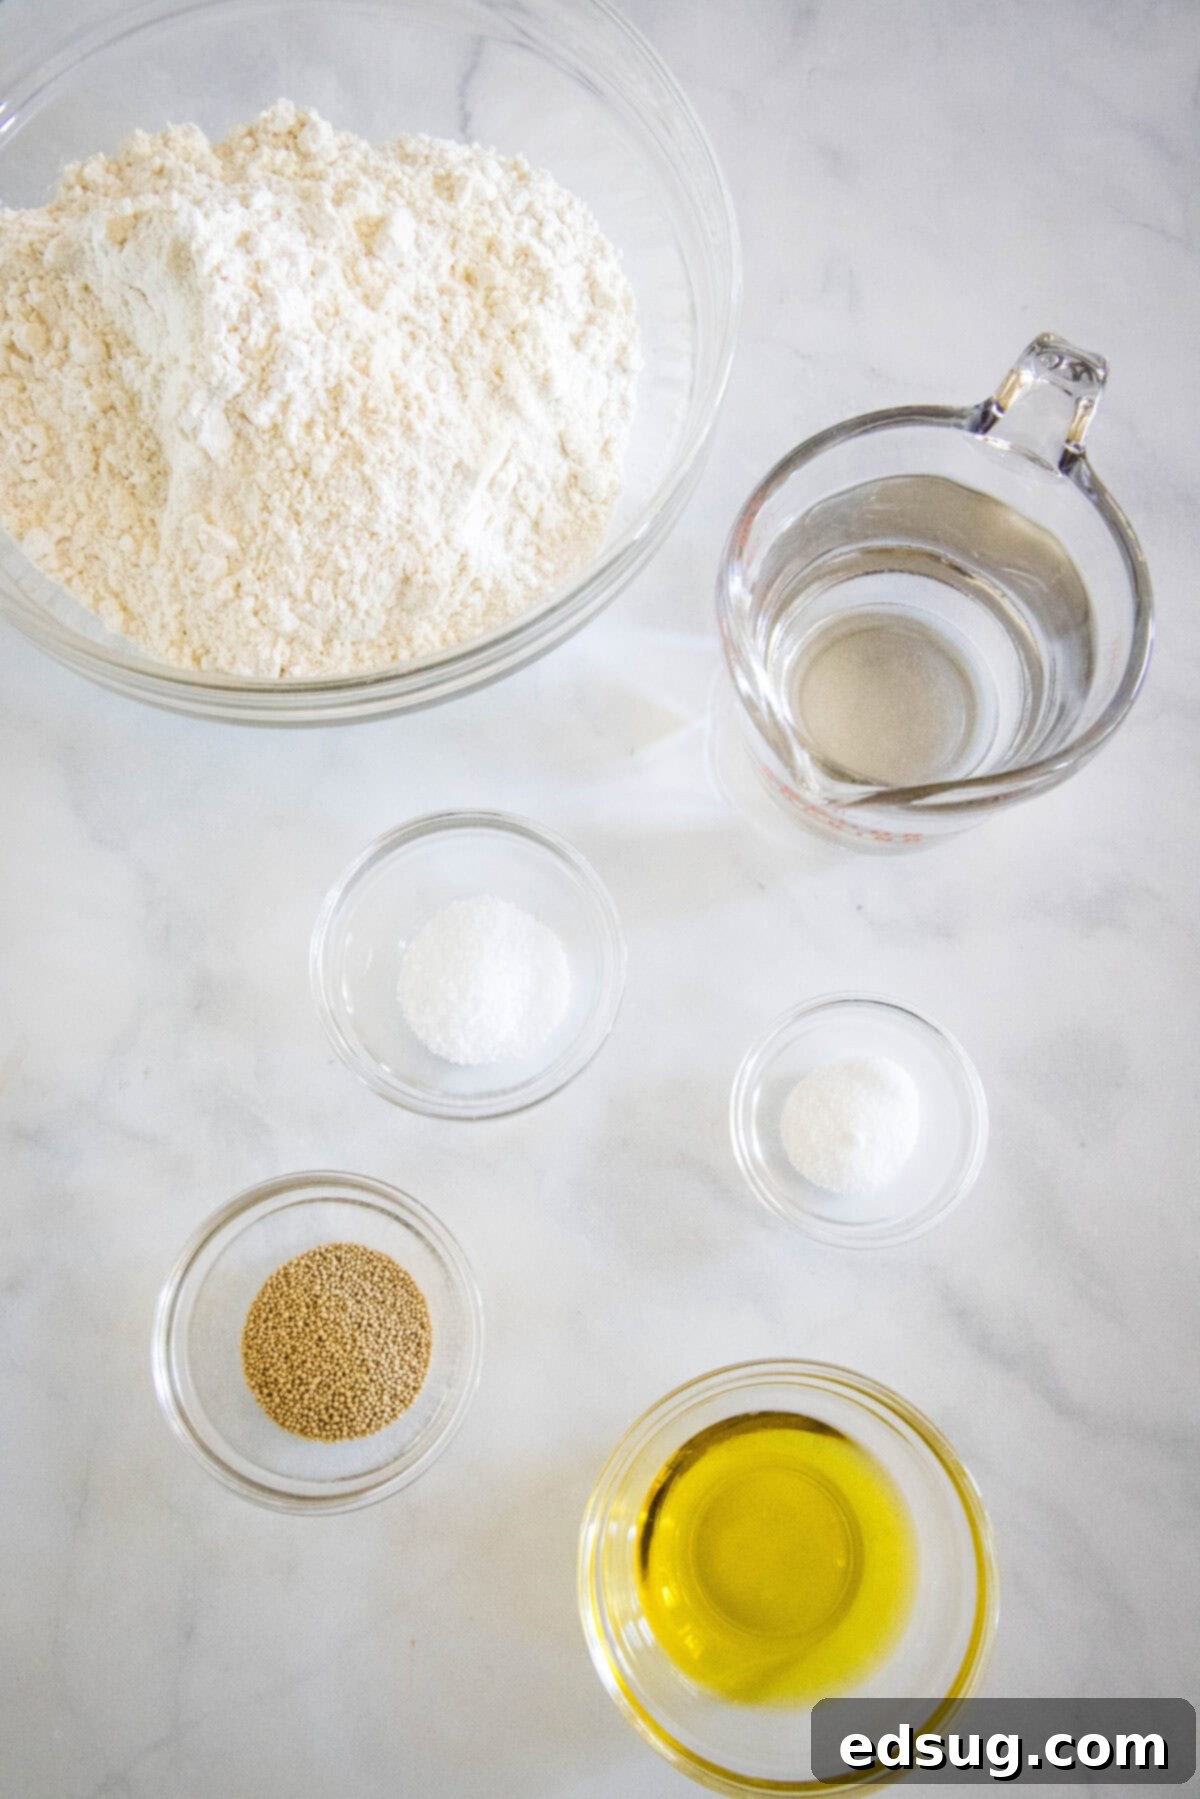
Creating delicious homemade pita bread requires only a handful of common kitchen staples. Here are some quick notes on the ingredients to ensure your success. For a printable list with precise amounts, please scroll down to the full recipe card at the end of this post.
- Warm Water: This is crucial for activating your yeast. The water should be warm to the touch, ideally between 105ºF and 110ºF (around 40-43ºC). Water that’s too hot will kill the yeast, while water that’s too cold won’t activate it effectively. A kitchen thermometer can be very helpful here!
- Active Dry Yeast: This is the leavening agent that gives your pita bread its rise and those signature pockets. Always double-check the expiration date on your yeast packets or jar. Old or expired yeast won’t activate, and your dough won’t rise. If you’re unsure, you can always proof a small amount first to check its viability.
- Sugar: A small amount of sugar acts as food for the yeast, helping it to activate and become bubbly. Granulated sugar is typically used, but brown sugar can also work in a pinch and might add a subtle depth of flavor.
- All-Purpose Flour: Standard all-purpose flour is ideal for this recipe, providing the perfect balance of gluten structure and tenderness needed for soft pitas. While bread flour can be used, it might result in a chewier texture. You’ll need extra flour for dusting your workspace during kneading and rolling.
- Salt: Essential for flavor, salt also helps to regulate the yeast’s activity and strengthens the gluten structure in the dough. I recommend using kosher salt or sea salt for their clean taste, but table salt can be used, just reduce the amount slightly as it’s finer and more potent.
- Olive Oil: A touch of olive oil adds richness, tenderness, and a lovely flavor to the pita dough. It also contributes to a smoother dough that’s easier to work with. If olive oil isn’t available or preferred, other mild-flavored oils like avocado oil or canola oil can be substituted.
Step-by-Step Guide: How To Make Perfect Homemade Pita Bread
Making homemade pita bread is a rewarding process, and these visual steps will walk you through creating perfect, puffy pitas from scratch. Detailed, printable directions can be found in the recipe card located further down the page.
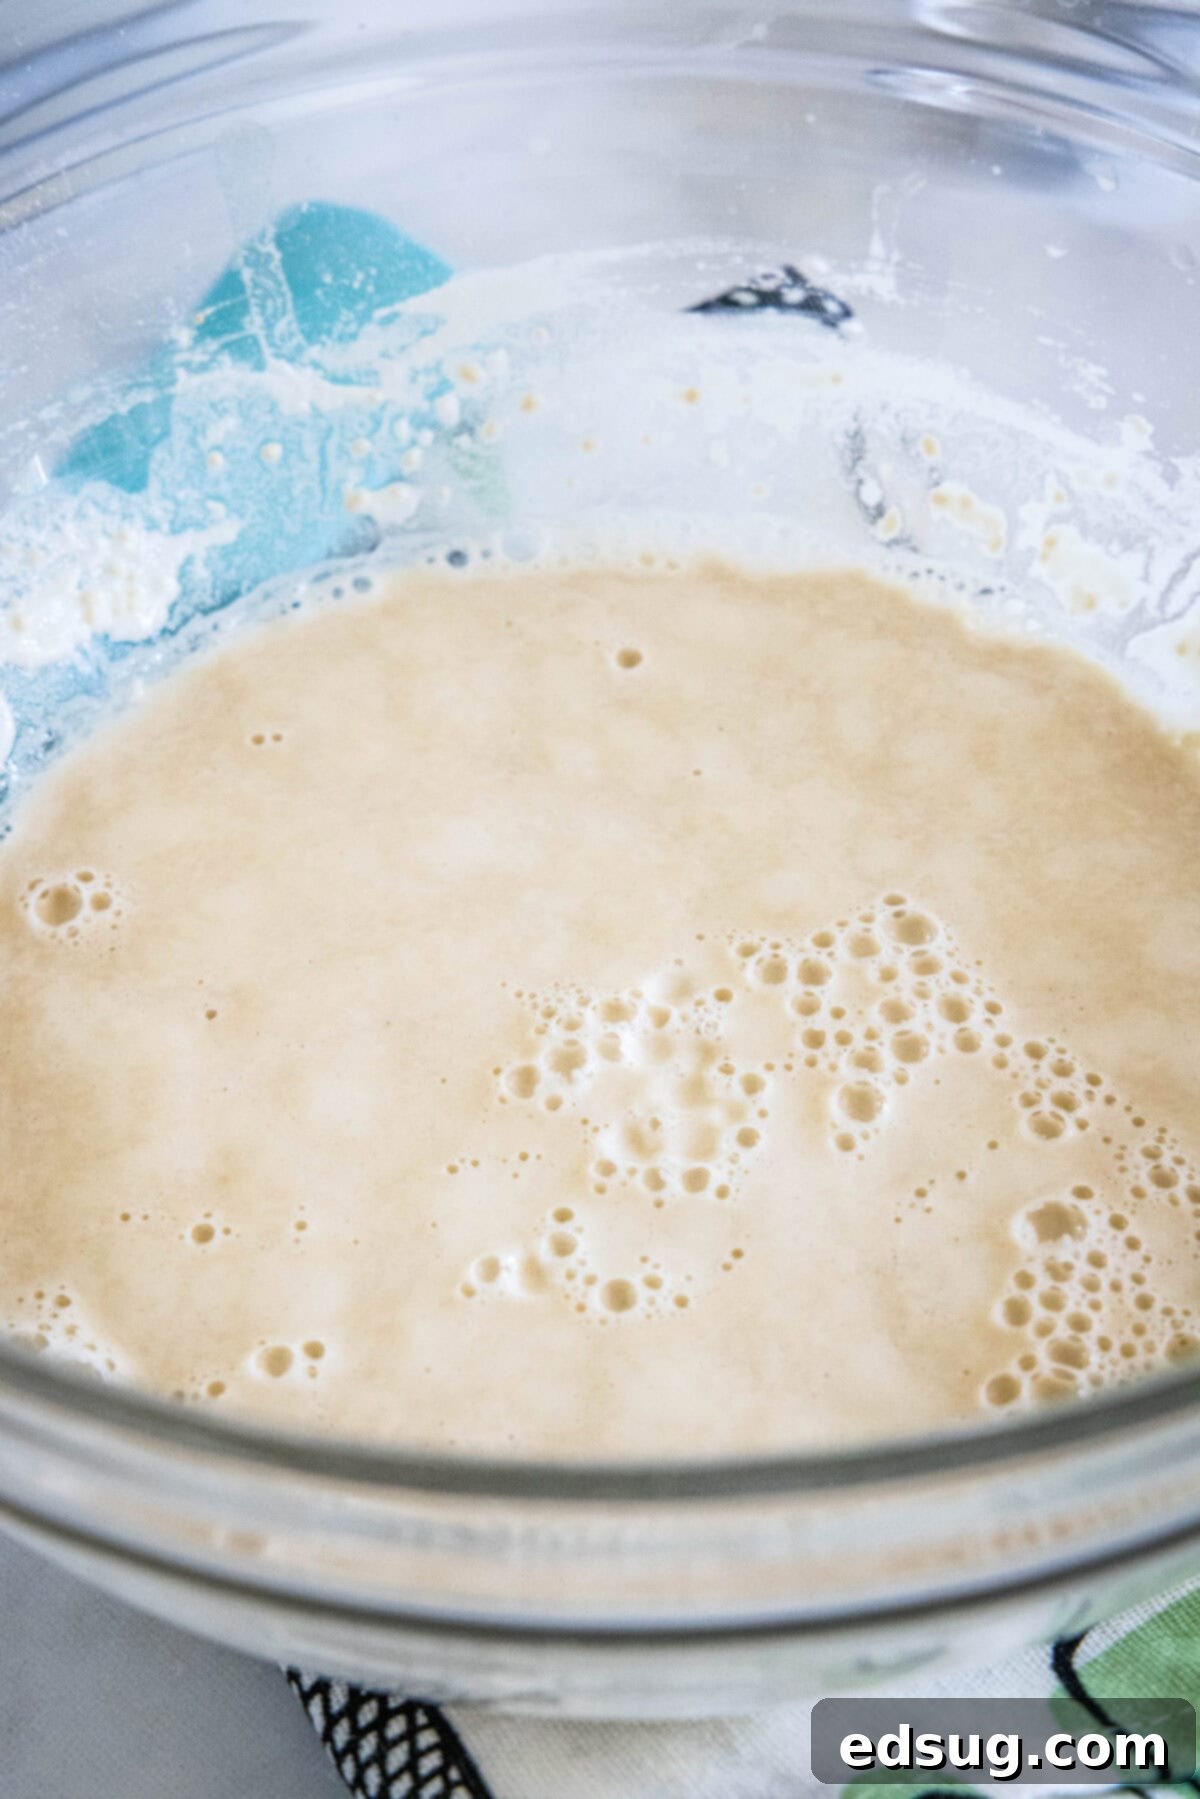
- 1. Activate the Yeast: In a large mixing bowl, combine the warm water, active dry yeast, and sugar. Whisk these ingredients gently until the sugar and yeast have dissolved. Next, stir in approximately ½ cup of your all-purpose flour. This initial amount of flour gives the yeast something to feed on. Let this mixture rest undisturbed for about 10-15 minutes. After this time, you should observe a visible layer of foam and small bubbles forming on the surface, indicating that your yeast is alive and active. If you don’t see any activity, it’s likely your yeast has expired, and you’ll need to discard it and begin again with a fresh packet of yeast.
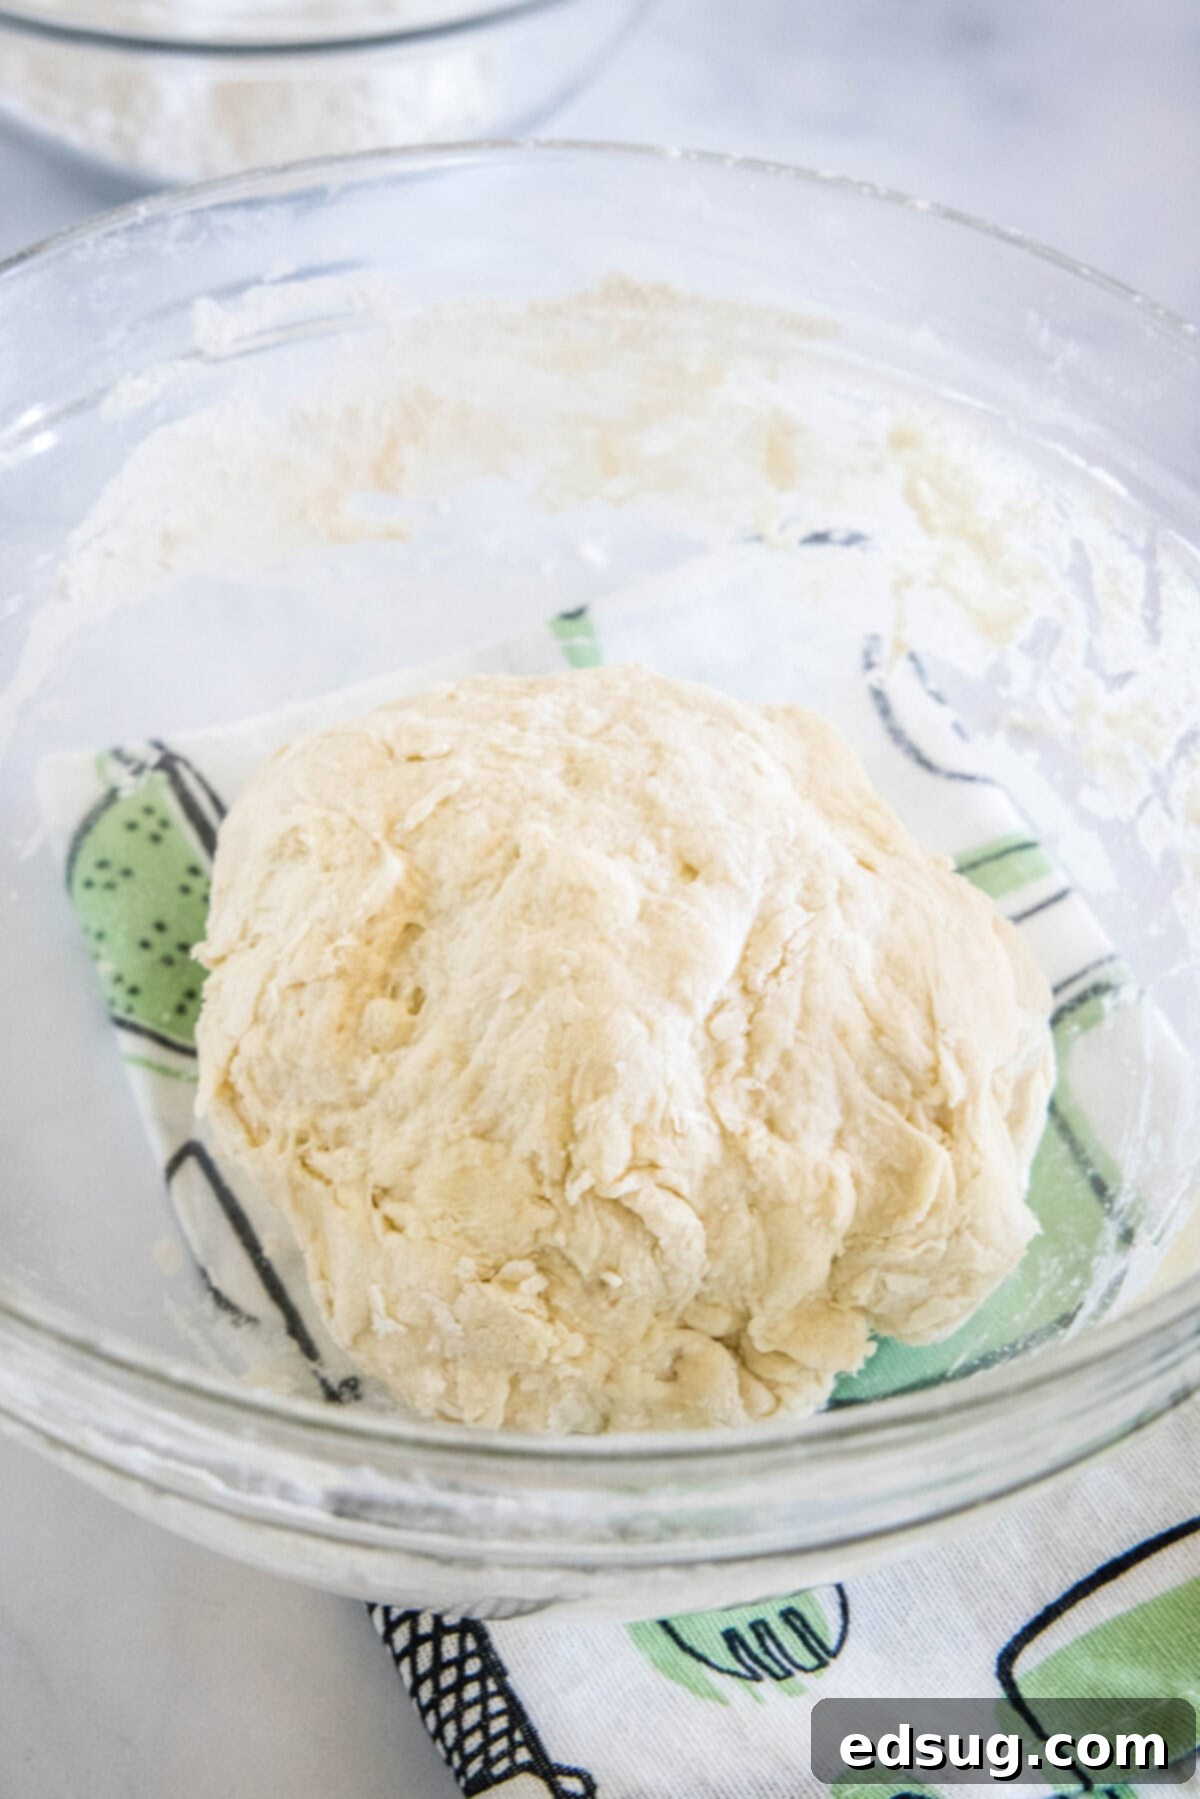
- 2. Form the Dough: Once your yeast is active, add the salt, olive oil, and another 1 ½ cups of all-purpose flour to the bowl. Begin by using a sturdy wooden spoon or a spatula to fold the ingredients together. Continue mixing until the ingredients are mostly combined, forming a somewhat shaggy, rough dough. At this stage, I find it easiest to switch from a spoon to my hands. Gently bring the dough together within the bowl, shaping it into a cohesive ball. This usually takes just a minute or so.
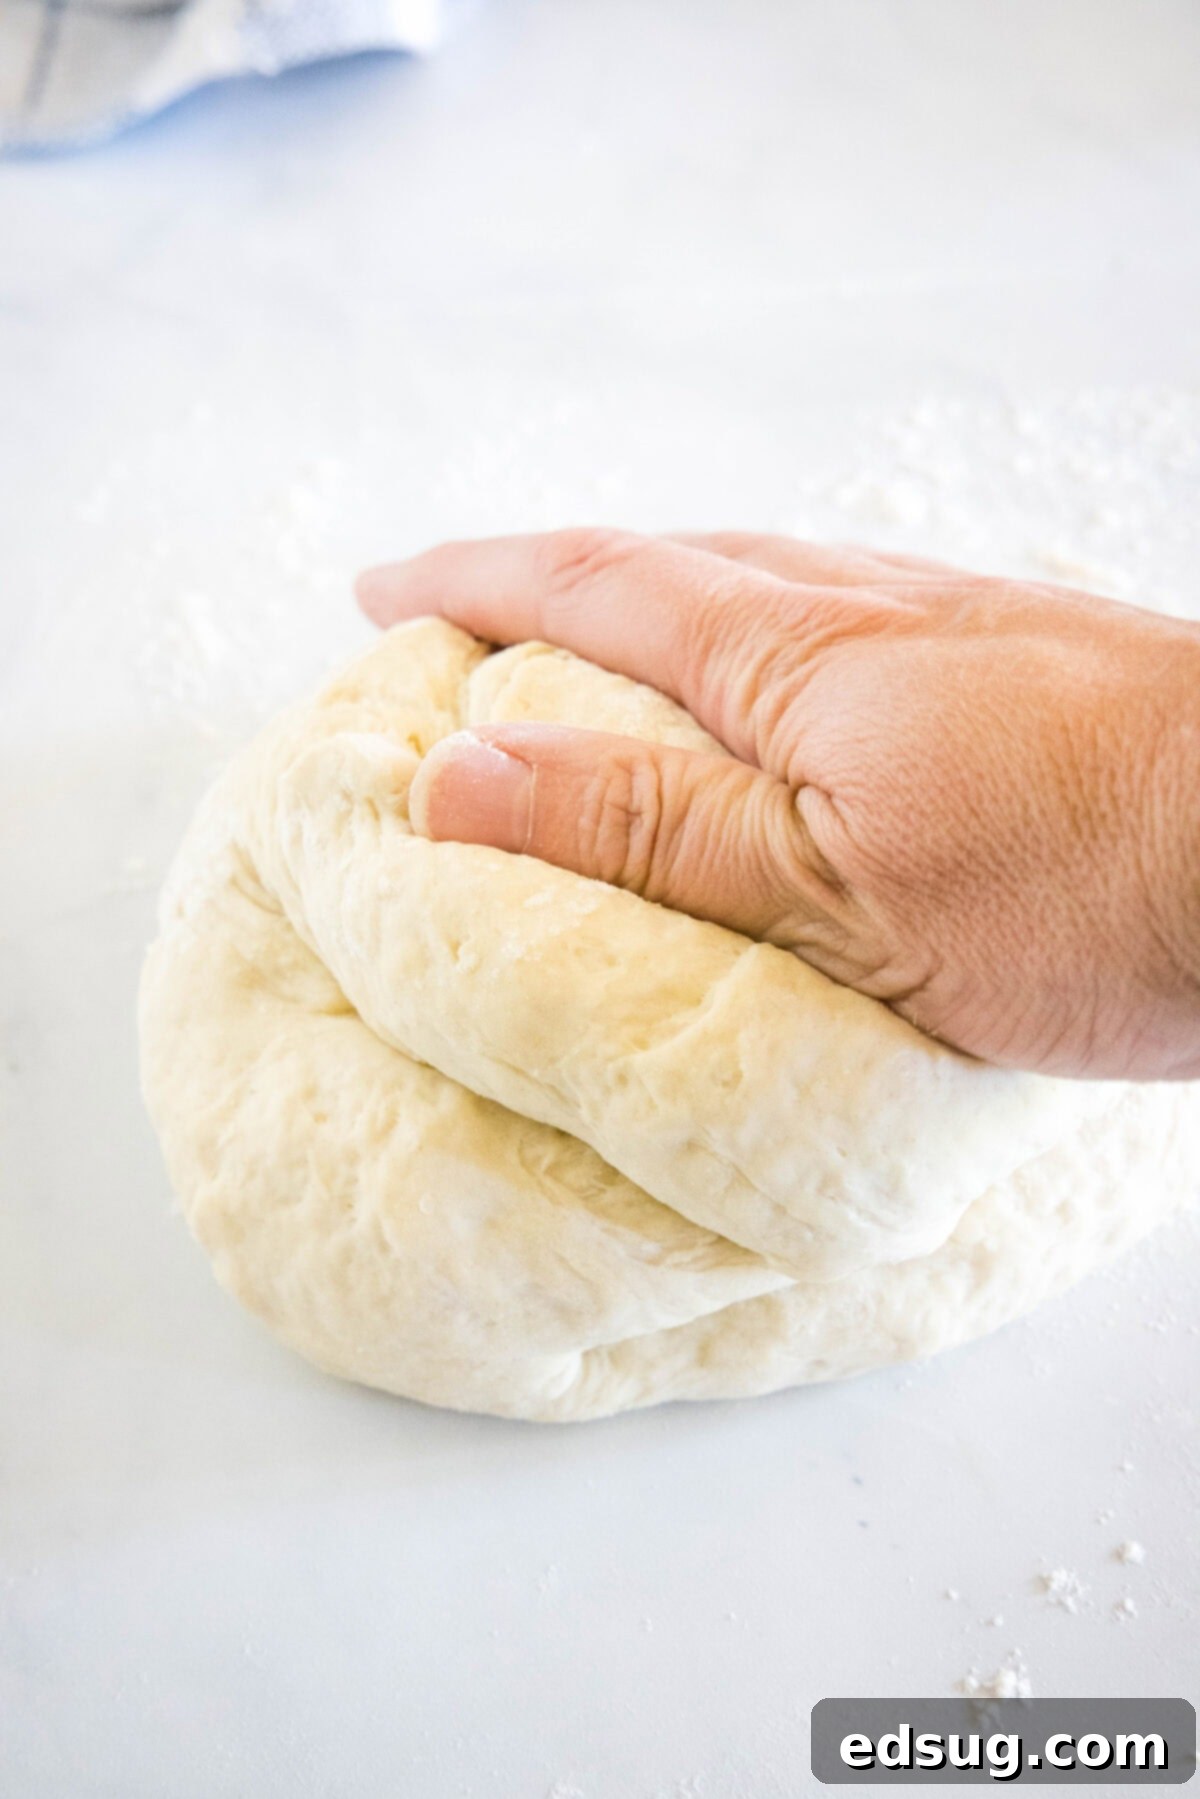
- 3. Knead the Dough: Lightly dust a clean work surface with a small amount of the remaining flour. Turn the dough ball out onto this floured surface. Knead the dough for about 2 minutes, using a gentle push-and-fold motion. After this initial kneading, cover the dough loosely with a towel and let it rest for 10 minutes. This resting period allows the gluten to relax, making the dough easier to work with. Following the rest, knead the dough again for another 2 minutes. By now, it should feel smooth, elastic, and pliable, and should no longer be overly sticky. If it still feels a bit sticky, add just a tiny sprinkle of flour to your hands and the surface, kneading it in until the stickiness is resolved.
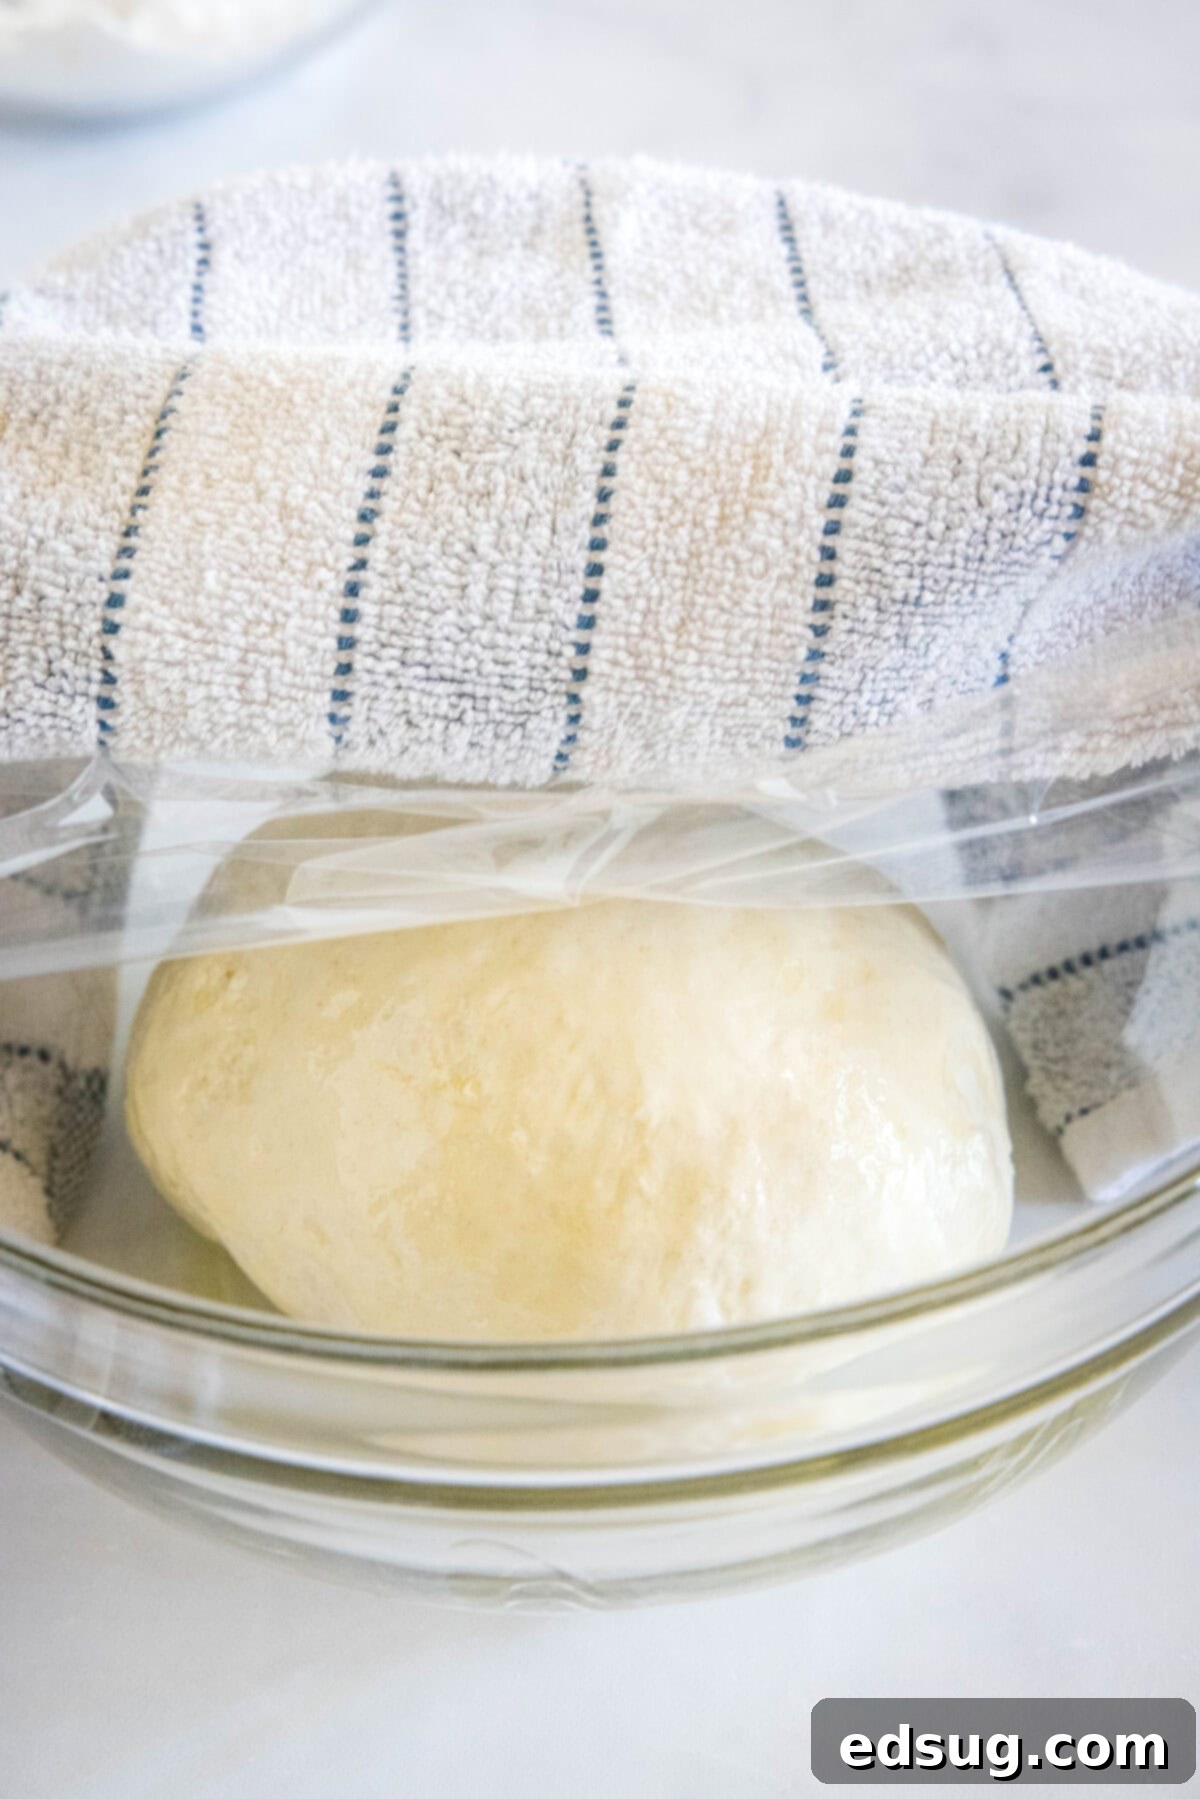
- 4. First Rise: Lightly oil a clean large bowl with a bit of olive oil. Transfer the kneaded dough ball into the oiled bowl, turning it once to coat all sides lightly with oil. Cover the bowl tightly with plastic wrap or a damp kitchen towel. Place the bowl in a warm, draft-free spot in your kitchen and allow the dough to rise until it has visibly doubled in size. This process typically takes about an hour, though it can vary depending on the ambient temperature.
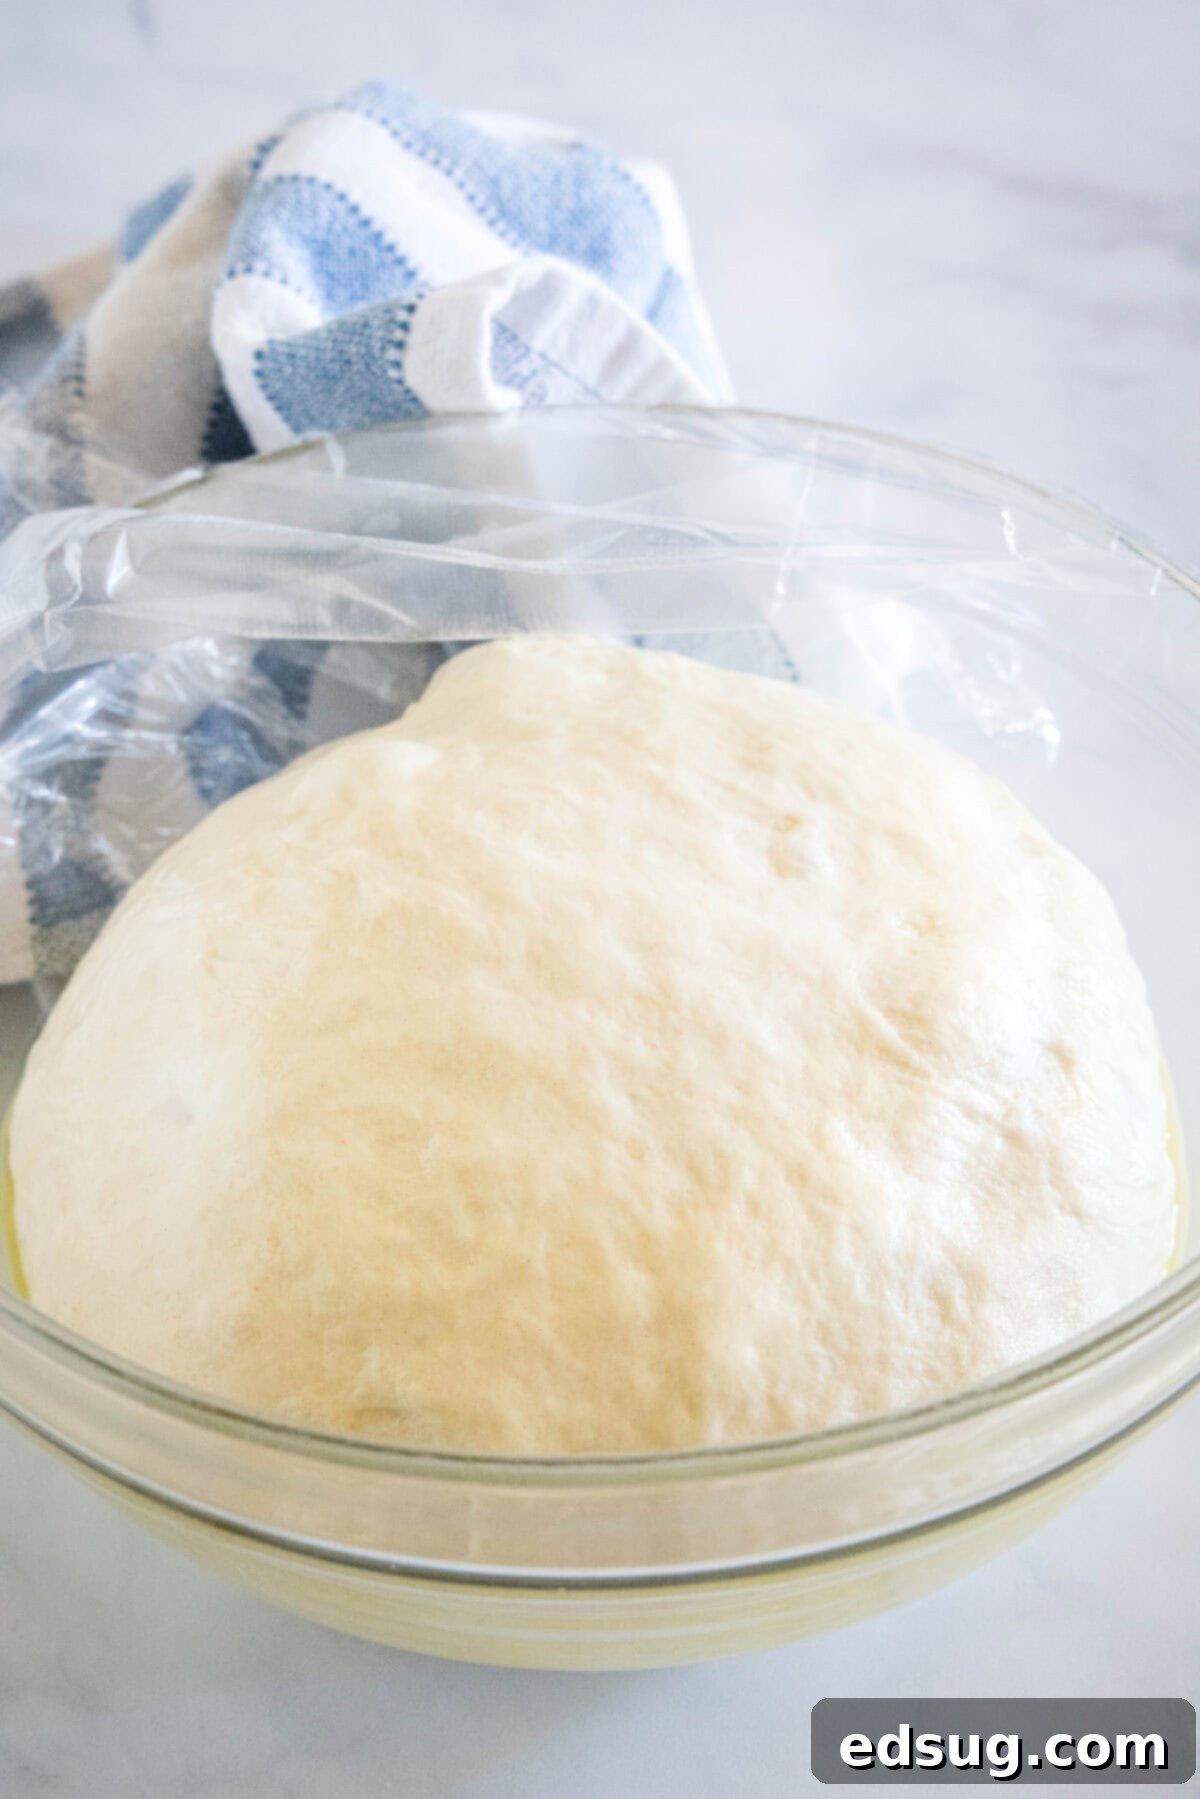
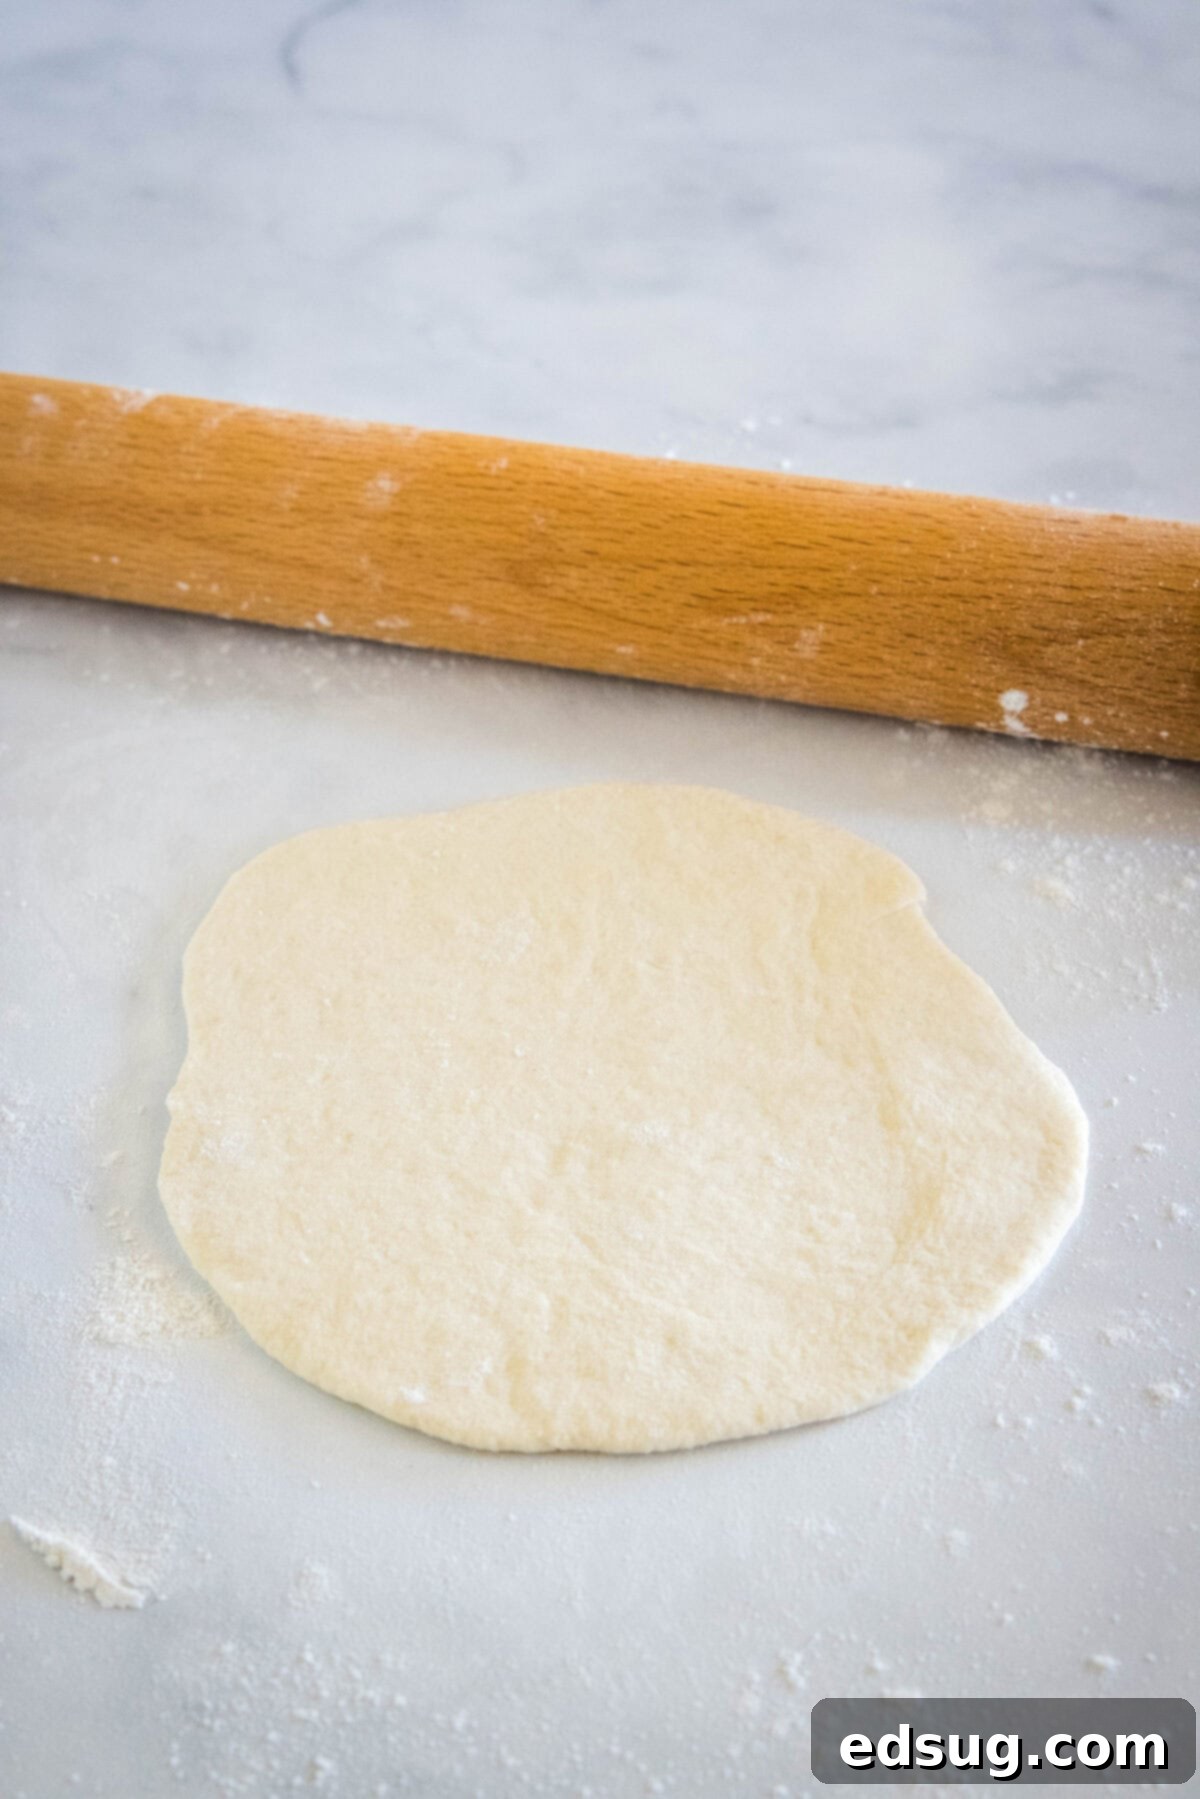
- 5. Shape the Pitas: Once the dough has risen, gently punch it down to release the air. Turn the dough out onto a lightly floured surface and divide it into 8 equal pieces. A kitchen scale can help ensure even portions for consistent pita sizes. Shape each piece into a small ball, then flatten it slightly. Cover these dough balls with a clean kitchen towel and let them rest for another 10 minutes. This second rest is important for relaxing the gluten, making the dough easier to roll. After resting, take one dough ball at a time and, using a lightly floured rolling pin, roll it into a thin, flat circle, approximately 6-8 inches in diameter and about ⅛ inch thick. Ensure the other dough pieces remain covered to prevent drying out.
- 6. Preheat Your Cooking Surface: While you are busy rolling out your pita dough circles, it’s essential to preheat your cooking surface. Place a heavy-bottomed pan, cast-iron skillet, or a baking sheet into a preheated oven set to 475ºF (245ºC). Allowing the pan to get incredibly hot is a crucial step for achieving that signature puff in your pita bread.
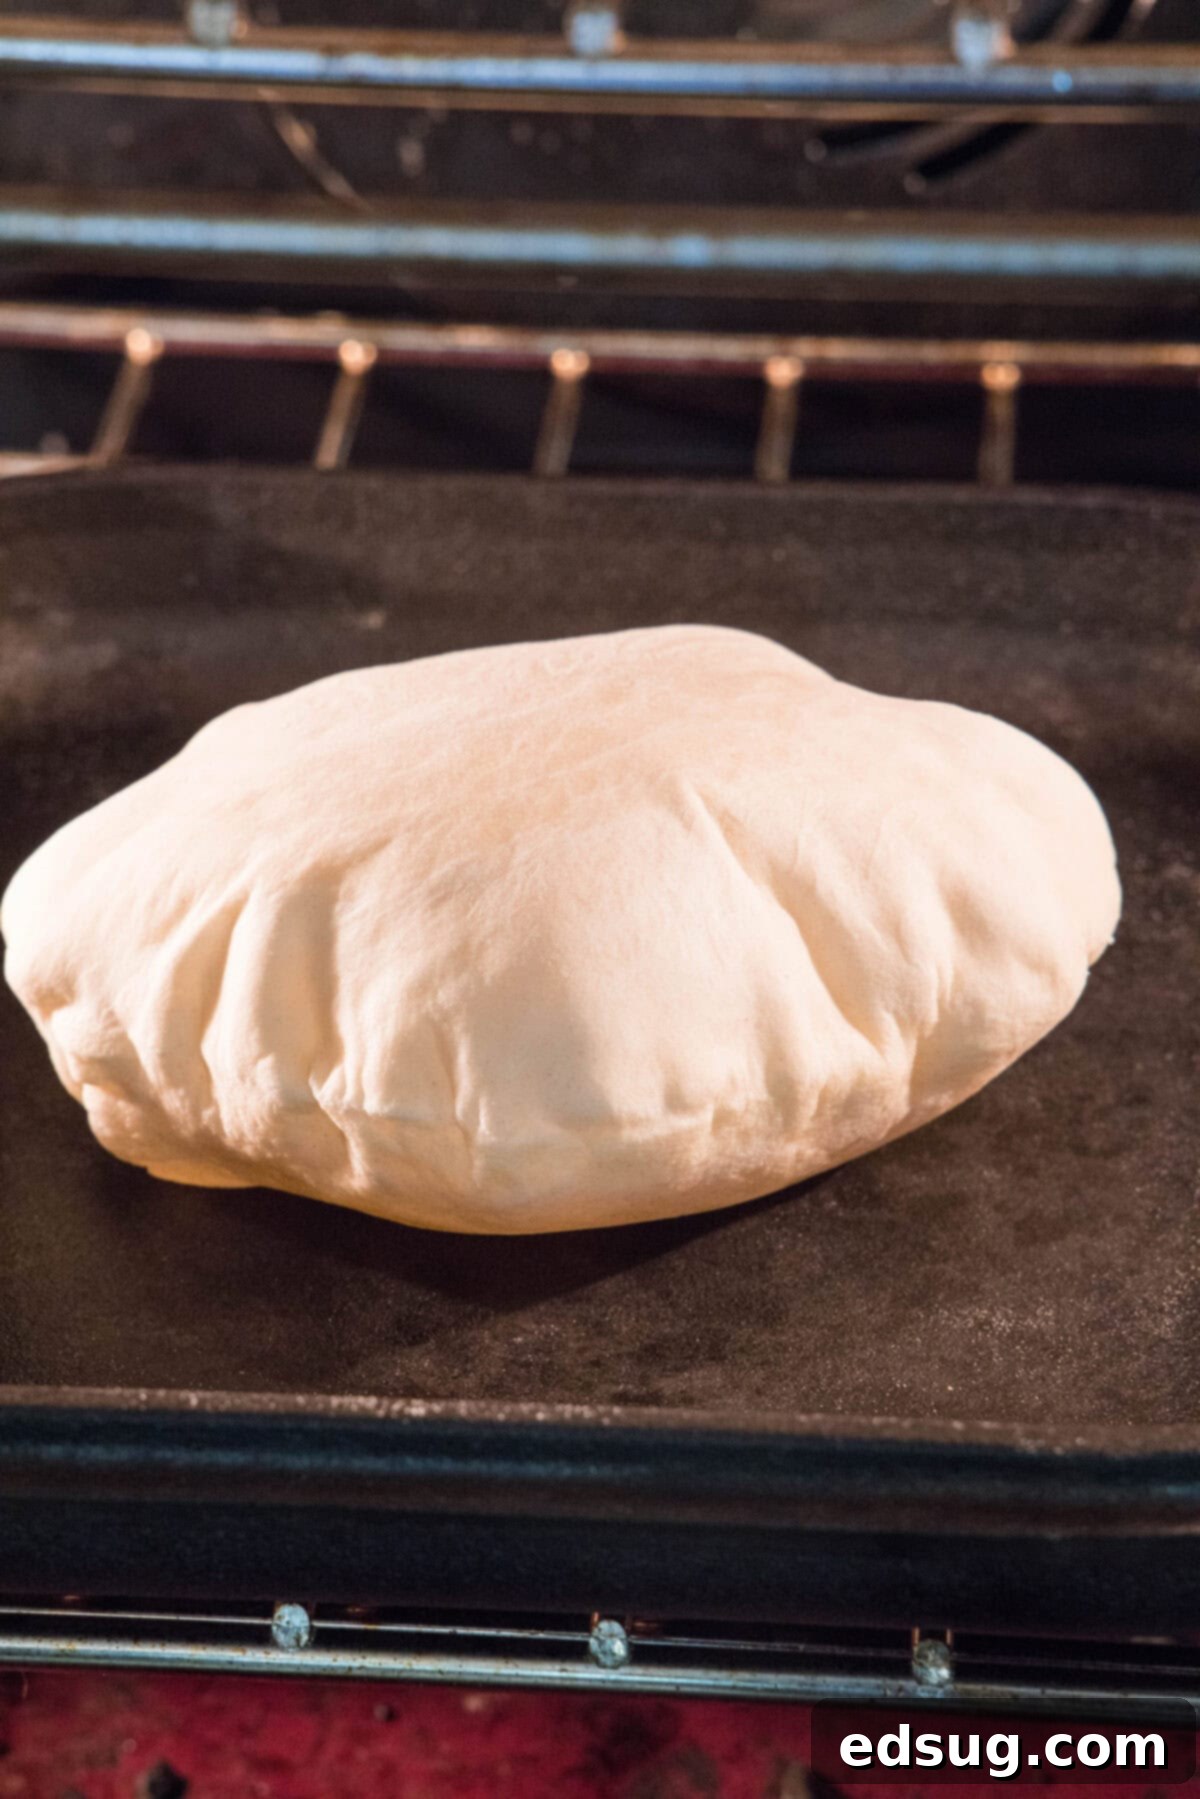
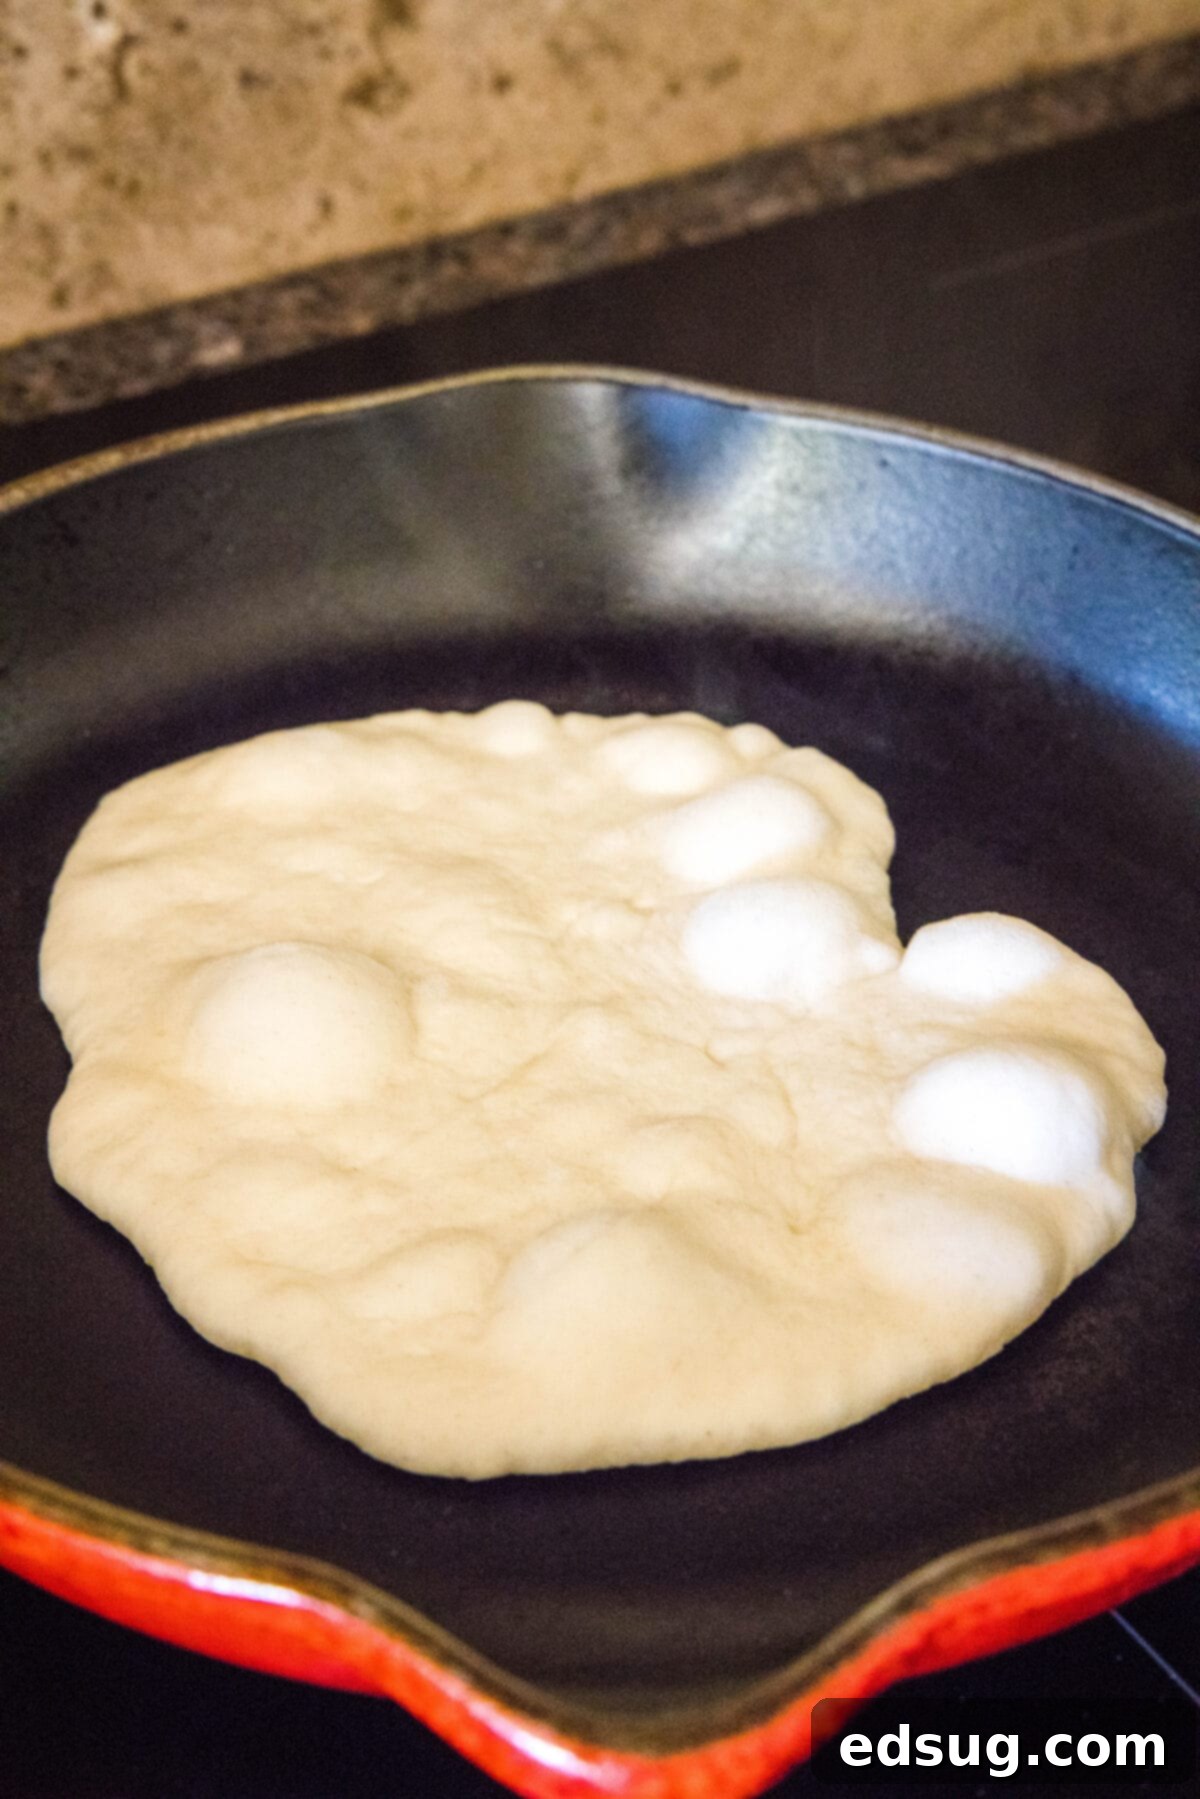
- 7. Cook the Pitas: Carefully transfer one or two rolled pita circles onto your preheated hot pan in the oven (avoid overcrowding). Cook for approximately 2-3 minutes on the first side. You’ll witness the magic as the pita begins to puff up like a balloon! Flip it over and continue cooking for another 2 minutes, or until both sides are lightly golden brown and the pita has fully puffed. As each pita finishes cooking, immediately wrap it in a clean kitchen towel. This helps to trap steam and keeps the pitas warm and soft while you cook the remaining dough.
Stovetop Method for Cooking Pita Bread
While the oven method is excellent for achieving those signature puffy pockets, you can also cook your homemade pita bread on the stovetop if you prefer, or if you don’t have an oven-safe pan that can handle high heat. To do so, heat a heavy-duty skillet (cast iron works beautifully) over medium-high heat until it’s very hot but not smoking. Place a rolled pita dough into the dry, hot skillet. Cook for about 1 minute, until bubbles begin to form on the surface. Flip the pita and cook for an additional minute on the other side, until it’s lightly browned. Keep in mind that pitas cooked on the stove may not puff up as dramatically or consistently as they would in a very hot oven, but they will still be soft, flavorful, and perfect for scooping.
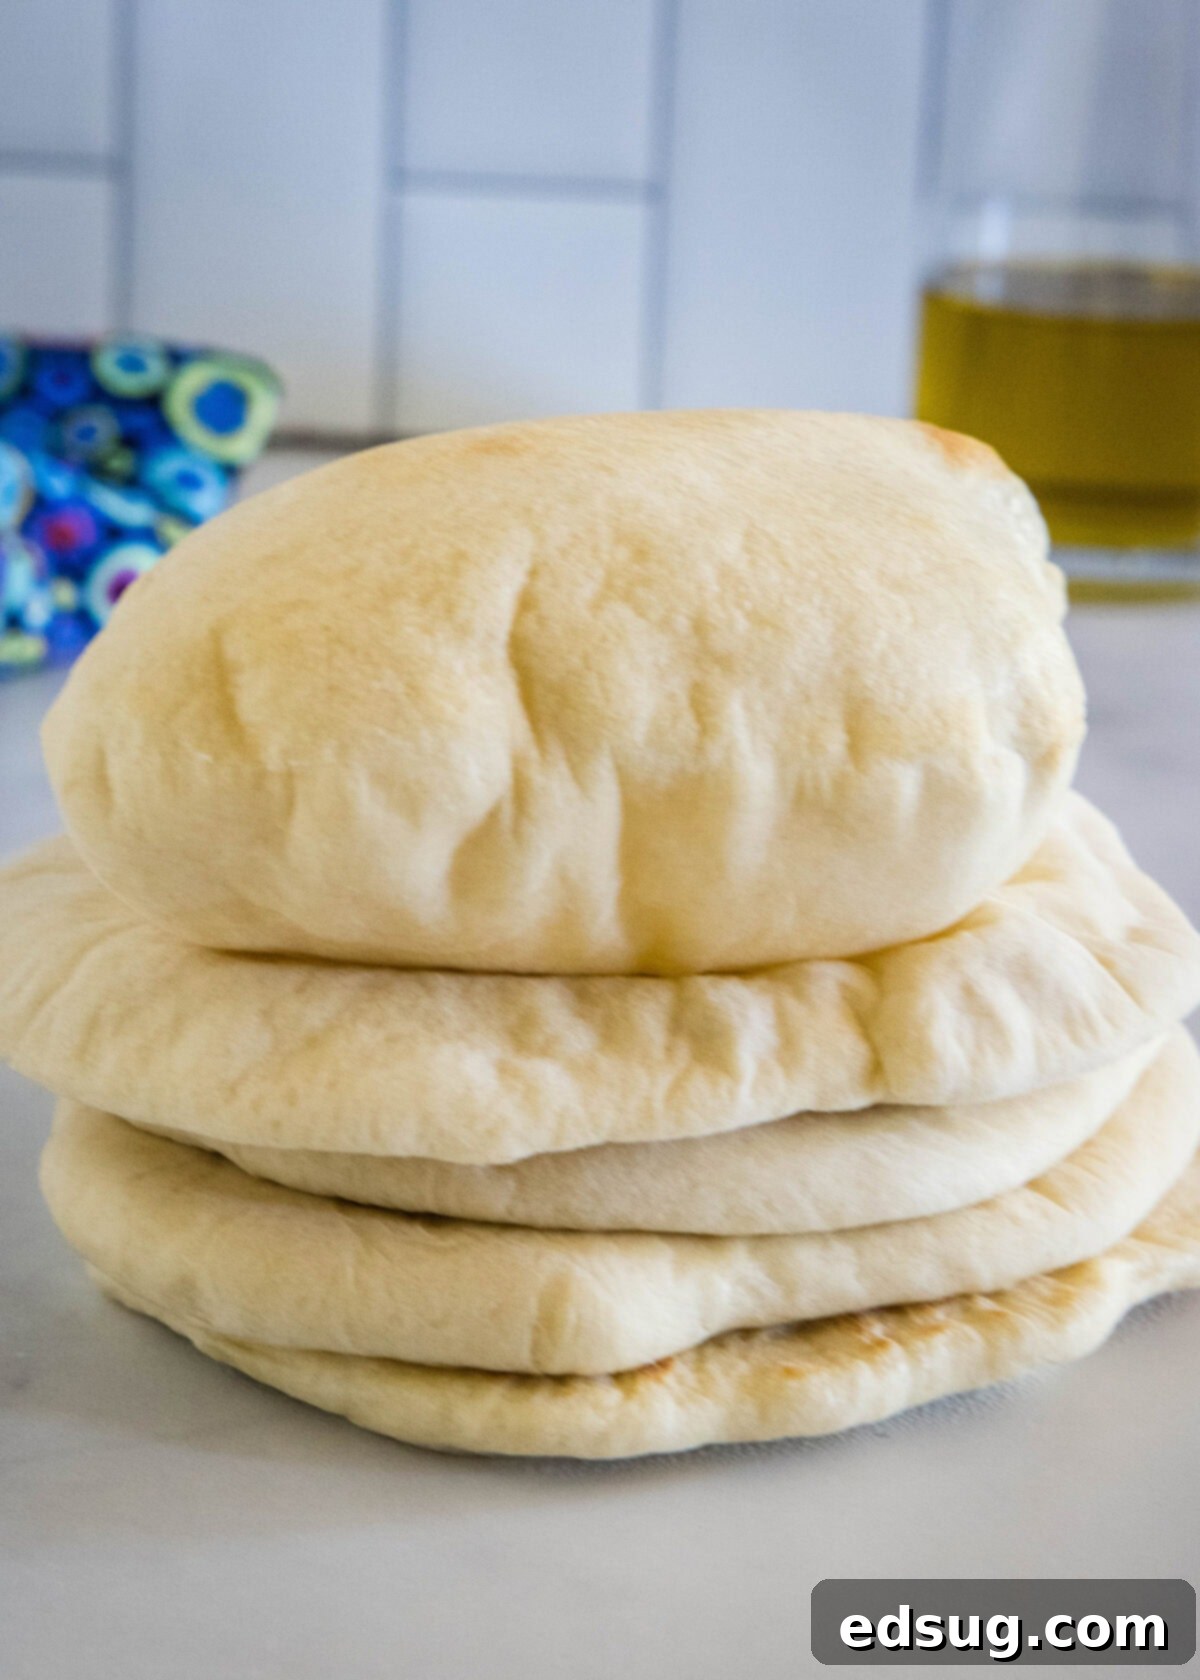
Helpful Tips & Recipe Notes for Perfect Pitas
- Adjusting for Sticky Dough: The amount of flour needed can vary slightly based on factors like the humidity in your kitchen and the specific brand of flour you’re using. If you find your dough is excessively sticky during the kneading process, sprinkle a small amount of extra flour onto your work surface and your hands, then knead it in gradually. Be cautious not to add too much, as this can make the pitas tough. It’s normal to have a small amount of flour leftover from the initial 3 cups; don’t feel obligated to use it all.
- Avoid Overworking the Dough: This is a crucial tip for achieving those beautiful, airy pockets. Overworking or excessively handling the dough can deflate the precious air bubbles that the yeast has created. The secret to wonderfully puffy homemade pitas lies in minimal handling. Knead only as much as necessary to get a smooth, pliable dough, and allow it ample hands-off time to rest and rise.
- Ensure Your Cooking Surface is Piping Hot: The second key to developing a perfect, open pita pocket is cooking the dough on an intensely hot surface. Whether you’re using the oven or the stovetop, it’s vital to preheat your pan or skillet thoroughly. A cold or insufficiently heated surface will prevent the rapid burst of steam that creates the internal pocket, resulting in flatter pitas.
- Cook in Small Batches: To ensure even cooking and optimal puffing, avoid overcrowding your cooking surface. Depending on the size of your preheated pan, cook only 1 to 2 pitas at a time. Placing too many pitas on the pan at once can lower the surface temperature and lead to steaming the bread rather than browning it and encouraging it to puff.
- Don’t Stress About the Puff: While the goal is to achieve a beautiful puff, don’t worry if every single pita doesn’t inflate perfectly. Even if they don’t form a distinct pocket, they will still be incredibly soft, delicious, and absolutely perfect for using as wraps, dipping bread, or tearing into pieces. The flavor and texture will still far surpass any store-bought alternative.
Delicious Pairings: What To Serve With Homemade Pitas
These wonderfully puffy homemade pita breads are incredibly versatile and form the perfect base for a wide array of delicious meals. Use them to make authentic gyros, filling them with succulent yogurt-marinated chicken or flavorful chicken souvlaki for an amazing homemade chicken pita. For a delightful twist, slice the baked pitas down the middle and stuff the pockets with savory Greek meatballs or crispy falafel, generously smothered with creamy tzatziki sauce. Complete your meal with a refreshing side like a classic Greek salad, a bright tabbouleh salad, or this hearty Mediterranean Balela salad made with chickpeas.
Beyond main dishes, these pitas shine when used for dipping. Tear them into rustic pieces and serve alongside a medley of homemade dips, such as creamy hummus (try this delicious avocado hummus!), baba ghanoush, or spicy feta dip. For a fun weekend brunch, transform your favorite breakfast bowls into easy breakfast pitas by rolling their contents into these soft bread pockets. Homemade pitas truly elevate any meal, making them a staple once you’ve tried them!
Storing Your Homemade Pita Bread
Proper storage ensures your homemade pita bread stays fresh and soft for as long as possible.
- Room Temperature: Once your pitas have cooled completely, store them in an airtight container or a sealed plastic bag. They will remain wonderfully fresh and soft at room temperature for up to 3 days. For best quality, consume them within this timeframe.
- Reheating: To bring leftover pitas back to their original soft texture, gently warm them in a dry skillet over medium heat for a minute or two per side, or place them in a preheated oven at 300°F (150°C) for a few minutes until warmed through and pliable. Avoid overheating, which can dry them out.
- Freezing: Homemade pitas freeze exceptionally well, making them perfect for meal prep. Once completely cooled, layer them with parchment paper (to prevent sticking) and place them in a freezer-safe airtight bag or container. They can be frozen for up to 3 months. To use, thaw them at room temperature, then reheat as described above for a fresh-baked taste.
Explore More Delicious Homemade Bread Recipes
If you’ve enjoyed making these delightful homemade pitas, you’ll love diving into more of our easy and rewarding bread recipes. Expand your baking repertoire with these fantastic options:
- Irresistible Olive Garden Style Breadsticks
- Aromatic Rosemary Focaccia
- Classic French Bread Dinner Rolls
- Perfect Homemade English Muffins
- Authentic Homemade Corn Tortillas
- Effortless No-Knead Pizza Dough
Homemade Pitas
Pin Recipe
Rate Recipe
Print Recipe
Ingredients
- 1 cup warm water, 110º F
- 2 teaspoons active dry yeast
- 1 teaspoon granulated sugar
- 3 cups (approx.) all-purpose flour, divided
- 1 ½ teaspoon kosher salt
- 2 Tablespoons olive oil
Instructions
-
In a large mixing bowl whisk together water, yeast and sugar until they are dissolved. Stir in ½ cup all-purpose flour until combined. Let mixture stand for 15 minutes. There will be bubbles forming on the surface. If there are not bubbles after 15 minutes, it most likely means your yeast is old and you should start over.1 cup warm water, 2 teaspoons active dry yeast, 1 teaspoon granulated sugar, 3 cups (approx.) all-purpose flour
-
Add the salt, olive oil and 1 ½ cups of the flour. Mix using a spatula or wooden spoon, until it starts to come together in a very shaggy dough. Switch to using your hands, and mix knead the dough into the bowl until it forms a nice ball, this should take about a minute.1 ½ teaspoon kosher salt, 2 Tablespoons olive oil
-
Sprinkle a small amount of the remaining flour onto a clean surface, place the ball of dough onto the surface and knead for 2 minutes. Cover and let the dough rest for 10 minutes. After 10 minutes, knead the dough again for 2 minutes. It should be nice and smooth and easy to work with. If it is sticky sprinkle just a tiny bit of flour over the surface and knead it into the dough.
-
Once you have a smooth ball of dough, place in an oiled bowl and cover with plastic wrap and a towel to let it rise for about an hour, or until it has doubled in size.
-
Preheat oven to 475º F, and place a cast iron pan, heavy skillet or baking sheet in the oven to preheat as well.
-
Punch down the dough and divide into 8 equal portions. Cover the dough with a towel and let it rest for 10 minutes. After the dough has rested use a lightly floured rolling pin to roll each piece into a 6 to 8 inch circle. Keep the dough covered while you are not working with it.
-
Working 1-2 at a time, depending on the size of your pan, place the dough onto the hot surface and let it cook for 2-3 minutes. Flip and cook for an additional 2 minutes until very lightly browned. Remove and continue with the rest of the pitas.
-
Keep cooked pitas warm in a towel until ready to serve.
Notes
- You will probably have a little leftover flour remaining. How much you’ll need to add while kneading depends on the humidity and your dough.
- Pitas should puff up as they cook, but it is okay if they don’t. They will still be delicious, they just won’t have the pocket on the inside.
- Stovetop method: Heat a heavy-duty skillet to medium-high heat. Add the pita and cook for 1 minute, it will start to form bubbles on the surface. Flip and cook for an additional minute. It will not puff up the same as the oven but will form bubbles as it cooks.
- Recipe Source: NYT Cooking
Nutrition
Nutrition information is automatically calculated, so should only be used as an approximation.
Additional Info
Like this recipe? Leave a comment below!
I created a fun group on Facebook, and I would love for you to join us! It’s a place where you can share YOUR favorite recipes, ask questions, and see what’s new at Dinners, Dishes and Desserts (so that you never miss a new recipe)!
Be sure to follow me on Instagram and tag #dinnersdishes so I can see all the wonderful DINNERS, DISHES, AND DESSERTS recipes YOU make!
Be sure to follow me on my social media, so you never miss a post!
Facebook | Twitter | Pinterest | Instagram
