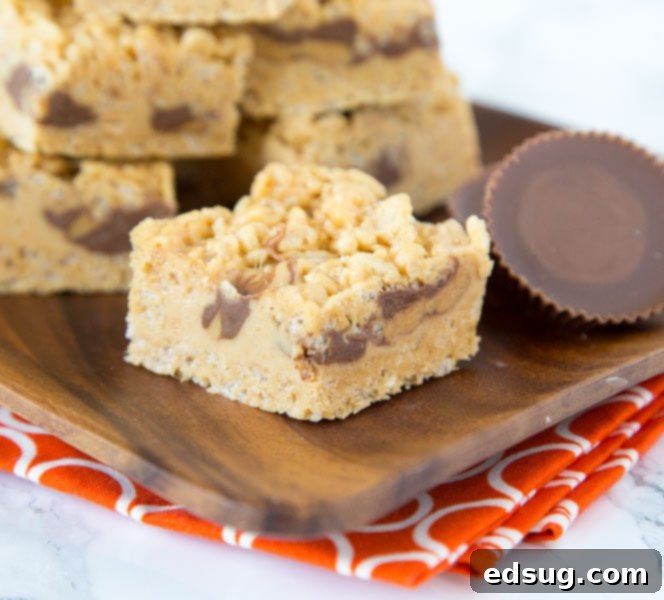
Ultimate Peanut Butter Rice Krispie Treats: The No-Bake Dessert You Can’t Resist
There’s something undeniably comforting and utterly satisfying about a classic Rice Krispie Treat. They are the epitome of simple, no-bake desserts – quick to make, universally loved, and incredibly versatile. But what if you could take that beloved childhood favorite and elevate it to an extraordinary level of indulgence? Prepare yourself for the ultimate twist: Peanut Butter Rice Krispie Treats, a recipe that doesn’t just add peanut butter, but completely embraces it with layers of creamy fudge and delightful peanut butter cups.
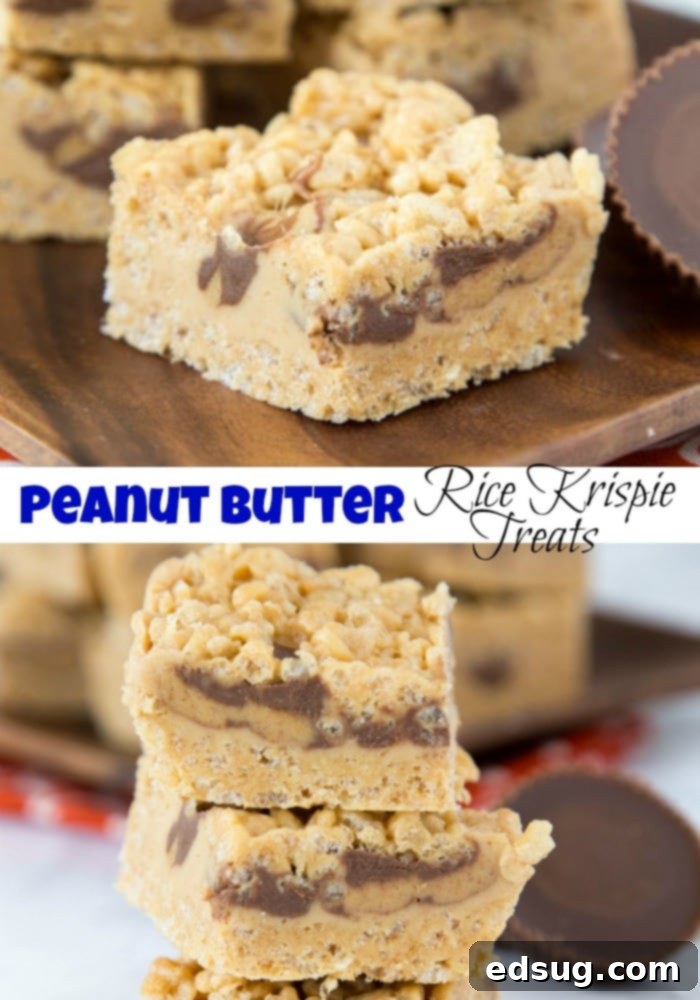
For anyone who considers themselves a true peanut butter enthusiast, this recipe is a dream come true. We’re talking about a rich, gooey Rice Krispie base infused with peanut butter, layered with a decadent microwave peanut butter fudge, and generously studded with mini peanut butter cups. It’s a symphony of textures and flavors that will redefine your expectations for easy desserts. Forget boring; these treats are over-the-top amazing and surprisingly simple to whip up, perfect for any occasion when you need a crowd-pleasing sweet in a flash.
My love for easy dessert recipes, especially those that don’t require an oven, runs deep. And while classic Rice Krispie Treats are undeniably one of the quickest desserts around, often ready in just about 5 minutes, there are times when you crave a little something extra—a treat that truly stands out. Years ago, I perfected my Peanut Butter Lover’s Krispie Treats, and they quickly became a personal favorite. As a self-proclaimed sucker for anything combining peanut butter and chocolate, the idea of enhancing this concept further, adding more peanut butter, a luscious layer of microwave peanut butter fudge, and plenty of peanut butter cups, sounded like pure heaven. Indeed, peanut butter cup desserts are consistently at the top of my list!
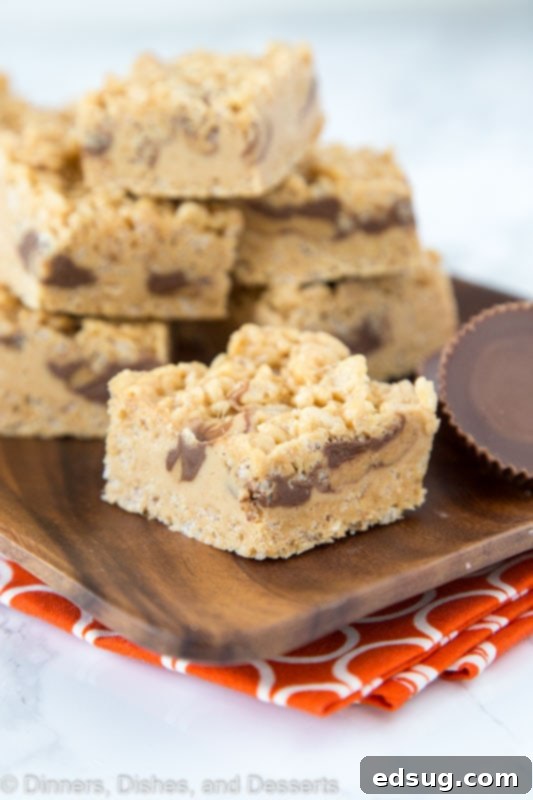
How to Make These Irresistible Peanut Butter Rice Krispie Treats
Making basic Rice Krispie Treats is wonderfully straightforward, often just involving three main ingredients. My approach involves a slight adjustment to the typical box instructions to ensure maximum gooeyness and flavor. The process begins with melting butter and marshmallows together until they form a smooth, sticky mixture. Once perfectly melted and combined, you stir in the Rice Krispies cereal until every piece is gloriously coated. The final step for classic treats is pressing this mixture evenly into a prepared pan. The only real challenge here is preventing the sticky mixture from adhering to your spatula, a problem easily solved with a quick spritz of non-stick spray.
These elevated Peanut Butter Rice Krispie Treats, however, introduce a few extra, yet incredibly simple, steps that transform them from great to absolutely unforgettable. First, a generous amount of creamy peanut butter is stirred directly into the melted marshmallow mixture along with the cereal. This infuses every bite of the base with that rich, nutty flavor. But the indulgence doesn’t stop there! The second key addition is a quick and effortless microwave peanut butter fudge layer. This delightful fudge is spread in the middle of the treats, creating a soft, decadent core. And for the grand finale? An abundance of mini peanut butter cups is sprinkled liberally over the fudge layer, adding bursts of chocolate and peanut butter goodness. While these extra steps are involved, they are precisely what makes these treats so incredibly special and worth every moment.
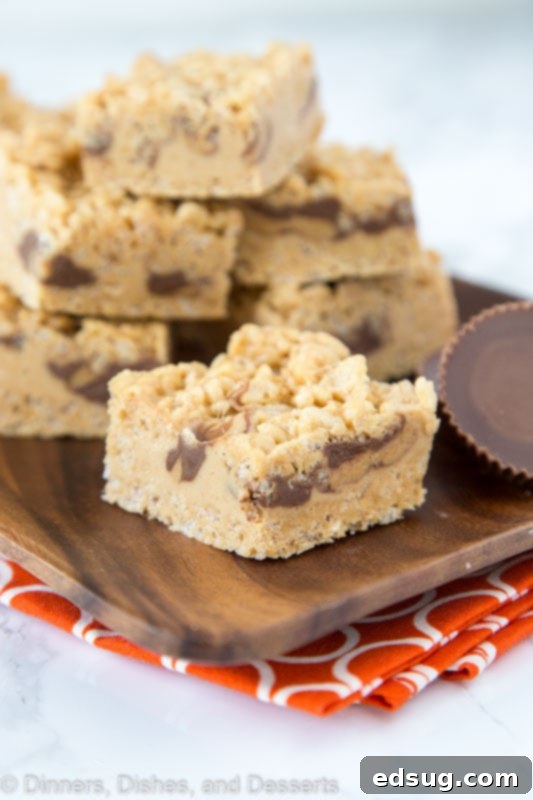
Essential Ingredients for Peanut Butter Perfection
One of the beauties of Rice Krispie Treats is their reliance on simple, accessible ingredients. The classic version requires just three staples: butter, marshmallows, and Rice Krispies cereal. These three ingredients magically combine to create a chewy, sweet, and satisfying dessert. For this enhanced peanut butter version, we expand on this foundation with a few more star players to maximize the flavor experience.
- Butter: Essential for both the cereal base and the fudge layer, butter provides richness and helps achieve the perfect texture.
- Marshmallows: The binding agent that makes these treats so wonderfully gooey. Fresh marshmallows melt best and result in the chewiest treats.
- Rice Krispies Cereal: The crunchy, airy foundation of the treat. Ensure it’s fresh for optimal texture.
- Peanut Butter: This is where the magic happens! We use peanut butter in the cereal mixture itself and in the decadent fudge layer, delivering a double dose of nutty goodness. Creamy peanut butter is generally preferred for smooth results.
- Powdered Sugar: The secret to the smooth, melt-in-your-mouth texture of the microwave peanut butter fudge.
- Vanilla Extract: A touch of vanilla enhances all the other flavors, adding a warm, aromatic note to the fudge.
- Mini Peanut Butter Cups: These are sprinkled throughout the middle layer, offering delightful pockets of chocolate and peanut butter that make each bite an explosion of flavor.
The addition of the creamy peanut butter fudge in the middle truly sets these treats apart from any ordinary Rice Krispie creation. This layer elevates the texture and flavor profile, making them irresistibly rich and decadent. Once you’ve experienced the luxuriousness of these peanut butter-packed delights, it will be incredibly difficult to return to plain Rice Krispie Treats again!
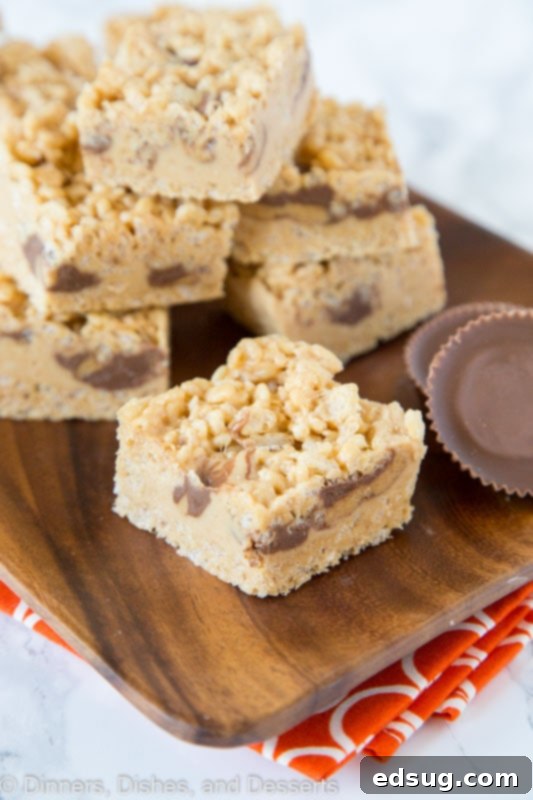
Tips for Achieving Peanut Butter Krispie Treat Perfection
While this recipe is incredibly forgiving, a few tips can help you achieve the absolute best Peanut Butter Rice Krispie Treats every single time:
- Use Fresh Marshmallows: Stale marshmallows can make your treats stiff and difficult to work with. Always opt for fresh, soft marshmallows for the best gooey texture.
- Don’t Overcook the Marshmallows: When melting the butter and marshmallows, do so over low heat or in the microwave in short bursts. Overcooking can lead to hard treats. Stir until just melted and combined.
- Don’t Over-Compress: When pressing the mixture into the pan, be gentle. Pressing too hard will result in dense, brick-like treats rather than light and chewy ones. A lightly greased spatula or your fingertips (also lightly greased) work best.
- Prepare Your Pan: Always use a non-stick cooking spray or line your baking dish with parchment paper (leaving an overhang on the sides) for easy removal and clean-up.
- Allow Adequate Cooling Time: The fridge time for the fudge and peanut butter cups to set is crucial. Rushing this step will result in a messy, unset center. Patience pays off here!
- Quality Peanut Butter: Use your favorite creamy peanut butter. Natural peanut butter can sometimes separate, so traditional creamy varieties often yield the best results for consistency.
Creative Variations & Allergy-Friendly Options
While the combination of peanut butter, fudge, and peanut butter cups is a classic for a reason, these treats are also highly customizable! If you’re a fan of cookie butter or Biscoff spread, you’ll adore another delightful variation: Biscoff Rice Krispie Treats. These are generously mixed with Biscoff and often topped with a luscious chocolate drizzle, offering a unique and equally satisfying flavor profile. They also make a fantastic substitute if you need to accommodate peanut allergies, providing a similar nutty (but nut-free) flavor experience.
Beyond Biscoff, consider other exciting variations:
- Chocolate Drizzle: A simple drizzle of melted milk, dark, or white chocolate over the top once the treats have set adds an extra layer of decadence and visual appeal.
- Candy Mix-ins: Experiment with other chopped candies like M&Ms, chopped Snickers, or even pretzels for a sweet and salty crunch.
- Nutty Additions: For those who love extra texture, chopped roasted peanuts or other nuts could be folded into the cereal mixture.
- Different Fudge Flavors: While peanut butter fudge is divine, a chocolate fudge layer could also be an incredible alternative.
Storing Your Peanut Butter Rice Krispie Treats
To keep your Peanut Butter Rice Krispie Treats fresh and delicious, proper storage is key. Once fully set and cut into squares, store them in an airtight container at room temperature for up to 3-4 days. For an extended shelf life, especially due to the fudge layer, you can refrigerate them. When refrigerated, they will last for about a week. If you prefer them softer, allow them to come to room temperature for about 10-15 minutes before serving. You can also freeze these treats for longer storage (up to 2-3 months) by wrapping individual squares tightly in plastic wrap and then placing them in a freezer-safe bag or container. Thaw at room temperature before enjoying.
The next time you’re searching for an effortless, impressive, and utterly delicious no-bake dessert, look no further than these spectacular Peanut Butter Rice Krispie Treats. If you have even a slight fondness for peanut butter, you are guaranteed to fall head over heels for these! They are downright addicting, incredibly easy to make, and universally loved by everyone who tries them. Perfect for parties, potlucks, lunchboxes, or just a treat to brighten your day, these will quickly become a go-to recipe in your collection.
I created a fun group on Facebook, and I would love for you to join us! It’s a place where you can share YOUR favorite recipes, ask questions, and see what’s new at Dinners, and Desserts (so that you never miss a new recipe)! If you’d like to check it out, you can request to join HERE.
Be sure to follow me on Instagram and tag #dinnersdishes so I can see all the wonderful DINNERS, DISHES, AND DESSERTS recipes YOU make!
Connect with Dinners, Dishes, and Desserts!
Be sure to follow me on my social media, so you never miss a post!
Facebook | Twitter | Pinterest | Instagram
Peanut Butter Rice Krispie Treats
Pin Recipe
Rate Recipe
Print Recipe
Equipment
-
13×9 Baking Dish
-
GIR Spatula
Ingredients
- 4 Tbls Butter
- 2/3 cup peanut butter
- 12 oz Marshmallows, (1 bag)
- 7 cups rice krispies cereal
Peanut Butter Fudge
- 1/2 cup butter
- 1/2 cup peanut butter
- 1 1/2 cup powdered sugar
- 1/2 tsp vanilla extract
- 8 oz mini peanut butter cups
Instructions
-
Spray a 9×13 inch baking dish with non-stick spray. Set aside.
-
In a large bowl heat butter, peanut butter, and marshmallows together for 1 minute. Stir until everything is melted and combined. Pour in cereal and mix until everything is well coated.
-
Press half of the mixture into the prepared pan.
Peanut Butter Fudge
-
In a large microwave safe bowl combine the butter and peanut butter. Cover with plastic wrap. Microwave for 2 minutes on high. Stir and microwave on high for 2 more minutes. Be careful when you remove from the microwave, it is very hot.
-
Add the vanilla and powdered sugar and stir to combine. Spread over the 1st layer. Sprinkle the mini peanut butter cups over the fudge, lightly pressing down.
-
Press the remaining cereal mixture over the peanut butter cups, gently spreading and pressing down.
-
Place in the fridge for 30-60 minute until the fudge and peanut butter cups are completely set.
-
Store in an air tight container.
Nutrition
Nutrition information is automatically calculated, so should only be used as an approximation.
Additional Info
Like this recipe? Leave a comment below!
