Delicious & Easy Chocolate Covered Graham Crackers: The Ultimate No-Bake Treat Guide
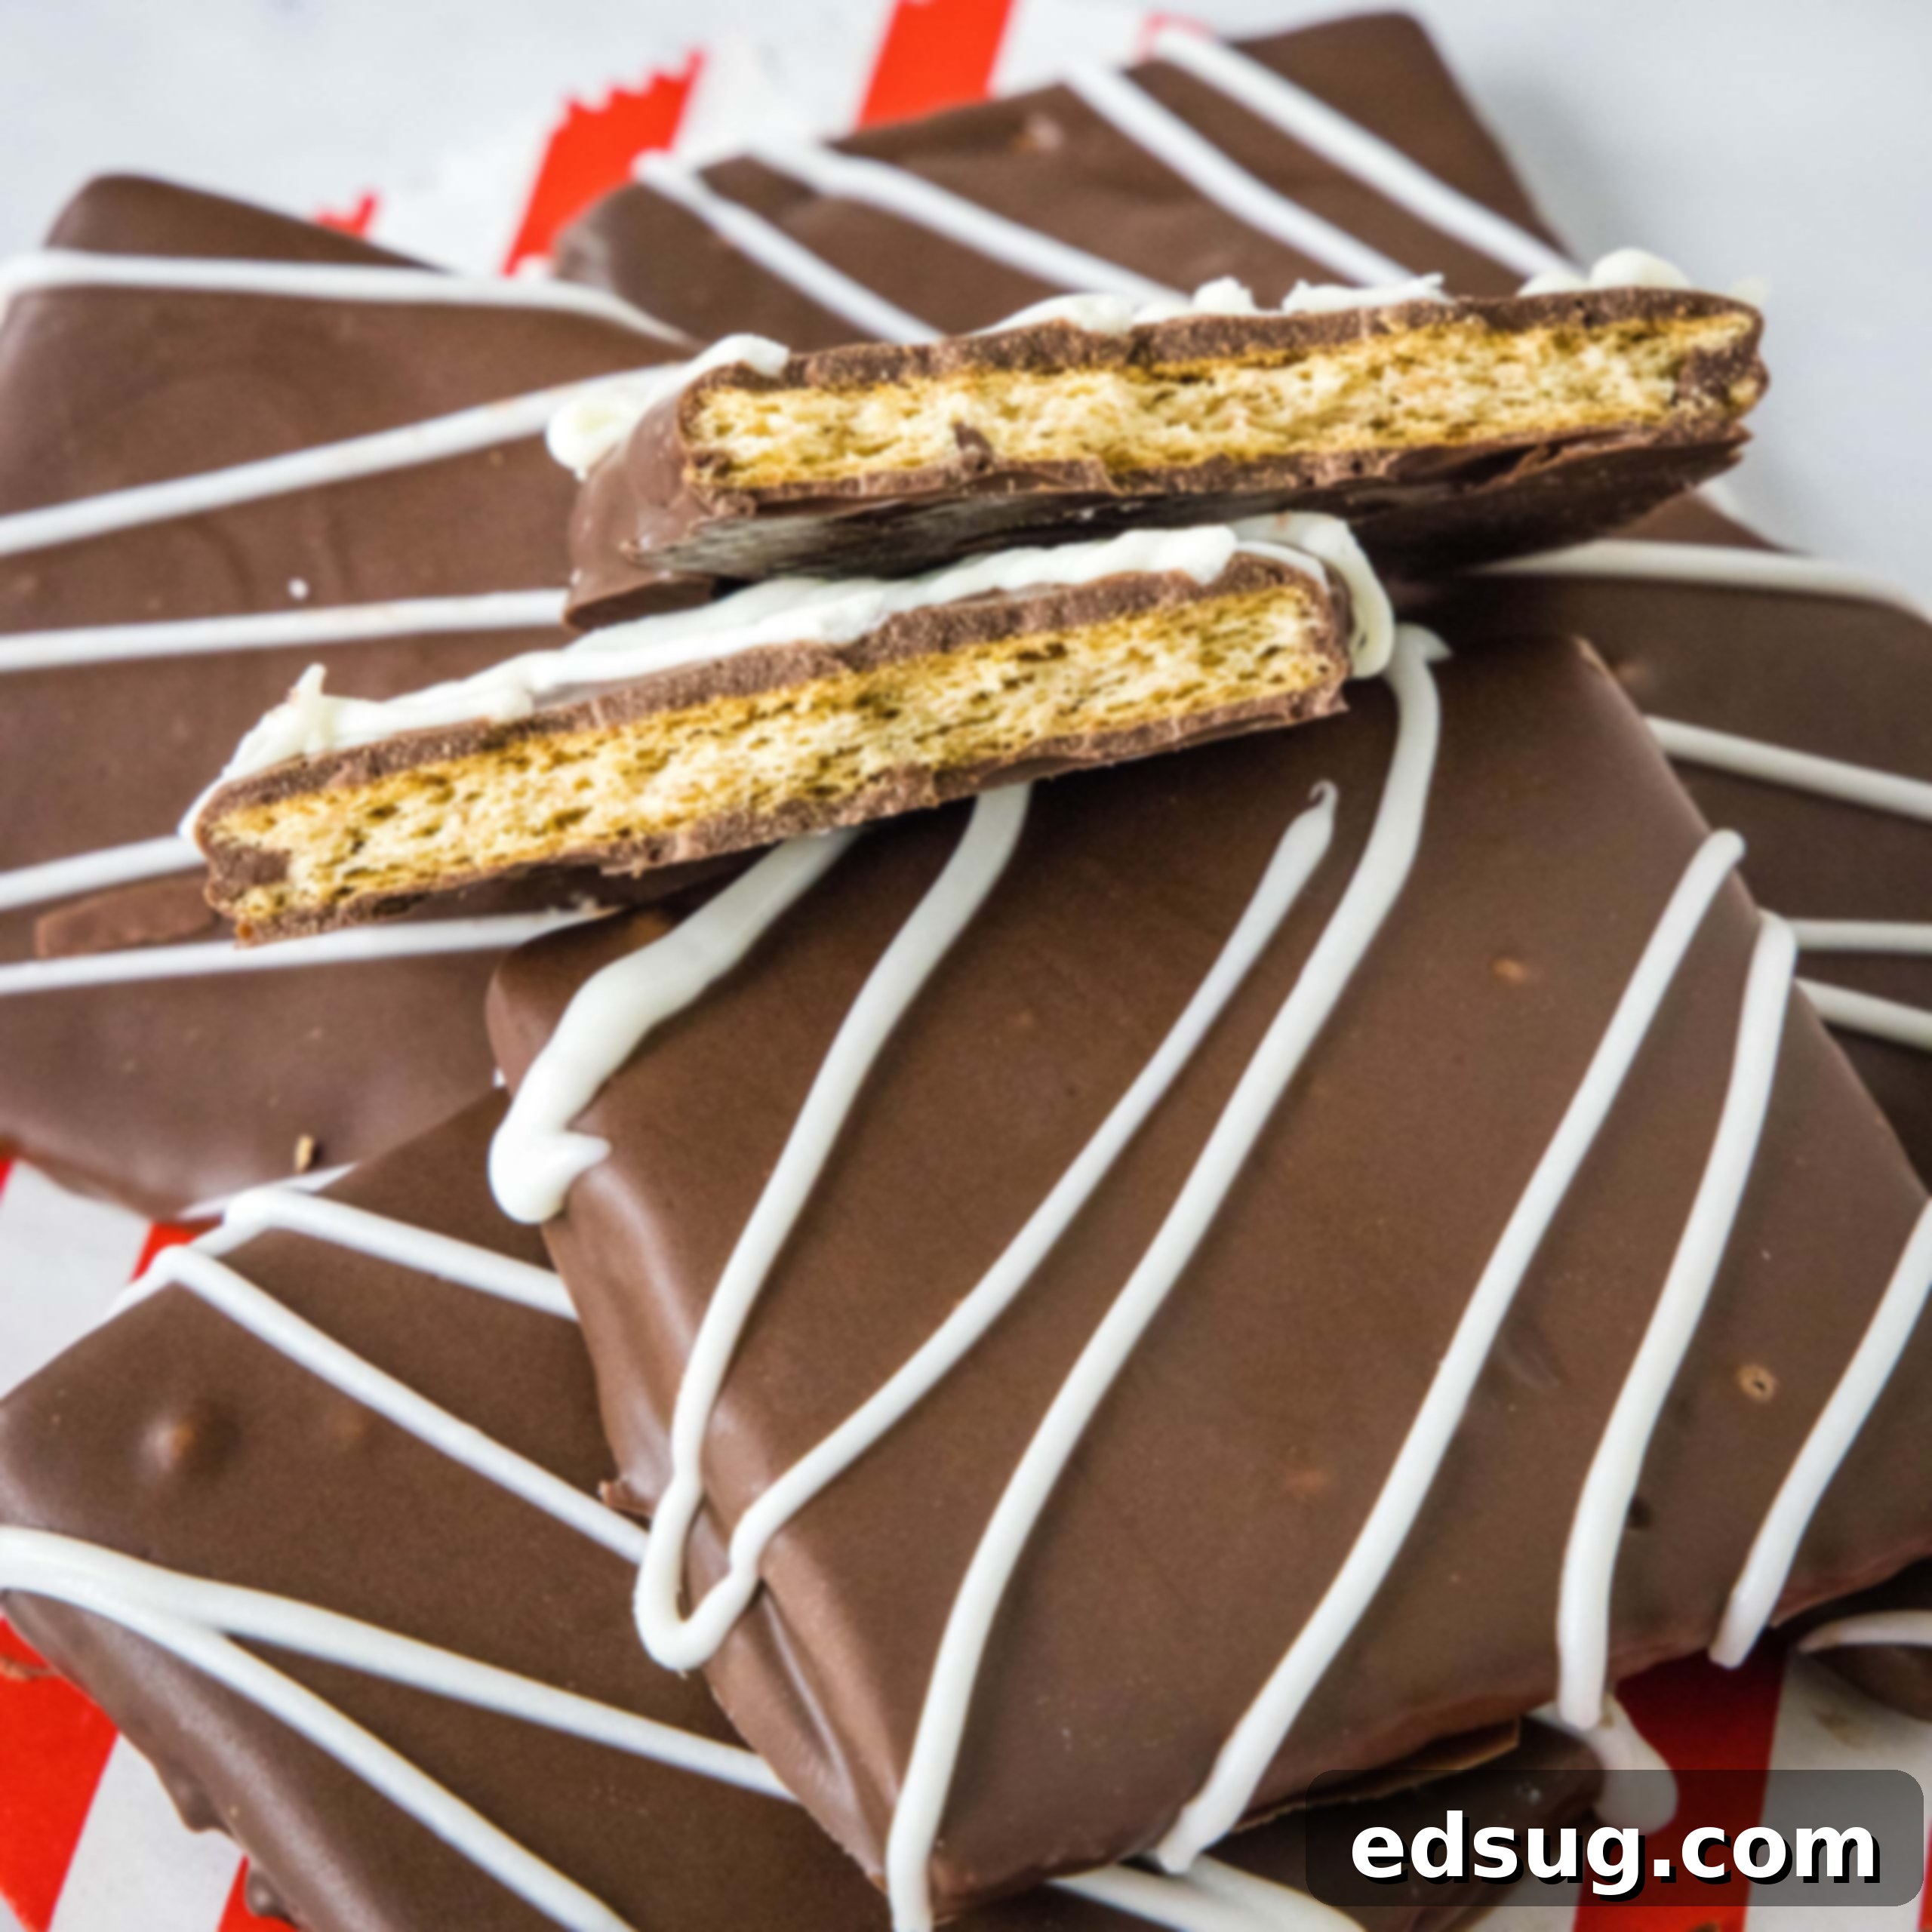
These Chocolate Covered Graham Crackers are an absolute delight – a fun, effortless, and incredibly versatile no-bake treat that you can whip up and enjoy any time of year! Whether you’re aiming to celebrate a holiday with festive sprinkles or add a touch of elegance with colored chocolate drizzles, these crackers offer endless possibilities for customization, making them a perfect fit for any occasion.
There’s something truly wonderful about having a collection of easy, no-bake recipes readily available. They are lifesavers when your schedule is packed, but you still want to create something special and homemade. Dishes like these Oreo Turkey Cookies or these chocolate-dipped graham crackers can be prepared in about 15 minutes, yet they consistently impress everyone who tries them. They prove that you don’t need hours in the kitchen to make a memorable dessert.
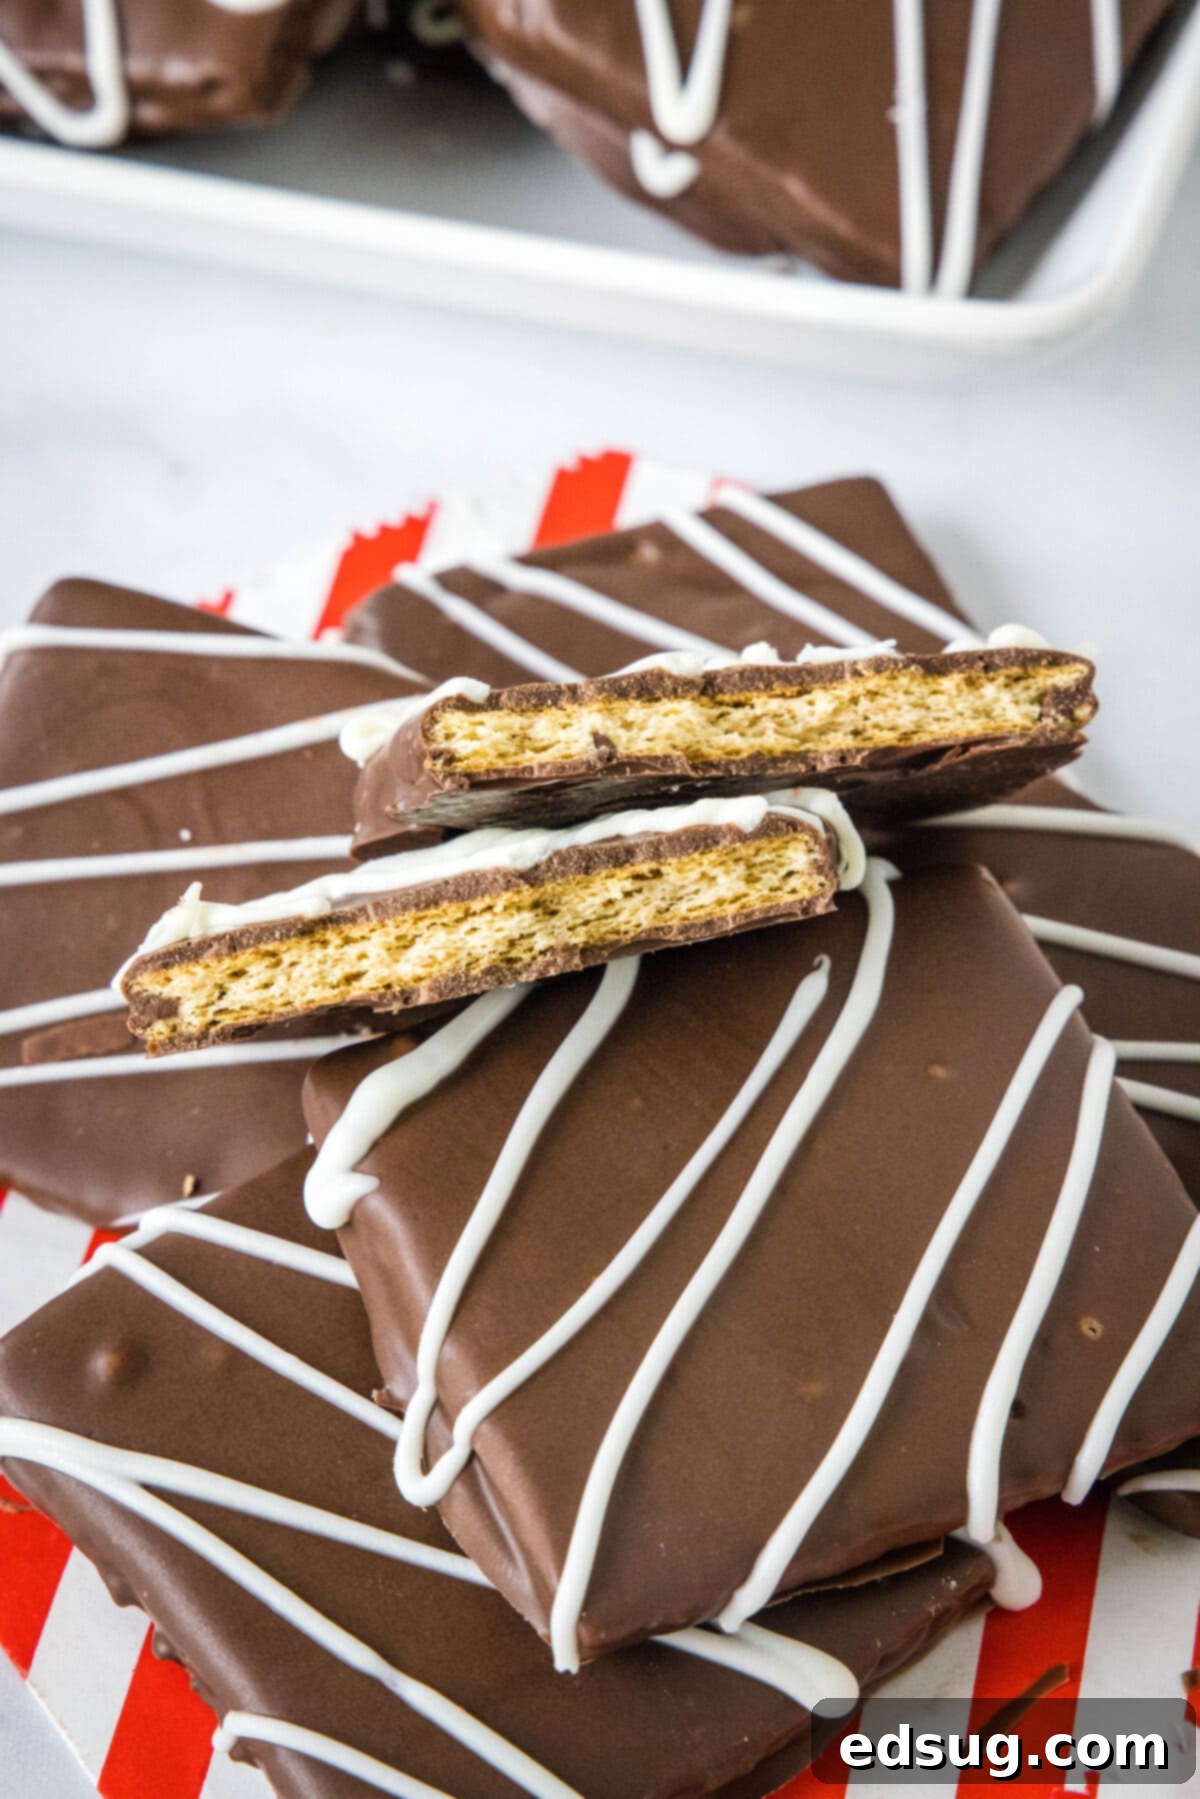
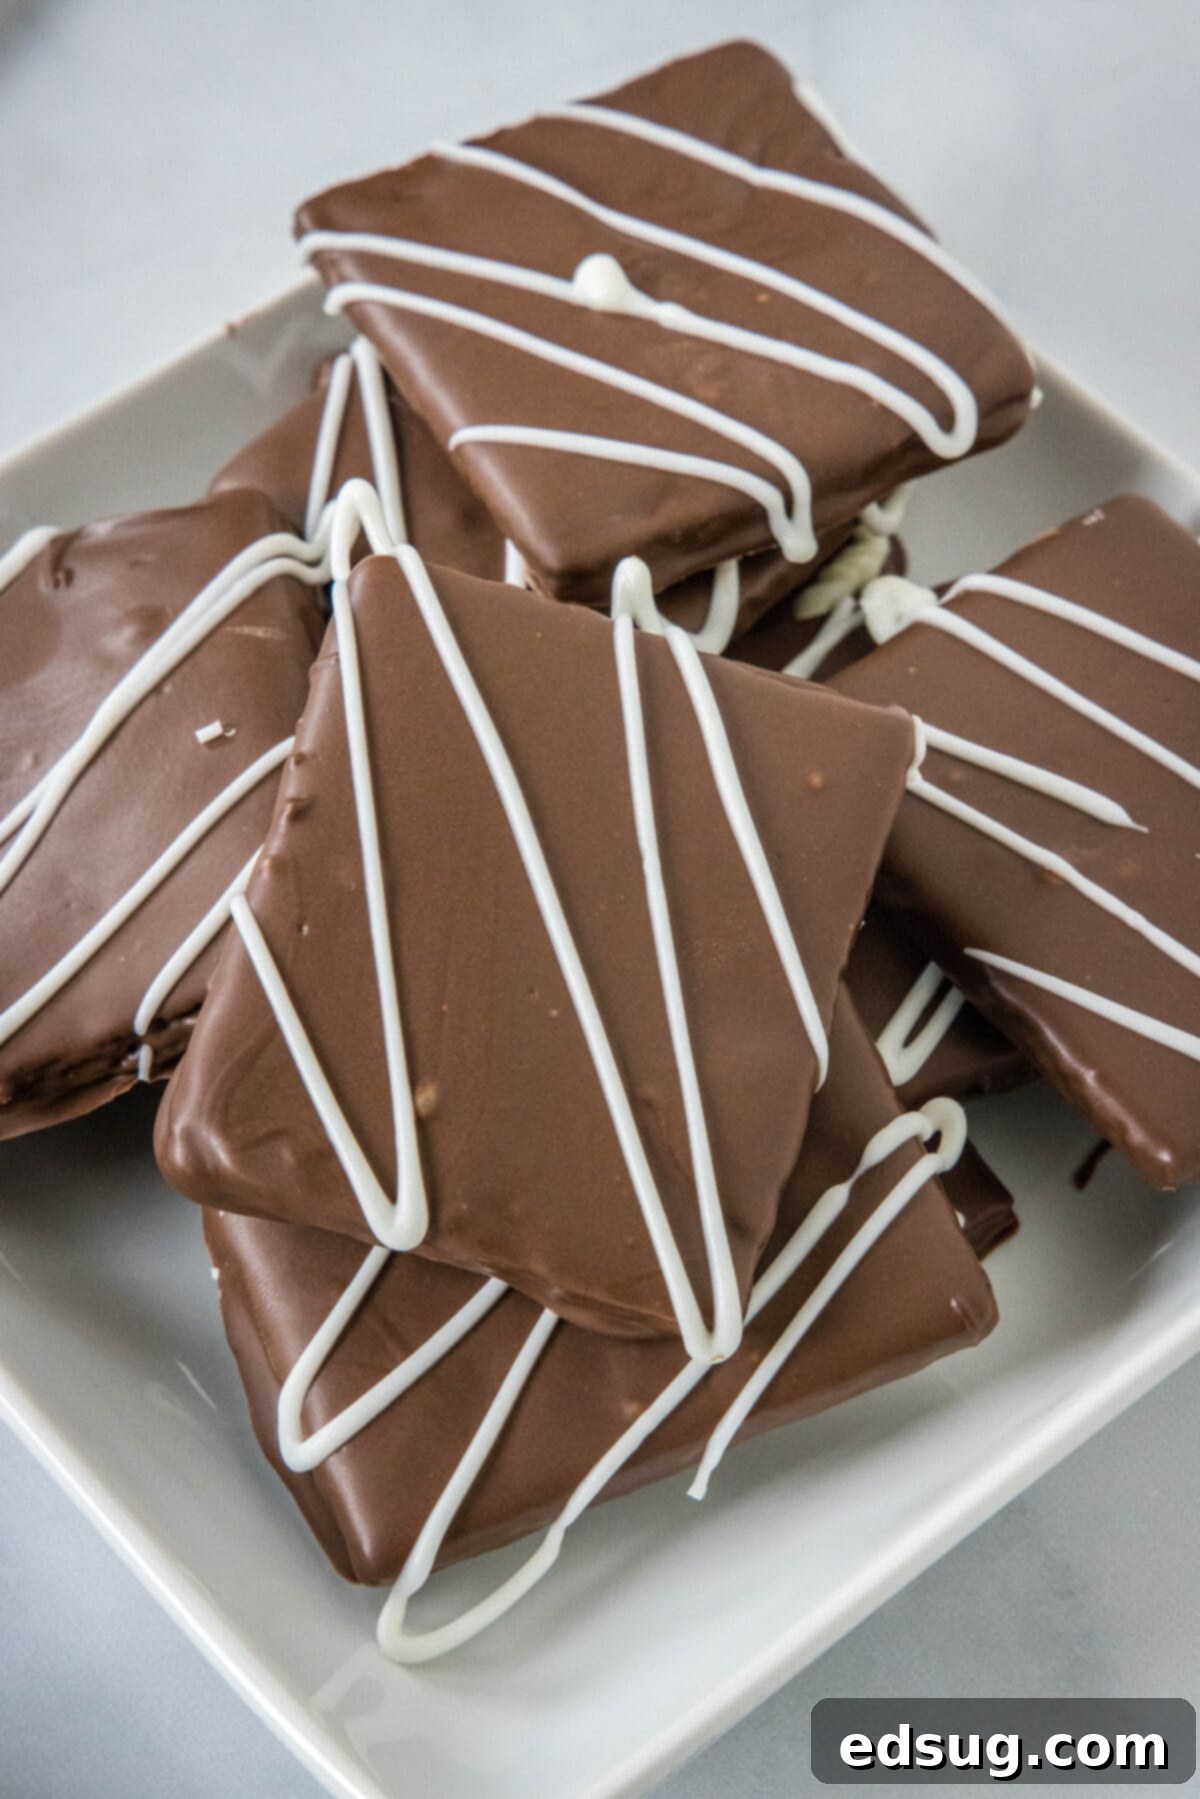
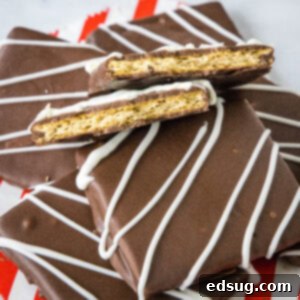
At its heart, this recipe simply involves taking ordinary graham crackers and enrobing them in a luscious layer of chocolate. It’s a classic combination that’s almost universally loved, and frankly, anything covered in chocolate is bound to be a hit!
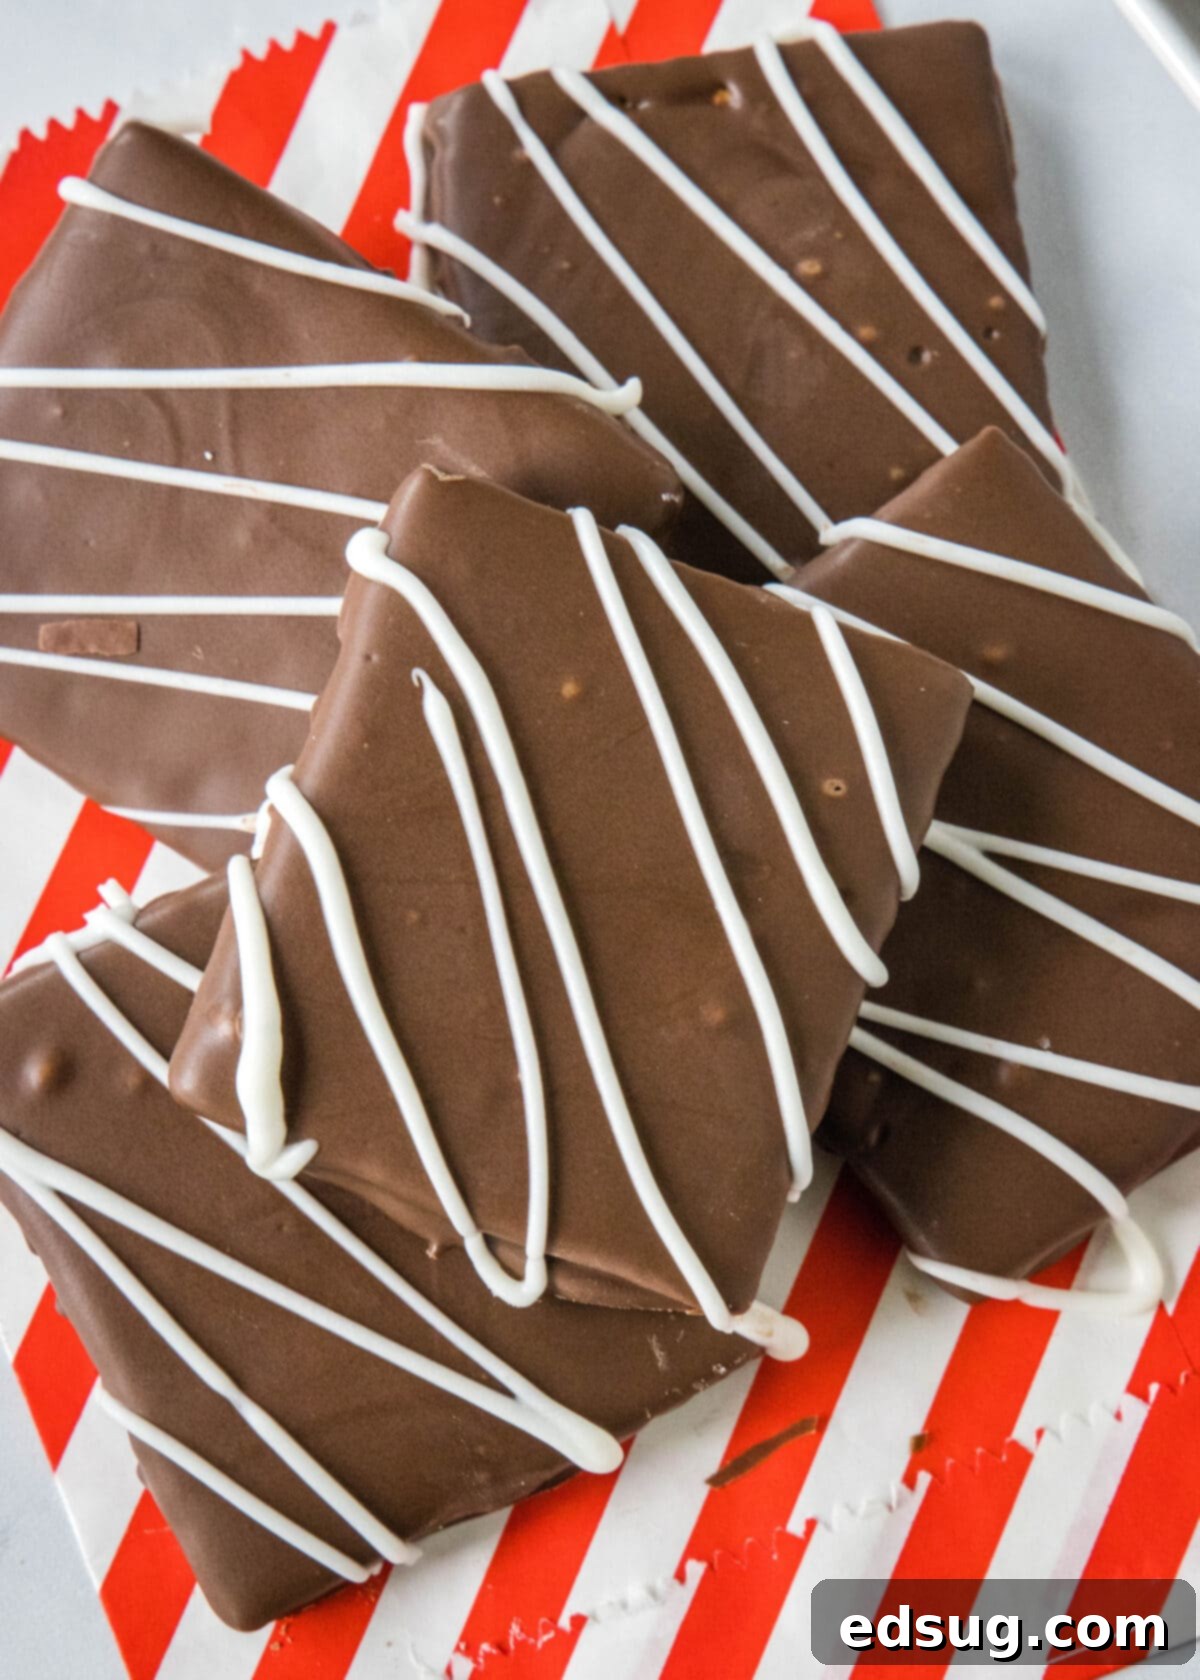
The real fun begins when you start decorating. I often keep it simple with an elegant white chocolate drizzle, which provides a beautiful contrast to the milk chocolate. However, your imagination is the only limit here. Consider using a vibrant array of sprinkles for birthdays or seasonal events, various colored chocolates to match a party theme, or small candies for an extra pop of flavor and texture. These treats are incredibly adaptable – you can tailor them for Christmas, Thanksgiving, the 4th of July, or any other event simply by coordinating your decorations. They’re not just delicious; they’re also a fantastic way to express your creativity.
If you enjoy the delightful sweet and salty combination, you might also love Chocolate Covered Pretzels. But for those who are true fans of the wholesome, slightly sweet crunch of graham crackers, I urge you to give this recipe a try. You won’t be disappointed by this perfect fusion of cracker and chocolate!
Gather Your Simple Ingredients
For the exact measurements and full instructions, make sure to scroll down to the bottom of the post for the COMPLETE PRINTABLE recipe card.
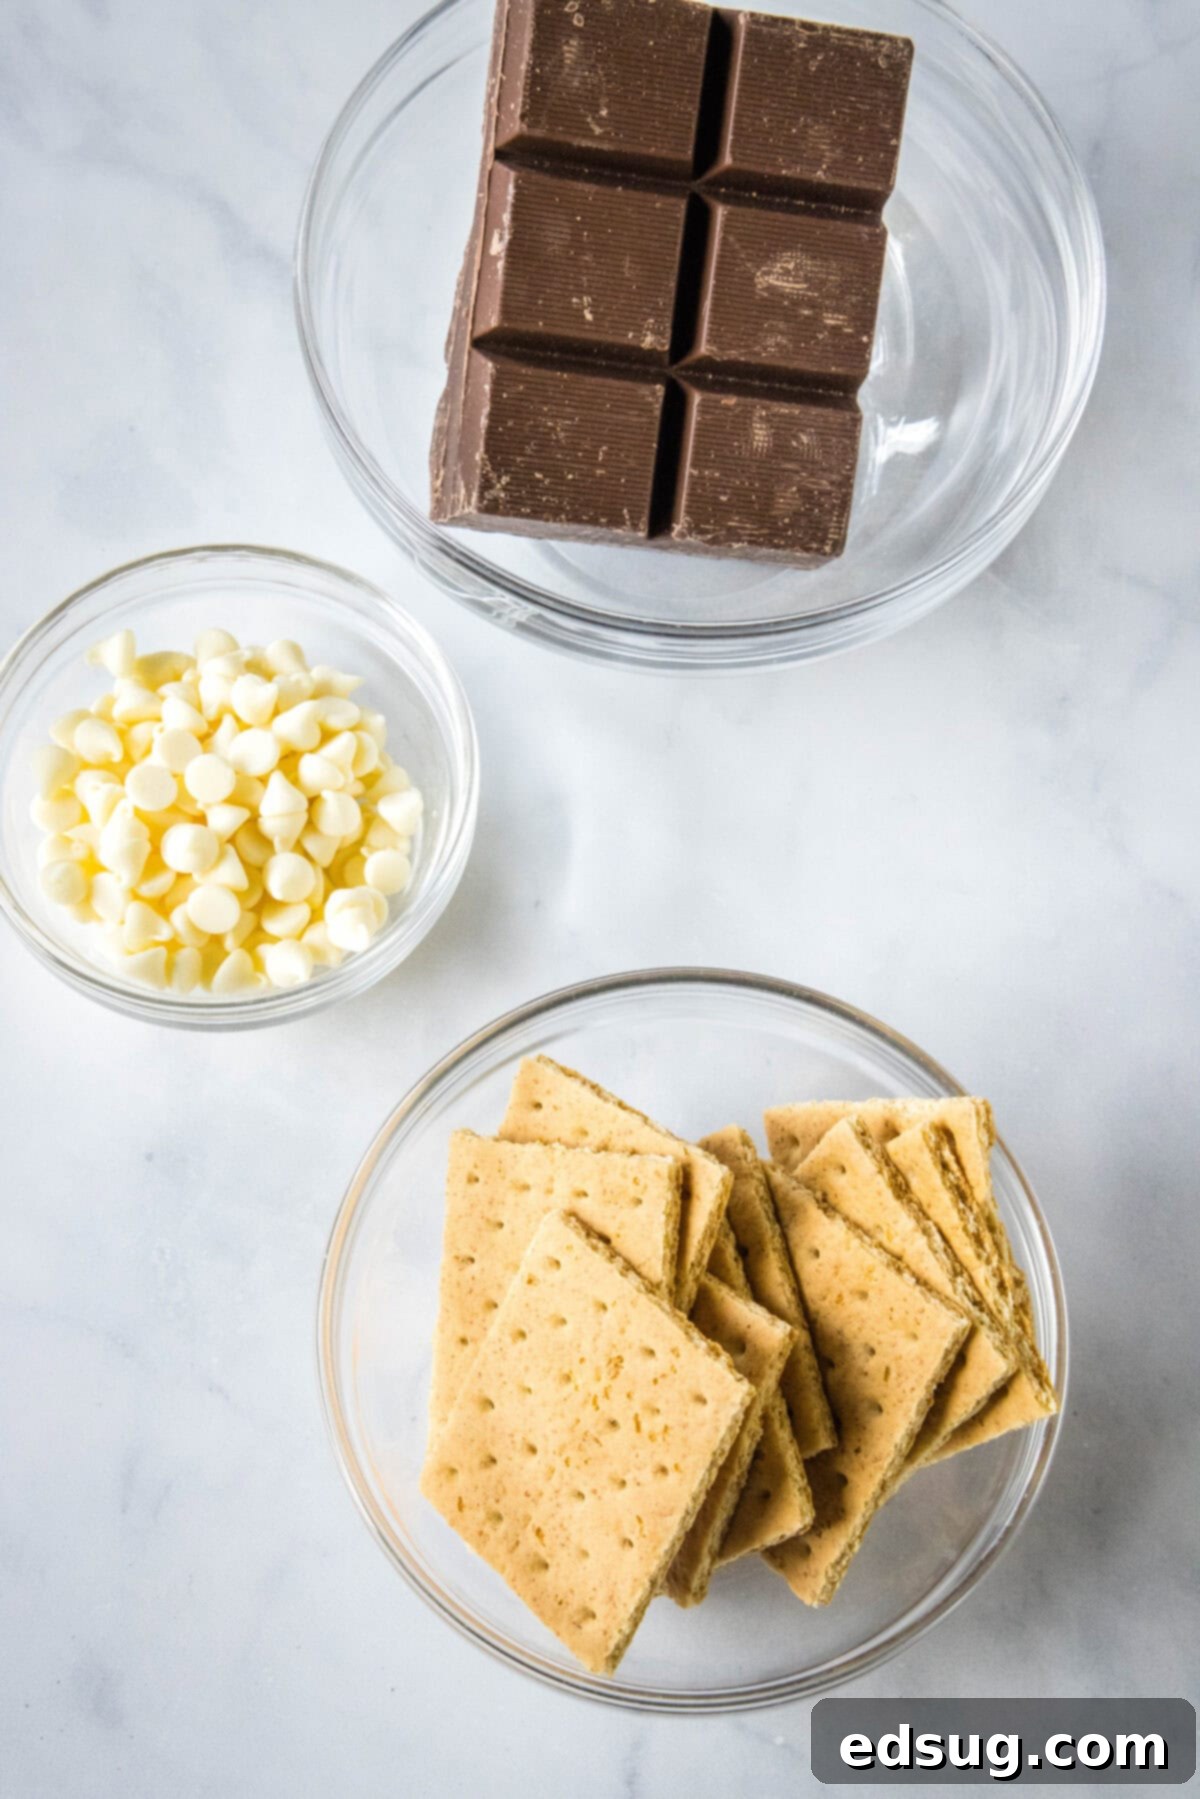
- Graham Crackers: The foundation of our treat! Standard honey graham crackers work perfectly, but feel free to experiment with cinnamon or chocolate varieties for a different flavor profile.
- Melting Chocolate: This is key to a smooth, beautiful coating. We’ll delve into the best types below to ensure your success.
- Decorations: This is where you personalize your treats! Options include melted white chocolate for drizzling, a variety of colorful sprinkles, different colored candy melts, mini candies, chopped nuts, or even shredded coconut. Have them ready!
Essential Kitchen Tools
- Baking sheet(s)
- Parchment paper or silicone baking mats
- Microwave-safe bowl (or double boiler setup)
- Fork or candy dipping tools
- Piping bag or small zip-top bag (for drizzling, if desired)
How To Make Chocolate Covered Graham Crackers: A Simple Guide
This no-bake recipe is so straightforward, it’s more about a series of simple steps than complex cooking. You’ll be amazed at how quickly these come together!
- Prepare Your Workspace: First, line a large baking sheet with parchment paper or a silicone baking mat. This will prevent your chocolate-covered crackers from sticking and make for easy cleanup. Next, carefully break or cut each full sheet of graham crackers in half, aiming for 18 individual squares. Handle them gently to avoid crumbling.
- Melt the Chocolate Slowly: In a microwave-safe bowl, add your chosen melting chocolate. Heat it at 50% power for 1 minute, then stir well. Continue heating in 30-second intervals, stirring thoroughly after each, until the chocolate is completely melted and beautifully smooth. Alternatively, you can use a double boiler: place your chocolate in a heatproof bowl over a saucepan of simmering water (ensure the bowl doesn’t touch the water) and stir until melted and smooth. Slow and steady melting prevents the chocolate from burning or seizing.
- Dip Each Cracker: Take one graham cracker square and fully immerse it in the melted chocolate. Use a fork or a candy dipping tool to gently flip it, ensuring it’s entirely coated. Once coated, lift the cracker out and lightly tap the fork against the side of the bowl. This crucial step allows any excess chocolate to drip off, ensuring a thin, even coating and preventing thick puddles around the base of the cracker when it sets.
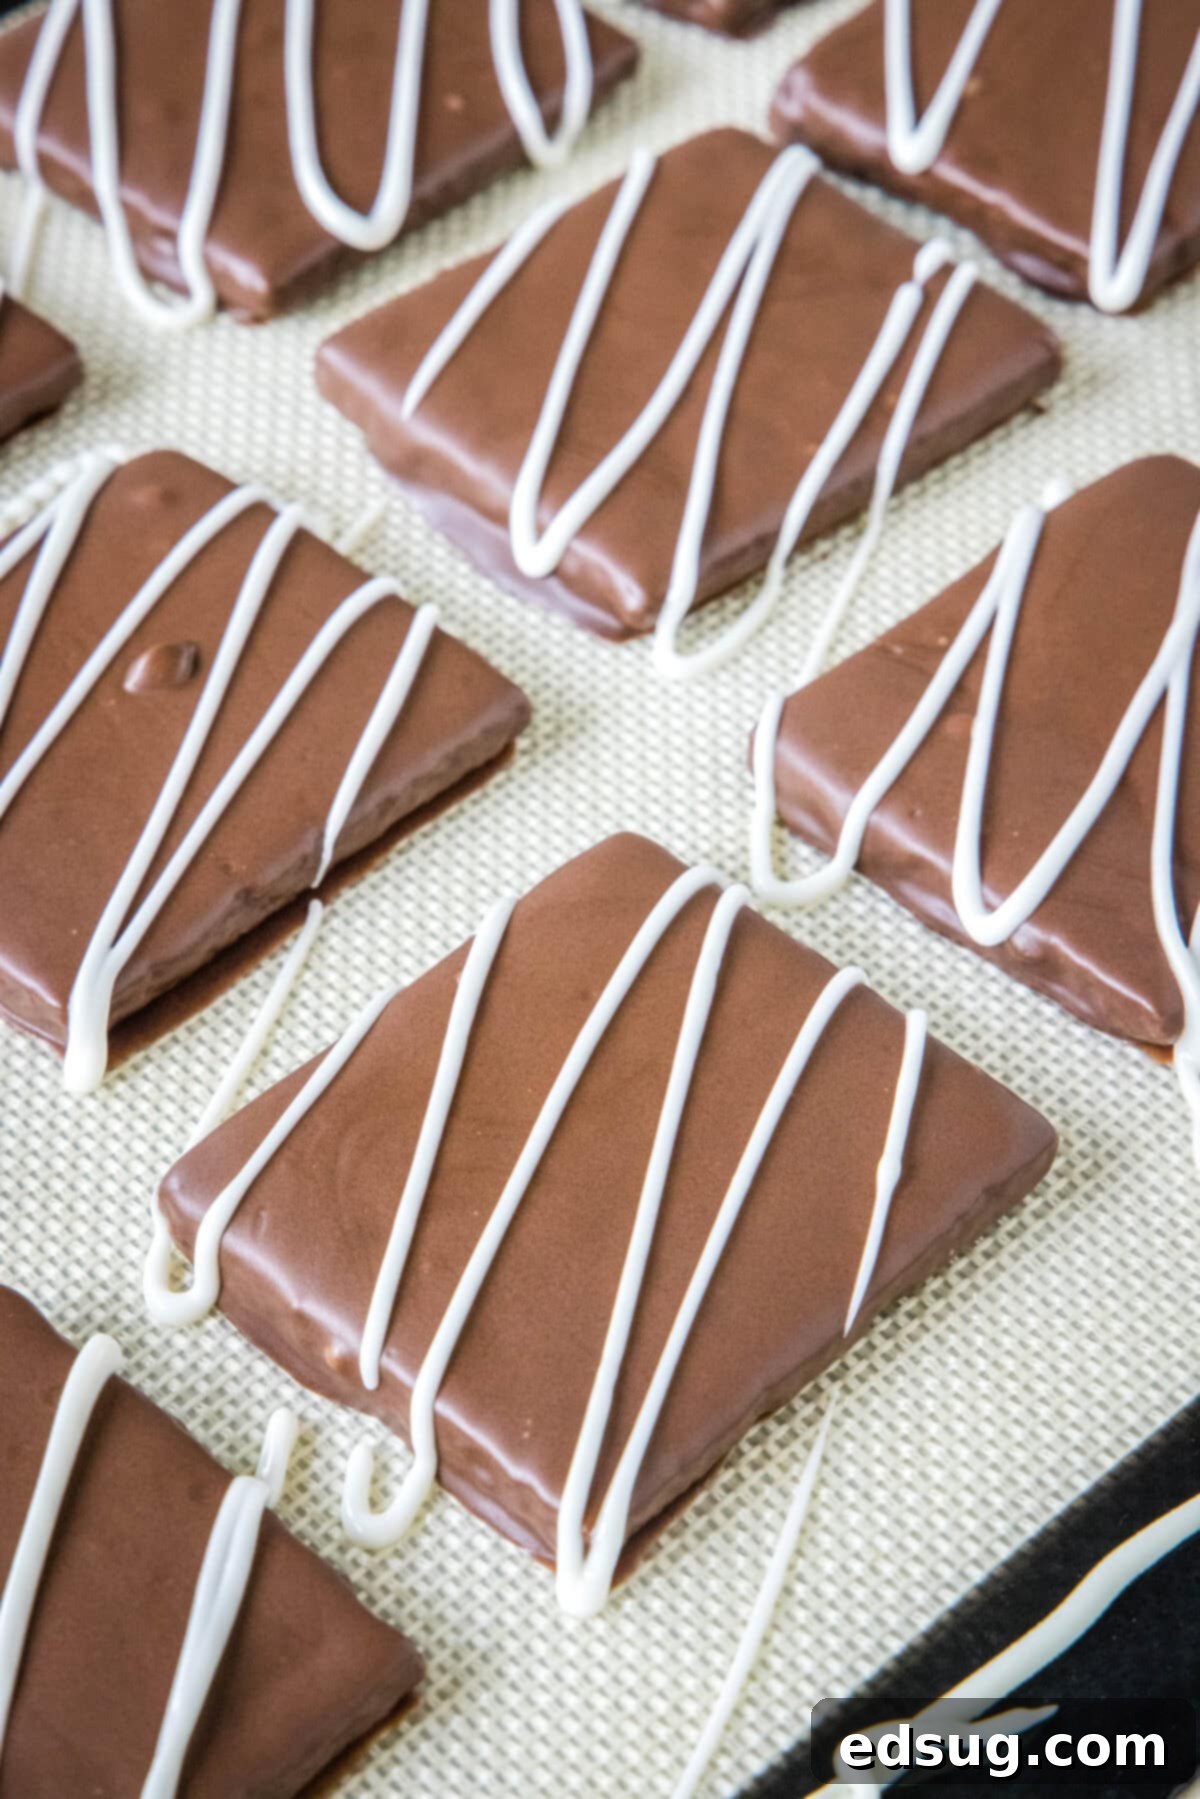
- Place and Decorate Promptly: Immediately transfer the dipped graham cracker to your lined baking sheet. If you’re using sprinkles, chopped nuts, or small candies, now is the time to apply them! The chocolate sets quickly, so you’ll want to add your decorations while it’s still wet and sticky to ensure they adhere. If you plan to drizzle with a contrasting chocolate, you can wait until all the crackers have been dipped.
- Drizzle (Optional): Once all your graham crackers are dipped and either decorated with sprinkles or waiting for a drizzle, melt your contrasting chocolate (e.g., white chocolate) in a separate bowl. Transfer the melted chocolate to a small sandwich bag or a piping bag and snip off a tiny corner. Artistically drizzle the chocolate over the cooled or partially set graham crackers.
- Allow to Set: Let your chocolate-covered graham crackers set completely. This can take about an hour at room temperature, or you can place them in the refrigerator for 15-20 minutes to speed up the setting process. Once firm, they will easily lift off the parchment paper, ready to be enjoyed, shared, or stored.
Choosing the Best Chocolate for Dipping
The type of chocolate you select is absolutely critical for achieving that desirable smooth, thin, and professional-looking coating on your graham crackers. For optimal results, I strongly advise against using standard chocolate chips. These often contain stabilizers that help them maintain their shape during baking, which means they don’t melt into a consistently smooth, flowing liquid ideal for dipping. This can result in a thicker, sometimes grainy, coating that isn’t quite as appealing.
Instead, your best bet is to use products specifically formulated for melting and dipping, such as chocolate almond bark or high-quality chocolate melting wafers (often called candy melts). These specialty chocolates are designed to melt beautifully, creating a velvety smooth consistency that coats evenly and sets relatively quickly. This ensures your chocolate-covered graham crackers have that perfect snap and a polished appearance. You can choose milk chocolate for a classic, sweet taste, dark chocolate for a richer and more intense flavor, or white chocolate for a creamy sweetness that also serves as a fantastic base if you wish to color your chocolate for specific themes.
Pro Tips for Perfect Chocolate Covered Graham Crackers
- Melt the Chocolate Slowly and Carefully: Patience is key when melting chocolate. If using a microwave, always use 50% power and stir frequently. This prevents scorching the chocolate and ensures it melts evenly and smoothly. When using a double boiler, make sure the water in the saucepan is simmering, not boiling vigorously, and crucially, ensure the bottom of your chocolate bowl never touches the water. Overheating or introducing steam can cause the chocolate to seize, turning it thick and crumbly. For an even thinner, smoother coating, you can add about 1 teaspoon of vegetable shortening (like Crisco) per pound of melting chocolate; it won’t affect the taste or setting time.
- Decorate Promptly: Chocolate melting wafers and almond bark set up very quickly. If you’re adding sprinkles, chopped nuts, or small candies, you must apply them immediately after dipping each graham cracker. Have your chosen decorations organized and within arm’s reach so you can work efficiently. If the chocolate starts to set too fast, a quick 10-15 second reheat in the microwave (at 50% power) can help, but avoid doing this too often.
- Get Creative with Customization: These chocolate-covered graham crackers are a blank canvas for your creativity! Beyond just holiday sprinkles, think about specific party themes, school colors, or even combining different chocolate types for a marbled effect. You can add a pinch of sea salt for a sweet and salty twist, or crush up other cookies (like Oreos) to sprinkle on top. For truly vibrant colors, use oil-based food coloring specifically designed for chocolate when working with white melting chocolate.
- Experiment with Different Chocolates: Don’t limit yourself to just one type of chocolate! While milk chocolate is a traditional and delicious choice, dark chocolate offers a more sophisticated and less sweet flavor, while white chocolate provides a creamy sweetness and an excellent base for coloring. You can even create a beautiful two-tone effect by dipping in one chocolate and then drizzling with another once the first layer has set.
- Ensure Uniformity: For a more polished look, consider gently scoring your graham cracker sheets with a sharp knife before breaking them. This can help create cleaner, more uniform squares, making your final treats look even more appealing.
Storage and Make-Ahead Tips
One of the many fantastic qualities of these chocolate-covered graham crackers is how well they store, making them an ideal make-ahead treat for parties, gifts, or simply to have on hand for a sweet craving. Once the chocolate has fully set and hardened, transfer the crackers to an airtight container. They will maintain their freshness and delicious taste for 1-2 weeks when stored at room temperature.
To prevent them from sticking together or damaging their delicate chocolate coating, it’s a good idea to layer them between sheets of parchment paper within the container. If you want to prepare a large batch or extend their shelf life even further, these treats are also freezer-friendly. Place them in a single layer on a baking sheet and freeze until solid, typically about 30 minutes to an hour. Once frozen, you can transfer them to a freezer-safe airtight container or a heavy-duty freezer bag, where they will keep well for up to 3 months. When you’re ready to enjoy them, simply remove them from the freezer and let them thaw at room temperature for about 15-30 minutes before serving. They’ll taste just as fresh and delightful as when they were first made!
More Fun Chocolate Dessert Recipes to Try
If you love chocolate and easy desserts, here are a few more recipes you might enjoy:
- Slow Cooker Peanut Clusters
- Homemade Turtle Candies
- Chocolate Avalanche Bars
- Homemade Milky Ways
- Caramel Cashew Clusters
Chocolate Covered Graham Crackers
Pin Recipe
Rate Recipe
Print Recipe
Ingredients
- 1 sleeve graham crackers, 9 full sheet crackers
- 1 pound melting chocolate, milk chocolate
- 1/4 cup melted white chocolate
Instructions
-
Line a baking sheet with parchment paper. Set side.
-
Carefully cut or break each full sheet of graham crackers in half, so you have 18 squares.
-
In a microwave safe bowl, add milk chocolate and heat at 50% power for 1 minute. Stir and continue at 30 second intervals until completely melted and smooth.
-
Add one graham cracker square to the bowl of melted chocolate. Use a fork to carefully flip over and make sure it is fully coated. Gently tap the fork on the side of the bowl to remove the excess chocolate. Place on lined baking sheet.
-
If you are using sprinkles decorate each square as you add it to the baking sheet. If you are using melted chocolate for drizzling you can continue and finish the rest of the crackers.
-
Add melted chocolate to a sandwich bag or piping bag, cut off the tip. Drizzle the chocolate over the crackers.
-
Let them set up for about an hour before removing and storing in an airtight container.
Nutrition
Nutrition information is automatically calculated, so should only be used as an approximation.
Additional Info
Like this recipe? Leave a comment below!
I’ve created a fun group on Facebook, and I would absolutely love for you to join us! It’s a fantastic community where you can share YOUR favorite recipes, ask questions, and stay updated on what’s new at Dinners, Dishes and Desserts (so you’ll never miss a delicious new recipe or tip)!
Be sure to follow me on Instagram and tag #dinnersdishes so I can see all the wonderful DINNERS, DISHES, AND DESSERTS recipes YOU make and share!
Don’t forget to follow me on my social media channels, so you never miss a post, new recipe, or update!
Facebook | Twitter | Pinterest | Instagram
