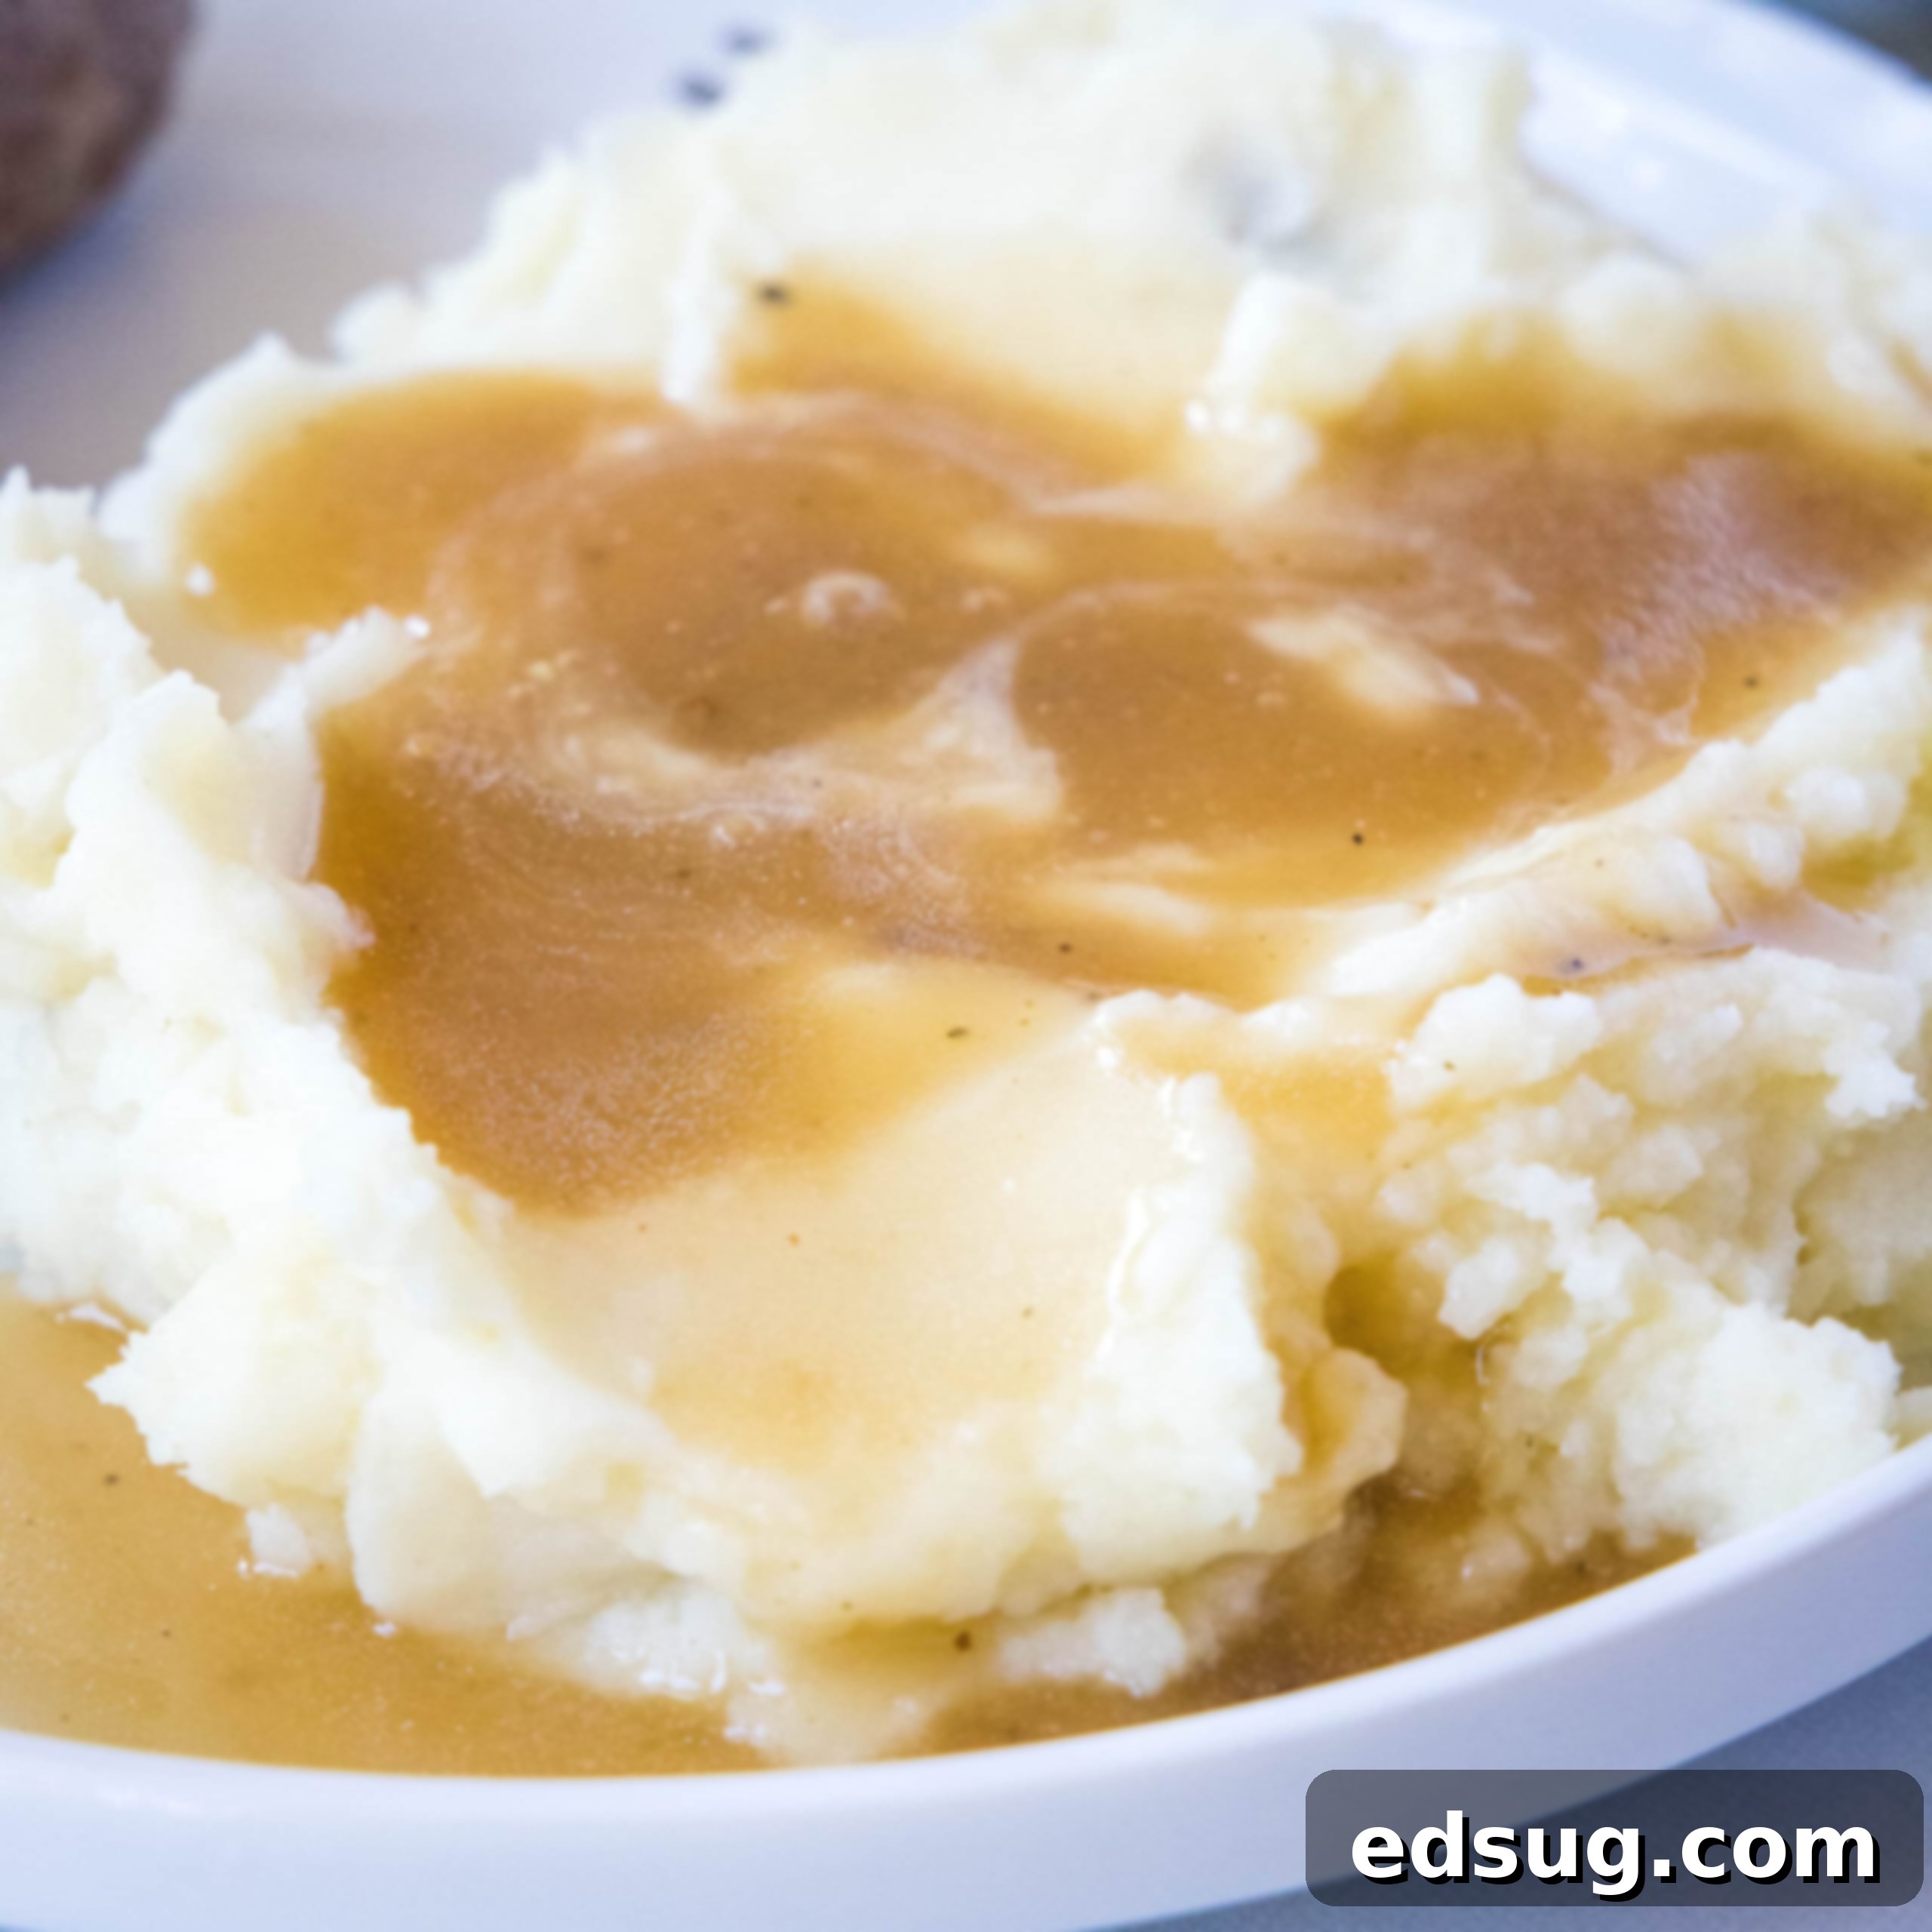
Easy Homemade Brown Gravy: Rich, Smooth & Flavorful (No Drippings Required!)
There’s something incredibly comforting and satisfying about a perfectly made brown gravy. It can transform a simple meal into a memorable feast, adding a layer of rich, savory flavor that’s hard to resist. But often, home cooks shy away from making gravy from scratch, assuming it requires pan drippings from a roast or a complex, time-consuming process. We’re here to tell you that’s simply not true! This incredible Easy Brown Gravy recipe is designed to deliver a deep, delicious, and silky-smooth gravy without needing any pan drippings whatsoever. Made with common pantry staples, it comes together in mere minutes and tastes infinitely better than anything you’d buy in a jar or packet.
Imagine a velvety smooth gravy, bursting with savory goodness, ready to elevate everything from your fluffy mashed potatoes to a simple weeknight roast chicken or even a plate of crispy fries. This recipe makes that dream a reality. You’ll be amazed at how quickly and easily you can whip up this rich, flavorful brown gravy, proving that homemade doesn’t have to mean complicated. Say goodbye to store-bought gravy and hello to your new favorite go-to recipe!
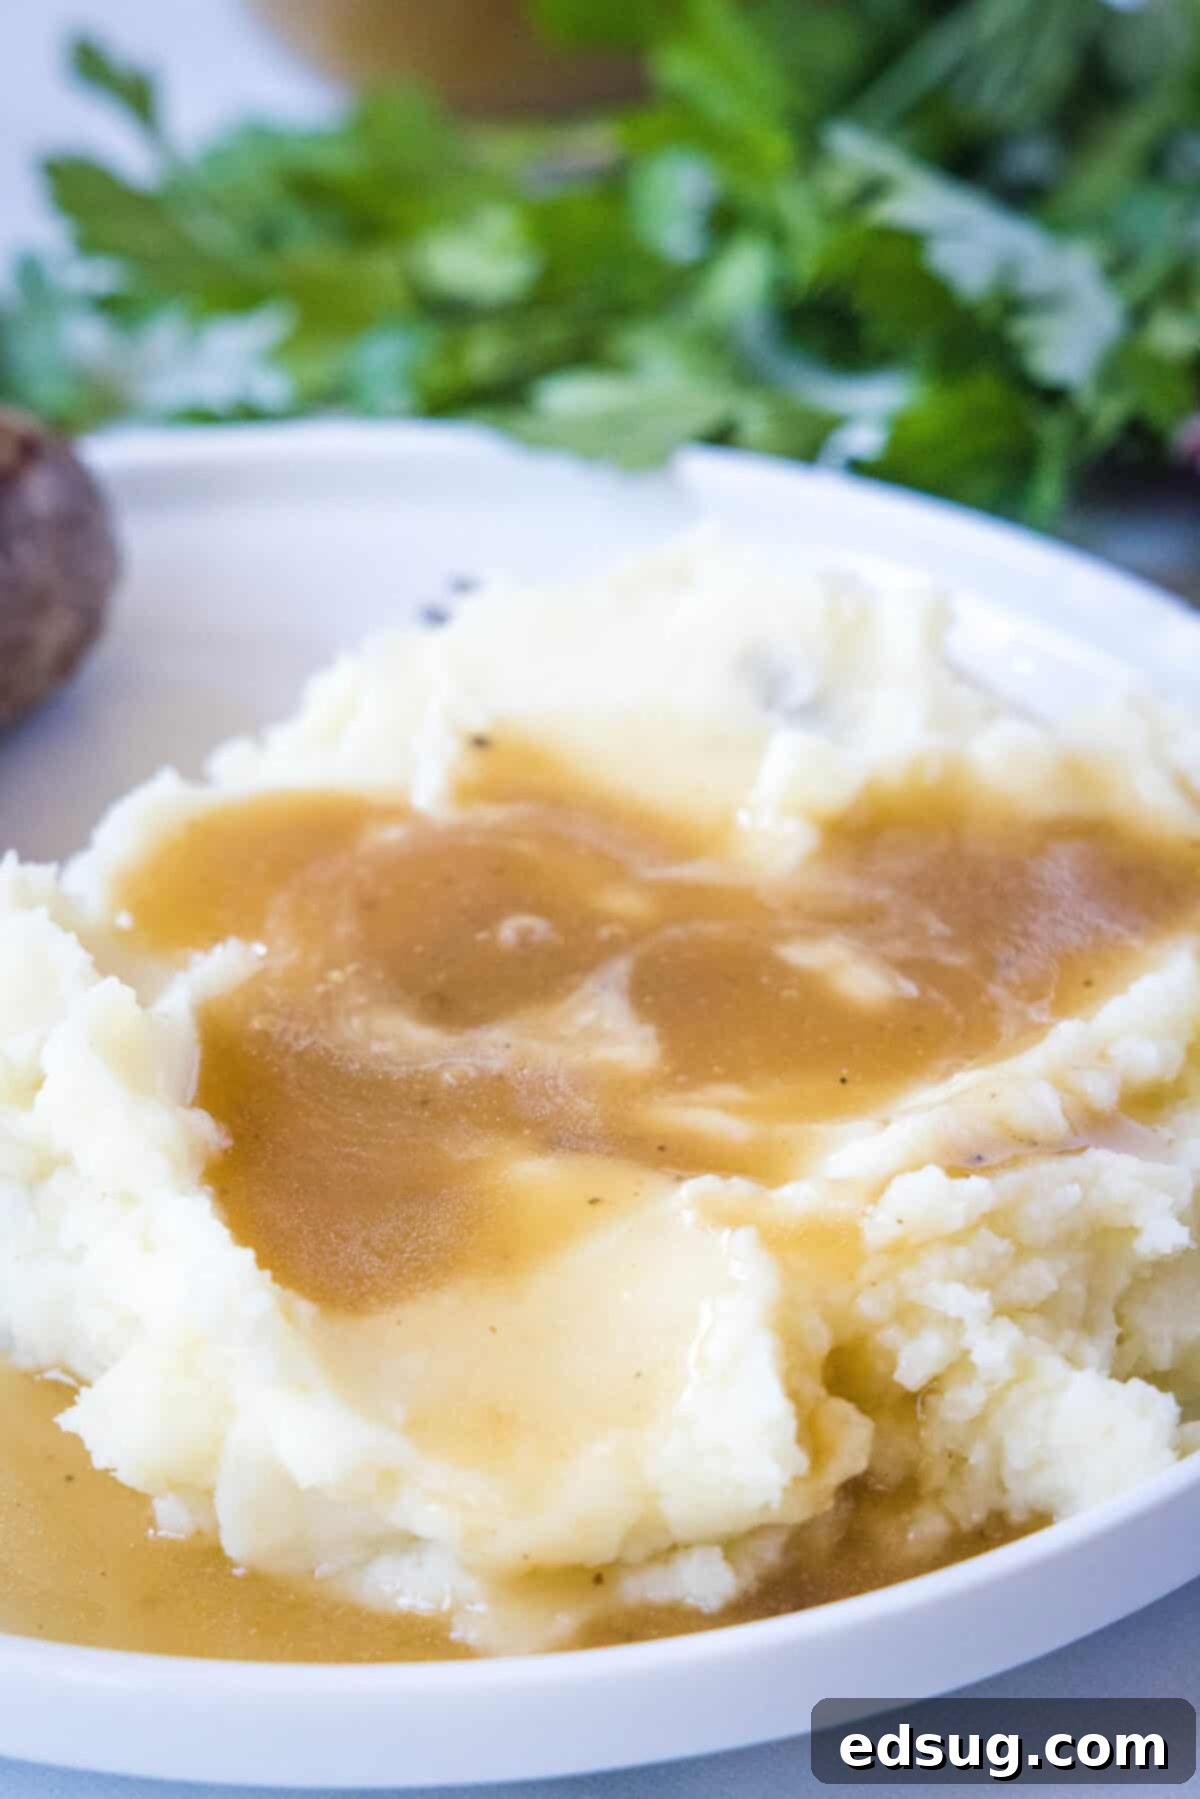
The Magic of Gravy Without Drippings
One of the most common misconceptions about making great brown gravy is that you absolutely need pan drippings from a roasted meat. While drippings certainly add an extra layer of flavor, they are by no means essential for a truly exceptional gravy. This recipe is a testament to that, artfully crafted to create a deep, umami-rich flavor profile using readily available ingredients. This means you can enjoy a fantastic brown gravy any night of the week, whether you’ve roasted a chicken, seared a steak, or just boiled some potatoes.
The beauty of a no-drippings brown gravy is its unparalleled convenience and versatility. No more waiting for a holiday roast or a weekend cooking project to enjoy this classic condiment. This recipe harnesses the power of quality beef broth and a few key seasonings to build a robust flavor foundation. It’s perfect for busy weeknights when you want to add a touch of gourmet comfort without the fuss, allowing you to have a rich, savory gravy on your table in under 15 minutes. It’s a game-changer for anyone who loves gravy but doesn’t always have those precious pan drippings on hand.
Essential Ingredients for Your Easy Brown Gravy
For the exact measurements and full instructions, make sure to check the complete printable recipe card at the bottom of this post!
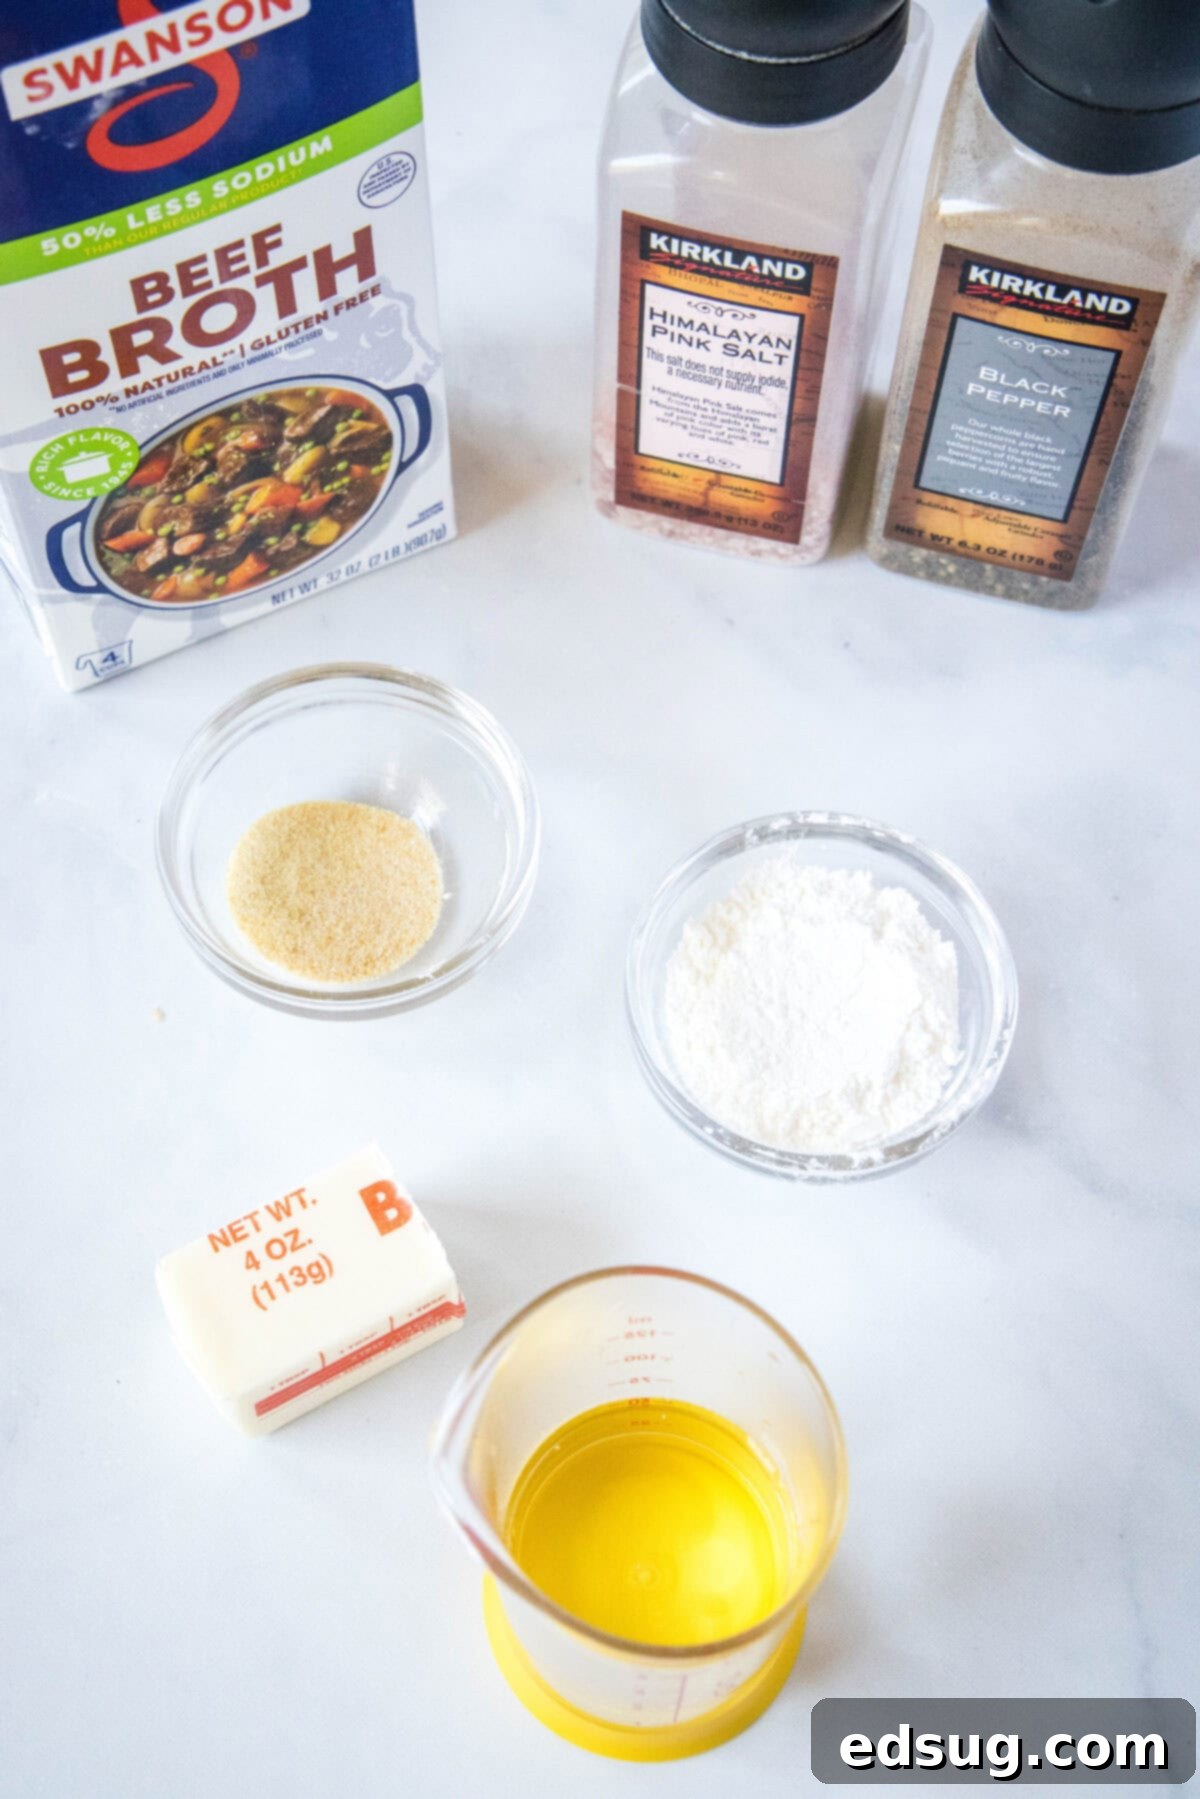
Creating this rich, smooth brown gravy requires just a handful of straightforward ingredients. Each one plays a crucial role in building the deep, savory flavor and luxurious texture we’re aiming for. Here’s what you’ll need:
- Beef Broth: This is the backbone of our gravy’s flavor. Using a low-sodium beef broth is highly recommended as it gives you complete control over the final seasoning of your gravy, allowing you to add salt to taste without making it overly salty. High-quality broth will yield the best results.
- Worcestershire Sauce: A true secret weapon in this recipe! Worcestershire sauce provides a fantastic depth of umami and a tangy complexity that beautifully mimics the savory notes often found in pan drippings. It’s essential for that “slow-cooked” flavor without the wait. If you don’t have Worcestershire, a splash of soy sauce can offer a similar savory boost, though the flavor profile will be slightly different.
- Onion Powder: Adds a foundational layer of aromatic flavor without the texture of fresh onion. It blends seamlessly into the gravy, providing a subtle sweetness and depth.
- Garlic Powder: Similar to onion powder, garlic powder contributes a warm, savory note that rounds out the overall flavor profile without any chunky bits.
- Butter: Used as the fat base to create a flavorful foundation and help form a smooth emulsion. It contributes to the rich mouthfeel of the gravy.
- Salt: Essential for seasoning. Start with a smaller amount and adjust to your preference, especially if using regular (not low-sodium) broth.
- Black Pepper: Adds a gentle warmth and slight kick, enhancing the overall savory profile. Freshly ground pepper is always best.
- Cold Water: Used to create a slurry with cornstarch. It’s crucial that the water is cold to prevent lumps when mixing with cornstarch.
- Cornstarch: Our chosen thickening agent for this recipe. Cornstarch provides a wonderfully smooth, glossy, and lump-free gravy, creating a silkier texture compared to flour-based gravies.
How To Make The Best Homemade Brown Gravy
Making this rich brown gravy is incredibly straightforward, perfect for even beginner cooks. Just follow these simple steps for a perfect result every time:
- Melt the Butter: Begin by melting the butter in a small saucepan over medium heat. Allow it to fully melt and become slightly fragrant, but don’t let it brown too much. This creates a flavorful base for your gravy.
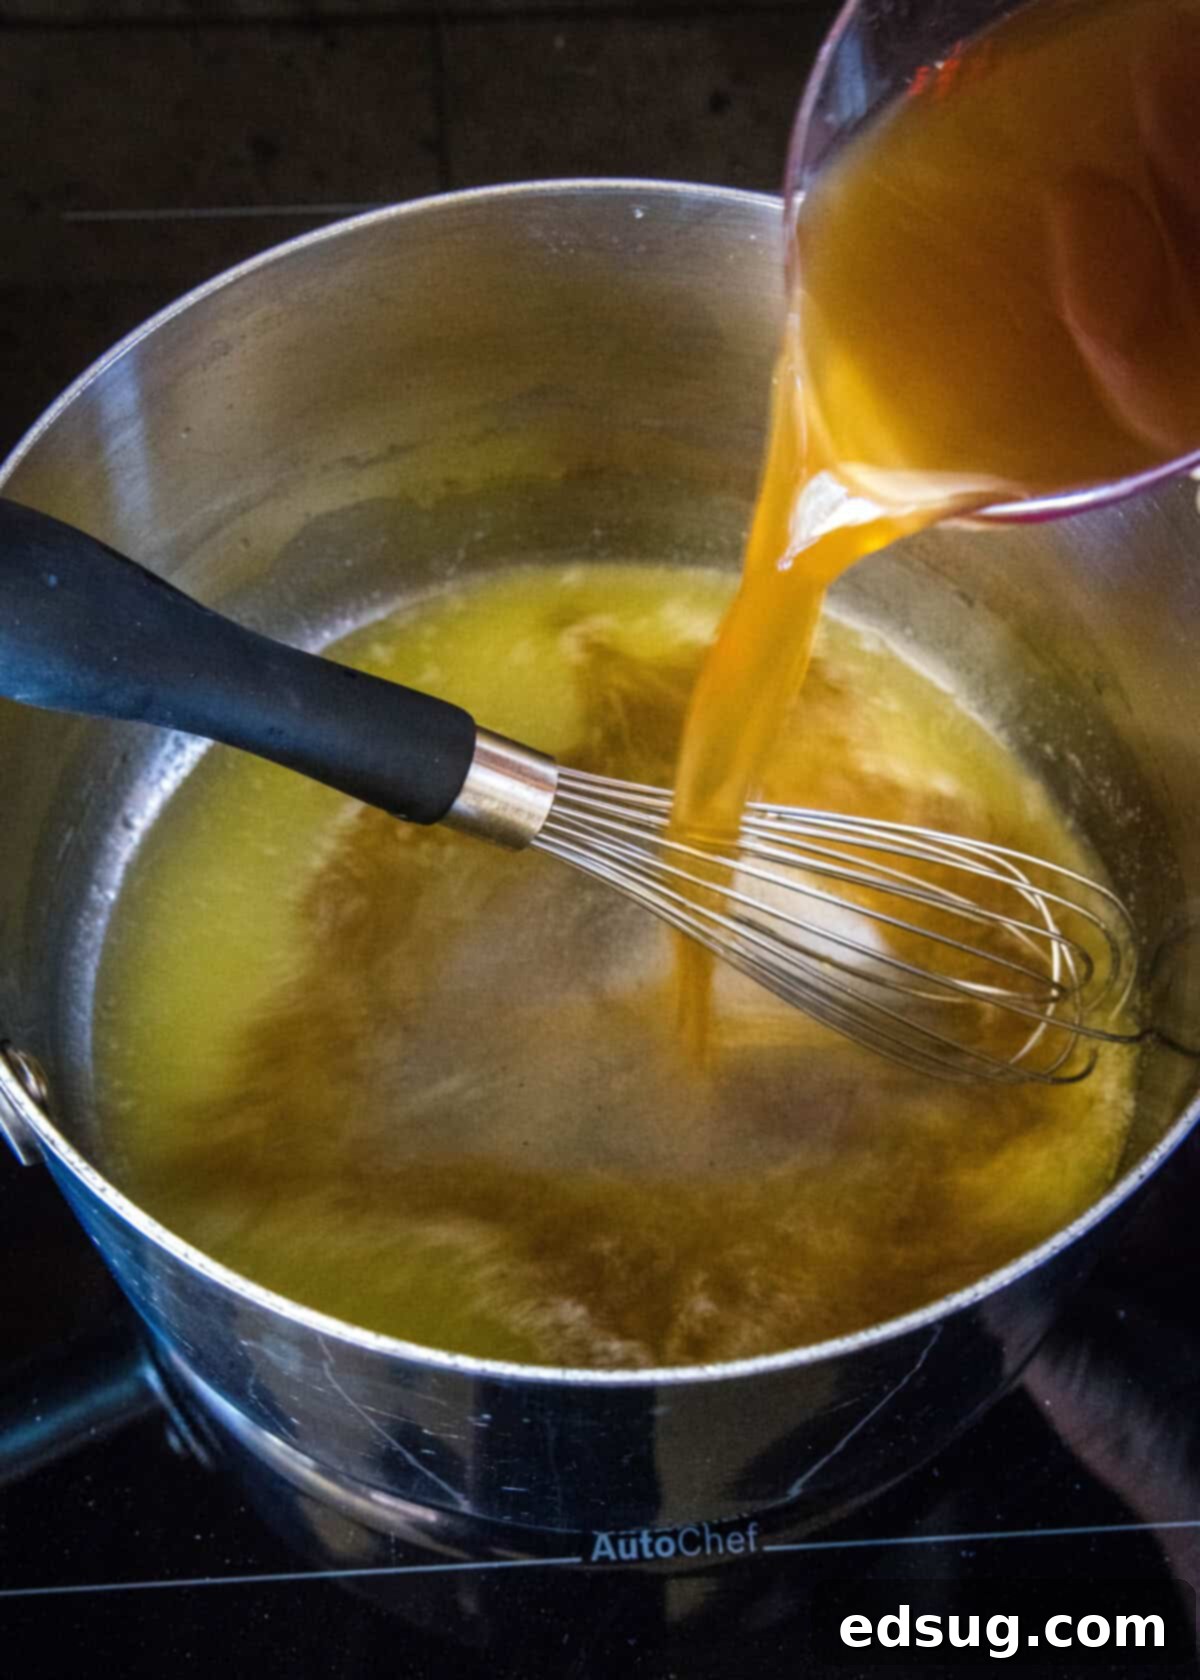
- Simmer for Flavor: Carefully pour the beef broth into the melted butter. Stir in the Worcestershire sauce, onion powder, garlic powder, salt, and black pepper. Bring this mixture to a gentle simmer, then reduce the heat slightly and let it cook for 5-10 minutes. This crucial step allows the flavors to meld and concentrate, creating a deeper, more robust broth base for your gravy.
- Prepare the Slurry: While the broth simmers, prepare your thickening agent. In a separate small bowl, whisk together the cold water and cornstarch until a smooth, lump-free mixture (known as a slurry) is formed. Ensure there are no visible lumps of cornstarch before adding it to the hot liquid.
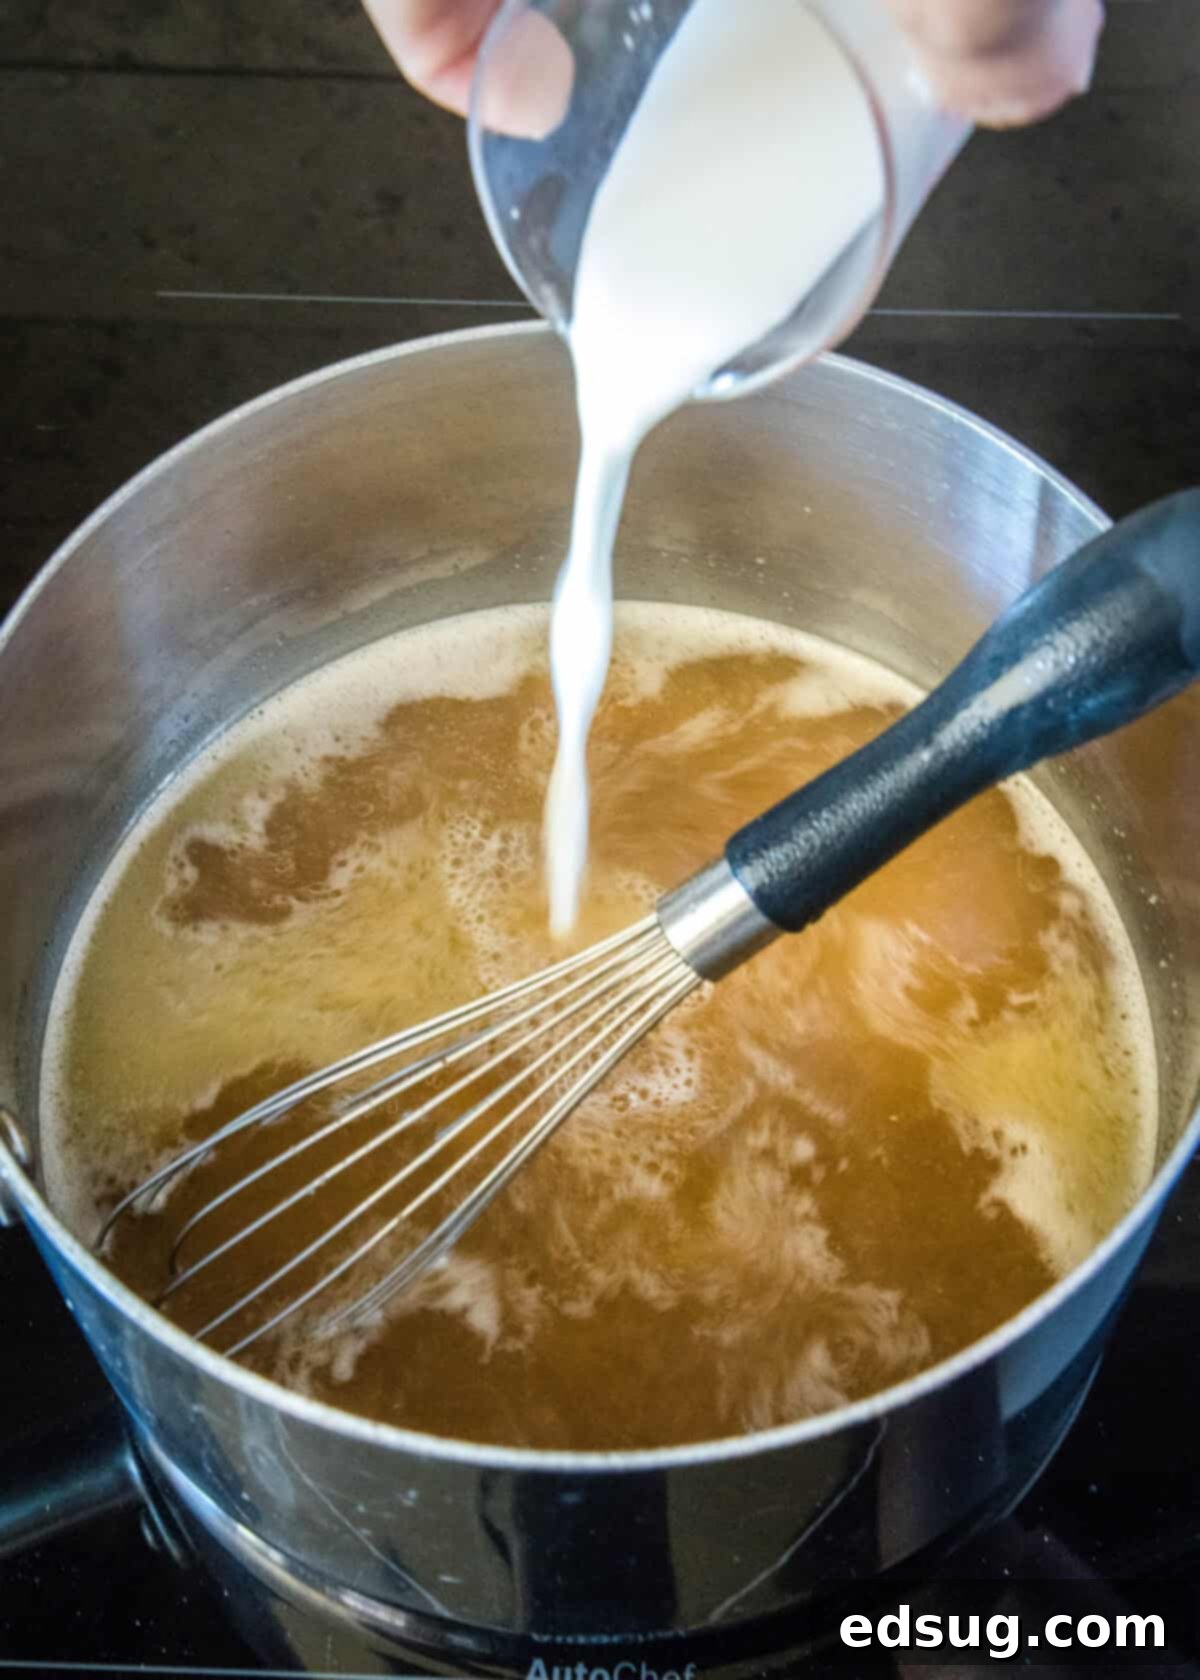
- Thicken to Perfection: Slowly and gradually pour the cornstarch slurry into the simmering beef broth mixture, whisking continuously. Continue to simmer and stir for another 2-3 minutes. As the gravy heats, the cornstarch will activate, causing the mixture to thicken into a beautiful, silky consistency. If you desire a thicker gravy, you can simmer it a little longer; for a thinner gravy, add a touch more hot broth or water.
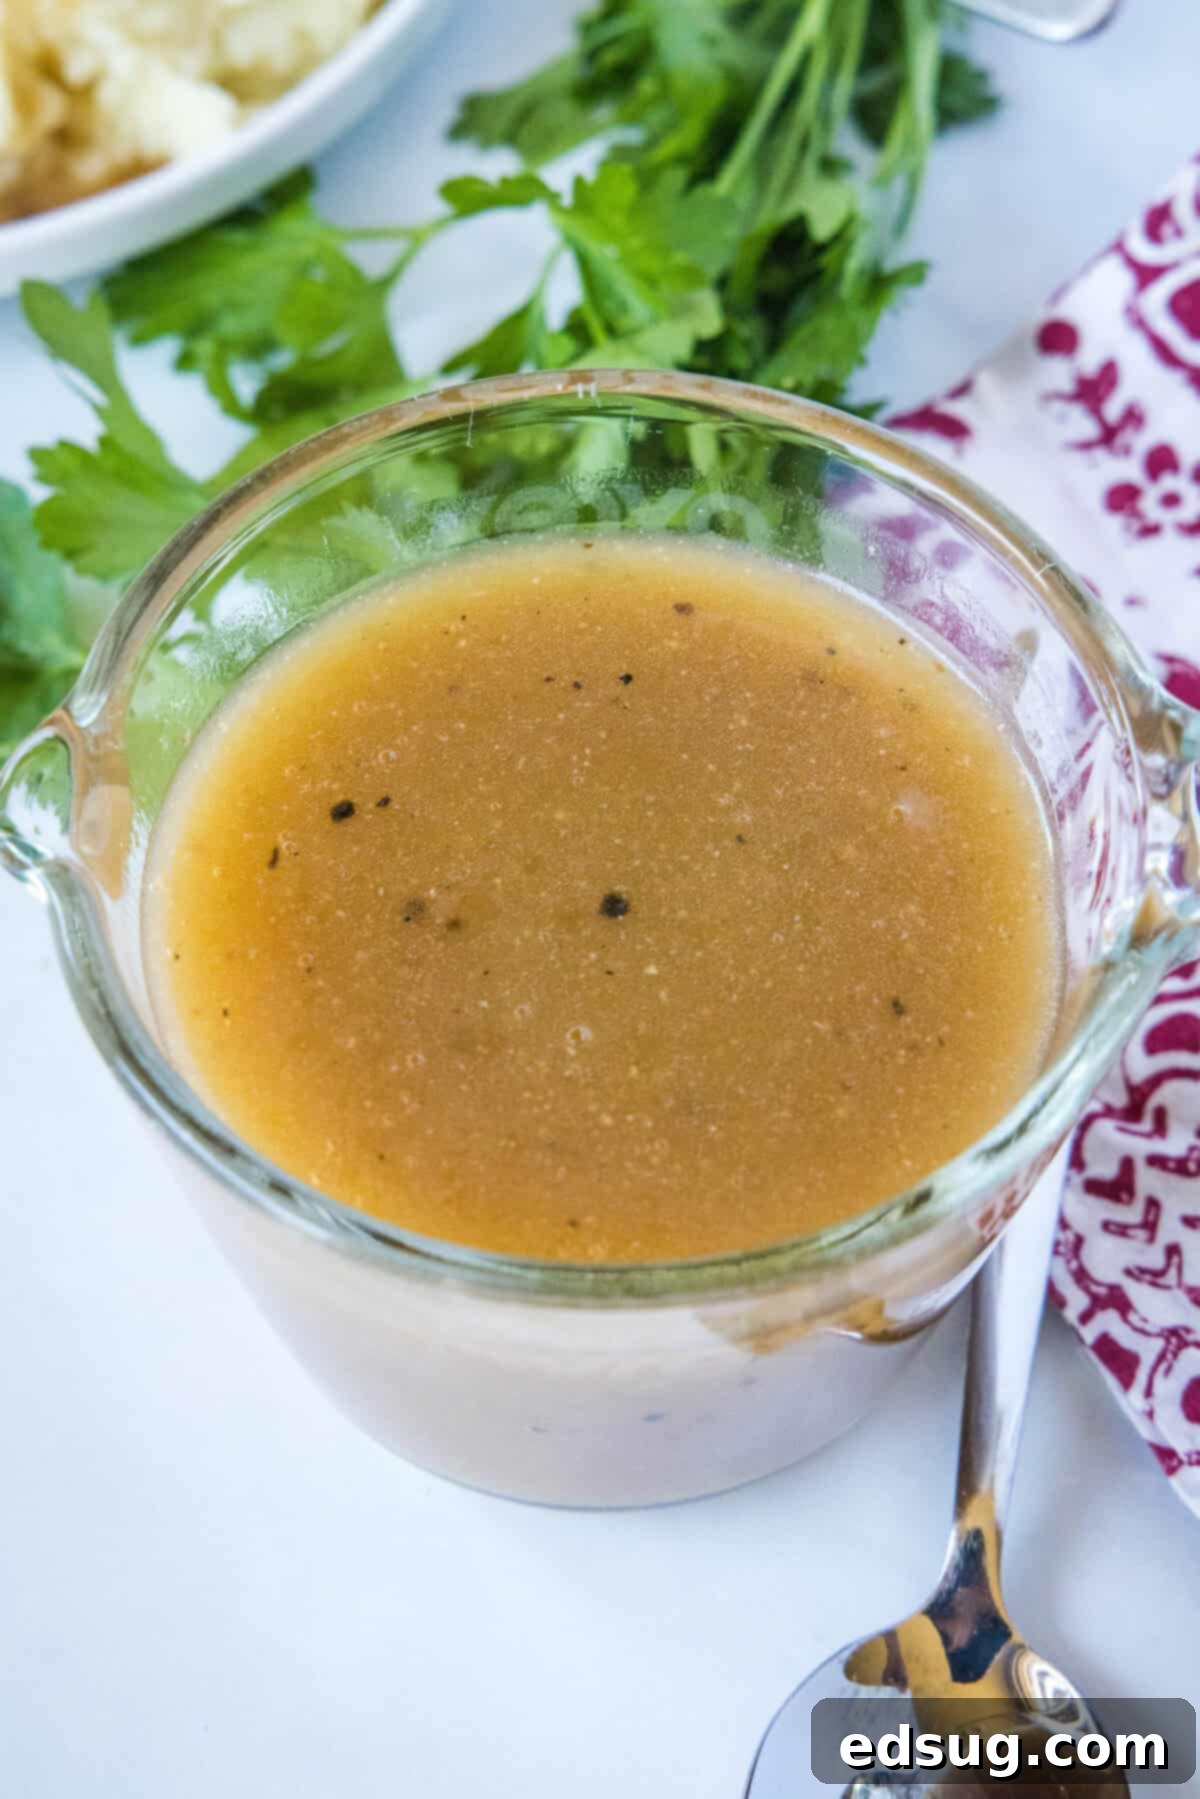
- Serve Warm: Once your gravy has reached your desired thickness, remove it from the heat. Pour the luscious brown gravy into a serving dish and present it alongside your favorite dishes. It’s fantastic with mashed potatoes, roast beef, meatloaf, chicken, or virtually any meal that benefits from a rich, savory sauce!
Expert Tips for the Best Brown Gravy
While this recipe is incredibly simple, a few extra tips and tricks can elevate your homemade brown gravy from great to absolutely unforgettable:
- Achieving a Deeper Color: If you prefer a darker, richer-looking gravy, a fantastic secret ingredient is Kitchen Bouquet Browning and Seasoning Sauce. Just a few drops will deepen the color significantly, adding a lovely rich hue without altering the flavor profile. Alternatively, a tiny pinch of instant coffee grounds (dissolved in the broth) or a tablespoon of deeply caramelized onions (strained out) can also add color and depth.
- Understanding the Slurry: This recipe relies on a cornstarch slurry for thickening, which is simply cornstarch dissolved in cold water. We prefer cornstarch over flour for gravy because it consistently yields a silkier, smoother, and more translucent gravy without the risk of lumps or a raw flour taste. Always mix cornstarch with cold liquid before adding it to hot liquid to prevent clumping.
- Incorporating Pan Drippings (If You Have Them!): While this recipe is designed to be delicious without drippings, if you happen to have them, you can absolutely enhance this gravy! After roasting meat, deglaze your pan with a bit of water or broth, scraping up all those flavorful browned bits. Skim off any excess fat. Measure the liquid, and use it as part of your 2 cups of “beef broth,” topping it off with additional beef broth if needed. Then, proceed with the rest of the recipe as instructed for an even richer, more complex flavor.
- Adding Layers of Flavor: Don’t be afraid to experiment! Fresh herbs like a sprig of rosemary or thyme, added to the simmering broth and removed before serving, can infuse wonderful aromatic notes. A splash of dry red wine, added to the broth and allowed to simmer and reduce for a few minutes, will introduce a sophisticated depth. For an earthy flavor, consider adding a few sautéed sliced mushrooms to the broth as it simmers. A tiny dash of balsamic vinegar at the end can also brighten and deepen the taste.
- Troubleshooting Gravy Consistency:
- Too Thick? Simply whisk in a tablespoon or two of hot beef broth or water until you reach your desired consistency.
- Too Thin? Mix an additional teaspoon of cornstarch with a tablespoon of cold water to create a new slurry. Slowly whisk it into the simmering gravy and cook for another minute or two until thickened.
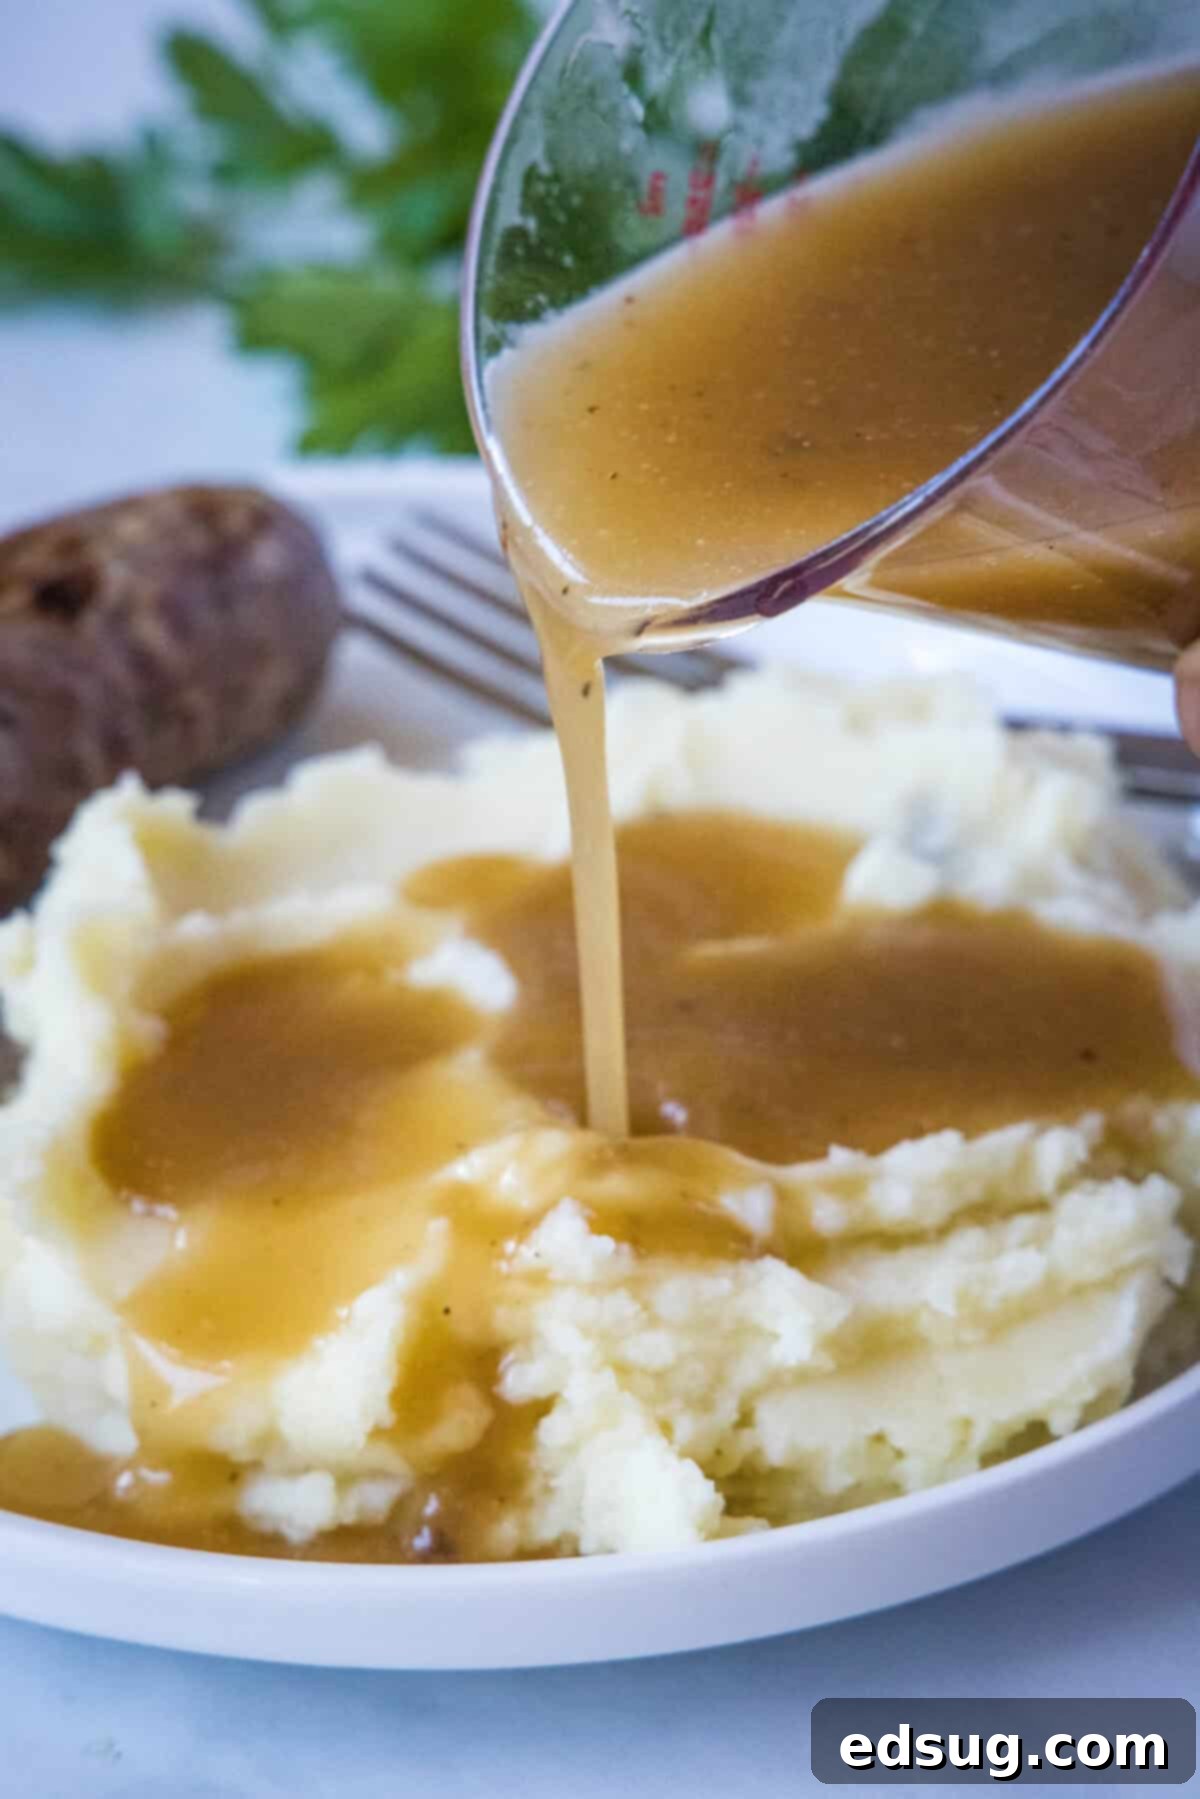
- Lumpy Gravy? If you find lumps, pour the gravy through a fine-mesh sieve or use an immersion blender to achieve a perfectly smooth consistency.
Storage Guidelines
Making a batch of this homemade brown gravy is a fantastic way to ensure you always have some on hand to elevate your meals. Proper storage helps maintain its quality and flavor:
Refrigeration
You can easily store any leftover brown gravy in an airtight container in the refrigerator for up to 5 days. When you’re ready to enjoy it again, simply reheat the gravy gently in a saucepan over low to medium heat, stirring occasionally, until it’s warmed through. If it seems too thick after chilling, you can whisk in a tablespoon or two of beef broth or water to thin it back to your preferred consistency.
Freezing for Later
Did you know gravy freezes beautifully? This makes it a perfect make-ahead component for future meals. Pour cooled gravy into an airtight, freezer-safe container or heavy-duty freezer bags. It can be stored in the freezer for 3-4 months. When ready to use, allow it to thaw overnight in the refrigerator. Then, reheat it on the stovetop, stirring frequently. You might notice a slight separation or change in texture after thawing, but a good whisking will bring it back to its smooth glory. If needed, adjust the consistency with a little extra broth or a fresh slurry if it needs more thickening.
Delicious Pairings: Recipes to Go With Brown Gravy
This versatile homemade brown gravy is the perfect companion for a wide array of dishes. Its rich, savory flavor enhances almost any comfort food. Here are some fantastic recipes and meal ideas that truly shine with a generous drizzle of this glorious gravy:
- Slow Cooker Potatoes: The ultimate comfort pairing.
- Cracker Barrel Meatloaf: Meatloaf and gravy are a match made in heaven.
- Whole Roast Chicken: Even without drippings, this gravy makes your roast sing.
- Baked Pork Chops: Adds moisture and flavor to leaner cuts.
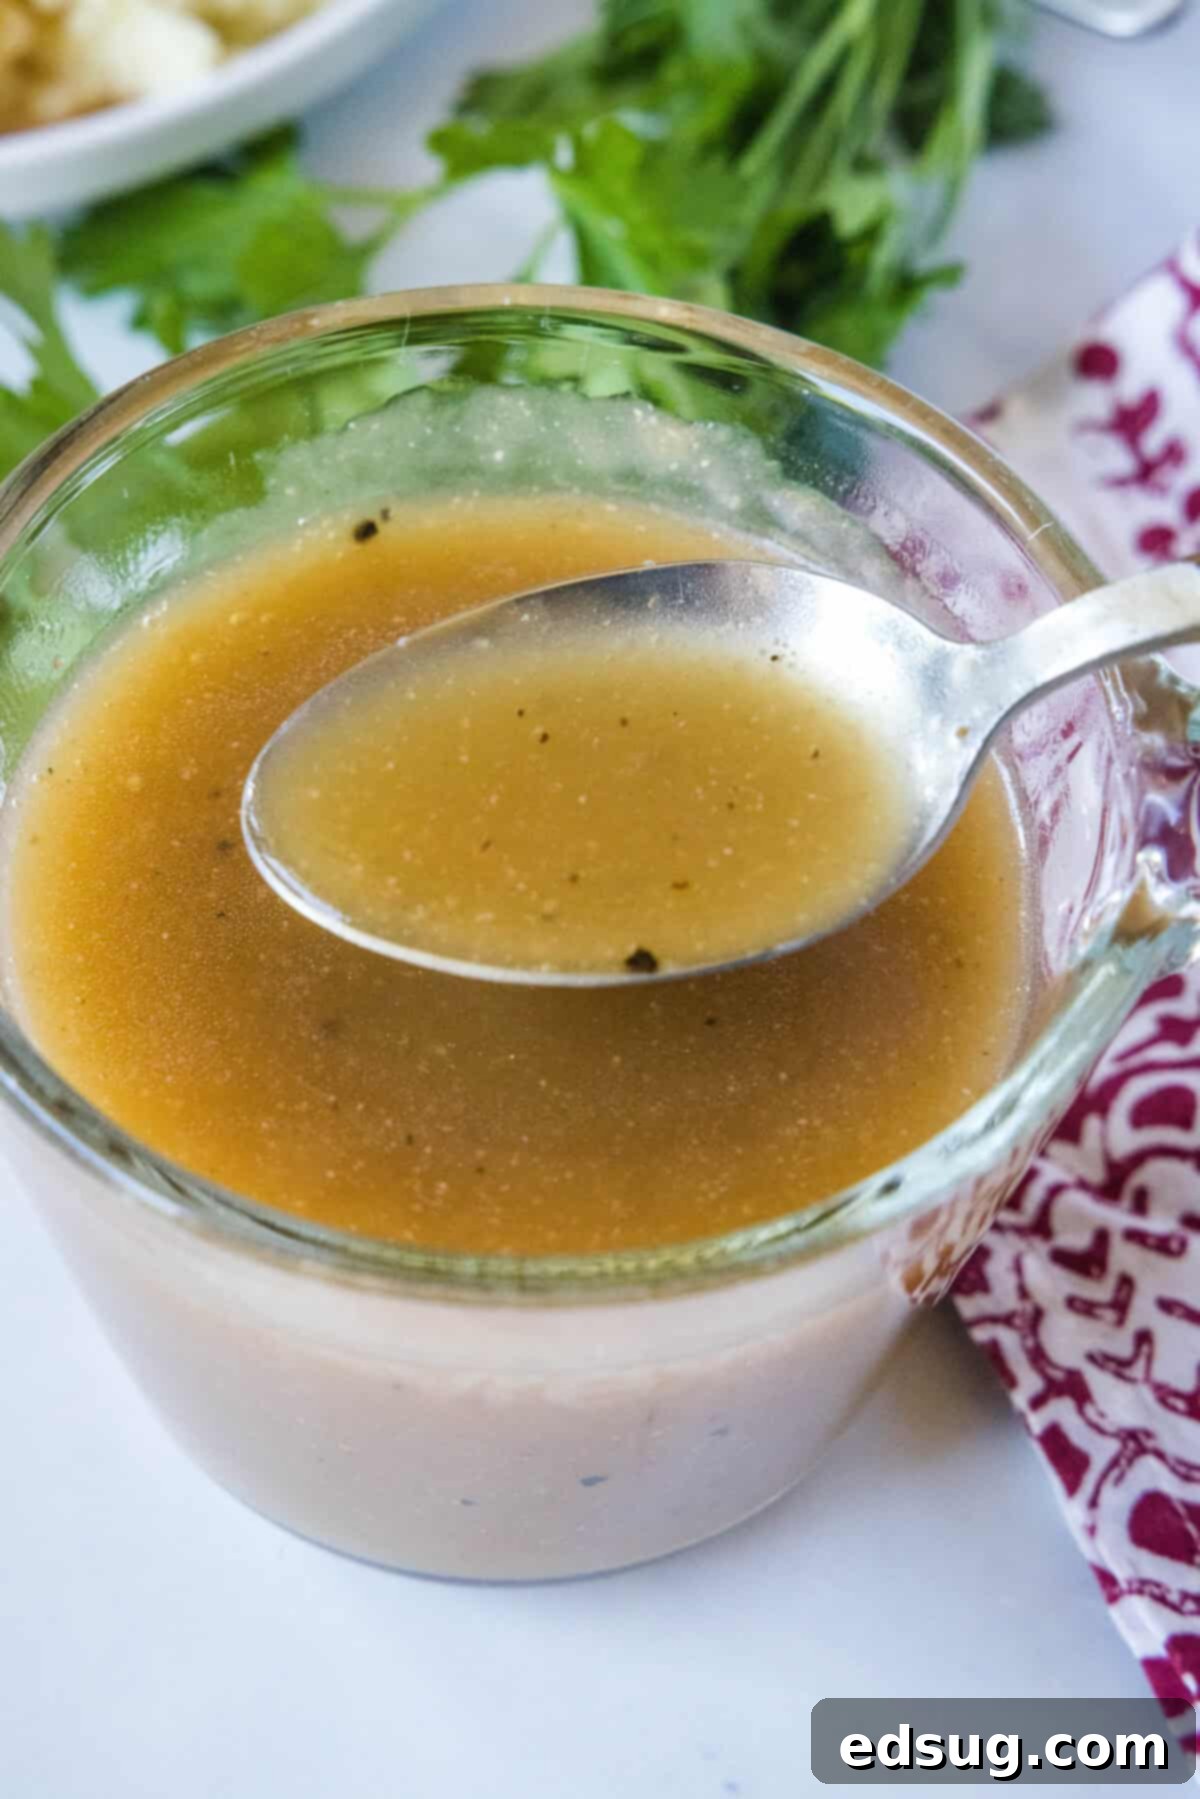
- Mashed Potatoes: A classic, indispensable duo!
- Roasted Vegetables: Drizzle over roasted carrots, green beans, or Brussels sprouts.
- Hot Open-Faced Sandwiches: Perfect over slices of roast beef or turkey on bread.
- Poutine: A Canadian classic, transform fries and cheese curds into an indulgent treat.
- Shepherd’s Pie or Pot Pie: Use it as a base or an additional topping.
- Biscuits and Gravy: A delicious twist on a breakfast favorite.
No matter what you’re serving, a spoonful of this homemade brown gravy is sure to make it even more delicious. It’s the ultimate comfort food enhancer, simple to make, and guaranteed to impress!
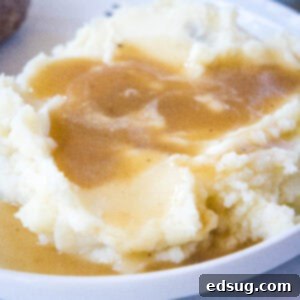
Brown Gravy
Erin Sellin
5 minutes
10 minutes
8
Rate Recipe
Print Recipe
Ingredients
- 3 Tablespoons butter
- 2 cups beef broth
- 2 teaspoons Worcestershire sauce
- 1/2 teaspoon onion powder
- 1/2 teaspoon garlic powder
- 1/2 teaspoon salt
- 1/4 teaspoon black pepper
- 1/4 cup cold water
- 2 Tablespoons cornstarch
Instructions
-
Melt butter in a saucepan over medium heat until it’s fully melted and slightly fragrant.3 Tablespoons butter
-
Pour in the beef broth along with the Worcestershire sauce, onion powder, garlic powder, salt, and pepper. Stir everything well to combine. Bring the mixture to a gentle simmer and let it cook for 5-10 minutes, allowing the flavors to deeply concentrate and meld.2 cups beef broth, 2 teaspoons Worcestershire sauce, 1/2 teaspoon onion powder, 1/2 teaspoon garlic powder, 1/2 teaspoon salt, 1/4 teaspoon black pepper
-
In a separate small bowl, vigorously whisk together the cold water and cornstarch until completely smooth to create your slurry. Ensure there are no lumps remaining.1/4 cup cold water, 2 Tablespoons cornstarch
-
Slowly and gradually add the cornstarch slurry to the simmering broth mixture in the saucepan, whisking constantly. Continue to simmer and stir for 2-3 minutes until the gravy has thickened to a smooth, glossy, and luxurious consistency.
-
Remove the rich brown gravy from the heat and serve immediately with your preferred dishes. Enjoy!
Nutrition
Nutrition information is automatically calculated, so should only be used as an approximation.
Additional Info
Erin Sellin
5 minutes
10 minutes
Side Dish Recipes
American
8
52
Like this recipe? Leave a comment below!
