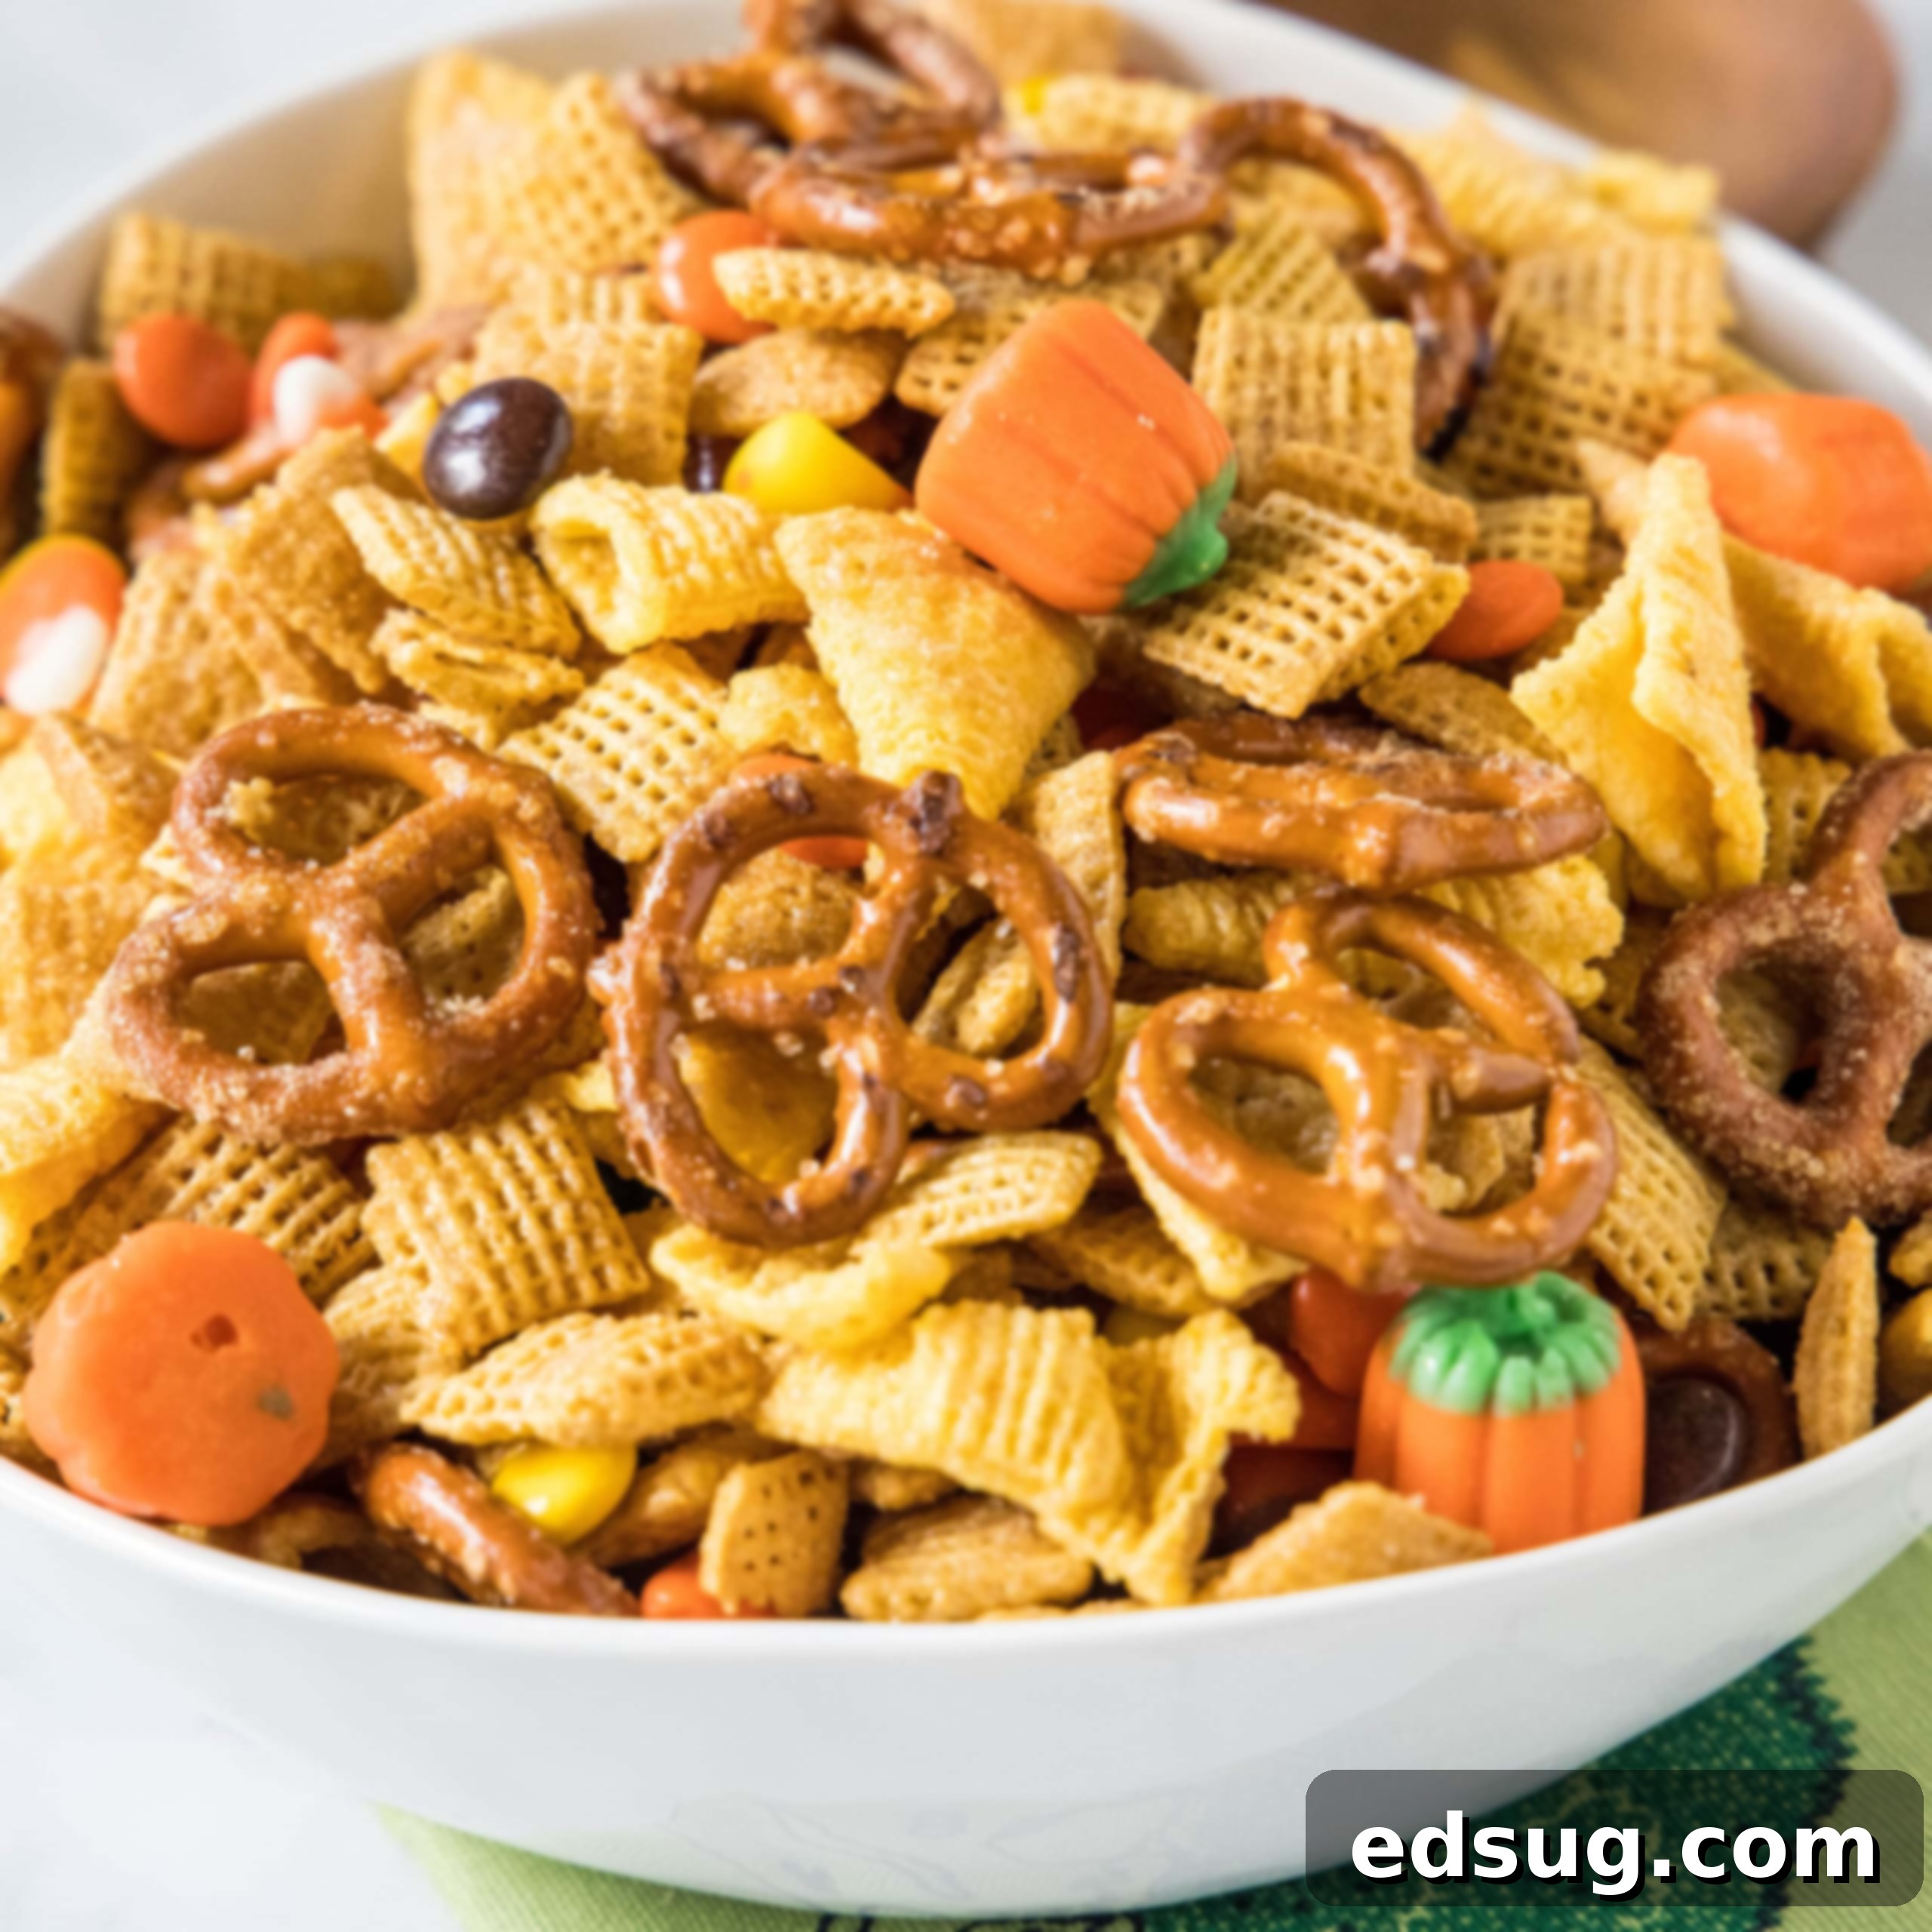
Easy Halloween Party Mix: A Sweet and Salty Chex Mix for Festive Fall Fun
Get ready for a ghoulishly good time with this incredibly easy and utterly delicious Halloween Party Mix! This festive fall treat is the perfect blend of sweet and salty, crunchy textures that everyone, from little goblins to grown-up monsters, will adore. Whether you’re hosting a spooky soirée, looking for a fun movie night snack, or simply want to add a touch of autumnal cheer to your day, this homemade Chex mix is your go-to recipe. It’s quick to throw together, highly customizable, and guaranteed to disappear fast!
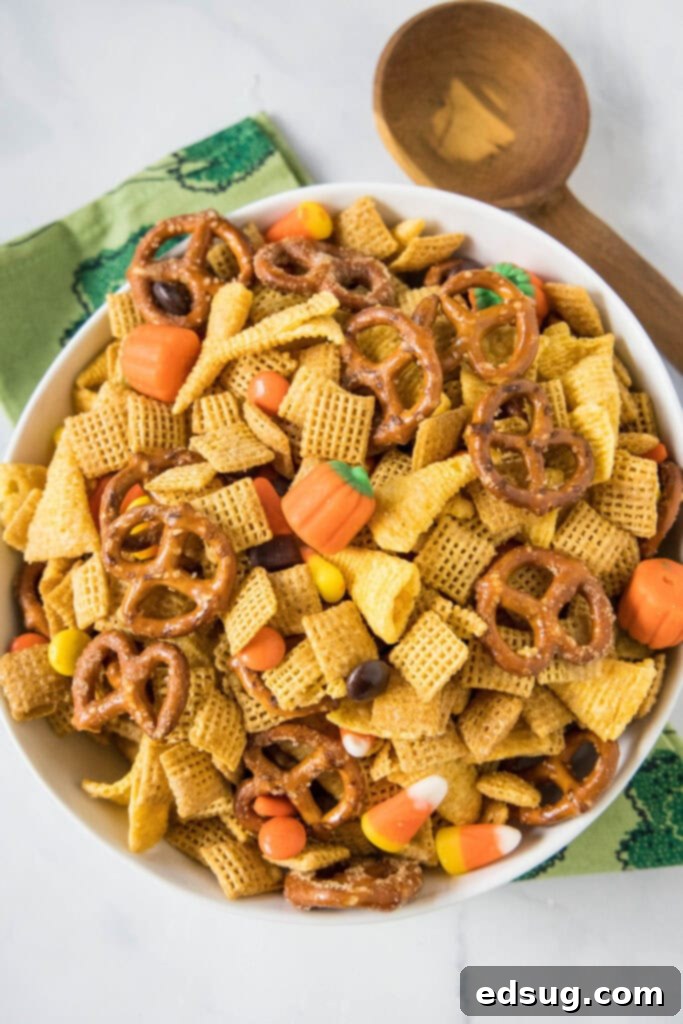
Snack mixes are a brilliant way to infuse holiday spirit into your gatherings without much fuss. The beauty of a party mix lies in its versatility. You can tailor it to any occasion or season. For instance, a Patriotic Party Mix bursting with red, white, and blue treats is perfect for summer celebrations. Come winter, our family loves to whip up a classic Christmas Party Mix. But for autumn, there’s nothing quite like adding vibrant candy corn and pumpkins to create a truly irresistible Halloween snack.
The foundation of this amazing recipe is Chex Cereal, known for its fantastic crunch and ability to absorb savory and sweet coatings alike. I personally gravitate towards Corn Chex for its slightly sweet and robust flavor, but the great news is that you can use any variety you prefer. Rice Chex offers a lighter, crispier texture, while Wheat Chex provides a heartier bite. Don’t limit yourself to just Chex, either! Crispix or even Life Cereal can make excellent substitutes, adding their own unique crispness. This recipe is super versatile, allowing you to use what you and your family enjoy most, or simply what you already have in your pantry. It’s all about making it convenient and delicious for you!
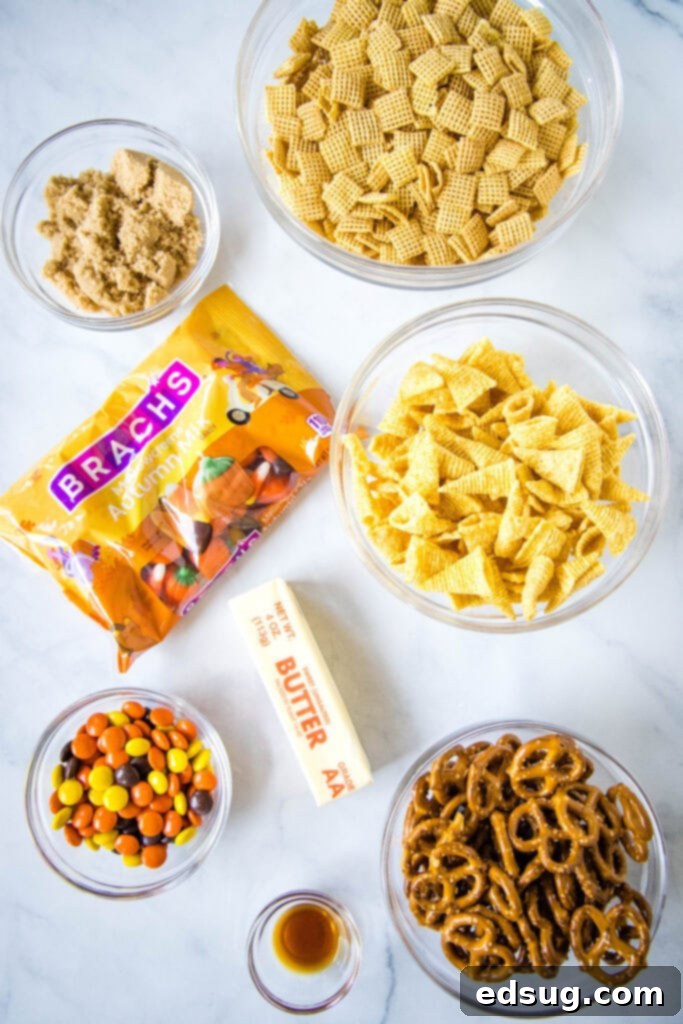
Essential Ingredients for Your Halloween Chex Mix
For exact measurements and a comprehensive, printable recipe card, make sure to scroll down to the bottom of this post!
- Chex Cereal: The base of our mix! As mentioned, Corn Chex is a personal favorite, but feel free to experiment with Rice Chex, Wheat Chex, or even a combination for varied texture.
- Bugles: These cone-shaped corn snacks add a unique crunch and savory note that complements the sweet coating beautifully. Their shape also makes them fun to eat!
- Pretzels: We use classic pretzel twists (or sticks) to introduce that perfect salty contrast and another satisfying crunch. They absorb some of the sweet coating, creating an addictive flavor.
- Butter: Essential for coating our snack components and creating that delicious, caramel-like base for our sweet mixture. Use unsalted butter to control the saltiness, or salted if you prefer a bolder flavor.
- Brown Sugar: This provides the rich, deep sweetness and helps form that irresistible glaze when baked. Light brown sugar is ideal for a balanced sweetness.
- Vanilla Extract: A splash of vanilla enhances all the sweet flavors, adding warmth and depth to the caramel coating.
- Candy Corn/Pumpkins: The iconic Halloween candies! I typically use a bag of “Harvest Mix,” which often includes both candy corn and those adorable small candy pumpkins. Aim for about 2 cups total to ensure every bite is festive.
- Reese’s Pieces: These peanut butter candies bring a burst of color and a delightful peanut butter chocolate flavor, making the mix even more enticing. Their crunchy candy shell holds up well in the mix.
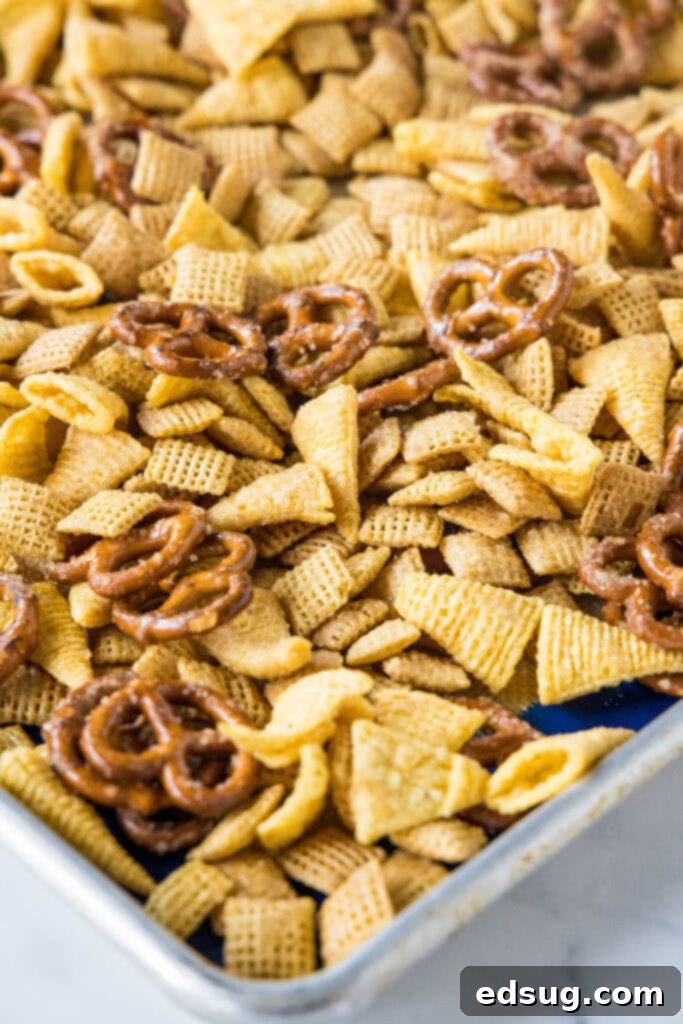
Crafting Your Spooky Sweet & Salty Party Mix
Making this Halloween Party Mix is incredibly straightforward, perfect for a quick snack prep or involving the kids in the kitchen. Here’s a simple breakdown of the steps:
- Prepare Your Base: In a generously sized mixing bowl, combine your chosen Chex cereal, Bugles, and pretzels. Make sure there’s enough room to stir everything comfortably without spilling.
- Create the Sweet Coating: In a separate, smaller microwave-safe bowl, melt the butter. Once melted, stir in the brown sugar and vanilla extract. Whisk vigorously until the sugar is mostly dissolved and the mixture is smooth and well combined. This is where the magic begins!
- Coat Evenly: Pour the warm butter and sugar mixture over the cereal blend. Using a large spoon or spatula, gently but thoroughly stir until every piece of cereal, every Bugle, and every pretzel is evenly coated. Take your time with this step to ensure maximum flavor in every bite.
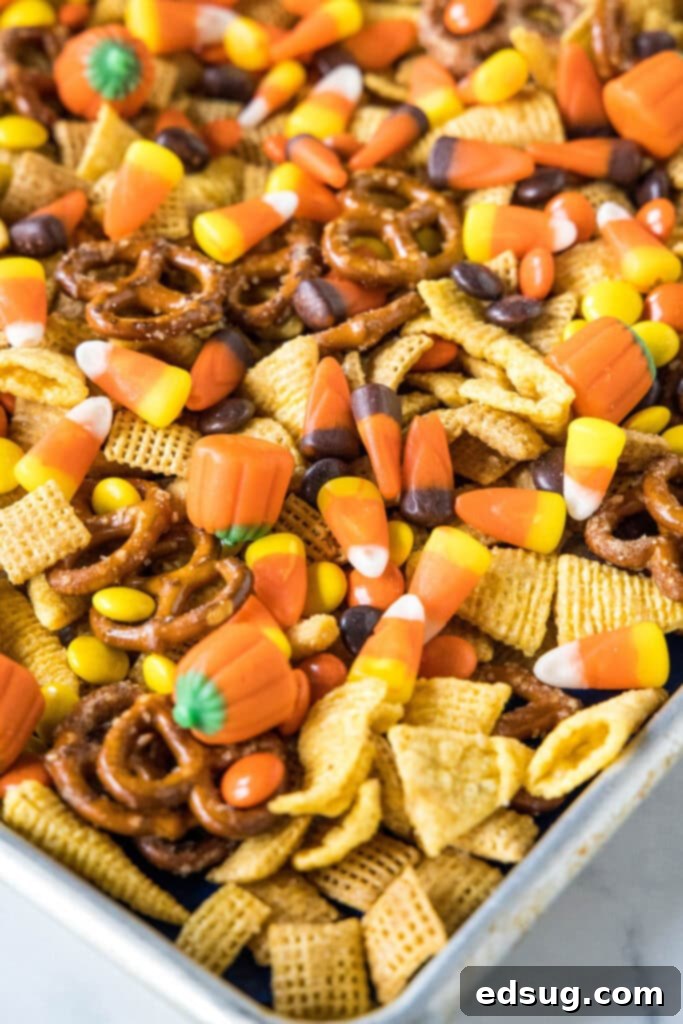
- Bake to Perfection: Spread the coated mixture onto a large baking sheet, ideally lined with parchment paper for easy cleanup and to prevent sticking. Ensure it’s in a single layer to allow for even baking and crisping. Bake in a preheated oven for 45 minutes, making sure to stir the mix every 15 minutes. This regular stirring is key to achieving that perfect, uniform crunch and preventing any burning.
- Cool and Toss: Once baked, remove the tray from the oven and let the party mix cool completely on the baking sheet. This cooling step is critical! As it cools, the mixture will become wonderfully crispy. Once completely cooled to room temperature, transfer it to a large bowl and toss with the vibrant candy corn (or pumpkins) and Reese’s Pieces. Mixing them in while warm would cause them to melt and clump, creating a sticky mess.
Pro Tips for the Best Halloween Party Mix
Even though this recipe is incredibly simple, a few expert tips can elevate your party mix from great to absolutely unforgettable:
- Scaling Made Easy: This recipe is wonderfully forgiving and easy to adjust. Planning for a small gathering? Halve the ingredients. Expecting a crowd or want leftovers? Double or triple everything! Just ensure you use larger bowls and baking sheets accordingly to maintain a single layer for baking.
- Freezing for Future Feasts: Yes, you can freeze party mix! I often make a full batch, serve half immediately, and freeze the other half. Store the cooled mix in a freezer-safe, airtight bag or container for up to 2 months. Thaw at room temperature for a few hours before serving for a quick, ready-to-go snack.
- The Golden Rule of Cooling: Seriously, let the party mix cool completely after baking. This step cannot be rushed. If you add candies like Reese’s Pieces or chocolate chips while the mix is still warm, the heat will melt them, resulting in a sticky, clumpy, and potentially messy batch. Patience here pays off in perfectly distinct candy pieces and crisp cereal.
- Smart Storage Solutions: To keep your Halloween Party Mix fresh and crunchy, store it in an airtight container at room temperature. It will stay delicious for about 2 weeks, though honestly, it rarely lasts that long in our house!
- Use Parchment Paper: Lining your baking sheet with parchment paper is highly recommended. It prevents the mix from sticking to the pan, makes cleanup a breeze, and ensures a more even bake.
- Don’t Overcrowd the Pan: When spreading the mix onto the baking sheet, aim for a single layer. An overcrowded pan will steam rather than bake, leading to a less crispy result. If you’re doubling the recipe, use two baking sheets.
Unleash Your Creativity: More Mix-In Ideas!
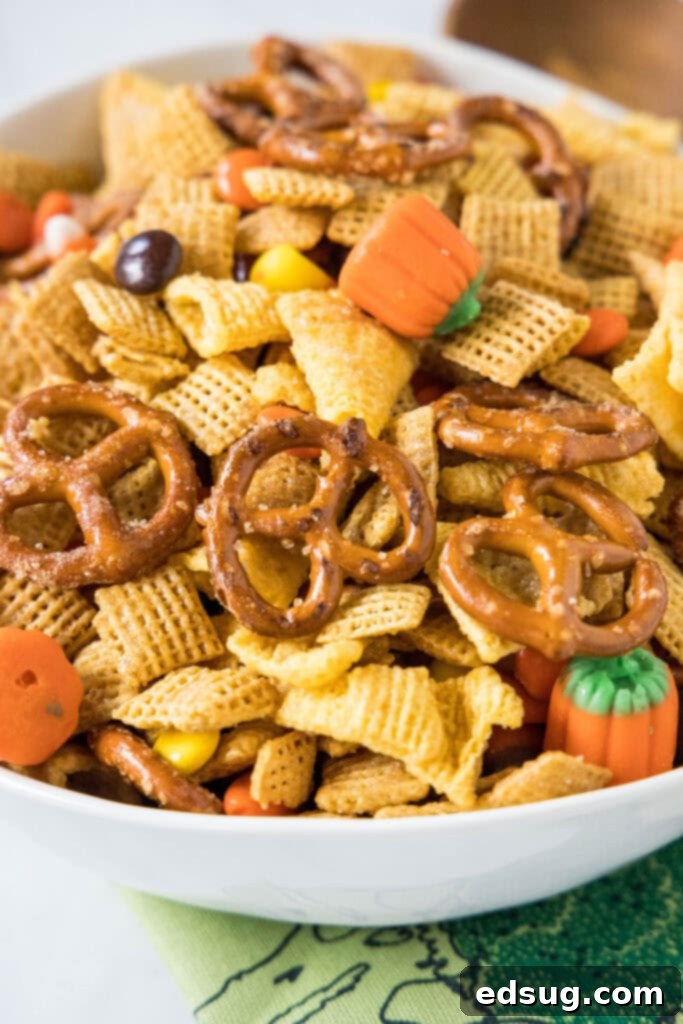
This is truly where you can make this Halloween Party Mix your own and let your creativity shine! The possibilities for customization are nearly endless, allowing you to tailor the flavors and textures to your heart’s content. Think about balancing different elements to create a dynamic snacking experience.
- Sweet Mix-Ins:
- Mini Peanut Butter Cups: Chopped mini Reese’s peanut butter cups add another layer of peanut butter chocolate goodness.
- Fall Colored M&M’s: Grab a bag of autumn-themed M&M’s for an extra pop of color and classic chocolate taste.
- Candy Eyes: For a truly spooky effect, sprinkle in some edible candy eyes after the mix has cooled.
- Chocolate Chips: Milk chocolate, semi-sweet, or even white chocolate chips would be a delightful addition.
- Mini Marshmallows: Add these after cooling for soft, sweet pockets of delight.
- White Chocolate Drizzle: For an extra fancy touch, melt some white chocolate and drizzle it over the cooled mix before it sets.
- Sprinkles: Halloween-themed sprinkles can be added at the very end for visual appeal.
- Salty Mix-Ins:
- Cheese Crackers: Goldfish or Cheez-Its can bring a savory, cheesy flavor profile.
- Peanuts or Mixed Nuts: Add a handful for extra protein and a nutty crunch. Ensure no one has nut allergies if serving to guests.
- Oyster Crackers: These small, light crackers absorb flavor well and add a different texture.
- Pretzel Sticks: If you prefer a different shape, pretzel sticks work just as well as twists.
- Other Cereals: Consider other plain, crunchy cereals like Cheerios for added variety.
- Corn Chips: Swap out Bugles for corn chips for a different corn flavor and crunch.
- Crispy Fried Onions: For a truly savory and unexpected twist, a small amount of crispy fried onions can be surprisingly good!
The Importance of Baking Chex Mix: Don’t Skip This Step!
A common question when making snack mixes is whether baking is truly necessary. For this sweet and salty Chex mix, the answer is a resounding yes! Skipping the baking step would fundamentally change the outcome of your mix, and not for the better.
Here’s why baking is crucial:
- Achieving Crispiness: The heat from the oven transforms the texture of the cereal, Bugles, and pretzels. It dries out any excess moisture and creates that satisfying, addictive crunch we all love in a good party mix. Without baking, your mix would likely remain somewhat soft or even become soggy, losing its desirable texture.
- Developing Flavor: Baking allows the butter, brown sugar, and vanilla extract to caramelize and meld together, creating a rich, sweet glaze that adheres perfectly to all the components. This process deepens the flavors, turning a simple coating into something truly irresistible. It’s similar to how baking transforms raw cookie dough into a golden, flavorful cookie.
- Ensuring Even Coating: While you stir the mixture on the baking sheet, the warm, slightly sticky coating is continuously redistributed, ensuring every piece gets an even layer of deliciousness. This helps prevent clumps and ensures a consistent flavor profile throughout the batch.
So, definitely don’t skip the baking! It’s what gives this Halloween Party Mix its signature crispy, sweet, and perfectly coated appeal.
Serving & Gifting Your Spooky Snack
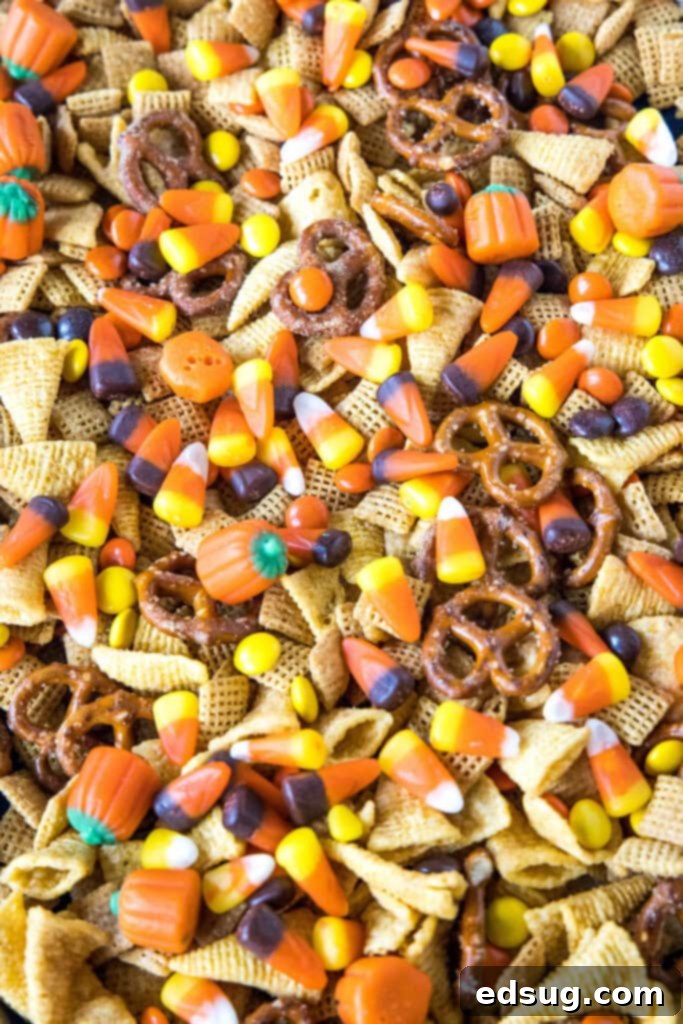
Once your Halloween Party Mix is cooled and the candies are tossed in, it’s ready to be devoured! Here are some ideas for serving and even gifting this delightful snack:
- Party Bowl: The simplest way is to pour it into a large, festive Halloween-themed bowl for guests to munch on.
- Individual Servings: For parties, portion out the mix into small paper cups or treat bags. This is especially great for kids and helps with portion control.
- Lunchbox Treat: Pack a small handful in school lunchboxes for a fun, seasonal surprise.
- Movie Night Munchies: Perfect for a cozy Halloween movie marathon.
- Homemade Gift: Package the cooled mix in clear cellophane bags tied with orange and black ribbons. It makes a wonderful homemade gift for friends, teachers, or neighbors during the fall season.
- Trick-or-Treat Alternative: Offer small bags of this party mix to trick-or-treaters as a homemade alternative to store-bought candy (check for allergies first!).
More Fun Halloween Recipes
Looking for more spooky treats to complete your Halloween celebration? Here are some other frightfully delicious recipes that are perfect for the season:
- Halloween Candy Bark: A colorful and crunchy chocolate bark loaded with your favorite Halloween candies.
- Graveyard Halloween Pudding Cups: Individual chocolate pudding cups transformed into eerie graveyards with cookie crumbs and candy tombstones.
- Witches Brew: A vibrant, bubbly, and delicious non-alcoholic punch perfect for any Halloween gathering.
- Mummy Granola Bars: Healthy-ish granola bars decorated to look like adorable mummies, great for a lunchbox treat.
- Ghost Cupcakes: Simple and sweet cupcakes topped with ghostly frosting for a cute Halloween dessert.
- Spooky Spider Brownies: Fudgy brownies adorned with edible spiders for a creepy-crawly delight.
Halloween Party Mix
Pin Recipe
Rate Recipe
Print Recipe
Ingredients
- 4 cups Chex Cereal
- 2 cups Bugles
- 2 cups pretzels
- 1/2 cup butter, melted
- 1/2 cup light brown sugar
- 1/2 teaspoon vanilla extract
- 1 cup Reese’s Pieces
- 2 cups candy corn/pumpkins
Instructions
-
Preheat oven to 250º F.
-
In a large bowl combine chex cereal, Bugles, and pretzels.
-
In a small bowl stir together melted butter, brown sugar, and vanilla extract until well blended and the sugar is mostly dissolved.
-
Pour butter mixture over the cereal and stir until everything is well coated.
-
Pour onto a large baking sheet and spread out into a single layer.
-
Bake for 45 minutes, stirring every 15 minutes.
-
Remove from the oven and let cool completely.
-
Once the mixture is cool toss with the Reese’s Pieces and candy corn before serving.
Notes
Nutrition
Nutrition information is automatically calculated, so should only be used as an approximation.
Additional Info
Like this recipe? Leave a comment below!
I’ve created a fun group on Facebook, and I would love for you to join us! It’s a place where you can share YOUR favorite recipes, ask questions, and see what’s new at Dinners, Dishes and Desserts, ensuring you never miss a new recipe!
Be sure to follow me on Instagram and tag #dinnersdishes so I can see all the wonderful DINNERS, DISHES, AND DESSERTS recipes YOU make!
Don’t miss out on any posts! Be sure to follow me on my social media channels:
Facebook | Twitter | Pinterest | Instagram
