The Best Homemade Lemon Bars: Buttery Shortbread & Perfectly Tart Lemon Filling
These classic lemon bars are a true delight, featuring an incredibly rich, buttery shortbread crust that perfectly complements a vibrant, perfectly tart, and creamy lemon filling. This recipe is designed for ease and efficiency, requiring just about an hour from start to finish, yet the resulting bars taste every bit as gourmet and satisfying as those found in the finest bakeries. Prepare to impress your friends and family with this irresistible sweet and sour treat!
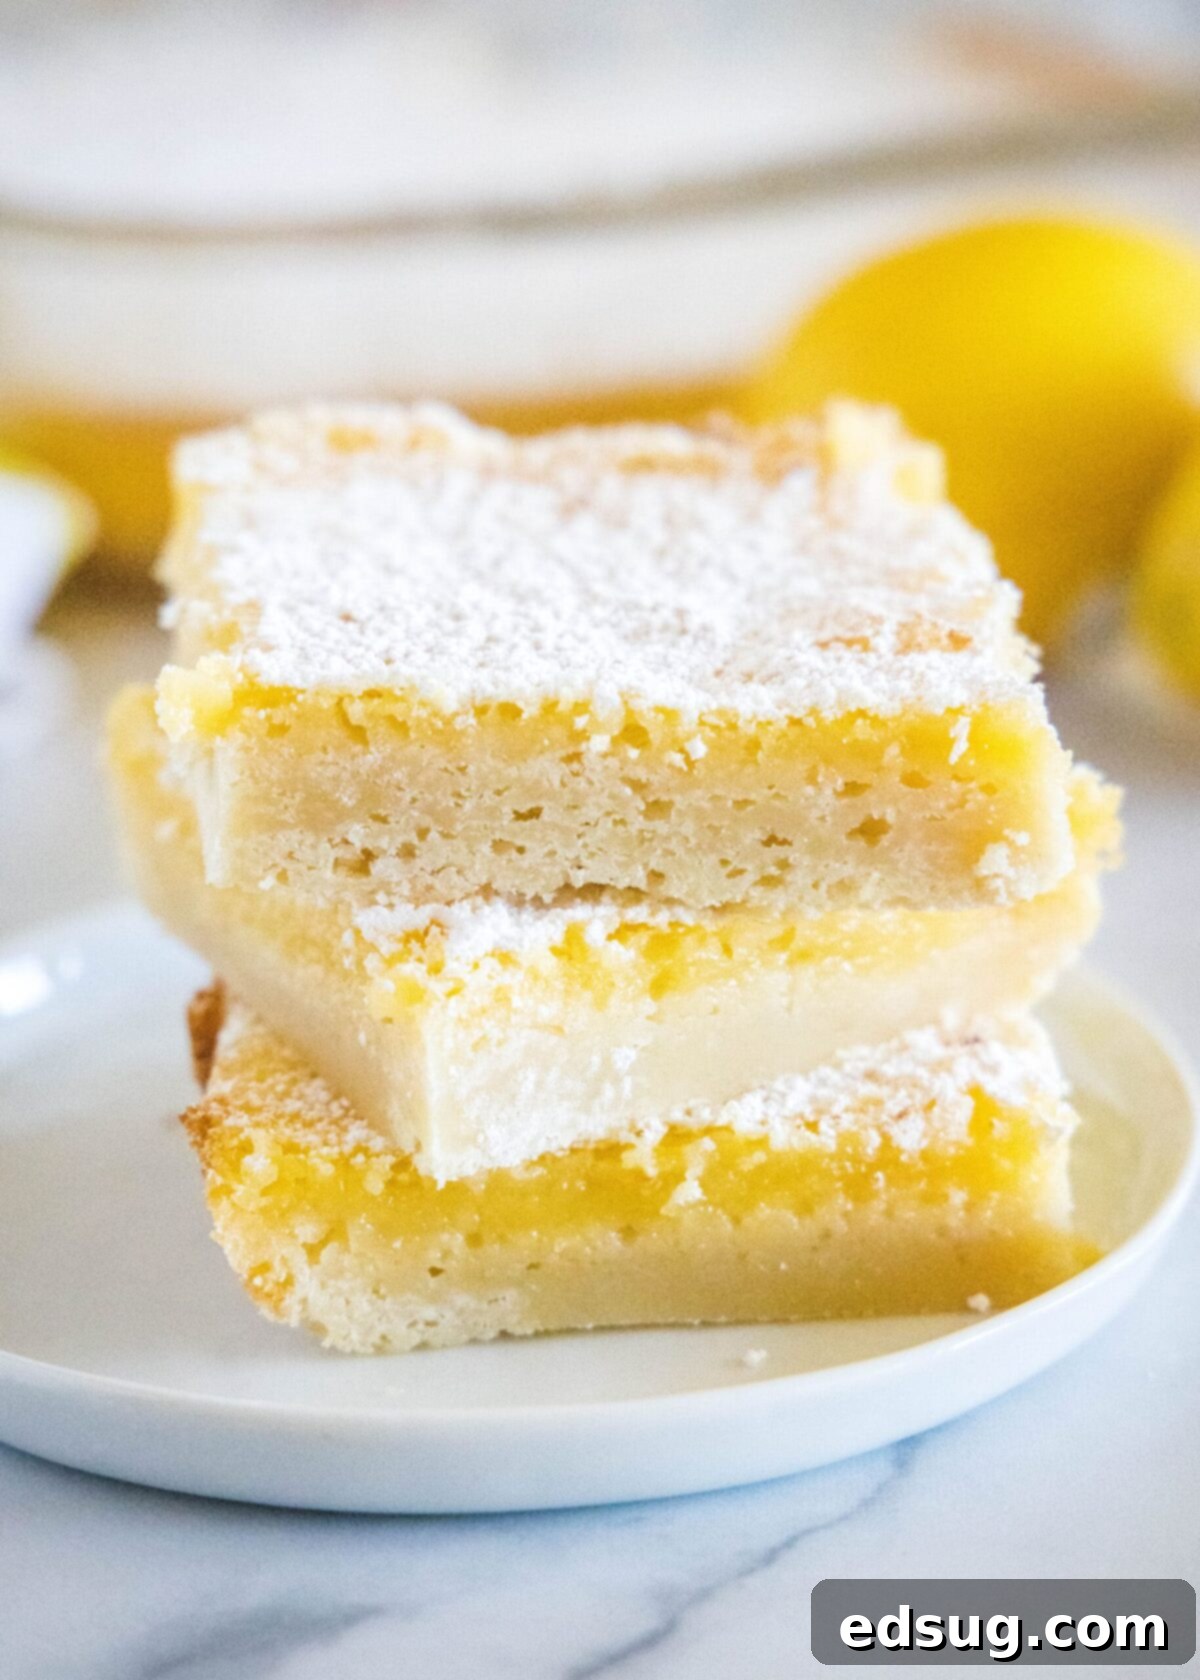
Lemon bars hold a special place among my favorite desserts, and it’s all thanks to their impeccable balance of flavors. This particular recipe, I can confidently say, surpasses every other lemon bar recipe I’ve ever tried or made. The undisputed star is undoubtedly the bright and zesty lemon filling, which strikes a harmonious chord between sour, tangy, and just the right touch of sweetness. However, let’s not overlook the unsung hero: the shortbread crust. It truly steals a piece of the spotlight with its extraordinary buttery richness and tender, crumbly texture, providing a brilliant foundation that perfectly contrasts and complements the vibrant lemon layer.
I find myself making these delectable lemon bars time and time again because they are suitable for virtually any occasion. They serve as a fantastic formal dessert after dinner, yet they’re equally wonderful as a casual midday treat paired with a steaming cup of coffee. Honestly, sometimes I even enjoy one with breakfast – they’re just that good and surprisingly versatile!
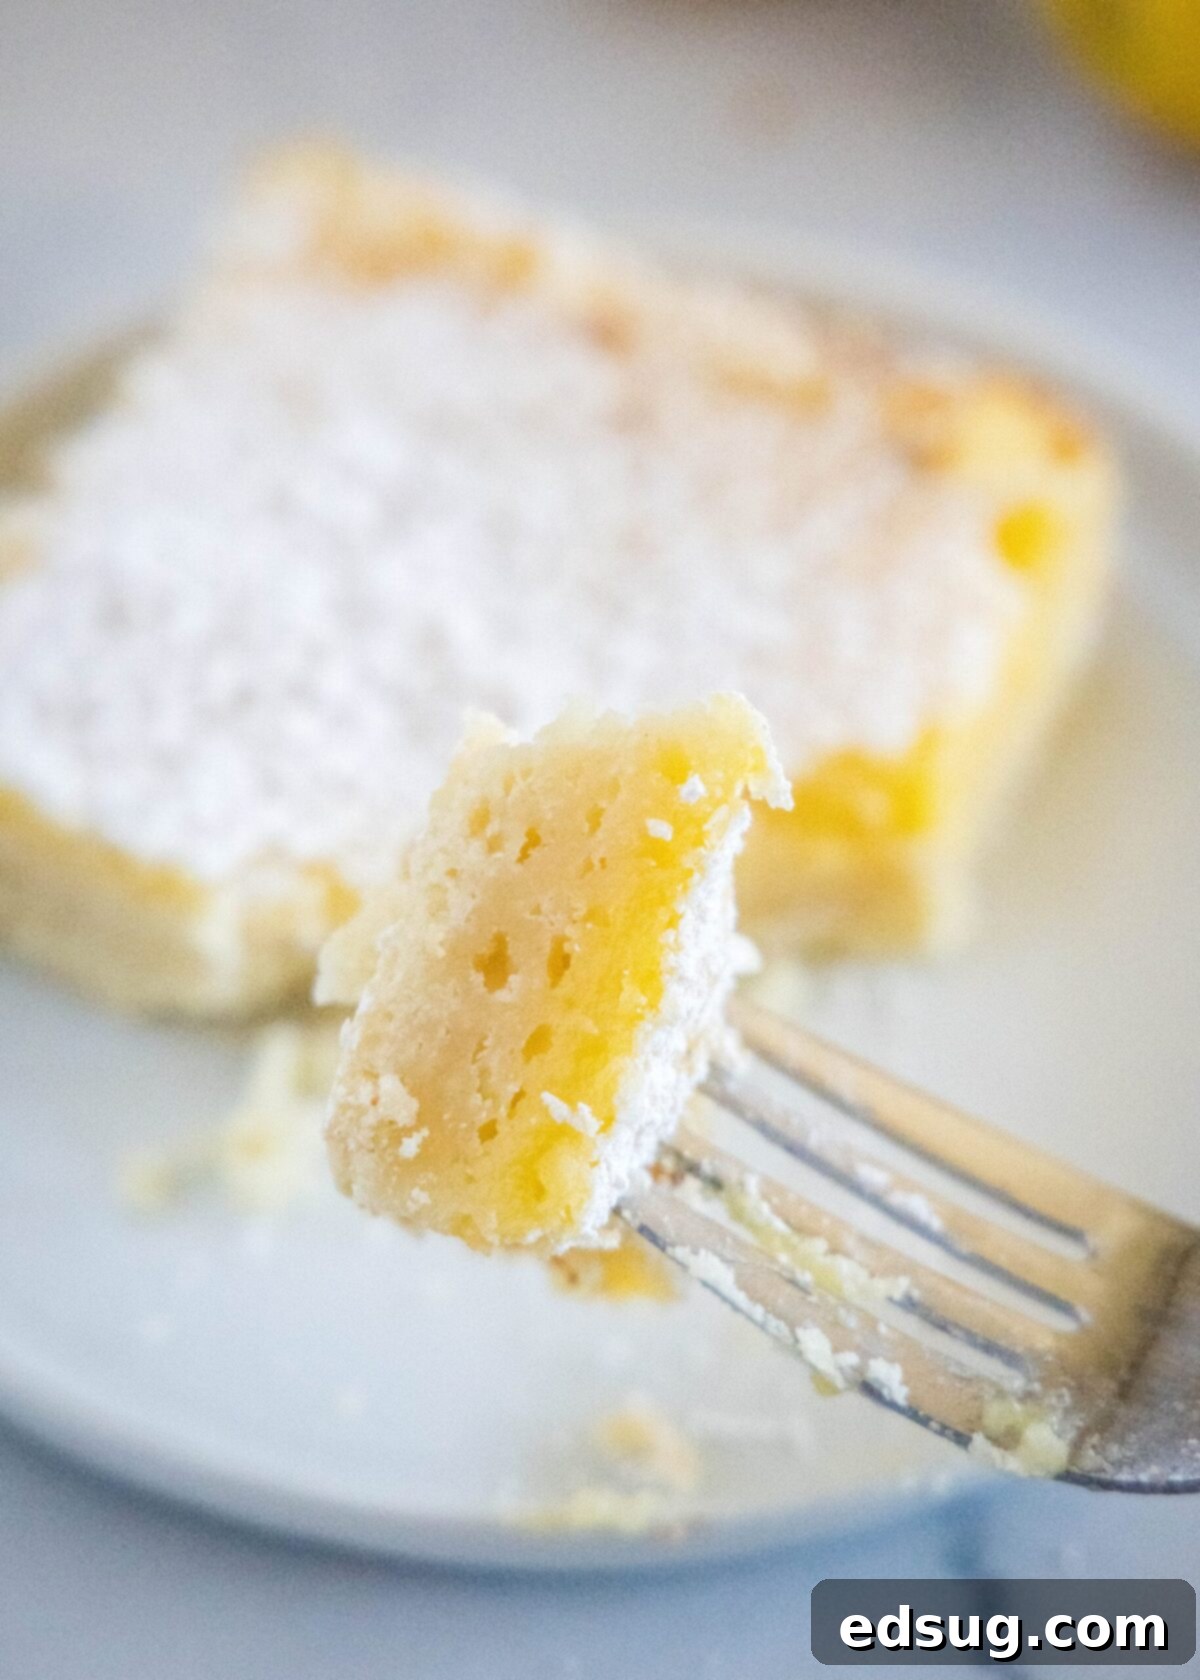
Why You’ll Absolutely Love These Buttery Lemon Dessert Bars
There are countless reasons why these tart and buttery lemon bars have become a staple in my kitchen, and I’m certain they’ll become one of your go-to desserts too. Here’s why I believe you’ll adore them every bit as much as I do:
- Surprisingly Simple to Make. Despite their impressive taste and appearance, these dessert bars are remarkably straightforward to prepare. You won’t need any exotic ingredients; they primarily call for common pantry and fridge staples. From gathering your ingredients to pulling the golden-brown bars out of the oven, the entire process takes a mere 60 minutes. You’ll be genuinely amazed at how effortlessly these exquisite treats come together!
- The Ultimate Party Dessert. Whenever I’m hosting a get-together or attending a potluck, these lemon bars are my absolute first choice. They consistently prove to be a crowd-pleaser, disappearing quickly from any dessert table. Their convenience is unmatched: they’re a perfect finger food, eliminating the need for forks and plates typically required for pies or cakes. Furthermore, they don’t demand constant temperature control like ice cream. You can simply arrive with a generous platter of these vibrant bars, place them out, and let guests enjoy them at their leisure throughout the event. Their bright flavor profile is a welcome addition to any celebration.
- Wonderfully Light and Refreshing. While I rarely meet a dessert I don’t like, sometimes I’m simply not in the mood for something overly rich or heavy. That’s precisely when these lemon bars shine. They offer a decadent experience without being cloying or weighty. The tartness of the lemon cuts through the sweetness, creating a refreshing sensation that won’t leave you feeling sluggish or in need of a post-dessert nap. Their bright, sunny flavor makes them an absolutely perfect indulgence, especially on a warm spring afternoon or a light summer evening.
Essential Ingredients for Your Perfect Lemon Bars
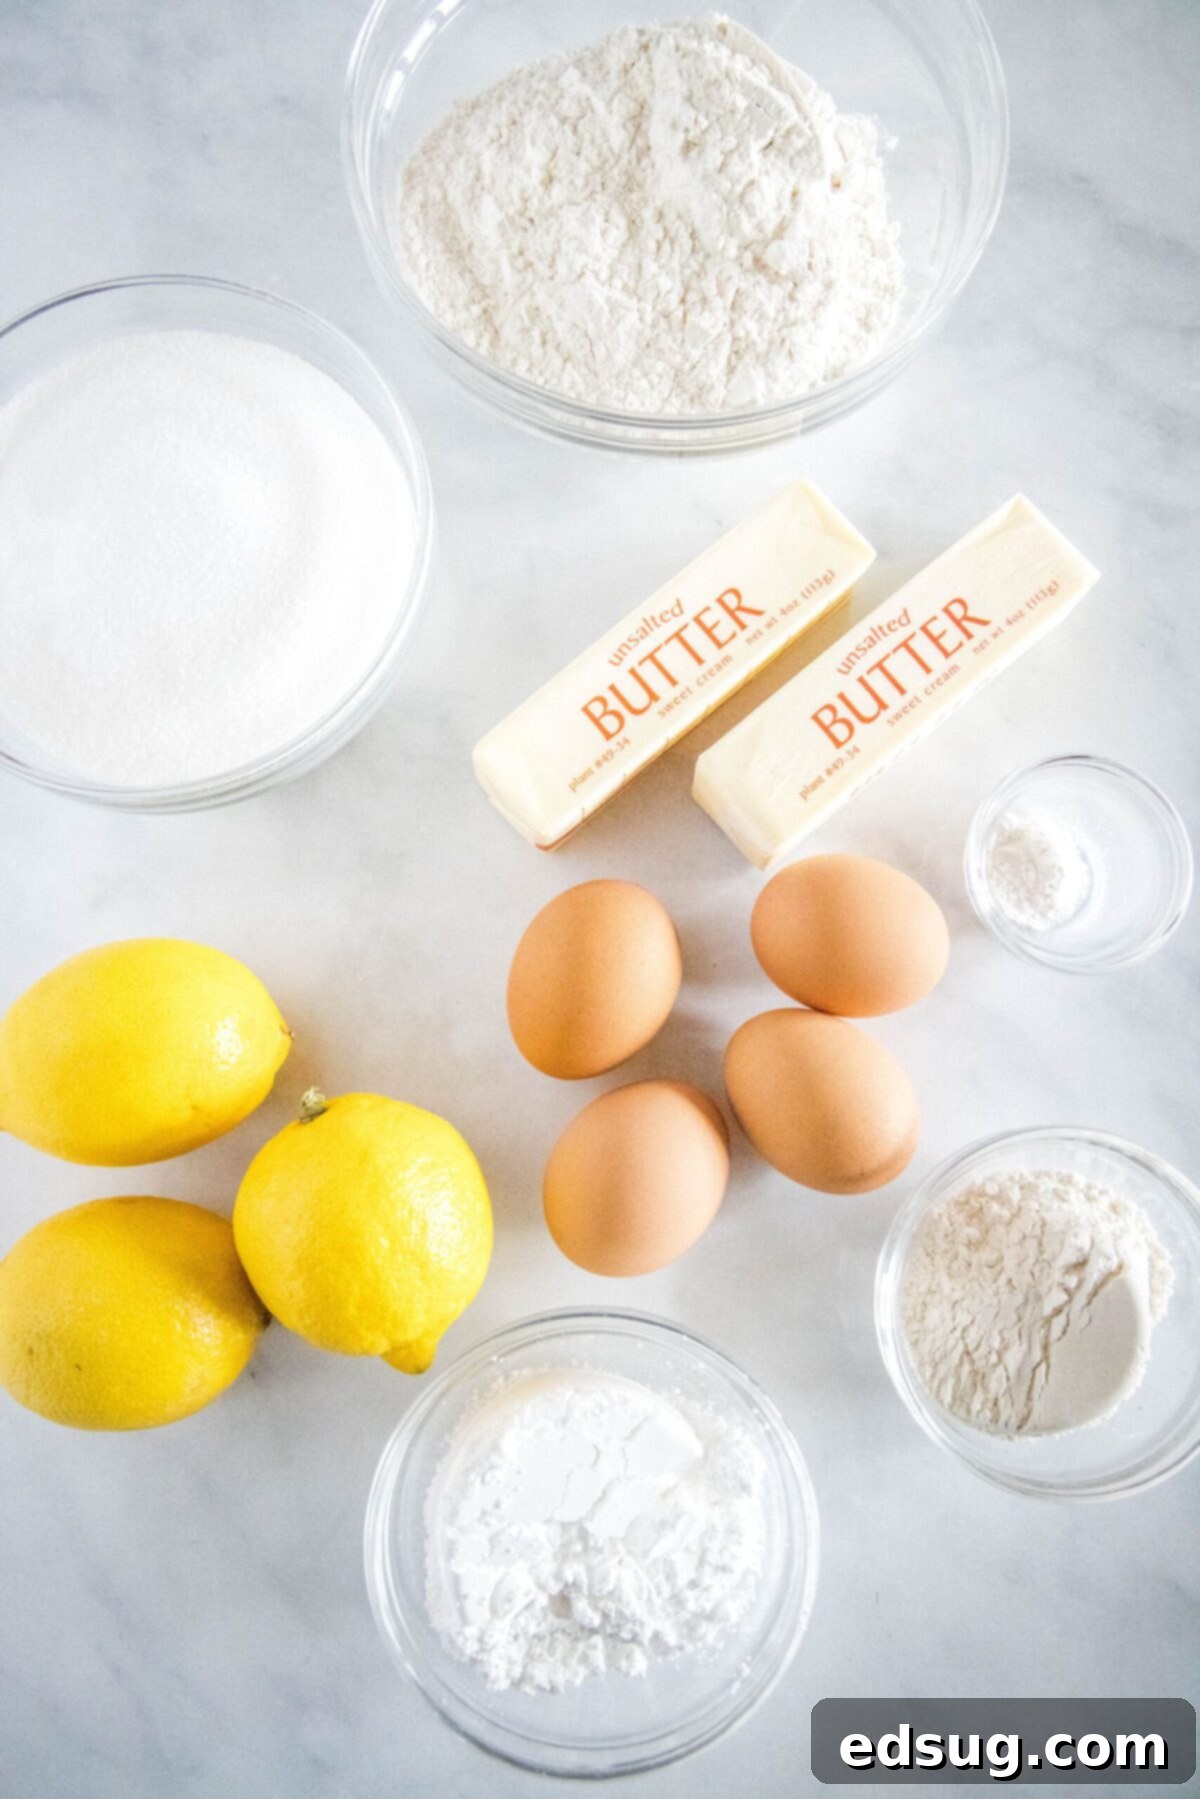
To embark on your journey to create these irresistible lemon bars, you’ll need a handful of fresh and simple ingredients. The quality of these components will truly elevate the final taste and texture of your dessert. For precise measurements, please refer to the detailed recipe card located at the bottom of this page.
For the Flaky, Buttery Shortbread Crust:
- All-purpose flour – Sifting your flour is a crucial step for achieving the lightest, most tender shortbread crust. It helps to remove any lumps and ensures the flour is evenly incorporated.
- Powdered sugar – Also known as confectioners’ sugar, this ingredient contributes to the crust’s delicate texture and melt-in-your-mouth quality, making it wonderfully soft.
- Unsalted Butter – High-quality, unsalted butter is key here. Using unsalted butter allows you to control the exact amount of salt in your recipe, ensuring the buttery flavor truly shines without becoming overly salty. Cut it into cubes for easier mixing.
For the Bright, Zesty Lemon Filling:
- Large Eggs – Eggs are essential for creating the filling’s creamy, custard-like consistency and helping it set beautifully. Ensure they are at room temperature for optimal mixing.
- Granulated sugar – This provides the perfect sweetness to balance the tartness of the lemon, creating that signature sweet-tart flavor profile.
- Freshly-squeezed lemon juice – This is non-negotiable! Using fresh lemon juice is paramount for that vibrant, authentic lemon flavor. Bottled lemon juice simply cannot compare in terms of brightness and aroma.
- All-purpose flour – A small amount of flour in the filling helps to thicken it slightly and gives it a smooth, stable texture once baked.
- Baking powder – This acts as a leavening agent, contributing to a slightly lighter and more airy texture in the lemon filling.
Step-by-Step Guide: How to Make Irresistible Lemon Bars
Creating these sweet and wonderfully tart lemon bars is a surprisingly easy and rewarding process. Follow these straightforward steps to achieve bakery-quality results in your own kitchen:
- Prepare Your Workspace. Begin by preheating your oven to 350°F (175°C). Then, take a 13×9-inch baking pan and lightly spray it with non-stick cooking spray. For even easier removal of your finished bars, you can line the pan with parchment paper, leaving an overhang on the sides to use as “handles” later.
- Craft the Buttery Dough. In a large mixing bowl, combine your sifted all-purpose flour, powdered sugar, and cubed unsalted butter. Use your clean hands to thoroughly mix these ingredients. Work them together until the mixture transforms into a crumbly, yet cohesive dough. It should resemble coarse crumbs but be pliable enough to press.
- Form the Crust. Transfer the crumbly dough into your prepared baking pan. Using your fingertips or the bottom of a flat glass, press the dough firmly and evenly across the bottom of the pan. Ensure it forms a smooth and uniform layer from edge to edge – this creates the perfect foundation for your lemon filling.
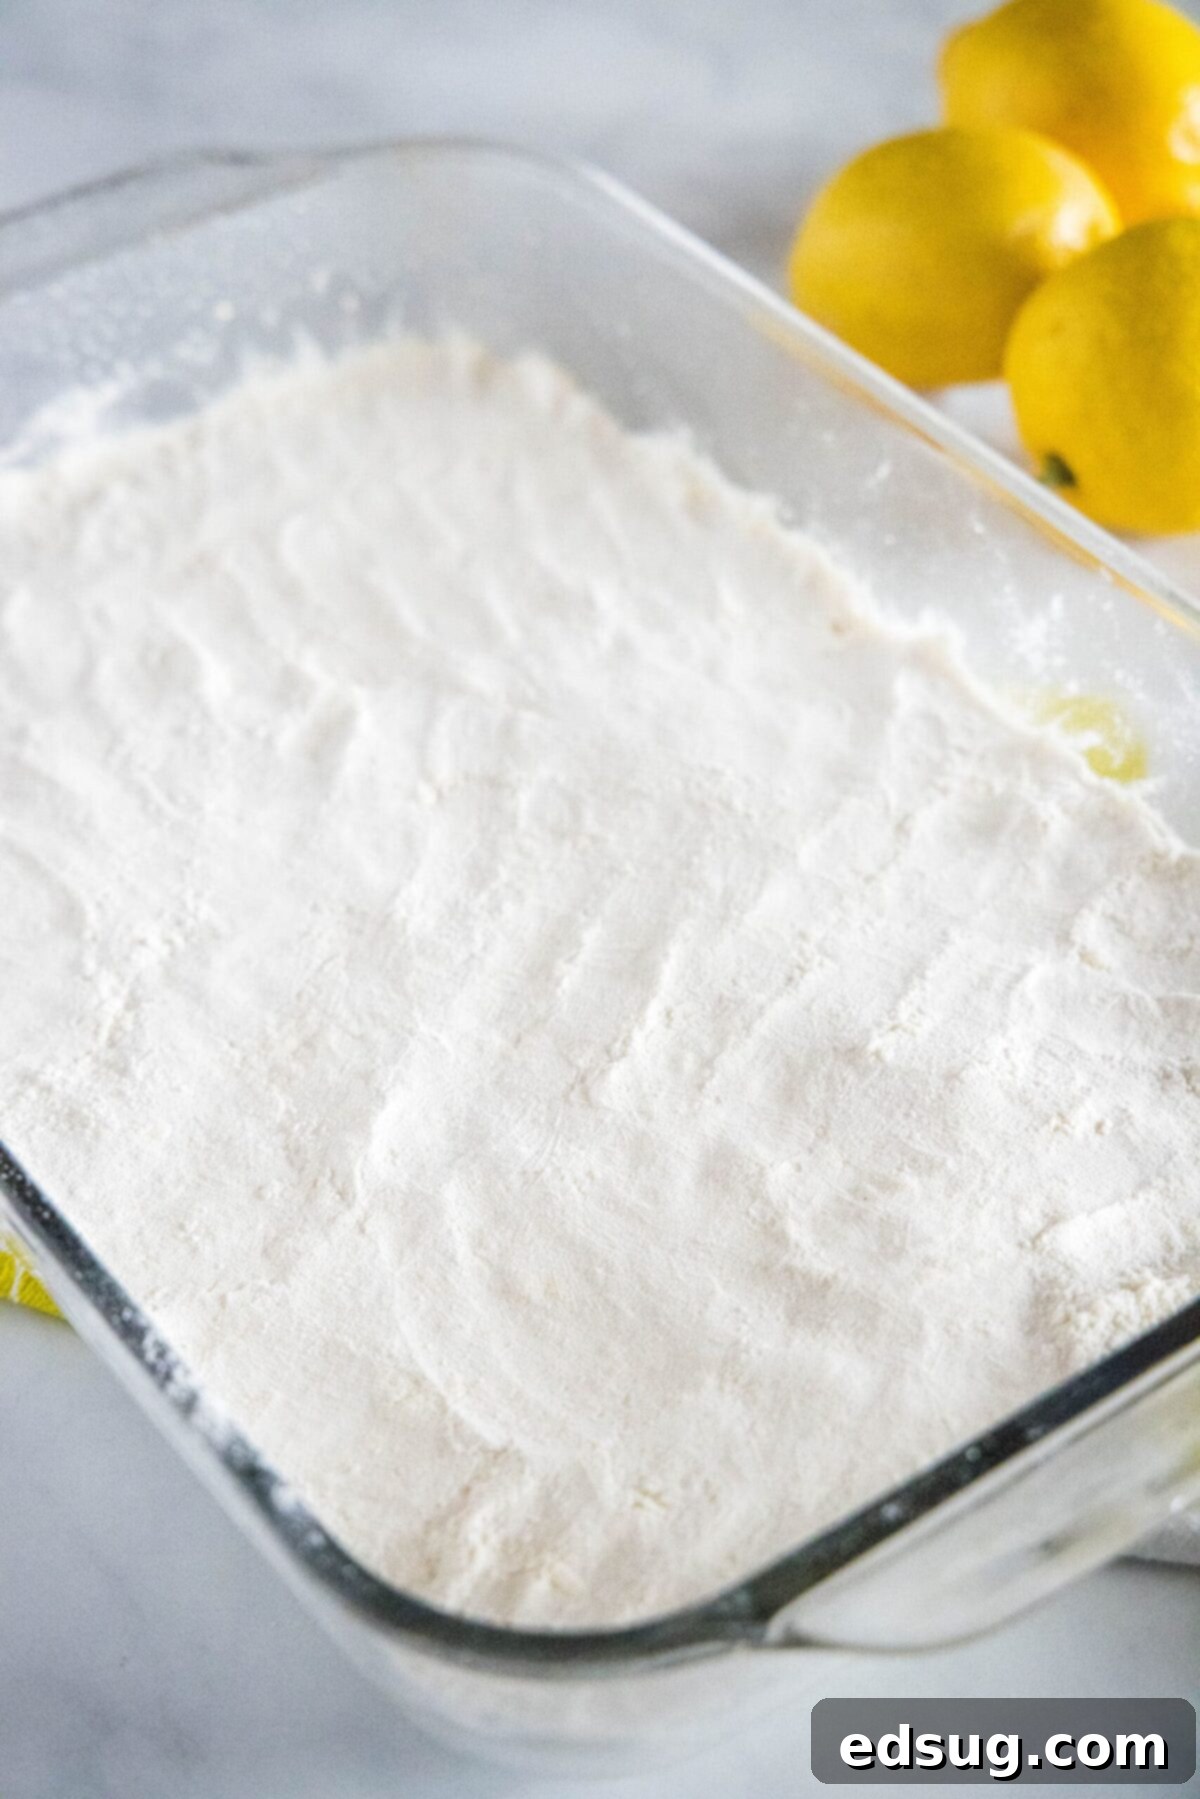
- Pre-Bake the Crust. Carefully place the pan with the pressed crust into your preheated oven. Bake for approximately 20-25 minutes, or until the edges of the shortbread crust turn a beautiful golden brown. This partial baking step is crucial for preventing a soggy crust once the filling is added. Once baked, remove the pan from the oven and set it aside.
- Prepare the Luscious Filling. While the crust is baking, it’s time to create the lemon filling. In a stand mixer fitted with a whisk attachment (or using a hand mixer), combine the granulated sugar, room-temperature eggs, and freshly-squeezed lemon juice. Whisk these ingredients together on medium speed for about 4-5 minutes. Continue mixing until the sugar has completely dissolved, and the mixture becomes notably light, pale, and fluffy. This aeration is key to a perfectly tender filling.
- Combine and Pour. Gently fold the all-purpose flour and baking powder into the whipped lemon mixture. Mix until all ingredients are just well combined and there are no streaks of dry flour. Be careful not to overmix. Once thoroughly combined, carefully pour this bright lemon filling evenly over the warm, pre-baked shortbread crust.
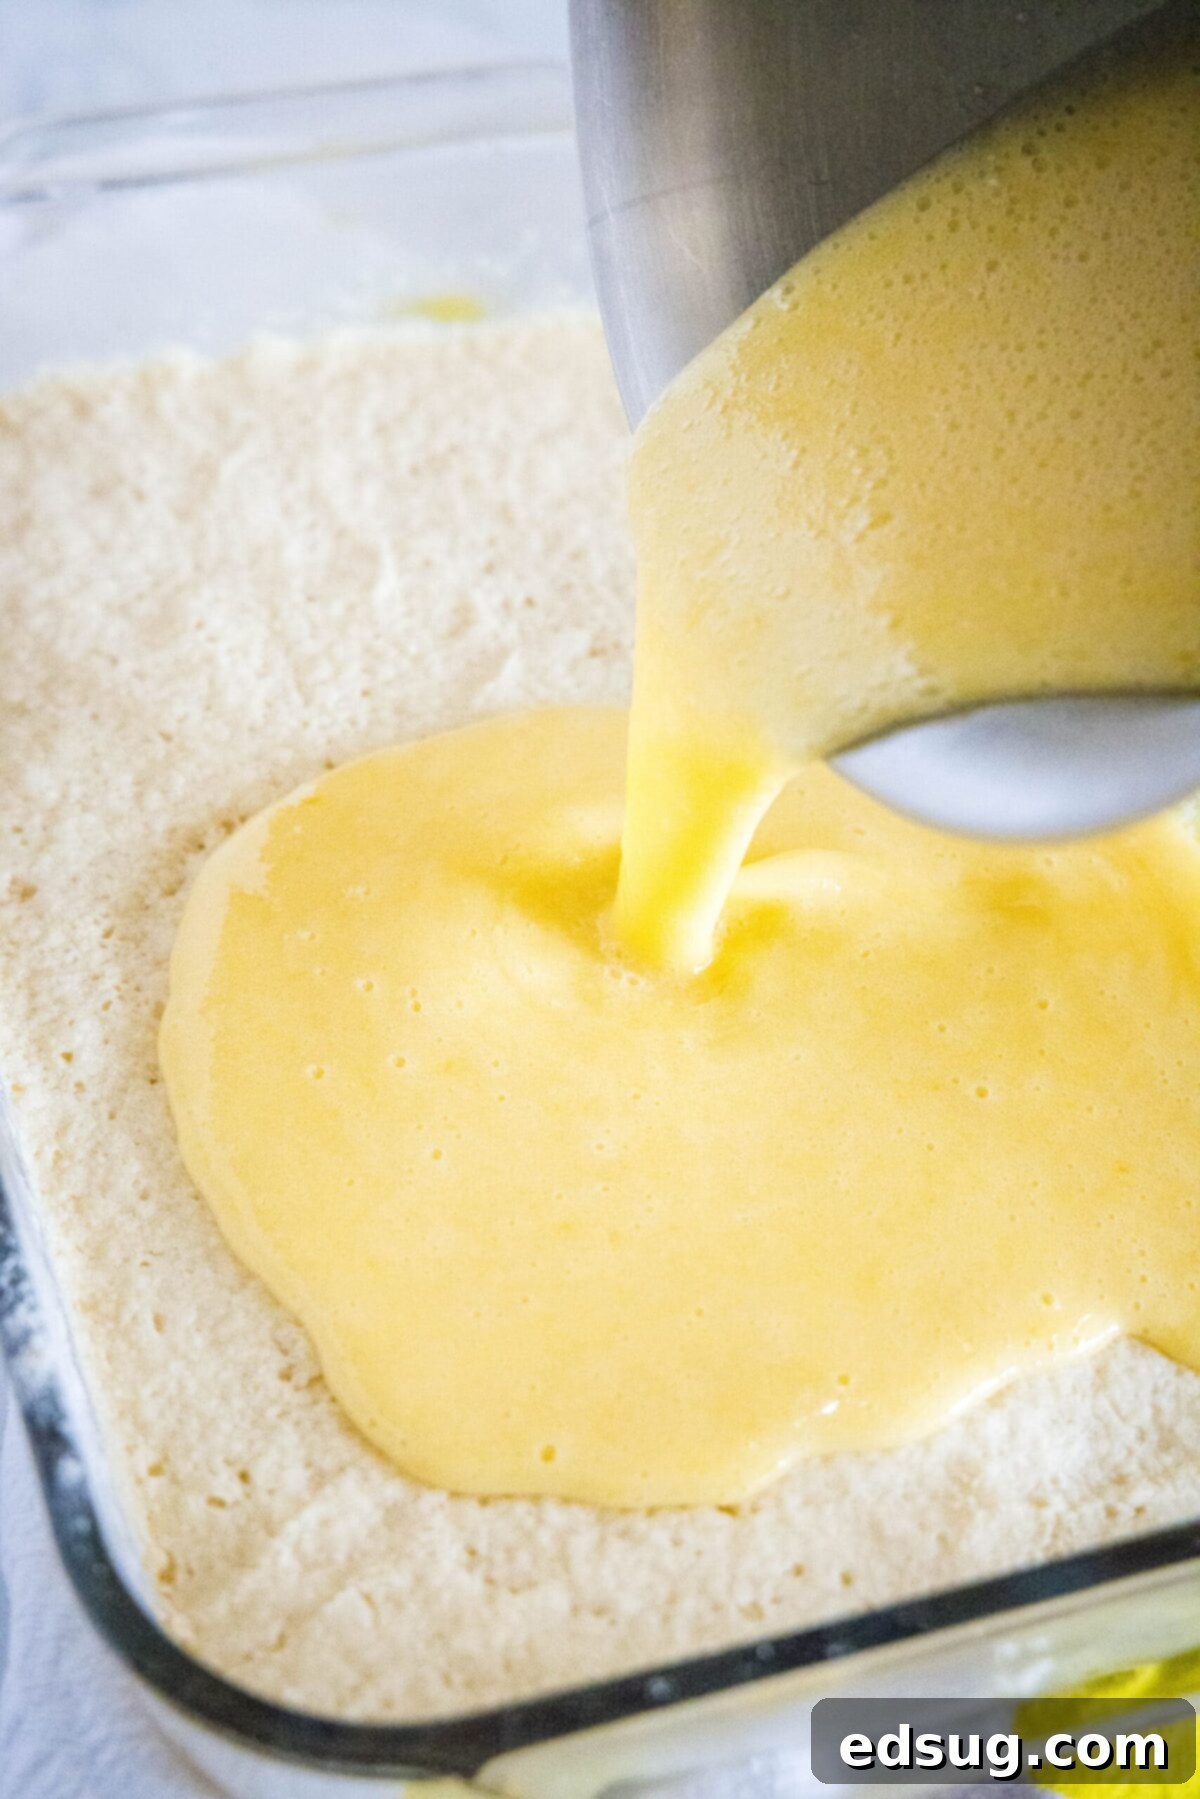
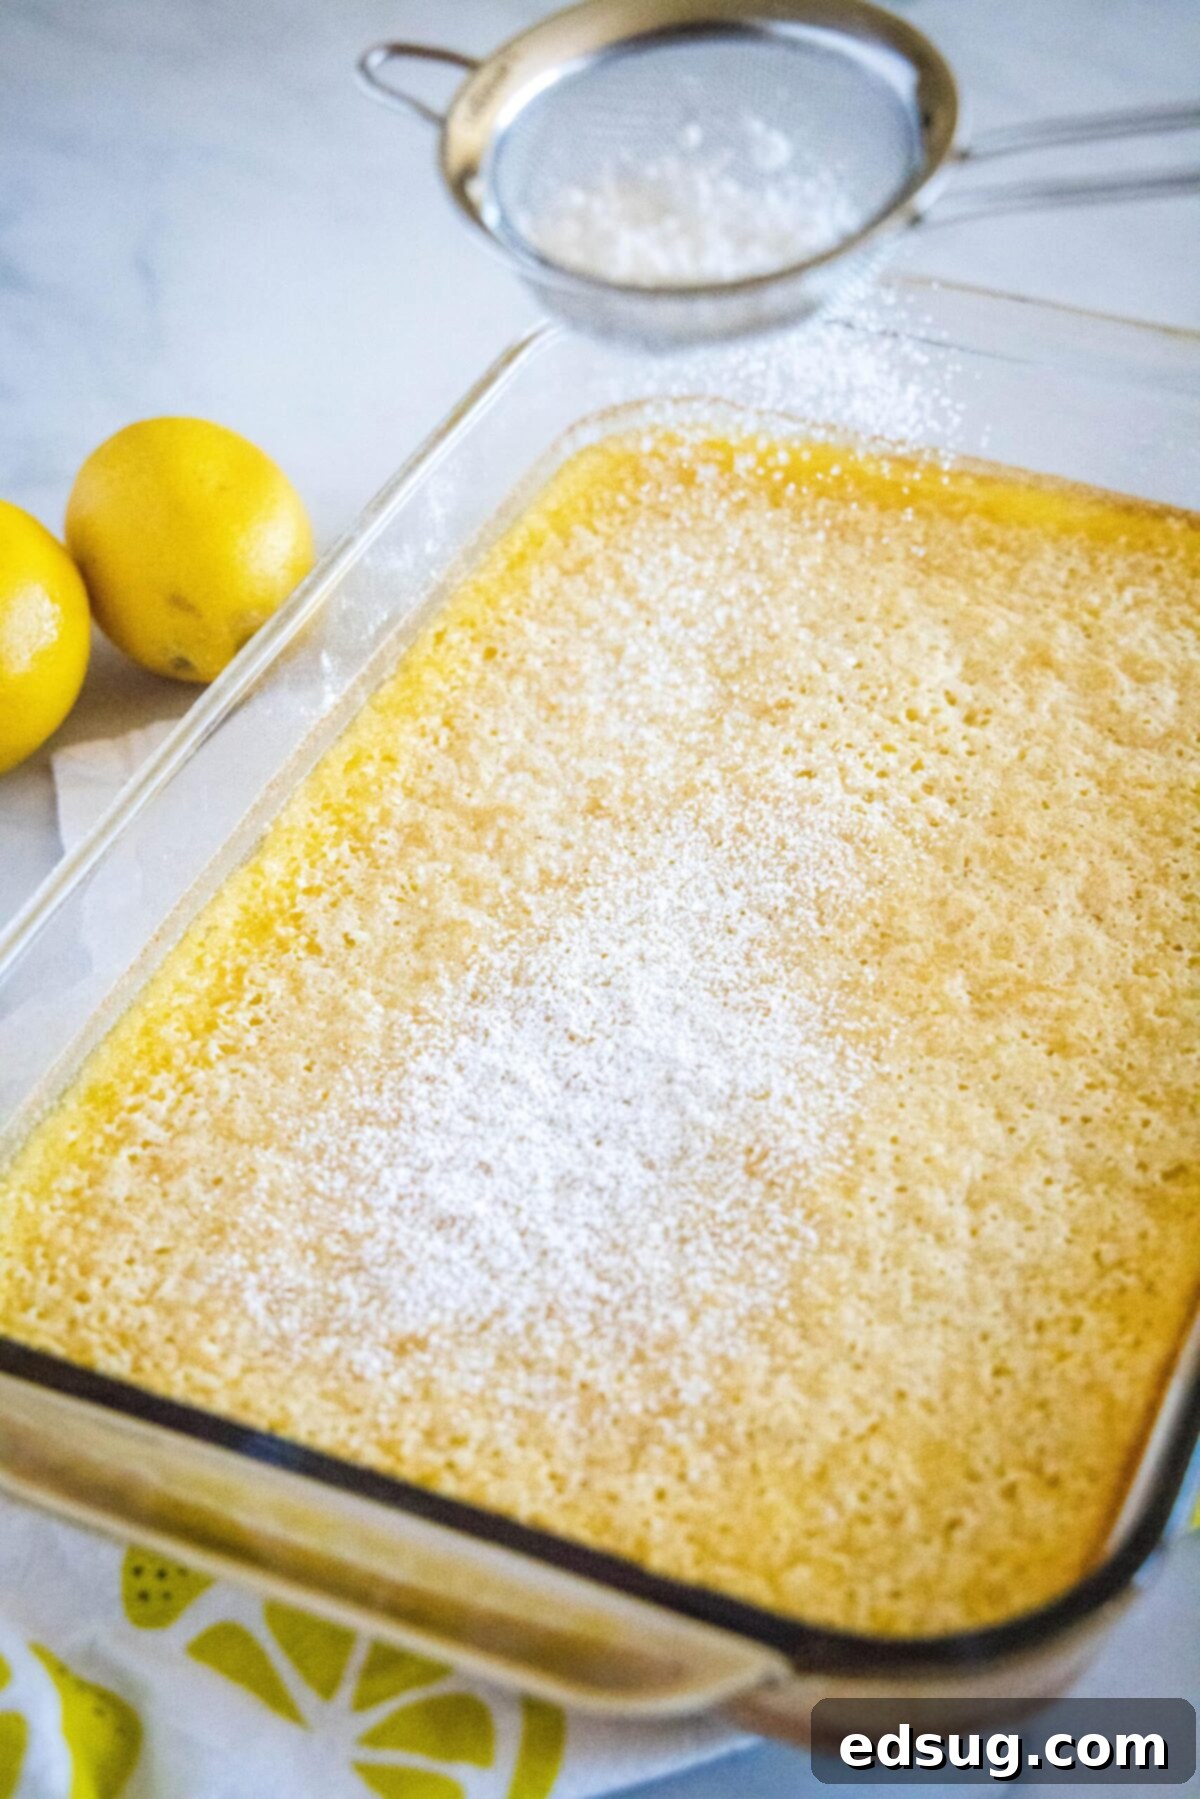
- Bake to Perfection. Return the pan, now with both crust and filling, to the oven. Continue to bake for an additional 22-25 minutes. The lemon filling should appear mostly set, with only a slight jiggle in the very center when gently shaken. The edges might turn a very light golden hue.
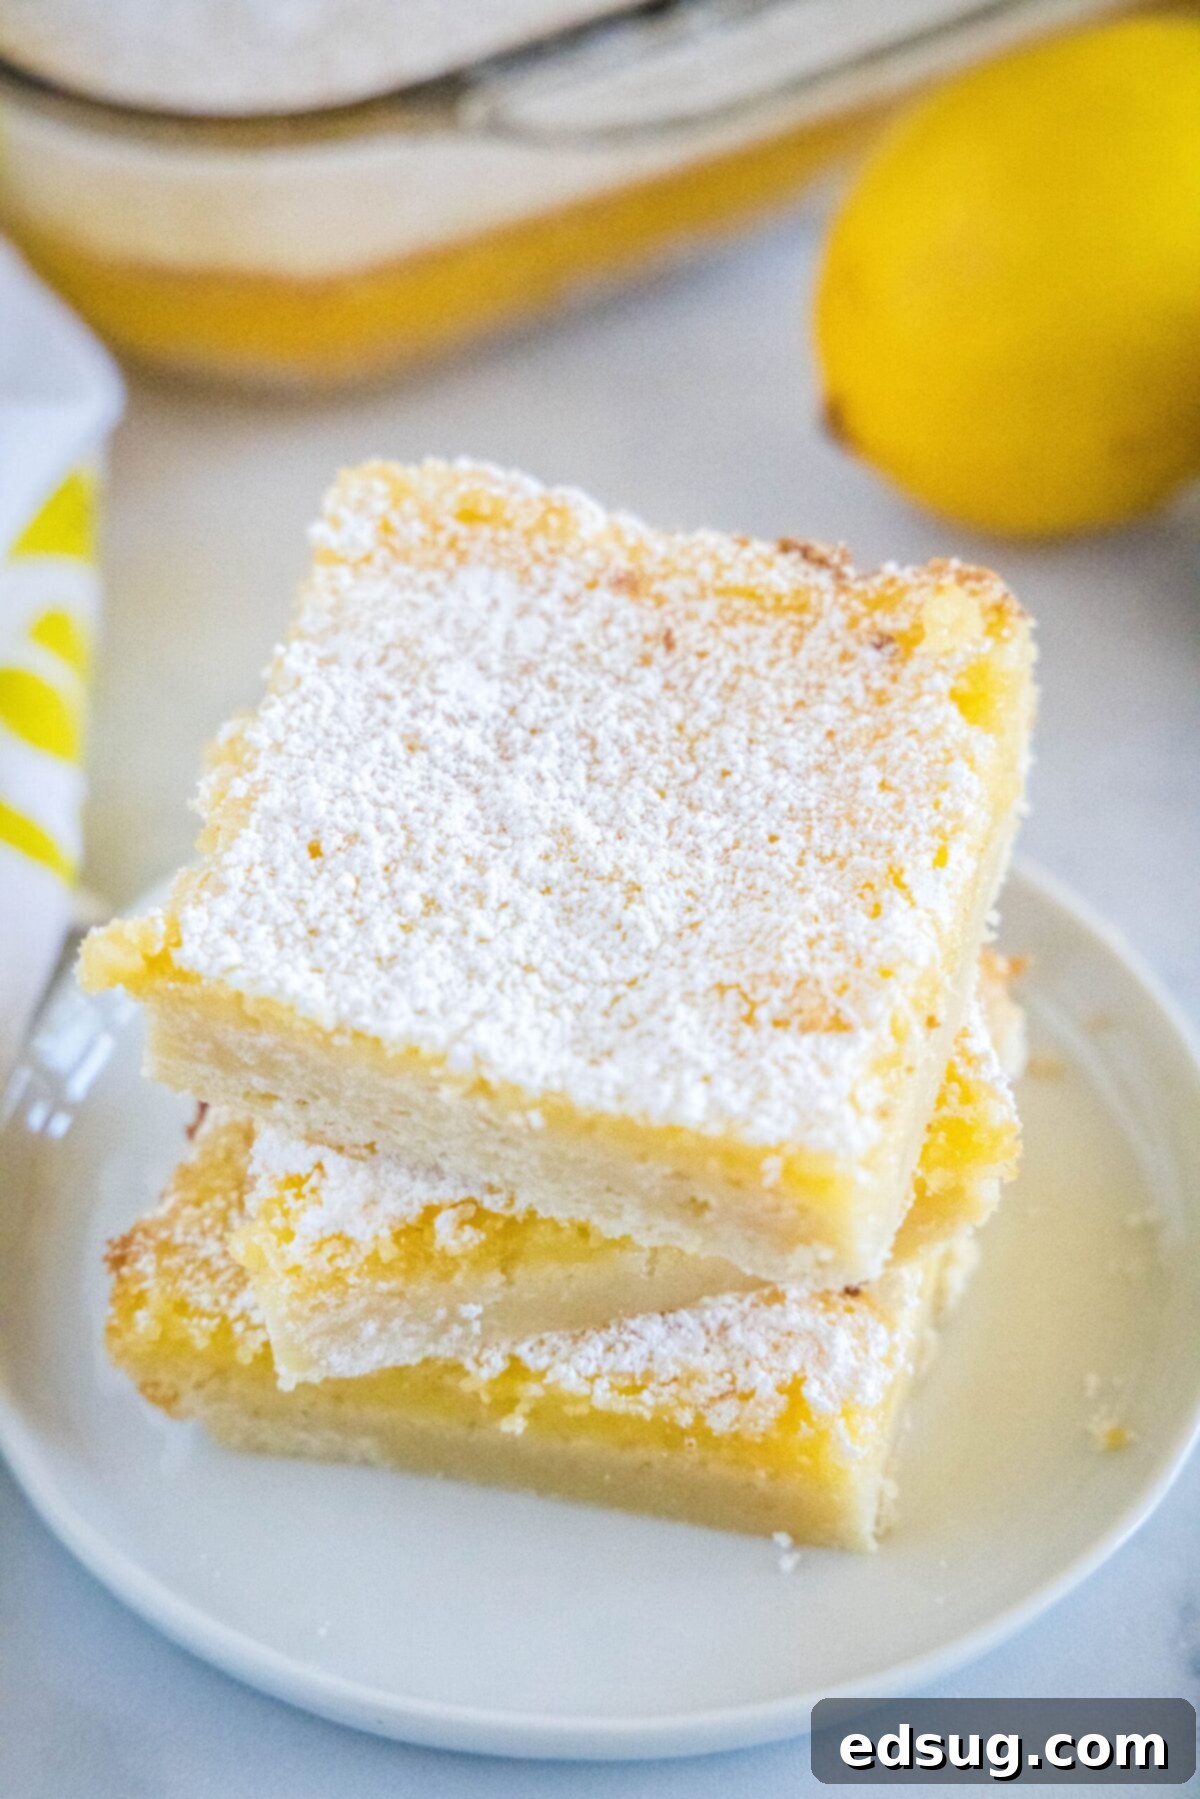
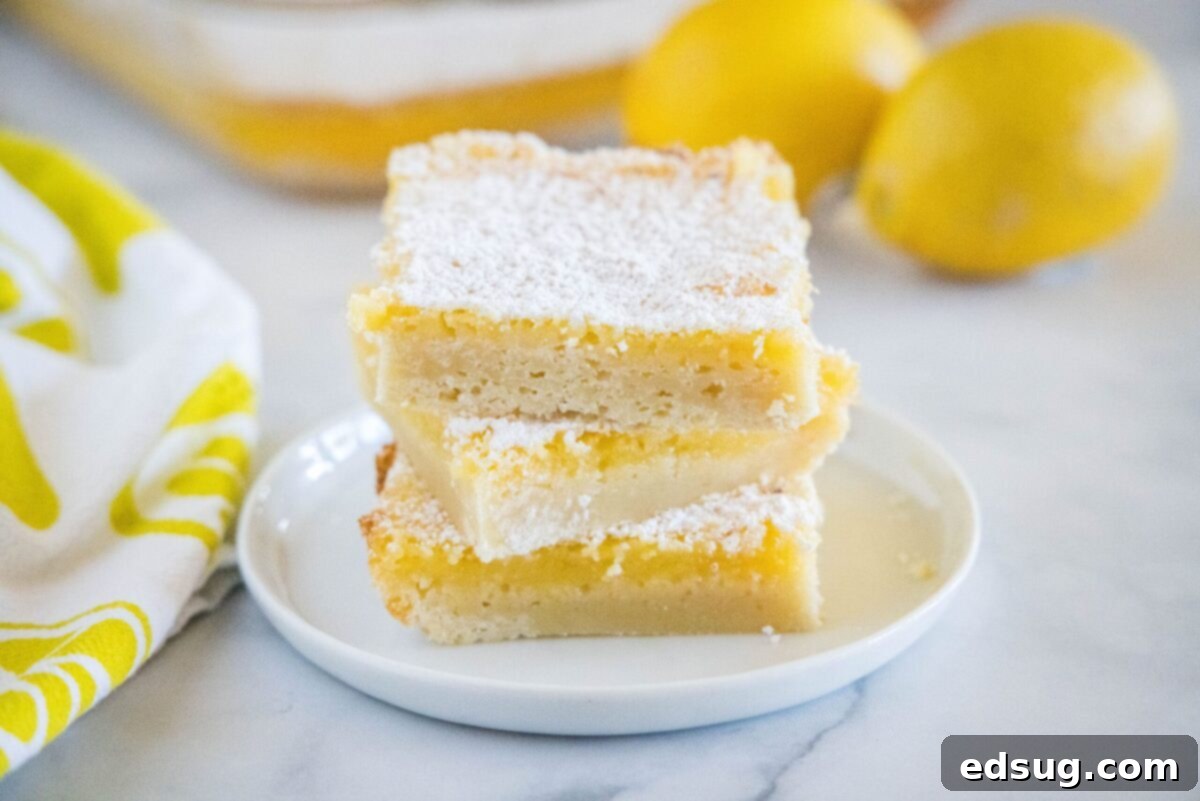
- Cool and Serve. Once baked, remove the lemon bars from the oven. This next step is perhaps the most critical for perfect bars: allow them to cool completely at room temperature on a wire rack. This cooling period gives the lemon filling ample time to fully set and firm up. Before slicing and serving, generously dust the cooled bars with a delicate layer of powdered sugar for an elegant finish and an extra touch of sweetness.
Expert Tips and Tricks for the Best Lemon Bars Ever
While the recipe itself is straightforward, incorporating a few expert tips and tricks can elevate your lemon bars from great to absolutely extraordinary. These small adjustments can make a significant difference in flavor, texture, and overall enjoyment:
- Always Use Room-Temperature Eggs. This is a golden rule in baking, and it applies beautifully to lemon bars. When eggs are cold, their proteins are tightly bound, making them difficult to emulsify evenly with other ingredients like sugar and lemon juice. Room-temperature eggs, on the other hand, incorporate much more smoothly and create a more uniform, tender, and fluffy filling texture. Simply remove your eggs from the fridge about 30 minutes before you plan to start baking.
- Roll Your Lemons for Maximum Juice & Flavor. For the freshest and most abundant lemon juice, don’t just slice and squeeze. Before juicing, place your lemons on a clean countertop and roll them firmly back and forth using the palm of your hand. This action breaks down the internal membranes and segments within the lemon, making it easier to extract more juice. An added bonus? This process can also help release more of the aromatic oils from the peel into the juice, intensifying the overall lemon flavor in your filling.
- Amp Up the Zest for Extra Lemon Flavor. If you’re a true lemon lover and desire an even more pronounced citrus punch in your bars, consider adding lemon zest to the filling. Before you juice your lemons, use a microplane or fine grater to zest a tablespoon or two of the bright yellow rind. Incorporate this finely grated zest directly into the lemon filling mixture. Zest provides concentrated lemon oil flavor without adding any extra liquid, ensuring your bars remain perfectly tart and fragrant.
- Cool Completely – Patience is a Virtue! It’s incredibly tempting to cut into these lemon bars as soon as they emerge from the oven, especially with their intoxicating aroma filling your kitchen. However, exercising patience here is absolutely paramount. Allowing the bars to cool completely, ideally for at least 2-3 hours at room temperature, gives the delicate lemon filling adequate time to fully set and firm up. If you attempt to slice them too soon, the filling will be too soft and won’t hold its beautiful square shape, leading to a messy rather than elegant dessert.
- Consider Lining with Parchment Paper. As an additional tip, while spraying the pan is good, lining your 13×9-inch pan with parchment paper, leaving an overhang on the sides, can make lifting the cooled bars out incredibly easy. Once completely cool, you can use the parchment paper overhangs to lift the entire slab of lemon bars out of the pan, place it on a cutting board, and then slice them perfectly.
What to Serve Your Delicious Lemon Bars With
While these lemon bars are utterly delightful on their own, my absolute favorite way to enjoy them is alongside a refreshing beverage. Sometimes that means a comforting cup of coffee or tea, but often it’s a bubbly afternoon soda or even a fun adult cocktail! Here are some of my top recommendations for perfect pairings:
- Sparkling Fall Sangria
- Watermelon Soda
- Peach Lemonade
- Cranberry Vodka Spritzer
How to Properly Store Leftover Lemon Bars
Proper storage ensures your lemon bars remain fresh and delicious for as long as possible. You can conveniently store any leftover lemon bars at room temperature for up to 2 days, or extend their freshness by keeping them in the refrigerator for up to 1 week. To prevent them from drying out or absorbing other food odors, simply cover them tightly with plastic wrap or transfer them to an airtight container or bag.
Can These Delightful Lemon Bars Be Frozen?
Absolutely! Lemon bars freeze exceptionally well, making them perfect for meal prepping desserts or saving for a future treat. To prevent freezer burn and maintain their quality, I recommend wrapping individual bars (or small batches) tightly in plastic wrap, and then placing them in an airtight freezer-safe container or bag. When stored correctly, they’ll maintain their delicious flavor and texture in the freezer for up to 4 months. Just thaw them at room temperature or in the refrigerator before serving.
Discover More Tasty Dessert Bar Recipes
While lemon bars are undeniably one of my all-time favorite go-to desserts, my love for easy-to-make dessert bars extends far beyond just citrus. There’s something incredibly satisfying about a portable, sliceable treat. Here are a few more delightful and easy dessert bar recipes that I frequently whip up to satisfy a sweet craving or for sharing at gatherings:
- Strawberry Crumb Bars
- Peanut Butter Protein Bars
- Puppy Chow Bars
- Peanut Butter Oatmeal Bars
- Cookies and Cream Bars
- Apple Bars
- S’mores Cookie Bars

Lemon Bars
Ingredients
For the Crust:
- 2 cups all-purpose flour, sifted
- 1/2 cup powdered sugar
- 1 cup unsalted butter, cut into cubes
For the Lemon Filling:
- 4 large eggs
- 1 1/2 cups granulated sugar
- 1/2 cup fresh-squeezed lemon juice
- 1/4 cup all-purpose flour
- 1/2 teaspoon baking powder
Instructions
- Preheat oven to 350F. Spray a 13×9-inch pan with non-stick spray. Set aside.
- In a large bowl, combine the flour, powdered sugar, and butter. Using your hands, mix until it comes together as a crumbly dough. Press into the prepared baking dish.
- Bake for 20-25 minutes, until lightly golden brown around the edges. Remove from the oven.
- Meanwhile, in an electric mixer fitted with a whisk attachment, mix together sugar, eggs, and lemon juice. Mix on medium speed for 4-5 minutes until light and fluffy, and the sugar is completely dissolved.
- Add flour and baking powder, and mix until well incorporated.
- Pour over the baked crust. Return to the oven and bake for 22-25 minutes.
- Remove from the oven, and cool completely before dusting with powdered sugar, and serving.
Notes
- To make the bars a little more tart, add the zest from the lemons into the filling.
- Make sure to let the bars cool completely before cutting them or they won’t hold their shape.
- Store leftover lemon bars in an airtight container or bag on the counter for 2 days, in the fridge for 1 week, or in the freezer for 4 months.
Nutrition
Nutrition information is automatically calculated, so should only be used as an approximation.
Additional Info
I created a fun group on Facebook,and I would love for you to join us! It’s a place where you can share YOUR favorite recipes, ask questions, and see what’s new at Dinners, Dishes and Desserts (so that you never miss a new recipe)!
Be sure to follow me on Instagram and tag #dinnersdishes so I can see all the wonderful DINNERS, DISHES, AND DESSERTS recipes YOU make!
Be sure to follow me on my social media, so you never miss a post!
Facebook | Twitter | Pinterest | Instagram
.
