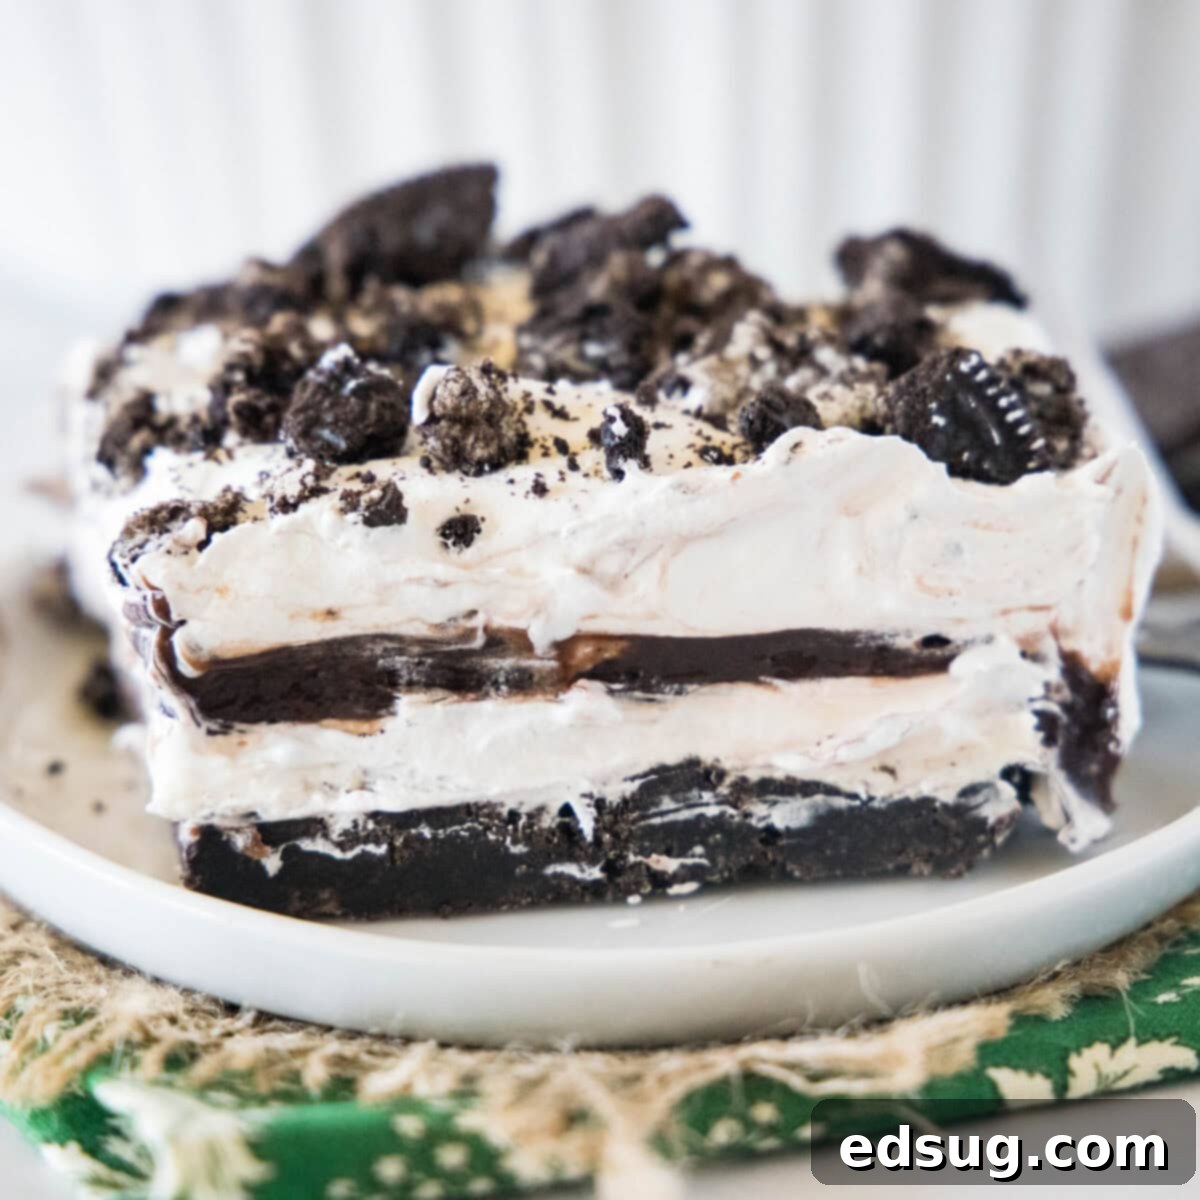
Ultimate No-Bake Oreo Lasagna: An Easy, Decadent, Crowd-Pleasing Dessert
This No-Bake Oreo Lasagna recipe is truly a dessert lover’s dream come true. It’s incredibly easy to make, yet delivers a rich, decadent, and utterly satisfying chocolate experience. Loaded with creamy layers and abundant Oreo flavor, it’s the perfect sweet treat for parties, potlucks, or simply satisfying that intense craving for something truly special. Forget turning on the oven – this impressive dessert comes together in just 30 minutes of active prep time, then chills to perfection.
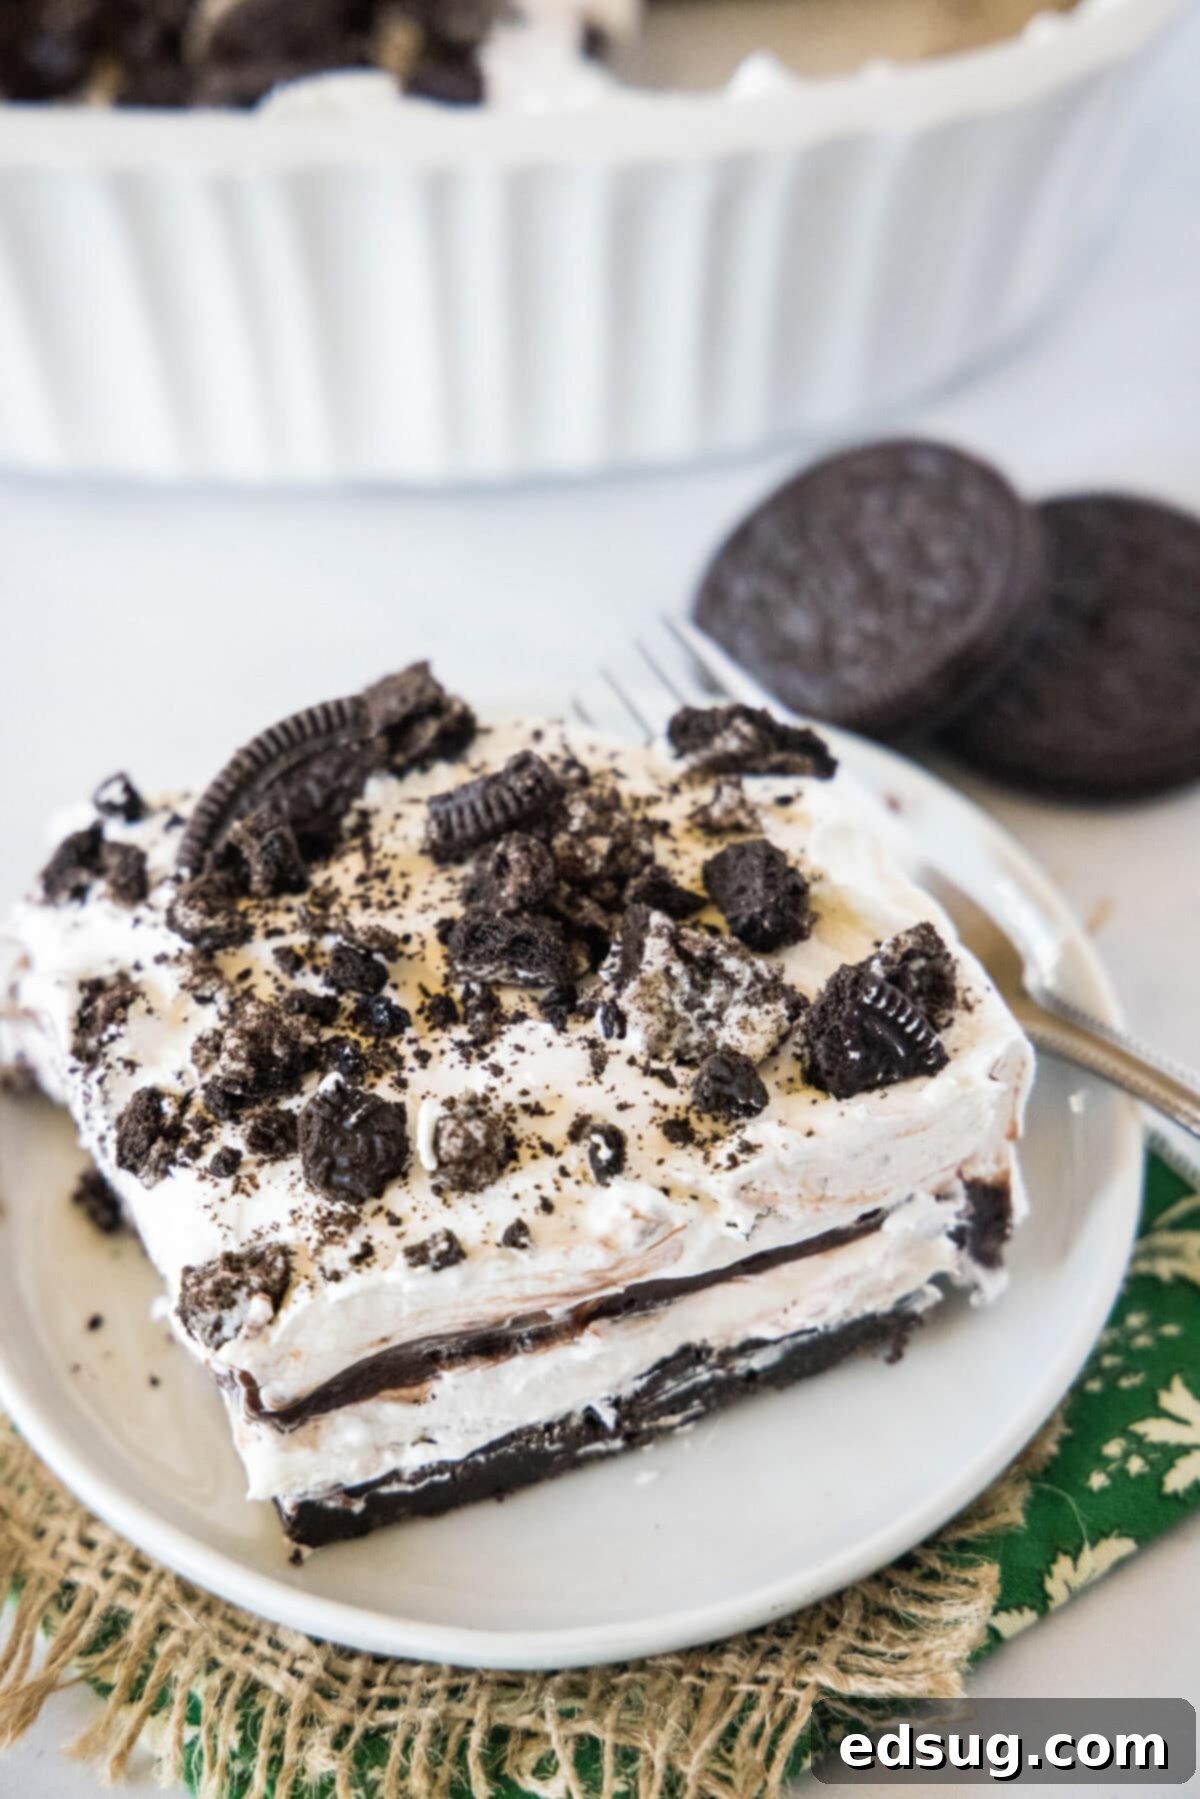
Oreo cookies hold a special place in the hearts of many, a classic “guilty pleasure” that’s hard to resist. But what if we told you there’s a way to elevate these beloved cookies into an even more extraordinary dessert? That’s precisely what this no-bake Oreo Lasagna recipe achieves. It takes everything you adore about Oreos and amplifies it with luxurious cream cheese, light and airy Cool Whip, and rich chocolate pudding. The result is a multi-layered masterpiece that’s surprisingly simple to prepare.
These magnificent Oreo bars are not only bursting with intense chocolate flavor but also boast an incredibly creamy, melt-in-your-mouth texture. It’s a truly rich and indulgent recipe, yet it evokes a delightful sense of nostalgia, reminiscent of the delicious desserts you might have enjoyed at childhood birthday parties. The best part? There’s absolutely no baking required, making it a fantastic option for warmer months or when you just want a hassle-free dessert. This Oreo Lasagna offers all the qualities you look for in a perfect dessert: ease, deliciousness, and universal appeal. You absolutely must try making it the next time you’re craving a sweet, chocolatey, and utterly satisfying treat.
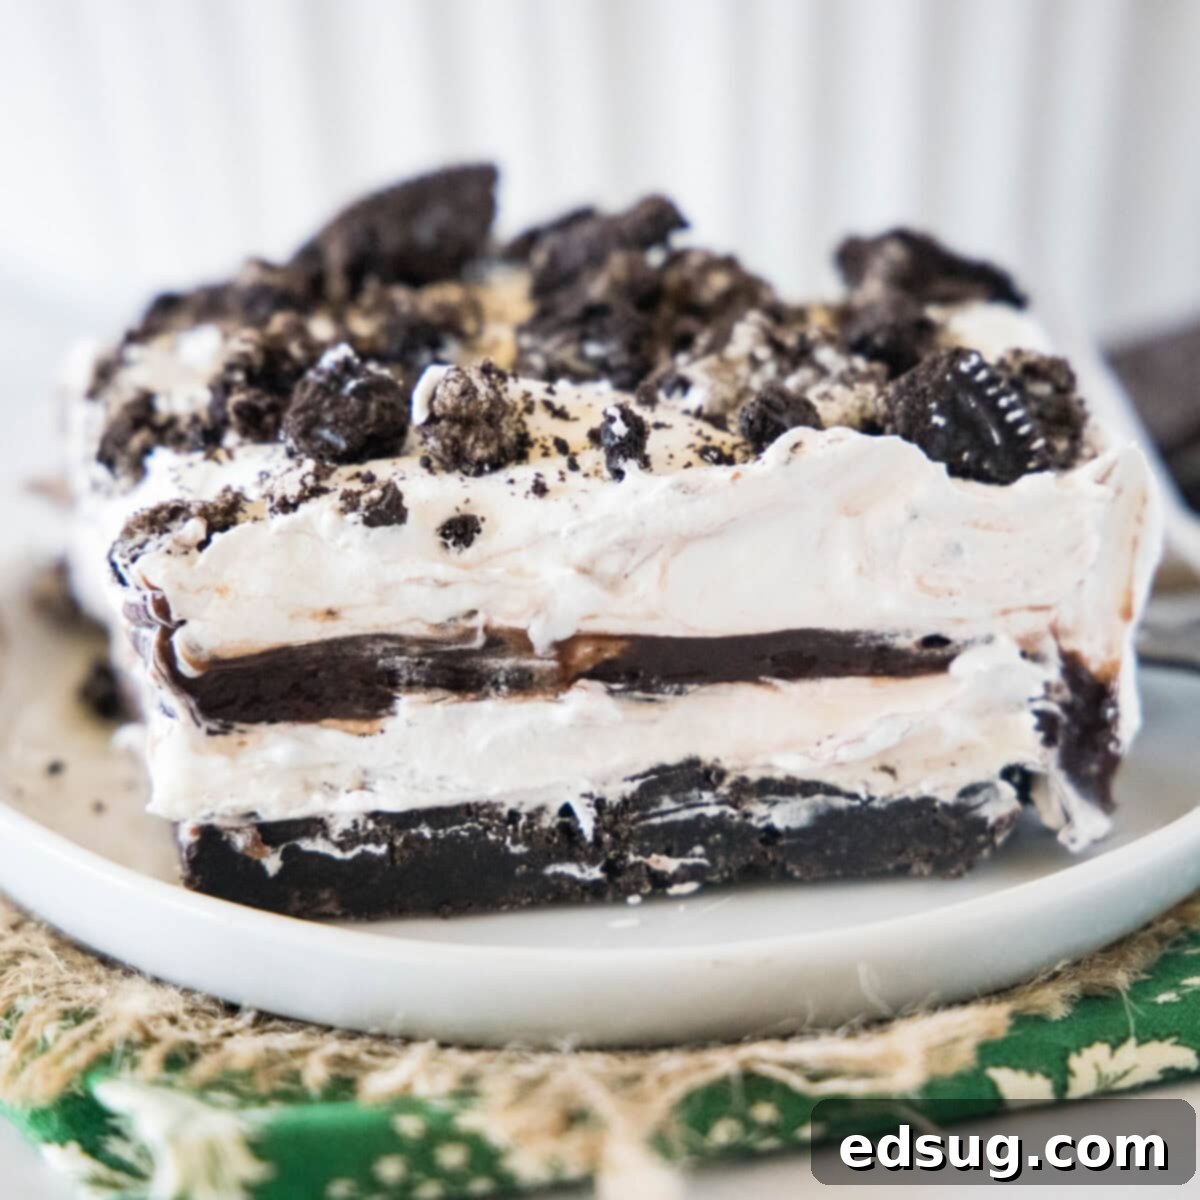
Why You’ll Adore This No-Bake Oreo Lasagna Recipe
There are countless reasons why this layered Oreo dessert has become a personal favorite, and I’m confident it will quickly become one of yours too. Here’s why you’ll be a huge fan of this delightful recipe:
- Effortlessly Easy to Make: Seriously, how many show-stopping desserts can be prepared in just 30 minutes of hands-on time and require absolutely no oven? Not many! This recipe is incredibly straightforward, involving simple layering and chilling. It’s perfect for beginner bakers or anyone looking for a quick yet impressive dessert.
- A Guaranteed Kid-Pleaser: This is the ultimate dessert for kids and the young at heart. It’s packed with everyone’s favorite Oreos, fluffy Cool Whip, and rich chocolate pudding – what’s not to love? Not only do children adore eating this decadent, chocolatey treat, but they often love helping to assemble the layers too, making it a fun family activity.
- Budget-Friendly Indulgence: Many impressive desserts come with a hefty price tag due to specialty ingredients. Not this one! The ingredients for Oreo Lasagna are common household staples that are widely available and affordable. If you’re seeking a dessert that offers incredible flavor and presentation without breaking the bank, this recipe is an absolute winner. You get a lot of “bang for your buck” with this creamy creation.
- Ideal for Any Party or Gathering: I frequently turn to this recipe when entertaining because it’s so easy to scale up for larger crowds. Doubling or tripling the recipe requires minimal extra effort, making it perfect for dozens of guests at a big party. Whether it’s a kid’s birthday celebration, a holiday potluck, a casual backyard BBQ, or even a Super Bowl party, this layered dessert is always a hit and disappears fast. Its make-ahead nature also reduces stress on the day of your event.
- Perfect for Any Season: While many desserts are seasonal, this no-bake delight is fantastic year-round. It’s particularly refreshing in the summer when you want to avoid heating up your kitchen, but its rich, comforting flavors make it equally appealing during cooler months.
- Customizable Fun: Want to switch things up? This recipe is wonderfully adaptable. Experiment with different Oreo flavors (mint, peanut butter, golden), or add a layer of caramel or sprinkles for extra flair.
Essential Ingredients for Your Oreo Lasagna
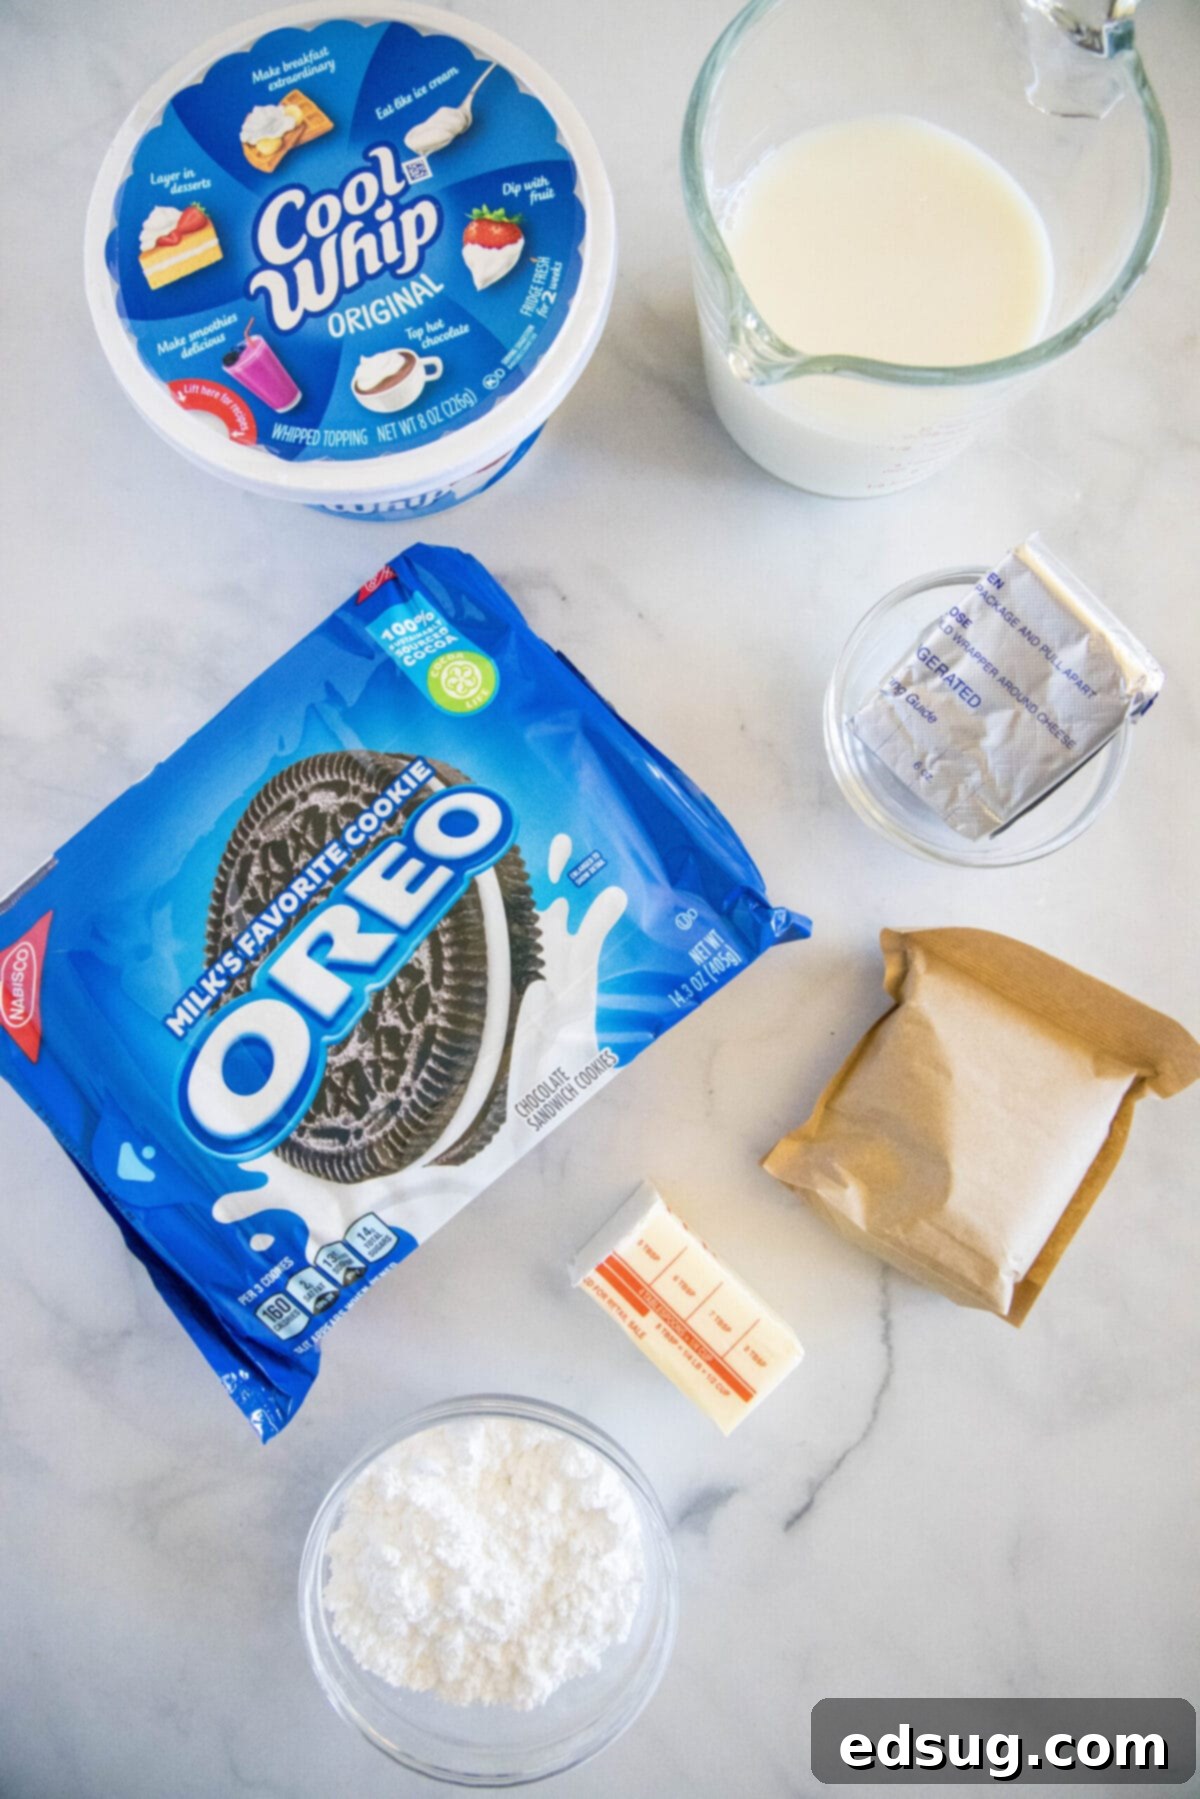
Gathering the right ingredients is the first step to creating this scrumptious and creamy layered Oreo dessert. You’ll be pleased to find that everything you need is readily available at your local grocery store. For the precise measurements of each component, please refer to the detailed recipe card conveniently located at the bottom of this page. Here’s what you’ll need:
- Oreo Cookies: The star of our show! You’ll need a good amount of these classic chocolate sandwich cookies, which will be crushed to form both the crust and a delightful topping. For best results, use original Oreos, but feel free to experiment with flavored varieties for a twist.
- Unsalted Butter: Melted butter binds the crushed Oreos together to create a firm, flavorful crust. Using unsalted butter allows you to control the overall saltiness of the dessert.
- Cream Cheese: Softened full-fat cream cheese is key for the rich, tangy, and incredibly smooth middle layer. Make sure it’s at room temperature for easy beating and a lump-free texture.
- Powdered Sugar: Also known as confectioners’ sugar, this fine sugar blends smoothly into the cream cheese layer, providing sweetness without any gritty texture.
- Cool Whip: This frozen whipped topping is essential for both the airy cream cheese layer and the top layer of our lasagna. Its stability helps the dessert hold its shape beautifully. Ensure it’s thawed in the refrigerator before use.
- Instant Chocolate Pudding Mix: Opt for an instant variety for quick preparation. This creates a thick, rich chocolate layer that contrasts wonderfully with the other creamy components. Any brand of instant chocolate pudding will work.
- Milk: Used to prepare the instant chocolate pudding. For the creamiest and richest pudding layer, I highly recommend using whole milk. However, 2% milk can also be used.
How to Craft Your Delicious No-Bake Oreo Lasagna
Get ready to create these amazing 30-minute cookie bars! The process is incredibly simple, making it a joy to prepare. Follow these straightforward steps to assemble your decadent Oreo Lasagna:
- Prepare Your Dish: Begin by lightly greasing an 8-inch square baking dish (or a 9×13 inch dish for a larger, thinner lasagna) with non-stick cooking spray. This will ensure your lasagna slices come out cleanly. Set the prepared dish aside.
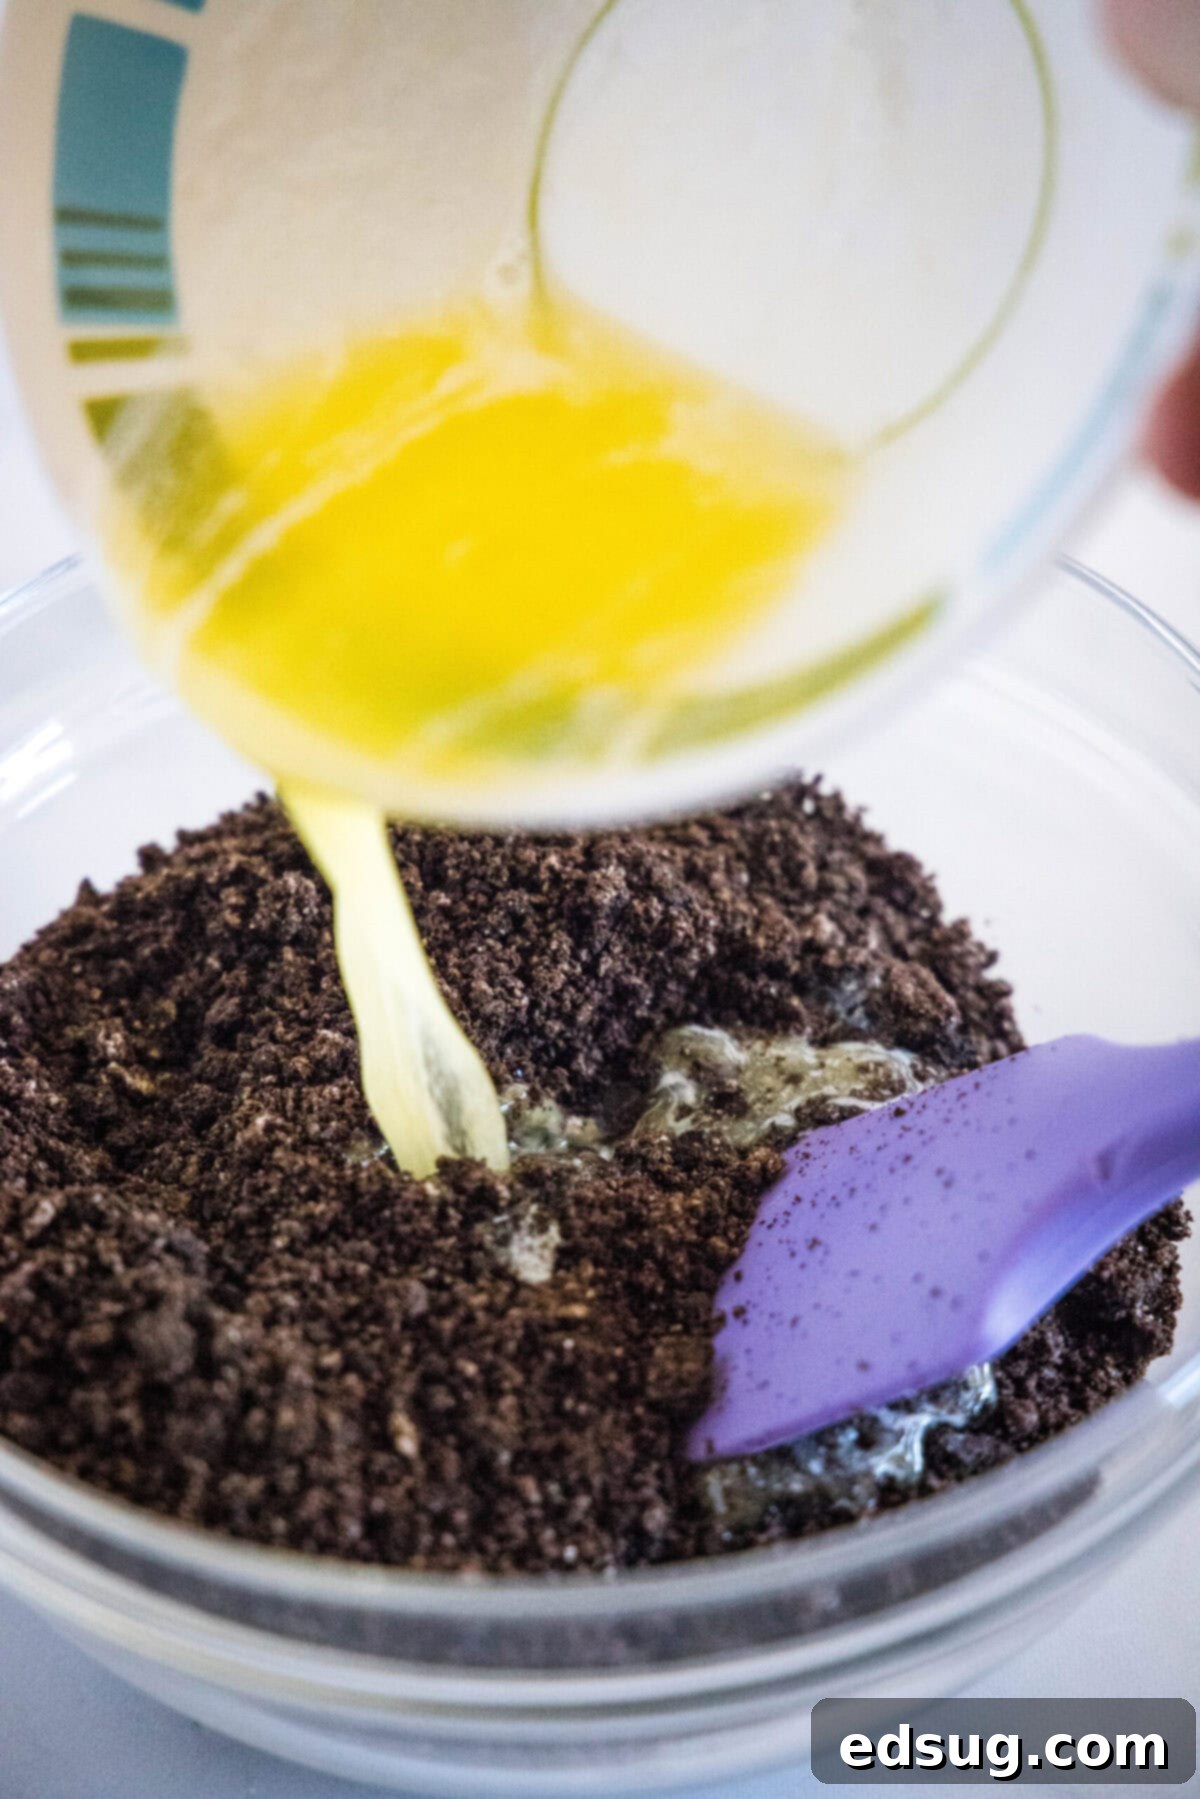
- Create the Perfect Crust: In a medium-sized bowl, combine the finely crushed Oreo cookies with the melted butter. Mix thoroughly until all the cookie crumbs are moistened by the butter. This mixture will feel like wet sand.
- Press and Chill the Crust: Firmly and evenly press the Oreo and butter mixture into the bottom of your greased baking dish. Use the back of a spoon or your clean hands to compact it tightly. A well-pressed crust is crucial for a stable base. Once pressed, cover the dish and place it in the freezer for at least 30 minutes. This step is vital to set the crust and prevent it from becoming too crumbly when you add the subsequent layers.
- Prepare the Chocolate Pudding: While your crust is chilling, prepare the chocolate pudding. In a separate bowl, add the instant chocolate pudding mix and the cold milk. Whisk these ingredients together vigorously for about 2-3 minutes, until the mixture is smooth and begins to thicken. It’s important to whisk until no lumps remain.
- Allow Pudding to Set: Cover the bowl of pudding and transfer it to the refrigerator for at least 20 minutes. This allows the pudding to fully set and achieve the desired firm consistency, making it easier to spread evenly later.
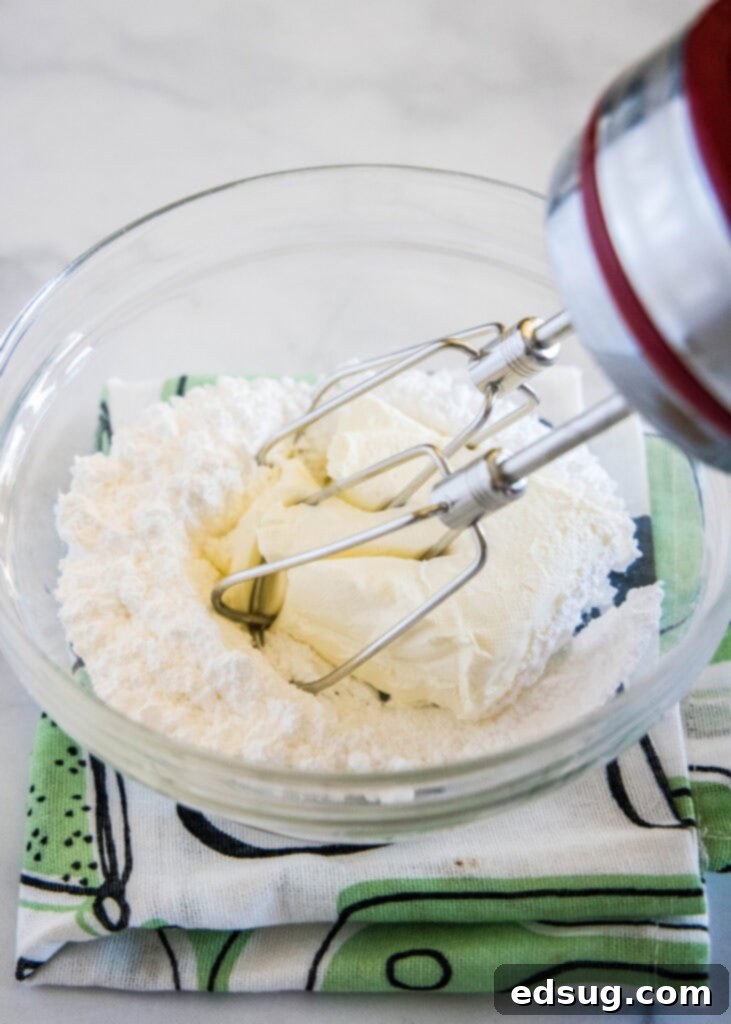
- Whip the Cream Cheese Layer: In a large mixing bowl, combine the softened cream cheese and powdered sugar. Using an electric mixer, beat these ingredients together on medium-high speed until the mixture is light, fluffy, and completely smooth, with no lumps of cream cheese remaining. This usually takes about 2-3 minutes.
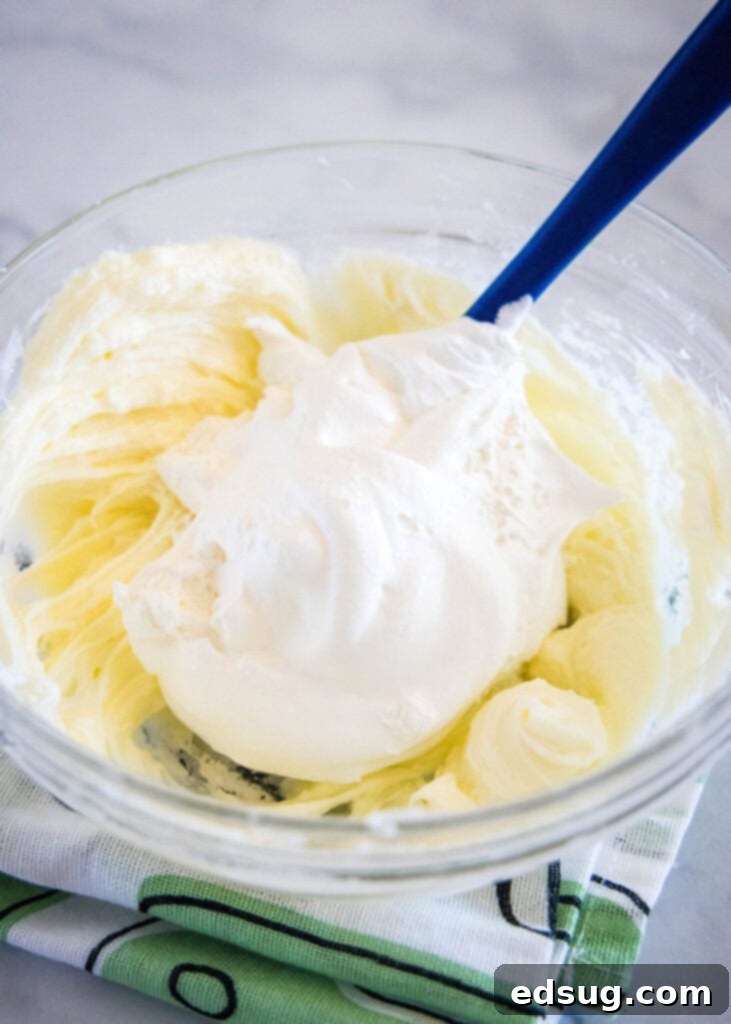
- Gently Fold in Cool Whip: Carefully add 1 cup of thawed Cool Whip to the cream cheese mixture. Using a spatula, gently fold the Cool Whip into the cream cheese mixture until just combined. Be careful not to overmix, as this can deflate the Cool Whip and make the layer less airy. This creates a light, creamy, and irresistible layer.
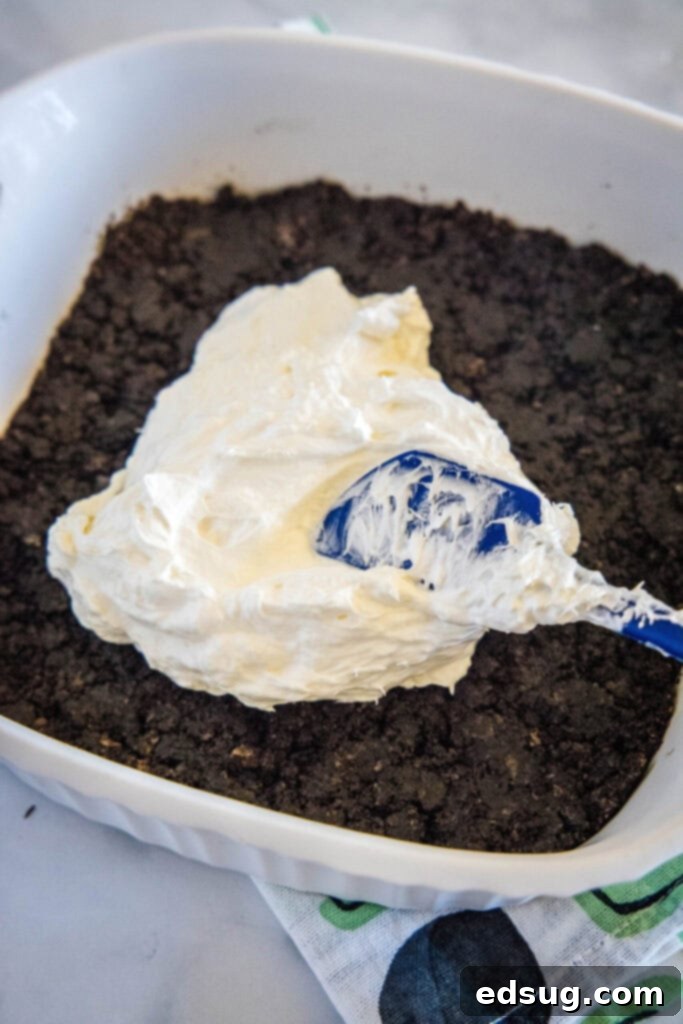
- Assemble the First Creamy Layer: Take the chilled Oreo crust out of the freezer. Carefully and evenly spread the prepared cream cheese mixture over the entire surface of the crust. Use an offset spatula or the back of a spoon to create a smooth layer.
- Add the Rich Pudding Layer: Remove the set chocolate pudding from the fridge. Gently spread the thickened pudding evenly over the top of the cream cheese layer. Take your time to ensure it’s spread from edge to edge.
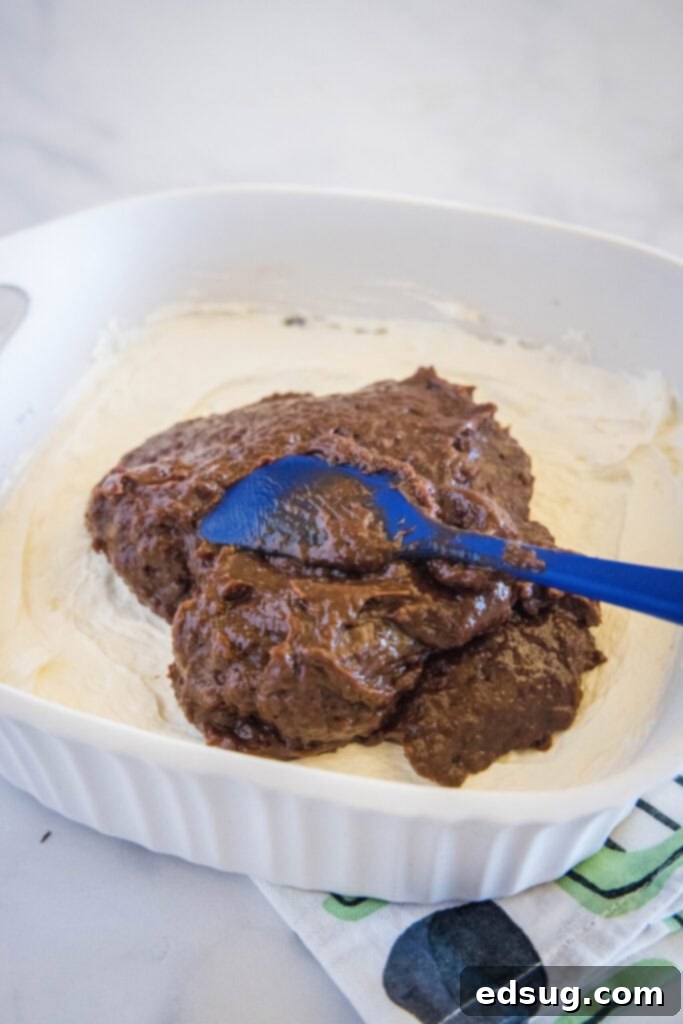
- Top with More Cool Whip: Take the remaining thawed Cool Whip and carefully spread it over the top of the chocolate pudding layer. This creates a light and airy finish to your lasagna.
- Garnish with Oreo Crumbles: For the ultimate Oreo experience and an appealing presentation, sprinkle the reserved crushed Oreo crumbs evenly over the top layer of Cool Whip. This adds texture and visual appeal.
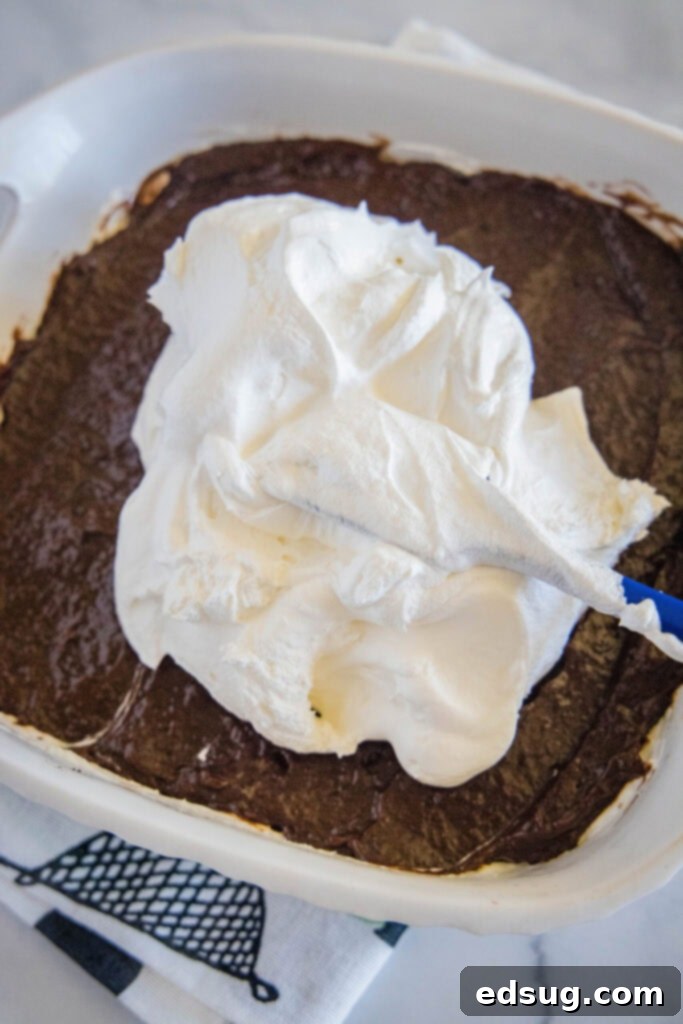
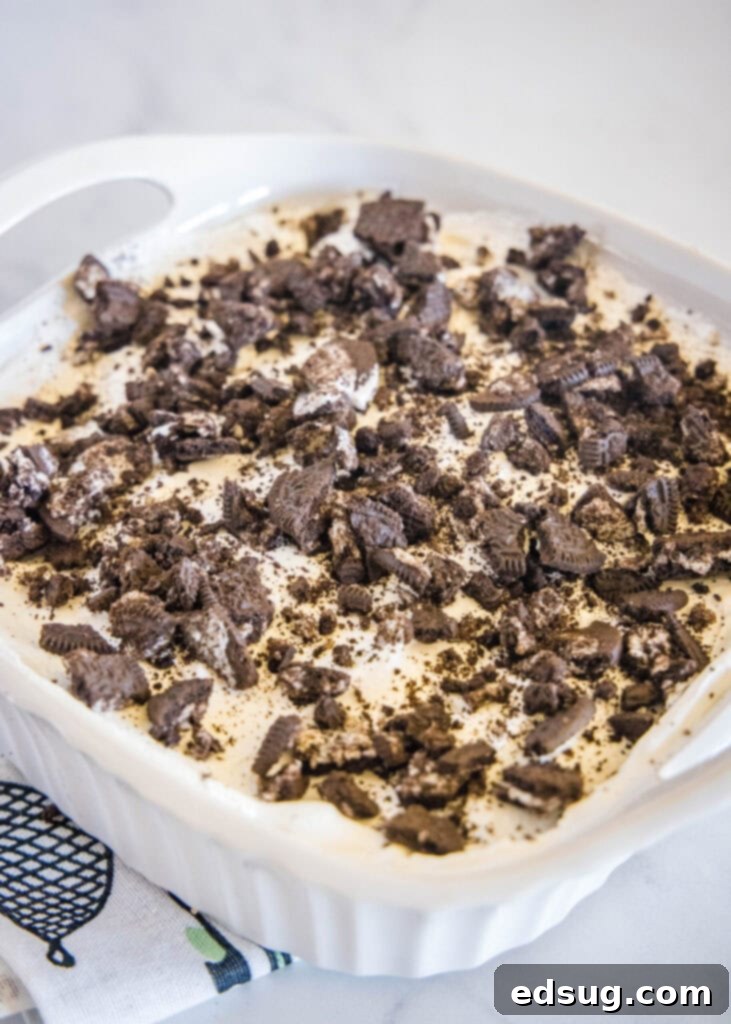
- Chill to Perfection: Once all layers are assembled and topped, cover the baking dish tightly with plastic wrap. Place the no-bake Oreo lasagna in the refrigerator to chill for at least 4 hours. For a faster set or a firmer dessert, you can place it in the freezer for at least 90 minutes. Adequate chilling time is crucial for the layers to set completely, ensuring clean, beautiful slices when served.
Expert Tips and Tricks for Your Oreo Lasagna
To help you achieve the absolute best results with this creamy chocolate dessert, here are a few expert tips and tricks you might find useful:
- Mastering Oreo Crushing: The easiest and most effective way to crush Oreos for your crust and topping is to place them in a sturdy, airtight freezer bag (like a Ziploc bag). Then, use a rolling pin to roll over them repeatedly until they are finely crushed. If you don’t have a rolling pin, the back of a heavy frying pan works just as well. For a more uniform crumble or if you’re making a very large batch, a food processor can do the job quickly. Some people enjoy leaving a few slightly larger chunks for added textural interest in the crust – it’s entirely up to your preference!
- The Beauty of Making Ahead: One of the most fantastic aspects of this dessert is its make-ahead friendly nature. While it needs to chill in the fridge for a minimum of 4 hours to properly set, it tastes even better if it chills for longer, allowing the flavors to meld beautifully. This makes it an absolute lifesaver when you’re preparing for a party or event. You can assemble it a day in advance, keep it chilled, and then simply slice and serve when your guests arrive, leaving you more time to enjoy the celebration.
- Gentle Folding for Fluffy Layers: When it comes to incorporating the Cool Whip into the cream cheese mixture, technique matters! Always use a spatula to gently *fold* it in, rather than vigorously mixing. Overmixing or stirring too harshly can cause the air to escape from the Cool Whip, leading to a dense, heavy texture in your cream cheese layer. The more carefully you fold, the lighter, airier, and fluffier your delicious dessert will be.
- Serving and Garnish Ideas: While delicious on its own, a few simple garnishes can elevate your Oreo Lasagna. Consider a dusting of cocoa powder, a swirl of extra whipped cream, chocolate shavings, or even a few fresh raspberries or strawberries for a pop of color and tartness.
- Choosing the Right Pan Size: An 8×8 inch square baking dish will yield a thicker, more substantial lasagna with very pronounced layers. If you’re serving a larger crowd or prefer thinner slices, a 9×13 inch rectangular baking dish can be used; just be aware the layers will be thinner, and the chilling time might be slightly adjusted.
What to Serve with Your Oreo Lasagna
While this decadent dessert is an absolute hit with kids, I’ll let you in on a little secret: it pairs wonderfully with a sophisticated beverage for the adults! Here are some of my favorite drinks, both alcoholic and non-alcoholic, that complement this sweet treat:
- Baileys White Russian: The creamy, coffee-infused notes of this cocktail are a perfect match for the rich chocolate and cream in the lasagna.
- Hot Buttered Rum: For a cozy, comforting pairing, especially in colder weather, the warmth and spices of hot buttered rum beautifully contrast with the chilled dessert.
- Jamaican Rum Punch: If you’re serving this dessert at a summer gathering, the fruity and vibrant flavors of rum punch offer a refreshing counterpoint.
- Spiked Hot Apple Cider: Another excellent choice for autumn or winter, the spiced apple cider provides a warm, tangy balance to the sweet chocolate.
- Kahlua Hot Chocolate: Double down on the chocolate indulgence with a boozy hot chocolate. It’s pure comfort.
For non-alcoholic options, a cold glass of milk, a freshly brewed cup of coffee or espresso, or even a scoop of vanilla bean ice cream served alongside provides a delightful accompaniment.
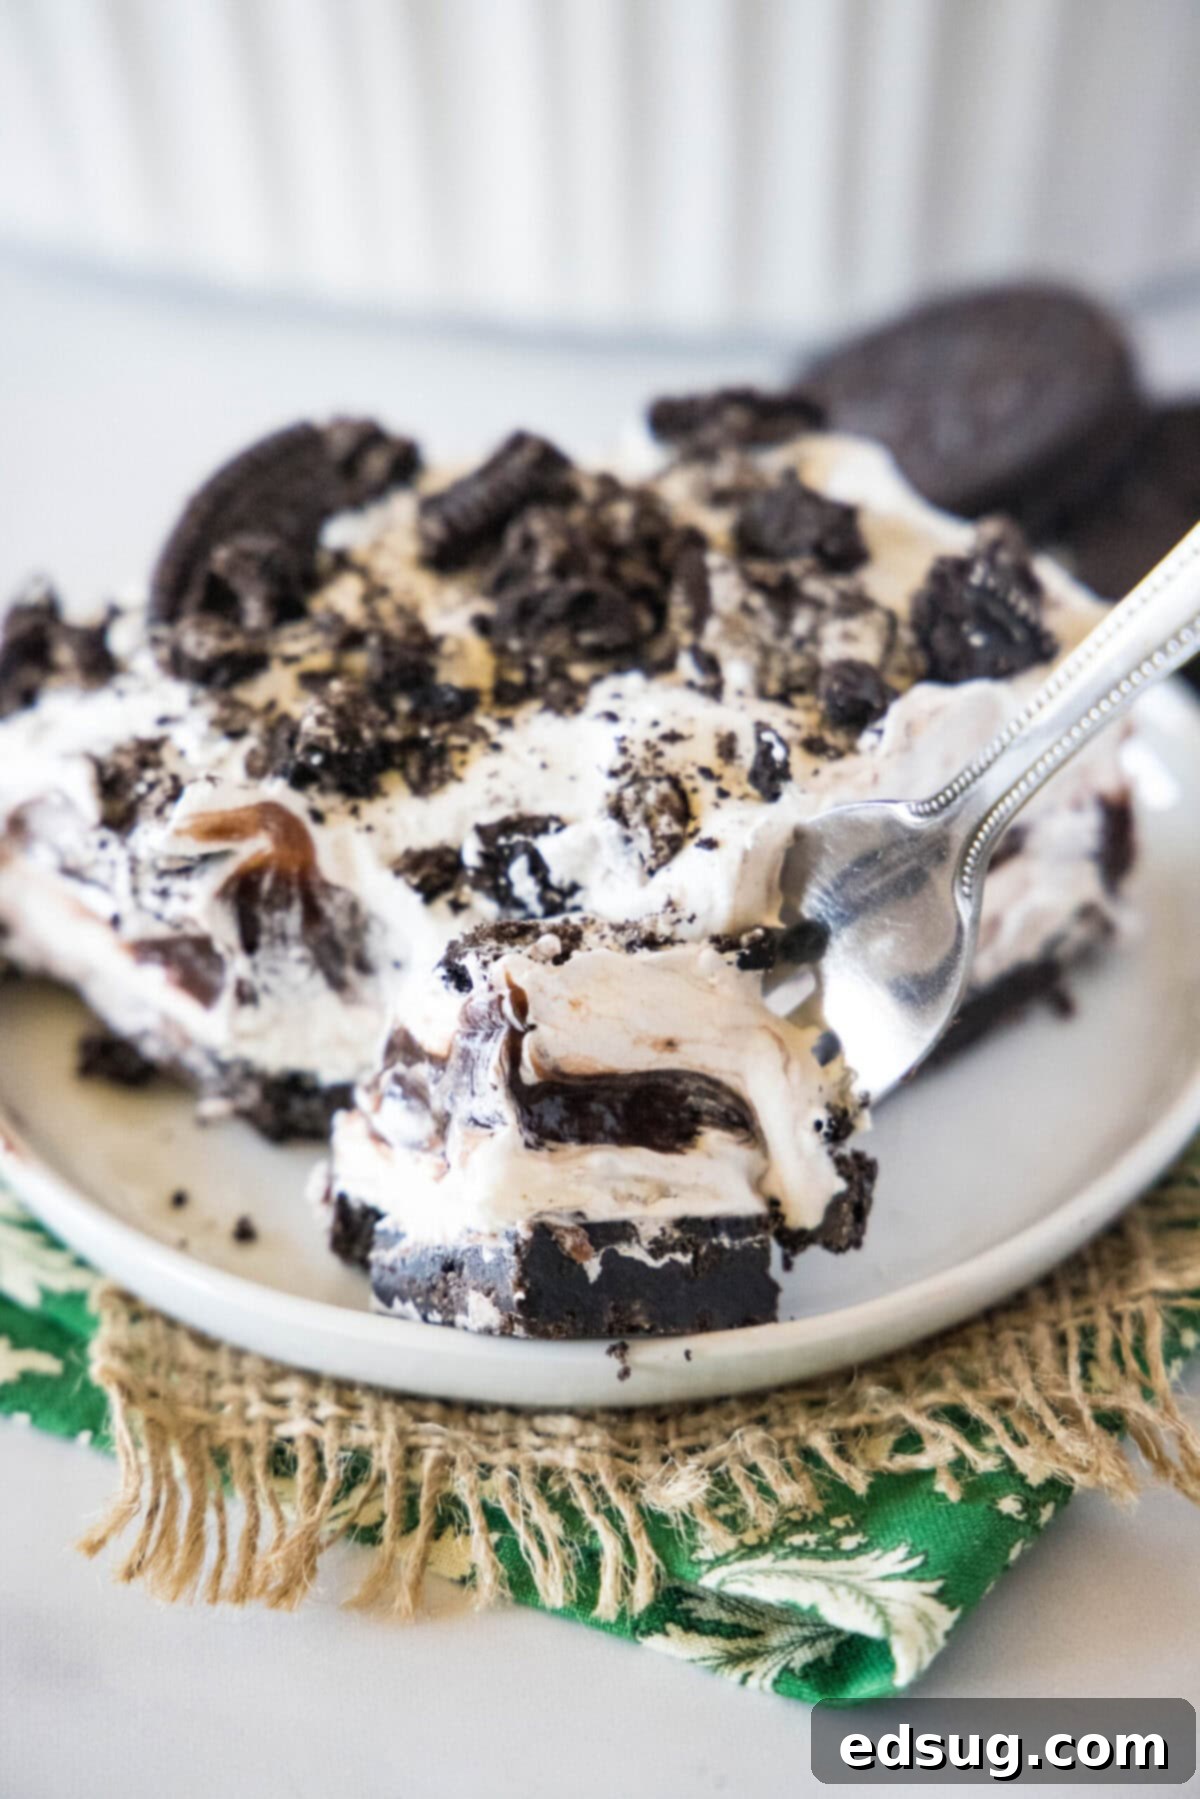
Storing Your Leftover Oreo Lasagna
One of the many convenient aspects of this recipe is how easy it is to store. To keep your Oreo Lasagna fresh and delicious, simply cover the baking dish tightly with plastic wrap, or transfer any leftover slices to an airtight container. When stored properly in the refrigerator, this dessert will maintain its excellent quality for at least 5 days, making it perfect for enjoying throughout the week.
Can This Oreo Lasagna Be Frozen?
Absolutely! You can certainly freeze this no-bake Oreo lasagna, which is fantastic for meal prep or saving a portion for a later date. While the texture might become slightly softer or less perfectly firm after being frozen and then thawed, it will still be incredibly delicious. To freeze, ensure the lasagna is completely set, then wrap the entire dish (or individual slices in an airtight container) tightly with plastic wrap and then aluminum foil to prevent freezer burn. It will last wonderfully in the freezer for up to 3 months. When you’re ready to enjoy it, simply transfer it to the refrigerator and allow it to thaw slowly overnight for the best texture.
More Irresistible Easy Oreo Desserts
As you can probably tell by now, I have an undeniable love for Oreos! They are incredibly versatile and make for some of the most fun and delicious treats. If you’re just as obsessed as I am, you’ll want to explore these other fantastic recipes that feature Oreos. Each one is easy to make and guaranteed to be a crowd-pleaser:
- Oreo Pudding Cookies: Soft, chewy cookies packed with Oreo goodness.
- No Bake Oreo Cheesecake: Another effortless, creamy, and rich dessert.
- Oreo Brownies: Fudgy brownies with a delightful Oreo crunch.
- Nutella Oreo Truffles: Bite-sized balls of pure decadence.
- Mini Oreo Cheesecake Bites: Perfect individual portions for parties.
- Oreo Muffins: A delicious way to enjoy Oreos for breakfast or a snack.
Whether you’re looking for a quick weeknight treat or an impressive dessert for a special occasion, Oreos offer endless possibilities for creating joyful, chocolatey delights.

No-Bake Oreo Lasagna
Ingredients
For the Oreo Crust:
- 16 Oreo cookies, finely crushed (about 1 ½ cups)
- 4 tablespoons unsalted butter, melted
For the Cream Cheese Layer:
- 4 ounces full-fat cream cheese, softened to room temperature
- 1/2 cup powdered sugar
- 1 cup Cool Whip, thawed
For the Chocolate Pudding Layer:
- 1 3.9 oz box instant chocolate pudding mix
- 1 1/2 cups whole milk, cold
For the Top Layer:
- 8 ounces Cool Whip, remaining thawed container (approximately 2 cups, after using 1 cup for the cream cheese layer)
For the Garnish:
- 8 Oreo cookies, crushed (for topping)
Instructions
- Spray an 8-inch square baking dish (or 9×13 for a thinner lasagna) with non-stick cooking spray. Set aside.
- In a medium bowl, combine the melted butter and 16 crushed Oreo cookies. Press the mixture firmly and evenly into the bottom of the prepared baking dish. Cover and place in the freezer for at least 30 minutes to set the crust.
- In a separate bowl, combine the instant chocolate pudding mix with the cold milk. Whisk vigorously until the mixture is smooth and begins to thicken, about 2-3 minutes. Cover and place in the fridge for 20 minutes to allow it to fully set.
- In a large bowl, add the softened cream cheese and powdered sugar. Beat with an electric mixer until light, fluffy, and completely smooth. Gently fold in 1 cup of the thawed Cool Whip until just combined. Spread this creamy mixture evenly over the frozen Oreo crust.
- Carefully spread the set chocolate pudding mixture over the top of the cream cheese layer, creating an even layer.
- Spread the remaining thawed Cool Whip (approximately 2 cups) over the chocolate pudding layer. Finish by sprinkling the additional 8 crushed Oreo cookies over the top for garnish.
- Cover the dish tightly with plastic wrap and let it chill in the fridge for at least 4 hours, or in the freezer for 90 minutes. This chilling time is essential for the layers to fully set before slicing and serving.
Notes
- Adapted from Food.com
- Store leftovers in an airtight container in the fridge for up to 5 days. For longer storage, this recipe can be frozen for up to 3 months. Thaw in the refrigerator overnight before serving.
- For the best texture, ensure your cream cheese is softened to room temperature and that the Cool Whip is fully thawed before mixing.
Nutrition
Nutrition information is automatically calculated, so should only be used as an approximation.
Additional Info
I created a fun group on Facebook, and I would love for you to join us! It’s a fantastic place where you can share YOUR favorite recipes, ask questions, and stay updated on what’s new at Dinners, Dishes and Desserts (so that you never miss a new recipe)!
Be sure to follow me on Instagram and tag #dinnersdishes so I can see all the wonderful DINNERS, DISHES, AND DESSERTS recipes YOU make!
Be sure to follow me on my social media, so you never miss a post and stay connected!
Facebook | Twitter | Pinterest | Instagram
.
