Irresistible Eggnog Cookies: Your New Favorite Festive Holiday Treat
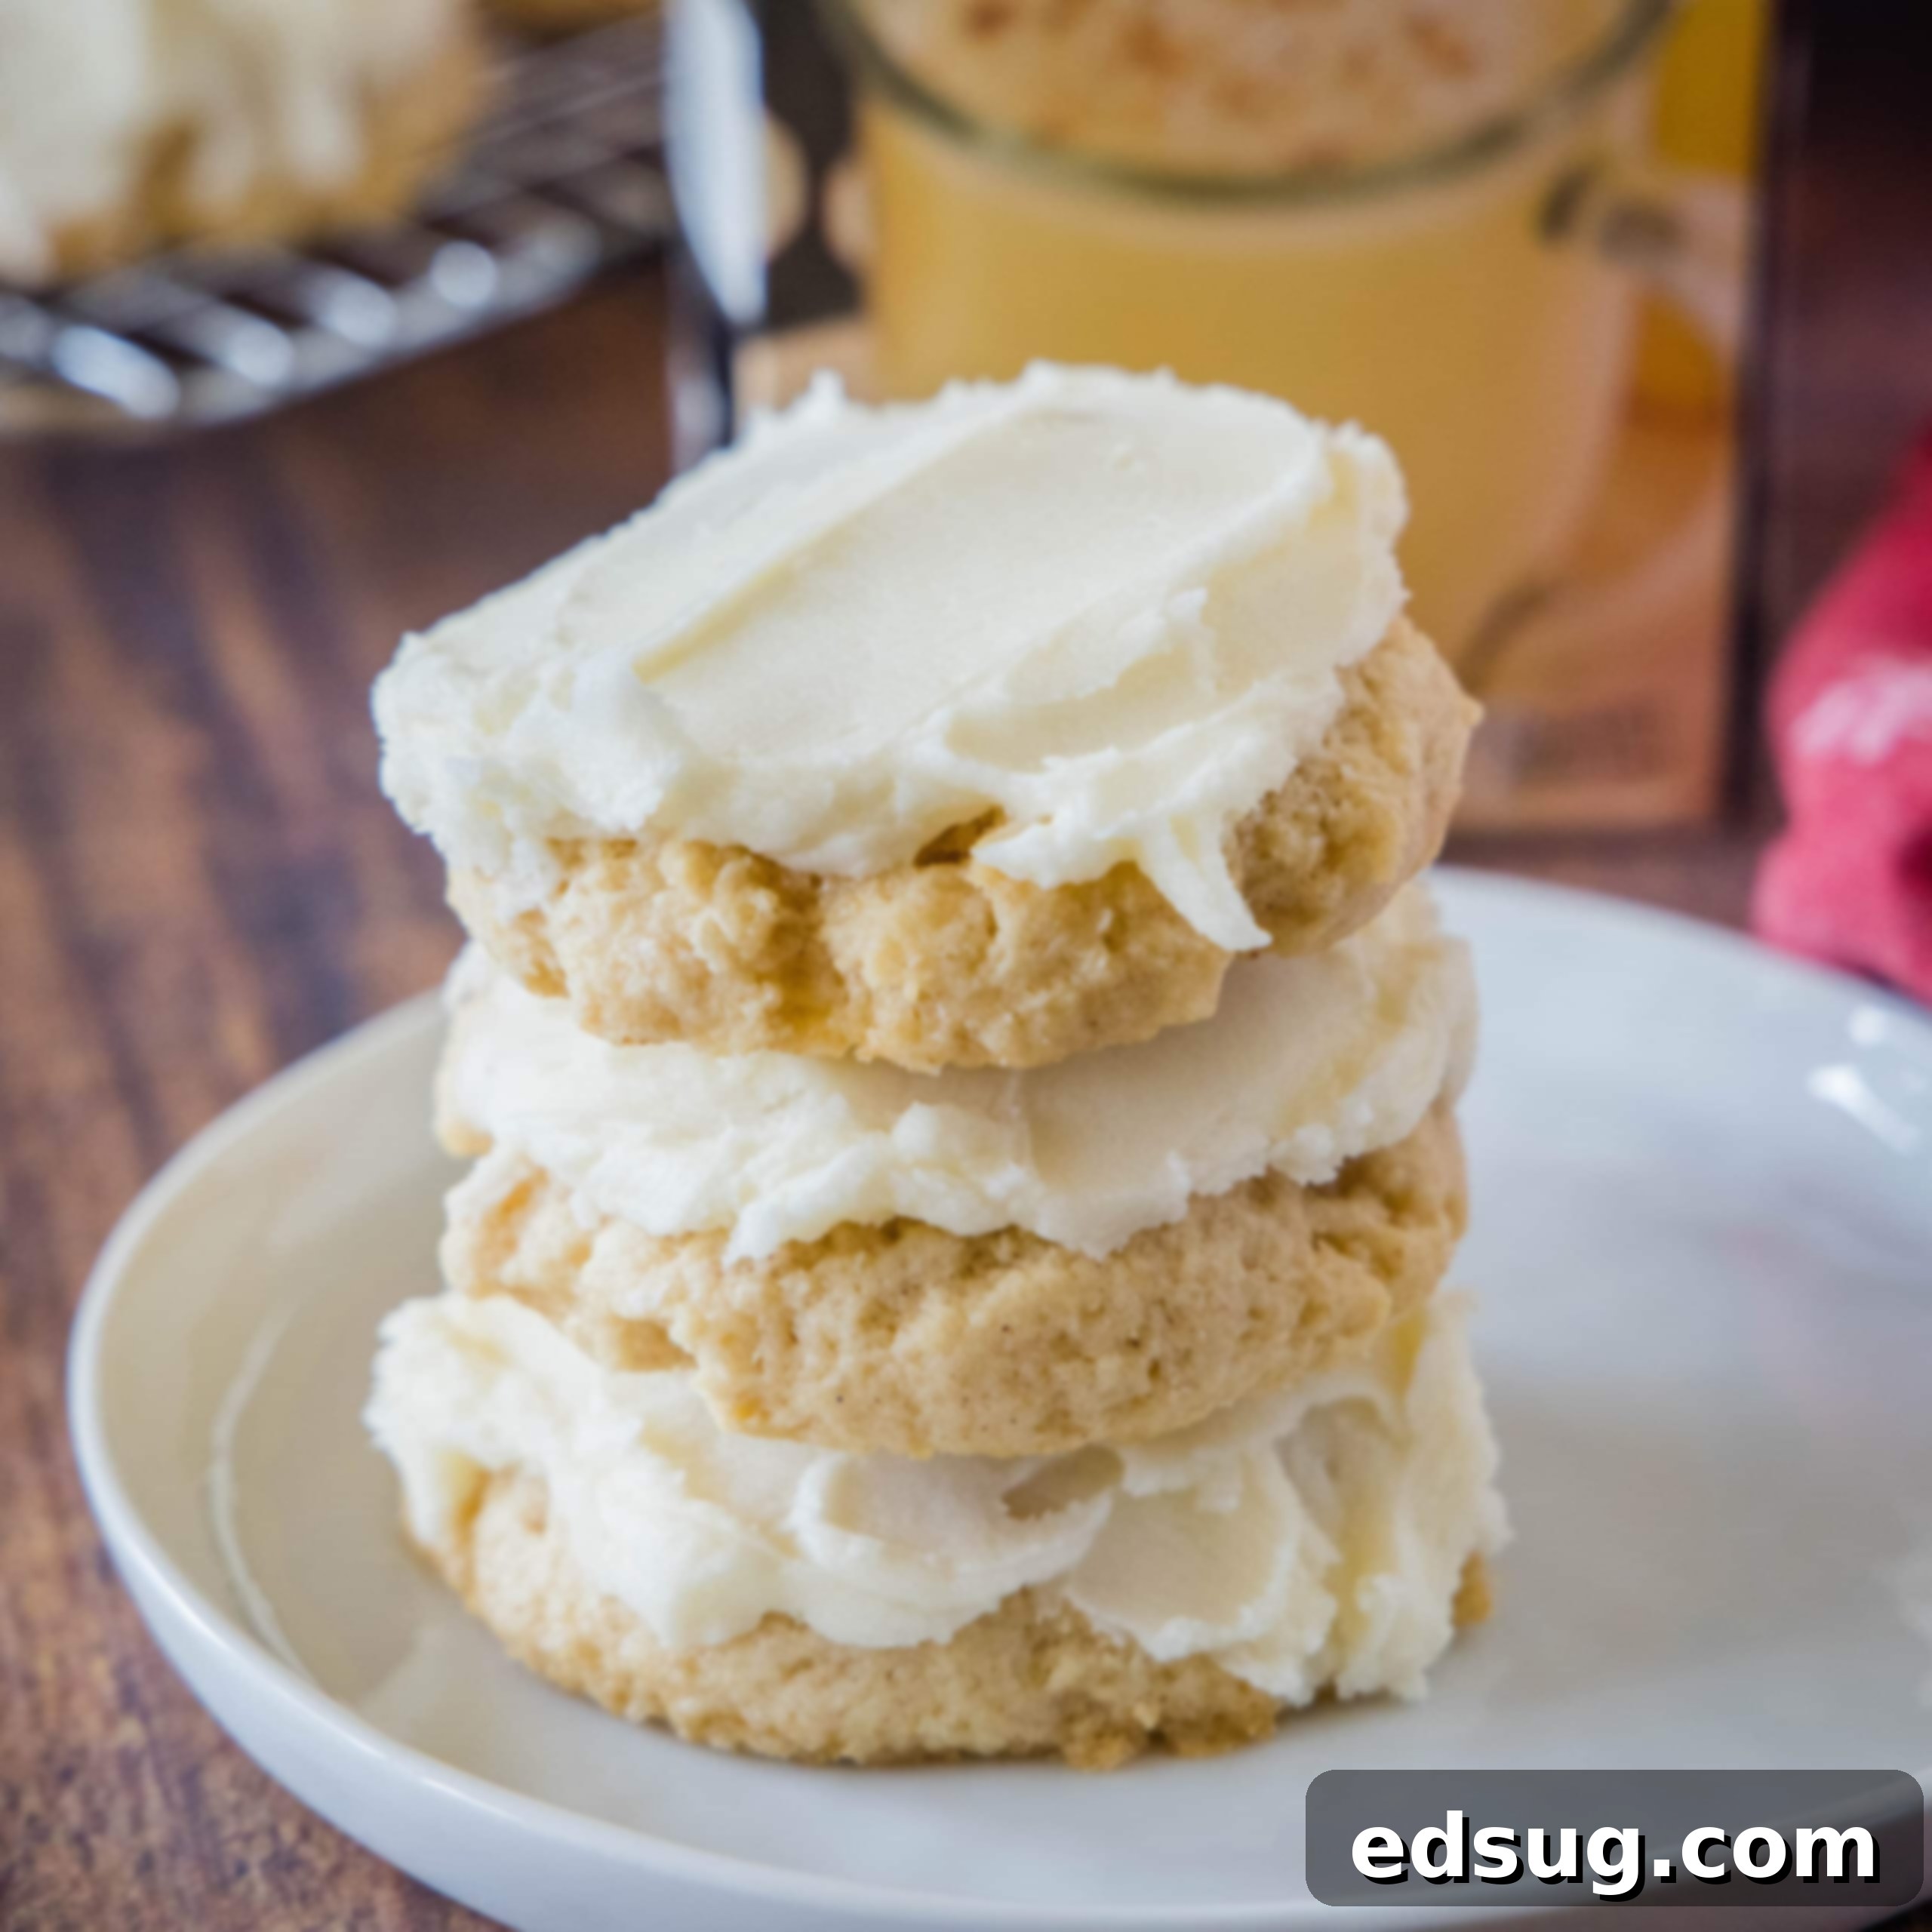
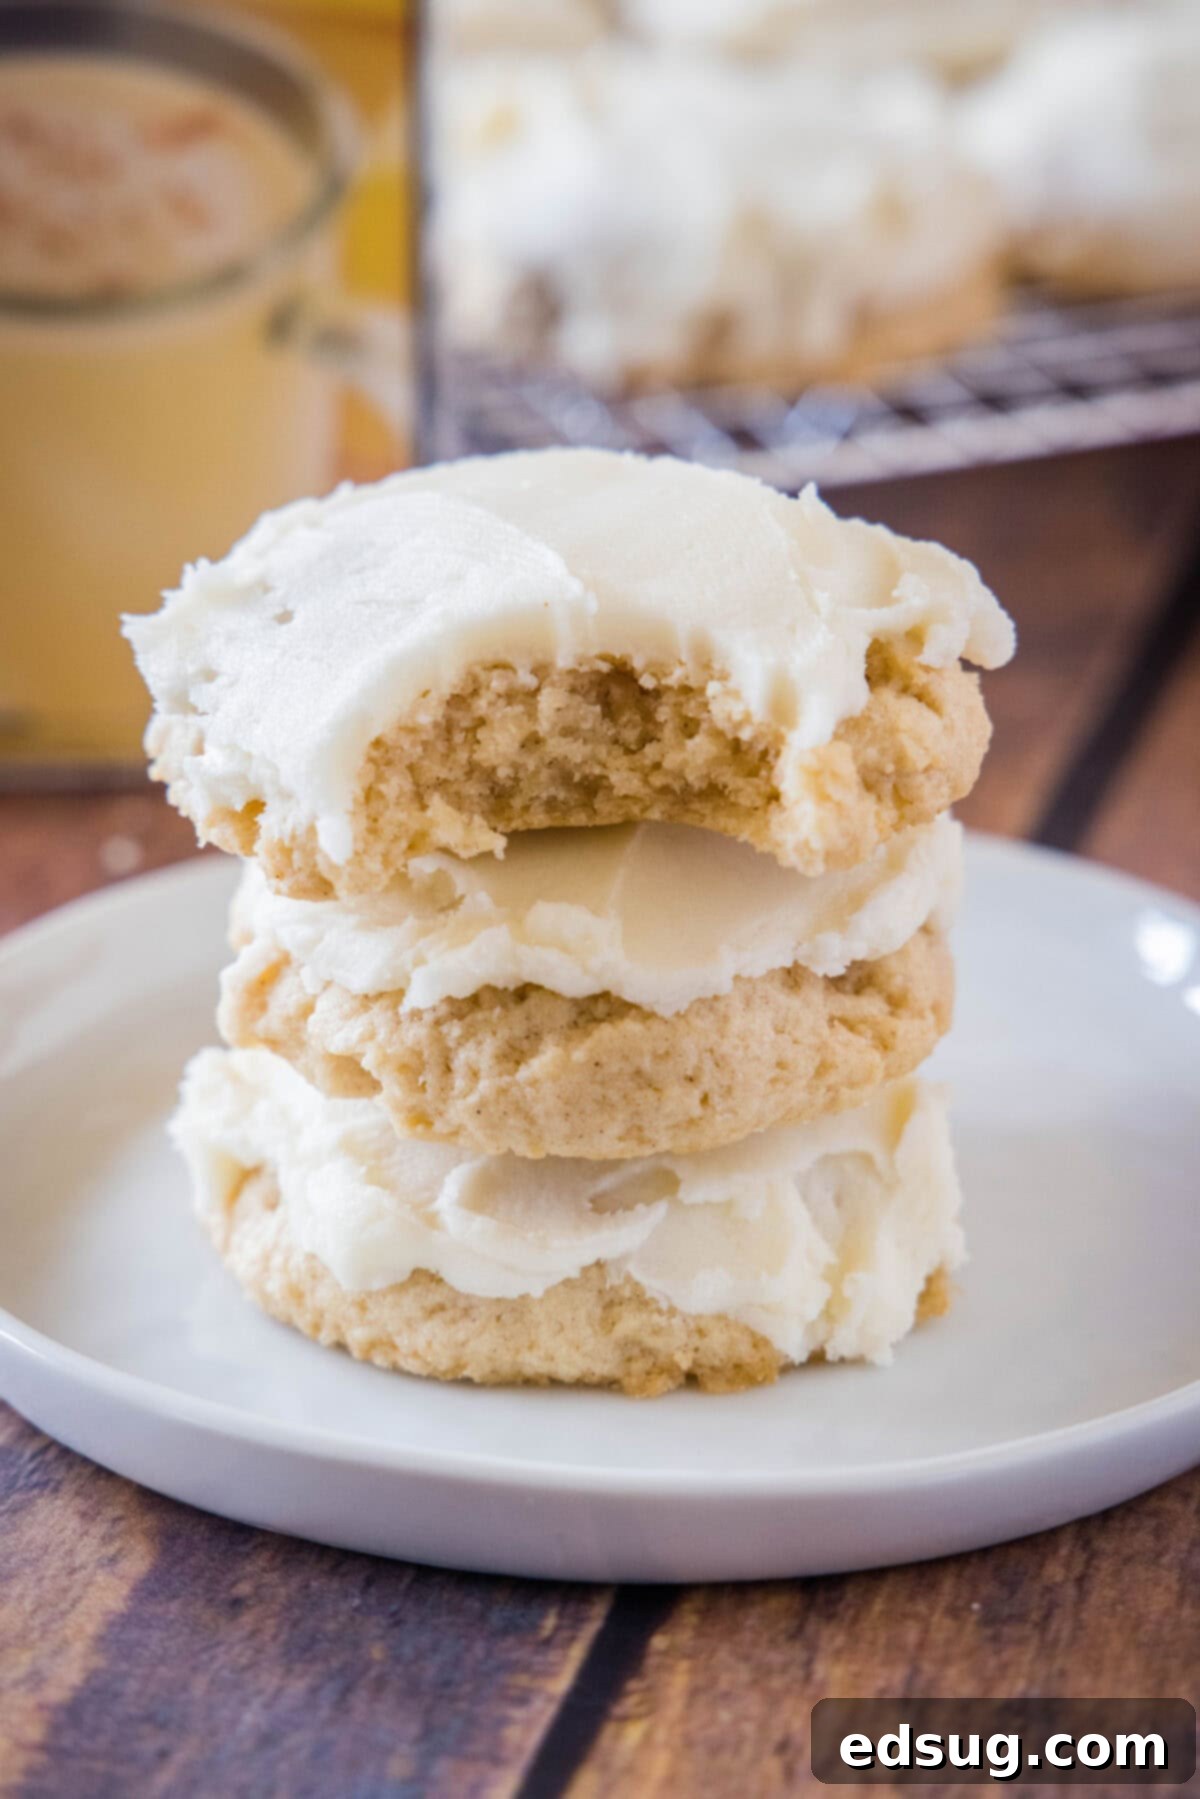
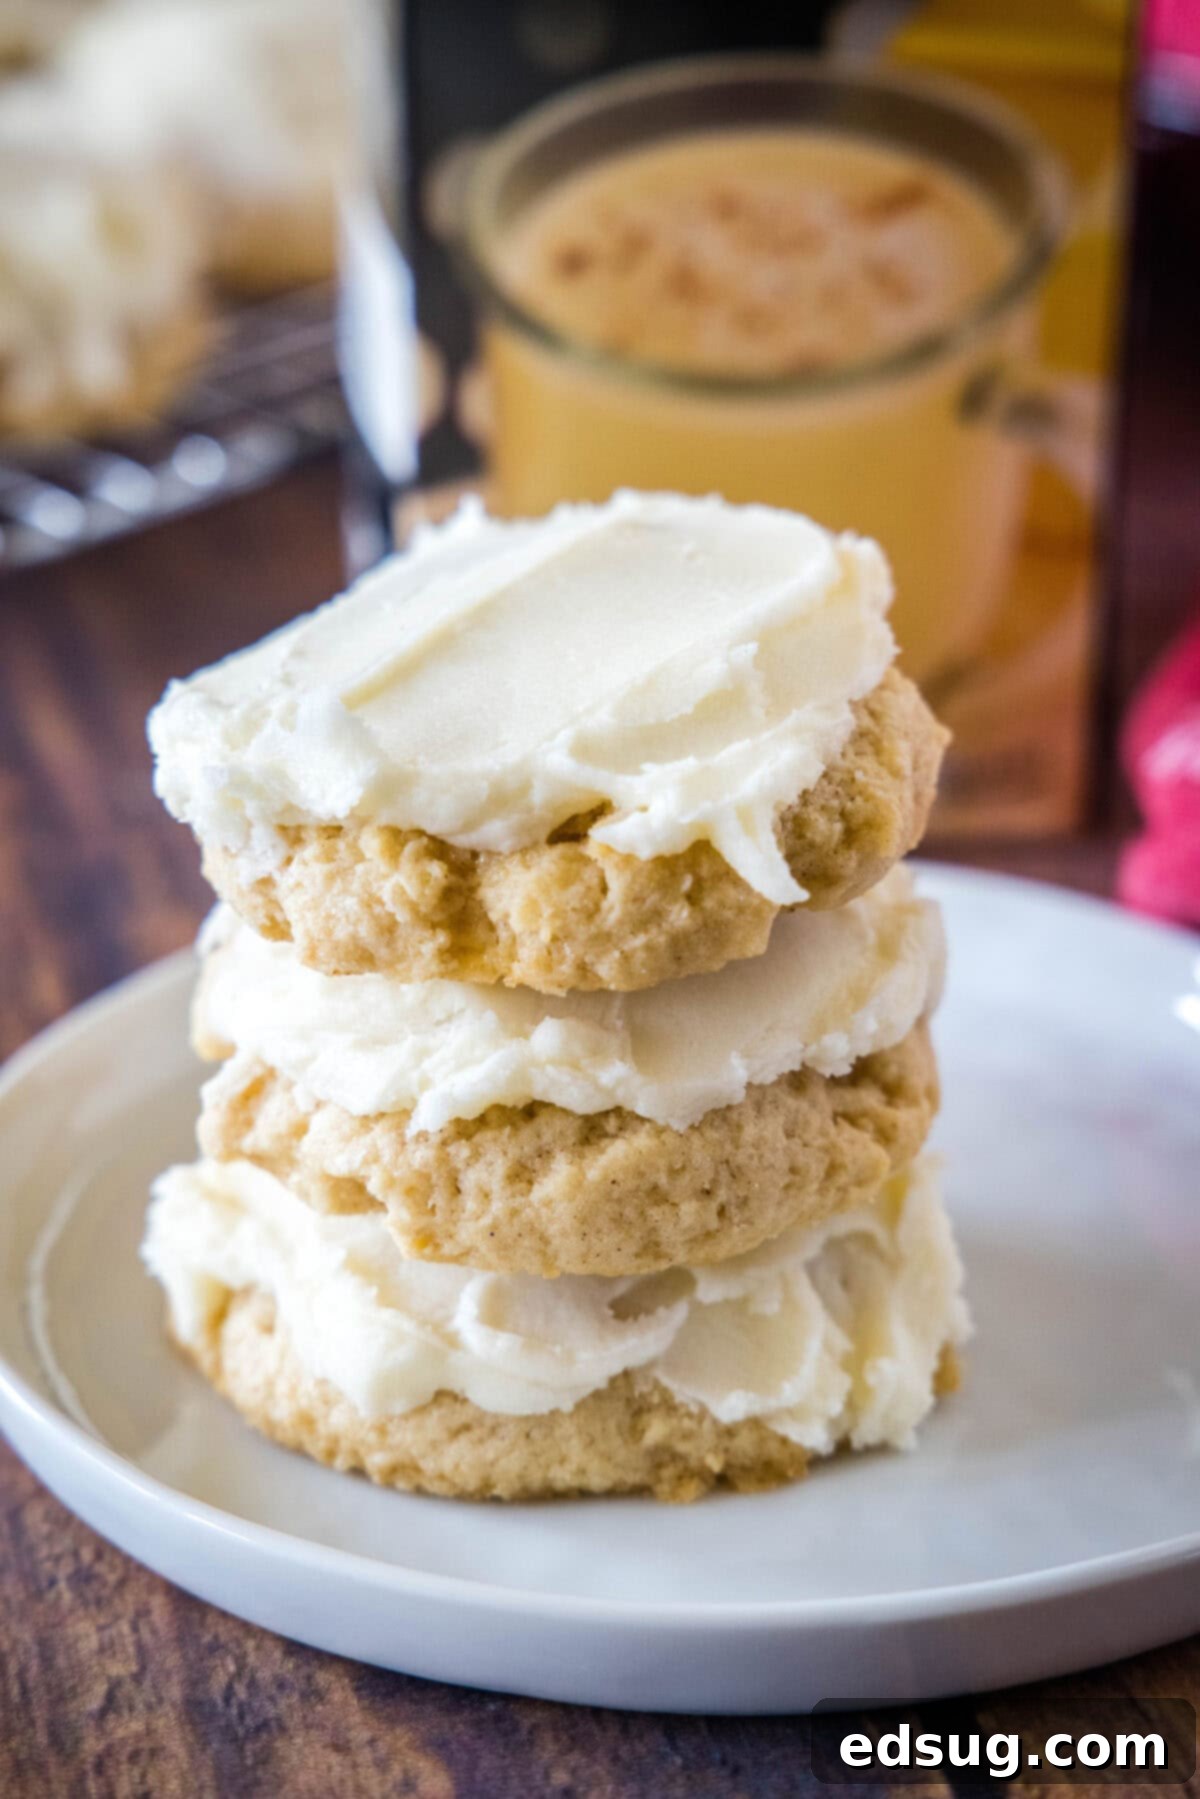
There’s an undeniable magic that fills the air during the holiday season, and for many, that magic is deeply intertwined with the aroma of freshly baked cookies. These Eggnog Cookies capture the very essence of Christmas in every delightful bite. Imagine thick, incredibly soft, and wonderfully fluffy cookies, richly flavored with the distinct warmth of eggnog, a hint of fragrant cinnamon, and a comforting touch of nutmeg. To elevate this festive delight, each cookie is generously topped with a luscious, sweet eggnog frosting that melts in your mouth. They aren’t just cookies; they’re a holiday experience, guaranteed to become a cherished Christmas favorite in your home.
My love affair with eggnog during the holidays runs deep. If you’ve followed my culinary adventures in previous years, you know that this creamy, spiced beverage often finds its way into many of my cherished sweet treats. From a cozy Eggnog Coffee Cake that perfects a holiday morning to fluffy Eggnog Muffins, decadent Eggnog Cinnamon Rolls, and even festive Eggnog Pancakes, these seasonal delights are absolute must-haves during the most wonderful time of the year. This year, I embarked on a mission to transform my beloved classic Bakery Sugar Cookies into a holiday-inspired eggnog version, and I can confidently say, they absolutely do not disappoint!
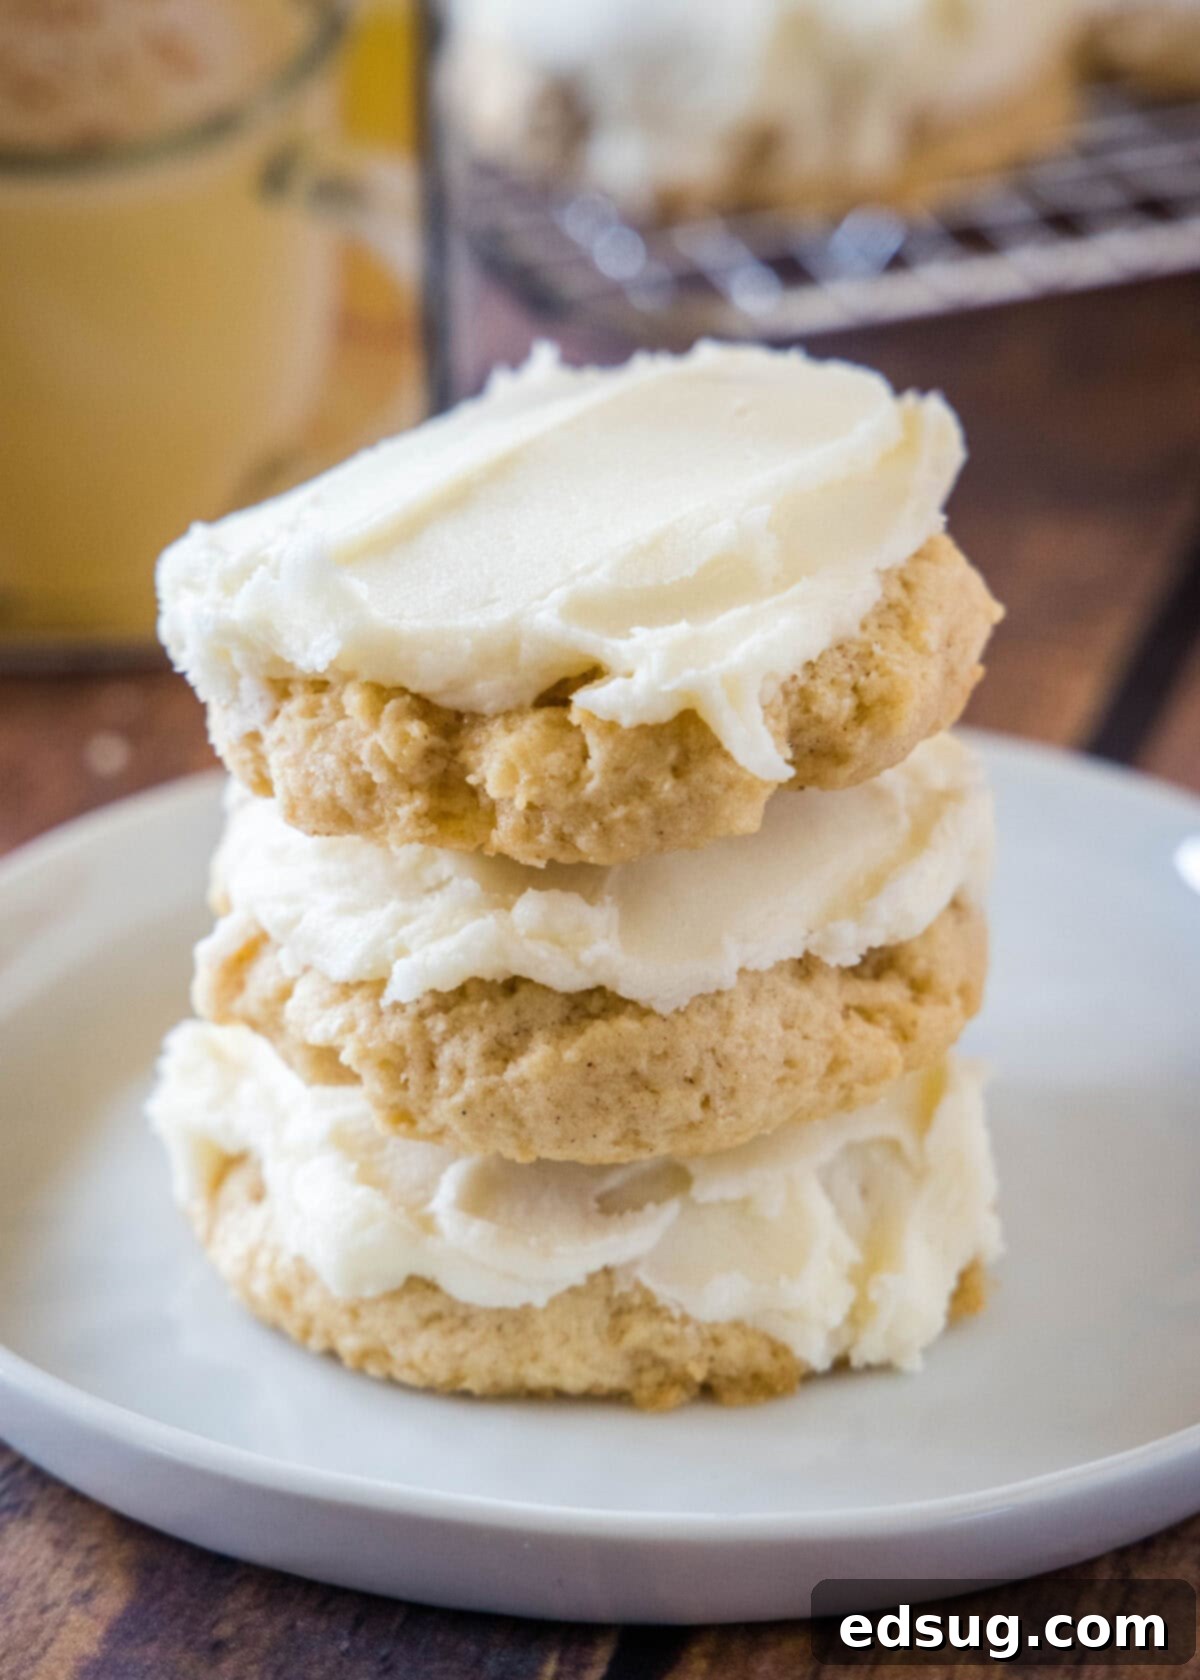
What makes these particular eggnog cookies stand out? It’s their exquisite balance of sweetness, their melt-in-your-mouth softness, and their perfectly thick, fluffy texture. The secret to their intense eggnog flavor isn’t just in the cookie dough; I’ve also incorporated eggnog directly into the rich, creamy frosting, replacing traditional milk to infuse every bite with an extra layer of holiday cheer. The result is a cookie that truly sings with the flavors of the season.
Beyond their incredible taste, these cookies are surprisingly simple and straightforward to make. Unlike many traditional rolled-out sugar cookies, which can be time-consuming, these Frosted Sugar Cookies are designed for efficiency without sacrificing flavor or texture. This means you can whip up a batch much faster, making them a perfect addition to your busy holiday baking list. They are undeniably delicious, and I wholeheartedly believe they deserve a prime spot on your festive treat rotation.
Essential Ingredients for Your Eggnog Cookie Masterpiece
To ensure you have everything on hand for these delightful holiday cookies, refer to the comprehensive printable recipe card at the very bottom of this post for precise measurements.
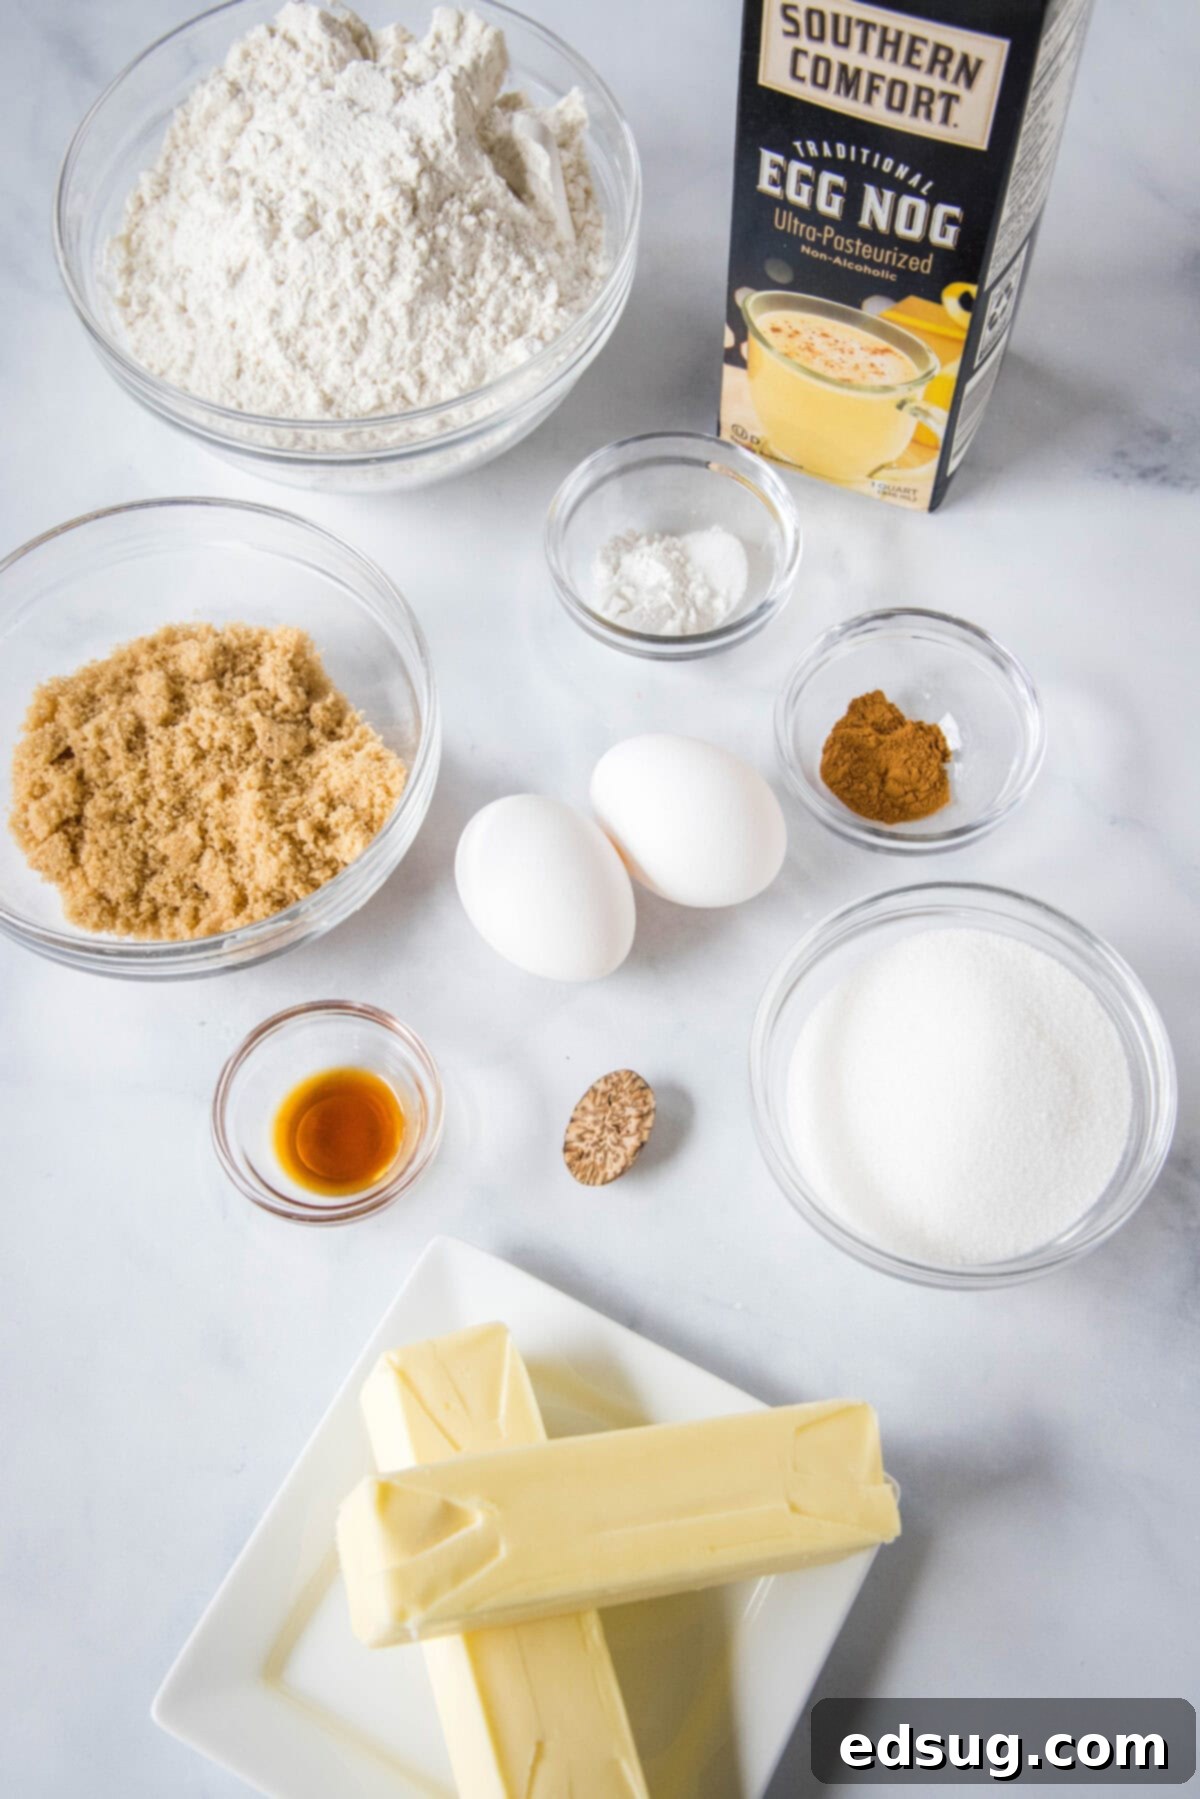
Creating the perfect batch of eggnog cookies requires a careful selection of ingredients, each playing a vital role in achieving that sought-after flavor and texture:
- Unsalted Butter – Always opt for unsalted butter in baking. This gives you complete control over the salt content in your recipe, ensuring a balanced flavor. Make sure it’s softened to room temperature for optimal creaming.
- Granulated Sugar – Provides essential sweetness and contributes to the cookie’s tender crumb and slightly crisp edges.
- Light Brown Sugar – Adds a deeper, molasses-rich sweetness and, crucially, moisture, which enhances the softness and chewiness of these cookies.
- Eggnog – The star of the show! Whether you use your favorite store-bought variety or a special homemade blend, eggnog infuses these cookies with their signature holiday flavor and adds a unique richness to both the cookie and the frosting.
- Eggs – Large eggs act as a binder, contributing structure and richness to the dough, helping to create that perfect fluffy texture.
- Vanilla Extract – A touch of pure vanilla extract enhances all the other flavors, adding a classic warmth and depth to the cookies.
- All-Purpose Flour – The foundational dry ingredient, providing the necessary structure for the cookies. Ensure it’s measured correctly (fluff, spoon, and level) to avoid dry or dense cookies.
- Baking Powder – This leavening agent is key to achieving the thick, soft, and fluffy rise in your cookies, preventing them from spreading too thin.
- Cinnamon – A quintessential holiday spice that beautifully complements the eggnog, adding warmth and aromatic depth.
- Nutmeg – The second essential holiday spice, nutmeg, particularly freshly grated, provides that authentic eggnog flavor profile. Don’t skip it!
- Salt – A small amount of salt balances the sweetness and brings out the full range of flavors in the cookies.
For the Irresistible Eggnog Frosting:
The creamy, dreamy frosting is what truly makes these cookies shine. It’s incredibly simple yet bursting with flavor:
- Butter – Softened unsalted butter forms the rich base of our buttercream frosting.
- Powdered Sugar (Confectioners’ Sugar) – Essential for a smooth, lump-free frosting with the perfect sweet glaze. Sift it if clumpy.
- Eggnog – Just like in the cookies, eggnog is used here in place of milk or cream, intensifying the overall eggnog experience in every bite of frosting.
Step-by-Step Guide: How To Make Perfect Eggnog Cookies
Creating these festive eggnog cookies is a straightforward process, designed for both novice and experienced bakers. Follow these simple steps for a truly delicious result:
- Prepare the Wet Ingredients: In a large mixing bowl (or the bowl of a stand mixer fitted with the paddle attachment), combine the softened butter, granulated sugar, and light brown sugar. Cream these together on medium speed for about 2 minutes. The mixture should become noticeably light, pale, and fluffy, indicating that air has been properly incorporated, which is crucial for soft cookies.
- Add Liquid Flavors: Next, beat in the eggnog, large eggs, and vanilla extract. Continue mixing until the eggs are completely incorporated into the batter. Don’t forget to scrape down the sides of the bowl with a spatula to ensure all ingredients are thoroughly combined.
- Combine Dry Ingredients: In a separate bowl, whisk together the all-purpose flour, baking powder, cinnamon, nutmeg, and salt. Gradually add these dry ingredients to the wet mixture, mixing on low speed until just combined and a soft dough forms. Be careful not to overmix, as this can lead to tough cookies.
- Scoop and Chill the Dough: Using a cookie scoop (about 2 tablespoons in size), portion out uniform balls of dough onto a baking sheet lined with parchment paper. This parchment paper prevents sticking and aids in easy cleanup. Now, here’s a crucial step: chill the dough in the refrigerator for at least 20 minutes while your oven preheats to 350°F (175°C). Chilling the dough helps to firm up the butter, preventing the cookies from spreading too much during baking, resulting in those wonderfully thick cookies.
- Prepare for Baking: After chilling, gently press down on each cookie dough ball with the palm of your hand or the bottom of a glass to slightly flatten them. This creates a more even surface, ideal for frosting later, and helps them bake more consistently.
- Bake to Perfection: Transfer the baking sheet to your preheated oven and bake for approximately 10 minutes. Look for signs that the edges are just set, and the tops appear dry and lightly golden brown. Remember, cookies continue to cook slightly after being removed from the oven, so avoid overbaking to keep them soft and moist.
- Cool Completely: Once baked, remove the cookies from the oven and let them cool on the baking sheet for about 5 minutes before transferring them to a wire rack to cool completely. This prevents them from breaking and ensures they are firm enough for frosting.
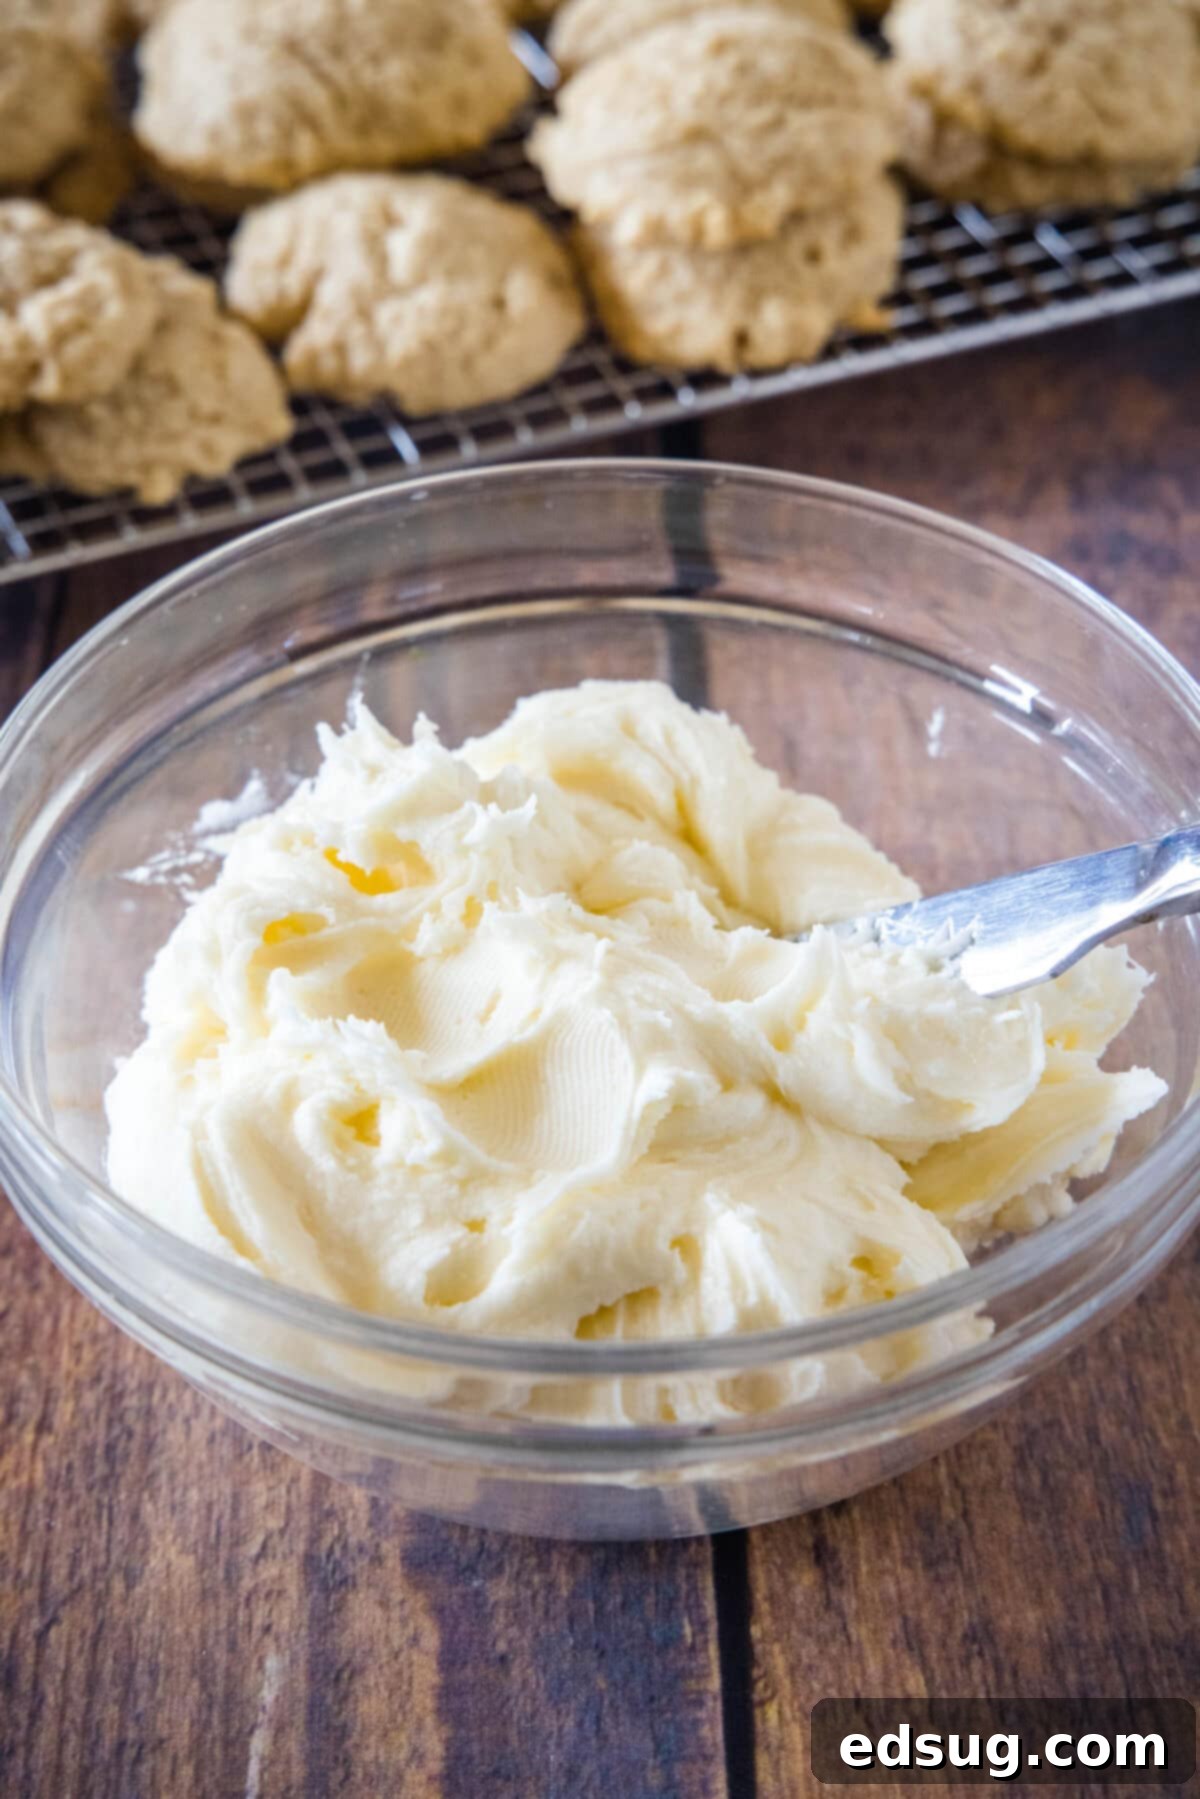
- Prepare the Eggnog Frosting: While the cookies are cooling, it’s time to make the frosting. In a clean mixing bowl, beat together the softened butter, powdered sugar, and eggnog until the mixture is smooth, creamy, and spreadable. If the frosting is too thick, add a tiny bit more eggnog (a teaspoon at a time). If it’s too thin, add more powdered sugar until the desired consistency is achieved.
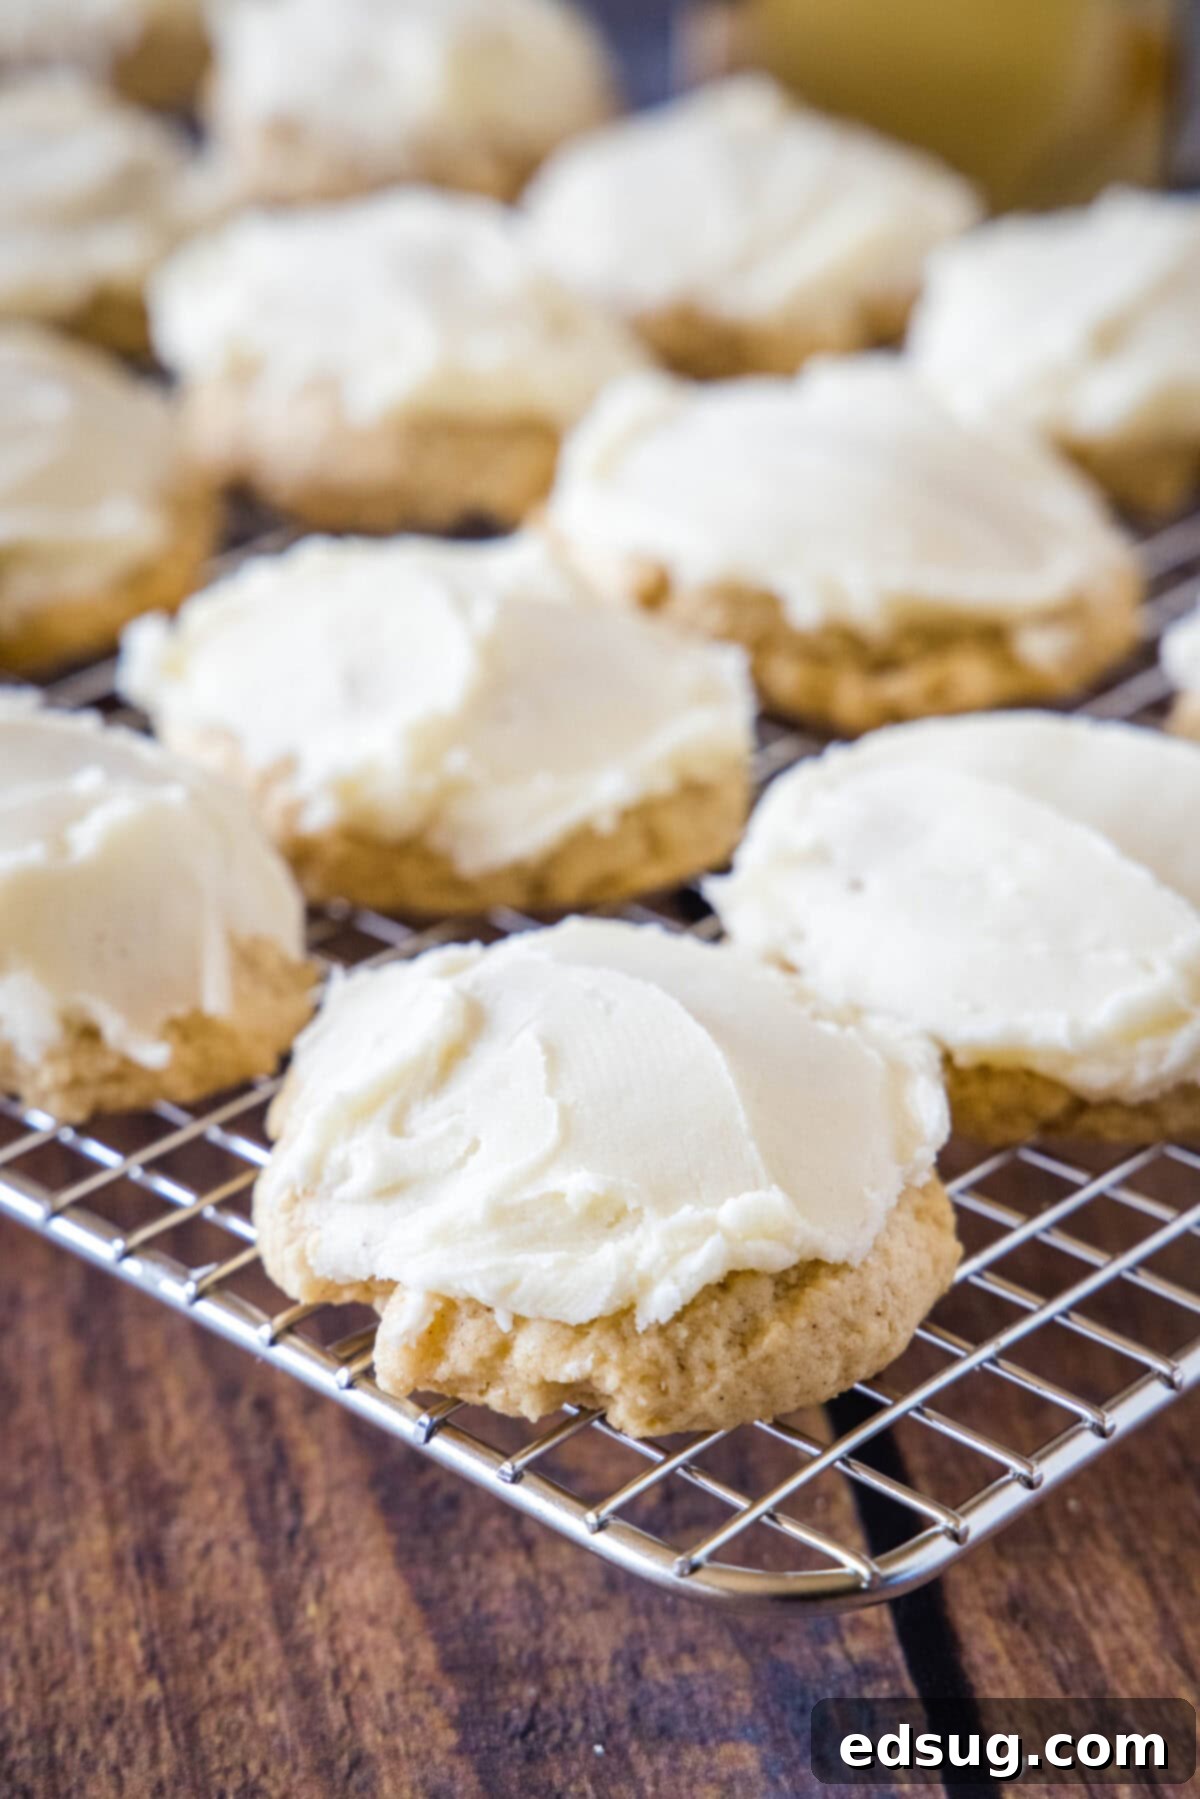
- Frost and Set: Once the cookies are entirely cooled (this is paramount!), generously spread the eggnog frosting over each cookie. For a professional finish, you can swirl the frosting slightly. Allow the frosted cookies to set up at room temperature for about an hour before stacking or storing. This helps the frosting firm up enough to prevent smudging.
Expert Tips & Creative Suggestions for Perfect Eggnog Cookies
Achieving bakery-quality eggnog cookies is easy with a few simple tricks and creative enhancements. Here are some essential tips to guide you:
- The Importance of Chilling the Dough: This step is often overlooked in sugar cookie recipes, but it’s particularly vital for these eggnog cookies. Because of the generous amount of liquid eggnog added to the dough, it can be softer than typical cookie dough. Chilling the dough for at least 20 minutes (or even up to an hour) in the refrigerator allows the butter to firm up. This prevents the cookies from spreading too much in the oven, ensuring they retain their thick, fluffy shape rather than becoming thin and crispy. Don’t skip this for the best results!
- Why Flatten the Dough Balls? Before baking, gently pressing down on the scooped dough balls creates a flat surface. This flat top is ideal for spreading that glorious eggnog frosting evenly and beautifully. However, if you prefer a simpler presentation or want to drizzle an eggnog glaze instead (made by using less powdered sugar and more eggnog than the frosting recipe), you could leave the dough in rounded balls for a puffier, domed cookie.
- Enhancing Nutmeg Flavor: If you’re a true nutmeg enthusiast, there are several ways to amplify its warm, spiced notes. Consider adding a small pinch of freshly grated nutmeg directly into your eggnog frosting for an extra layer of flavor. For a beautiful presentation and an aromatic boost, sprinkle a tiny bit of nutmeg (or even a mixture of cinnamon and nutmeg) over the top of the frosted cookies just before serving. Freshly grated nutmeg offers a far superior flavor to pre-ground, so if you have whole nutmeg, use it!
- The Golden Rule: Don’t Over Bake! This is perhaps the most crucial tip for soft, tender cookies. Cookies continue to cook with residual heat after they are removed from the oven. If you wait until they look perfectly done in the oven, they will likely be dry and crumbly once cooled. Keep a close eye on them; the moment the edges are lightly set and the tops appear dry (not wet or shiny), they are most likely ready. They might even look slightly undercooked in the very center, but trust the process – they will firm up as they cool, leaving you with wonderfully chewy centers.
- Cooling Completely Before Frosting: Patience is a virtue when it comes to frosting cookies! It is absolutely essential that your eggnog cookies are completely cool, down to room temperature, before you even think about applying the frosting. If the cookies are still warm, even slightly, the butter-based frosting will melt, creating a messy, unappetious puddle. A wire rack is your best friend here, allowing air to circulate around the cookies for quicker and more thorough cooling.
- Uniform Cookie Size: Using a cookie scoop ensures that all your cookies are roughly the same size. This not only makes for a prettier presentation but also guarantees that they bake evenly. No more burnt small cookies while larger ones are still raw!
- Parchment Paper is Your Friend: Always line your baking sheets with parchment paper or silicone baking mats. This prevents sticking, promotes even browning, and makes cleanup incredibly easy.
- Adjusting Frosting Consistency: If your frosting seems too stiff, add eggnog a teaspoon at a time until it reaches a smooth, spreadable consistency. If it’s too thin, whisk in a tablespoon of powdered sugar at a time until it thickens to your liking.
Storage Solutions for Your Delicious Eggnog Cookies
Once you’ve baked and frosted these delectable eggnog cookies, proper storage is key to keeping them fresh and flavorful for as long as possible:
These frosted eggnog cookies will maintain their delightful taste and soft texture for 4-5 days when stored at room temperature. To store them effectively, place them in an airtight container. Because of the creamy frosting, it’s a good idea to layer them with a sheet of wax paper or parchment paper between each layer of cookies. This prevents the frosting from sticking to the cookies above and keeps them looking pristine. While the frosting does harden slightly as it sets, it won’t become completely solid like a royal icing, so the barrier is helpful.
Before placing them in a container, ensure the frosting has had ample time to set up – ideally, about an hour at room temperature after frosting. This setting time helps prevent the frosting from smudging or sticking excessively when stacked.
Freezing Eggnog Cookies: If you’re looking to prepare these holiday treats in advance or have leftovers, these cookies freeze beautifully! You can freeze both unfrosted and frosted cookies. For unfrosted cookies, allow them to cool completely, then place them in an airtight freezer-safe container or bag for up to 3 months. When ready to enjoy, thaw them at room temperature and then proceed with frosting. For frosted cookies, ensure the frosting is completely set. Then, place them in a single layer on a baking sheet and freeze until solid. Once frozen, transfer them to an airtight freezer-safe container, separating layers with parchment paper. They can be frozen for up to 2-3 months. Thaw them in the refrigerator overnight or at room temperature for a few hours before serving. Freezing is an excellent way to extend their shelf life and enjoy these festive delights long after the holiday season has passed.
More Festive Christmas Cookie Recipes to Explore
The holiday season is synonymous with cookie baking! If you’ve enjoyed these eggnog cookies and are looking for more delicious treats to add to your festive platter, explore some of my other favorite Christmas cookie recipes:
- Mint Chocolate Chip Cookies: A refreshing and classic combination, perfect for holiday gatherings.
- White Chocolate Gingerbread Cookies: A delightful twist on traditional gingerbread, offering warm spices and sweet white chocolate.
- Chewy Molasses Cookies: Rich, spiced, and wonderfully chewy – a timeless holiday classic.
- Toffee Graham Cracker Cookies: An easy and addictive no-bake option that’s always a crowd-pleaser.
- Cornflake Cookies: A fun, textural cookie that brings a delightful crunch to your dessert table.
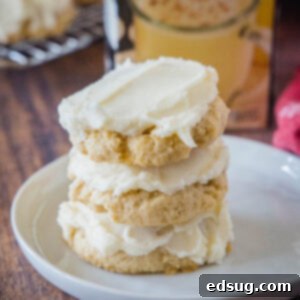
Eggnog Cookies
Ingredients
- 1 cup unsalted butter, softened
- 1/2 cup granulated sugar
- 1/2 cup light brown sugar
- 1/2 cup eggnog
- 2 large eggs
- 1 teaspoon vanilla extract
- 3 cups all-purpose flour
- 2 teaspoons baking powder
- 1 teaspoon cinnamon
- 1/2 teaspoon nutmeg
- 1/2 teaspoon salt
Eggnog Frosting
- 1/2 cup unsalted butter, softened
- 4 cups powdered sugar
- 1/4 cup eggnog
Instructions
To make cookies
- Using an electric mixer (stand mixer with paddle attachment or a hand mixer), cream together the softened unsalted butter, granulated sugar, and light brown sugar for about 2 minutes. The mixture should become noticeably light, airy, and fluffy – this step incorporates air for a tender cookie. Then, add the eggnog, large eggs, and vanilla extract. Beat until the eggs are fully incorporated and the mixture is smooth, making sure to scrape down the sides of the bowl to ensure everything is well combined.1 cup unsalted butter, 1/2 cup granulated sugar, 1/2 cup light brown sugar, 1/2 cup eggnog, 2 large eggs, 1 teaspoon vanilla extract
- In a separate bowl, whisk together the all-purpose flour, baking powder, cinnamon, nutmeg, and salt. Gradually add these dry ingredients to the wet mixture, mixing on low speed until just a soft dough forms. Be careful not to overmix, as this can develop the gluten too much, leading to tough cookies.3 cups all-purpose flour, 2 teaspoons baking powder, cinnamon, 1/2 teaspoon nutmeg, 1/2 teaspoon salt
- Using a cookie scoop (approximately 2 tablespoons in size), portion out uniform balls of dough and place them onto a baking sheet lined with parchment paper. This parchment paper is key for easy removal and cleanup. Once scooped, chill the dough balls in the refrigerator for at least 20 minutes while you preheat your oven. This crucial chilling step helps prevent the cookies from spreading too much during baking.
- Preheat your oven to 350ºF (175°C). Ensure your oven is fully preheated before placing cookies inside for consistent baking.
- Remove the chilled dough from the fridge. Before baking, gently press down on each ball of dough with the palm of your hand or the bottom of a glass to slightly flatten them. This creates a flat surface for easier frosting application later.

- Bake the cookies for 10 minutes, or until the edges are just set, the tops appear dry, and they have a very slight golden brown hue. Remember to avoid overbaking to keep them soft and moist. Remove from the oven and let them cool on the baking sheet for 5 minutes before carefully transferring them to a wire rack to cool completely. Cooling completely is essential before frosting!
To make frosting
- Once your cookies have cooled down entirely, prepare the delightful eggnog frosting. In a clean mixing bowl, beat together the softened unsalted butter, powdered sugar, and eggnog until the mixture is beautifully smooth and boasts a perfectly spreadable consistency. If the frosting is too thick, incorporate more eggnog (a teaspoon at a time) until desired consistency is reached. If it’s too thin, add more powdered sugar until it stiffens.1/2 cup unsalted butter, 4 cups powdered sugar, 1/4 cup eggnog
- Generously spread the prepared frosting over the completely cooled cookies. For best results and to prevent smudging, allow the frosted cookies to set up for approximately one hour at room temperature before storing them or stacking them for serving.
Nutrition
Nutrition information is automatically calculated, so should only be used as an approximation.
Additional Info
I’ve created a fun and engaging group on Facebook, and I would absolutely love for you to join our growing community! It’s a fantastic place where you can freely share YOUR favorite recipes, ask any burning questions you might have about baking or cooking, and stay completely up-to-date with all the exciting new content and recipes from Dinners, Dishes and Desserts. By joining, you’ll never miss out on a new recipe release or a helpful tip!
Make sure to follow me on Instagram and tag #dinnersdishes so I can see all the wonderful DINNERS, DISHES, AND DESSERTS recipes YOU create and share!
Don’t miss a single post! Be sure to follow me on my social media channels:
Facebook | Twitter | Pinterest | Instagram
.
