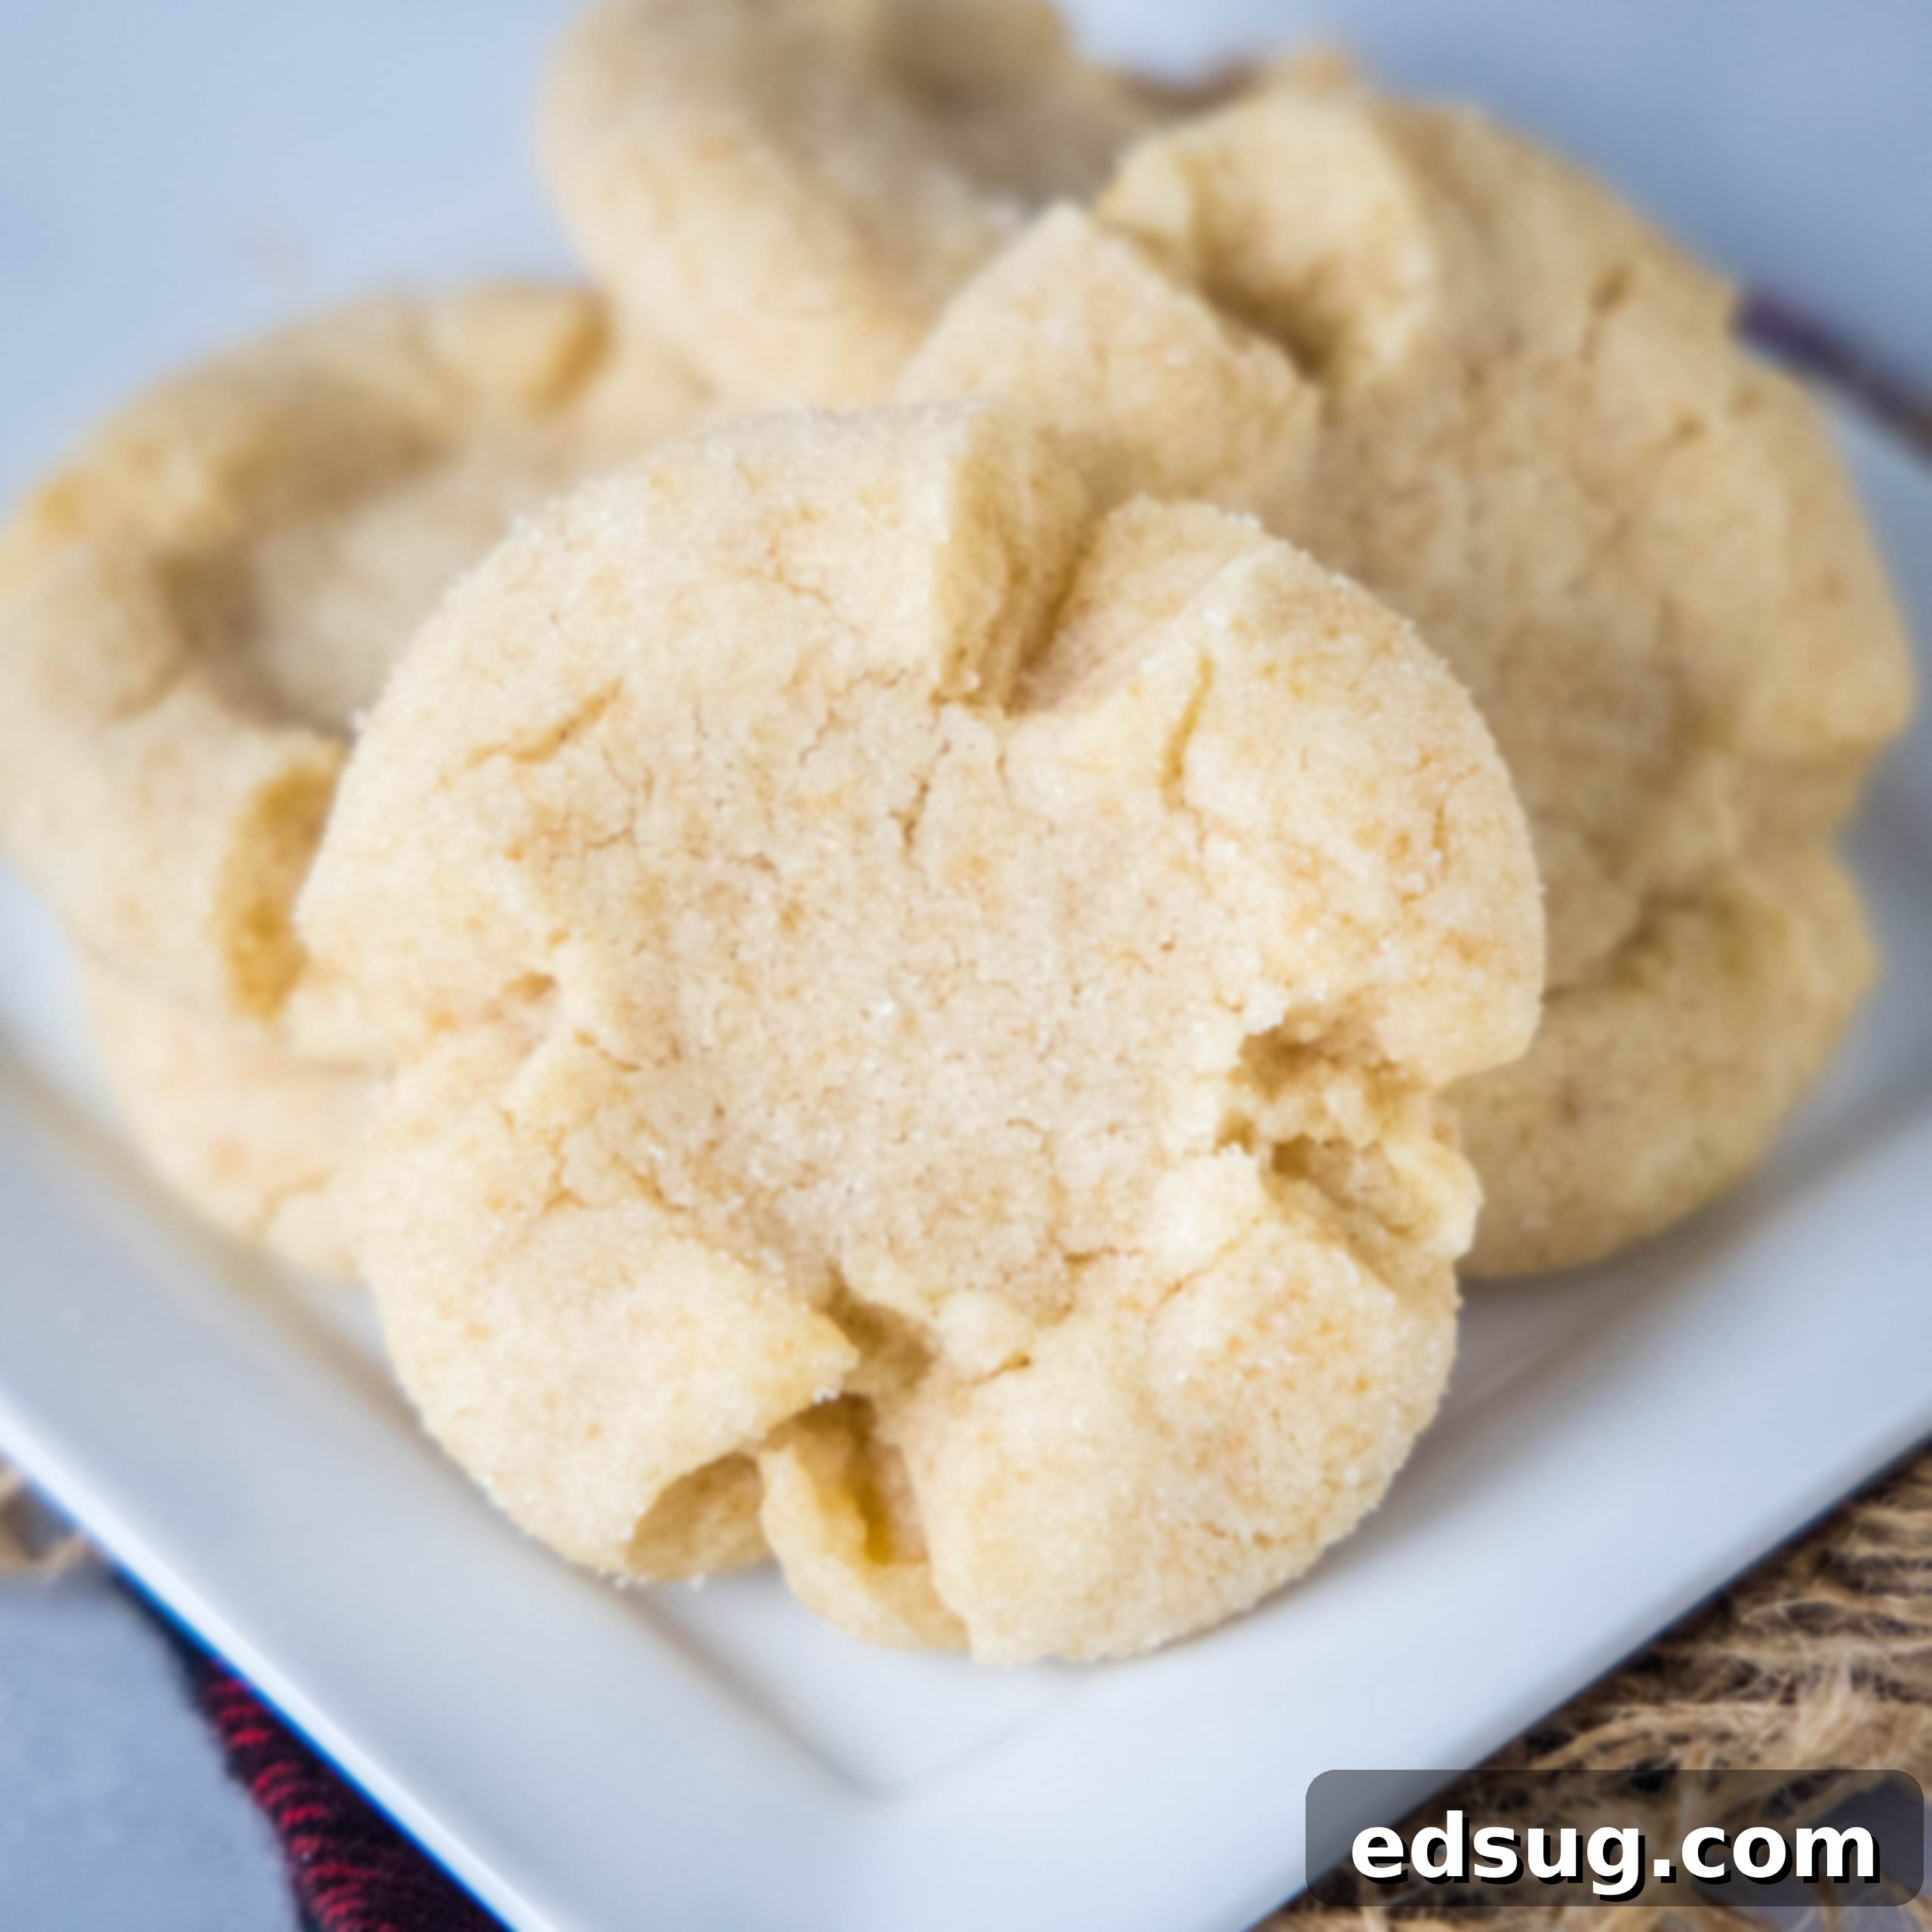
Grandma’s Angel Crisp Cookies: The Ultimate Soft & Chewy Old-Fashioned Sugar Cookie Recipe
There’s something truly magical about a recipe passed down through generations, and these Angel Crisp Cookies are precisely that. Echoing the comforting simplicity of an old-fashioned sugar cookie, this cherished recipe originated in my Grandma’s kitchen and continues to be a beloved family favorite to this day. While my family has an undeniable affection for Frosted Sugar Cookies, which they’d happily enjoy year-round, I personally tend to reserve those for the festive Christmas season. For other occasions, I often turn to an easier option like these delightful Bakery Style Sugar Cookies. However, the Angel Crisps hold a uniquely nostalgic place in my heart, as they were the original, melt-in-your-mouth treats my Grandma lovingly prepared throughout my childhood.
These aren’t just any cookies; they are a flavorful journey back in time, embodying the warmth, tradition, and simple joys of home baking. Their distinctively soft and wonderfully chewy texture, coupled with a perfectly balanced sweet flavor, truly sets them apart from typical sugar cookies. If you’re searching for a straightforward yet profoundly satisfying cookie that evokes cherished memories with every bite, these Angel Crisps are destined to become your new favorite family tradition.
The Sweet Origins of Angel Crisp Cookies: A Timeless Family Tradition
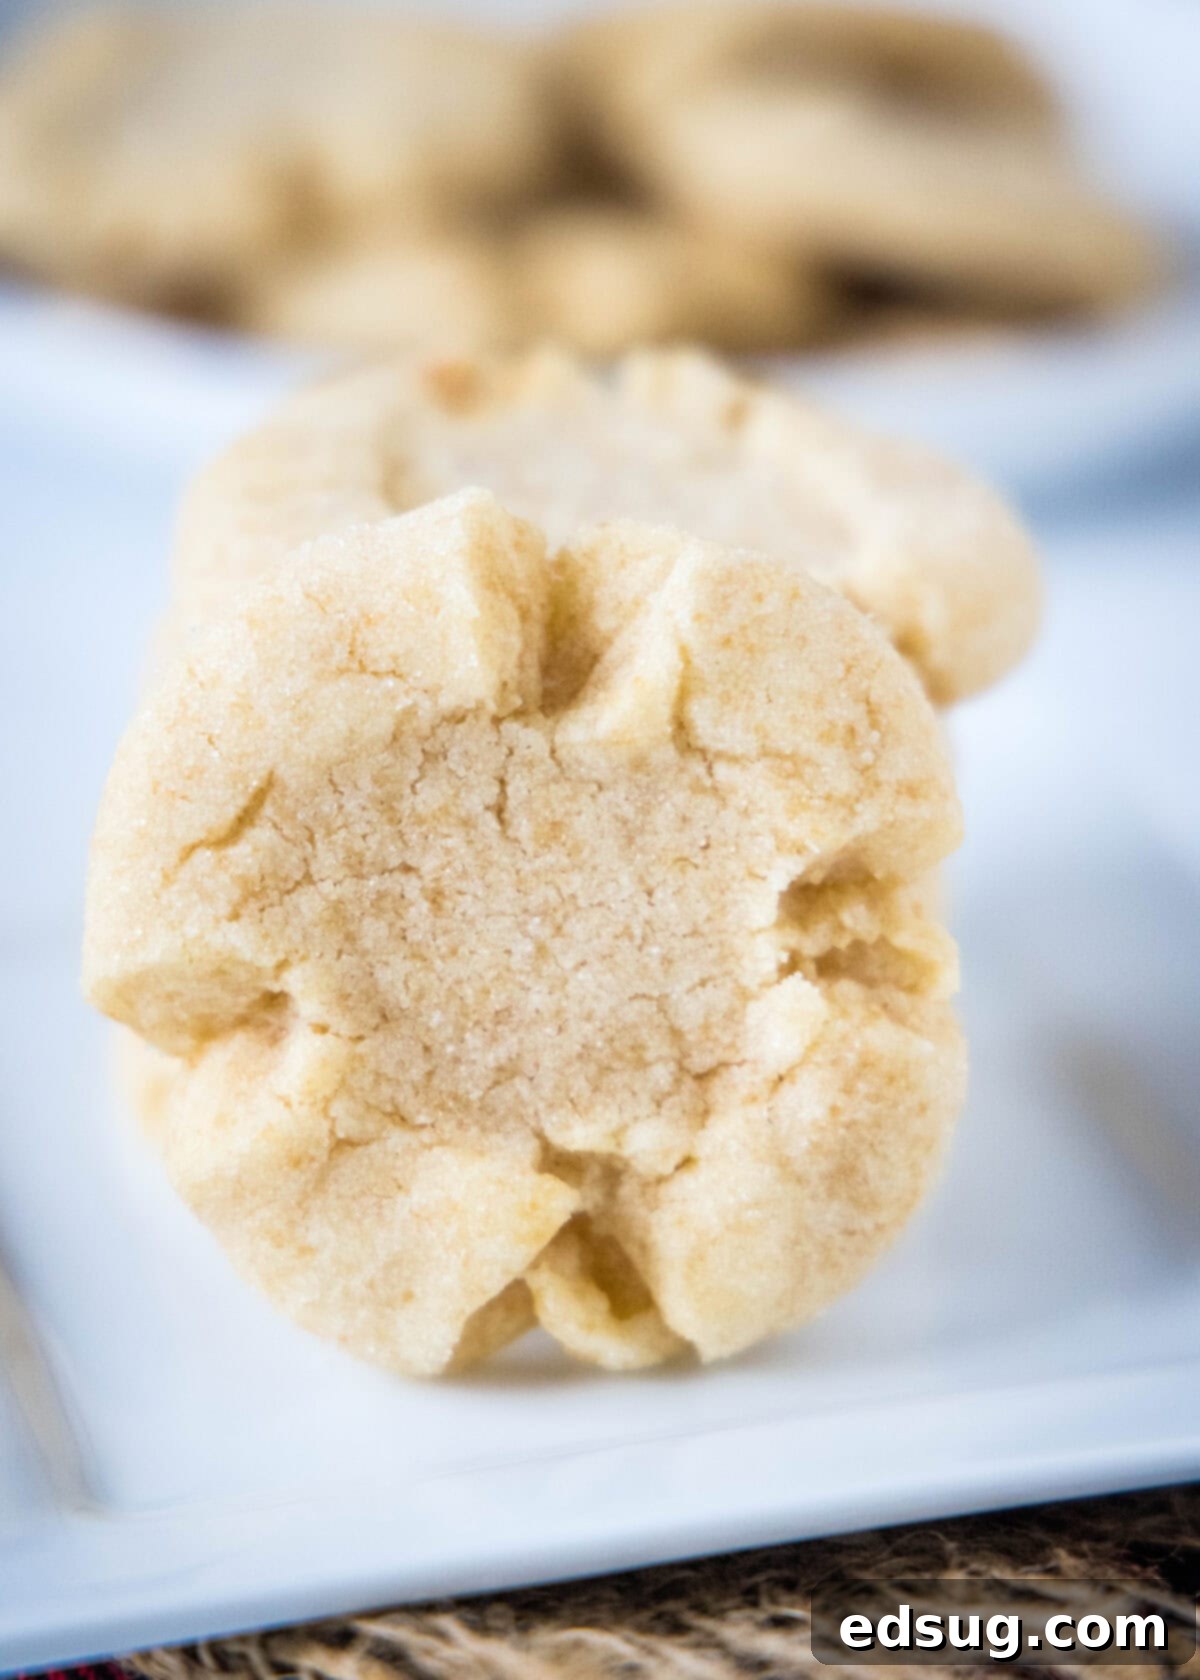
The exact story behind the “Angel Crisp” name is a charming enigma. While the true derivation of their celestial moniker remains uncertain, these cookies undoubtedly possess a rich heritage, with their roots seemingly stretching back to at least the 1960s. It’s quite possible that this recipe was a staple from an old Midwestern church cookbook, a comforting classic that my Grandma discovered, perfected, and lovingly wove into our family’s culinary tapestry. Many of the most enduring vintage recipes have humble beginnings, shared among communities and becoming indispensable fixtures at family gatherings, holiday celebrations, and everyday moments that call for a sweet treat.
What truly distinguishes these Angel Crisp cookies from a conventional sugar cookie is their sophisticated yet approachable flavor and texture profile. This is achieved through the ingenious combination of both granulated sugar and light brown sugar. The inclusion of brown sugar is not merely for taste; it’s a critical component that contributes significant moisture, resulting in a remarkably softer and chewier interior. This delightful chewiness offers a pleasant contrast to the subtly crisp edges, creating a textural experience that is both comforting and deeply satisfying. This careful balance of sugars yields a depth of flavor that feels both familiar and refreshingly unique, securing their status as a timeless classic in the world of home baking.
Gather Your Essentials: Key Ingredients for Perfect Angel Crisp Cookies
For the full, detailed, and printable recipe card with precise measurements and instructions, please remember to scroll down to the very bottom of this post.
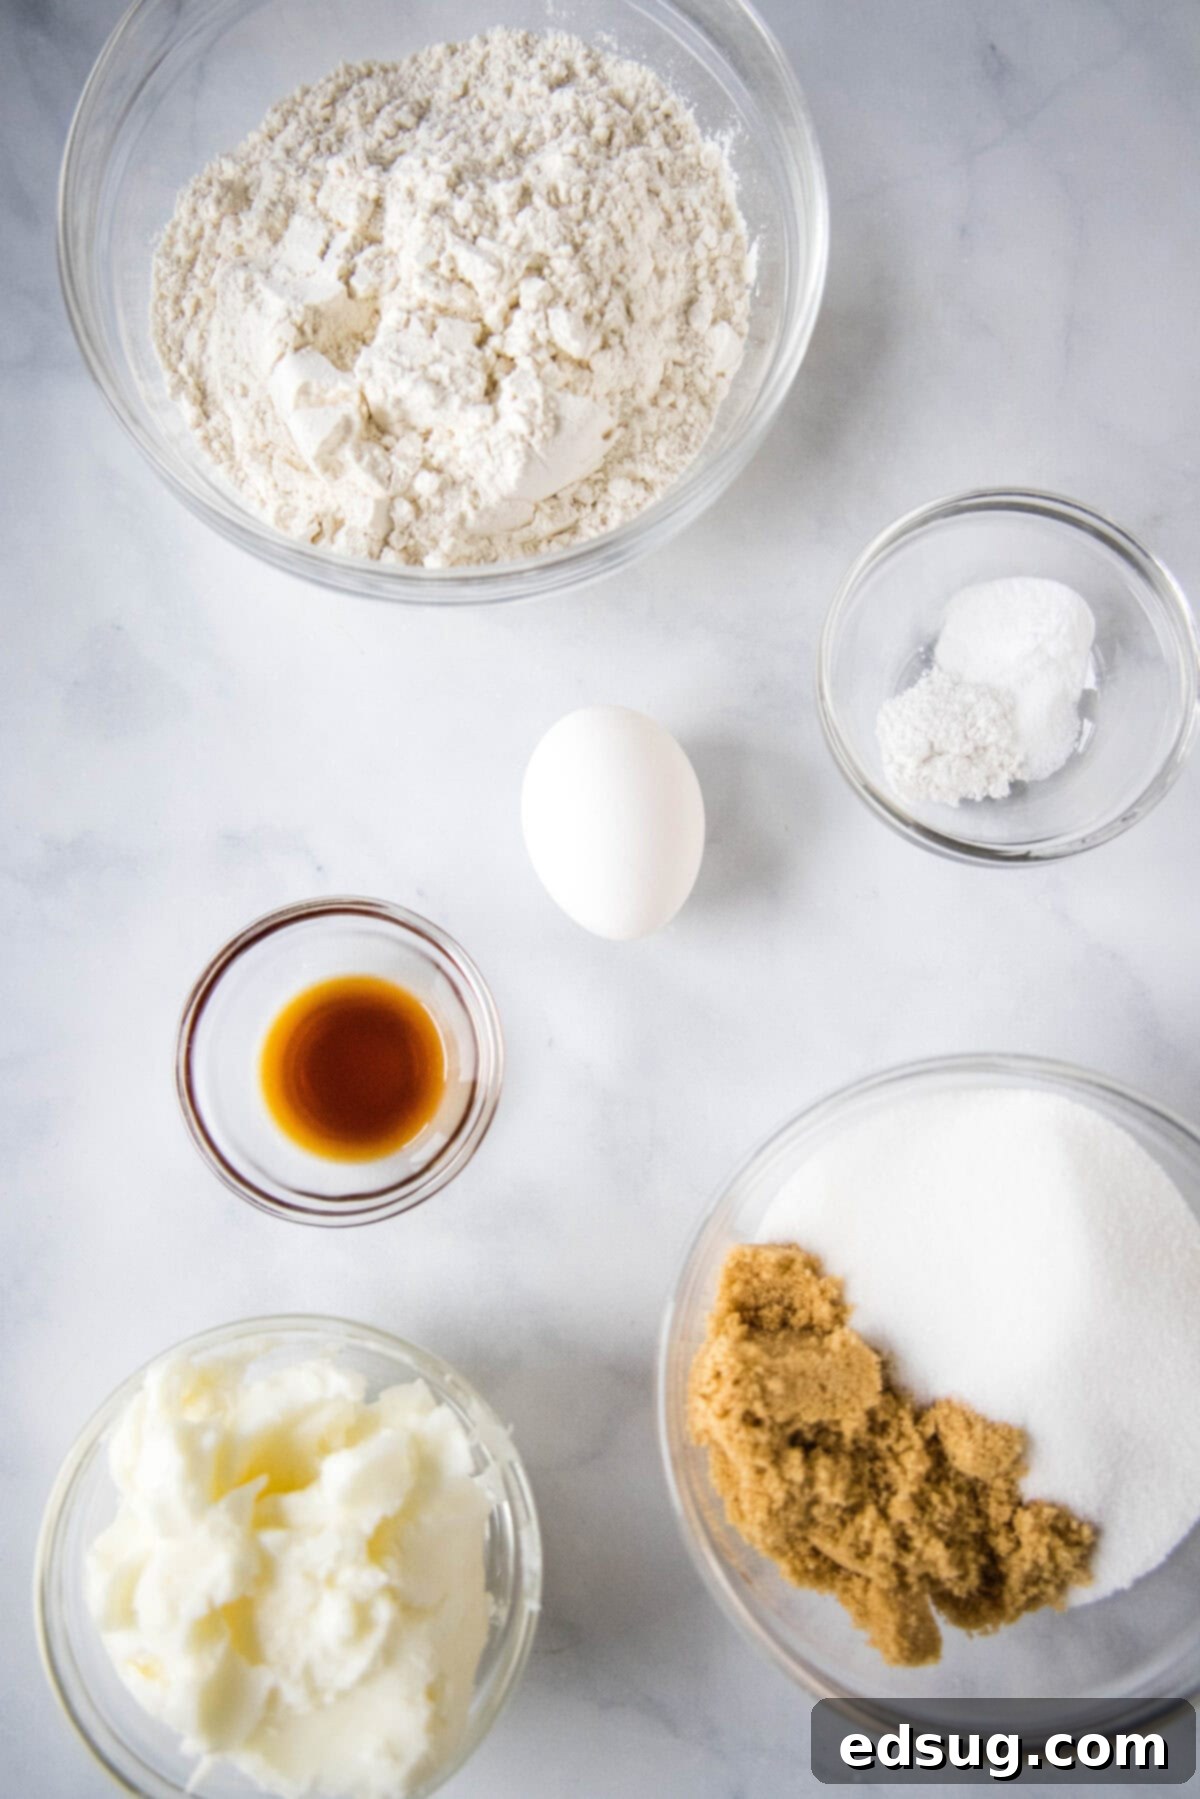
Creating a batch of these exquisite cookies requires a modest collection of readily available pantry staples. Each ingredient is thoughtfully chosen for its specific contribution to the distinctive taste, texture, and overall charm that defines Angel Crisp Cookies:
- Granulated Sugar: This classic sweetening agent provides the foundational sweetness and plays a crucial role in developing the slightly crisp, delightful outer crust of the cookie.
- Light Brown Sugar: An indispensable ingredient, light brown sugar imparts a subtle, inviting molasses flavor. More importantly, its inherent moisture content is key to ensuring these cookies remain wonderfully soft and incredibly chewy.
- Shortening: The original family recipe traditionally specifies shortening. Shortening is prized in baking for its ability to create exceptionally tender cookies that maintain their shape beautifully and resist excessive spreading during baking, resulting in a unique, fine crumb. While the recipe suggests shortening, you absolutely can use unsalted butter if that’s your preference. However, be aware that butter’s different fat composition and lower melting point might lead to a slightly altered texture and potentially more spread. It’s worth noting that in earlier times, my Grandma might have even opted for lard to achieve an unparalleled level of tenderness! The key takeaway is to use a solid fat at room temperature, rather than a liquid oil, to ensure the correct dough consistency.
- Egg: A single large egg serves as a vital binding agent, contributing essential structure, a touch of richness, and necessary moisture to the cookie dough, ensuring a cohesive and well-formed cookie.
- Vanilla Extract: This ubiquitous flavor enhancer is fundamental in almost all sweet baked goods. It infuses the cookies with a warm, inviting aroma and a depth of flavor that rounds out the sweetness beautifully. Opt for a good quality pure vanilla extract for the best results.
- All-Purpose Flour: This forms the primary structural base of the cookies, providing the necessary body and framework for the dough.
- Baking Soda: As a chemical leavening agent, baking soda is critical for helping the cookies rise and spread gently. It works in synergistic harmony with the cream of tartar to achieve that perfect fluffy-yet-chewy interior crumb.
- Cream of Tartar: This acidic ingredient is a hallmark of many classic, old-fashioned sugar cookie recipes. It reacts with the baking soda to create lift, aids in preventing sugar crystallization (which can make cookies hard), and significantly contributes to the characteristic soft, tender texture and a very subtle tangy note.
- Salt: A small amount of salt is indispensable for balancing the overall sweetness of the cookie and meticulously enhancing all the other delicious flavors present in the recipe.
- Additional Granulated Sugar for Rolling: This extra coating, applied to the dough balls before baking, creates a beautiful, glittering sparkle and adds an irresistible layer of sweetness and a delicate crunch to the exterior, giving these cookies their signature, appealing finish.
Mastering the Art: A Step-by-Step Guide to Making Angel Crisp Cookies
Crafting these iconic cookies is a delightfully straightforward process, making it an ideal recipe for bakers of all experience levels, from novices to seasoned pros. By following these clear and simple steps, you’ll be on your way to a batch of perfectly tender, irresistibly chewy Angel Crisps:
- Prepare the Dough with Precision: Start by creaming together the shortening (or your chosen butter substitute) with both the granulated sugar and the light brown sugar in the bowl of a stand mixer fitted with the paddle attachment. Beat on medium speed until the mixture transforms into a pale, light, and wonderfully fluffy consistency. This crucial step incorporates air, which is essential for achieving a tender, cake-like crumb. Next, add the large egg and the vanilla extract, mixing until they are thoroughly combined and seamlessly integrated into the sugar mixture. In a separate, medium-sized bowl, whisk together all the dry ingredients: the all-purpose flour, baking soda, cream of tartar, and salt. Gradually add this dry mixture to the wet ingredients in the stand mixer, mixing on the lowest speed until a soft, cohesive dough just comes together. It’s imperative to avoid overmixing at this stage, as excessive gluten development can lead to tough, rather than tender, cookies.
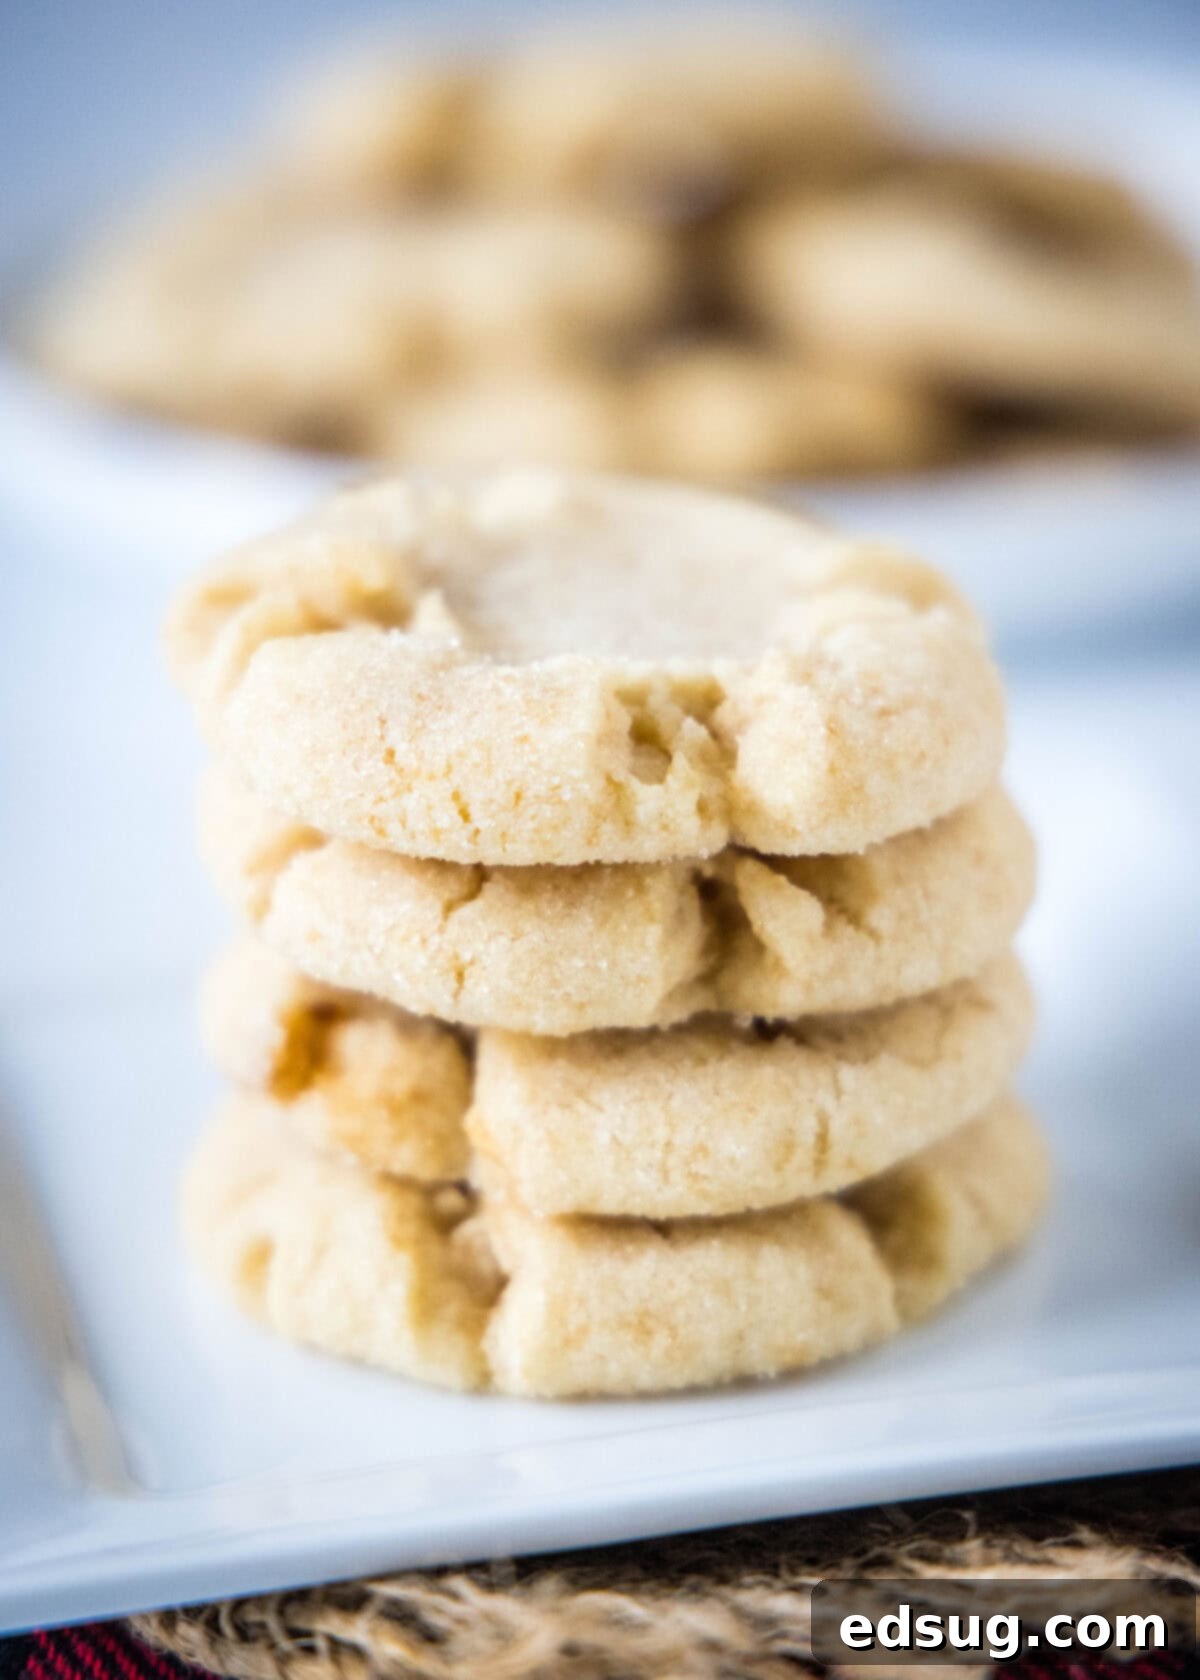
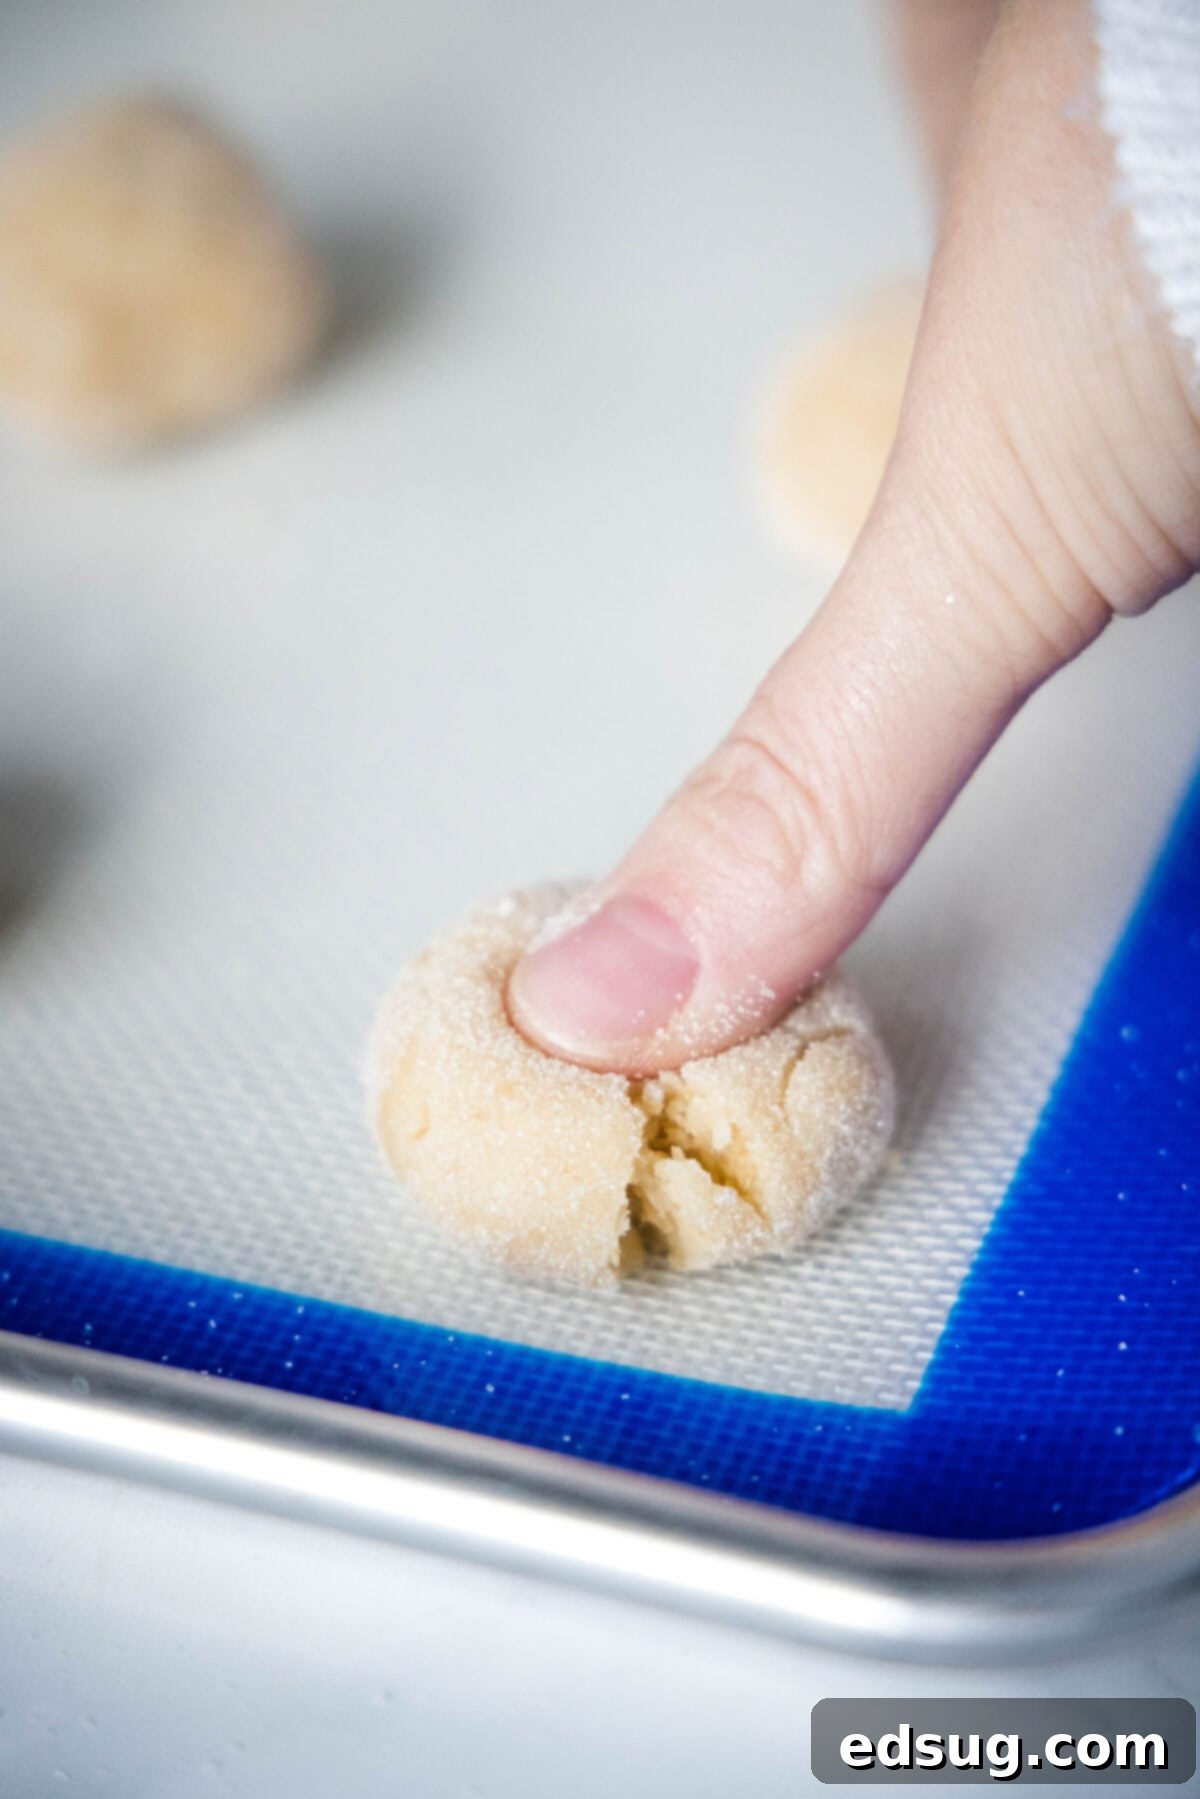
- Shape, Coat, and Indent for Signature Style: For consistent baking and a beautifully uniform appearance, I highly recommend using a cookie scoop (approximately 1.5 tablespoons) to portion out the dough. Roll each portion gently between your palms to form a smooth, round ball, roughly 1 inch in diameter. Then, generously roll each dough ball in a shallow dish of additional granulated sugar, ensuring it’s completely coated for that sparkling finish. Place these sugar-coated balls onto an ungreased baking sheet, allowing ample space (about 2 inches) between each cookie for proper spreading during baking. Using your thumb, or the back of a small measuring spoon, gently press down into the exact center of each dough ball. This creates a shallow indentation—don’t press too hard or flatten them completely. This thumbprint is key to the cookie’s unique cracked appearance and contributes to its characteristic tender texture.
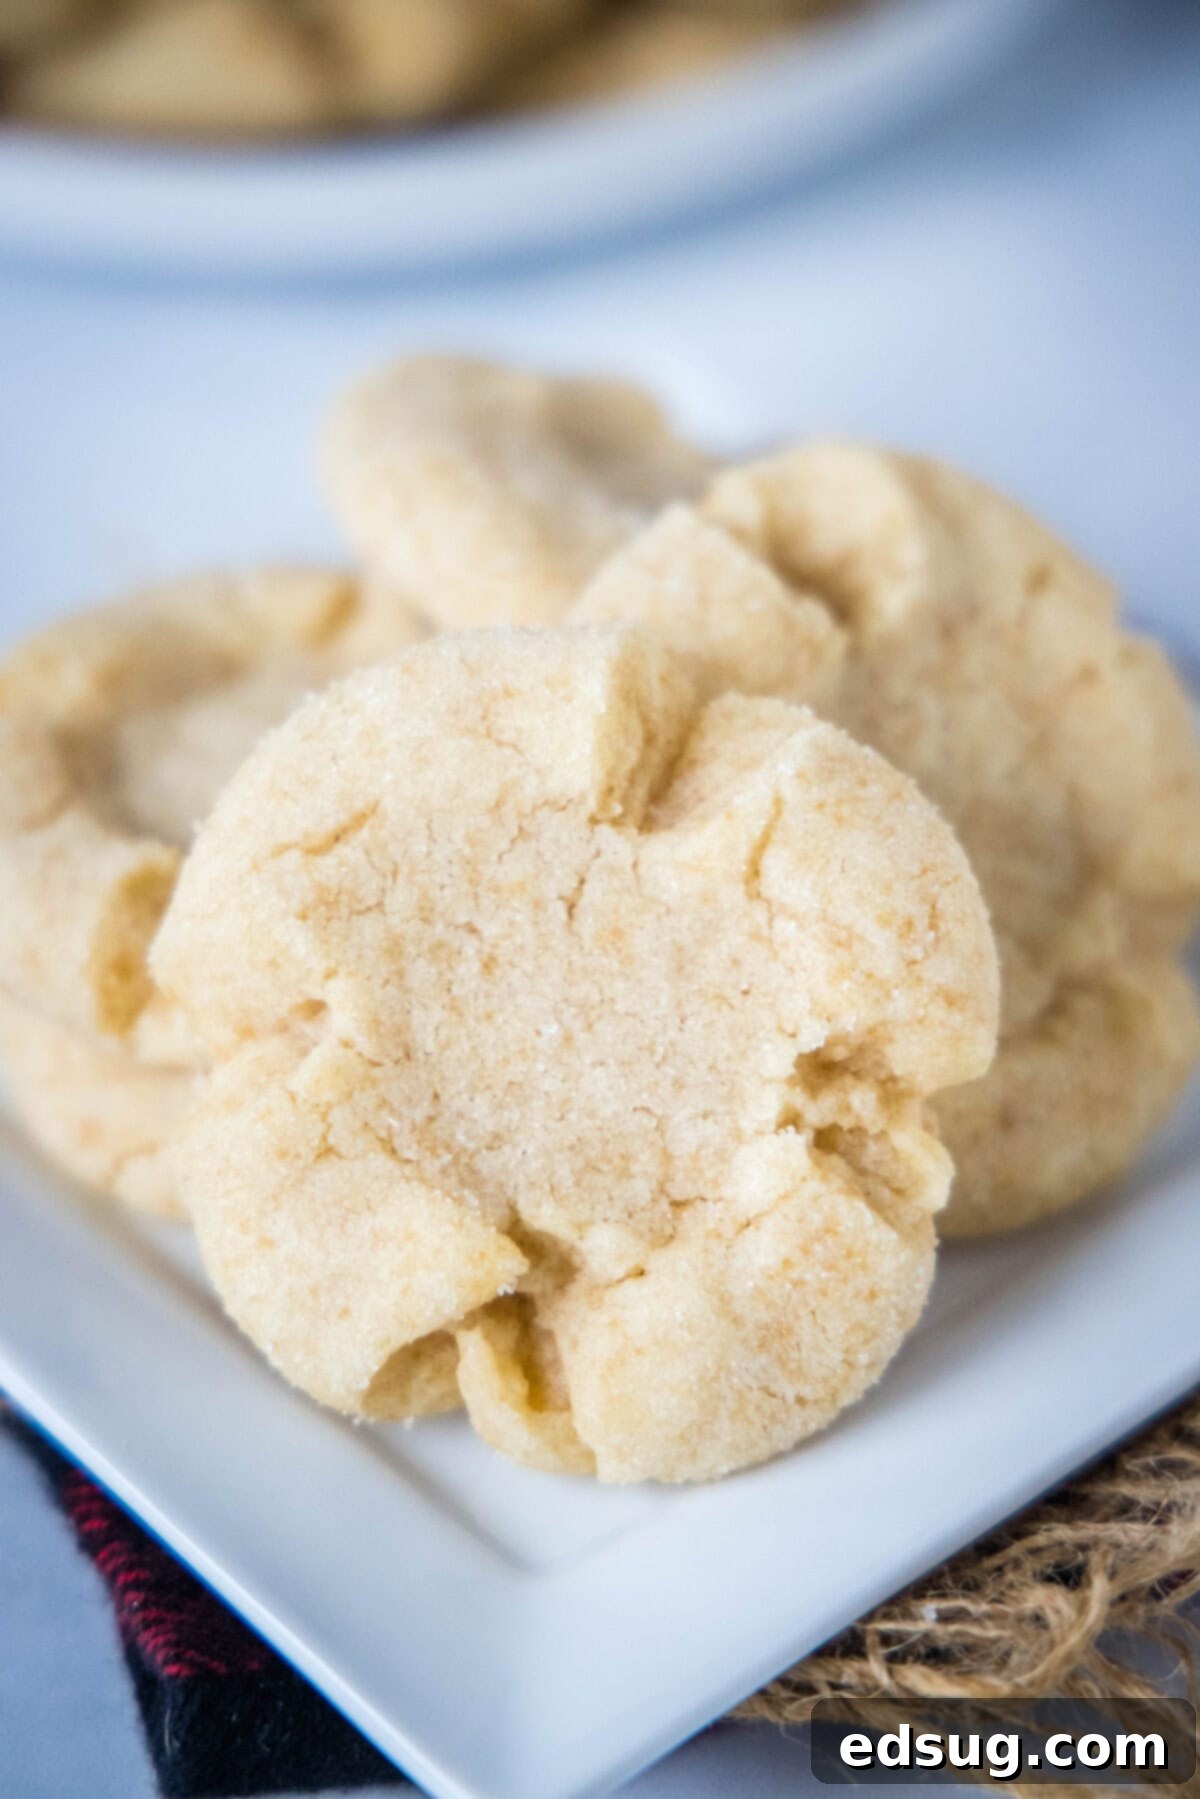
- Bake to Golden Perfection: Transfer the prepared baking sheets to a preheated oven and bake for approximately 9-10 minutes. It’s vital to keep a close watch on them, as baking times can vary slightly depending on your oven. As they bake, the cookies will gently spread, and those charming, tell-tale cracks will form along their edges, a direct and beautiful result of the initial thumbprint. The cookies are perfectly done when their edges are just beginning to turn a light golden brown, and the tops appear set and dry to the touch, even if the very centers still look ever-so-slightly soft. Crucially, avoid the temptation to overbake, as this will result in a harder, less chewy cookie, losing the signature Angel Crisp tenderness.
- Cool for Optimal Texture: Once baked to perfection, remove the baking sheet from the oven and allow the cookies to rest and cool on the sheet for about 5 minutes. This brief cooling period on the warm tray is important; it allows the cookies to firm up gently and finish setting without breaking. After this initial cooling, carefully transfer the cookies using a thin spatula to a wire rack to cool completely. Cooling on a wire rack ensures optimal air circulation around all sides of the cookies, preventing the bottoms from becoming soggy and helping them achieve their ideal, delicate crisp-chewy texture.
Expert Recipe Tips, Delicious Variations, and Troubleshooting Common Issues
To ensure every batch of your Angel Crisp Cookies is a resounding success, and to inspire you to personalize this classic recipe, consider these invaluable tips and creative suggestions:
- Choosing Your Fat: Shortening vs. Butter: As per tradition, this recipe, as passed down through my family, specifically calls for shortening. Shortening is a fantastic choice for baking cookies, known for consistently producing incredibly tender results, a lighter cookie color, and excellent shape retention (less spreading). However, if you prefer the rich, distinctive flavor of butter, you can certainly substitute it one-to-one for the shortening. Just be mindful that butter, with its lower melting point and different fat composition, might cause the cookies to spread a bit more and could yield a slightly different, though equally delicious, chewy texture. Indeed, my Grandma, in her era, might have even utilized lard for an even more profoundly tender and flavorful crumb! The critical takeaway here is to always use a solid fat at the correct room temperature, avoiding liquid oils, to maintain the integrity of the dough’s consistency.
- The Art of the Gentle Thumbprint: When creating the signature indentation, remember that less is often more. You’re aiming for a small, shallow divot in the very center of each dough ball, rather than flattening the entire cookie. The cookies will naturally expand and spread beautifully as they bake, and this gentle thumbprint is what helps to create those charming, characteristic cracks around the edges, adding to their rustic appeal.
- To Frost or Not to Frost: Traditionally, these Angel Crisps are enjoyed in their unadorned state, allowing their delightful texture and exquisite flavor to be the star. However, if you’re in the mood for a bit of extra indulgence or wish to add another layer of flavor, these cookies are incredibly versatile and take wonderfully to frosting! A simple, classic Vanilla Frosting would be an absolutely delicious complement, enhancing the cookie’s inherent sweetness. For a bolder, more unexpected treat, you could even experiment with a rich Chocolate Frosting to create a truly decadent experience. For a simpler, elegant touch, a light dusting of powdered sugar after cooling is always a beautiful option.
Troubleshooting Common Cookie Baking Issues:
- Cookies Spreading Too Much: If your cookies are spreading more than desired, several factors could be at play. This often occurs if your butter (if you chose to use it) was too soft, the oven temperature is running lower than indicated, or if there wasn’t quite enough flour in the dough. To remedy this, ensure your shortening or butter is at a cool room temperature but still firm enough to hold its shape. It’s also wise to check your oven’s accuracy with an external thermometer. Chilling the prepared dough balls for 20-30 minutes before baking can also significantly help in preventing excessive spread.
- Cookies Are Too Hard or Dry: The most frequent culprit behind hard or dry cookies is overbaking. Angel Crisps are at their absolute best when they are just barely set and have only started to turn lightly golden around the edges. Remove them from the oven when the edges are showing minimal color and the center still appears a touch soft; they will continue to firm up and set as they cool on the hot baking sheet.
- Not Getting Enough Cracks: The distinctive cracked appearance is part of their charm. If your cookies aren’t cracking readily, ensure your thumb indentation (or the divot from your measuring spoon) is pronounced enough. Also, if your dough is excessively cold, it might be too stiff to crack as easily; a dough that’s been at a proper room temperature (but not overly warm) often yields the best results for cracking.
Delicious Variations to Elevate Your Angel Crisps:
- Bright Citrus Zest: Infuse your cookies with a vibrant, refreshing flavor by adding a teaspoon of finely grated lemon, orange, or lime zest to the dough along with the wet ingredients.
- Warm Spiced Angel Crisps: For an aromatic twist, incorporate a pinch of ground cinnamon, a whisper of nutmeg, or even a subtle hint of cardamom into the dry ingredients. These spices pair beautifully with the brown sugar notes.
- Elegant Almond Delight: For those who love a nutty essence, try substituting half of the vanilla extract with pure almond extract. This introduces a distinct and delightful flavor dimension.
- Surprise Filled Centers: Instead of leaving the thumbprint empty, get creative! Before baking, fill the indentation with a small dollop of your favorite fruit jam (raspberry or apricot works wonderfully) or a mini chocolate chip for a delightful surprise center.
- Festive Holiday Sprinkles: To make these cookies extra special for any celebration or holiday, after rolling the dough balls in granulated sugar, roll them again in colorful festive sprinkles for a joyous and eye-catching touch.
Optimal Storage and Freezing Methods for Peak Freshness
To ensure your Angel Crisp Cookies remain at their absolute best, proper storage is paramount. Once completely cooled, store your baked cookies in an airtight container at room temperature. They will retain their wonderfully soft and chewy texture for up to 4 days, making them perfect for everyday enjoyment or spontaneous sharing. For longer preservation, these cookies are excellent candidates for freezing. You can freeze the baked cookies in an airtight container or a heavy-duty freezer-safe bag for up to 3 months without compromising their quality. When you’re ready to indulge, simply remove them from the freezer and allow them to thaw at room temperature for an hour or two before serving. An additional pro tip: you can also freeze the raw cookie dough balls (after rolling them in sugar) for future baking convenience. Just flash-freeze them on a baking sheet until solid, then transfer them to a freezer bag. When ready to bake, place them directly on a baking sheet from frozen, adding just an extra minute or two to the suggested bake time.
Explore More Irresistible Cookie Recipes from Our Kitchen
If you’ve fallen in love with the process of baking and the joy of homemade cookies, you’re in for a treat! Be sure to delve into some of these other fantastic and diverse cookie recipes from my cherished collection. Whether you’re craving something classic, chocolatey, or uniquely flavored, there’s undoubtedly a cookie here for every preference and every occasion!
- Toffee Graham Cracker Cookies
- Cake Batter Cookies
- Biscoff Chocolate Chip Cookies
- Crunchy Peanut Butter Cookies
- Cool Whip Cookies
Angel Crisp Cookies
Ingredients
- 1/2 cup granulated sugar
- 1/2 cup light brown sugar
- 1 cup shortening
- 1 large egg
- 1 teaspoon vanilla extract
- 2 cups all-purpose flour
- 1 teaspoon baking soda
- 1/2 teaspoon salt
- 1 teaspoon cream of tartar
- Additional sugar for rolling
Instructions
- Preheat oven to 350º F.
- In a stand mixer bowl combine sugar, brown sugar, and shortening. Mix until well combined. Add egg and vanilla and mix. Mix in flour, baking soda, salt and cream of tarter until well combined.
- Roll into 1 inch balls, and roll in granulated sugar. Place on a baking sheet. Using your thumb, gently press into the center of each ball.
- Bake for 9-10 minutes until just starting to turn golden brown. Remove from oven and cool for a few minutes before removing to a wire rack to cool completely.
- Store in an air tight container
Notes
Nutrition
Nutrition information is automatically calculated, so should only be used as an approximation.
Additional Info
I created a fun group on Facebook, and I would love for you to join us! It’s a place where you can share YOUR favorite recipes, ask questions, and see what’s new at Dinners, Dishes and Desserts (so that you never miss a new recipe)!
Be sure to follow me on Instagram and tag #dinnersdishes so I can see all the wonderful DINNERS, DISHES, AND DESSERTS recipes YOU make!
Be sure to follow me on my social media, so you never miss a post!
Facebook | Twitter | Pinterest | Instagram
.
