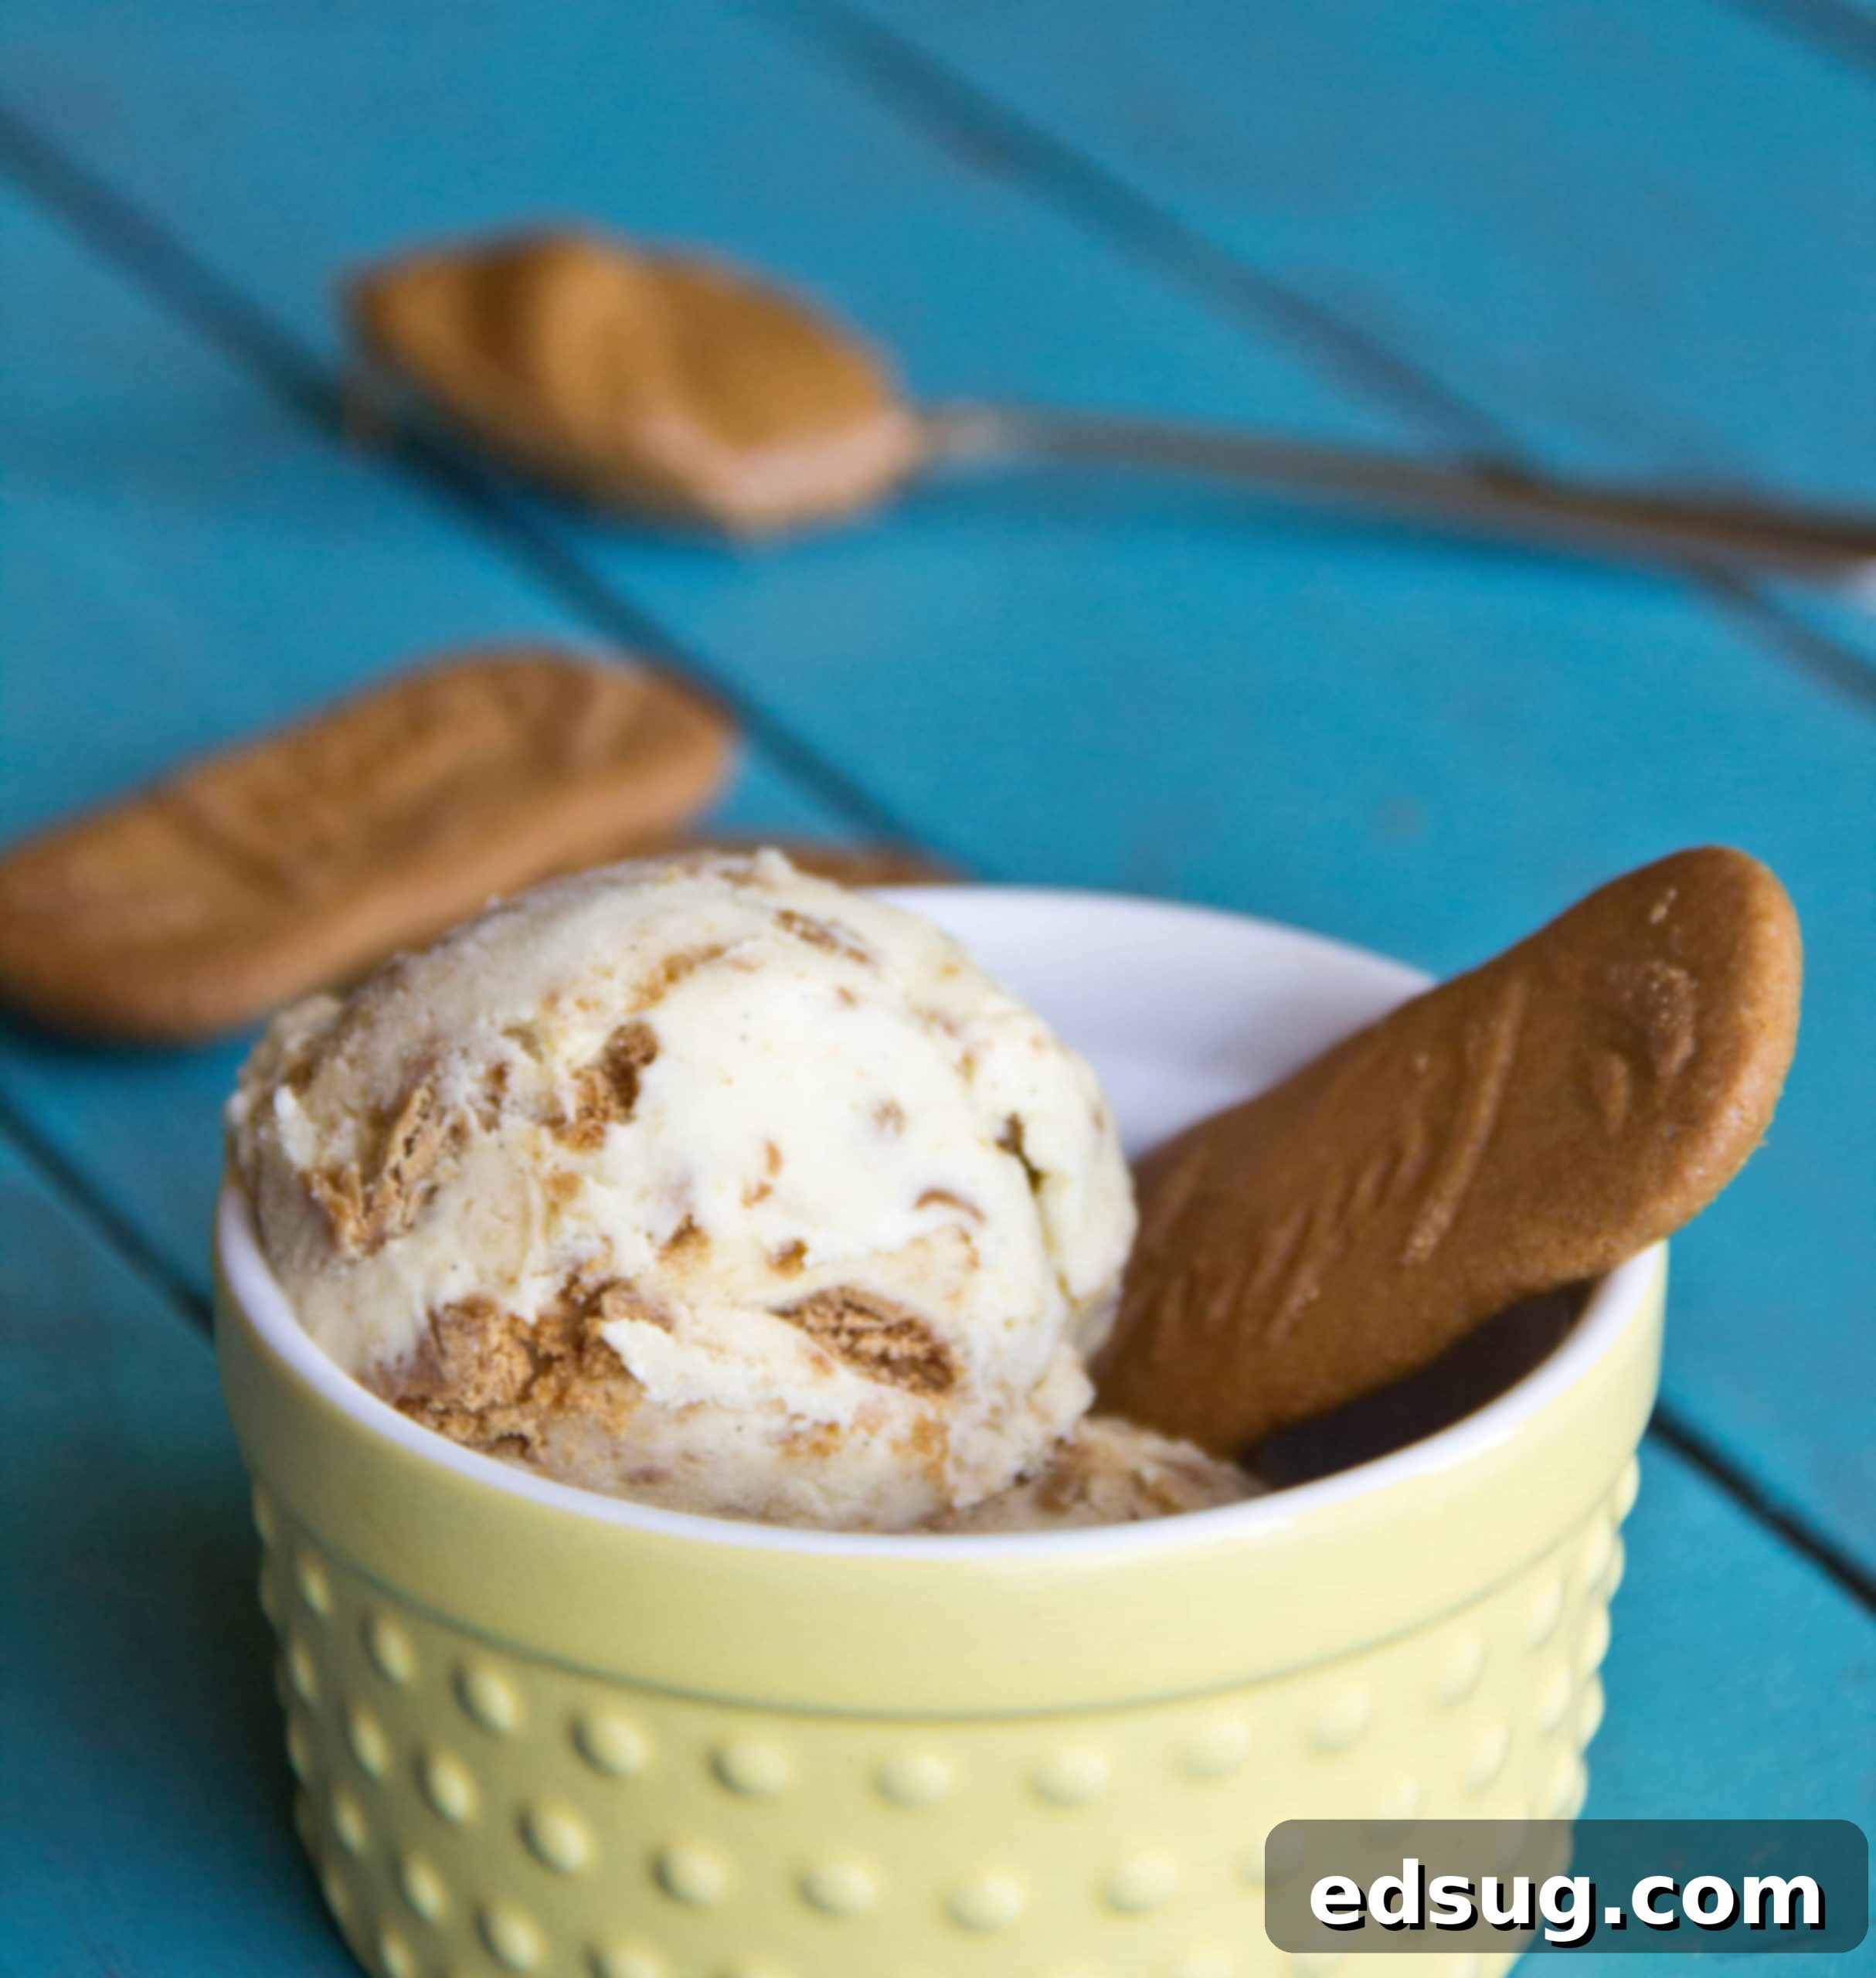
Irresistible Homemade Biscoff Cookie Butter Ice Cream: Your Ultimate Recipe
Indulge in the velvety smoothness of homemade vanilla ice cream, generously studded with crunchy crushed Biscoff cookies and swirled with rich, creamy Biscoff Cookie Butter. This delectable summer treat, or year-round delight, is surprisingly simple to make and promises to be an instant favorite!
If you’ve ever had the pleasure of tasting Biscoff Spread, also known as Speculoos Spread or, most famously in some circles, Trader Joe’s Cookie Butter Spread, then you already understand its captivating, almost addictive quality. The unique caramel and spiced flavor profile of Biscoff cookies, transformed into a smooth, luxurious spread, is truly in a league of its own. While popular grocery stores like Trader Joe’s now offer their own versions of cookie butter ice cream, featuring delightful swirls of the spread, there’s nothing quite like the experience of crafting your own from scratch. This recipe, developed years before many commercial varieties hit the shelves, elevates the experience further by incorporating actual chunks of Biscoff cookies, adding an irresistible textural contrast to the silky ice cream.
Creating this homemade Biscoff Cookie Butter Ice Cream allows you to control the quality of ingredients and achieve a truly superior flavor and texture. It’s a project that brings immense satisfaction, culminating in a dessert that’s both deeply comforting and refreshingly cool. Whether you’re a seasoned ice cream maker or a curious beginner, this recipe is designed to guide you to success, resulting in a rich, creamy, and intensely flavorful frozen delight that will have everyone asking for more.
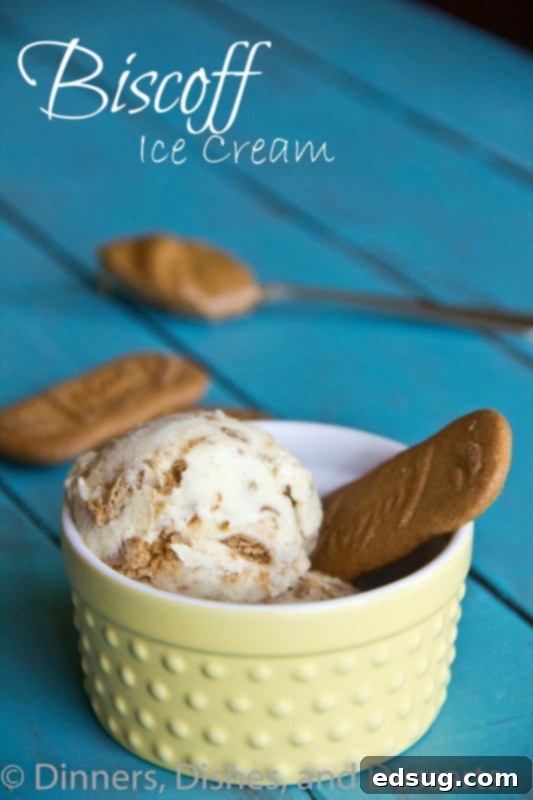
What Exactly Is Cookie Butter?
For those unfamiliar with this delightful creation, the concept of “cookie butter” might sound a little peculiar at first. However, once you try it, any apprehension quickly vanishes, replaced by pure culinary joy. At its core, cookie butter is a sweet spread with a consistency similar to peanut butter or Nutella. But instead of nuts or chocolate, it’s crafted from Speculoos cookies.
Speculoos cookies are a traditional European spiced shortbread biscuit, most famously recognized by the Lotus Biscoff brand. These cookies boast a distinctive flavor profile characterized by warm spices like cinnamon, nutmeg, ginger, and cloves, often with a subtle hint of caramelization. When these crispy cookies are finely crushed and blended with oils, sugars, and sometimes other ingredients, they transform into a smooth, spreadable butter. The result is a profoundly addicting taste that combines the familiar warmth of gingerbread with the sweet, buttery notes of shortbread and a delicate caramel finish.
You’ve likely encountered Biscoff cookies if you’ve ever flown on an airplane or visited a European café; they’re often served alongside coffee. The spread is essentially a concentrated, spreadable form of these beloved biscuits. Depending on your geographical location, you might find this delicious spread marketed under various names. In many grocery stores across the United States, it’s commonly sold as “Biscoff Spread.” Trader Joe’s, known for its unique and innovative products, offers its widely popular version simply called “Cookie Butter.” In other regions, especially in Europe, you’ll often see it labeled as “Speculoos Spread.” Regardless of the name, the taste is remarkably consistent across brands, and they can all be used interchangeably in recipes like this one. Its rich, sweet, and spiced profile makes it an incredible ingredient for baking, spreading on toast, or, as we’re doing here, swirling into luxurious homemade ice cream.

The Joy and Rewards of Making Homemade Ice Cream
While buying a tub of ice cream from the store is certainly convenient, there’s an unparalleled joy and satisfaction that comes from making your own. Homemade ice cream allows you complete control over the ingredients, ensuring you use the freshest milk, cream, and flavorings, free from artificial additives and preservatives often found in commercial products. This control translates directly into a superior taste and texture.
One of the most significant advantages of homemade ice cream, especially a custard-based one like this Biscoff recipe, is its incredibly luscious and creamy consistency. The careful cooking of the egg yolks with milk and sugar creates a rich, smooth base that prevents excessive ice crystal formation, resulting in an almost silken mouthfeel that store-bought varieties often struggle to replicate. Furthermore, the ability to customize flavors and add-ins is endless. You can adjust the intensity of the vanilla, decide how many Biscoff chunks to include, or even experiment with other complementary flavors. It’s a culinary adventure that guarantees a truly unique and personalized dessert experience, making all the effort truly worthwhile.
Key Ingredients for Perfect Biscoff Ice Cream
Each ingredient in this recipe plays a vital role in achieving that perfect Biscoff ice cream experience:
- Whole Milk and Heavy Cream: The foundation of any great ice cream is a rich dairy base. Using whole milk and heavy cream provides the fat content necessary for a luxuriously smooth and creamy texture. The combination ensures a robust flavor that stands up to the Biscoff without being overwhelmed.
- Granulated Sugar: Beyond sweetness, sugar helps lower the freezing point of the ice cream, contributing to its scoopability and preventing it from becoming rock-hard in the freezer.
- Salt: Just a pinch of salt is crucial to balance the sweetness and enhance all the other flavors, making them pop.
- Vanilla Bean and Vanilla Extract: For an authentic and deep vanilla flavor, we utilize both a vanilla bean for steeping in the milk mixture and vanilla extract added later. The vanilla bean infuses the custard with a complex, floral aroma, while the extract brightens the overall profile.
- Egg Yolks: These are the secret to a classic, rich, custard-based ice cream. Egg yolks act as an emulsifier, binding the fat and water molecules together, which results in a wonderfully thick, smooth, and stable ice cream base. They also contribute to the beautiful pale yellow color.
- Biscoff Spread (Cookie Butter): The star of the show! Its distinct spiced caramel flavor is what makes this ice cream truly special. Swirling it in after churning ensures pockets of intense cookie butter goodness throughout.
- Crushed Biscoff Cookies: Not just for decoration, these crushed cookies add a delightful textural crunch and an intensified Biscoff flavor that complements the smooth ice cream and creamy spread.
Crafting Your Own Luscious Cookie Butter Ice Cream
Making homemade ice cream, especially a custard-based one, involves a few steps, but don’t let that intimidate you! The process is genuinely straightforward and results in the most luscious, creamy ice cream imaginable. Trust us, the time invested in making the custard and allowing it to chill thoroughly is absolutely worth it for the unparalleled taste and texture you’ll achieve.
The journey begins by gently heating the milk, sugar, a portion of the heavy cream, and a pinch of salt in a saucepan. This step ensures the sugar dissolves completely, creating a smooth foundation. The magic truly starts when you introduce a vanilla bean. Scrape the aromatic seeds from a fresh vanilla bean into the milk mixture, adding the spent pod as well. Covering the saucepan and allowing it to steep off the heat for 30 minutes infuses the base with an incredible, natural vanilla essence that artificial extracts simply cannot replicate.
Next, we prepare for the tempering process, a crucial step to prevent the egg yolks from scrambling. Whisk the egg yolks vigorously in a separate bowl. Slowly, and while continuously whisking, pour a small amount of the warm milk mixture into the yolks. This gradually raises the temperature of the eggs without cooking them, preparing them to be fully incorporated into the main base. Once tempered, the egg yolk mixture is slowly added back into the saucepan with the remaining milk mixture.
The custard then returns to the stove over medium-low heat. Constant stirring with a rubber spatula is essential here. You’re looking for the mixture to thicken just enough to coat the back of the spatula, reaching a temperature between 170-175 degrees Fahrenheit. This indicates the eggs are cooked, and the custard is properly thickened. Immediately strain the custard through a fine-mesh sieve into a large, heat-safe bowl containing the reserved heavy cream. This ensures a perfectly smooth custard, free of any small cooked egg bits or vanilla bean residue.
Stir in the vanilla extract, and if desired, return the vanilla bean pod to the mixture for even more flavor infusion as it chills. This chilling period is critical – aim for at least 8 hours, or ideally overnight. A thoroughly chilled custard will churn more efficiently and result in a finer, smoother ice cream texture.
Once your custard is perfectly cold, it’s time for the ice cream maker to do its job. Follow your manufacturer’s instructions for churning. The ice cream will emerge with a soft-serve consistency. At this point, gently fold in your crushed Biscoff cookie pieces, ensuring they are evenly distributed. For the glorious cookie butter swirls, lightly warm the Biscoff spread in the microwave for about 20 seconds. This makes it more fluid and easier to drizzle. Spoon dollops of the warm spread over the churned ice cream and gently fold it in, creating beautiful ribbons of cookie butter. Repeat this layering and folding until all the Biscoff spread is incorporated.
Finally, transfer your masterpiece to an airtight container and freeze for at least an hour to allow it to firm up to a scoopable consistency. The waiting will be the hardest part!
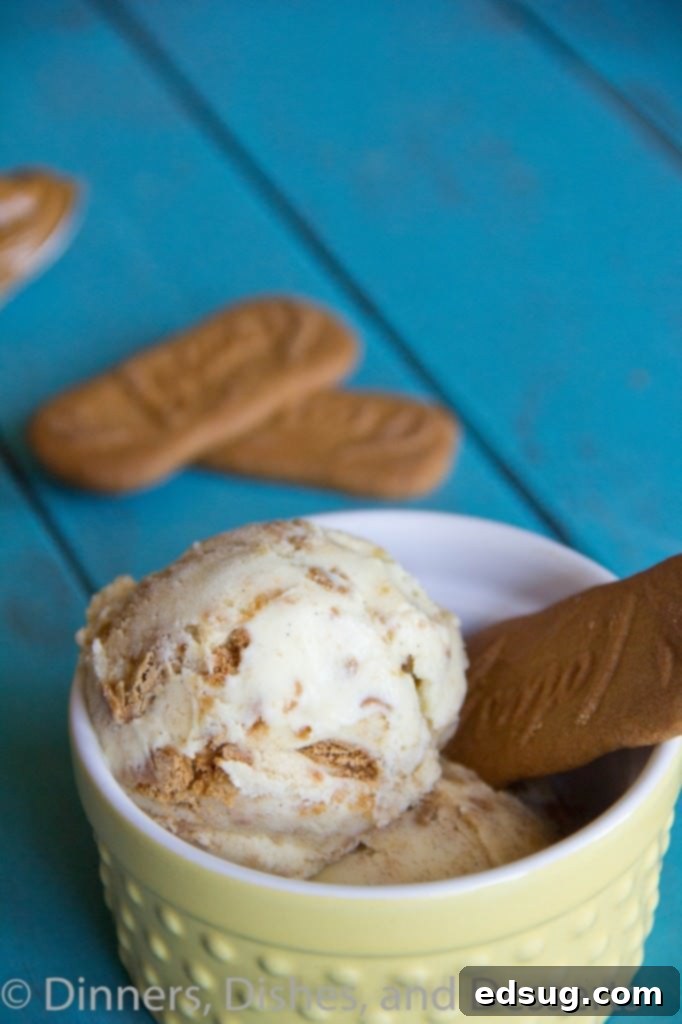
Tips for the Smoothest, Creamiest Ice Cream
- Chill Thoroughly: Do not skip the chilling step for your custard base. An adequately chilled base (ideally overnight) is crucial for preventing ice crystals and achieving a smooth, creamy texture during churning.
- Don’t Overchurn: Churn your ice cream just until it reaches a soft-serve consistency. Overchurning can incorporate too much air, leading to a grainy texture.
- Quality Ingredients Matter: Use good quality whole milk, heavy cream, and fresh vanilla for the best flavor. The better your base ingredients, the better your final ice cream.
- Tempering Eggs Carefully: When adding warm milk to egg yolks, do so very slowly in a thin stream while whisking constantly and vigorously. This prevents the eggs from scrambling.
- Pre-chill Your Container: For optimal firmness, place your freezer-safe container in the freezer for about 30 minutes before transferring the churned ice cream into it.
- Warm the Cookie Butter: Briefly microwaving the Biscoff spread makes it pourable and easier to swirl evenly through the ice cream without clumping.
Serving Suggestions and Creative Variations
This Biscoff Cookie Butter Ice Cream is exquisite on its own, but you can elevate the experience with various serving suggestions and creative twists:
- Classic Scoop: Serve simply in a bowl or a cone, allowing the rich Biscoff flavor to shine.
- Extra Drizzle: Drizzle a little extra warmed Biscoff spread over each scoop just before serving.
- Whipped Cream and More Cookies: A dollop of fresh whipped cream and a sprinkle of additional crushed Biscoff cookies make for an elegant presentation and added texture.
- Milkshake Base: Blend scoops of this ice cream with a splash of milk for an indulgent Biscoff milkshake.
- Ice Cream Sandwiches: Use two Biscoff cookies or other shortbread cookies to sandwich a scoop of this ice cream.
- Chocolate Chips: Fold in a handful of mini chocolate chips or finely chopped white chocolate for an extra layer of sweetness and crunch.
- Coffee Pairing: Serve alongside a hot cup of coffee or espresso, mimicking the traditional Biscoff cookie experience.
Storing Your Homemade Biscoff Ice Cream
Proper storage is key to maintaining the creamy texture and delicious flavor of your homemade ice cream. The best way to store homemade ice cream is in a freezer-safe, airtight container. I personally prefer using a shallow plastic container with a tight-fitting lid. This design allows for easier scooping compared to deeper containers, and the broader surface area helps the ice cream freeze more evenly.
Because homemade ice cream lacks the preservatives and stabilizers found in many store-bought varieties, it won’t last quite as long. Generally, it should keep beautifully in the freezer for up to a month before it begins to develop noticeable ice crystals and its quality starts to diminish. To further minimize ice crystal formation, press a piece of parchment paper or plastic wrap directly onto the surface of the ice cream before sealing the container. This creates an additional barrier against air and moisture, keeping your Biscoff Cookie Butter Ice Cream tasting fresh and creamy for as long as possible.
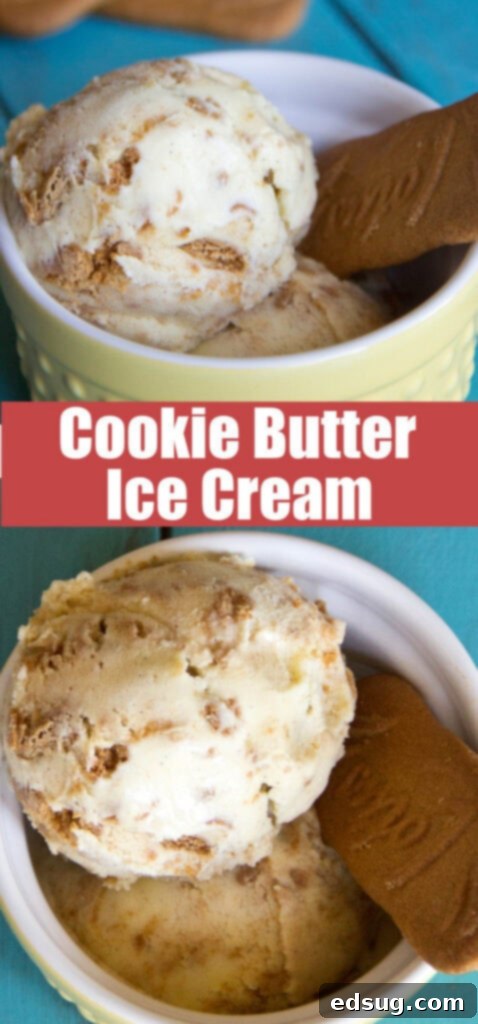
More Frozen Treats to Explore and Enjoy
If you have a passion for icy delights and sweet frozen desserts, you’ll be thrilled to discover a world of other delicious recipes. From classic milkshakes to refreshing popsicles and decadent ice cream cakes, there’s a frozen treat for every palate and occasion. Here are some more irresistible frozen dessert ideas to cool you down and satisfy your sweet tooth:
- Double Cookie Dough Ice Cream
- Chocolate Milkshakes
- Strawberry Popsicles
- No Churn Mint Chocolate Chip Ice Cream
- Ice Cream Floats
- Swiss Roll Ice Cream Cake
- Cookie Ice Cream Sandwiches

Biscoff Ice Cream
Ingredients
- 1 cup whole milk
- 3/4 cup granulated sugar
- 2 cups heavy cream, divided
- Pinch of salt
- 1 vanilla bean, split in half lengthwise
- 6 egg yolks
- 3/4 teaspoon vanilla extract
- 1/2 cup Biscoff Spread, or Cookie Butter Spread
- 1/2 cup Biscoff Cookies, crushed
Instructions
- In a saucepan over low heat, heat the milk, sugar, 1 cup of the heavy cream and the salt. Stir until the sugar is dissolved. Scrape the seeds from a vanilla bean, and add to the milk, add the rest of the bean as well. Cover. Remove from heat and let steep at room temperature for 30 minutes.
- Pour 1 cup heavy cream into a large heat safe bowl. Place a fine-mesh sieve on top.
- In a separate medium sized bowl whisk the egg yolks. Slowly add the warm milk mixture to the eggs, whisking constantly. Pour back into the saucepan.
- Return the saucepan to the stove and heat over medium-low. Using a rubber spatula stir constantly, until the mixture thickens to coat the back of the spatula (170-175 degrees).
- Pour the mixture through the sieve into the bowl with the heavy cream. Add the vanilla extract and stir until well combined. Put the bean into the mixture as well. Cover and place in the fridge until cold. Can take up to 8 hours, over night works great.
- Once milk mixture is cold churn in an ice cream maker following the manufacturer’s instructions. Once finished transfer to an air tight container.
- Add crushed Biscoff cookies, stirring to combined.
- Heat Biscoff Spread in the microwave for about 20 seconds, just to get it easier to mix in. Using a spoon, drizzle a few spoonfuls of the spread over the ice cream. Gently fold it in. Repeat until all of the Biscoff is used.
- Place in the freezer for at least an hour before serving.
Notes
Nutrition
Nutrition information is automatically calculated, so should only be used as an approximation.
Additional Info
I created a fun group on Facebook, and I would love for you to join us! It’s a place where you can share YOUR favorite recipes, ask questions, and see what’s new at Dinners, Dishes and Desserts (so that you never miss a new recipe)!
Be sure to follow me on Instagram and tag #dinnersdishes so I can see all the wonderful DINNERS, DISHES, AND DESSERTS recipes YOU make!
Be sure to follow me on my social media, so you never miss a post!
Facebook | Twitter | Pinterest | Instagram
.
This is a sponsored conversation written by me on behalf of Biscoff. The opinions and text are all mine.
